
How To: Build a foam boffer sword for awesome LARPing
Need a new foam boffer sword? Can't get into a LARPing event without it? Well, you better steal one, or make one, but this video will show you how to do the latter.


Need a new foam boffer sword? Can't get into a LARPing event without it? Well, you better steal one, or make one, but this video will show you how to do the latter.

Watch this video to lean how to make a cool wave ring. Follow every step of measuring, sawing, annealing, soldering, sanding and buffing.

As expected, Apple revealed today at the WWDC keynote that ARKit 2.0 will support multiplayer gaming support and persistent content, which will arrive this fall with iOS 12.
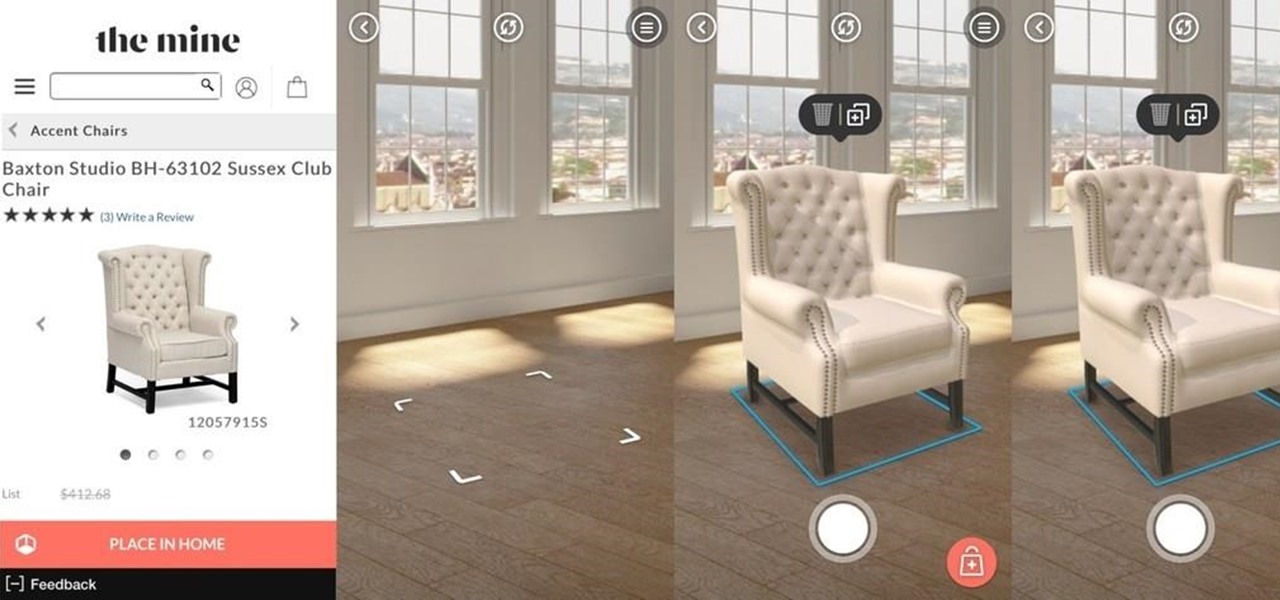
Lowe's Home Improvement has been an early adopter of augmented and virtual reality in their business practices, so it was a bit of surprise that their name was absent from the ranks of companies launching ARKit apps last week.

When Kaci Hickox, a Doctors Without Borders nurse, returned to New Jersey from working with Ebola patients in West Africa in 2014, she was surprised by her reception. Instead of a quiet return to her home in Maine after four weeks on the front line of Ebola treatment, she was quarantined by the State of New Jersey in Newark. She later filed a lawsuit in U.S. District Court for violation of her civil rights, false imprisonment, and invasion of privacy.

When it comes to cooking grains, there is an unspoken rule to never stray from the exact measurements. Consulting charts for the proper ratio of liquid to grain is considered the difference between crunchy, undercooked pebbles and a mushy mess... that is, until now.

If you haven't read the last article, feel free to stop by and give it a read, but abstaining from reading it will not, for the most part, be detrimental to your understanding.
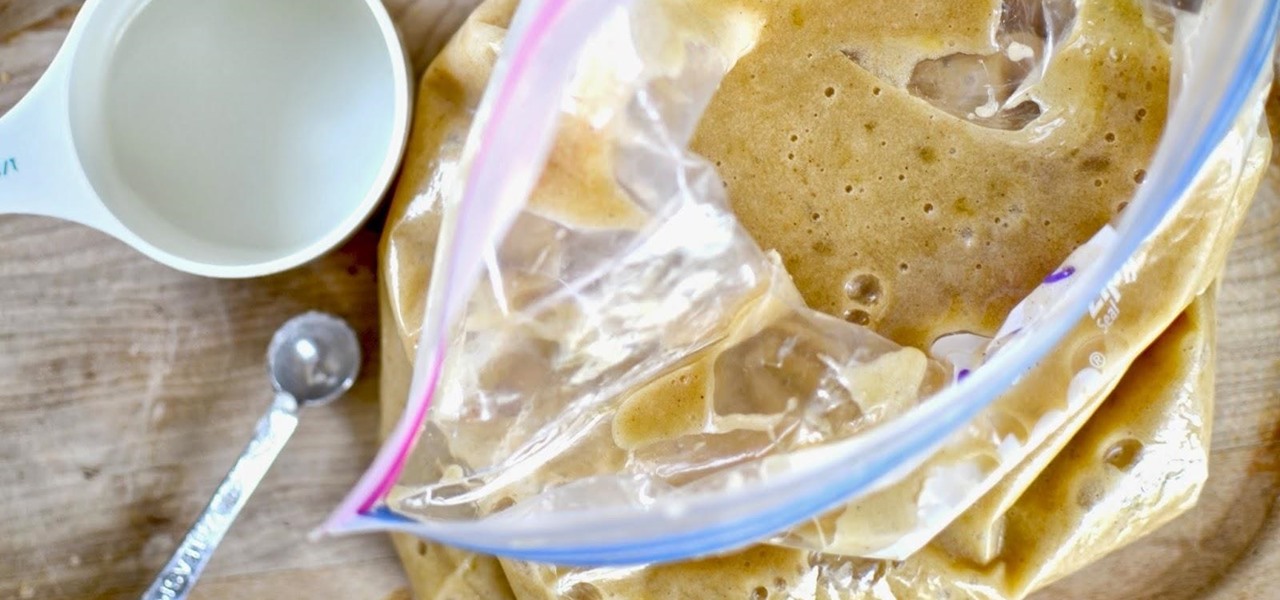
In my opinion, the greatest food hacks are the ones that help you cut way, way down on dishwashing. That's especially true when it comes to baked goods, which usually involves dirtying up a couple of mixing bowls, measuring cups and spoons, some kind of stirring implement, and the baking pan itself.
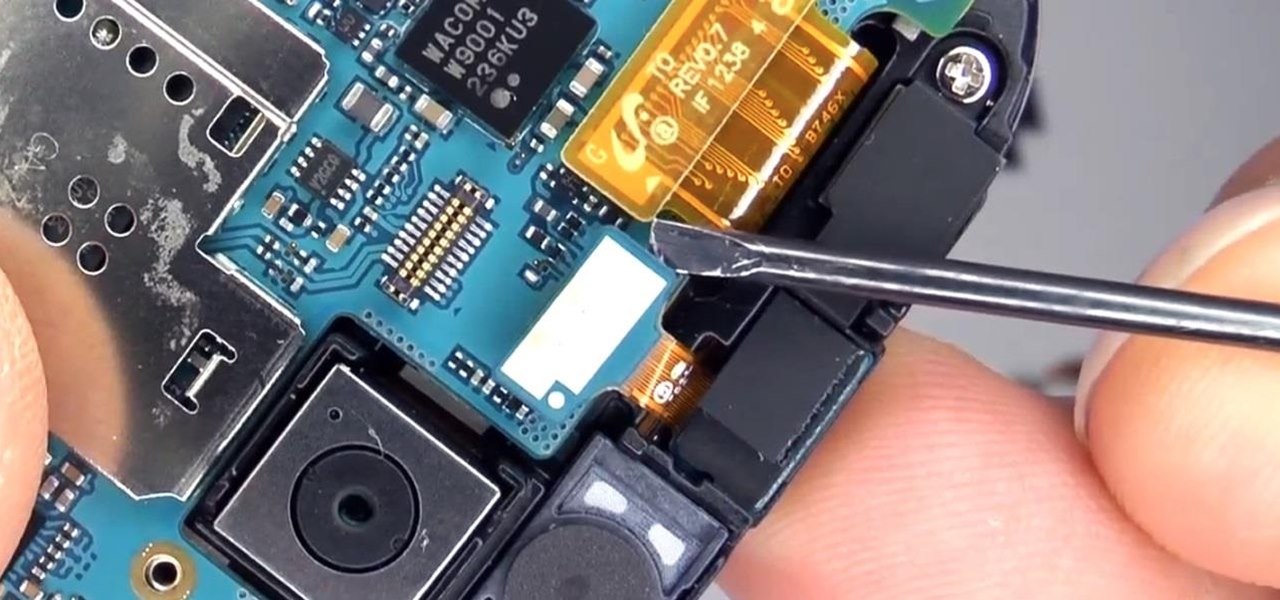
The new Samsung Galaxy S4 may be the only phone to include temperature and humidity sensors, but your Galaxy Note 2 has a few weather-detecting features of its own.

The first step to create a boomerang paper airplane is to take a square piece of paper and measure to make sure it is a perfect square. You must then fold all of the corners of the cut of paper into the middle and then fold in half. The wings must then be folded down on the two chosen side. The final step is to fold the wings up to give the crease and cut of paper it's boomerang like shape. The video ends with examples of the type of flight that can be expected from a boomerang shaped paper a...

This video explains how to make Vincent Valentine's arm guards in under 20mins. The supplies needed to complete this task include card paper, tape, gold spray, pencil and scissors. A ruler must be used to measure the length of your hand and fingers so you can correctly size the arm guards. Card paper is the cut into many small circles and placed around all of the fingers and then painted with gold spray. The hand portion is created by wrapping your hand with card paper and pulling tight befor...
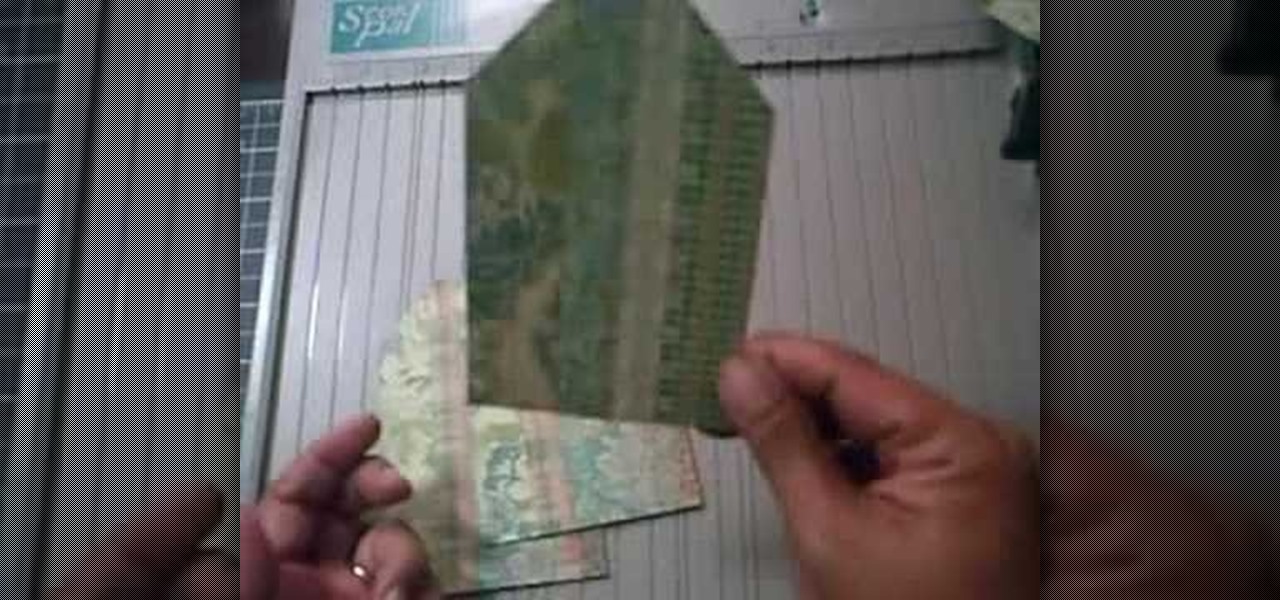
This video explains how to create a 4z4 tri-fold mini album. The first step is to score your designer paper at four inches and then fold along the score mark. The previous step is completed three more times until you have four score marks along your paper. Three separate pieces of paper are then cut measured at three and half inches. Your chosen picture is then glued into the center of your original twelve inch panel. using the three individual pieces of paper you must glue them around the pi...
In this video, we learn how to lay floor tiles. Lay the tiles in a diamond pattern, using a tape measure to make sure you have enough of them. You will need to cut the corner tiles so they fit in with the rest of them. Lay the tile adhesive down first before you lay the tiles down and make sure they are pushed down into place securely. Continue to lay the tiles down until you have covered the entire area. After this, you will lay mortar in the middle of it and then wipe it off clean to finish...

This video begins by showing what a folding painting canvas looks like and what the final stretched canvas should look like. The first step shown is to make sure the bars are measured and marked with a simple A and B for easy measurement recall. After a wood frame is added over the canvas you must fold the material over the back of the wood and nail in place. Once the canvas is nailed to the frame you must add A, B, C and D markings to continue proper alignment procedure. The last step shown ...

In this tutorial, we learn how to score a big buck or elk with Stan Potts. First, take the bottom of it and remove a bottom line from the main beam. Measure the length of all of the sides. If you're going to cut it out, you should be perfectly even with the top. Then, you will do this on the other side for a typical frame. From here, take the greatest inside spread at a perpendicular angle and that will be your spread credit. Add up each side individually and then you will find the difference...
In this tutorial we learn how to make whipped unrefined shea butter. You will need: jojoba oil, grapeseed oil, shea butter, essential oils of your choice, pearl white mica powder, silica powder, rice powder, and borin nitrite. To start, you will measure out all of your ingredients together. Use as much of the oils as you want to make it smell the way you want it to. After this, add all of the ingredients together in a Pyrex glass that can be placed in the microwave. Then, pour into a large mi...

In this tutorial, we learn how to insulate your attic with Eric Johnston. To figure out if you have enough insulation, you need to measure the depth of the insulation that you have. Generally, you should have around 22" of insulation in attics. The highest percentage of energy loss is through the attic, even if it's a new home. You can use a blown in insulation system that is easy to install and will not cause a huge mess. With this, you will be able to have your home be much warmed and you w...

In this tutorial, we learn how to recycle an old t-shirt into a no-sew head scarf. First, lay your shirt out flat on a table and download the paper pattern from the video. From here, measure sixteen inches from side to side on the t-shirt that you are using. After this, follow the paper pattern on the shirt and cut out the pattern with scissors. Once you have finished this, use a fabric bonding agent to make the edges less frayed and fold them into each other. This is great for the environmen...

In this video, we learn how to build a nest box and ladder for a chicken coop. Start off by creating the box with several pieces of 2x4's. Measure each piece individually, then screw them into place. Make sure it's the size that you want it and that it's secure and lays flat on the ground. Once finished, you will bend some metal and place it on the sides of the coup and then fasten the hinges so they are free swinging. Then, pull in a few more piece and you will have created the nest box insi...
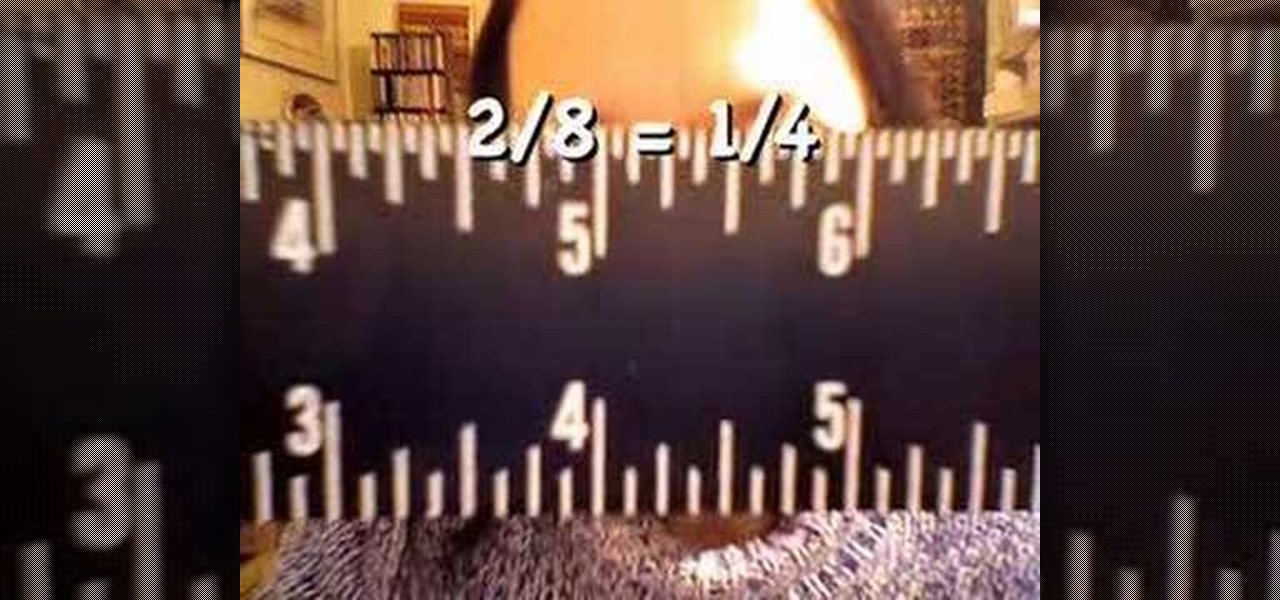
In this video, we learn how to read a ruler. First, grab you ruler and look on the top and the bottom of it. The top is divided into different marks that shows inches, half inches, and quarter inches. If you aren't familiar with reading this, just use the markers at the top to help you count between 1/4, 1/2, 1/8, etc. The other side of the ruler is used for centimeters, which you usually will not use in the United States very often. Learning how to read a ruler can help you get better with f...

In this tutorial, we learn how to build a catapult out of rubber bands & a wire hanger. To do this, you will first need: one wire hanger, plastic spoon, rubber bands, small marshmallows, and measuring tape. Now, hold your hand in the center of the hanger and pull up both sides around it. After this, fold back the front for balance and straighten it up so it's stable. Next, you will take one rubber band and put it around the sides. Then, take the spoon and put it in between the rubber band and...

In this video, we learn how to strop on a stropping block. There are two layers to the strop and they measure different lengths. On the bottom you should put two mouse pads to make sure it stays put. Now, charge the strop with a stropping compound and rubbing it against the grain until it flakes off. Next, gauge the angle of your knife and place the blade against the strop. Push against the edge of the blade and work from the top to the bottom in a long and slow arch. This is all there is to ...

In this tutorial, we learn how to read a school box ruler. A ruler will be divided into inches, each inch will be divided in half. From there, it will be in quarters, then eighths, then sixteenths. Once you understand how the inches get divided up into halves, you will be able to read the ruler better. Start off by counting the small lines that you see on the ruler to get an idea of where the eight, quarter, and half inches are located at. After practicing this, you will be able to read a rul...

In this tutorial, we learn how to make a Duct tape hat. First, grab a hat that you want to duplicate and measure it out with a piece of paper. Then use this piece of paper as reference to how you will cut your pieces of duct tape. Now, cut the duct tape and stick them together to create the top of the hat. After this, you will connect the other areas of the hat together and make the bill of the hat. This will need to be thicker than the other areas and you will also have to cut it into a curv...
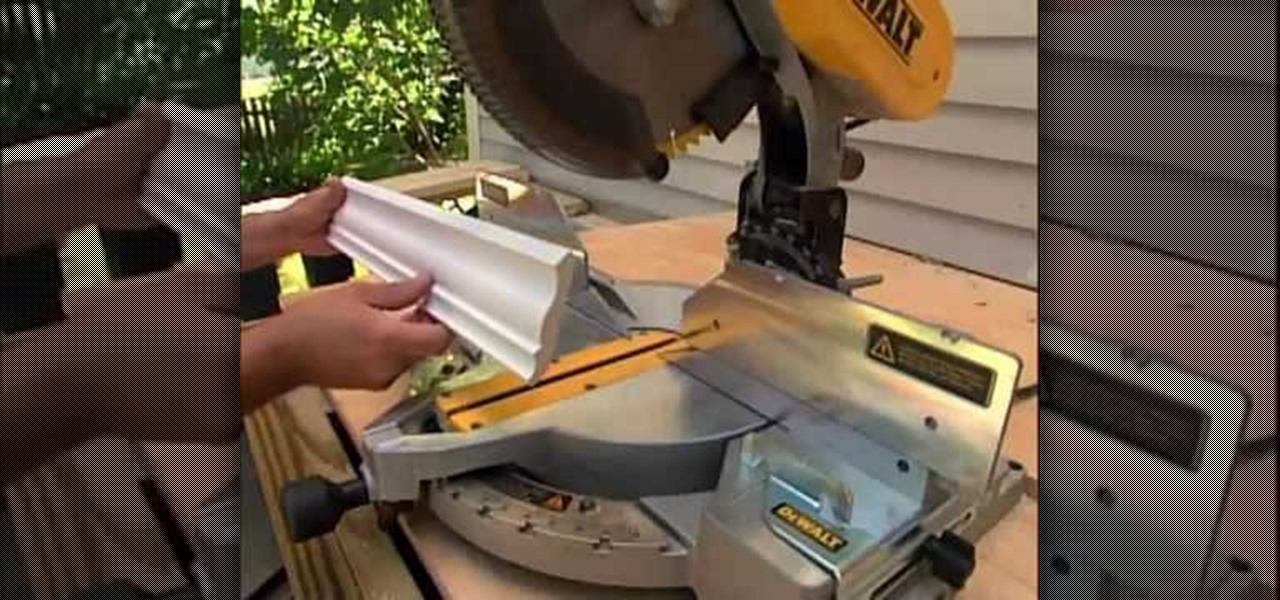
In this tutorial, we learn how to install crown molding to your room. First, choose the right size and style of molding for the room, then measure your room to find out how much you need. After this, you will need to buy a saw to cut the molding when you're ready to install. After you have the pieces cut, you will need to place these against the wall and then nail them in with a nail gun. Secure the molding to the joints in the ceiling and to the studs in the wall. To finish, putty the holes ...

In this tutorial, we learn how to make grandma's oatmeal cookies. First, combine 1 c sugar, 1 c brown sugar, 2 beaten eggs, 1 tsp vanilla, and 1 c butter. Mix this all together using a wooden spoon until everything is combined. Once it's all mixed together thoroughly, set aside an measure out 1.5 c flour, 1 tsp baking soda, 1 tsp salt, and 1 tbsp cinnamon. Stir this together, then add in with the wet dough and mix together. Then, add in 3 c oats and 1/2 c butterscotch and white chocolate chip...
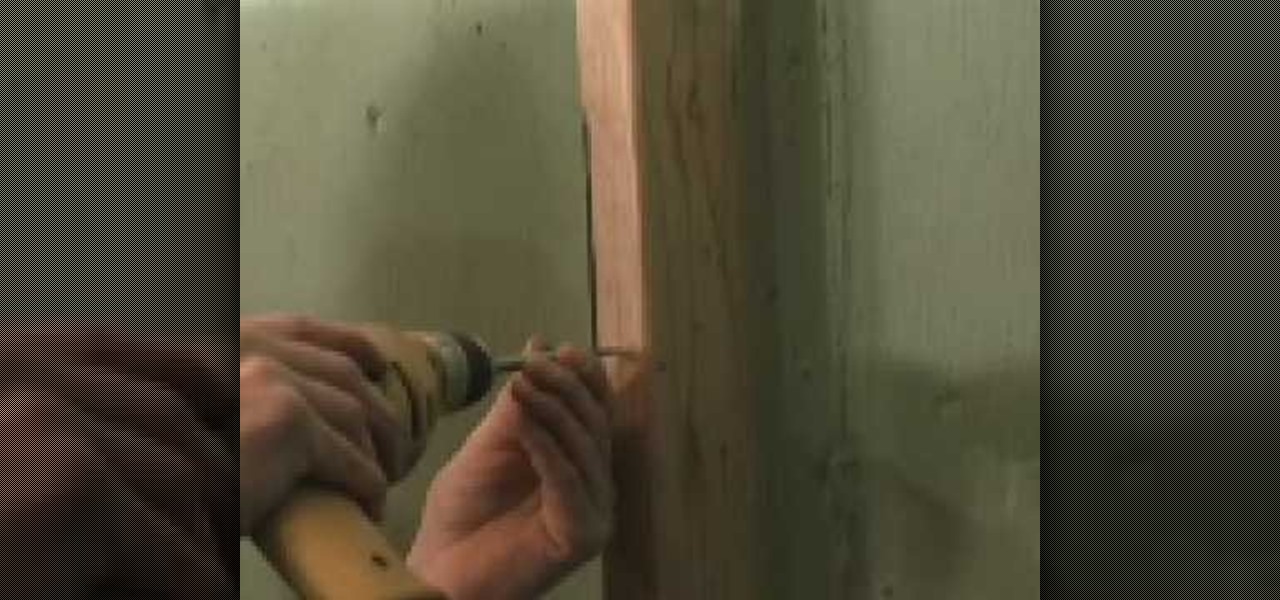
In this video we learn how to remove door material to install a mortise lock. If you live in an older home where you have to take out a chunk of the door to change the lock, there are ways to prevent doing this. First take a spade bit and slide it over the lock. After this, take the mortise lock and hold it so it's flush with the door. Go below the hole and above the closest obstruction and put a mark. On the back measure slightly beyond what it would take for this to bottom out. Once you hav...
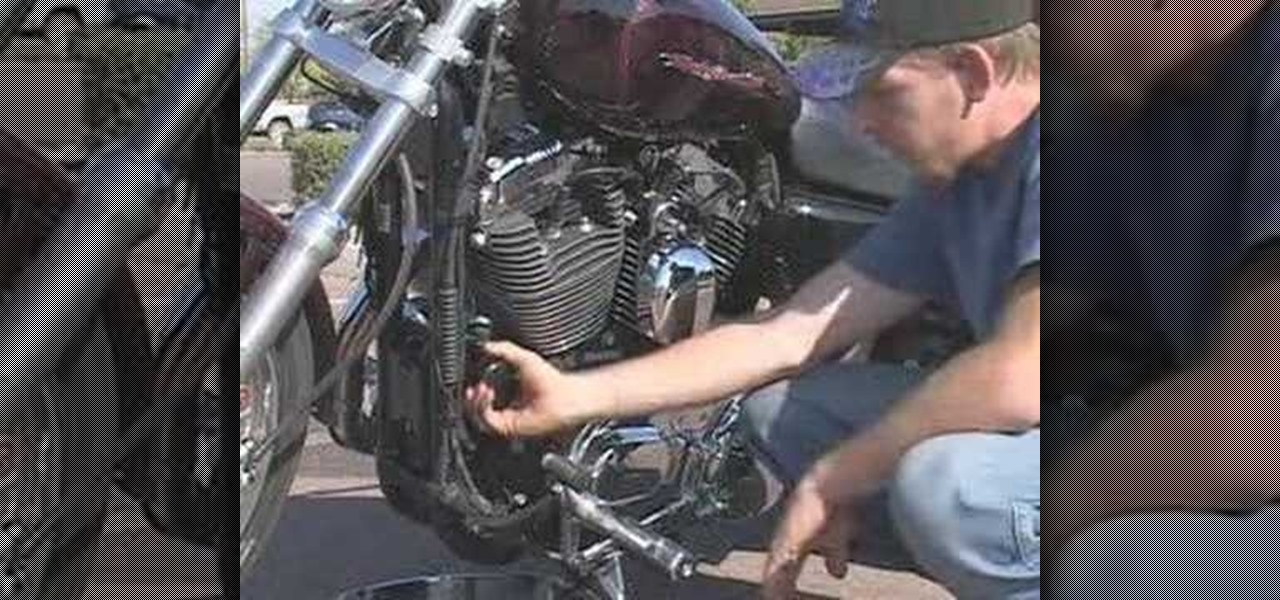
In this tutorial, we learn how to change the oil in your motorcycle. You will need: a drain pan, funnel, oil, screwdriver, filter, and paper towels. First, grab your oil pan and find your drain plug. Then, remove the plug and let the oil drain. After this has drained out, replace the plug to the motorcycle. Then, find the filter and let it drain out. Add in oil to the filter, then replace back into the motorcycle. From here, fill the motorcycle with oil, then measure it to make sure you have ...

In this video, we learn how to make a colorful tutu. First, you will need to grab all the colors of fabric that you want to use on your tutu. Then, roll up the fabric of each color carefully, then cut it out to the length you have measured for your subject. After this, cut out one more smaller section of fabric from each piece until you have done this with all of the colors. Now, using a piece of ribbon as the waistband, tie each piece of colored fabric onto it, alternating colors each time. ...
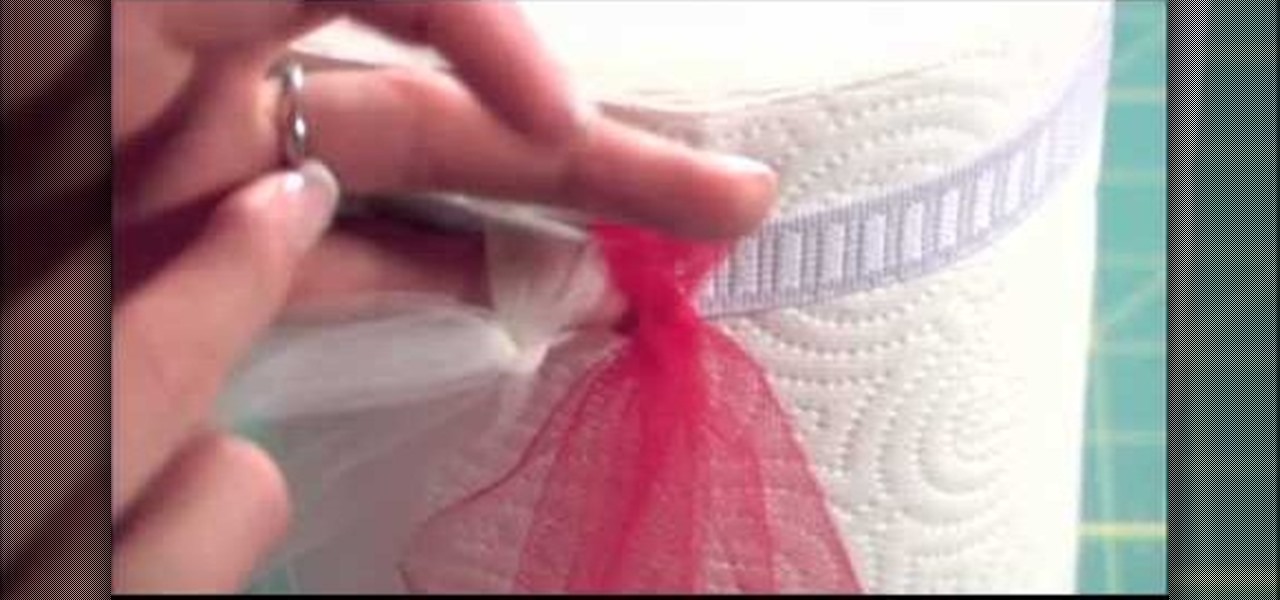
In this tutorial, we learn how to make a tutu. First, you will need to grab a rotary color and some tulle, along with an elastic band for the waist. Now, measure out the tulle for how long you want your tutu to be. Now, cut out the measurements you have made. Gather up the tulle together in different colors, and then grab the elastic. Tie the top of the fabric onto the elastic, then secure it. Once finished going all the way around the elastic, tie the waistband and then you will be ready to ...
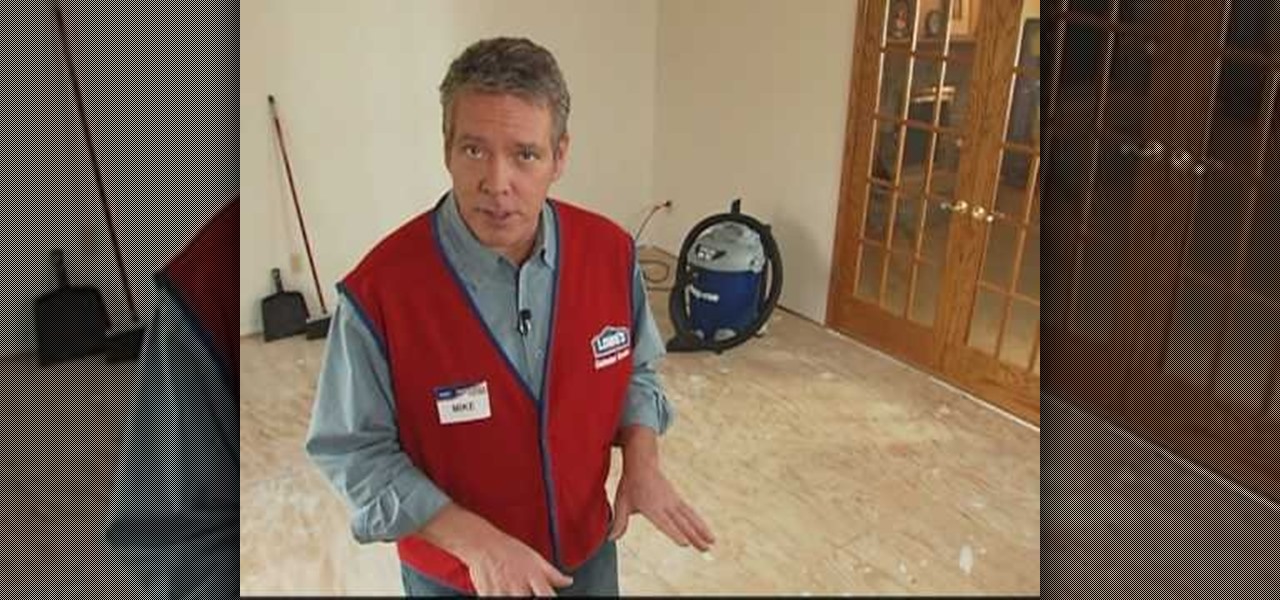
In this tutorial, we learn how to prep plywood subfloor for hardwood and laminate with Lowe's. Before you prep your floor, read the manufacturers direction and information on the flooring. After this, gather all of your materials and tools you need to complete the job. Then, measure out the floor to figure out how much material you will need. Take off all the carpet and base boards from the room, then clean off the floor from dirt or dust. When finished, cover the subfloor with the right type...

In this tutorial, we learn how to bake homemade white bread. To make this you will need: bread flour, garlic powder, an egg, butter, 3/4 c warm milk, 1/4 c sugar, 1 tsp sea salt, and 1.5 tsp dry yeast. Measure out all of the ingredients, then add them into the bread maker tray. Start with the wet ingredients, then add in the dry. After this, turn the machine on and set it to making white bread. Don't mix it, the machine will do this for you. After you set this, it will start to make itself an...

This video tutorial is in the Fine Art category which will show you how to fashion a wallet from duct tape. For this you will need an X-acto knife, duct tape of any color and a tape measure. Rip off a piece of tape about 10 inches long and place it sticky side up. Rip off another piece of same length and place it on the 1st piece face down but, covering only half of the tape as shown in the video. Fold down the 1st piece on top of the 2nd so that you will have only one half piece of sticky ex...

In this video, we learn how to draw Rukia. Start out by drawing a circle with a triangle shape at the bottom. Then, draw reference lines in the face to measure where the features of the face are going to be. After this, start to draw in the details of the face. Draw the eyes, mouth, nose, eyebrows, and any other details you need. Make sure the eyes match the original character and leave white for the pupils to show. Draw in the hair to finish up the drawing, making sure to draw the eyebrows a...

In this tutorial, we learn how to laminate stairs. First, you will need to grab your laminate and measure out the stairs. Then, cut out the nosing to the stairs. After this, you will need to cut out the laminate with a chop saw to place it on the front of the stairs so it looks nice and is fully covered on the stairs. You will need to place down glue on the laminate then press it down on the stairs and allow to dry. Behind the front piece you will place another piece of laminate and glue it d...

In this tutorial, we learn how to draw manga eyes. Start off by drawing the top of the eye, the measure how long it is. Then, make one eye width between each of the eyes and draw the other eyelid. Now, if you want to draw eyes in a different perspective, you will draw the line from the outside of the eyes to see where the line of vision would be. Next, draw in the lower lid and go around the form slowly. Draw large irises to make it look more like a manga character, then you will need to draw...

In this tutorial, we learn how to draw a parallelogram given base, angle & altitude. First, you will draw the base of the parallelogram, using your ruler to measure out the line. Next, you will draw a dotted line perpendicular to the line that you just drew that is 3 cm in length. Then, you will draw another dotted line on top of the one you just drew. This dotted line shows where the top of your parallelogram will be. Then take your protractor and draw it at the angle the problem gives you. ...

Having trouble with word problems in algebra? Watch this video to clear a few concepts as well as to learn how to systematically tackle word problems in exams.
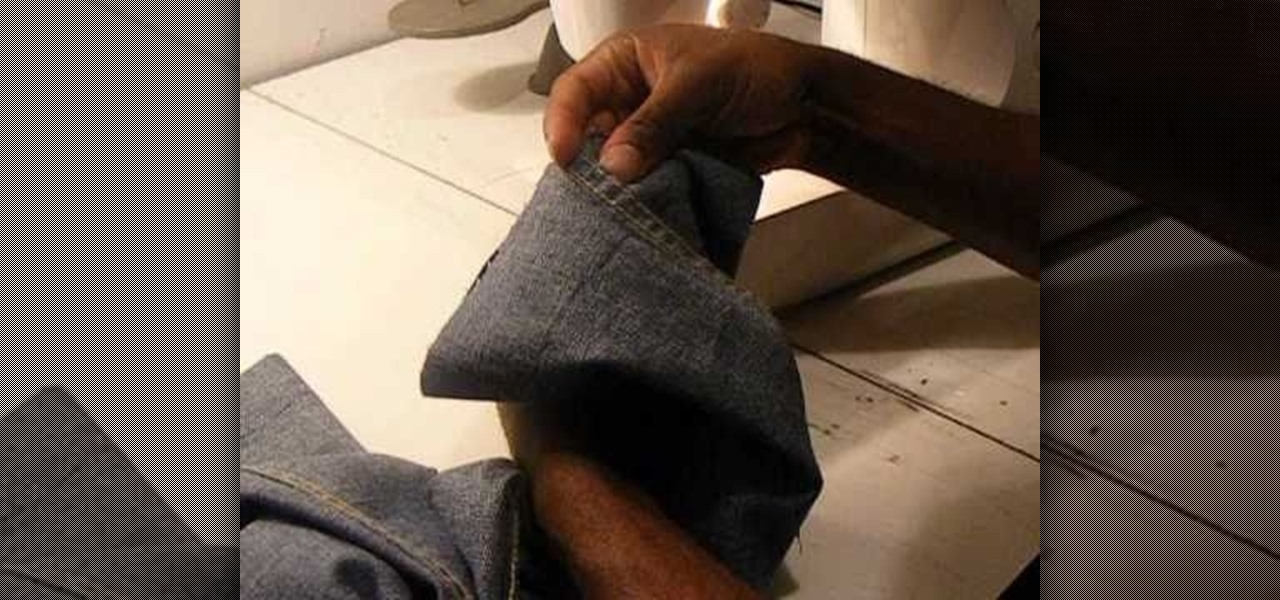
Are your jeans to long? How about your khakis? Corduroys? No matter what kind of pants you have, if they're too long, you can easily shorten the length with a few snips, a few marks and a basic sewing machine. The Brother LX-3125 compact sewing machine is used in this video, but any will do. See how to take a pair of jeans, cut and resew them like new again!
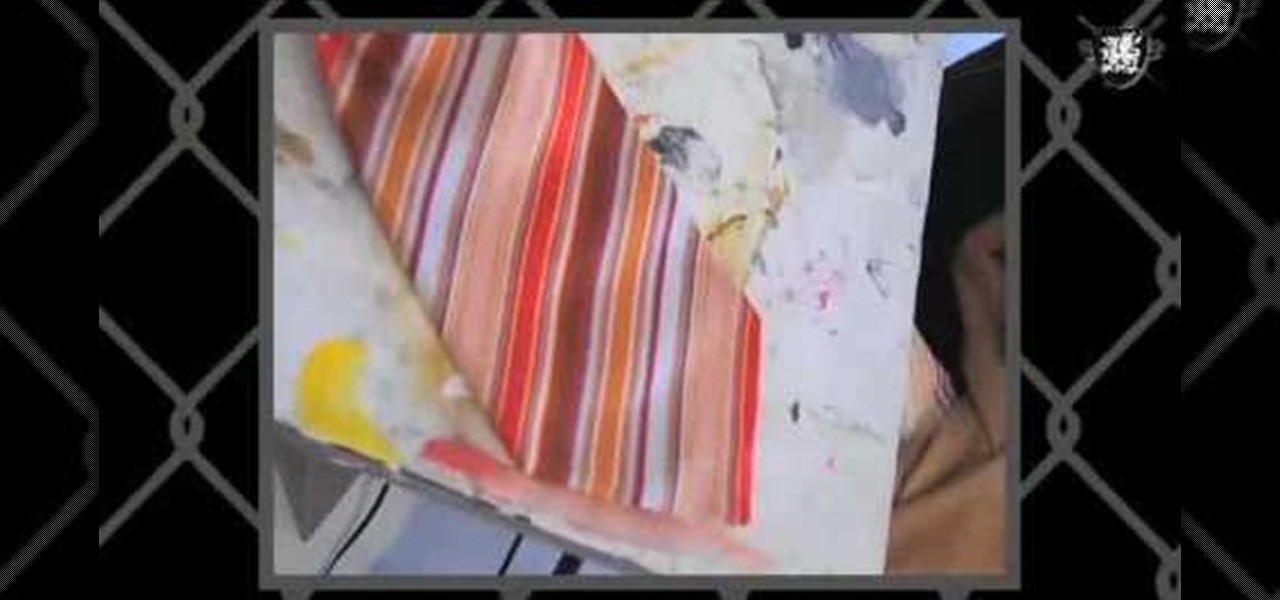
In this video, we learn how to make a "purt" or a "shirse". To start, grab an old shirt with buttons and measure out an area from the top to cut down. After this, cut the area out cutting the top and the back of the shirt. Then, take a sewing machine and sew the sides together. After this, grab a tie that you have and wrap it around the front of the shirt that you have just sewed. Now, when you want to look like you are wearing a shirt and tie without actually wearing one, you can slip this o...