In this video, we learn how to make hearty sausage meatballs. First, grab your ground meat and then add one small red onion chopped up. Next, add in 2 tbsp chopped sage, and some breadcrumbs. Mix this together with your hands to incorporate everything together, then add in 1 beaten egg and continue to mix with your hands. Let this sit in the fridge for 10 minutes, then take it out and form balls out of the meat. Cook these in a large skillet filled with oil. Make sure to cook on all sides, th...
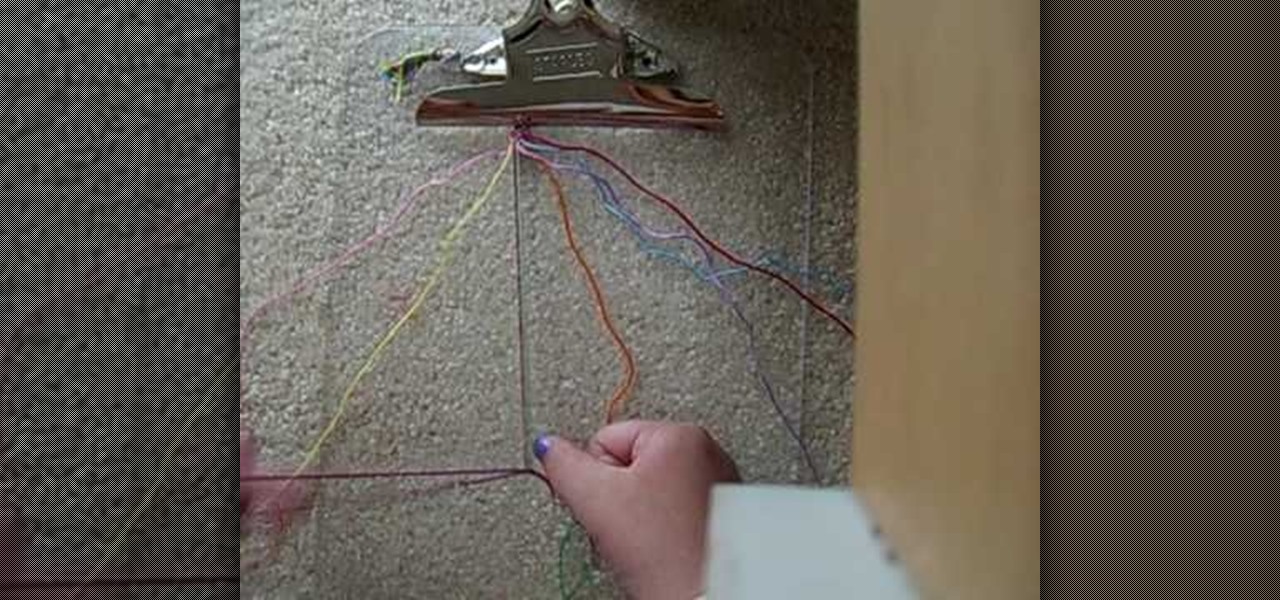
In this tutorial, we learn how to make friendship bracelets: the rag rug. First, grab eight different colors and arrange them all spaced out. Clip them to a clipboard at the top, then take your first strand and make a knot around your second strand twice. From here, you will take your third strand and tie it around your fourth strand. Continue to do this until you reach the rest of the colors that you have twice. Next, take the seventh and sixth strand and make a backwards knot. Then, do the ...

In this tutorial, we learn how to distress and cut up jeans to destroy them. First, you will grab an old pair of pants that you want to have a distressed look on. First, you will need to take some sand paper and rub it on the front of the jeans in the thigh area. After you do this to your liking, you will take your scissors and cut a small hole going down the legs. Use your hands to make the holes larger, then leave the frays at the end for a more distressed look. When finished, wash them off...
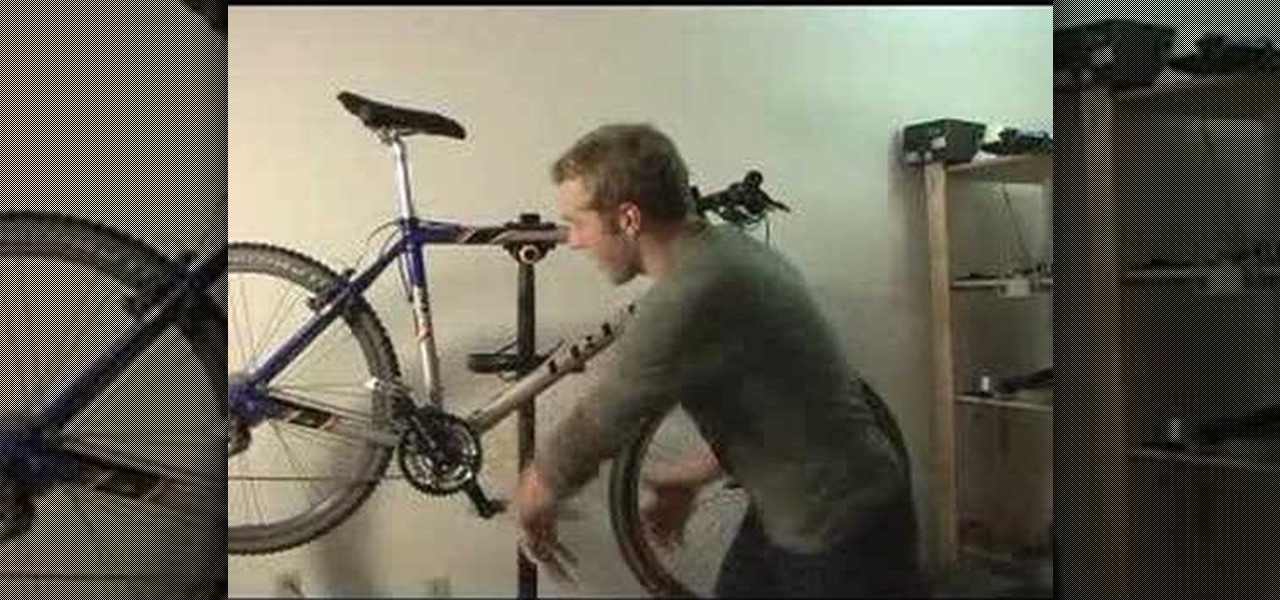
In this video, we learn how to understand the parts of a mountain bike. First, grab your mountain bike and go to the front of it. The front starts with the handle bars, brake levers, shifter, cord, tire, rim, spokes, and brakes. In the back, there is: a crank, rig railer, front railer, frame, top and bottom tubes, head set, chain, and seat. Once you understand what all these are called and where they are, you will better understand how to ride the bike the best you can. You can completely cus...

In this video, we learn how to sew a two-tier waist-high skirt. First, fold the fabric in half, then fold the right sides together and draw a half circle. Next, anchor your chalk with a spool of thread and swing around the half circle to create another. Now, cut out the circle with scissors. Then, draw a smaller circle using the same method at the bottom and snip it away. This will be the first layer of your skirt. Repeat these steps with another type of fabric for the other layer of your ski...

In this video, we learn how to easily make a tutu. First, you will need to gather all your materials, then cut the length of the ribbon or elastic you need. Then, grab your materials and cut out strips of it to place onto the elastic. After this, tie the tulle onto the elastic going from color to color as you continue. Once you reach the end of the skirt, you will have a cute tutu that is ready to wear. Making this yourself can save you a lot of money, and it can make several rather than just...

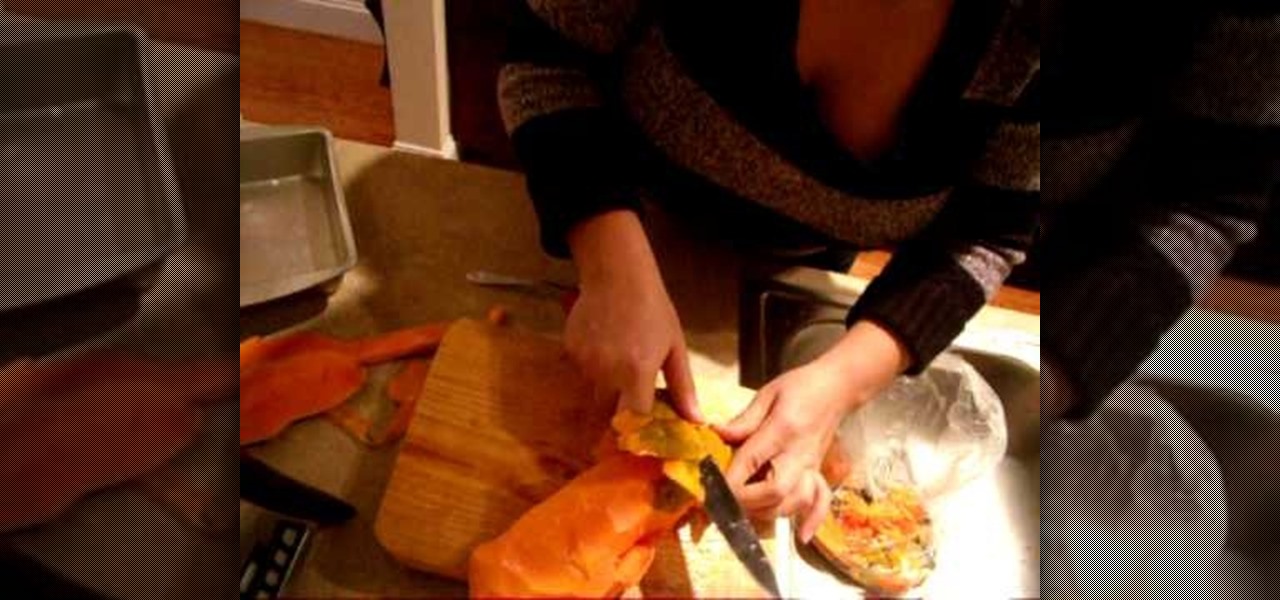
In this video, we learn how to make a papaya smoothie. You will need to first take a fresh papaya and cut it into small cubes. After this, grab a can of evaporated milk, regular milk, dark brown sugar, and vanilla and add into the blender. Add in cubes of the papaya, then blend this on high until the mixture is completely blended. You can add in ice cream or ice if you want this to be thicker. When this is finished, you will have a delicious drink that you can spice up with alcohol if you wan...

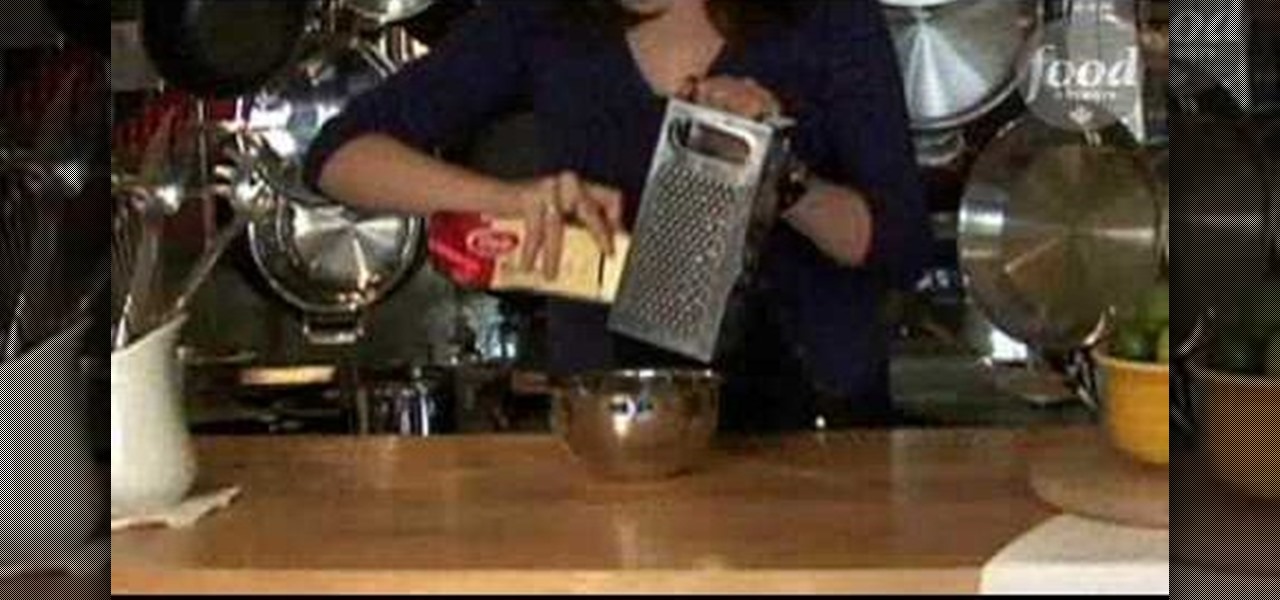
In this video by Food Network, we learn how to combine cold butter and flour. It may seem like it's hard to combine these two ingredients, but there is a great way it can be done. First, you will need to grab a cheese grater on the fine side and your cold piece of butter. Rub the butter onto the grater and allow it to fall into a bowl that is filled with the flour you are going to use. As you do this, you can mix the ingredients together by hand, making for an easier way to cook and less of a...

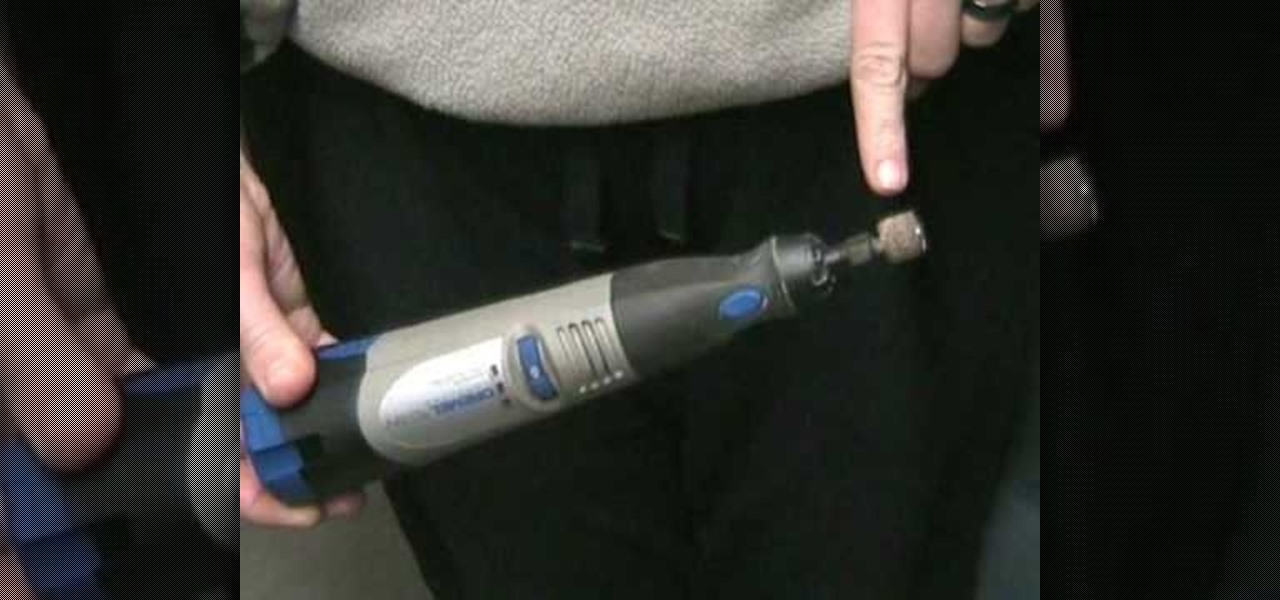
In this tutorial, we learn how to make the perfect hole for your destroyed denim. First, you will need to grab a pair of sharp scissors. Make small horizontal cuts around 1 cm apart. Once you have made as many cuts as you want, you will use tweezers to pull out the fray that is on the bottom of the cuts in the jeans. To create nicks and grindings, use a Dremmel tool on the jeans. This will help you sand down the area of the jeans you want the hole to be and create a distressed look. When fini...

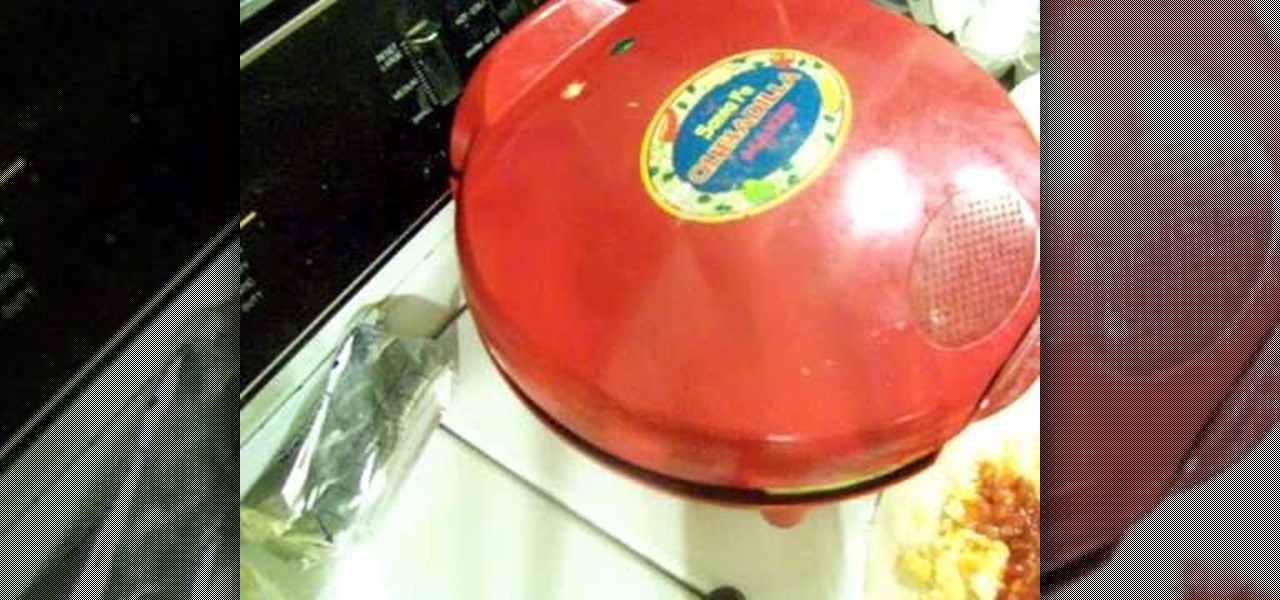
In this video, Nancy teaches us how to make scrambled egg quesadillas. First, turn on your quesadilla maker and wait for it to heat up completely. Then, take a couple of eggs and stir them up in a small bowl. After this, pour the eggs in the quesadilla maker and add in any filings that you would like in your eggs. Close the top and allow the eggs to cook on the top and the bottom. When this is finished cooking, grab two tortilla shells and set them aside. Take the eggs out with a spatula, the...

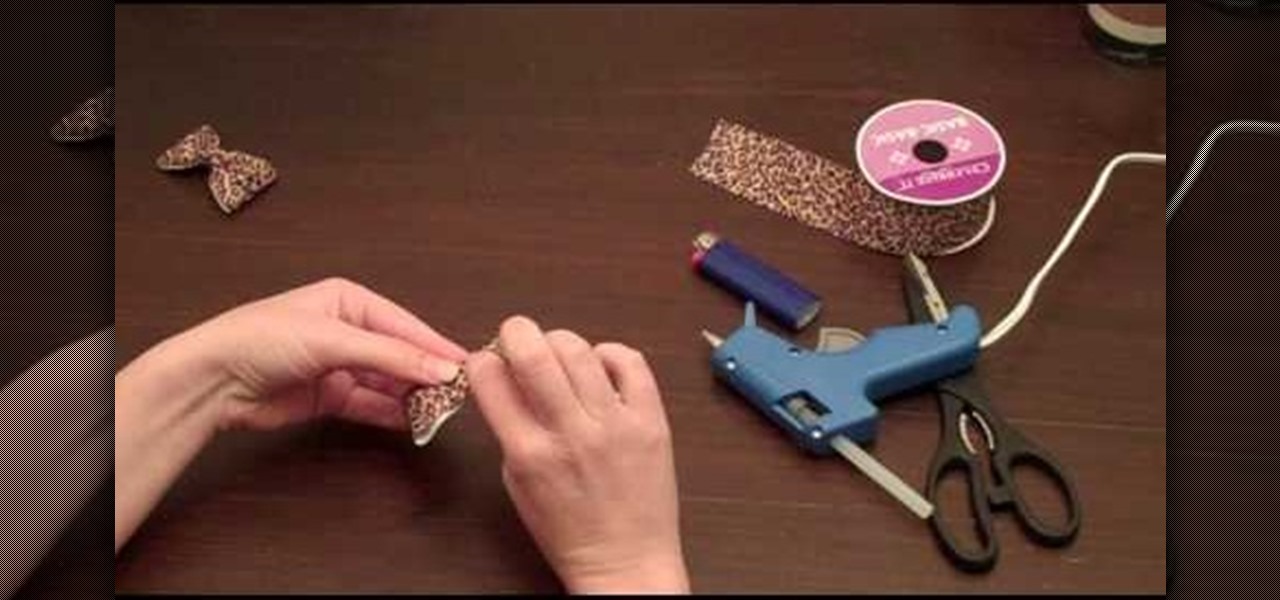
In this tutorial, we learn how to make an easy hair bow. First, grab some thick ribbon in any color or material that you want to have. Use more ribbon if you want a larger one and less if you want a smaller one. Measure it out or use your eye to measure. After this, heat seal the ends so they don't fray by passing them through a lighter quickly. Now, fold the ribbon in half length wise, then place a crease there. After this, use a hot glue gun to fold down the two sides of the ribbon with a k...

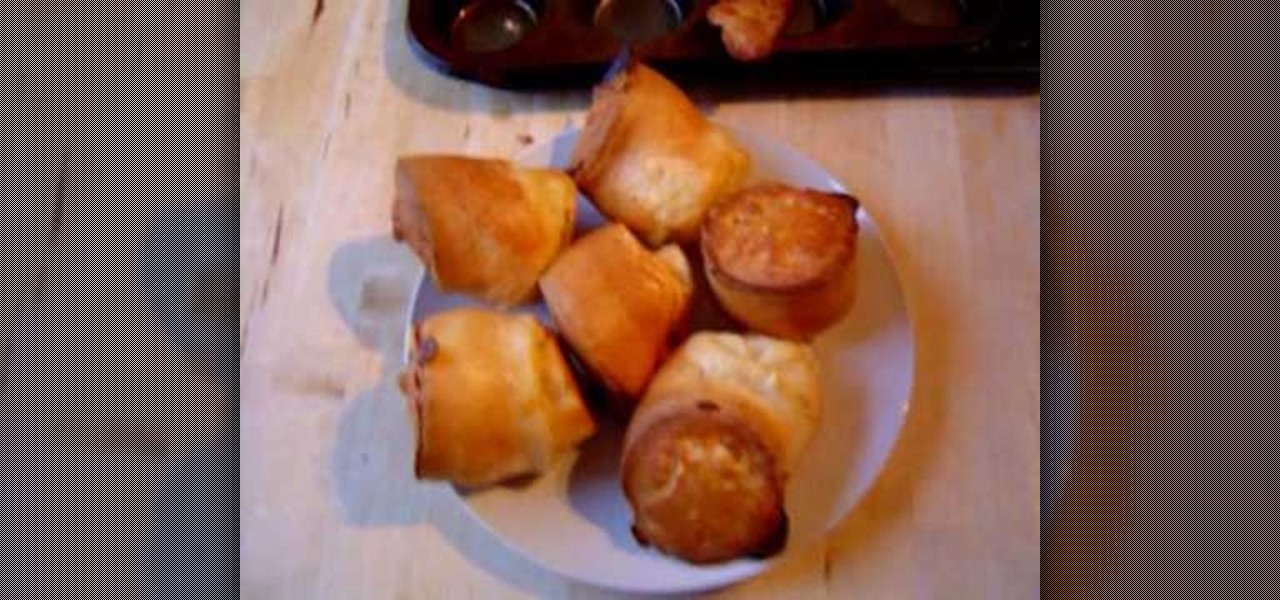
In this video, we learn how to make a Yorkshire pudding with roast beef gravy. First, take a saucepan and add in 1 c plain flour with 2 eggs. Combine these together until well blended, then add in milk to the mixture (about 1/2 c). Now, sprinkle in a little bit of salt and get rid of all the lumps that exist. When you are finished, grab a muffin tray and grease it up underneath another pan so it catches any spillage. Pour the mixture into the muffin spots until you reach the top. Then, place ...

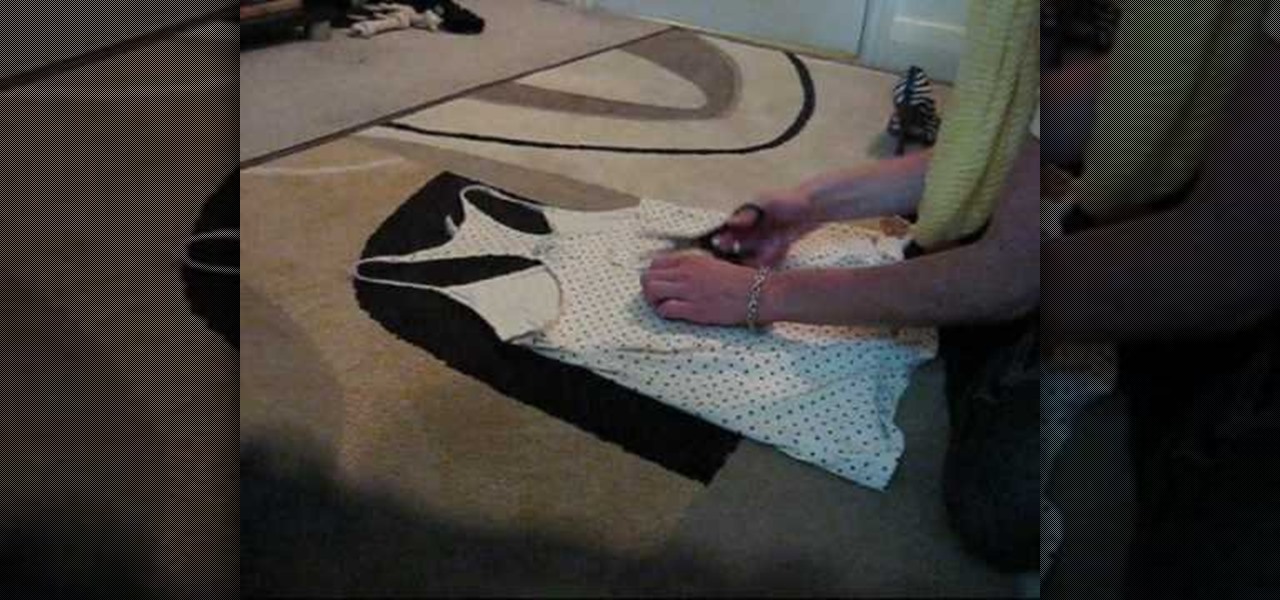
Your tanks and your tees aren't fitting just right, don't throw them away or toss them in a storage box just yet. Grab some scissors and cut that sucker up, then mold it in a better fitting, unique and cute shirt. The easiest part is simply slicing up the back up the shirt, but then comes the strings. Watch and see for yourself. This is a great way to transform a normal T-shirt or tank top into something more creative.

In this video, we learn how to get a bronze smoky eye inspired by Ashley Tisdale. First, prime your eyes and then apply a dark gold color to the eyelid. After this, apply a brown color to the crease of your eye and blend it outward with the gold. Next, apply a white color underneath your eyebrow as a highlight. Grab a black eyeliner next and apply it in a thin line on the upper lash line. Now, dip the pencil brush into black eyeliner and smudge it out onto your upper lash line. To finish, app...

In this tutorial, we learn how to use R1C1 speedlight when shooting photos. First you will want to place the attachment ring and adapter ring to the camera. After this, grab the remote flashes and the built-in flash panel. After you have installed all of these things on your camera, you will be ready to start taking pictures. Find the object you want to take pictures of, then start to use the wireless flash system to take quick picture that look great. As you click the remote, the flash will ...

In this tutorial, we learn how to fix an Xbox 360 Phillips Benq Drive. First, you will open up the broken drive using a Philips head screw driver. Next, desolder the chip from the broken drive with a soldering iron. After you do this, you will be able to slide out the motherboard from the device. Now, grab a new chip and place the board back into the device. Make sure all the wires are out so they are not underneath the board. Now, solder the wires and any other ribbons back onto the main boa...

In this video, we learn how to perform a cable cast-on. Start this with a slip knot, then grab your working yarn and create your first stitch. After this, go between the two stitches with your other needle, then tighten the last stitch that you just made. Now, go in between the last two stitches and tighten up the yarn again. Continue to do this by making different stitches and as you go down you will have a cable cast-on. As you finish, you will have a longer and longer row, so tie off when ...

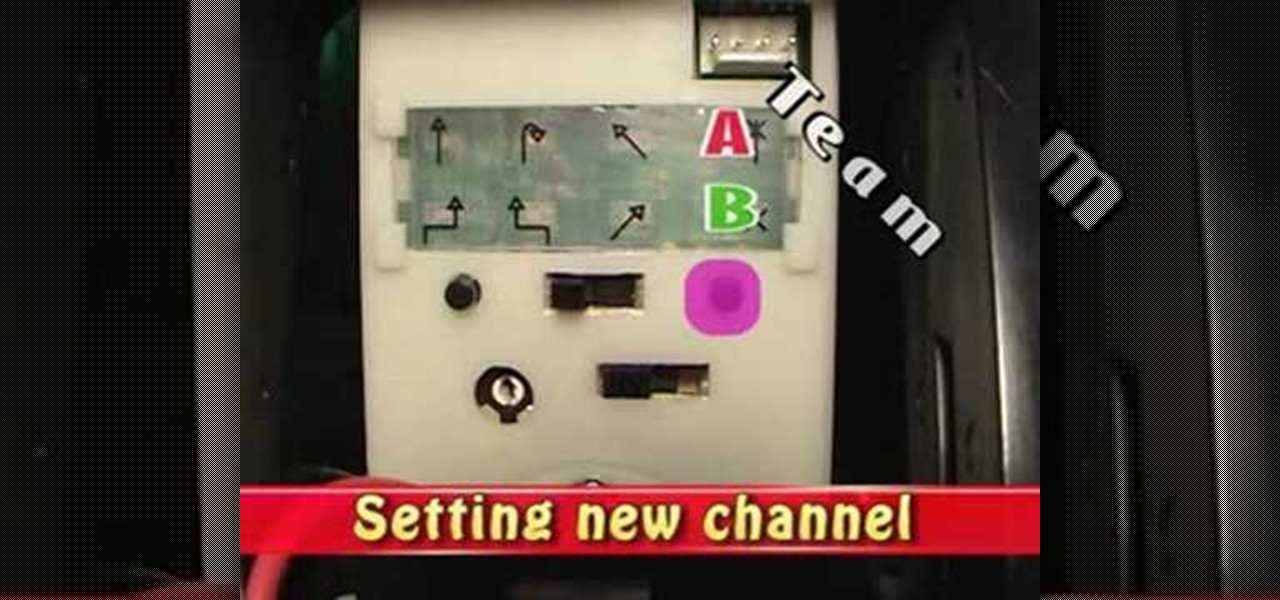
In this video, we learn how to change the channel of the AI-01 Robot. First, you need to find the channels that are on the back panel of the robot. After you do this, turn the robot off, then turn it back on. Then, press both sides of the buttons together. After this, you will press the left button to choose the number and then press the right button to choose the team. After this, you will press both buttons together and then grab the remote. Select the channel on the remote by doing the sam...

In this video, we learn how to make a jingle bell card using Cricut Storybook. you will need the Cricut Storybook cartridge and Cuttlebug Music Notes folder to do this card. First, you will take a cut out of the word "jingle" that has a bell attached to the bottom of it. You can find this in your Cricut crafting books. Next, apply a checkered green paper over a forest green card stock. Next, grab a holiday embossed white paper and apply a ribbon to it, then glue this onto the checkered paper....

In this video, we learn how to remove an automobile headliner on a Saturn S-series. First, you need to remove the back cushion and then take the back rest on the seat, then lay it down. After this, remove the dome light and remove all the grab handles from the vehicle. Next, remove both visors and screws, then remove the mouth on the seat belt and bolts. After this, remove the cover on the back brake light, then the trim that runs along the side of the inside of the car on both sides. Once yo...

In this video, we learn how to remove water spots from chrome. This is one of the hardest surfaces to get water stains off of, but it can be done easily. First, grab an empty spray bottle, vinegar, water, a rag, and a paper towel. Now, mix two parts of vinegar to one part of water and spray it onto the chrome item. Use the rag to wipe off the mixture, then continue to spray on once more. Do this around five times total, then use a paper towel at the end for the finishing look! You can use thi...

In order to perform a Back Tuck in gymnastics, you should stand with your legs hip distance apart. Next, you should squat down. Don't squat too deep, because it will decrease your power. But, it should be a good deep squat. Swing your arms behind you at the same time. Next, jump up into the air, swinging your arms through and up. Extend your body as much as you can, from your fingers to your toes. When fully extended, your arms should be near your ears. When you have extended as far as you ca...

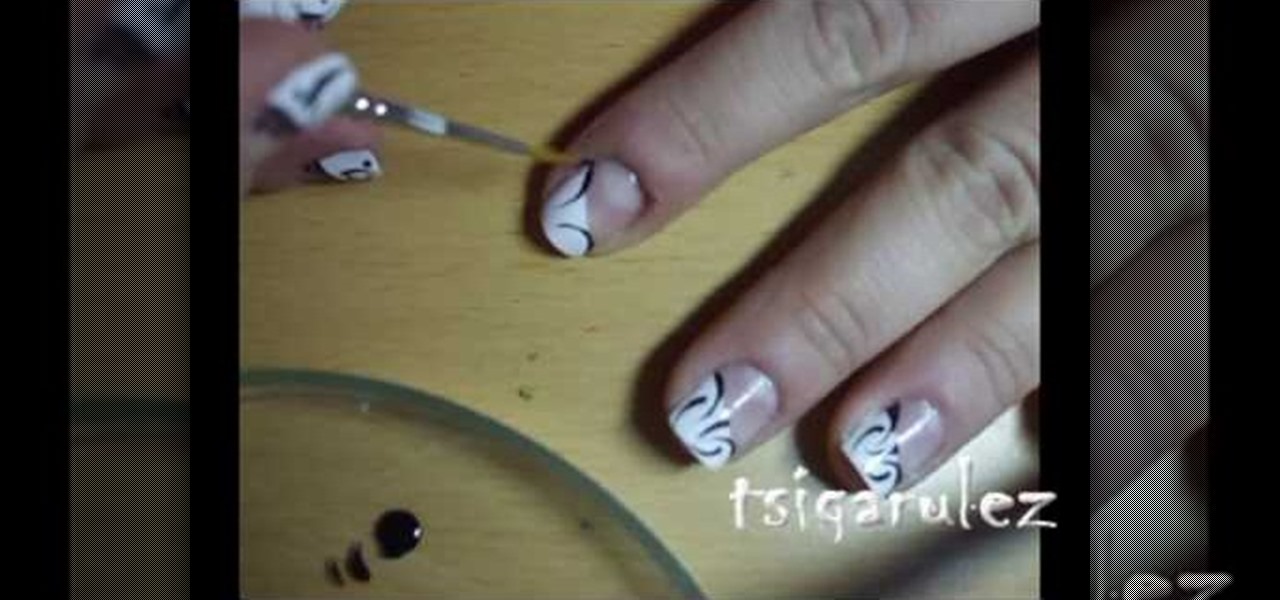
In this video, we learn how to paint a black and white French design for short nails. First, paint a diagonal stripe down the nails with white nail polish. You may need to apply two coats of white polish to get a strong color on the nail. Let this dry, then grab a very fine brush and use black nail polish to paint a design onto the white part of the nail. Apply dots and different lines to make the pattern turn out how you want it to be. When finished, you will have a beautiful nail design tha...

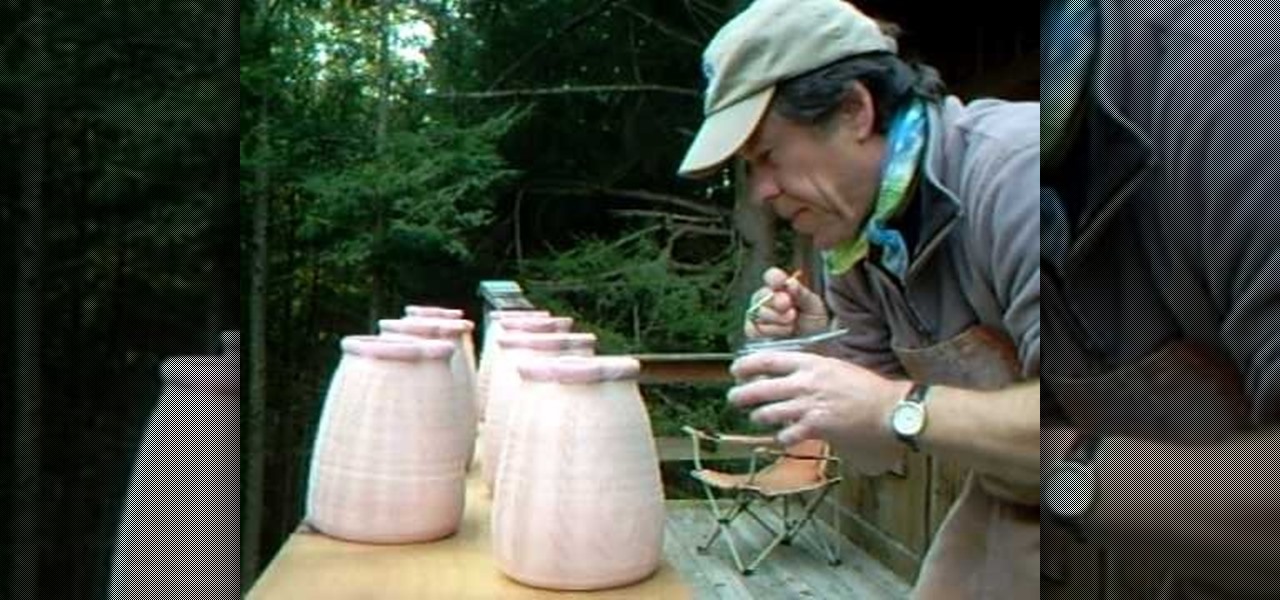
In this video, we learn how to use wood ash to prep pots for the kiln. First, grab wood ash and place it into a container that sprays. After this, blow in the appropriate hole and hold the container so the ash gets all over your pots. Continue to do this all the way around the pots. You will get out of breath while doing this, so take your take and take breaks to breathe. Make sure you do this in a quick amount of time so the ash inside the container stays ready to be blown. After this, the p...

In this video, we learn how to dye yarn with Kool-Aid. First, take two chairs and wrap yarn around them as tight as possible to keep them from getting tangled up. Then, place in a bath of lukewarm water for ten minutes. After this, grab packets of Kool Aid the color you want your yarn to be. Now, take the yarn out of the water and squeeze out any excess water. After this, mix up the Kool Aid and place it into individual jars for each color. Next, place the jars in a large pot of water and the...

In order to create Vanessa Hudges loose waves, you will need the following: hair clips, a large barrel curling iron, and spray.

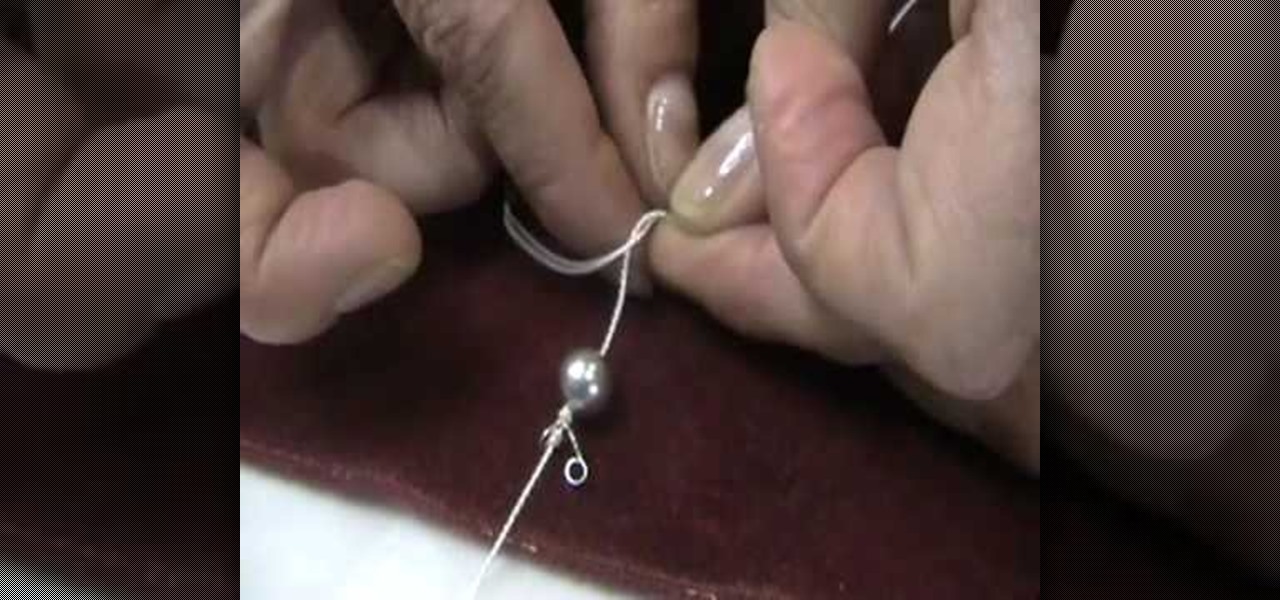
This video tutorial is in the Arts & Crafts category where you will learn how to knot pearl beads from Brenda. Pearl knotting is making a simple knot between each pearl on a strand. They not only give a professional look, they also keep the pearls in place and prevent them from rubbing against each other. After you have strung the clamp to the end of the string, tie a double over head knot and string your first pearl. Make a simple knot on the string behind the pearl. Grab the string with a t...

In this tutorial, we learn how to trim your dog's nails without cutting them. Before you begin, you will need a Dremel tool with a sandpaper drum attached. Now, have your dog sit down and place their paw up on your knee. Now. grab the tool and gently place it on the tip of the dog's nail. Do this on each of the nails, until you have trimmed all of the nails. Make sure you don't trim down too much or push too hard, this could cause a burn on the dog's nail or injure them severely. Keep treats ...

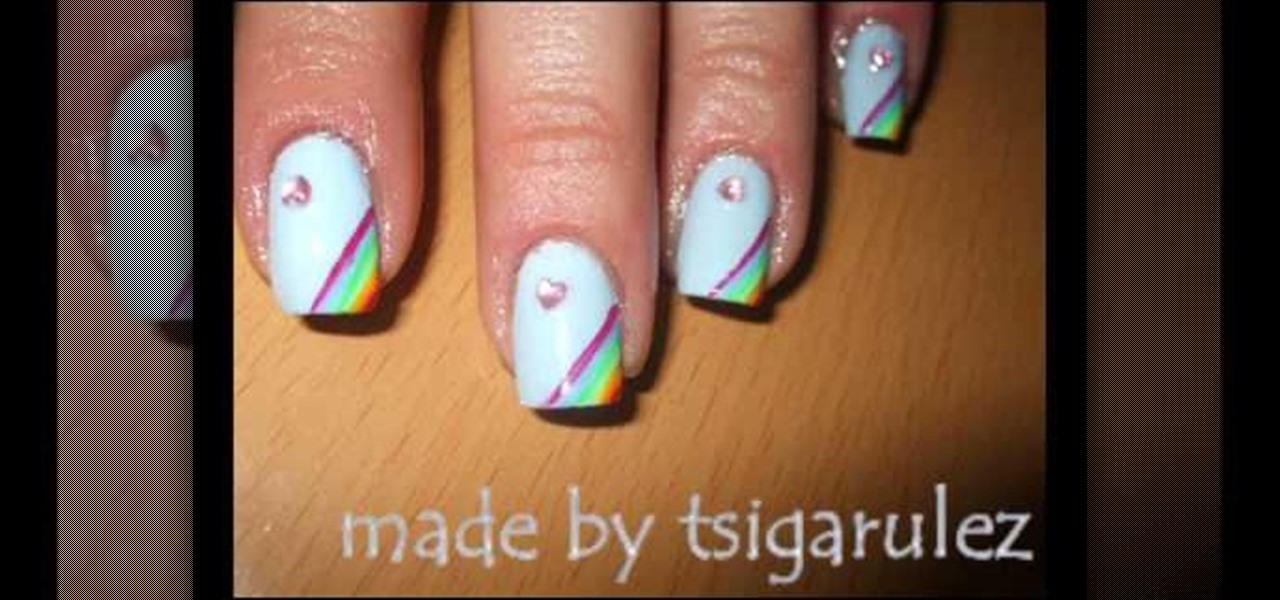
In this tutorial, we learn how to paint rainbow nails with rhinestones. First, paint the nails light blue and let them dry. After this, grab several other colors, enough so that you have the colors of the rainbow. Now, paint lines onto the left hand corner going diagonally across the nail, making each line next to one another. After you get to the very tip of the nail, let the colors dry completely. Next, paint on a clear coat on top, then apply a pink heart rhinestone on the bottom corner of...

In this video, we learn how to get a spunky hairdo with a fishtail braid. First, make sure you have straight and clean hair, then grab a teasing comb and tease from the back of your hair up to the front to give your hair a more volumized look. Spray with hair spray, then let the hair down and gently brush the top to make it appear soft and not tangled. Once you're done, bring the hair back and place into a side pony tail, tied with an elastic behind your ear. Now, take a rat tail comb and lif...

In this video, we learn how to create bouncy curls with a flat iron. Start off by applying heat protector to your entire head of hair, then heat up your flat iron. Next, grab a small section of your hair (as small as you want to curls to be) and place the flat iron inside the top, then twist the iron 180 degrees and pull the hair straight down. When it reaches the bottom, the hair should be completely curled. To make a tighter curl, use smaller sections of hair and leave the iron in longer. C...

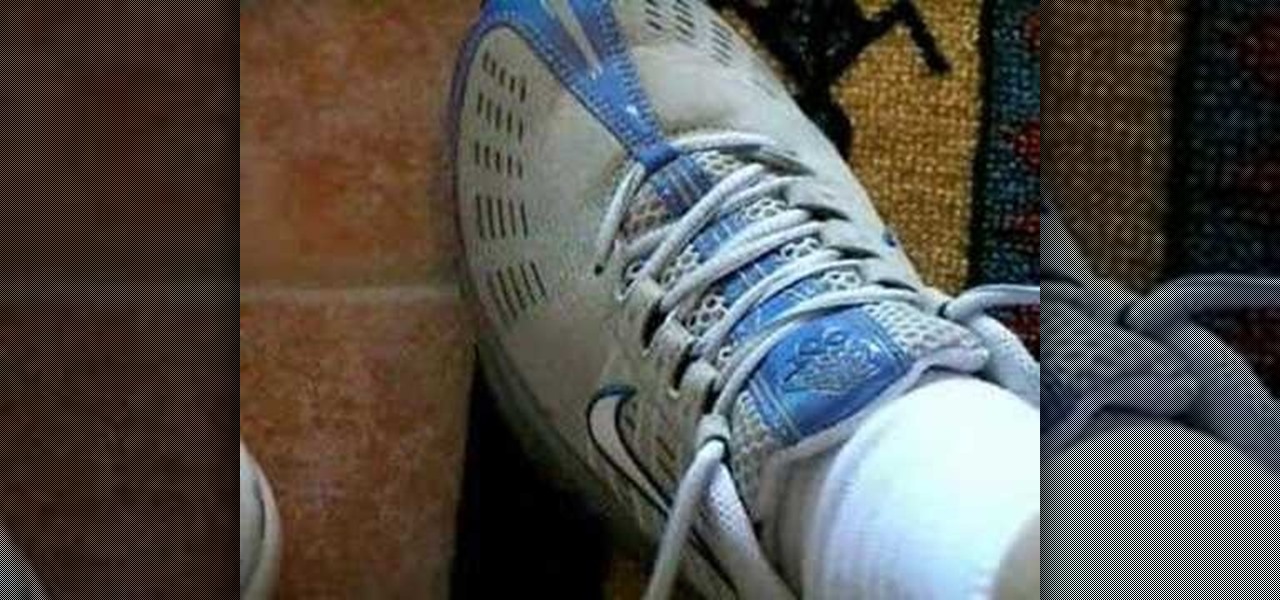
In this video, we learn how to tie your shoes. First, tie a knot at the base by crossing the laces over each other. Then, make a loop with one lace and wind the other one over it. Come underneath with a loop and then grab both loops and pull. To do this with the other hand, you can do the same thing just use your dominant hand to make the loops. This is only one of the many different ways to tie your shoes. It will take practice, but it can be done and once you do it it's very simple!

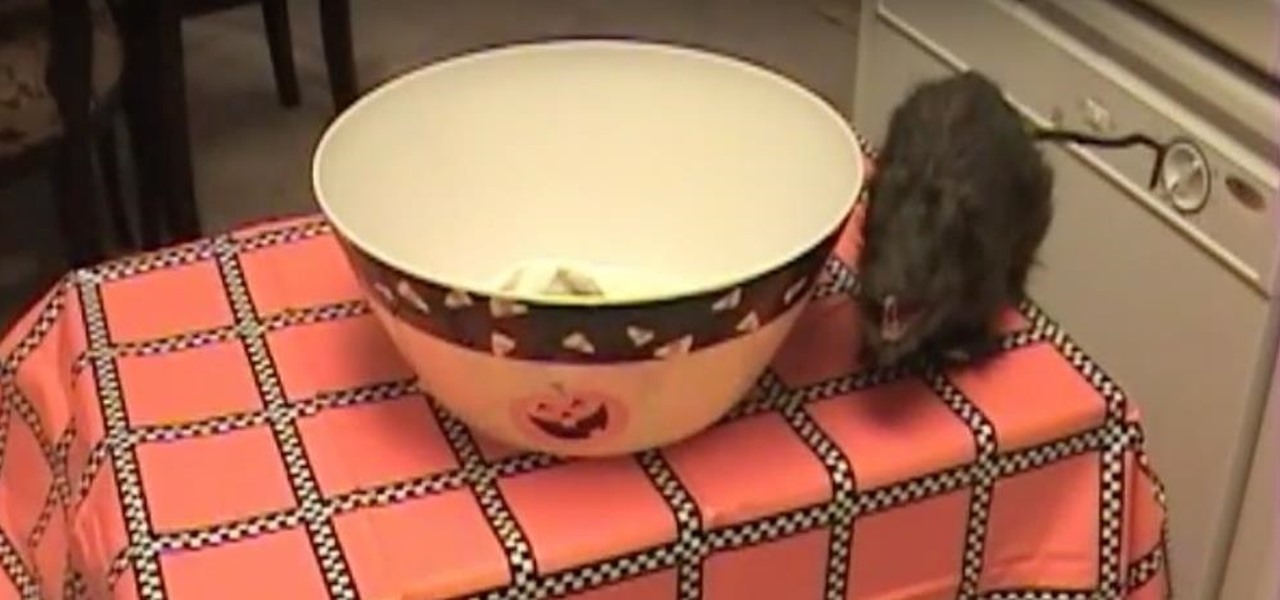
If you're looking to pull off a great prank for Halloween, this next tutorial will show you a classic prank. It involves using a candy dish and your hand.

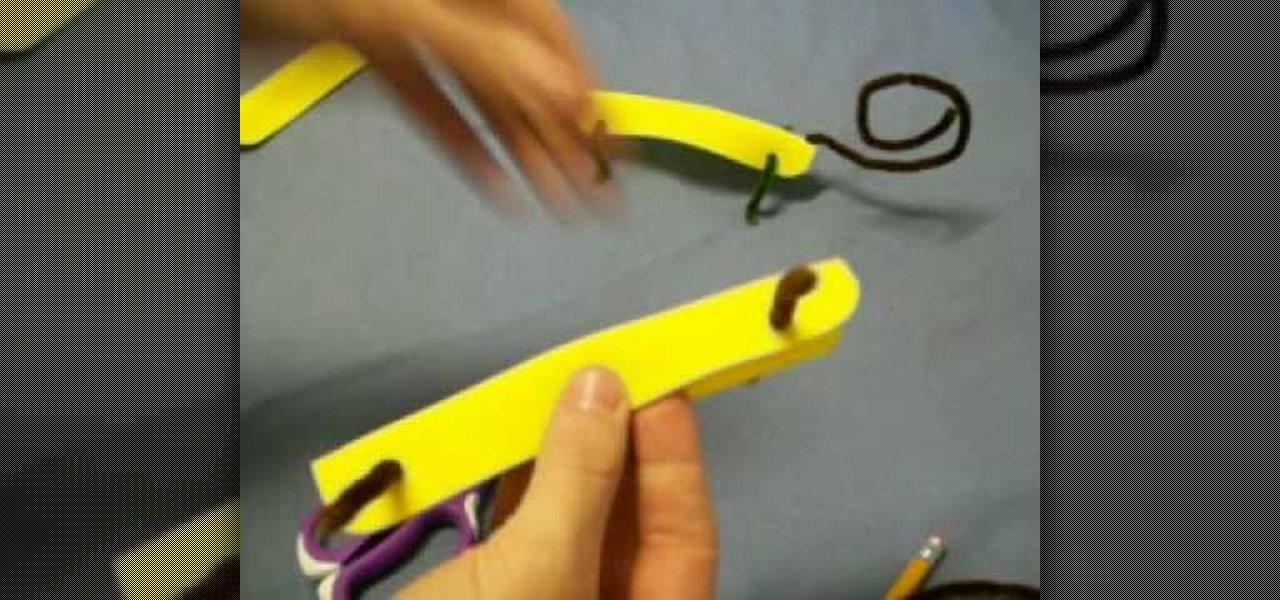
In this video, we learn how to craft a lizard out of foam and pipe cleaner. First grab your piece of foam and poke a hole into the front of it going through it, then through the back going all the way through. Next, poke the pipe cleaner through the holes so it looks like four legs. After this, poke a hole in the back to string the tail through. Poke a hole through the front and place a red pipe cleaner inside of it with a curl at the end to make it look like the tongue. To finish, draw on tw...

In this tutorial, we learn how to make cloth flowers. Start out by grabbing several different strips of fabric and folding it into a shape that makes a flower. After you do this, place a needle into the fabric so it doesn't come unraveled. After this, start to twist the fabric and then thread the needle through the strip. Now, pull the fabric up and it will scrunch up into a flower shape. Now, wrap this around a stick with a piece of fabric on it, that will become the middle of the flower. Wh...

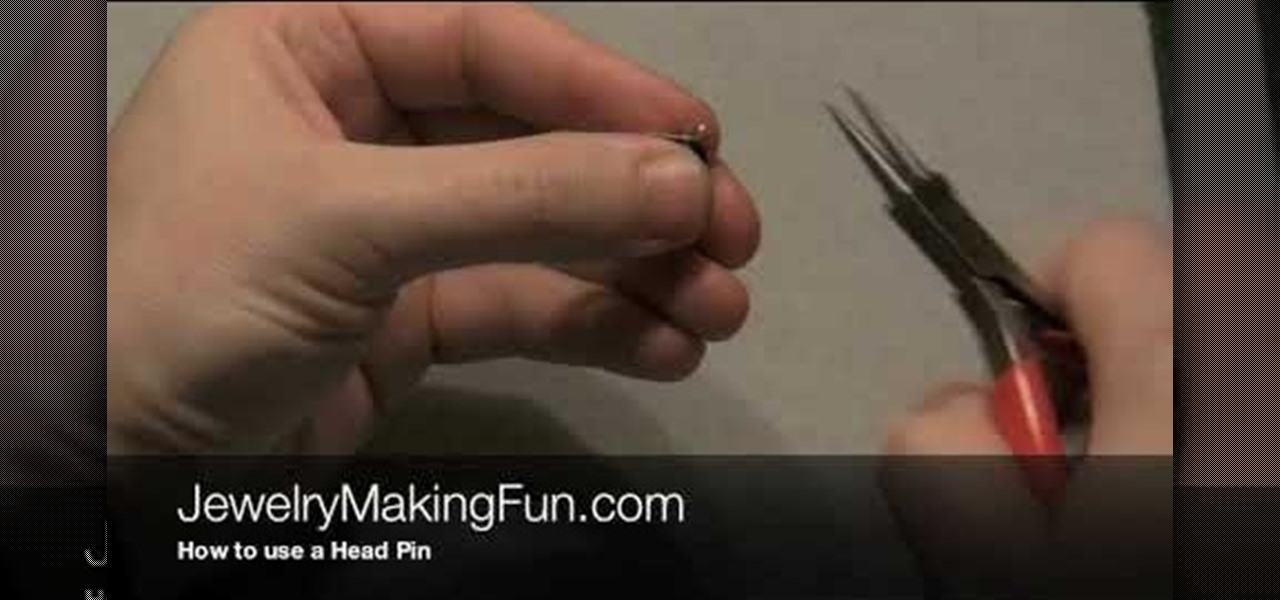
In this video, we learn how to use a head pin while making earrings. Start off by grabbing a 1" long headpin and feed a bead through it until it reaches the other end of the pin. Now, decide how you want to close the loop. The first way to close it is to make a single loop by using pliers and making a 45 degree bend. Cut off any excess wire with wire cutters. The next way to do this is to wind the excess wire around the base until it comes to the bottom of the bead. This is visually appealing...

In this tutorial, we learn how to fake side swept bangs. First, straighten and brush your hair. After this, you will take the hair from one side of the head and use a comb and brush it to the opposite side. After this, grab hair spray and spray it onto the bangs. After this, comb the hair again and then work the bangs with your fingers. Next, use more hair spray to make the bangs more firm and stay in place. Continue to do this process until your bangs are completely to the side and they are ...

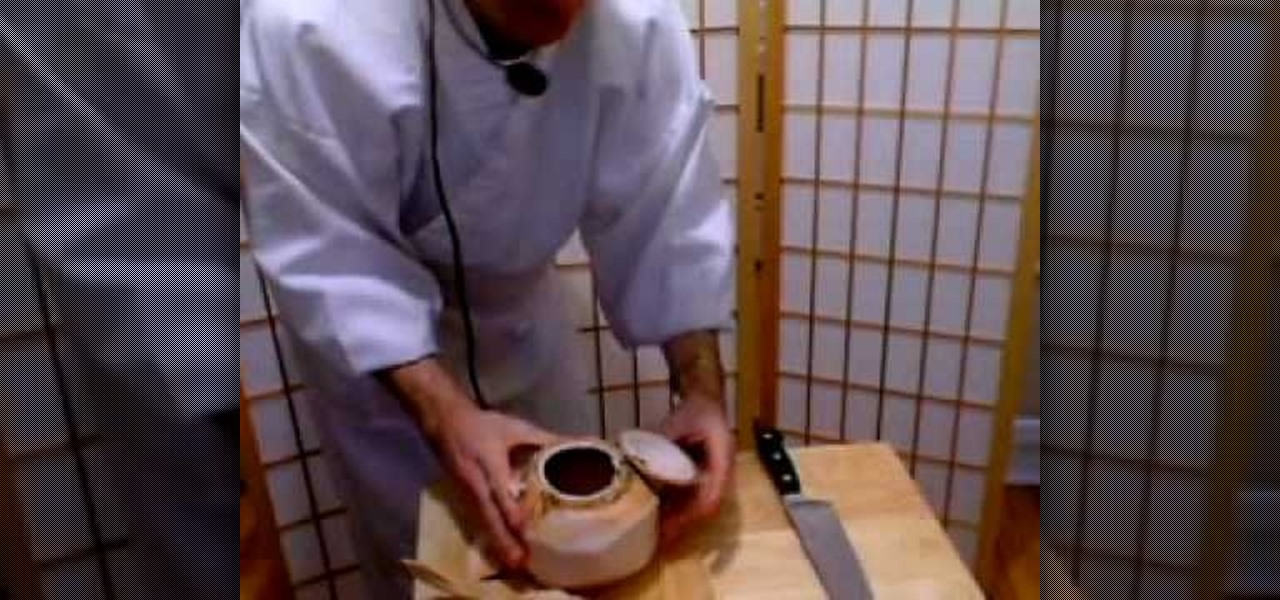
In this tutorial, we learn how to open a fresh young coconut. First, you want to grab a sharp and large knife, then go around the coconut cutting the husk off. After you have done this, you should be down to the nut of the coconut. Some areas of the husk will be thicker than the others. Next, use the corner of the knife to knock the top corner of the coconut. After this, take the knife and stick it into the hole that you made. Wedge it in there slowly, then turn the knife towards you and cut ...

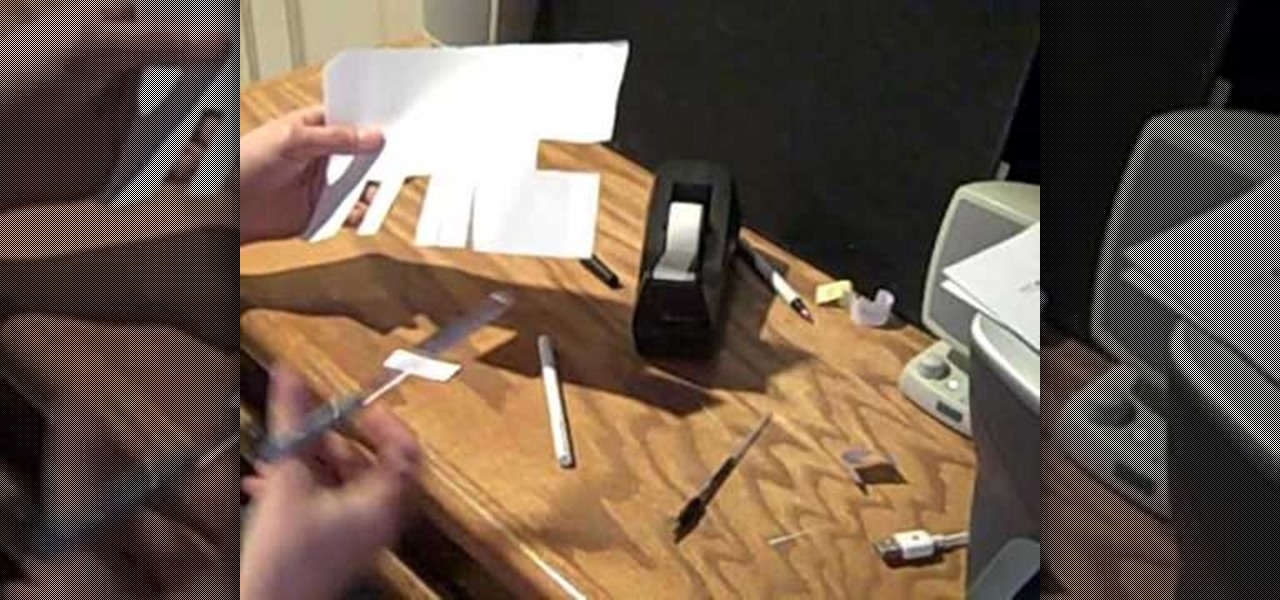
In this tutorial, we learn how to cheat on a test with a hollowed pen. First, grab your pen and take the top off the ink of it. Now, cut a small slip of paper out of a piece of copy paper. After this, write down the answers that you need for a test. Next, use the scissors to cut the side of the pen and make a slit in it. Now, attach the answer strip to the ink of the pen and place it back into your pen and put the top back on. Now, the sheet of paper that has the answers on it will hide in th...

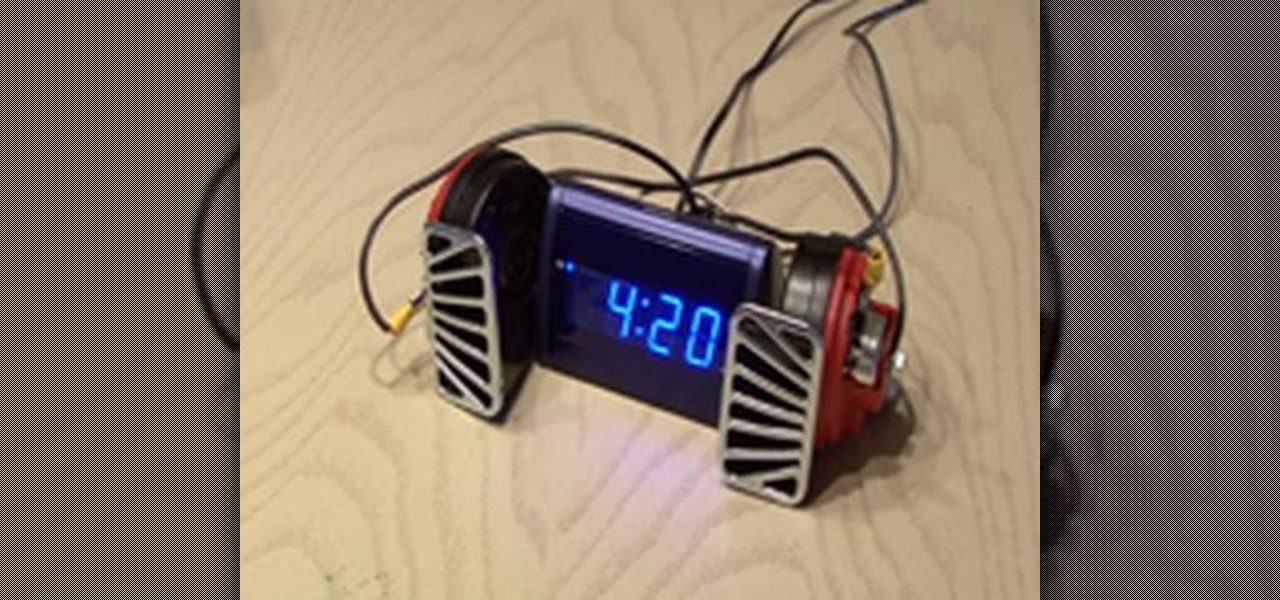
In this video, we learn how to make the world's loudest alarm clock. If your alarm clock does not wake you up, this is for you! First, you will need to take apart your alarm clock and find the wires that are connected to the tiny speaker that is inside of it. After this, grab two very large horns that have enough decibels to wake you up. Now, find an old 12 volt ac adapter and solder two wires from the adapter to the spot where the alarm sends signals to the alarm clock. Now, test out your al...


