It's no secret, artists are broke. That's why they're referred to as "starving artists". One day these artists will achieve unimaginable success, but for most of their lives, they'll be struggling to survive… struggling to keep their vision alive. That's why they need to work cheap. And that's why they stretch their own canvases, not buy pre-made ones or have the hobby shop do it. If you’re a starving artist, save a few bucks, hone your carpentry skills, and stretch your own canvas.
In this how to video, you will learn how to replace a broken iPhone screen. This screen is called a front panel. First, turn off the iPhone. Open the repair kit and look up the instructions. First, remove the screws at the bottom. Next, use a suction cup and pull the front assembly upwards to remove it. Do this carefully and then remove the connectors. Next, remove the screws on the metal plate assembly. Turn the display over and peel the black tape off. Next, insert the metal tool and put it...
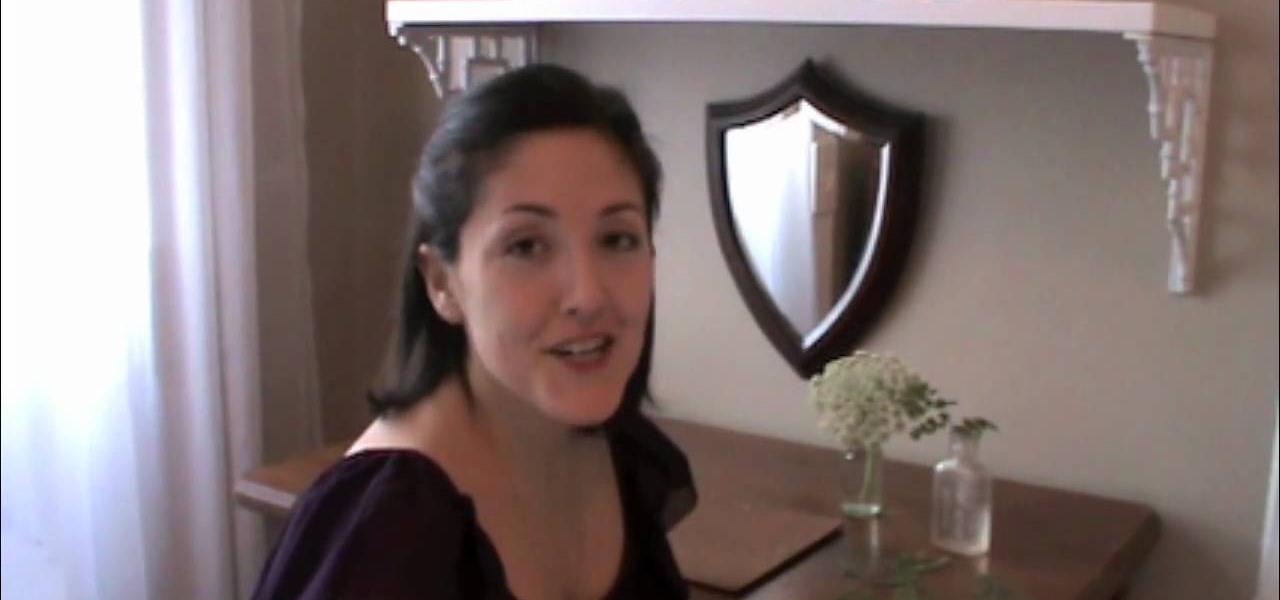
Grace Bonney from Design-Sponge shows how to create a corkboard and tray from sun print fabric (similar to the craft sun print paper, and available at bluesunprints.com). First iron the sun print fabric, far away from a light source. If printing leaves, first flatten them in a book. Arrange the leaves, then put the fabric in the sun for 10-30 minutes. The longer the time, the darker the print will be. Rinse the fabric in water until the water runs clear, then dry the fabric and re-iron. To ma...

Poke, jab, and stab your opponent without taking out an eye. You Will Need
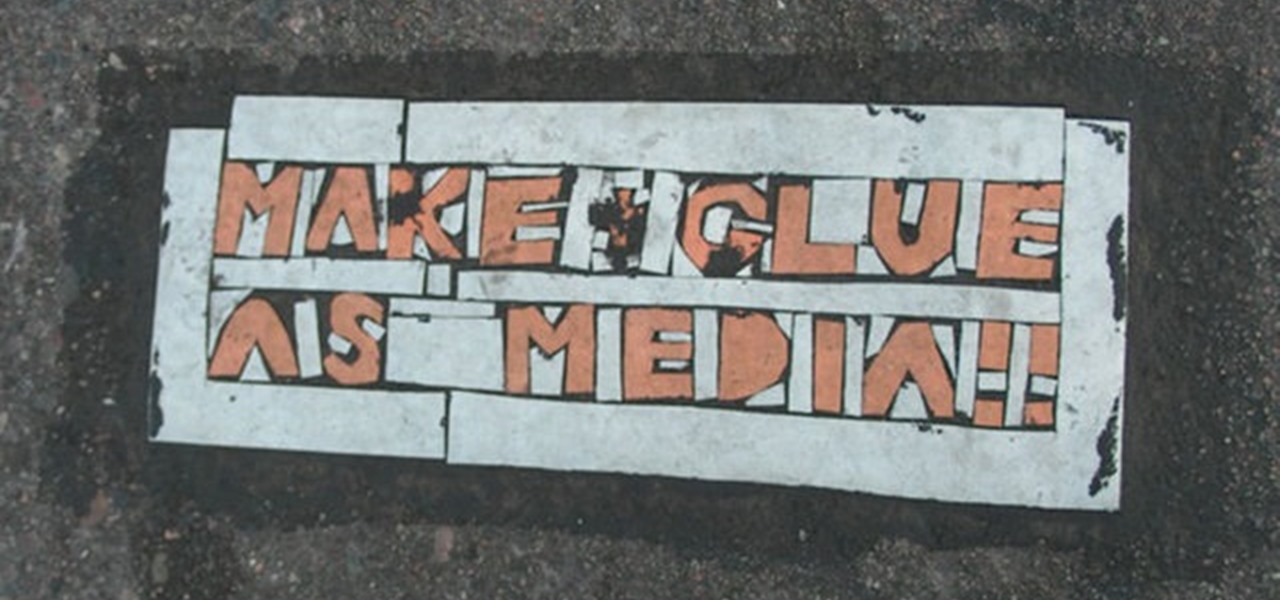
Linoleum asphalt mosaics, also called Toynbee Tiles, are artworks permanently embedded in pavement. In this video I'll show you how to construct your own from inexpensive materials. You can get real linoleum (don't use vinyl flooring) for this project by ordering free samples online. By cutting out a mosaic design in the linoleum and sandwiching it between layers of paper, wood glue, and asphalt crack filler, you can affix the mosaic very permanently to an asphalt surface, such as your drivew...
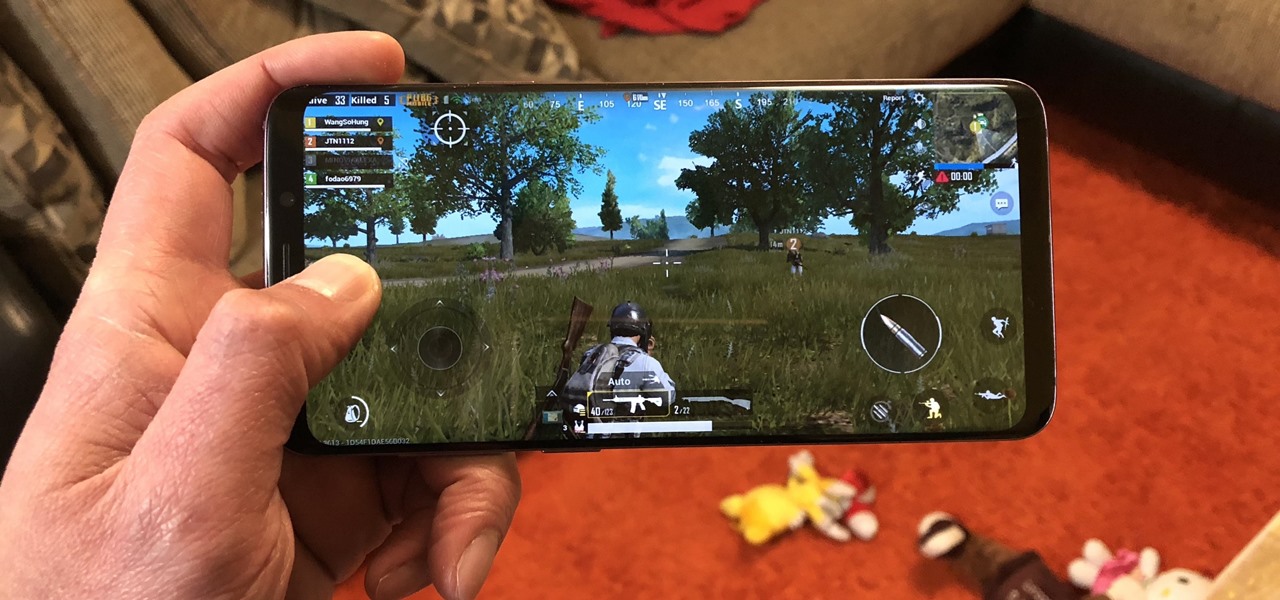
PUBG is currently taking the mobile world by storm, and it's easy to see why. The game has breathed much-needed life to the multiplayer shooting genre, primarily by adding an element of sheer terror as you scavenge for weapons in a hostile environment. With new players continually joining in on the fun, many players are looking for ways to gain an edge.

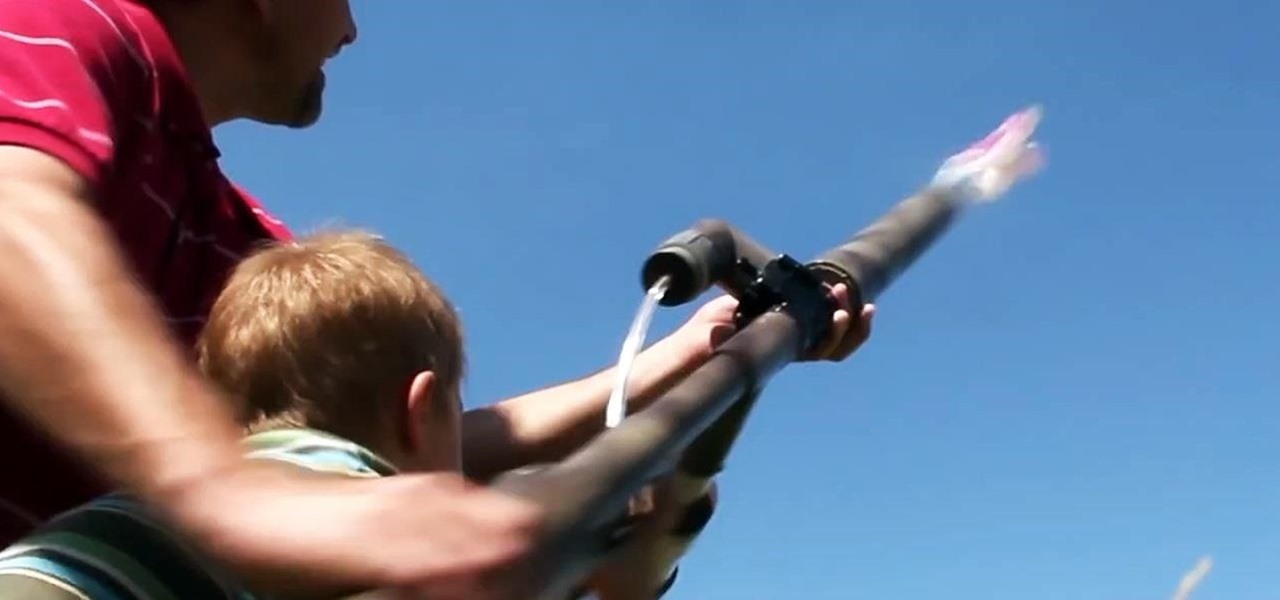
This summer's going to be a hot one, so skip the water pistol this year and break out the big guns! In this project, I'll be showing you how to build a water balloon shotgun—a high-powered water balloon launcher that's capable of firing 17 water balloons at the same time!

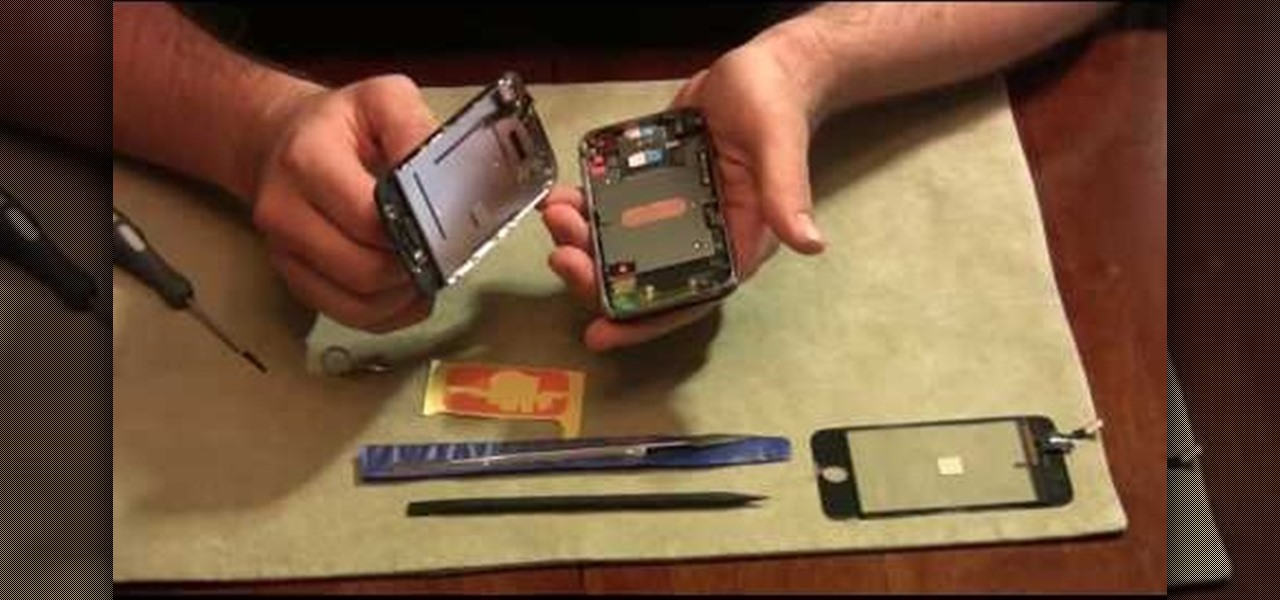
In this how to video, you will learn how to replace the glass digitizer on your iPhone 3G. First, remove the two screws at the bottom and the SIM card at the top. Once these are removed, use the safe pry tool and run it at the bottom between the bezel and back cover. Slowly remove the cover. Pop out the three connecters at the top of the inside. The third connector is in a jaw connected. Place the pry tool in a 90 degree angle to remove it. Now that the connectors have been opened, carefully ...

This video shows us how to use a cuttlebug and make a congratulations card. Here are the following steps:

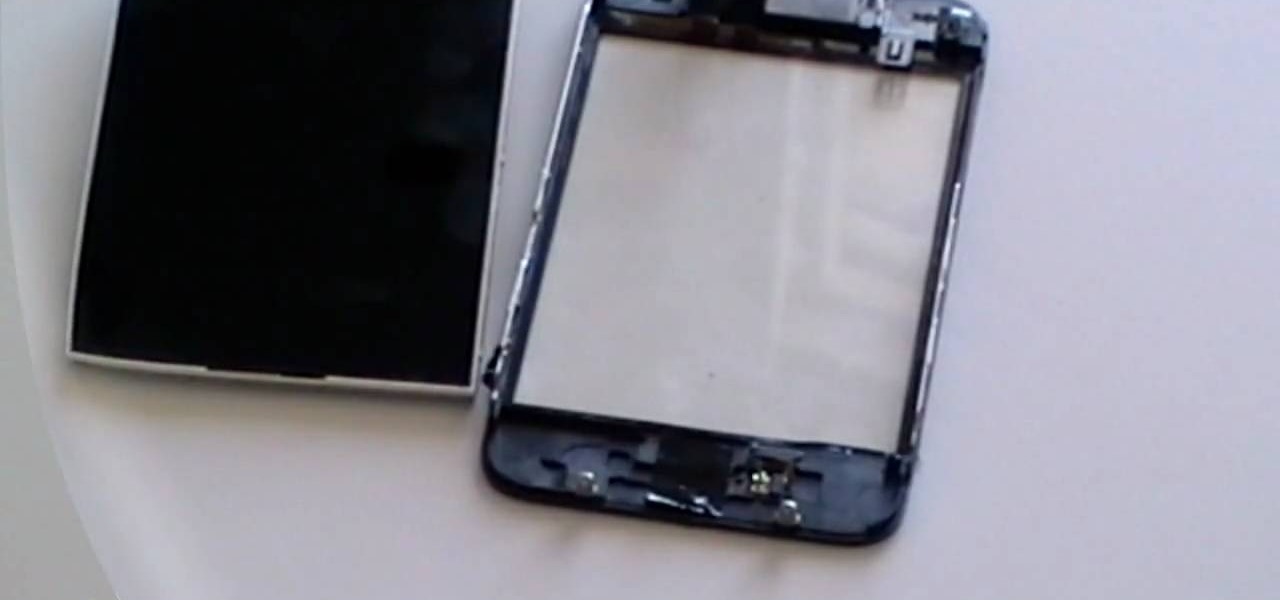
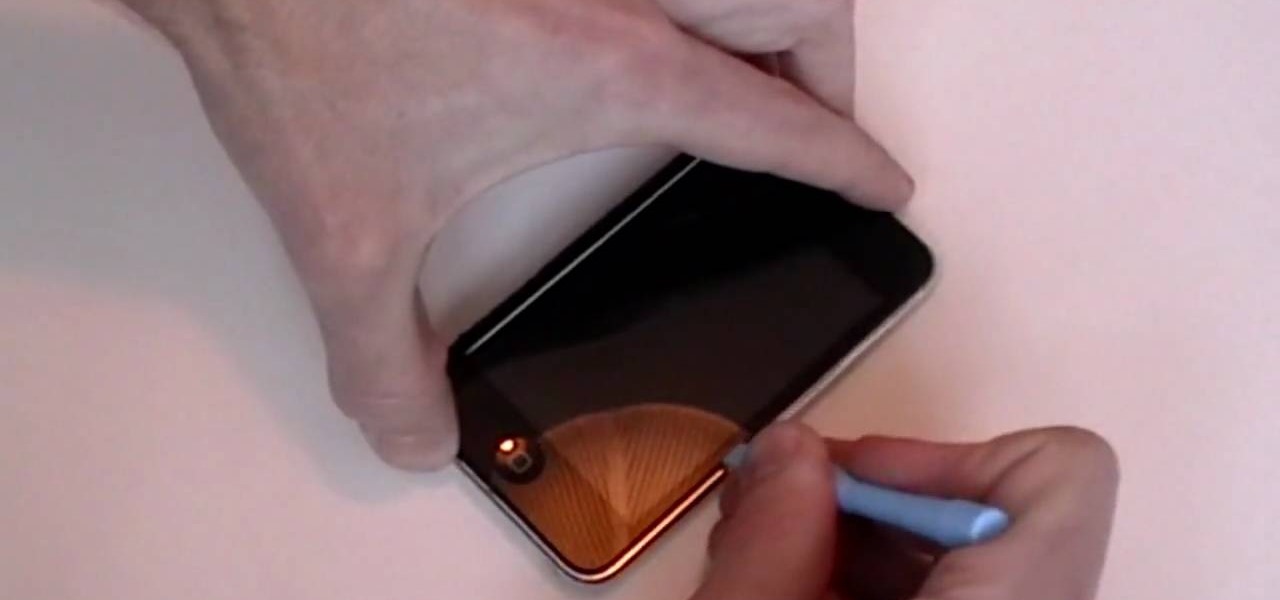
This is a tutorial on how to replace the screen on your ipod touch. This video is specific to the third generation ipod touch. You can tell if your ipod is a third generation because it only has two lines of writing on the back bottom. To begin use a safe open pry tool to open the ipod touch. Run the tool between the metal chrome frame and the glass digitizer. There are many clips on all sides and they all need to be released. Begin prying at the bottom and then work your way to the sides. Wh...

Tiara-esque headbands are fun to make, and more importantly, fun to wear! You will need, 1 basic wide headband, 1 yard of cotton fabric, 1 yard tulle, flowers from the Crafts section, scissors, beads and rhinestones for details, a glue gun. Lay the headband over the fabric, towards the edge. Mold the fabric around the headband, leaving some extra fabric at the ends. Cut the fabric. Glue the fabric from the underside of the headband, and glue from end to end. Cut all excess fabric away, and tr...

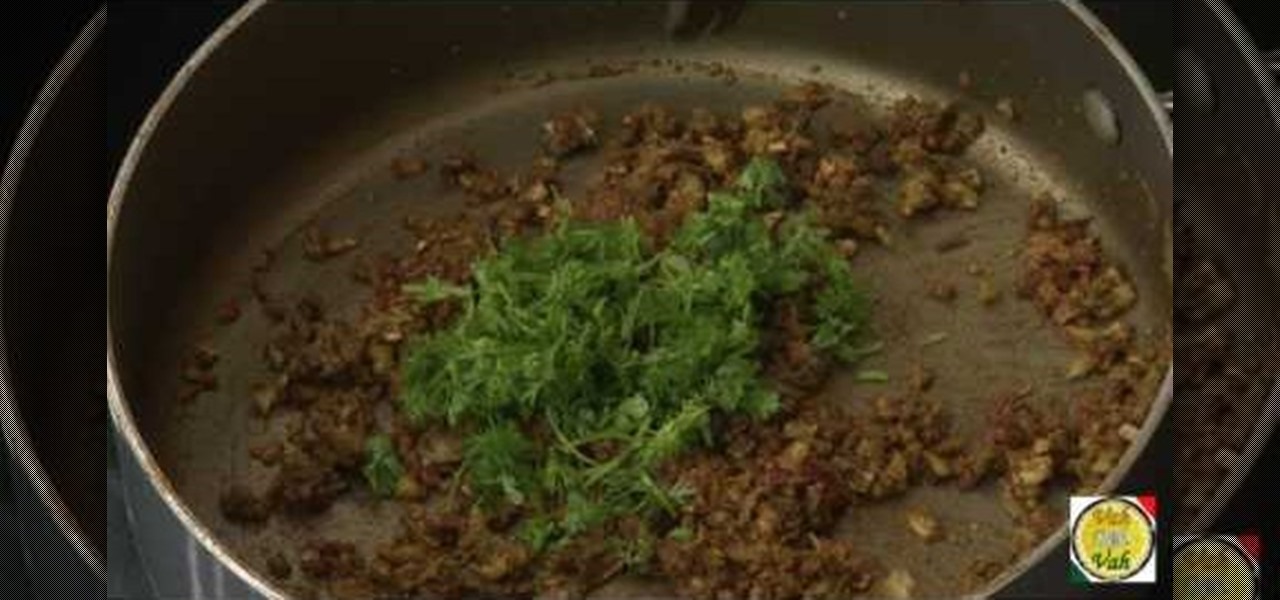
Vah-Chef Sanjay Thumma shows how to cook fish fry (small fish stuffed) the Indian way. Use small kind of fish when cooking this dish such as maral fish which is a freshwater fish also called Snakehead. Marinate the fish by adding chili powder, salt, a little bit of ginger garlic base, oil and lime juice. Mix all the said ingredients and apply on the fish. After marinating the fish, keep it aside for at least half an hour. Meanwhile, make Masala preparation with rich hot oil by adding chopped ...

This do it yourself centerpiece is brought to you by A-Bnc parties and more. This starts of by making the bow, shown by painting a dowel and letting it dry. Then glue the 'frogs' at the ends of the dowel and glue fishing line to both frogs and trim to fit. Next take a polystyrene cut out of a violin and seal it. This helps paint stick to the surface of the cut out. The violin is painted brown to replicate an actual violin. Using black paint you detail the 'f' holes and allow to dry before pro...

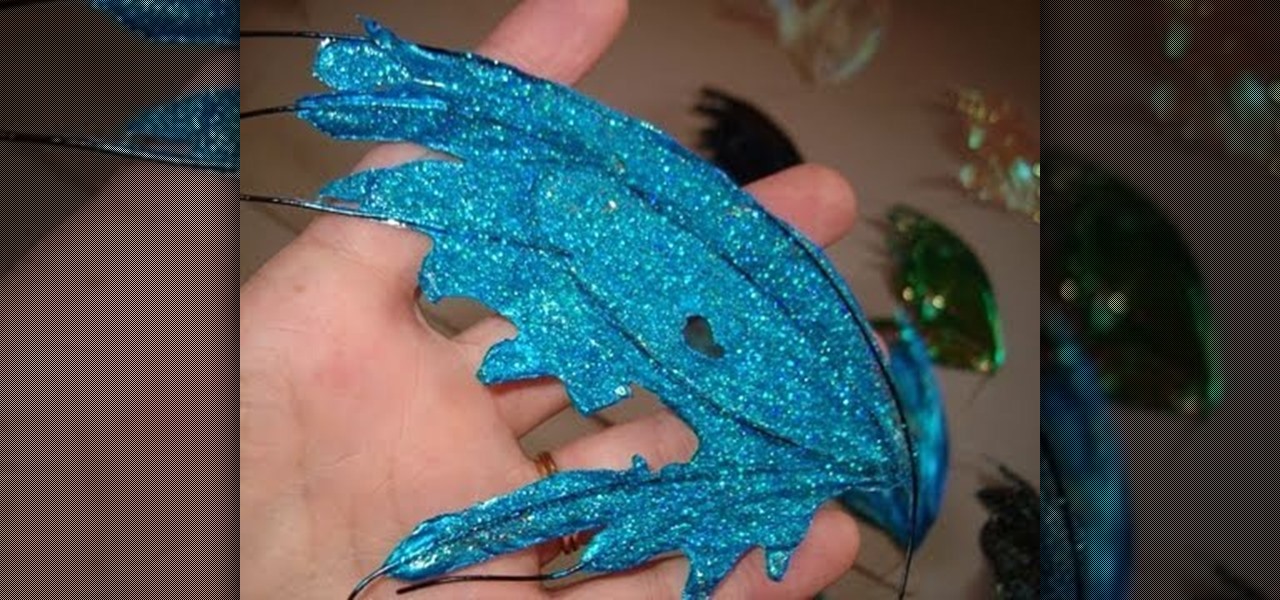
Feel like getting crafty? In this 8-part video tutorial, learn how to create the perfect pair of mini fairy wings, approximately 6 inches wide. Also included within these videos is how to make realistic-looking bat and dragon wings. To complete this project, you will need cellophane, plastic coated wire, acrylic paints, polyester glitter, and a glue gun. Add these wings to a doll or a wall craft for the perfect mystical embellishment!

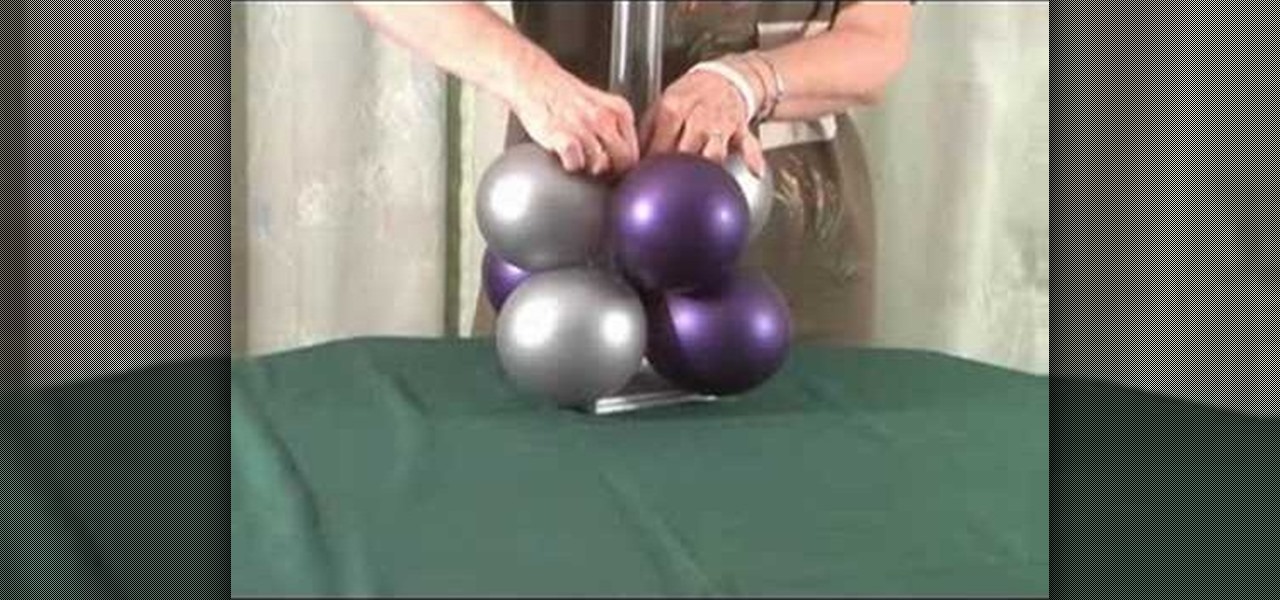
See how to make a very tall, simple, yet elegant centerpiece for weddings and other events. You first need a tube and a base that it will fit into. Placing the tube in the base, use a hot glue gun to secure the tube into the base. You can then fill up the balloons with air using an air pump and tie pairs of balloons together. Twisting together four balloons, place the cluster of balloons around the base of the tube. Repeat with an additional 8 balloons and place this cluster at the top of the...

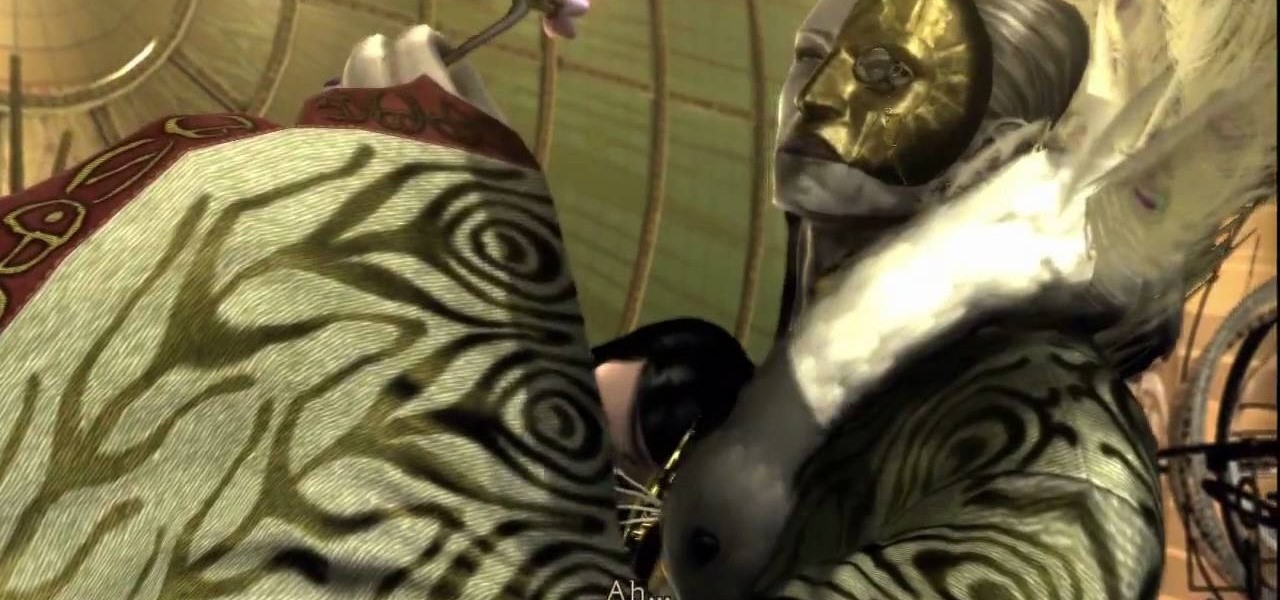
This is merely the End Credits for the Xbox 360 game Bayonetta. No need for any combat, just sit back, relax, and enjoy your victory as the credits roll.

This is the last of the Xbox 360 game Bayonetta, where it's all or nothing. In Epilogue - Requiem, you're playing a Jeanne. On verse one, you're on a motorcycle headed toward the camera. There are some enemies chasing you, so shoot them. You'll need to evade when they shoot at you. Ride in a serpentine (zig-zag) patter to avoid their shots. For more info, watch the whole gameplay.

In this level on the Xbox 360 game Bayonetta, make sure the bullet enters Balder's head. In Chapter 16 - The Lumen Sage, keep that bullet in line. Father Balder doesn't do much damage, but he tends to stay out of range. When you do have him in range do as much damage as you can. Keep fighting until you get his health meter down to zero and can do a climax attack. For more info, watch the whole gameplay.

Luka will need to fend for himself in this level on the Xbox 360 game Bayonetta. In Chapter 15 - A Tower to Truth, stay close. In verse one, when you start you'll see two statues of Fearlesses (dog-like creatures). Attack these statues and they'll come alive and attack you. For more info, watch the whole gameplay.

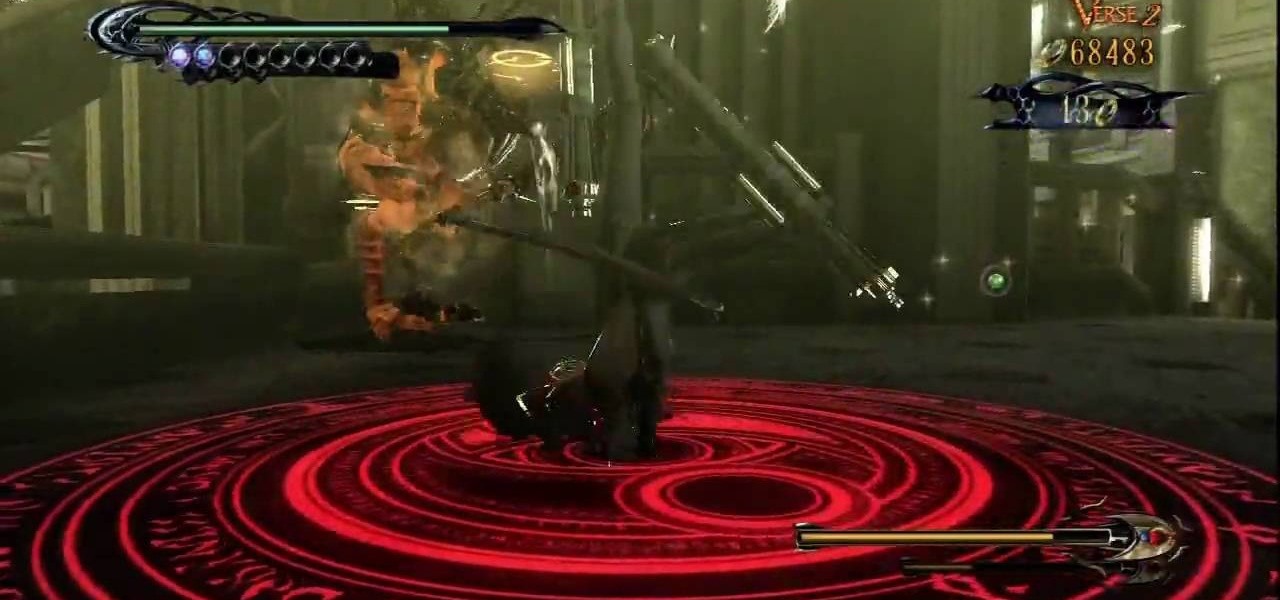
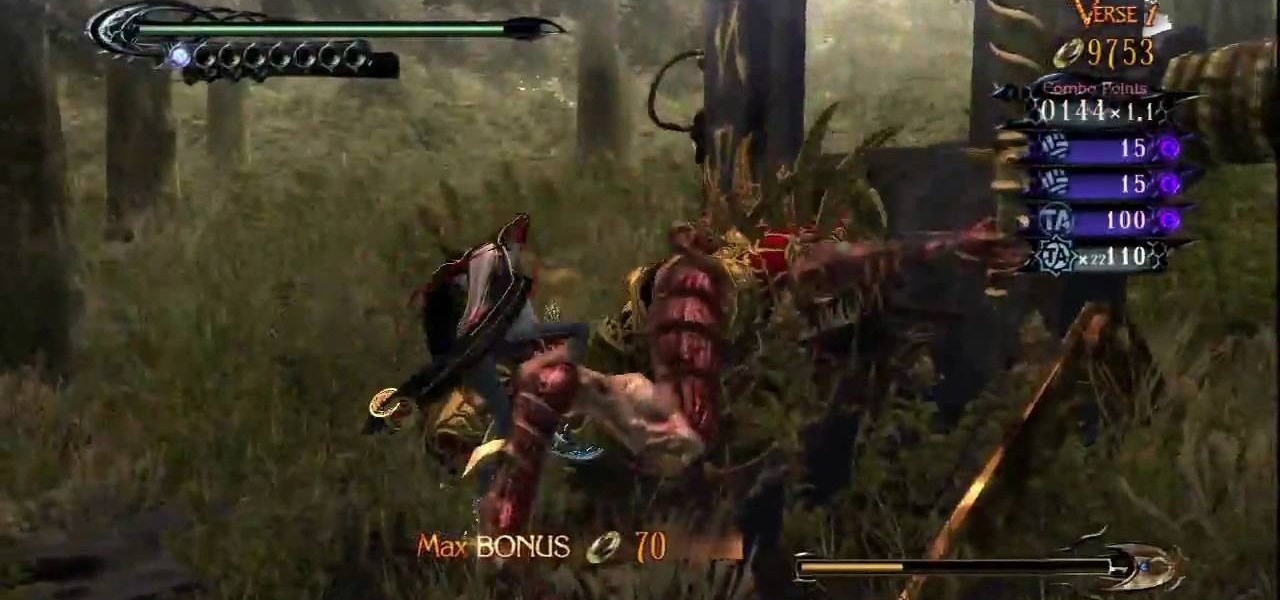
Complete 10 verses in this level for the Xbox 360 game Bayonetta. In Chapter 12 - The Broken Sky, attack the tongue. In the verse 1 fight, there are a few minor enemies to kill. There is also a creature that looks like a wind-dragon, but you can't attack him. To end the fight, just head for the exit. Before you go through, look at the cage at the bottom of the stairs. Inside you'll find an Umbran Tear of Blood. For more info, watch the whole gameplay.

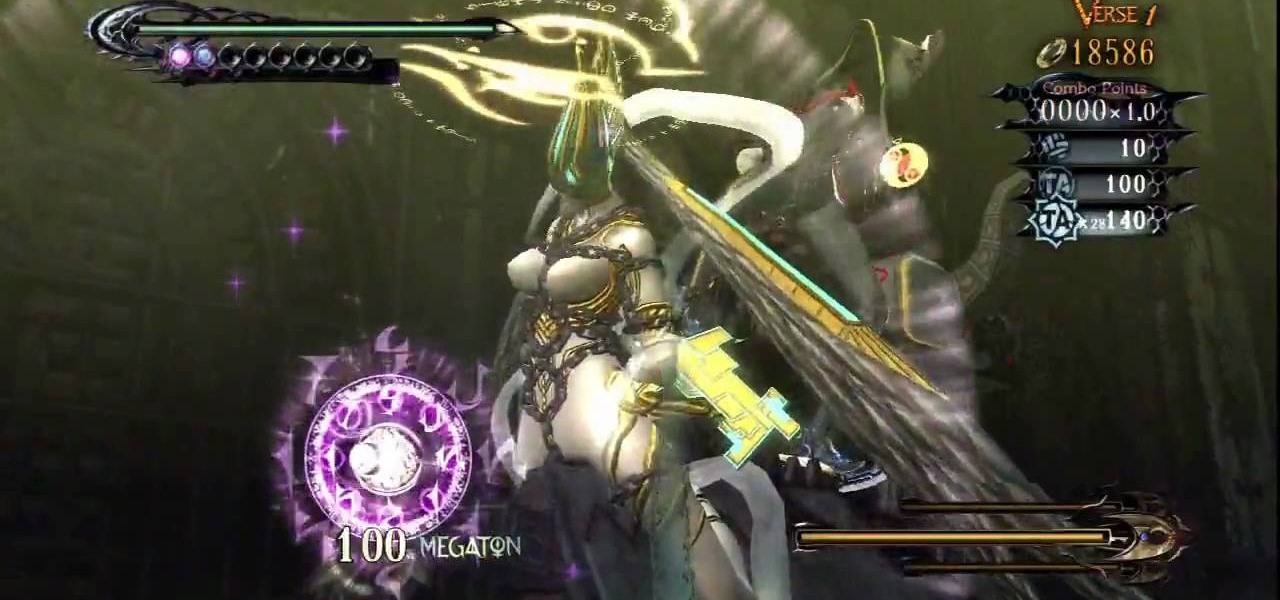
Defeat Iustitia in this installment for the Xbox 360 game Bayonetta. In Chapter 11 - The Cardinal Virtue of Justice, attack the tongue. The first part of this fight is against one Ardor and a bunch of smaller enemies. After defeating them you'll see another cinematic and face the boss named Iustitia.

This level is jammed with eleven verses for the Xbox 360 game Bayonetta. In Chapter 10 - Paradiso - A Sea of Stars, get ready for the Gates of Hell. In verse one, defeat the minor enemies here and you'll find three walls you can combo. Each wall will give you one gear for the machine in the center of the area. When you get the third gear you will have to fight Grace and Glory. Kill them to end the verse. For more info, watch the whole gameplay.

Complete five verses in this level of the Xbox 360 game Bayonetta. In Chapter 8 - Route 666, prepare for some hard battles. The first verse fight takes place on the back of a moving truck. There are two enemies with health bars on the same truck where you start. On other nearby vehicles you'll find minor enemies with ranged weapons who will shoot at you. If you fall off the truck you'll be killed. For more info, watch the whole gameplay.

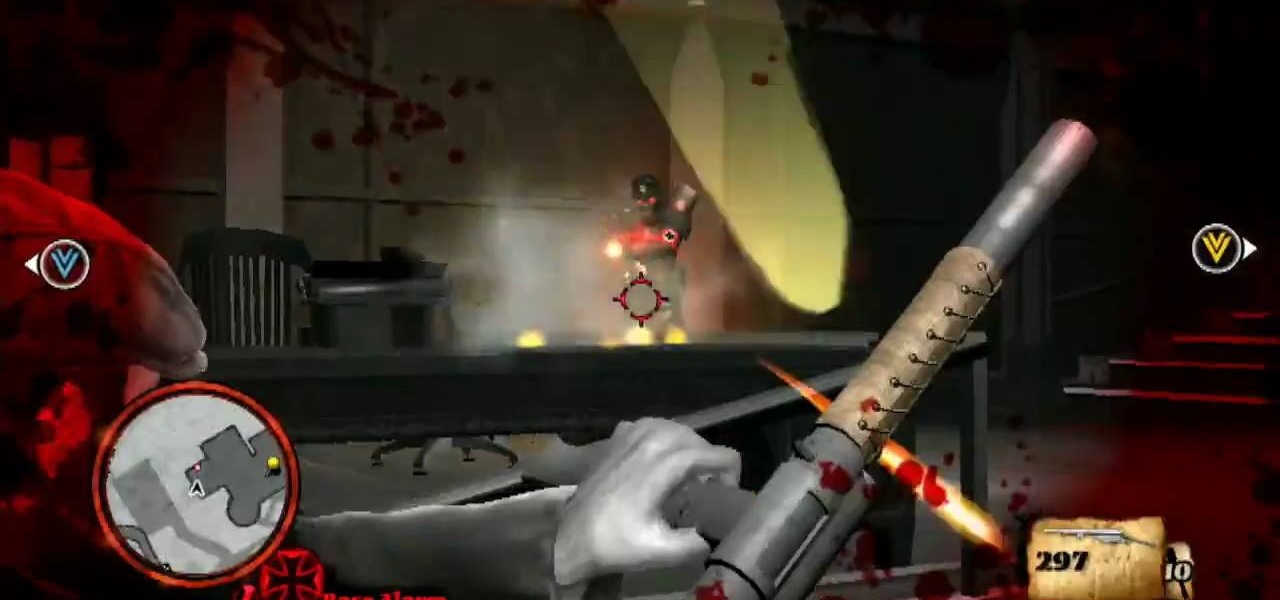
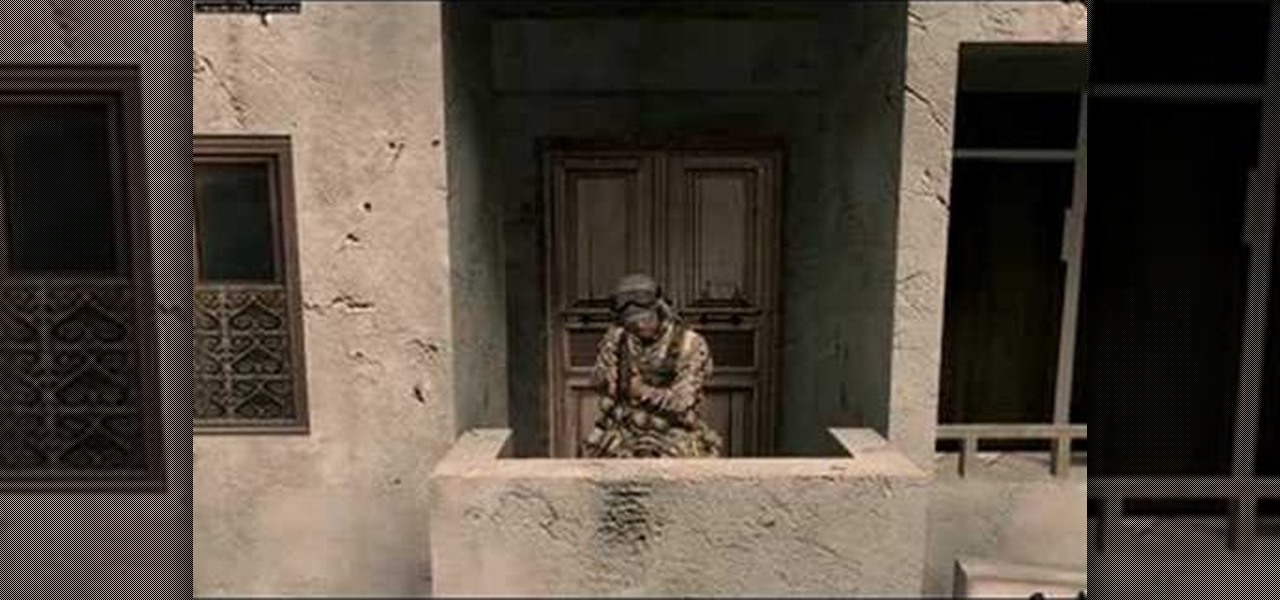
Not every enemy is critical in this mission in The Saboteur for the Xbox 360, just the ones with red markers over their heads. The third mission in Act 3: Déjà Boom is when Skylar is waiting for you in the northeast. When you land, grab the Tommy gun, the ammo, and then get in the flatbed nearby. Drive and just swerve around everything you can until you smash through the gate. For more info, watch the whole gameplay.

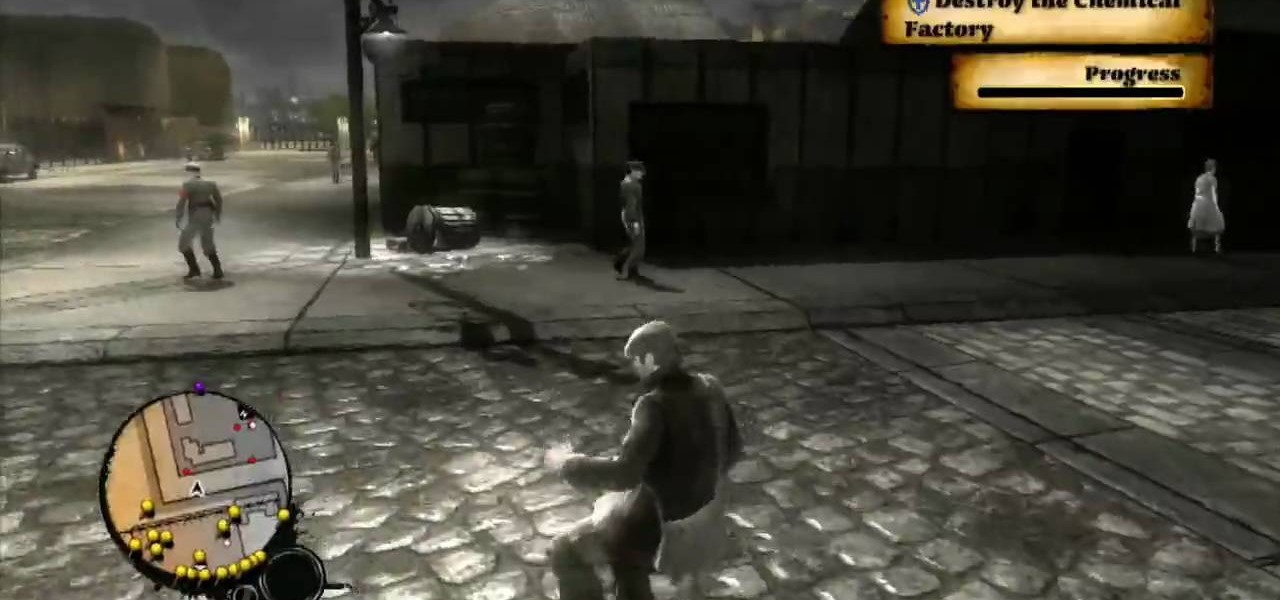
You may have to eventually abandon your stealthy approach in this mission on The Saboteur for the Xbox 360. The second mission in Act 2: Better Dying Through Chemistry is when you reach the entrance, there's a gunner behind sandbags by himself. If you take him out quickly and disguise yourself you can actually play this level pretty quietly. There are two basic kinds of targets, the smaller, thinner tanks, and the bigger, darker tanks. The big tanks you can blow with dynamite and as long as y...

This is a great playthrough of The Saboteur for the Xbox 360. In the fourth mission in Act 2: Jailbreak, you will need to do the obvious… jailbreak. Once you acquire the papers to enter Area 2, you'll be able to start this mission by visiting the resistance in the Western District. They will charge you with freeing a man named Bryman from a Nazi prison. Grab a car and follow the GPS to the destination. Here you'll find a heavily occupied Nazi area. Bryman's cell is within the courtyard surrou...

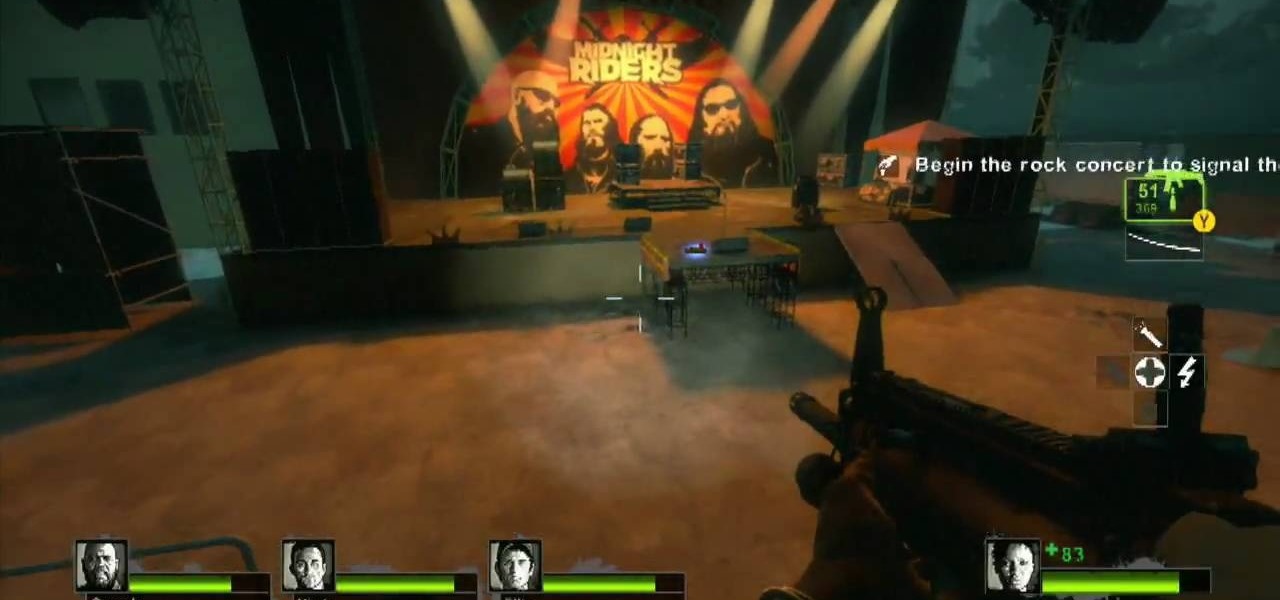
Don't let L4D2 get the best of you. Take control by checking out this video on Campaign 2: Dark Carnival - Concert. Grab your guns and go out the door. There is really only one path to follow, so move right around the venue until you reach the stage. Feel free to use up your ammo as there will be a refill when you reach the end. There are bathrooms to your right and left, but it isn't worth your time to search them. Clear out any zombies in the stage area. You must then flip the switch on the...

Make your cat happy by giving them a sturdy scratching post. They'll sharpen their claws – without tearing up your furniture.

This MIG Welding video, shows the Mig Welding Pull Technique. You can either push your mig welding gun or pull your mig welding gun during the welding process. Watch this video welding tutorial and learn how to Mig weld using the pull technique.

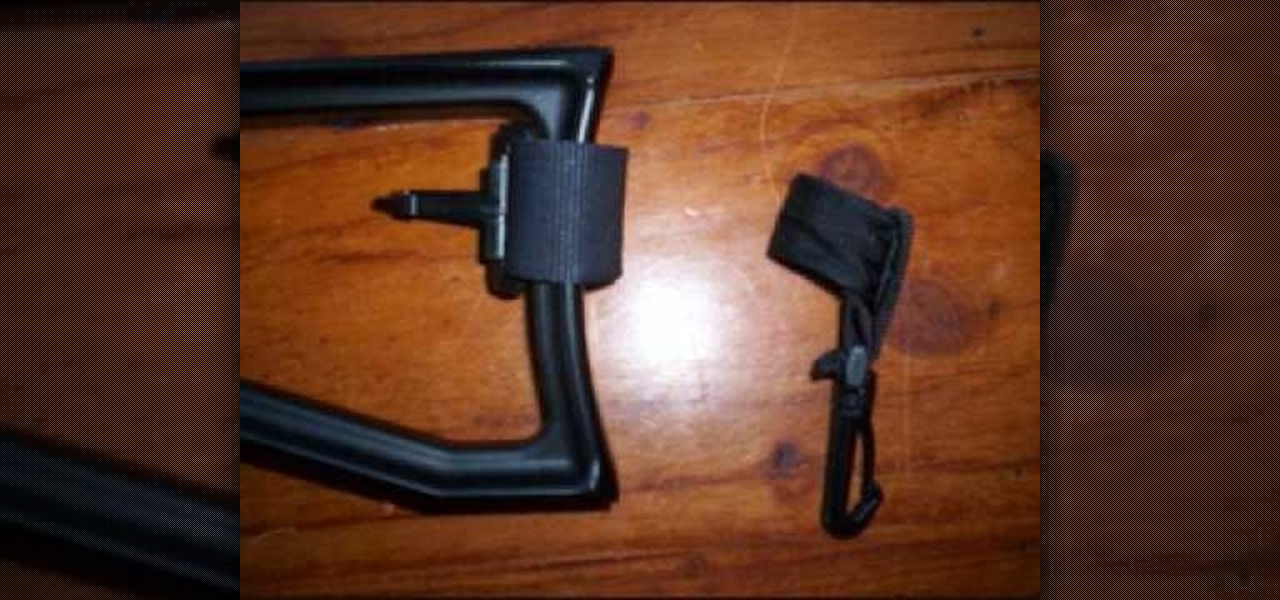
The fire clown shows us how to make a paintball gun sling with stuff around the house.

How to build a toy gun that actually fires out of K'NEX.

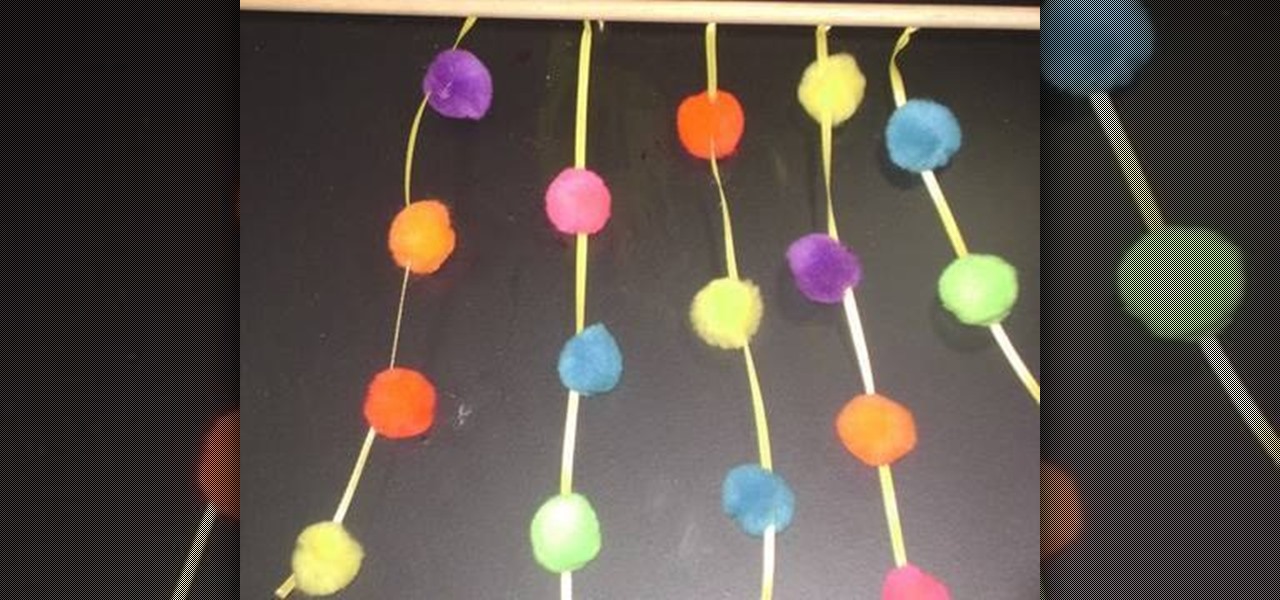
Children like to have fun things in their rooms. A pompom curtain is perfect for a little girl to have and pretend it is the entrance to her castle. A young boy might like a plain colored pompom curtain to pretend it is the entrance to the dungeon where he keeps his monsters!

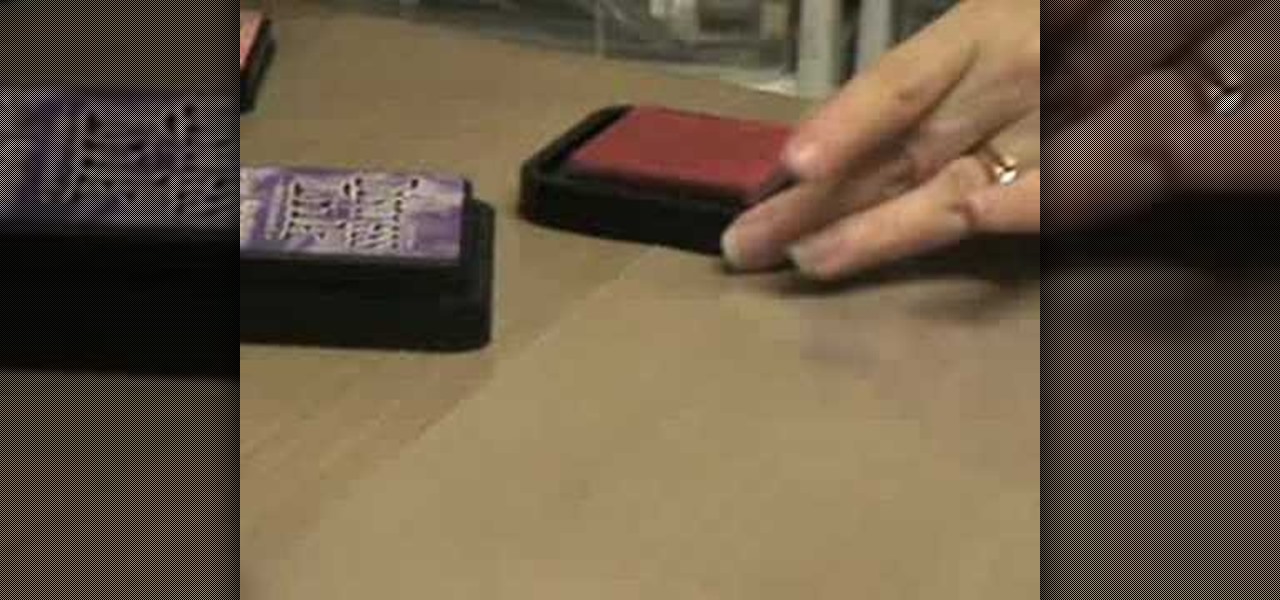
In order to make ghosted images with white ink and distressed ink, you will need the following: a heat gun, Adirondack ink pads, distress ink pads, blending tools, stickles, stamps, card stock, stamp press, a stamp press, scissors, glue dots, adhesives, brads, paper trimmer, and nonstick craft sheet.

In order to make your own designer brads, you will need the following: clear or colored ultra thick embossing enamel, brads, glitter, ink, acrylic paint, a heat gun, and tweezers.

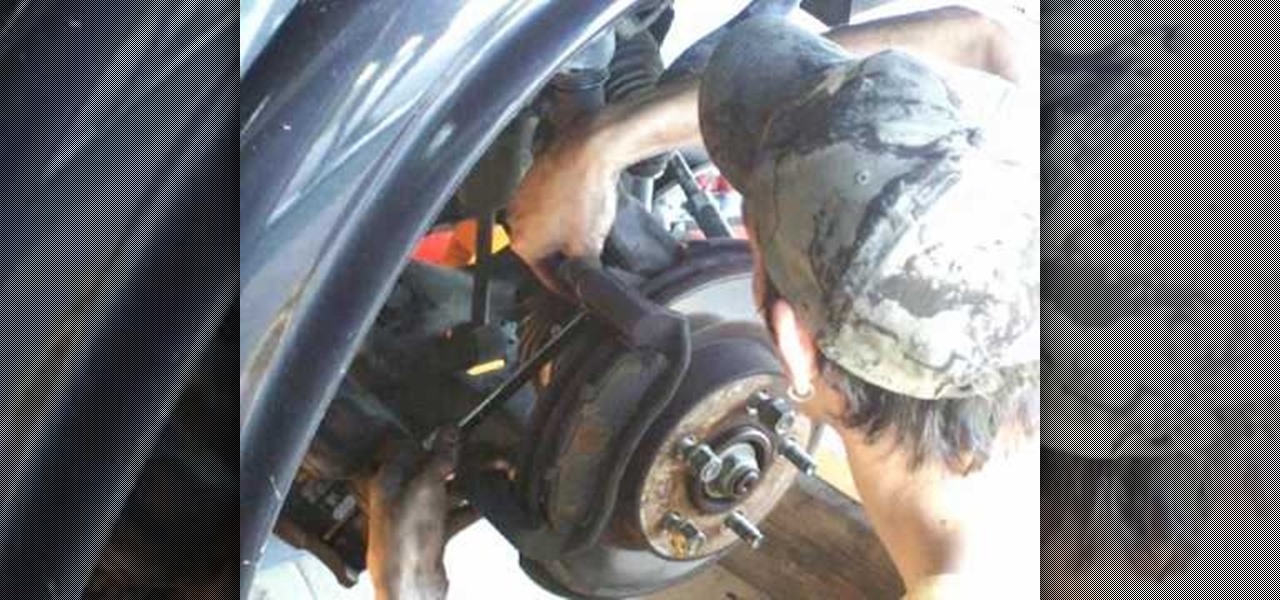
In this next tutorial, you'll find out what tools you'll need to replace the ball joints on a 1999 Ford Explorer. It's a pretty easy to follow, especially if you know anything about cars, so good luck and enjoy!

This video tutorial is in the Home & Garden category which will show you how to light up your ceiling without recess lighting. Tamara Maslar shows two easy lighting projects to brighten up your living room. The first project is lanterns. You will need paper lanterns, assorted fabrics, some screws with hooks at the ends, a glue gun with sticks, fishing line, 40W bulbs, extension cords and light kits. Put three screw hooks on the ceiling. Prepare the lanterns by fixing the bulbs to the light ki...

To perform the color burst technique using Adirondack paint, you'll need to shake a new dabber really well. Then, you will need to turn it upside down onto a craft sheet, until the paint starts to come out evenly. Once if comes out evenly, you are ready to use. Make sure you recap it, whenever it isn't in use.

In this how to video, you will learn how to create the best classes in Call of Duty 4. Around level 5. you can create your own custom classes. First, choose a weapon. You can go by power, rate of fire, or looks. Next, become proficient with it. This includes knowing the clip size, recoil, and accuracy of the gun. Next, know what types of games you will be playing. Also, you must know your role in the game, such as camping or defending. Consider UAV jammers and a bandoleer for camping. Claymor...

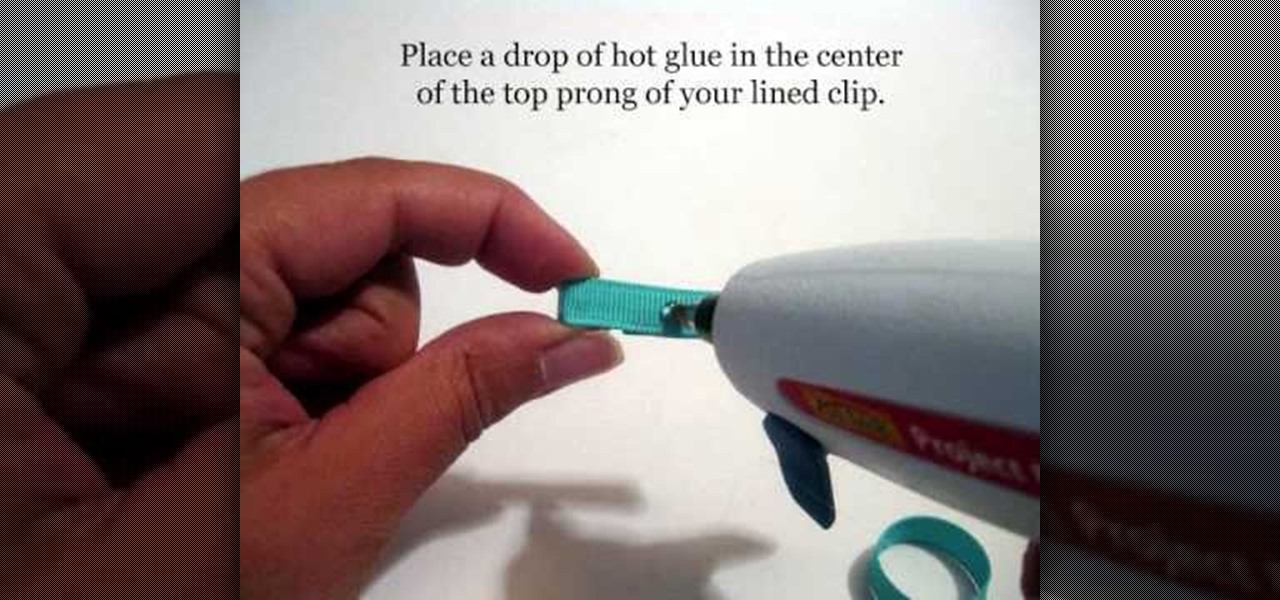
This video shows us how to make infant mini clip hair bows.This requires a high temperature hot glue gun.Three ribbons of the length 4",3" and 1.75" are required.Also needed are an alligator clip,sharp scissors and a lighter.Take the ribbons and seal it with a lighter just enough to melt the ends.Insert a 4 inch long ribbon in between prongs of alligator clip.Make sure the ribbon is centered and flat side of alligator clip is down.Quickly fold the ribbon over the top prong and press firmly to...

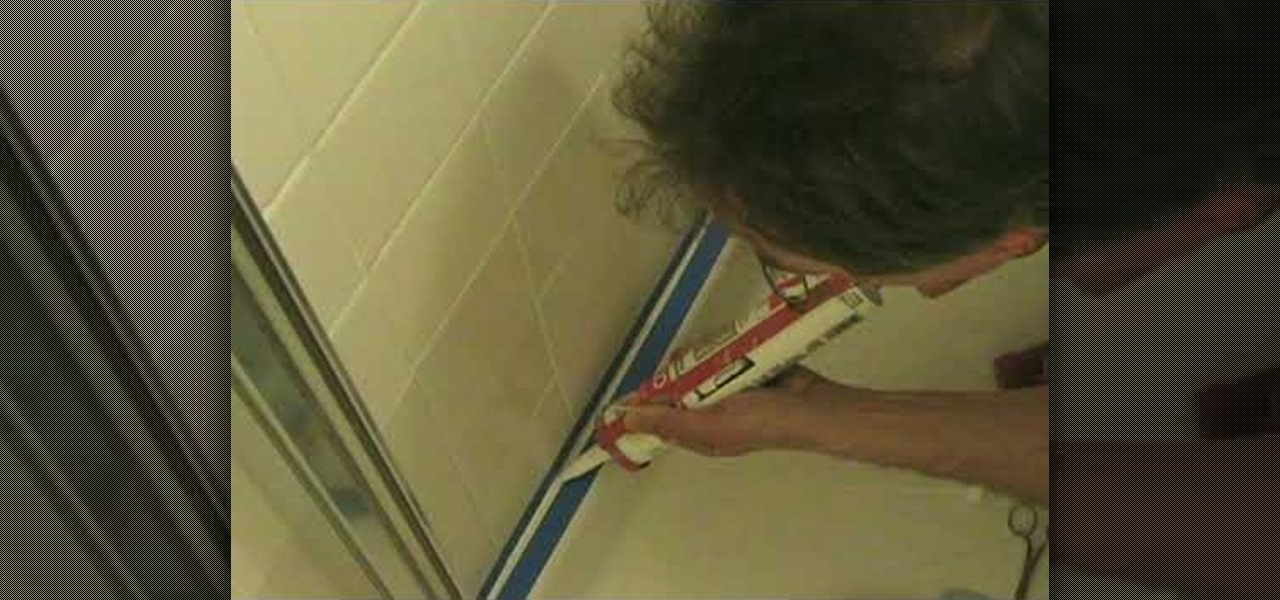
To start caulking your shower please ensure that the shower is clean, dry and all caulk joints are also clean, dry and free of any old caulk. Start by taping the 'to be caulked' areas with blue painters tape, making sure you are following the contour of the shower and pressing firmly on the tape to prevent any caulk from getting under the tape. Once the taping is completed now you can start caulking. Start by using a caulking gun from one end of the shower to another, using small amounts of c...


