Updos are stylish and sexy ways to do your hair in the warm weather. If your hair is quite long, there are many updo options available to you. The styles presented in this tutorial are easy to do and can be worn during the day with jeans or on a romantic evening out.
DJ Matt shows you the basics of how to cut men's hair. You start out by making a line on the top of the head. You can then make your first cut, or the straight cut on the back bottom. After that, you then make a "down cut" which creates layers. When you get to the "semi-top of the head" you take a comb and rest it along the hair so it is straight. After the comb is in place just clip the top of the hair that is resting along side of it. When you get to the top continue to take long hair along...
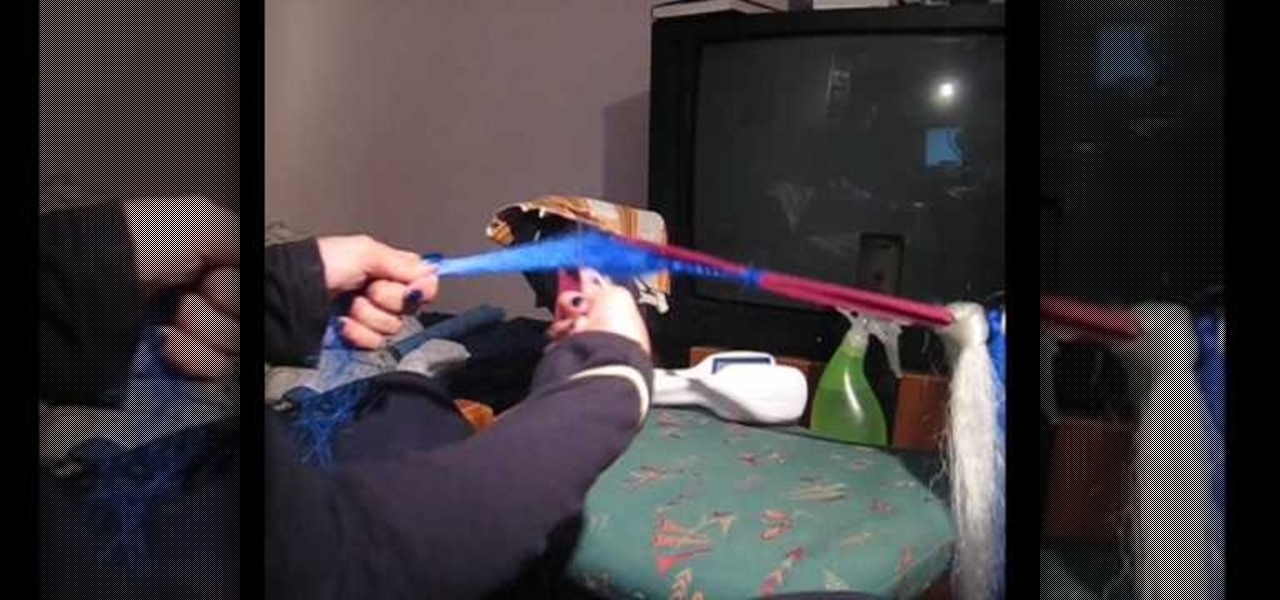
This beauty and style video demonstrates how to make transitional dreads. First the color of fibers is chosen of required lengths. The strands are put around elastic supports held taught by two posts of bed or other furniture. The base color, in this case blue, is pleated like hair up to a length required. Before pleating, the fibers are loosened with a comb. The lower portion below the pleats is loosened with a comb and twisted tight. Over the pleats the other color, in this case cream, is w...

Follow this video which provides a good simple explanation on how to do a great hairstyle in a few minutes. When wearing a dress which has a lot of ornaments and details around the neckline it is a good idea to avoid having your hair in the way. Thus by applying a half up half down hairstyle you can be elegant in your hairstyle while also showing off your dress. Apply a heat protectant to your hair in order to retain a better look especially if the event is going to be held outdoors. The next...
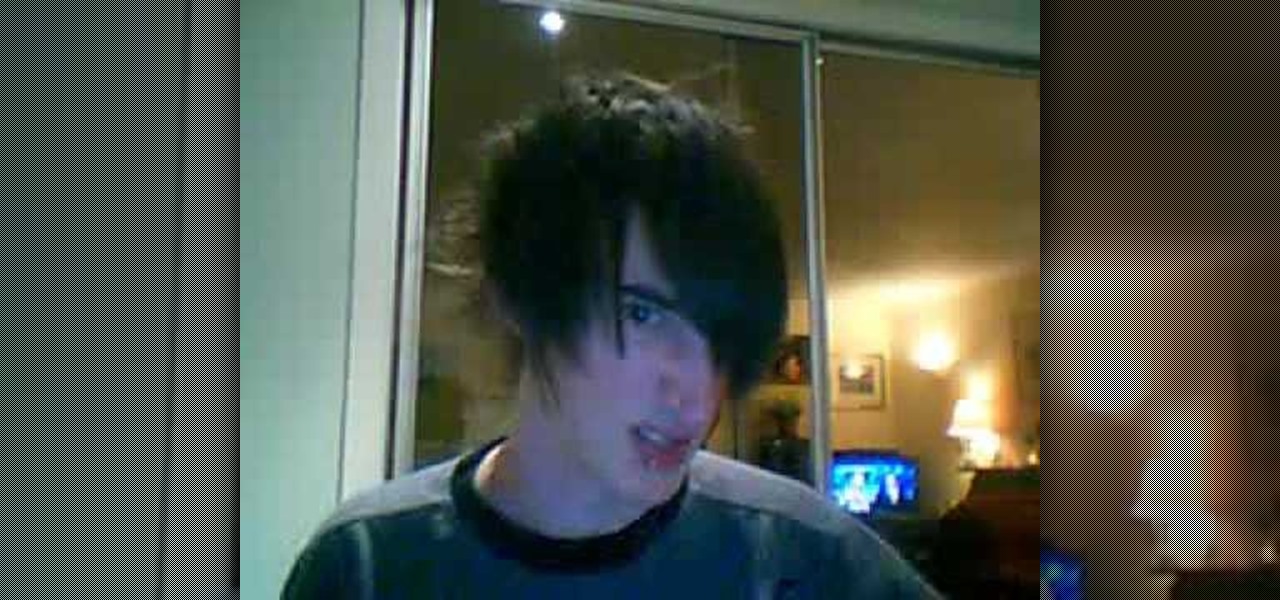
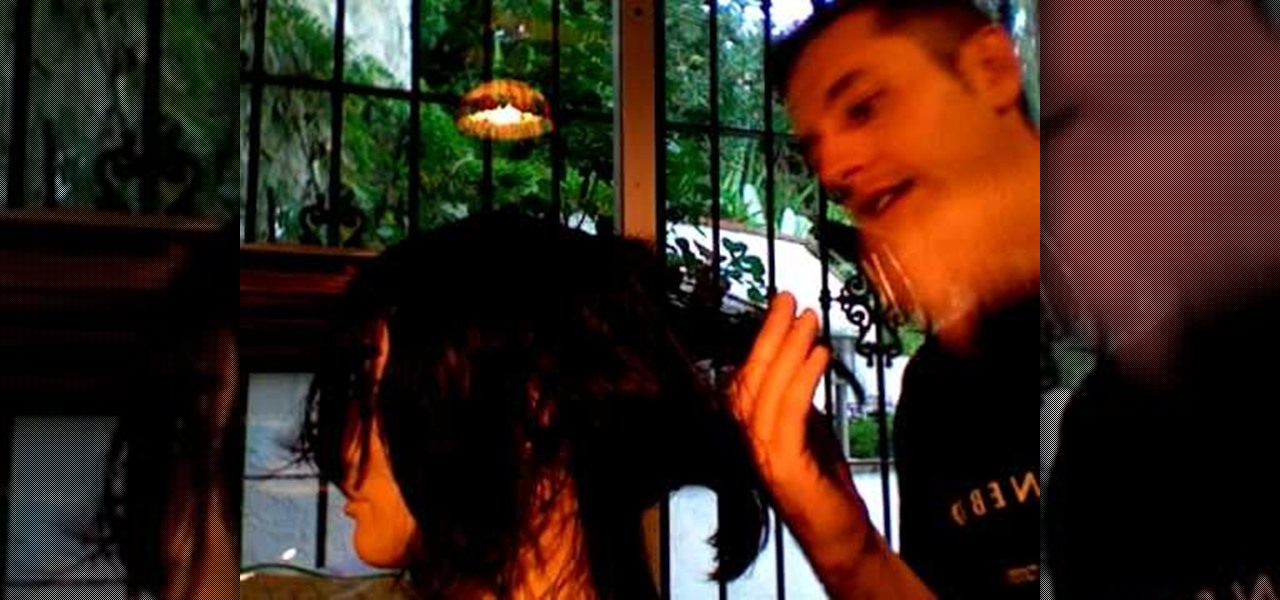
Emo and scene hair, distinct for its haphazard appearing fringes and bangs over the face, is probably the least daunting hairstyle for one to style for themselves, to add a certain personal, and a bit more unconventional touch. In this video, our host explains that, mainly, it's about just doing what you want, and not caring too terribly much, but, if you like the way he's done it, he explains that what he did was cut the sides to create more points coming out across the cheek. Then, for the ...
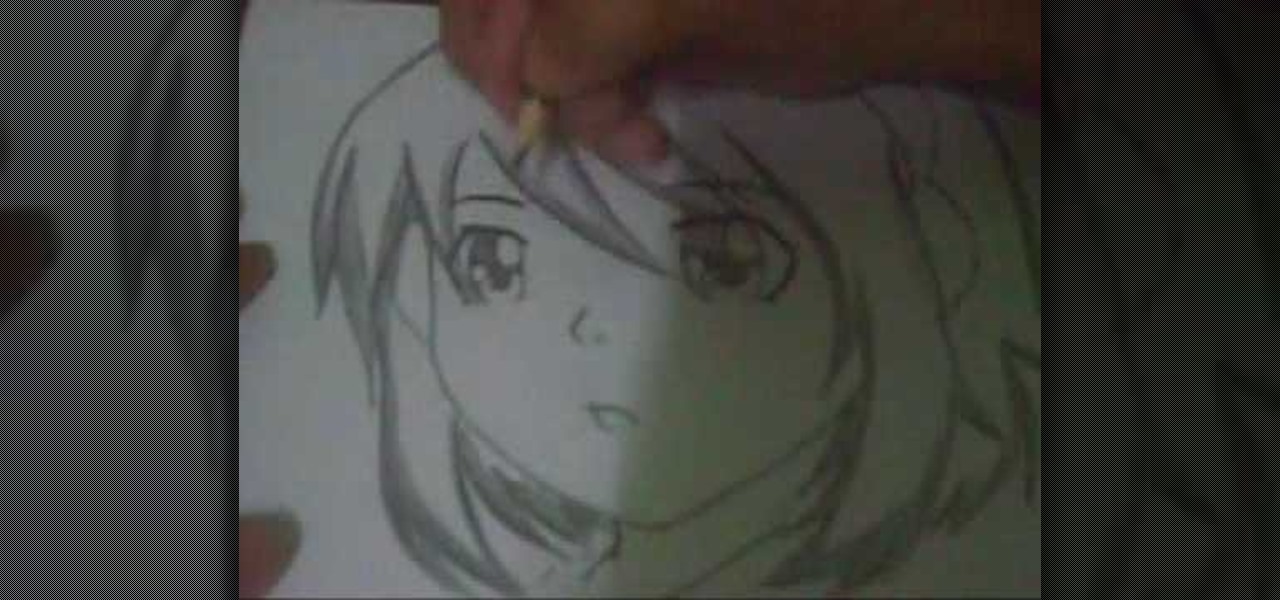
This is a sped up video on how to draw a female anime face. The artist begins by drawing the cheeks and jaw line. Then the neck is made. Next the artist makes long side-bangs that cover a portion of her face. A lot of his time and detail is spent on making the hair at this point. It is very choppy with defined pieces at the ends. During the hair process, an ear and a headband are drawn. When the hair is finished, the artist begins working on the eyebrows, nose, and eyes. The eyes seem to requ...

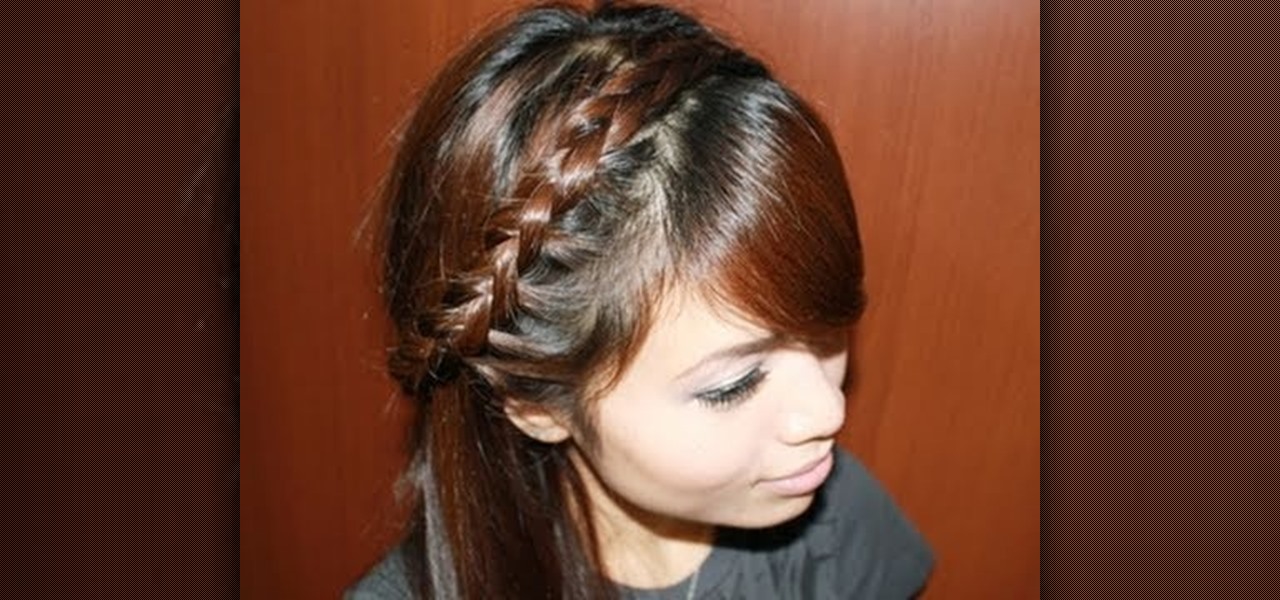
A Dutch braid is really just a French braid turned upside down. So rather than pleat your hair with the braid showing underneath the hair, with a Dutch braid the braid is on top, making it look more bulbous - and yes, milkmaid-ish.
Snooki's hair is a pop culture phenomenon all its own, independent of Snooki's drunken antics and parodied tan bed addiction. And all that hair is in no small part thanks to Bump Its, little inserts that create major volume for bouffants and other big hairstyles.
The first step in this video is to draw a rectangle on a piece of paper to gauge the length of the hair stokes. The artist then makes long pencil marks along the inside of the rectangle that are much less defined towards the middle. It is explained that you need to go in one direct with your pencil strokes as going back and forth gives an unrealistic final product. It is shown that you must begin at the beginning of the hair source and bring the strokes downwards for more realism. Four exampl...
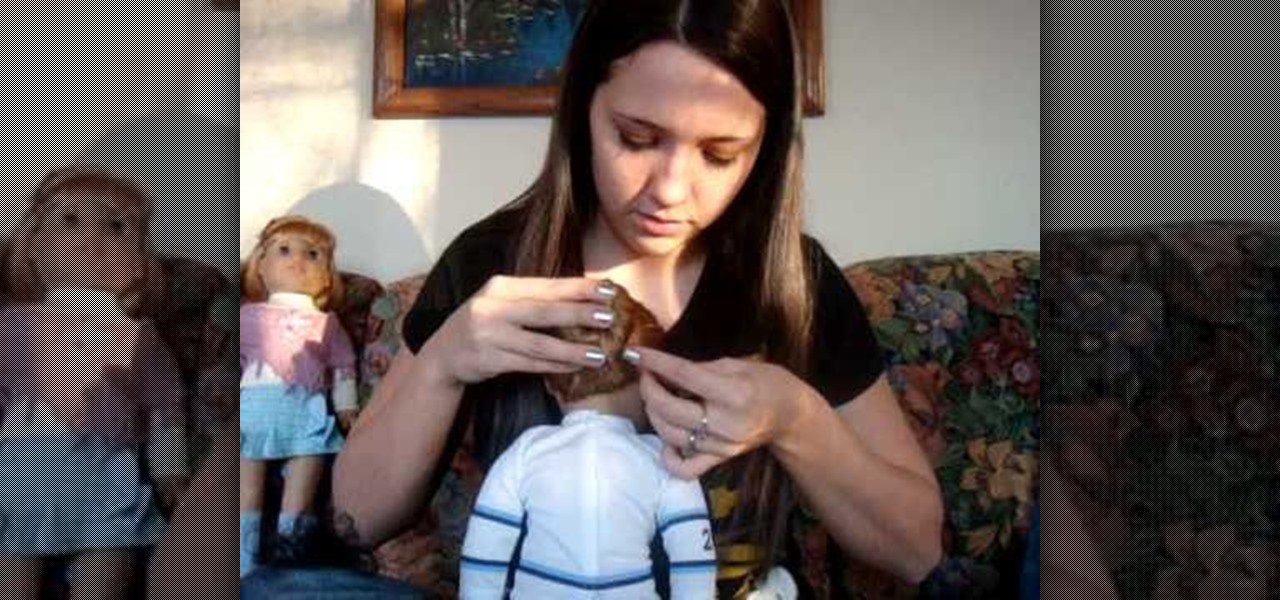
In this video from stephenswodadancer we learn how to do a hairstyle on the American Girl doll Mia. You need a brush, 2 regular sized bobby pins and 2 rubber bands. Start by brushing her hair back from her head and hold it with your hand. Using your finger nail start at about the corner of her eye and go up on each side. Pick up all that hair in the front. Turn her around and brush it out smooth and put the bobby pins in on each side. You can leave it like that or continue on. Part the back o...
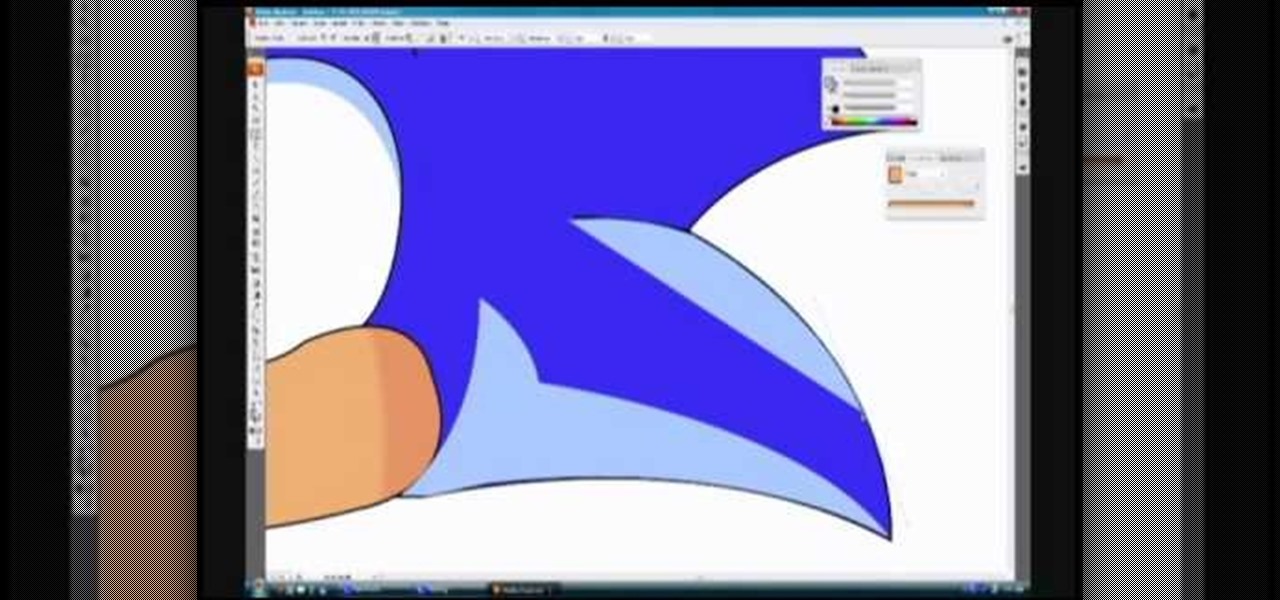
In this video, we learn how to draw Sonic in Adobe Illustrator. First, draw out the muzzle and the nose with a pen. From here, you will draw out the eyes and then make the outline for the ears and the hair. Next, draw in the details around the face. Once you do this, add color to the hair and to the face as you see fit. Then, add in additional lines to show creases and make him look more realistic. After this, add in shading with darker colors on the sides of the face and the hair. When finis...
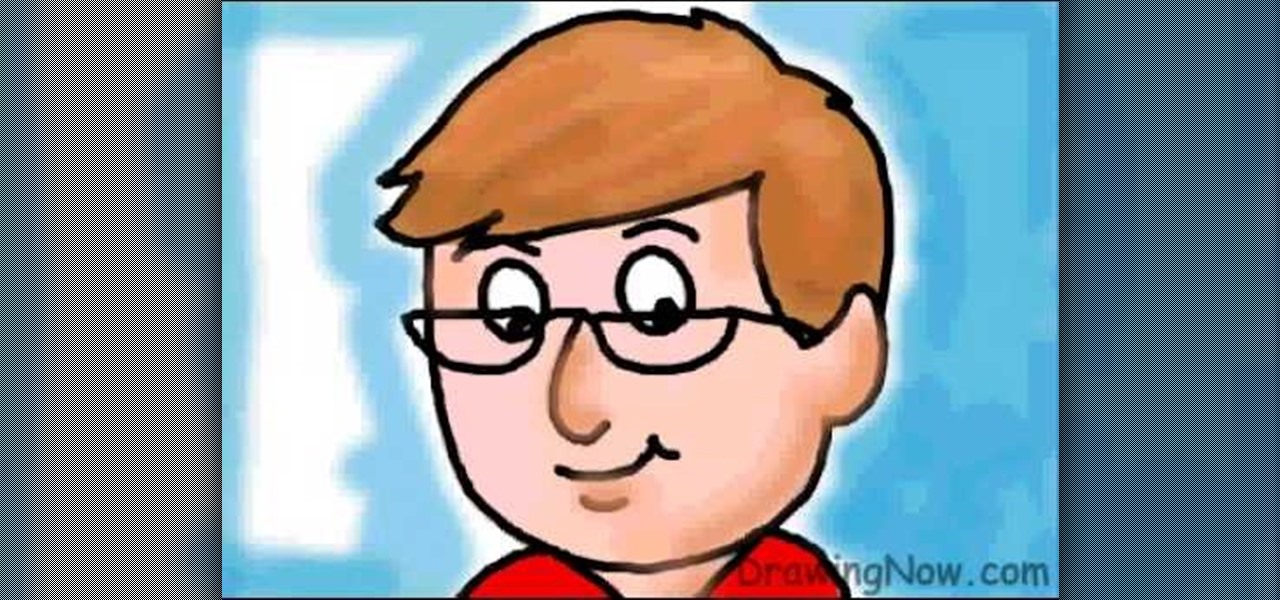
In this tutorial, we learn how to draw a cartoon dad. First, draw the oval for the head and then draw the hair and the facial features on with an outline. After this, color in the skin, hair, and collar of the shirt. Next, add in details for the hair and the face to make it look more realistic. Then, color in the shirt and outline the head and rest of the body with a black thick paintbrush. Draw on glasses to the face underneath the eyes to give the dad an older look. Then add shading and whi...
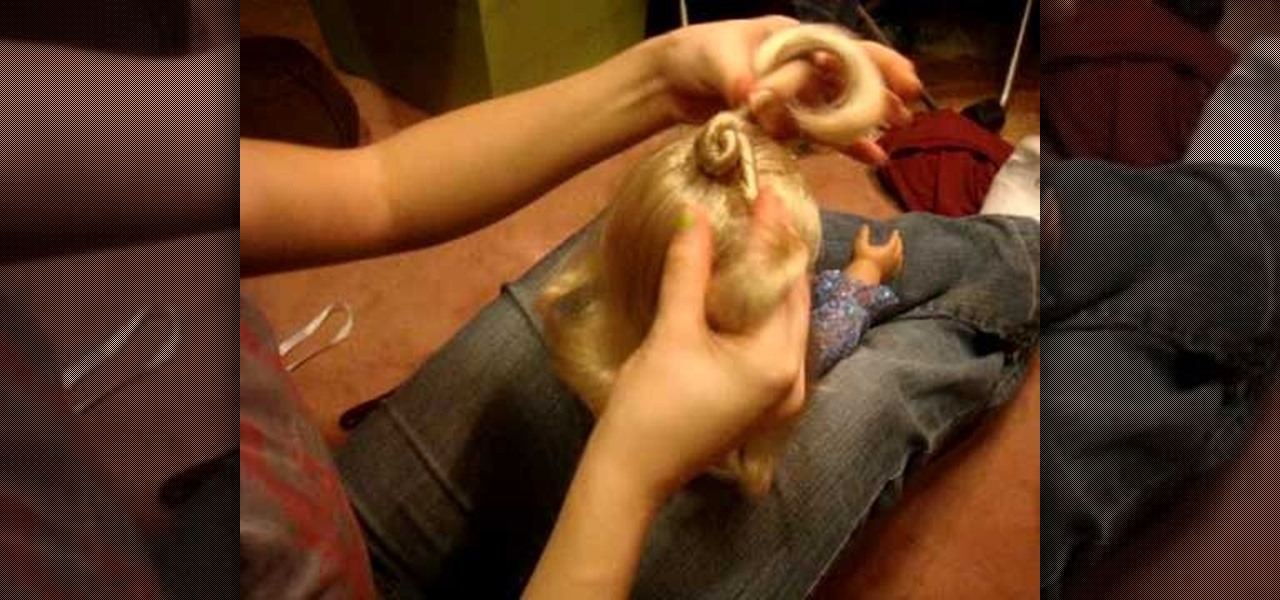
In this video, we learn how to do cowgirl pigtails on American Girl doll Nicki. First, brush the hair out and then make a part down the middle so you have hair on both sides. Then, put one of the pigtails to the side. After this, go to the other side and brush it out again. Make this low and then tie a rubber band around the pig tail. To make it curly, you will take little pieces of the hair and curl them up with your fingers. Repeat this on the other side and then you will be finished with t...
In this video, we learn how to do your American Girl Doll's in a ballet bun. First, you will need to brush out your doll's hair and put it into a low pony tail or high, depending on where you want the bun on the head. After this, take the hair and twist it around the rubber band base and then take a thicker rubber band to tie around the bun to keep it in place. You can then place another rubber band around for decoration. This will finish the simple bun, which will be easiest to do on a doll ...
In this tutorial, we learn how to do twist braid pigtails on your American Girl doll. Start by brushing the hair out and combing it in the middle. Then, take a small section in the font and split that in half. Start twisting it towards her face and then twist them together away from her face twice. Then, pick up a piece from the bottom and twist it into the braid. Continue to add in hair from the bottom until you have all the hair inside the twist braid. When finished, tie off at the end and ...
In this tutorial, we learn how to do a cute down hair style on your American Girl doll. First, you will need to braid two braids on the doll's hair on each side. Tie it off at the end with a small rubber band. Do five of these around the head, from the top of the hair to the tip of the bottom! Line these up on the top so it looks even and not random. When you're finished, you will have a cute look that only takes minutes to create. If you want, you can tie this into a ponytail for an up-do!
In this video, we learn how to do the triple nifty knots hairstyle on your AG doll. First, comb the doll's hair back and then take the hair from the crown of the head. Put this into a ponytail and then secure with a rubber band. After this, section the tail off into two parts and twist them individually. Then, bring these around each other and create a bun at the top of the doll's head. Secure this with a rubber band. Do this with two other sections of the hair on the left and the right. When...
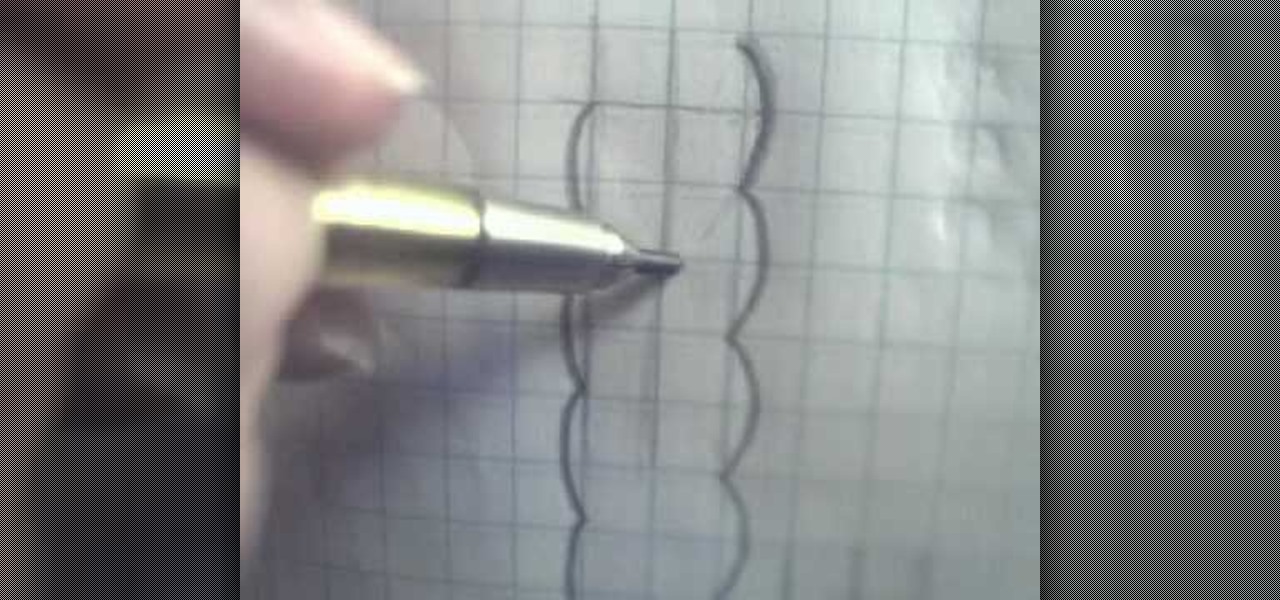
In this tutorial, we learn how to draw braided hair. Start off using grid paper and a pencil to practice. Then, draw two lines parallel together and draw a line in between each of those. From here, draw on a circle around these and continue the pattern all the way down until you reach the end of the lines. Then, draw a line in the center where the circles meet and start to shade in the area to the right, creating a line coming out of it from the left. Practice doing this to get a better idea ...
In the mornings when we wake up it seems like our hair is our own worst enemy. It just won't style right, it frizzes out, it won't hold the curls. But getting your hair ready for school or for work doesn't have to be a chore.
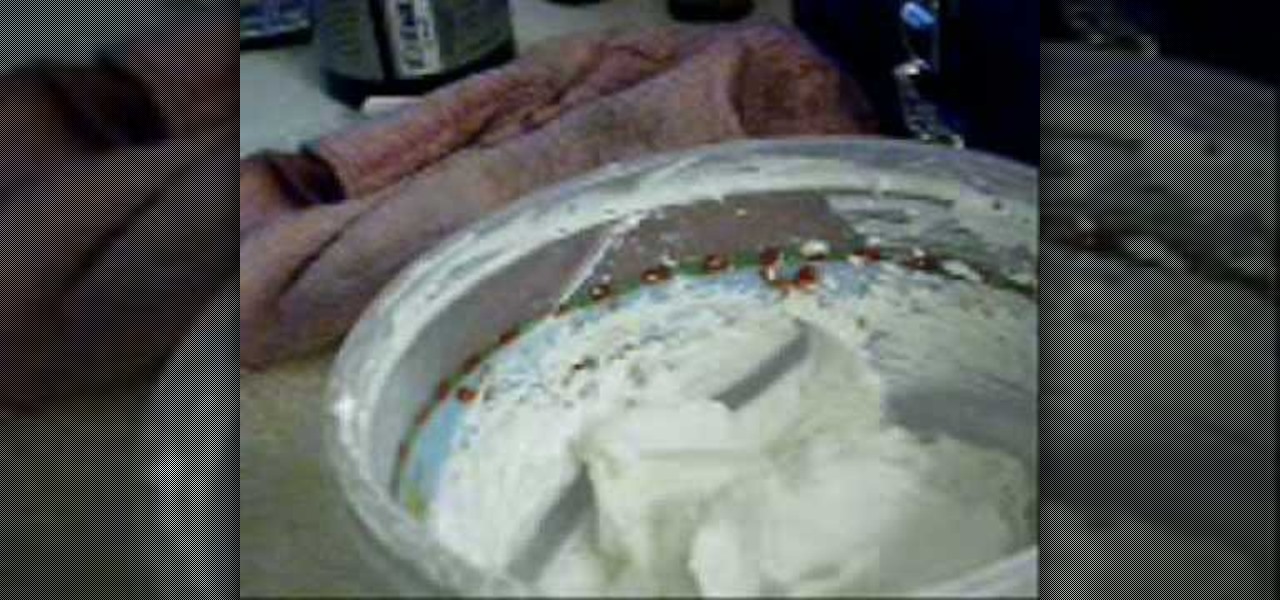
In this tutorial, we learn how to make whipped shea mango butter hair cream. You will need: shea butter, mango butter, coconut oil, jojoba oil, vegetable glycerin, and castor oil. First, you will need to take a scoop of shea butter and a scoop of mango butter and place them into a plastic container. After this, blend them both with a mixer until they are combined. Next, you will add in around 1 tsp of the rest of the oils that you have. Then, take the mixture and continue to blend it until it...
In this video, we learn how to cut side bangs. Fist, you will need to grab some shearing scissors, a comb, a trash can, and water. Now, get your bangs wet in the area that you want it, then part your hair where you usually part it. Once you do this, separate your bangs from the rest of your hair and clip the rest back. Next, use your scissors and cut at an uphill angle from the bottom of your bangs to the top. When finished, continue to cut until you have the desired length. Keep in mind your...
If you've followed chanteuse Christina Aguilera's career, then you know that the little lady isn't afraid of big hair. She loves the volume so much, in fact, that she donned a full-on afro for the "Lady Marmalade" music video.
You may not be a Victoria's Secret super model just yet, but at least you got the right hairstyle! This hair tutorial from Zhareena will show you how to create a super sexy curly hairstyle inspired by those gorgeous Victoria's Secret models.
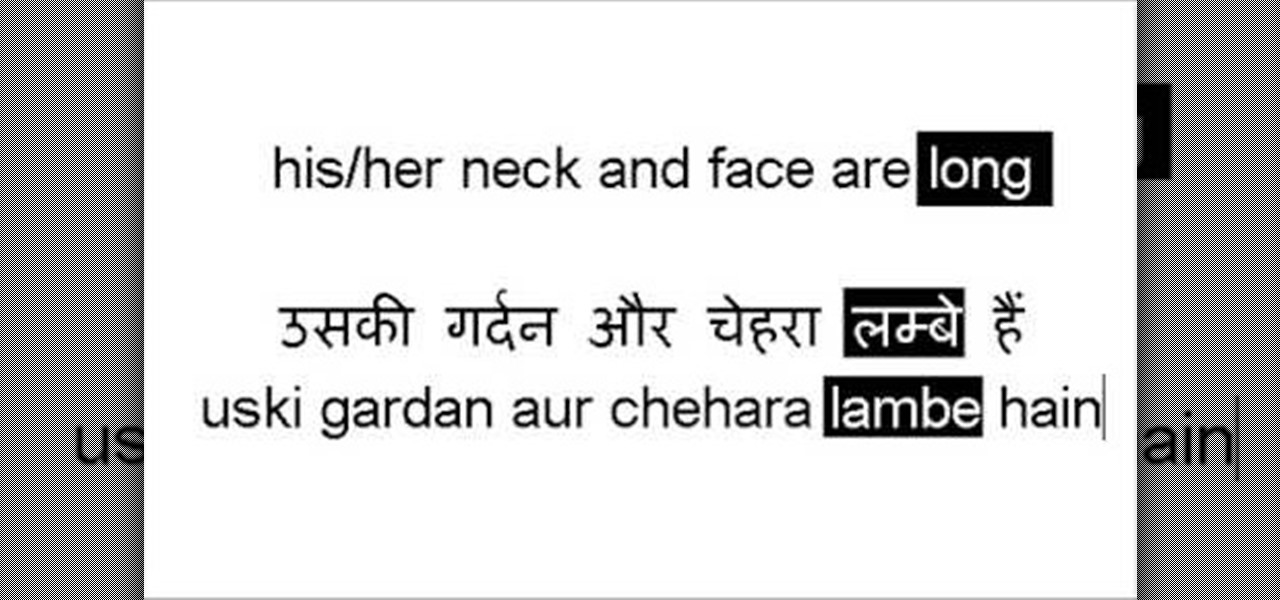
In this tutorial, we learn how to say "I have brown hair" & other statements in Hindi. First, learn the basic body parts in Hindi. For example, "I have brown hair" and "I have blue eyes" would translate to, "mere baal bhure hain" and "meri aankhein neeli hain". These sound a bit different when they are translated into English, but that is the proper way to say them in Hindi. Once you have learned how to say the basic body parts and keywords in Hindi, then you will be able to better have basic...
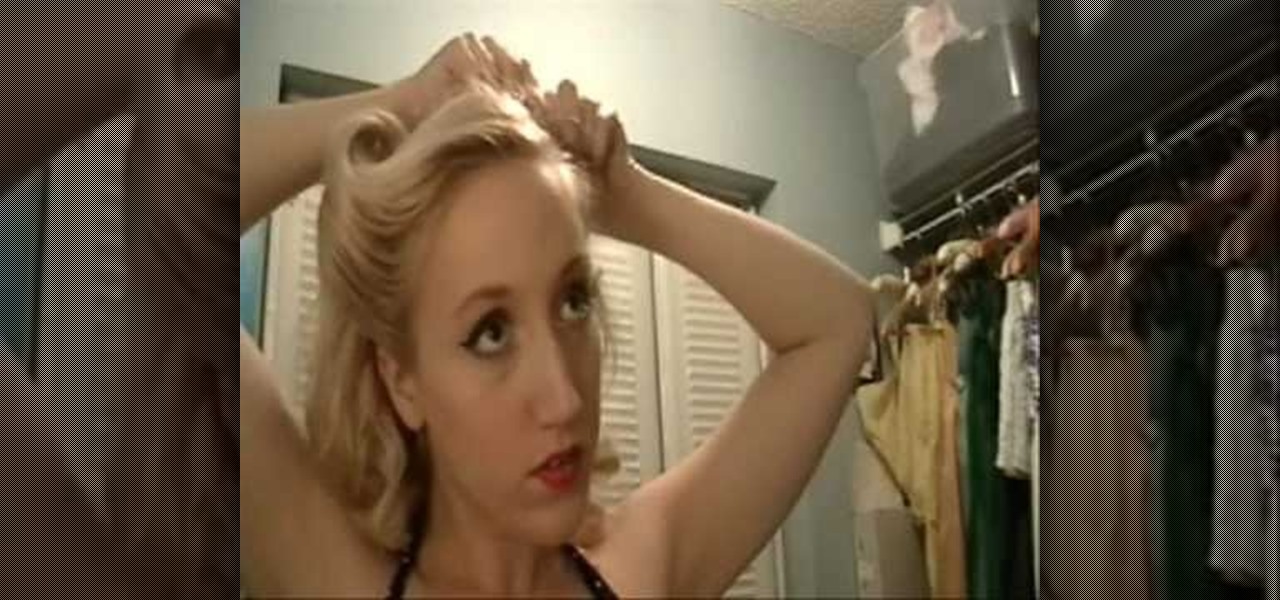
Victory rolls may not sound like a familiar term these days because almost no one does them anymore. But you'd sure recognize them if we showed you some photos from the 1940s and 1950's: Actresses like Rita Hayworth and Katherine Hepburn loved wearing them, and as they did so did the rest of the nation who looked to them for beauty inspiration.
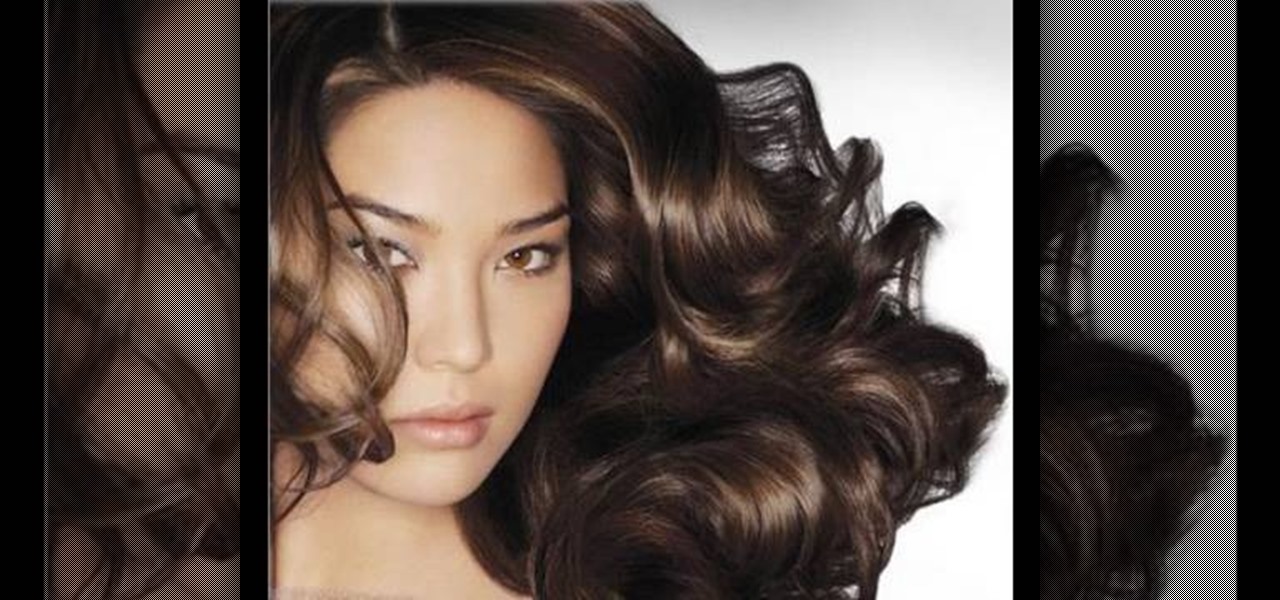
If you were blessed with a natural mane bursting with shine, volume, and movement like those chicks in Pantene commercials, then we don't like you. Just kidding, but if that is your lot then you really don't have to check out this tutorial.
In this video, we learn how to draw Naruto. Start out by drawing a circle as the outline. After this, draw the jawline. Next, draw lines in the middle so you know where you are going to draw the eyes and the rest of the facial features. Next, define the features on all the different parts of the face. Start to add in shading to the face, then draw in the hair. Next draw in a hair band at the top of the head, followed by spiked hair coming out of the top and ears on the side of the face. When ...
The great thing about braids is that they're so incredibly versatile. Spin a single braid through the crown of your hair and let the rest of your locks loose and you've got a pretty Lauren Conrad, girl next door look going on. Or add a few curls using a curling iron and tie your hair up into an updo to create an elegant look befitting of a formal affair.
Need some help figuring out just how long to let your hair process when dying it at home? It's easy! And this clip will show you how it's done. So easy, in fact, that this home beauty video tutorial can presenta complete and thorough overview of the process in about a minute's time. For more information, including detailed, step-by-step instructions, watch this handy hairstyling how-to.
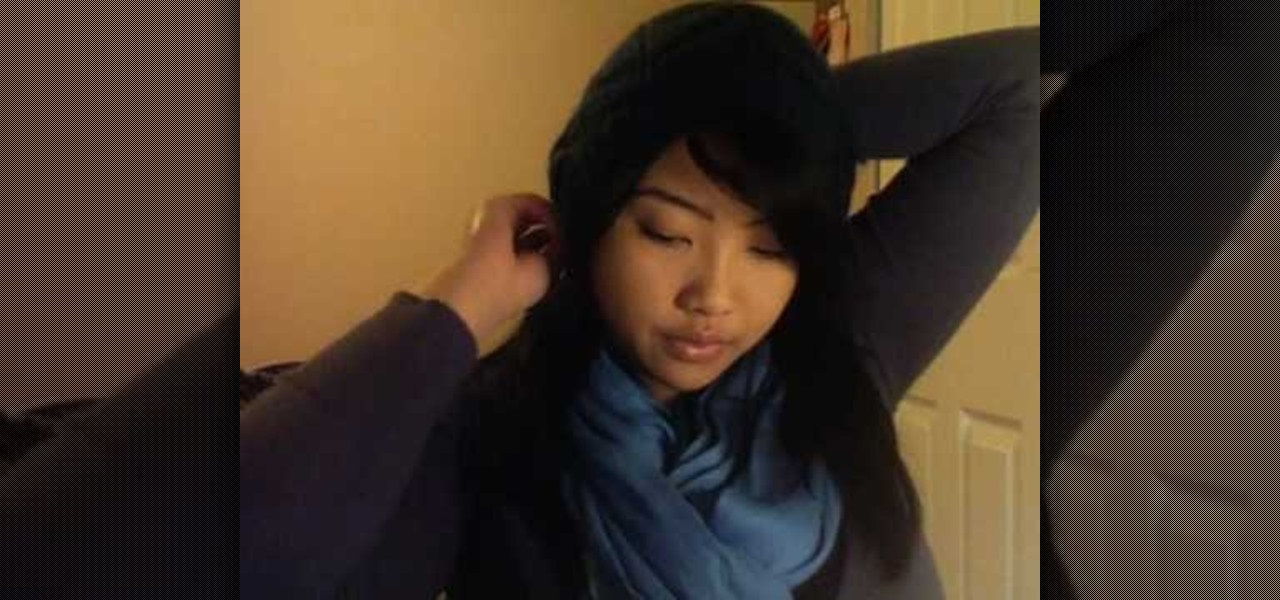
In this video, we learn how to wear a beret securely. This is used to keep the beret on your head so it doesn't fly away. To do this, you will need the beret and bobby pins. First, place the beret onto your head and style your hair around it so it looks how you prefer. Next, grab your pins and place then inside the beret holes onto your hair. Use a couple of the pins to make sure the hat and hair are connected and secured tightly. When finished, move the hat slightly to make sure it is secure...
In this tutorial, you will learn how to utilise UV maps for both root colour and hair length. This guide also offers a quick look at polygon selection tags and organising a scene with hair objects as well. Whether you're new to MAXON's popular 3D modeling application or are just looking to get better acquainted with Cinema 4D and its various features and functions, you're sure to enjoy this free video software tutorial. For more information, and to get started using this trick in your own Cin...
Rolling straight out of bed without brushing your hair and into a comfy pair of sweats may be an okay look for going to a college lecture (you can continue to catch up on your sleep after all), but when Friday night hits it's time to amp up your glamour game.
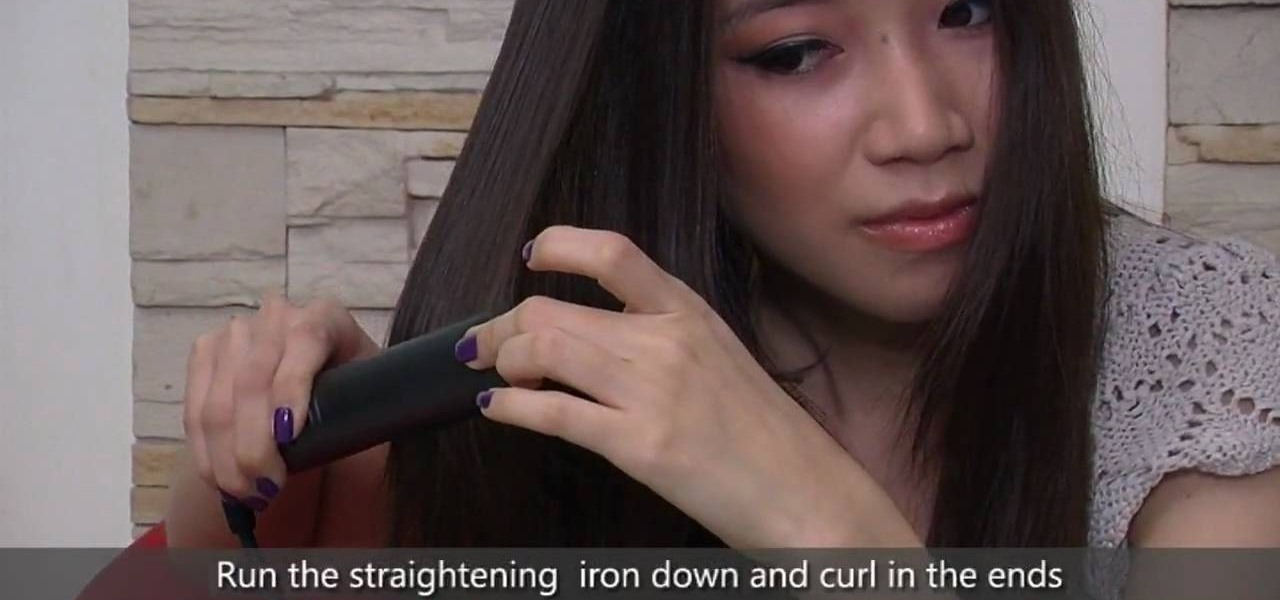
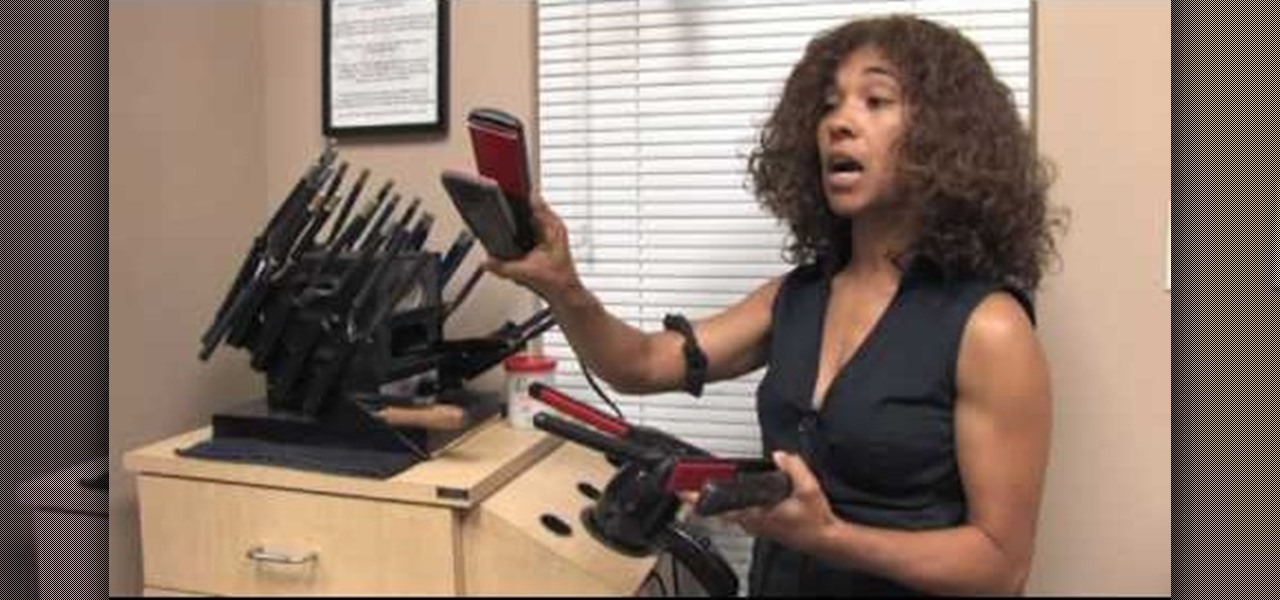
In this video, we learn how to choose the right curling iron and flat iron. Ceramic flat irons leave a great shine to the hair, and you can even use them to curl hair. The ceramic also come in a lot of different sizes, which help with people who have short, medium, and long hair. Another great thing about flat irons is that you have temperature irons, which reach all the way to 450 degrees and they are easy to use. Curling irons that come in ceramic are great, since they come in a wide variet...
If you've ever suffered from acne you've probably also suffered from choosing an acne product that actually works. Some cleansers and moisturizers are too drying, others are harsh and stinging, and some feel good on skin but just don't work. But if you've ever stumbled upon tea tree oil, then you know that this natural oil both moisturizes and helps relieve acne with no unpleasant side effects.
Need a standout hairstyle for prom that you can be sure no one else will have? Then chuck all stereotypes of traditional hair beauty (romantic waves, or a severe updo) and take a walk on the wild side by replicating Lady Gaga's fun hair bow.
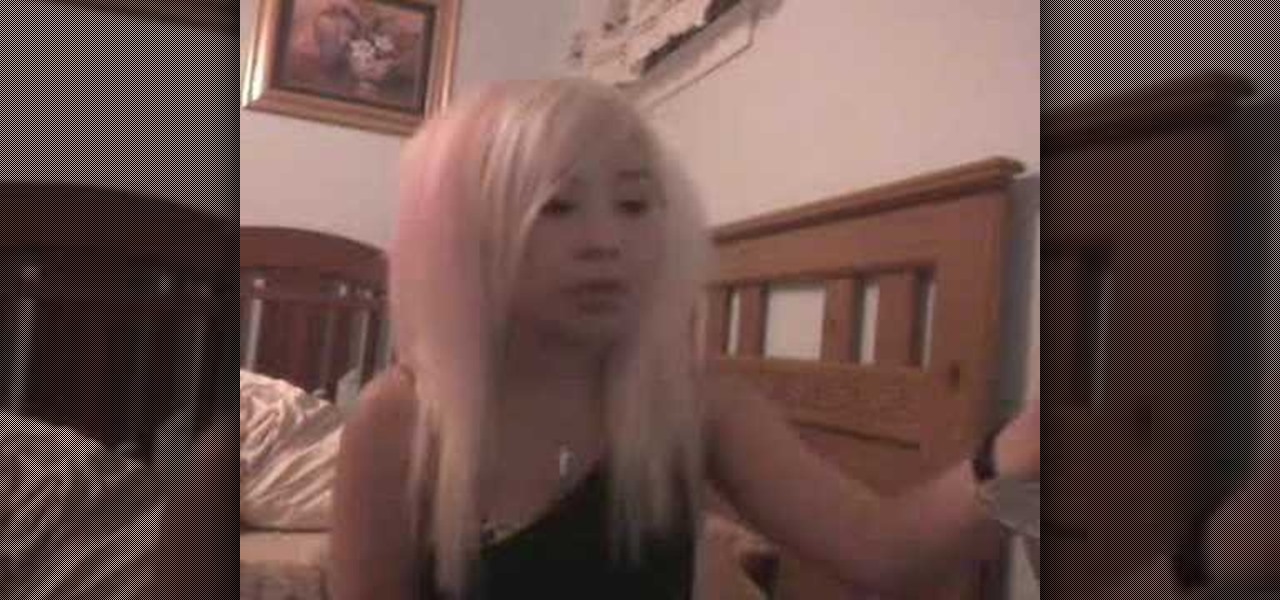
Thinking about going platinum blonde? There are many precautions and notes that should be taken before making the leap. In this video, learn how to take your hair from its natural state to platinum white blond safely with the help of product. Read the videomaker's notes below.
To make the country bump hairstyle as seen on Carrie Underwood, Dean Banowetz, a stylist from American Idol demonstrates for BeautyTV. First, he takes a section of hair from the forehead to the crown and from the center of one eye to the other. Then he sections it from side to side and back combs the hair lightly to create the bump in the front. Additional back combing or a tail comb can be used to increase the volume of the bump as desired. After smoothing the top layer of hair over the bump...
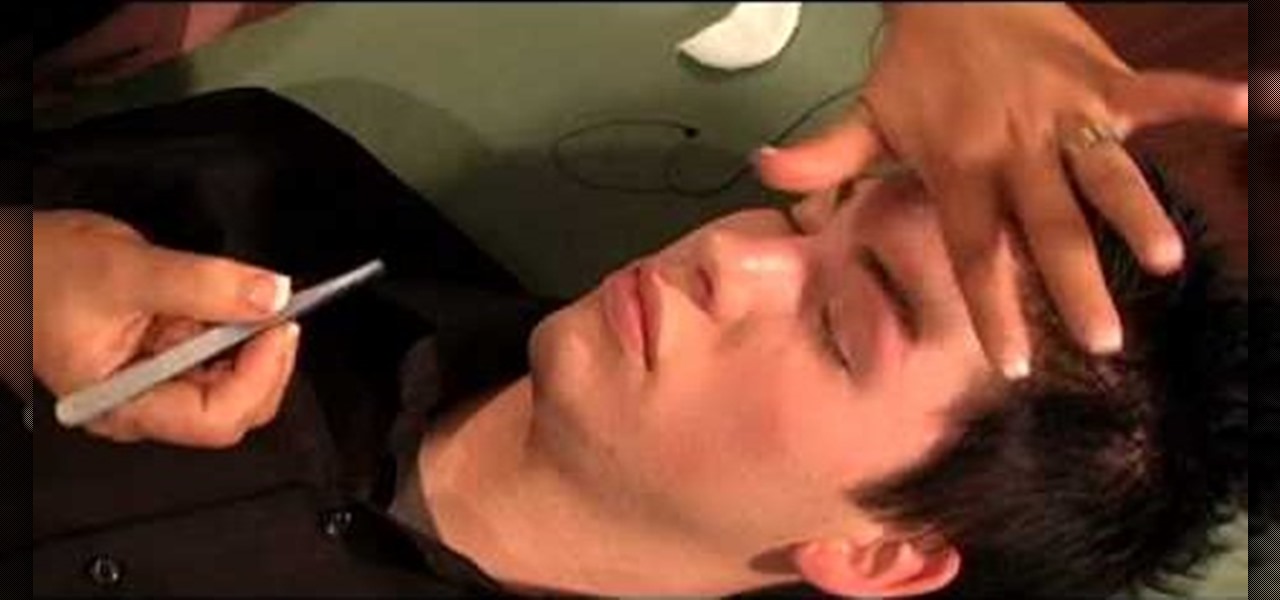
This is a video tutorial that is showing its audience how to remove their excess eyebrow hair by simply using a thread. The first step in removing your eyebrow hair with a thread is to ask the client how they want their eyebrows to look when you are finished. Take two threads and place them between your fingers, crossing the thread in the center. Then you should begin to slowly shape the eyebrow. Ask the client to close their eyes so that you will have access to the whole eyebrow. For men mak...
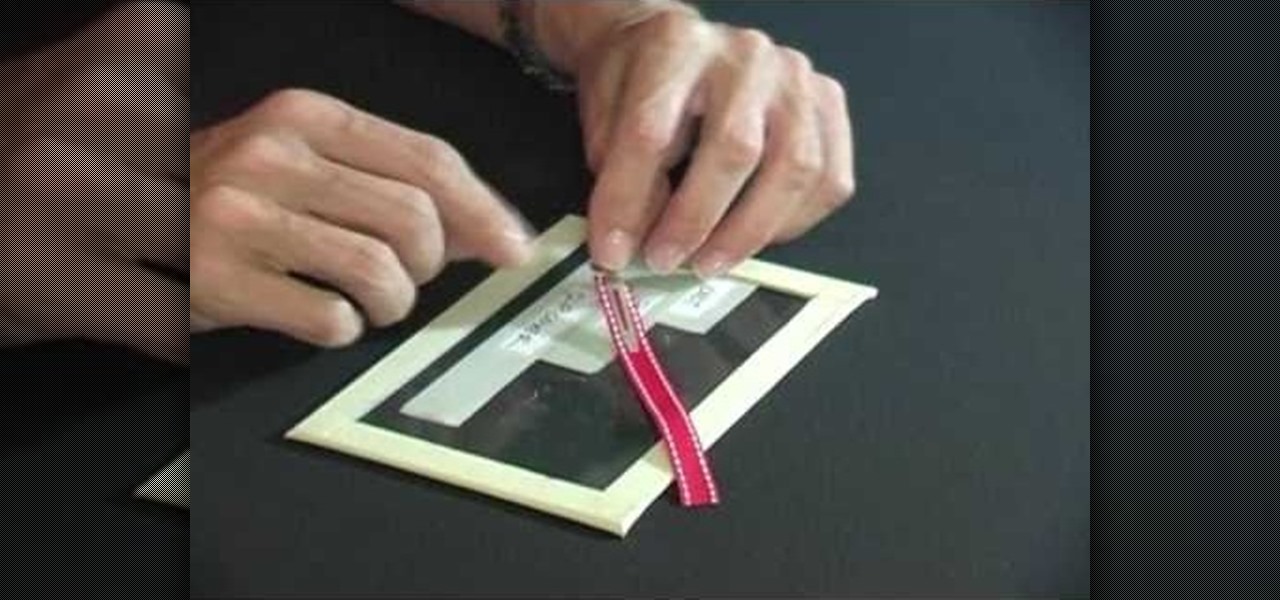
In this video tutorial, viewers learn how to make a ribbon covered pinch clip. The materials required for this hair clip are 4 1/2" x 3/8" of ribbon, glue gun and an alligator clip. Open the pinch clip and place the ribbon inside it. Align it to the clip so that it is straight. Then apply some hot glue onto the surface of the pinch clip and then fold the ribbon to glue it. Alight the ribbon to the top of the clip and flatten the ribbon. Now apply some more glue on the ribbon and push it into ...
Threading is a process of hair removal using thread. Using about a foot of thread tie a knot making the thread into a circle. Hold the portion of the thread with the knot in your hand and with the other hand twist the thread together until you have about one inch of twisted thread. When starting the removal process the hair should be touching the twisted portion of thread. When you open your right hand the twisted portion of the thread should move forward thus pulling the hair from the follic...