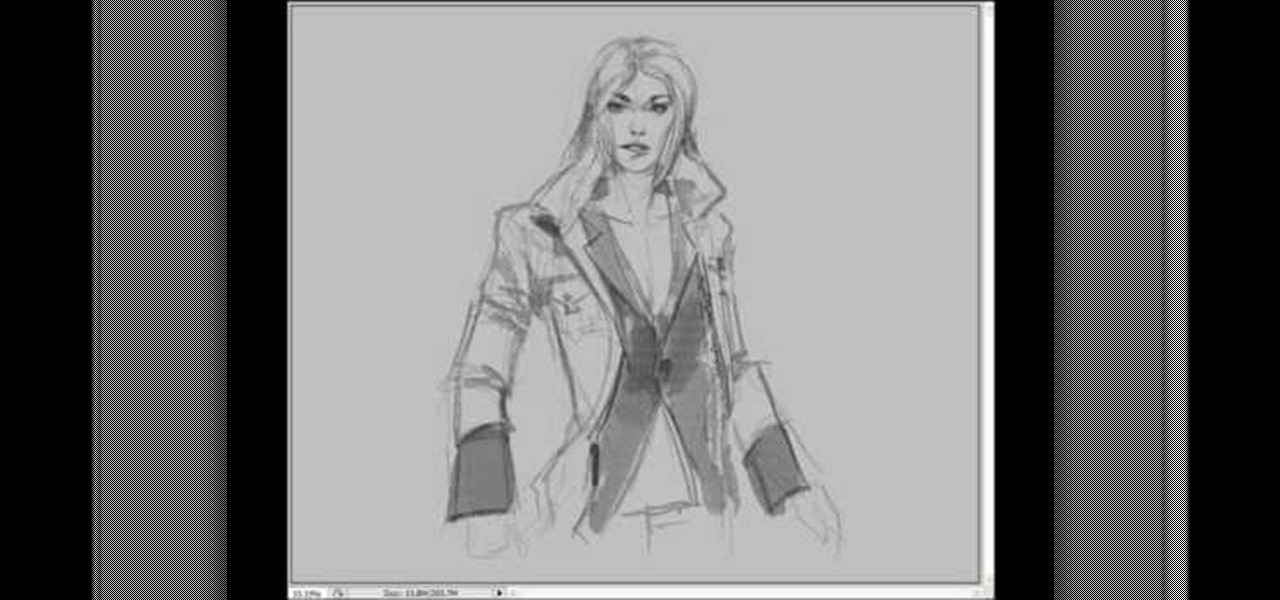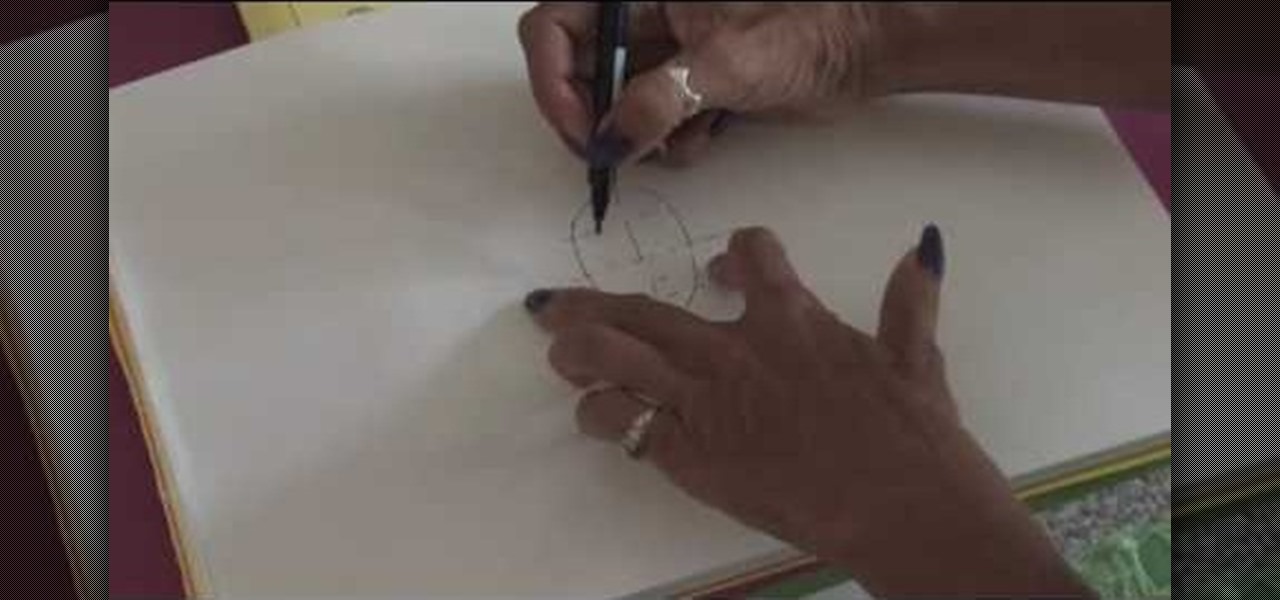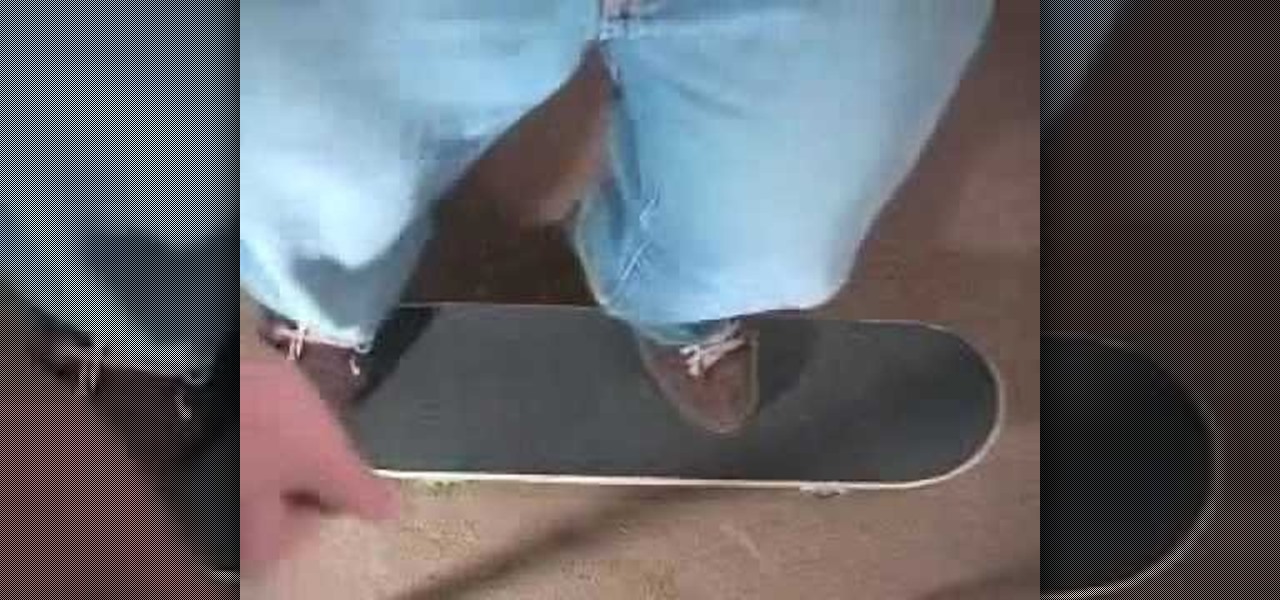
In this video tutorial, viewers learn how to perform an Ollie, kick flip and shuv-it skateboarding tricks. For the Ollie, begin with the back foot on the tip of the tail and the front foot on the middle of the board. Bend your knees slightly and extend your back as you raise up. Pop the tail of the board and roll the front foot on the nose of the board to land it. For the kick flip, start with an Ollie position and bend the knees. Pop the tail and roll your front foot to the nose. Flick with ...
Street Skateboarding: Take It to the Streets The guys on the prefab ramps and half-pipes make the X Games headlines, but the real frontier of the skateboarding world is out on the street, where everyday obstacles become the tools of the trade. Find out here how to turn your street into a house of shred. Watch this video tutorial to see how to perform a kickflip on a street skateboard.
Today we show you how to make your noise appear smaller with makeup! Making your nose look smaller with makeup is So Easy A Guy Can Do It!
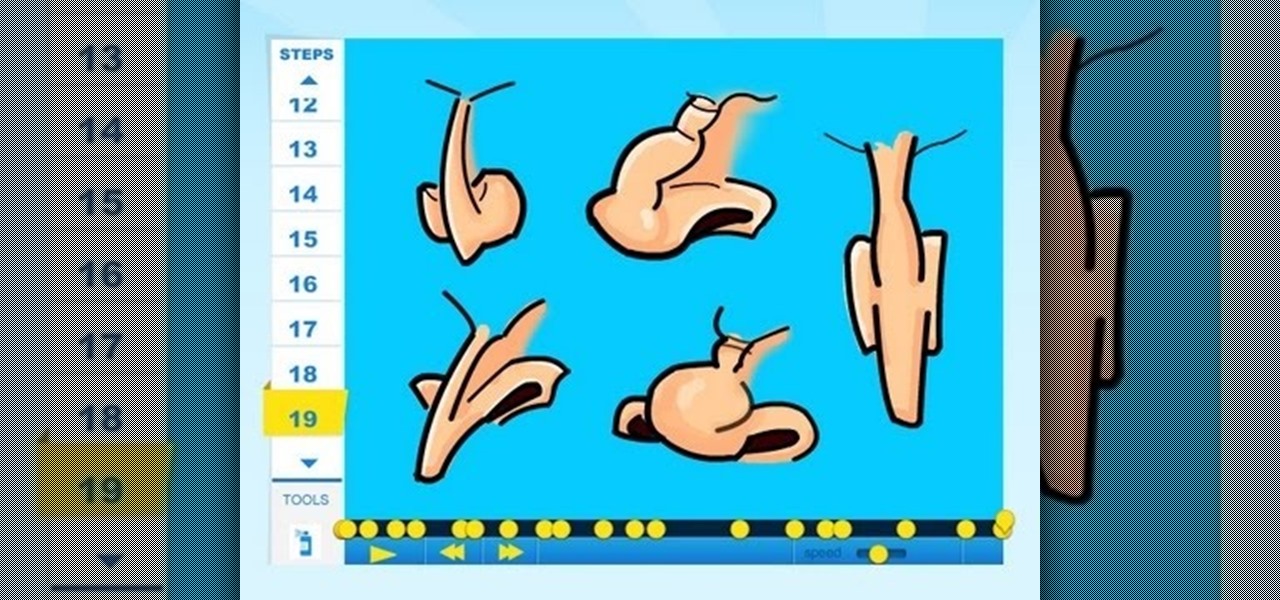
Learn How to draw Noses with the best drawing tutorial online. For the full tutorial with step by step & speed control visit: How to draw.
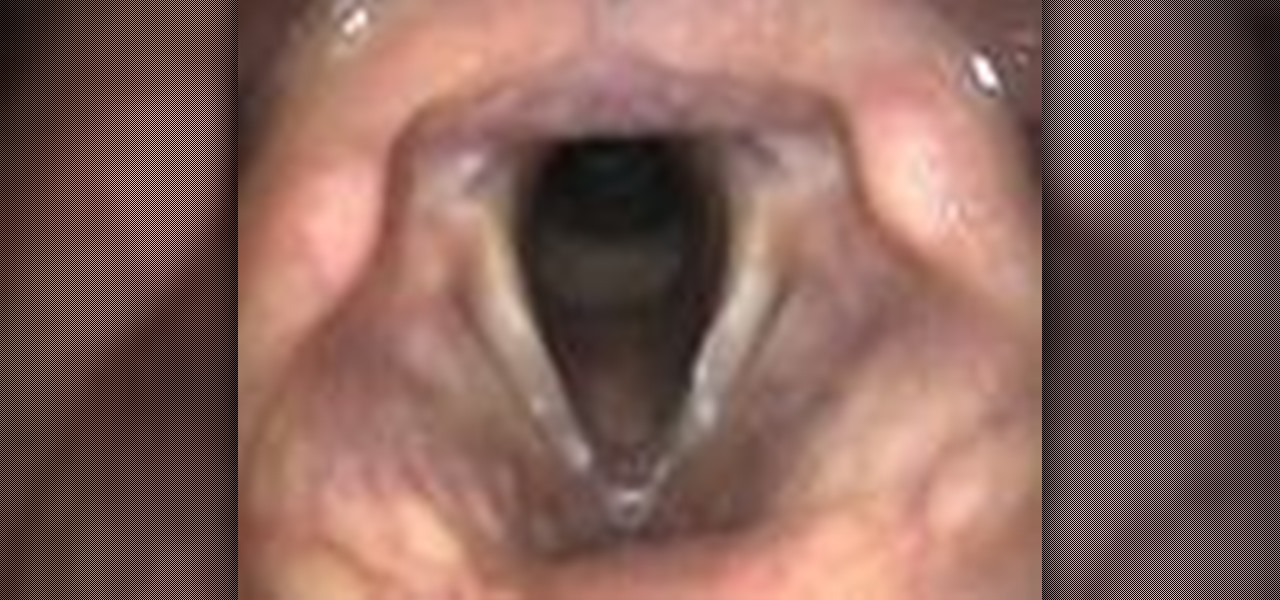
This video for Otolaryngologists, medical students, and curious laypeople describes the anatomical features that one would see when performing a trans-nasal endoscopy, a procedure in which a tube is inserted through the nose and down the esophagus and used to view the stomach.
Gnats seem to come out of nowhere - one day your house is clear and the next you're covered in a million little pests. They get in your eyes and nose and all over your food.

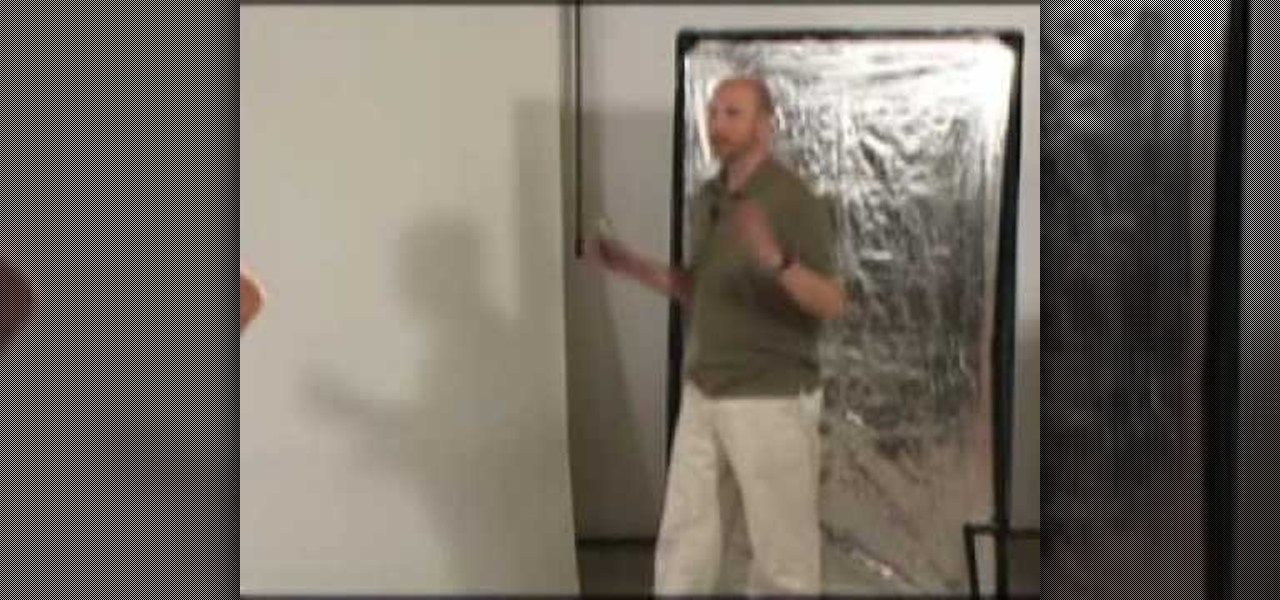
Mark Wallace explains how to set up butterfly lighting (AKA Glamour Lighting; AKA Paramount Lighting)with three light sources. This video shows a nice soft lighting underneath the nose. Used if you want to create a strong powerful look, or if your subject has strong cheekbones or jawline. This type of lighting was used in the filming of "Sin City".

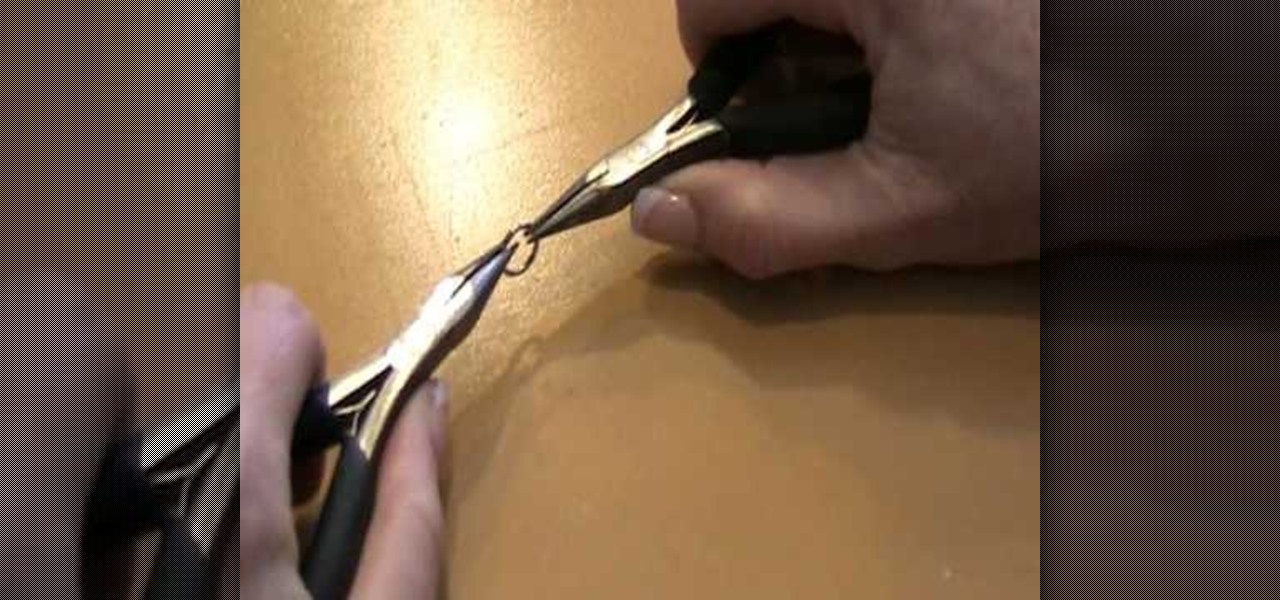
Jump rings serve a variety of purposes in jewelry making, the most common of which is connecting adjoining sections of a necklace, bracelet, or earring. If you would like to integrate jump rings into your jewelry crafting then check out this video to learn how to open and close a jump ring using two pairs of chain-nosed pliers.

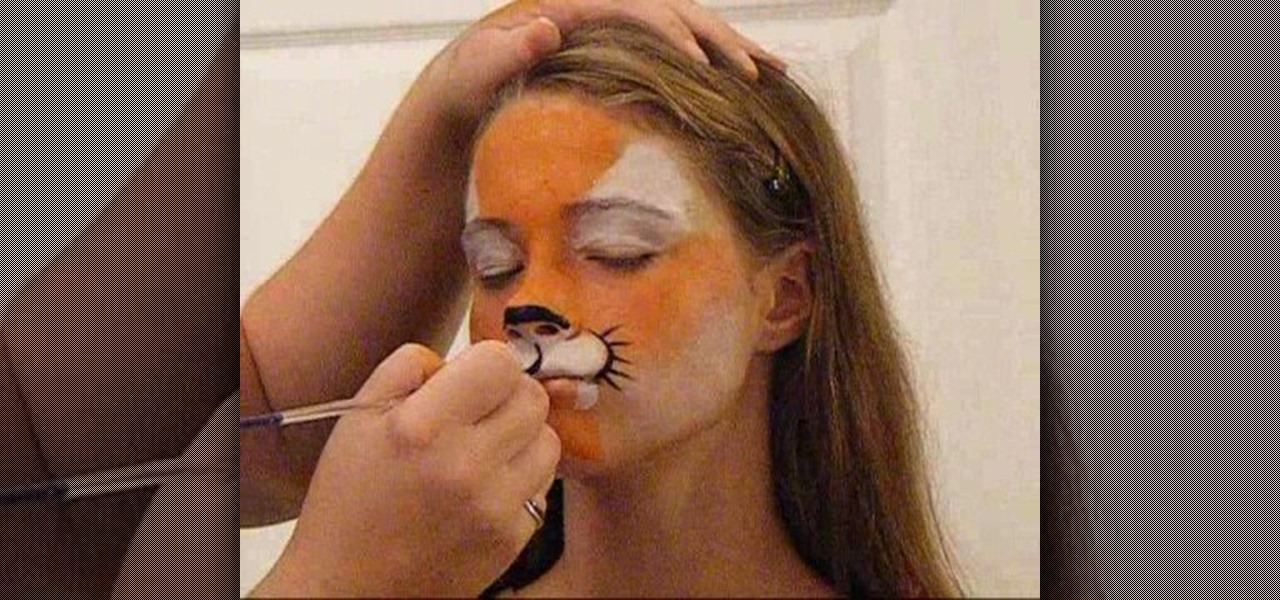
In this video, we learn how to do tiger face paint in two minutes. This is a simple tiger, so it will be perfect for family outings or something you need done quickly. First, use a sponge and orange paint to paint the middle of the face orange. After this, use a sponge with white paint to make the eyes white and the section underneath the nose white. Now, take your orange paint again and paint the cheeks and chin orange. Use the white paint to make fangs on the lips going down to the chin. Ne...

Want to play the "Rudolph, the Red-Nosed Reindeer" Christmas carol on your ukulele? See how it's done with this free video ukulele lesson from Ukulele Mike, which presents a complete breakdown of the song and it chords. While this tutorial is geared toward those who already have some knowledge of the ukulele, players of all skill level should be able to follow along given adequate time and effort. For more information, and to get started playing this classic winter holiday song on your own uk...

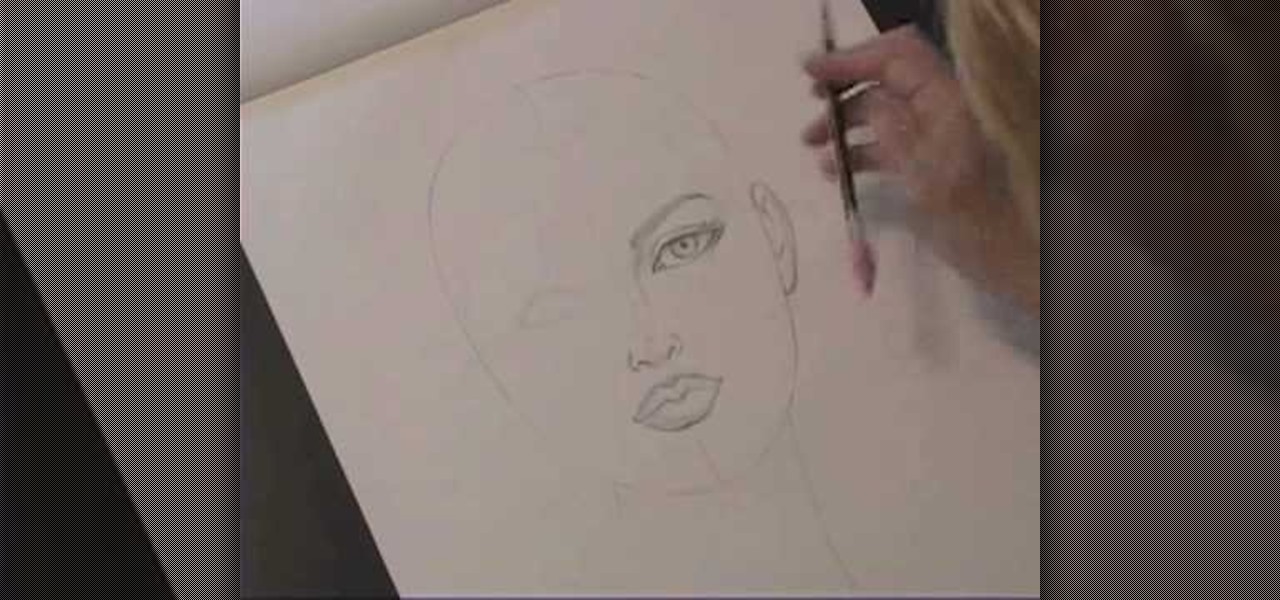
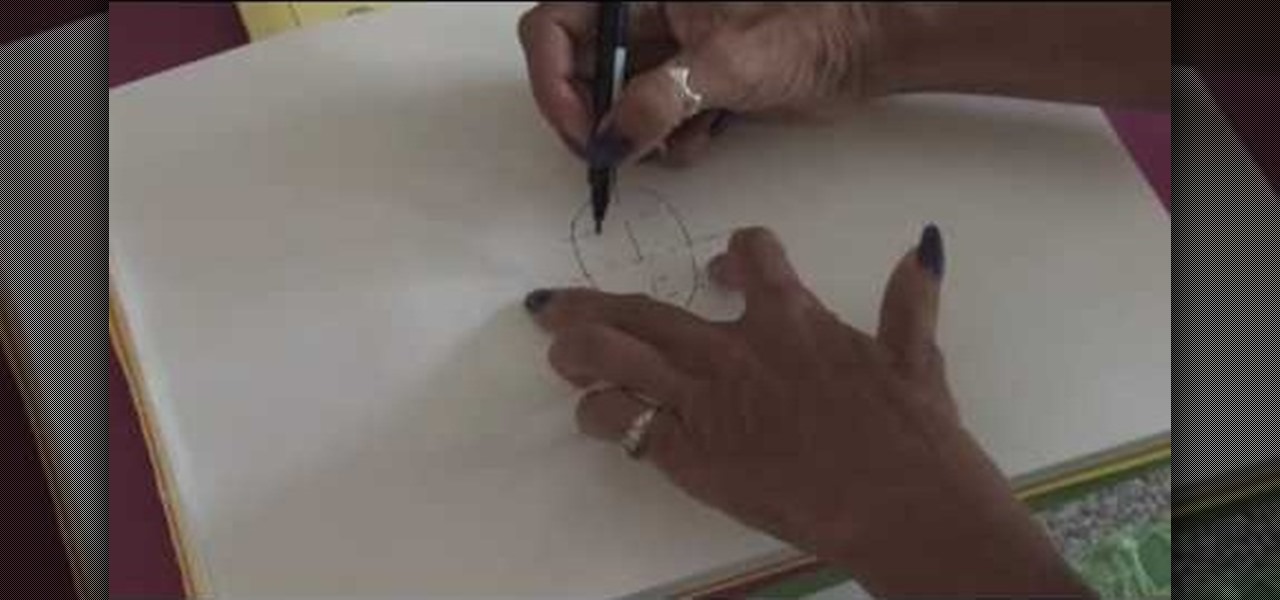
Kathryn Hagen teaches us how to draw female heads in this tutorial. Start with an oval and dissect it horizontally and vertically. Draw in the hairline, as well as the eyes, nose, and mouth. You can measure out where everything should go by using the lines as a reference point. Add details into the eye, then continue on to add more details to the nose, showing the nostrils. Draw more details on the mouth, then define the center of the lip and shape. Draw on the ears, and add a line where the ...

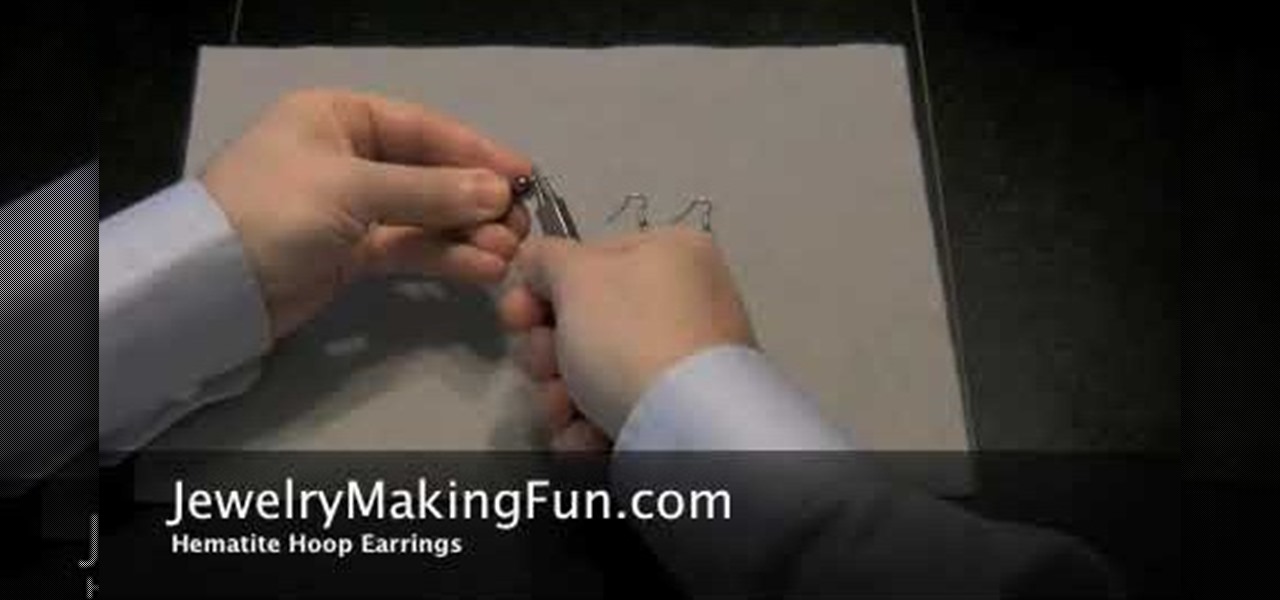
The first step in making a pair of hematite hoop earrings is to gather your supplies. You are going to need some needle nose pliers, two head pins, a hood bead, a small bead, a bigger bead, and two French earring hooks. First, take a head pin and insert it into one of the holes on the loop bead. Follow with the smaller bead and then the larger one. Then, taking your needle nose pliers, bead the remaining wire of the pin 45 degrees. After that, go above the bend about a quarter of an inch and ...

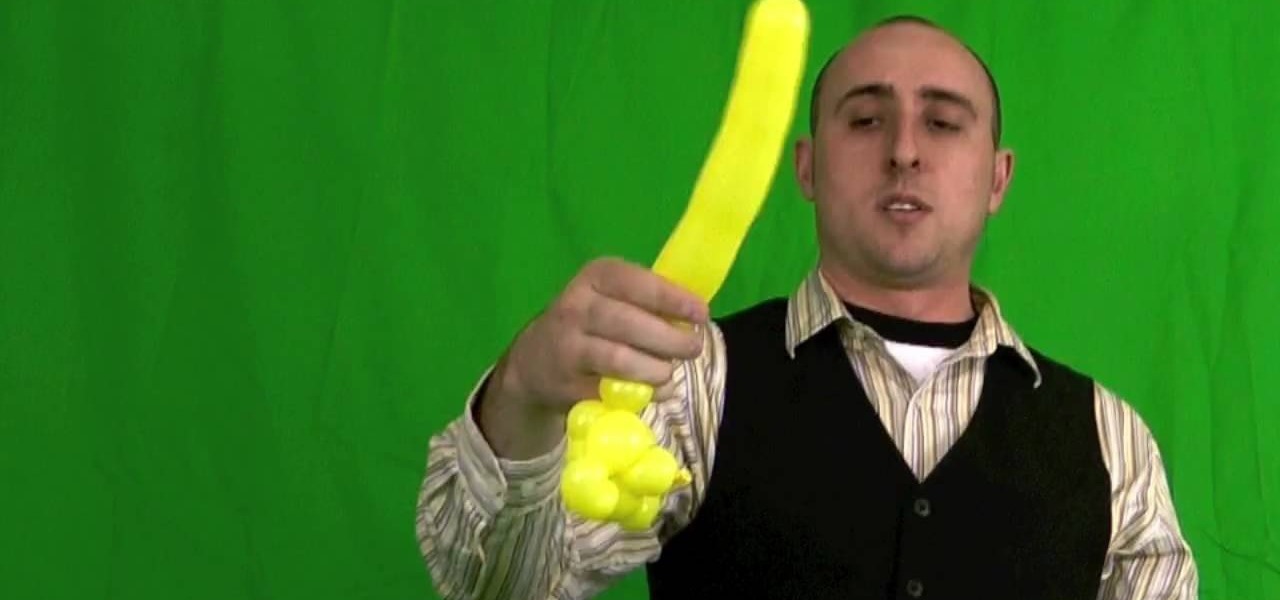
Learn how to make a balloon teddy bear using only one hand by following the steps outlined here in this tutorial. You will need one balloon already filled with air. At the end, create a nose. Then, add two bubbles for the back of the head. Twist the five bubbles that will comprise the head of the bear. Once the head has been formed, you will stick the nose in through your ring for the head to create the overall head and face. Pinch twist to create the ears at the top of the head. The body is ...

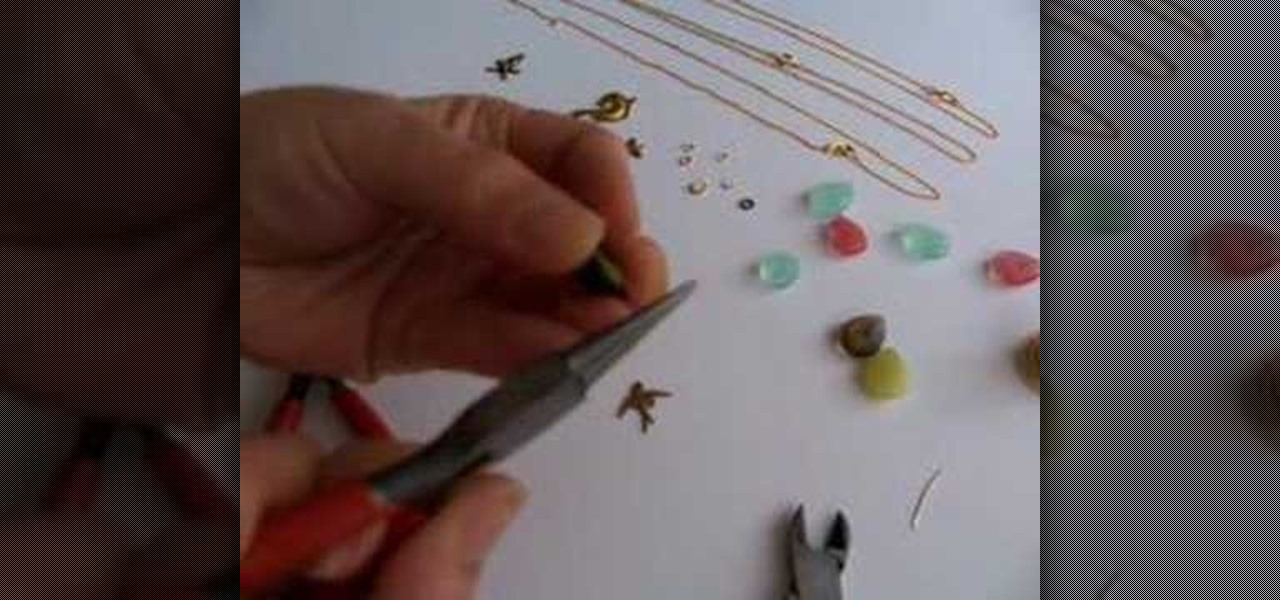
In this video tutorial, viewers will learn how to make a briolette charm drop necklace. The materials required to make the necklace include: a small piece of wire, briolette bead, charm of your choice, a jump ring (for the charm), chain necklace, round-nose pliers, long-nose pliers and cutters. Begin by putting the wire through the bead. Bend and cut the wire to shape a loop. Put the charm on the jump ring and attach it to the bead. Then add the bead to the chain and tighten the loop. This vi...

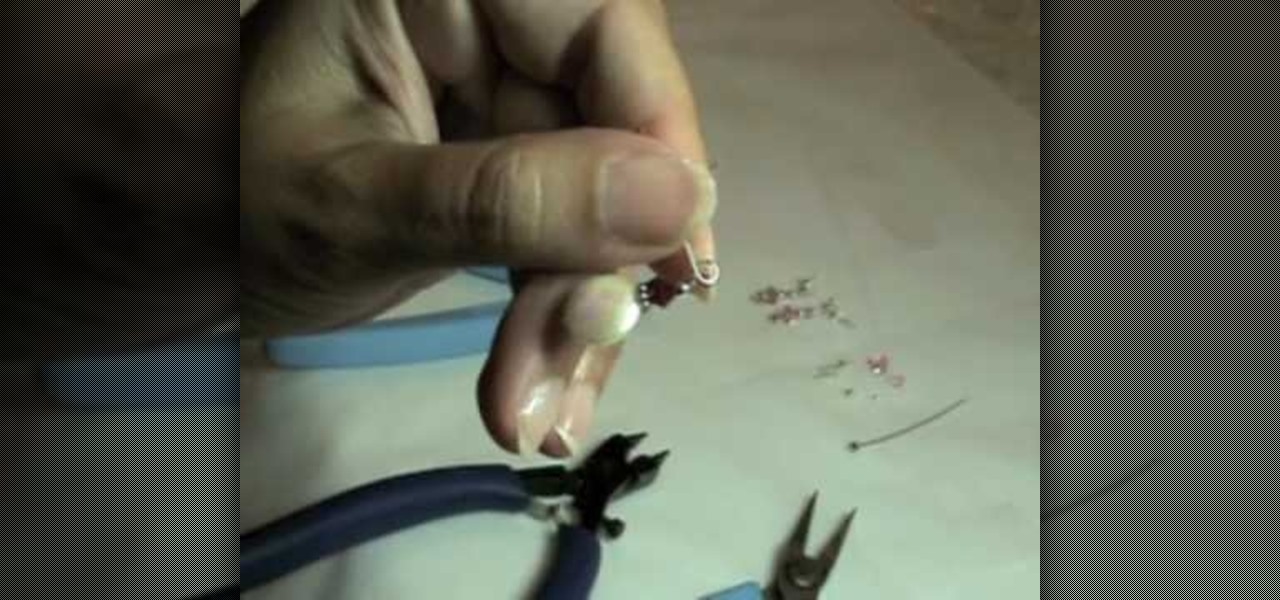
In this video tutorial, viewers will learn how to make two pairs of simple earrings. The video provides all the materials required to make the earrings. The materials required include: freshwater pearl disk, 4 mm Swarovski crystal, bally bead accent, 2 mm silver bead, head pin, flat nose pliers, round nose pliers and wire cutter pliers. This video provides step-by-step instructions and a visual demonstration for viewers to easily understand and follow along. This video will benefit those view...

This video helps you create a faux hawk hair style. The only thing necessary to create this look are bobby pins, a comb, and lots of hair spray. By sectioning off parts of your hair and pinning it down you are able to create the illusion of a mohawk. While there is no verbal commentary in this video the captions provide great explanation for what is taking place in the video. She makes this hairdo look simple, easy, and effortless.

Watch as professional skateboarder Ryan Smith teaches you how to perform the frontside noseslide trick on your skateboard.

In this series of hair styling videos you'll learn how to give a Mohawk hairstyle, and tips for styling the faux hawk, the pompadour and liberty spikes hairstyle. Expert stylist Natalie Wegner offers tips on picking the best punk hair color for your new rockin' hairdo. If you're ready for a new exciting look, watch these free videos and decide if you've got the guts to stick it to the man with your spiky new 'do!

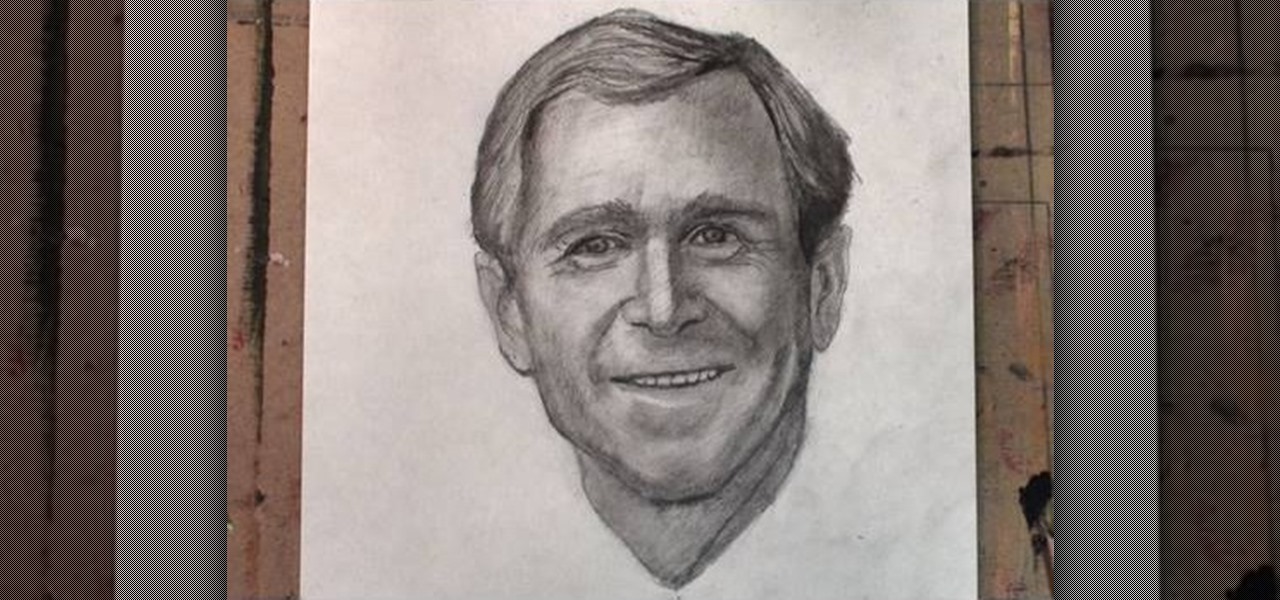
Commemorate the worst president in history by drawing his face to a lifelike representation and then having a dart throwing contest with your homeboys at the bar! This drawing tutorial, which teaches you how to sketch the face of George W. Bush, or W, is an excellent way to hone your targeting and aiming skills.

This is part one of two in how to make a beautiful tree of life pendant. It is very easy, and you'll only need a few items. Things you'll need: wire 2-3 mm thick, Round nose pliers, 4 pieces of thin wire, 12 inches long, wire cutters. With your round nose pliers, bend the thick wire about an inch form the end. Make a question mark shape, and twist the end around. Go down about 5mm, and make a 90 degree bend. Go across as far as you want, and make another 90 degree bend. Keep making bends unti...

Want to play the "Rudolph" Christmas carol on your guitar? Learn how with this video tab from Mahalo, which presents a detailed breakdown of the song's component chords and strumming pattern. While this guitar lesson is suited to those who already have some knowledge of the guitar, beginners should be able to follow along also given a little sticktoitiveness. Watch to get started playing the "Rudolph the Red-Nosed Reindeer" Xmas song on your own electric or acoustic guitar.

This video contains different techniques to draw Naruto Sage Mode. The first step is to draw the basic outline of the characters face along with the ears and nose. After completing the basic outline the eye outline and details are then placed. The Lips and nose are drawn third to finish the basic features of the character. Dark shading around the eyes must be completed to give Naruto sage mode more realism and detail. The hat is one of the last parts of the character created involving a simpl...

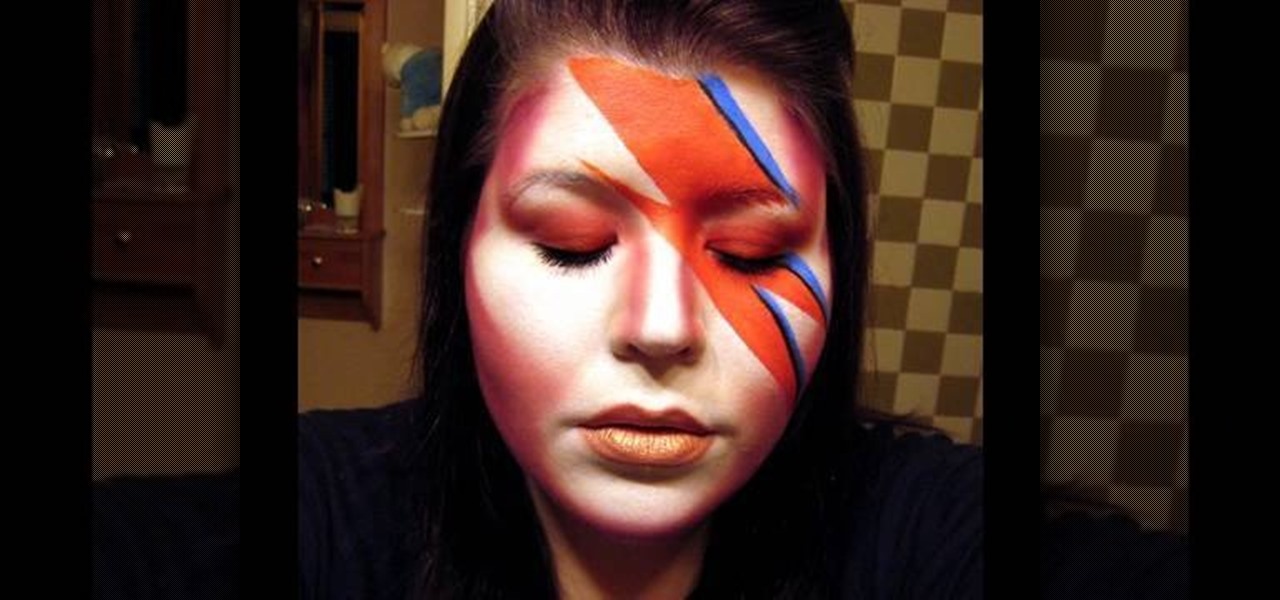
In this video we learn how to do Bowie-like inspired makeup. Start off by applying white makeup to the face all over around the lips and on the bridge of the nose. From here, apply red color to the side of the face and on the right eyelid going up to the corner of the face. Then, contour the nose with this same color, connecting the sides to each other. Now, apply red paint and blue paint to the face to create the design that is on the left hand side of the face. Once your design is finished,...

In this tutorial, we learn how to meditate with a visual guide. Begin my taking a slow deep breath through the nose and feel the air going through your body. Then, feel the exhalation leaving the body through the nose feeling the breath. Breathe deeply at your own pace and try to lengthen and slow the breathing. On the inhalation feel the coolness inside of the nostrils rising upwards. Imagine the air rising up into the forehead and going throughout your entire body. Imagine you are breathing...

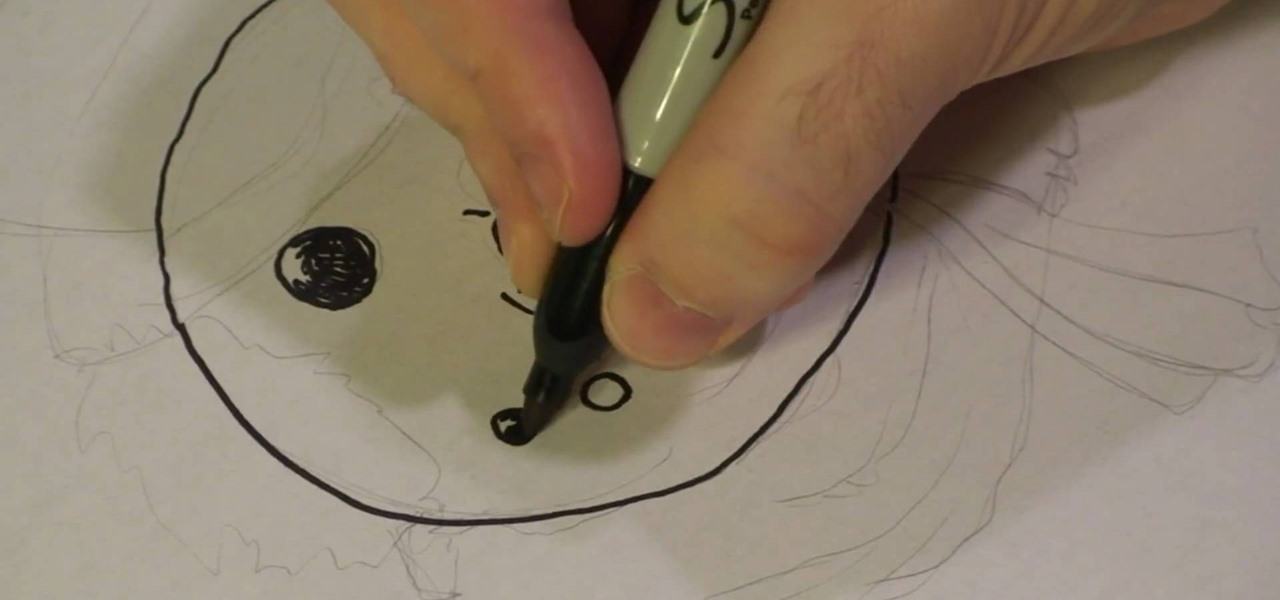
In this tutorial, we learn how to draw manga basics. First, you will draw a circle for the head, then make a point at the bottom for the chin. After this, draw in lines on the face so you can reference where the eyes, nose, and mouth will be. Then, you will need to decide what expression you're going to use. Once you have decided, you will need to draw in the eyes, creases of the eyes, and eyebrows. Then, you will draw in the nose and the mouth. The female eyes look different from the male's,...

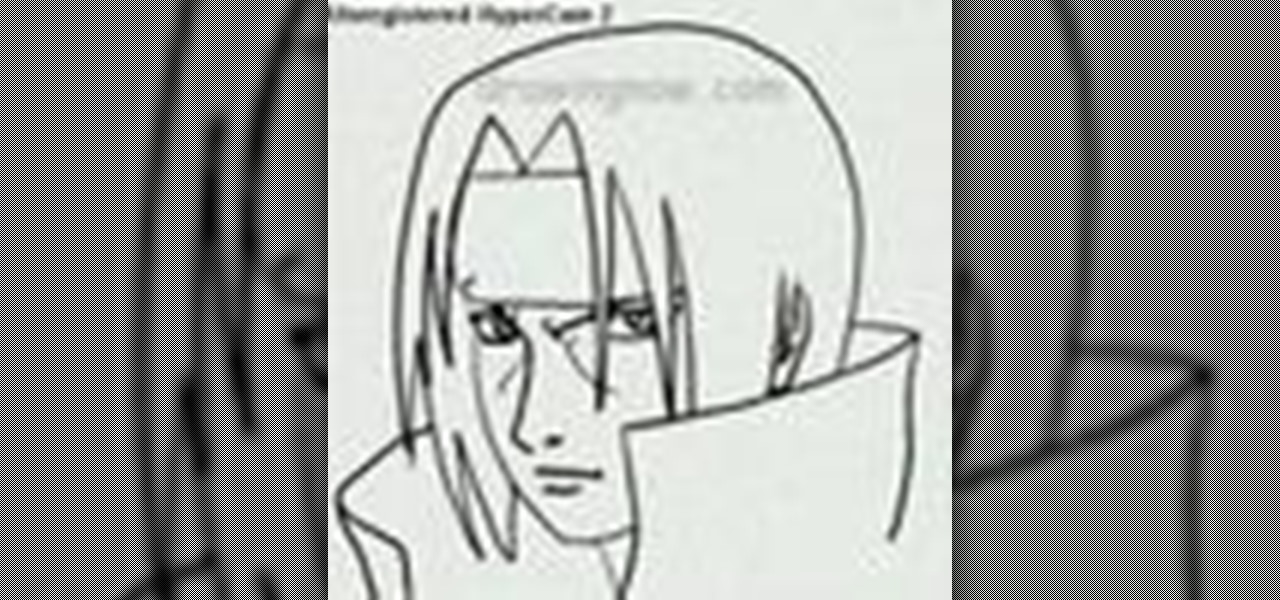
In this tutorial, we learn how to draw Itachi. First, draw your reference lines on the head so you know where to place the features of the face. Draw in the eyes, adjusting them so they are more towards the left of the face than the right. After this, draw in the bridge of the nose and the nose, as well as features of the cheeks. Next, draw in the nostrils and the mouth, as well as eyebrows and creases around the eyes. After this, draw in ears on the side of the head, then start to draw in th...

In order to make your own silver wire wrap earrings, you will need the following: sterling 20-gauge wire, chain nose or small round nose pliers, fine sterling wire, and multicolored crystal beads.

In order to make a hook for an earring, you will need the following: round nose pliers, a wire cutter, a nail file or sand paper, an ink pen, 20-22 gauge wire. With your round nose pliers, make little hook, in the end of the wire. Bend it, until it makes a little loop.

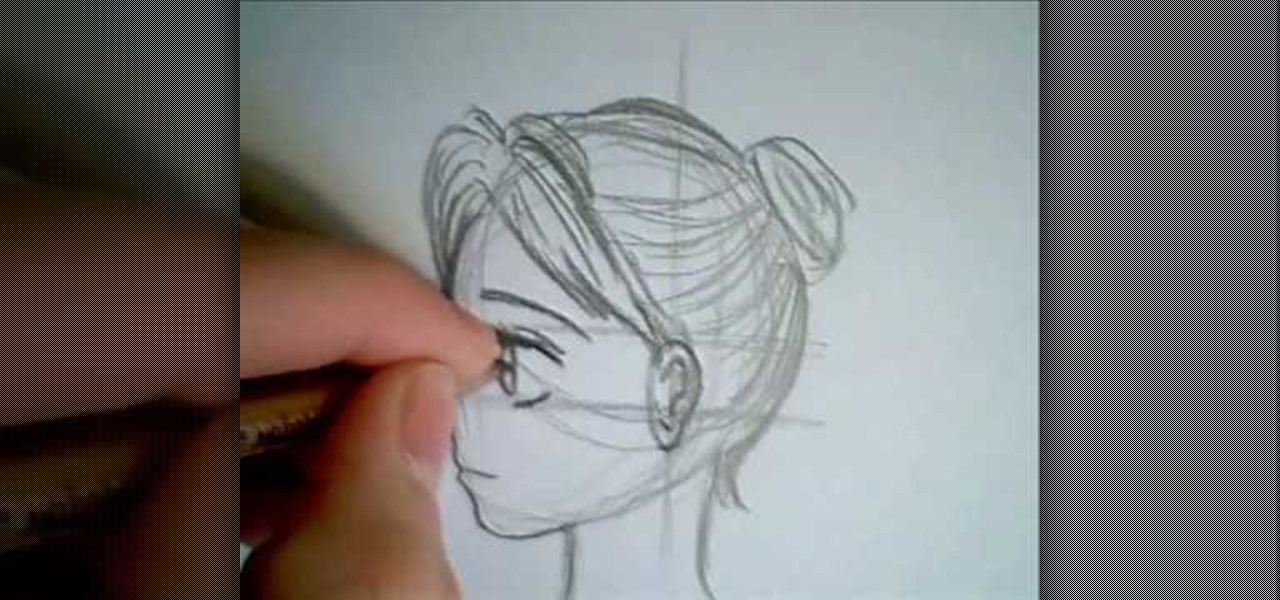
In this video, we learn how to draw a manga face sideways. start by drawing a round circle with a light pencil. After this, draw a chin that is from the side view. Next, add on the nose and make the chin look more prominent, like you are seeing the profile of the face. After this, draw on the ear to the center of the face, then start to add in further details. Make the eye and add shading by the nose to make it appear as though there's another eye. Add in eyelashes, then start to add in hair ...

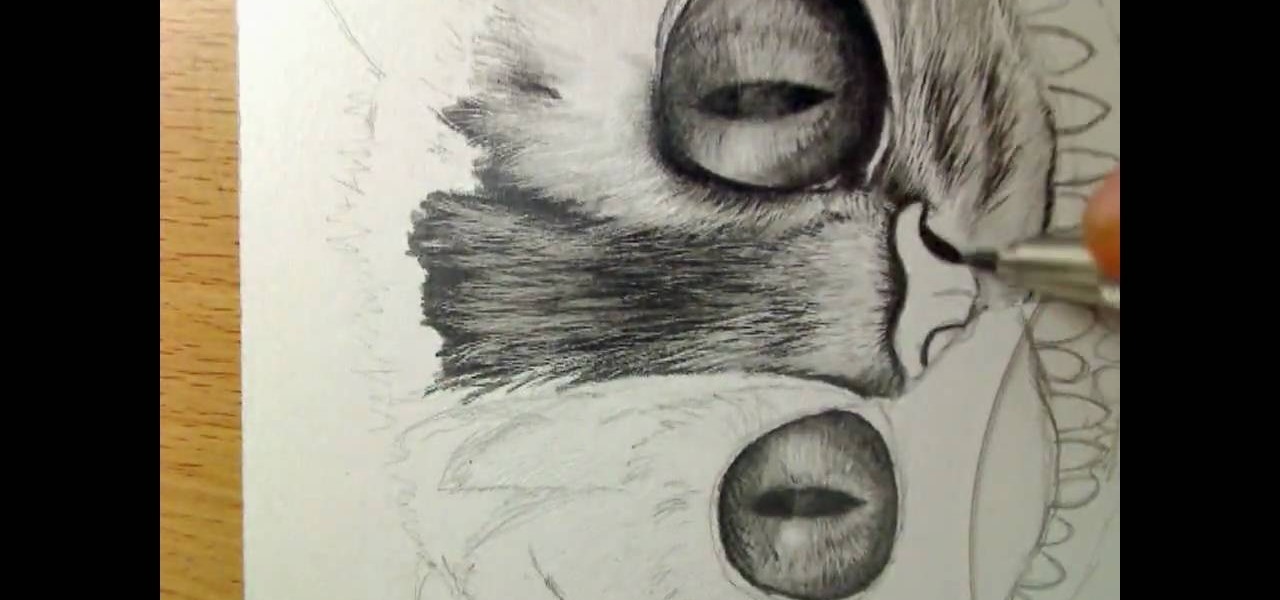
In this tutorial, we learn how to draw Cheshire cat in Tim Burton's Alice in Wonderland. Start out by drawing the large eyes, then drawing in the nose and face around the cat. Add in the many teeth, then draw on the ears of the cat. Shade in the eyes and make the pupils diamond shapes for a more realistic cat look. After this, shade in areas and make it look as though there is hair on the cat. After this, shade in the nose and add hair around the outside of the cat. To make this look more rea...

In this tutorial, we learn how to draw Bowser Jr. from Mario Brothers. Start off by drawing the nose, which has two large humps going to the chin. Next, draw his mouth, dimples, teeth, and nose holes. Next, draw in the eyes and eyebrows, filling in the pupils with small white circles in the middle. Make sure the eyebrows are pointed upwards, so it looks like he's glaring. Now connect the top of the head, followed by drawing the hair onto the top of the head. Next, draw on the arms and front o...

This video tutorial is in the Education category where you will learn how to use commas with restrictive and non-restrictive clauses. Restrictive and non-restrictive clauses are phrases or words that come between the subject and the verb. You don't use commas to separate restrictive clauses. For example, in the sentence "the students who did not wear uniforms were punished". Here "students" is the subject and "were punished" is the verb and the clause "who did not wear uniforms" is restrictiv...

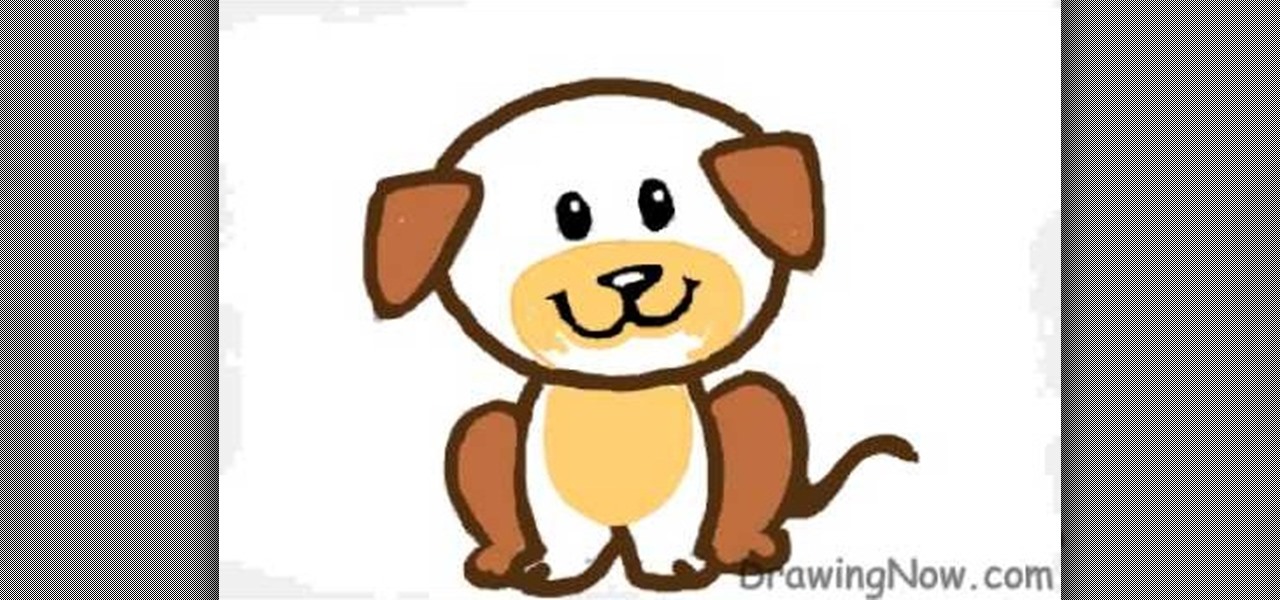
In this tutorial, we learn how to draw a cartoon puppy First, draw the oval head, followed by triangles for ears. next, draw the body underneath with four legs coming out of the bottom like the dog is sitting down. Add on a squiggly line for the tail next to the leg. Now, color the ears and back legs light brown, then add eyes, a nose, and a mouth onto the face. Draw a circle around the nose and mouth, then color in with lighter brown/tan color. Now, color the rest of the dog a darker shade o...

Draw a persons face with this lesson by a professional artist. Start with a basic oval shape. Draw a light guideline through the middle of the face, then a cross line where the eyes might go. Then, draw a line for the nose and mouth. This will leave your drawling divided in three sections. Next, you begin the eyes. Draw oval shapes on the eye line. Then, draw the circles for the middle of the eyes. Then draw in the brows. Next, begin drawing the nose then the mouth. Now you're ready to draw t...

Michael Weisner shows aspiring artists how to draw a snowman's face on a piece of paper using any writing utensil. In order to save time, Michael has drawn a rough outline sketch in pencil to give an idea of what the finished product should look like. However, it is not necessary to do this and by following the directions, one should be able to sufficiently draw a the snowman. First, begin by drawing a circle for the head and then two large circles for the coal eyes, adding detail to show tha...

This is a video tutorial describing how to draw a comic style woman character. The first step is to draw a circle in the top of the page that will end up being her head. Then you should draw about where her eyes will be in the end. Then you should quickly draw an online of her hair and quickly draw her outfit. Because it is a woman make sure to accentuate her waist. Then you can then go back and finish her eyes, then between her eyes and half way from the chin to the forehead draw her nose. T...

Seven easy basic art methods and steps to drawing Anakin Skywalker. The first 1-3 steps illustrates the basic drawing methods for the human head shape, and line placement for a basic human head. The fourth step illustrates basic drawing of the eyes, nose, mouth and ears. Step five illustrates the basic shading around the eyes, nose, ears and mouth. Step six illustrates how to add the shaping and styling of the hair and facial features. The final step illustrates how to shade the hair. It also...

In this tutorial, Artbeads gives us a tip on how to open and close jump rings on a bracelet. First, take a pair of chain nose pliers and hold one side of the jump ring. Then, take a pair of needle nose pliers and pull the other side of the jump ring. Twist the ring by twisting side to side with the pliers to open and then attach your charm. Don't open any other direction, this will cause the jump ring to become weak. Close it by pushing it back in the same side to side manner. Repeat this to ...

TVLessonDotCom teaches you how to draw a person's face from the front. Start with a basic oval shape. You can do this part in pencil and then erase it. Use a vertical cross line and a horizontal one. Add two more horizontal ones to break the face into sections: hairline, eyes, nose and mouth and then chin. The eyes are small oval shapes. You can also create a small circle in the middle and then eyebrows. Draw the nose next and then add the mouth. Everything must be in proportion, so the verti...

This video teaches you how to make a steampunk bunny. You want to start off by making a blob with a fairly light color. Then you want to use a sharp stainless steel tool to create a round head. Make sure to make the head of the bunny is forwarded a little bit so that it looks like a bunny. Next, using your hands create a tail in the back of the bunny. Insert one of the bigger eyes using the little wire. Go ahead take your tool and carve out the nose, the cheeks and the mouth. Next you want to...


