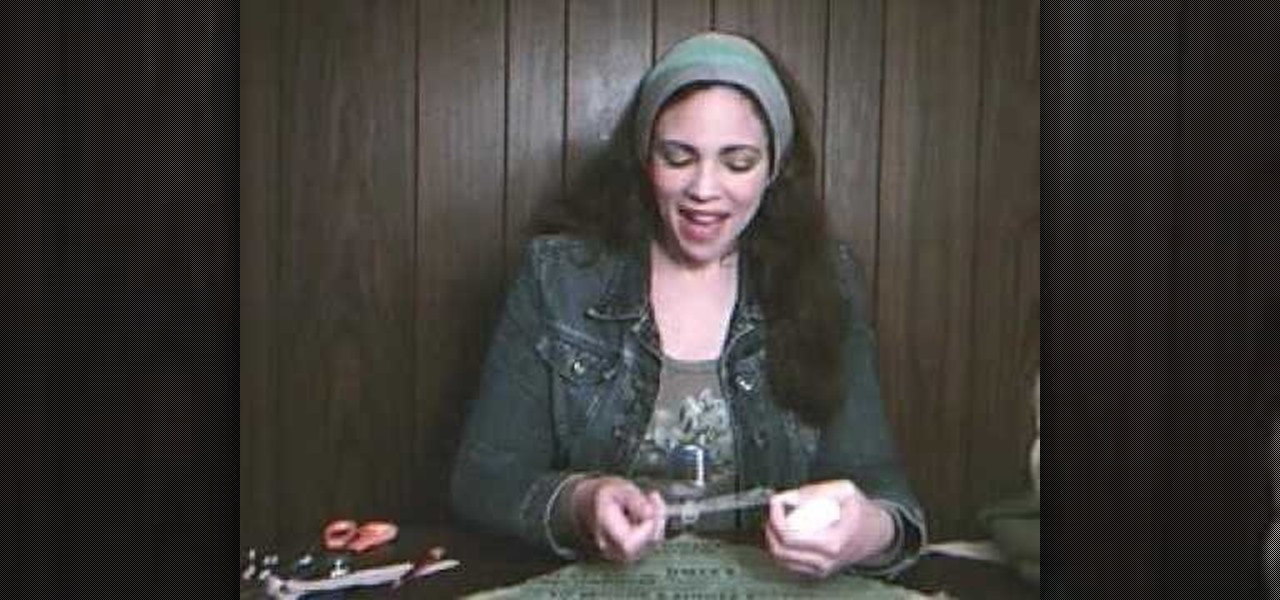
In this tutorial, we learn how to recycle an old t-shirt into a no-sew head scarf. First, lay your shirt out flat on a table and download the paper pattern from the video. From here, measure sixteen inches from side to side on the t-shirt that you are using. After this, follow the paper pattern on the shirt and cut out the pattern with scissors. Once you have finished this, use a fabric bonding agent to make the edges less frayed and fold them into each other. This is great for the environmen...
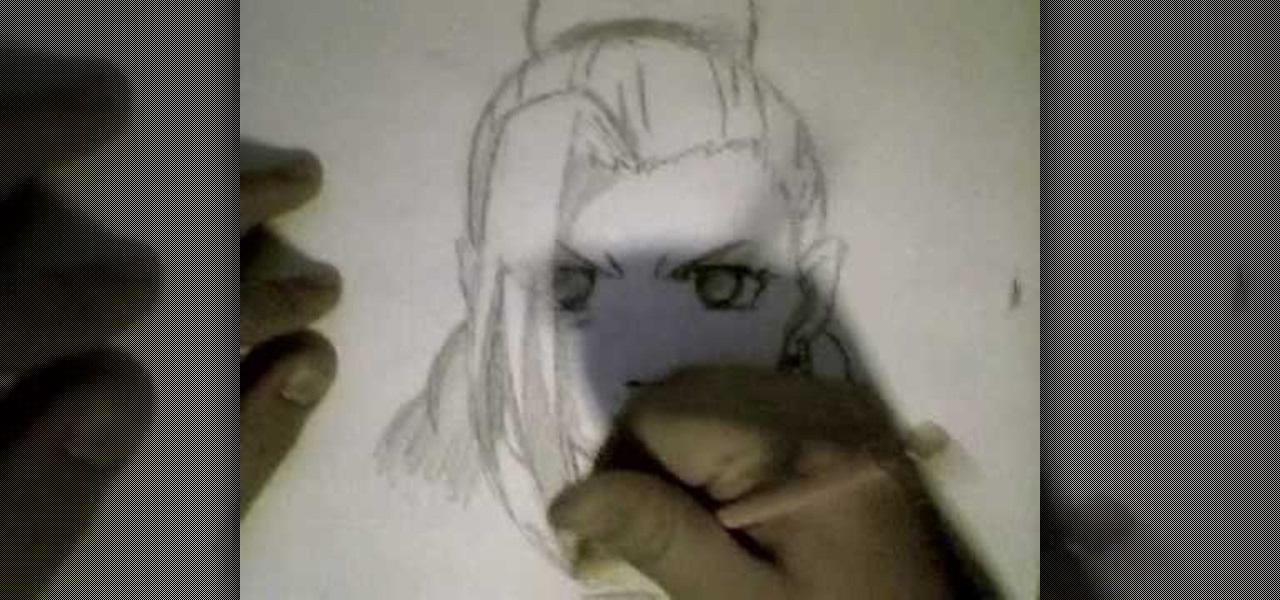
In this video, we learn how to draw Ino from Naruto. Start off by drawing a circle for the head, then drawing lines in the middle to create reference for where the facial features will go. After this, draw in the hair on the top of the head along with the eyes, eyebrows, and creases of the eye. Then, draw the jaw line around the face and erase the lines you used for reference. After this, add in additional lines and hair to make it look more realistic. Use shading around the face to show ligh...

In this tutorial we learn how to make a Universal Soldier eye. You will need: old head set, cardboard, hot glue gun, screwdriver, pen, flash light, knife, saw, black paint, and masking tape. First take the cardboard and cut it out into two rectangles. Place these around the headset and stick a rectangle in the eye piece. After this, you will connect the flashlight to the side of the head piece. Once finished, you can spray paint the entire eye piece and then wait for it to try. When done, wea...
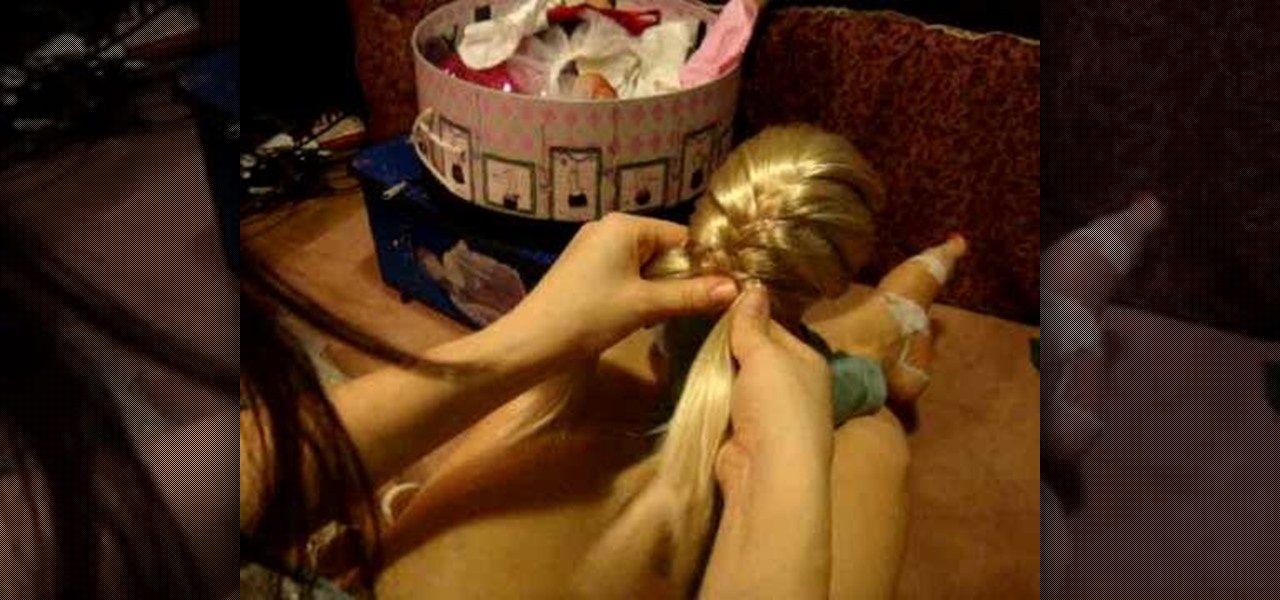
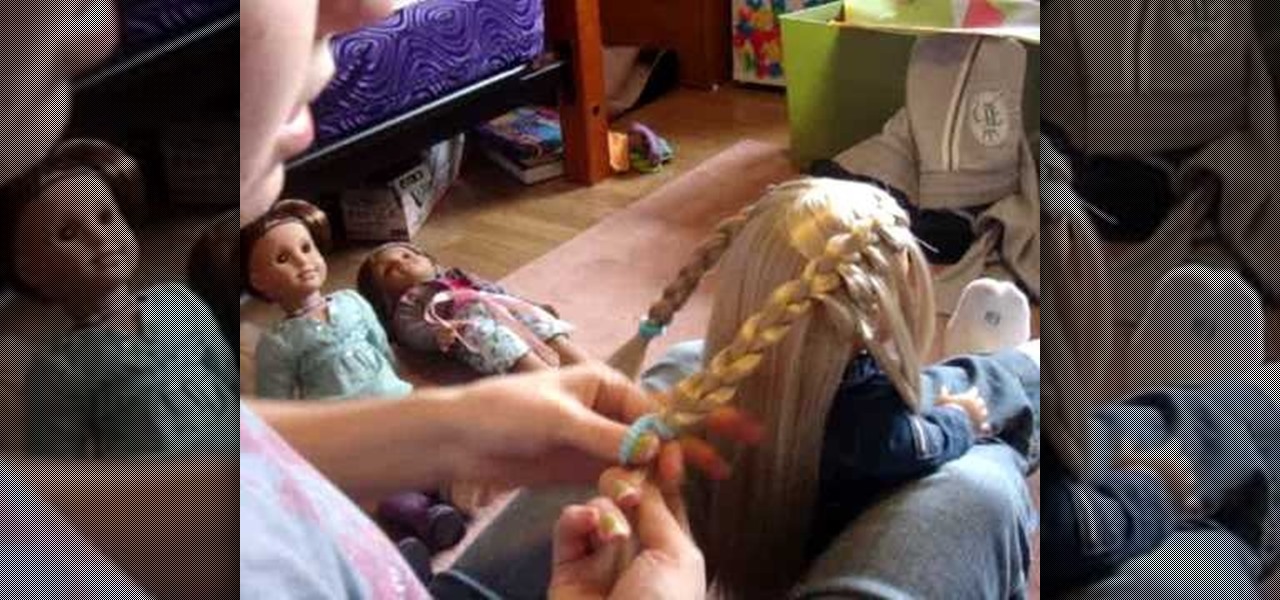
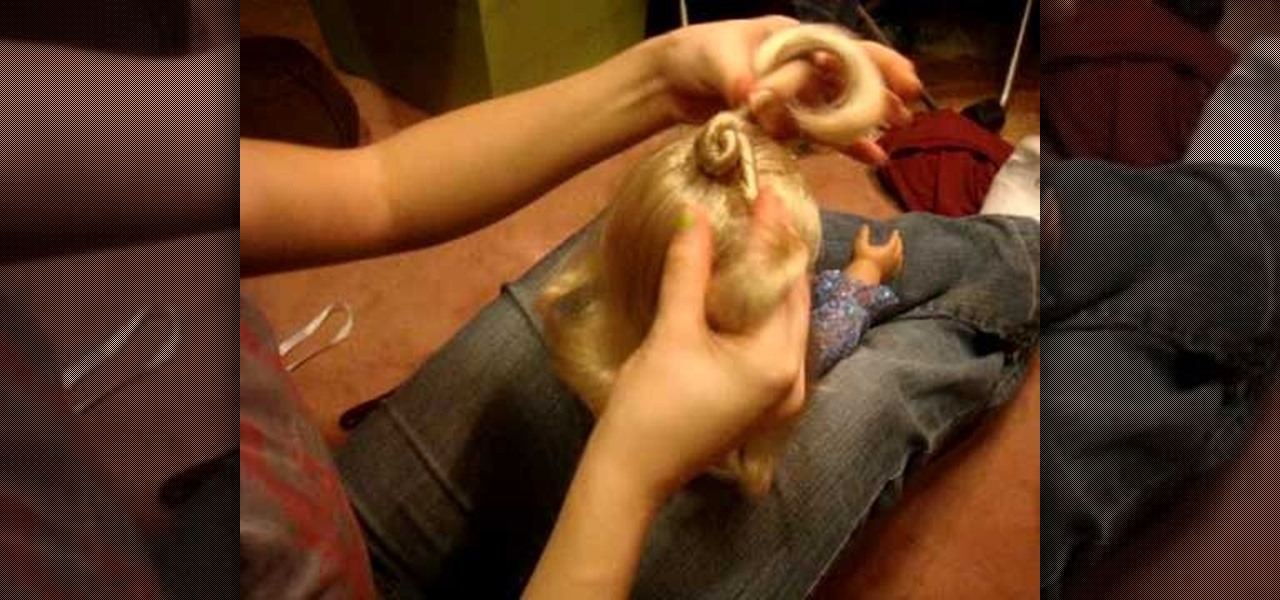
In this video, we learn how to do a fishtail variation on your American Girl doll. First, brush the hair out so it's smooth and then take a section from the top right side and top left side. Cross these together on the back of the head and then grab another piece of hair. Start to braid these together and push them from side to side. Alternate grabbing pieces of hair from each side of the head, making them as big or little chunks as you want to. As you continue to cross the hair, you will rea...

In this tutorial, we learn how to draw a skull. First, draw the outline for the skull. Remember not to draw the hair on the head, because skulls do not have these! After this, you will draw on the cracks to the top of the head and shade around them. From here, draw in black on the inside of the eye sockets. Then, draw the lines around the eye sockets. From here, draw the area for the nose and then the teeth. Next, you will draw in the jaw line and add in additional shading and lines to finish...
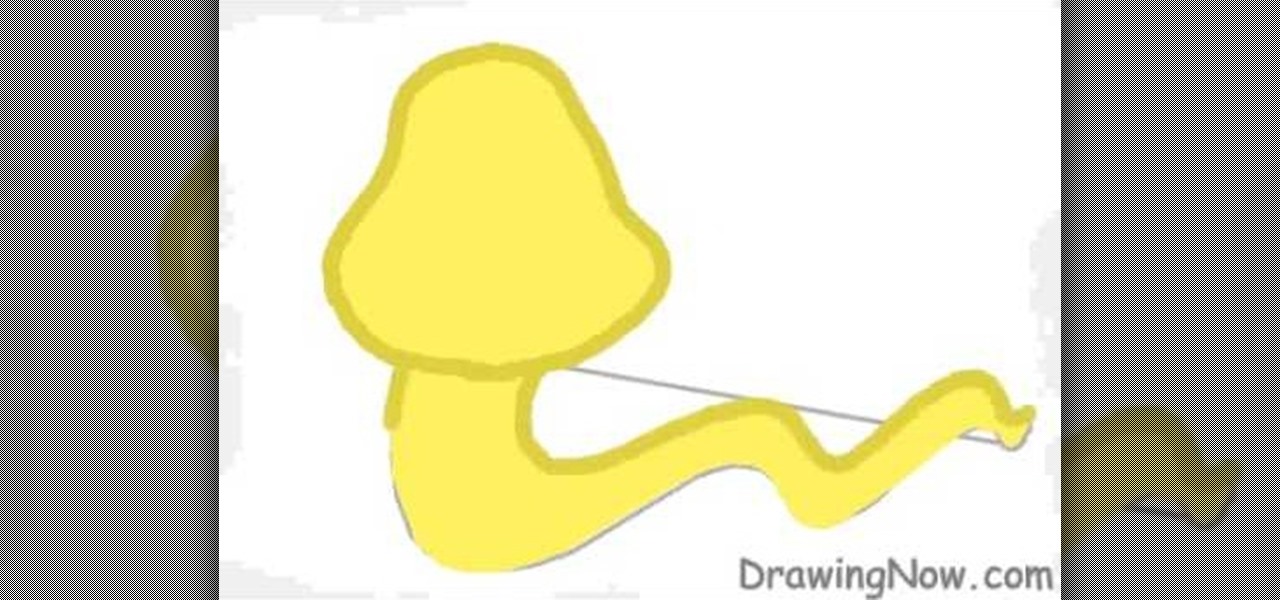
In this tutorial, we learn how to draw a cute snake. First, draw a bell shape for the head, then draw a thick squiggly line for the body of it. After this, color the snake yellow and then outline it with a dark green color. From here, add stripes to the snake in hot pink. Next, you will draw on the face to the snake. Make sure to give it a friendly smile and draw the stripes on the top of the head. Next, you will draw on the tongue, giving it a long one with two triangle edges. This will fini...

In this tutorial, we learn how to do a cute Easter updo on your American Girl doll. To do this, you will first take the hair from the top of the head and section it off into smaller pieces. Then, repeat this same step throughout the head of hair until you have a bunch of different ponytails. From here, you will need to braid these together using three of the ponytails. When finished, you will tie the ends with rubber bands. This will complete your cute Easter look for your American Girl Doll!...

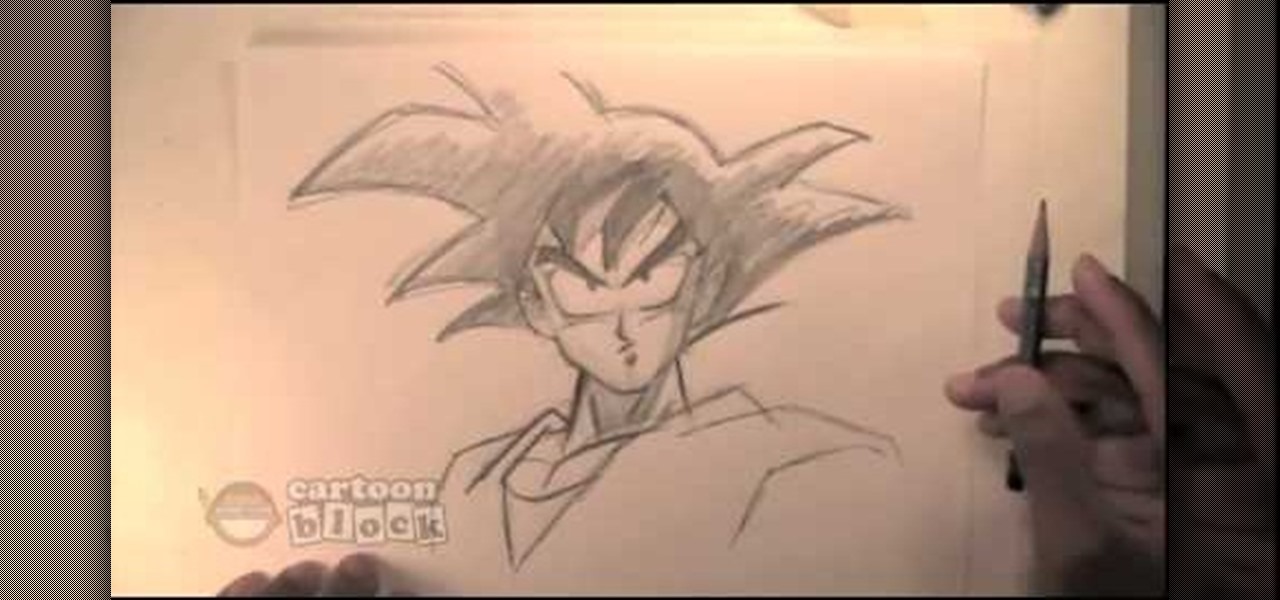
In this tutorial, we learn how to draw Goku. First, you will start drawing the outline of the face, including the features of the face. After this, darken around them by drawing with the pencil. From here, draw in the hair on the top of the head and the ears on the side of the head. Next, you will draw in the neck and the rest of the body as well. Add in lines on the body to show the contours and the muscle on the body as well. Finish this off by adding in shading and erasing any background l...

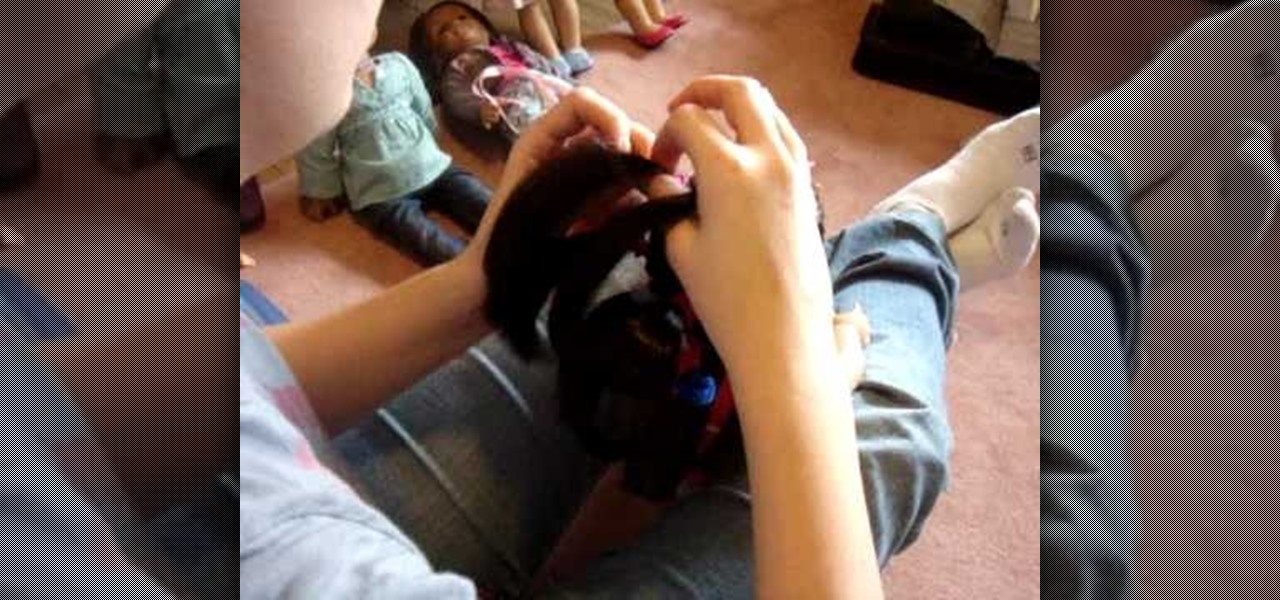
In this tutorial, we learn how to do floating braids on your American Girl doll. First, take a small section from the top right side of the head. After this, brush it out and split it into three parts. Then, braid over three times and take a piece from the top and instead of adding it in, put it in the front over her arm. After that, braid over and take a section from underneath. Add this into the braid and then go over. Now, repeat the same process by putting the section of hair to the front...

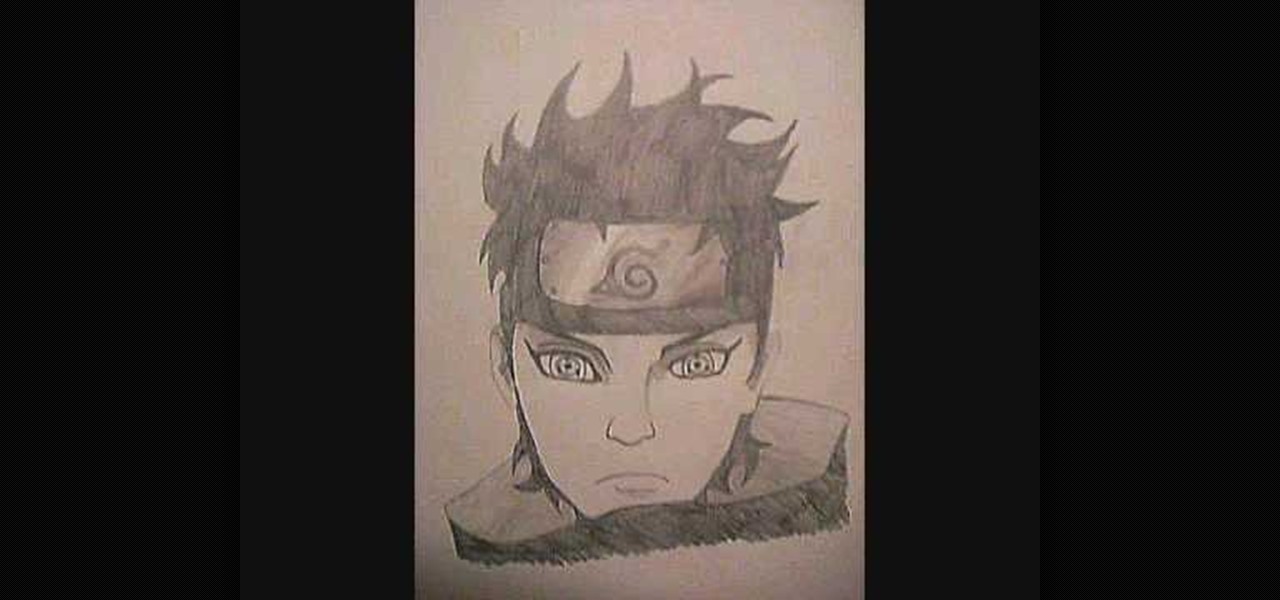
In this tutorial, we learn how to draw Shisui Uchiha. First, draw the outline of the face. After this, draw in the eyes pushing on the pencil harder to make them darker. Then, draw in the band around the forehead and draw in the details of the face as well as the facial features. Add in lines on the face to make it look more realistic and aged. From here, draw in the hair on top of the head, adding a lot of lines to show the strands. From here, draw the shoulders on the body under the head an...

In this tutorial, we learn how to be powerful & get inside a girl's head. To pick up a girl, you need to be confident and engage a girl. Women over the age 22 want to be engaged and want guys to be confident with them. They also want men to listen to them! Getting the phone number, getting her to think about you is what its all about. When you go in weak and don't listen to a girl, she is not going to respect you or think about you later on. Use these tips to help get a girl, enjoy!

In this video, we learn how to do a cute hairstyle on an American Girl with layered hair. First, brush the hair back until it's smooth. Then, pull the front section of the hair back, going off from where the eyes end. Then, you will pull it up into a ponytail. After this, you will take a section from the side of the head on both sides. Then, you will bring these together in the back of the head and tie together with a ponytail holder. Now, take another section lower down on the had and repeat...

In this video, we learn how to do the triple nifty knots hairstyle on your AG doll. First, comb the doll's hair back and then take the hair from the crown of the head. Put this into a ponytail and then secure with a rubber band. After this, section the tail off into two parts and twist them individually. Then, bring these around each other and create a bun at the top of the doll's head. Secure this with a rubber band. Do this with two other sections of the hair on the left and the right. When...

Is it two hours before that big frat Halloween party, and you've got little cash and very few places you can go to pick up a last minute costume? Then check out this tutorial to learn how to make a prank pizza zombie face mask.

In this video, we learn how to draw wolf eyes. Start out by drawing the outline for the wolf head. Then you will draw the eyes in an almond shape dragging downward on the nose. After this, zoom in on the eyes with the computer and then fill in darker lines around the eyes. Draw in the pupils on the eyes and add in the details for the corners of the eyes as well. If you want to draw wolf eyes from a side view, draw the outline of the head to give you reference, then draw the shape of one of th...

In this tutorial, we learn how to make stencils in GIMP. Start with heads or faces if you are new to this. Then, use the rectangle tool to select the head. Then, go to image and fir canvas to selection. Now, remove the background by using the background tool. Once finished, go to colors, then threshold. The image should turn black and white. Turn the dial to the right, then turn it to the left to make it lighter and darker. Find the spot to where it shows detail but it's not distorted, then h...

This is a video tutorial in the Sports category where you are going to learn how to play offense in a game of soccer. The forward soccer position usually stays on the offensive side in order to score goals. Adrian Heath, head coach, shows you how to play the forward position properly. This is going to be a very easy and simple drill. All you are looking for is a nice little floating pass over the defender's head to your own player in the forward position. And the forward player then tries to ...

In this video, we learn how to create the perfect flat iron curls. Start with the back of the head, taking a section for the size of curl you want. Then, stick your hot flat iron in at the root and turn the iron 90 degrees. Slowly pull it through all the way to the end, going slowly. Give an extra twist at the end, then wrap the hair around your fingers at the root and set the hair down. Hair spray this, then continue to curl the hair on the entire head. Then, loosen the hair up with your fin...

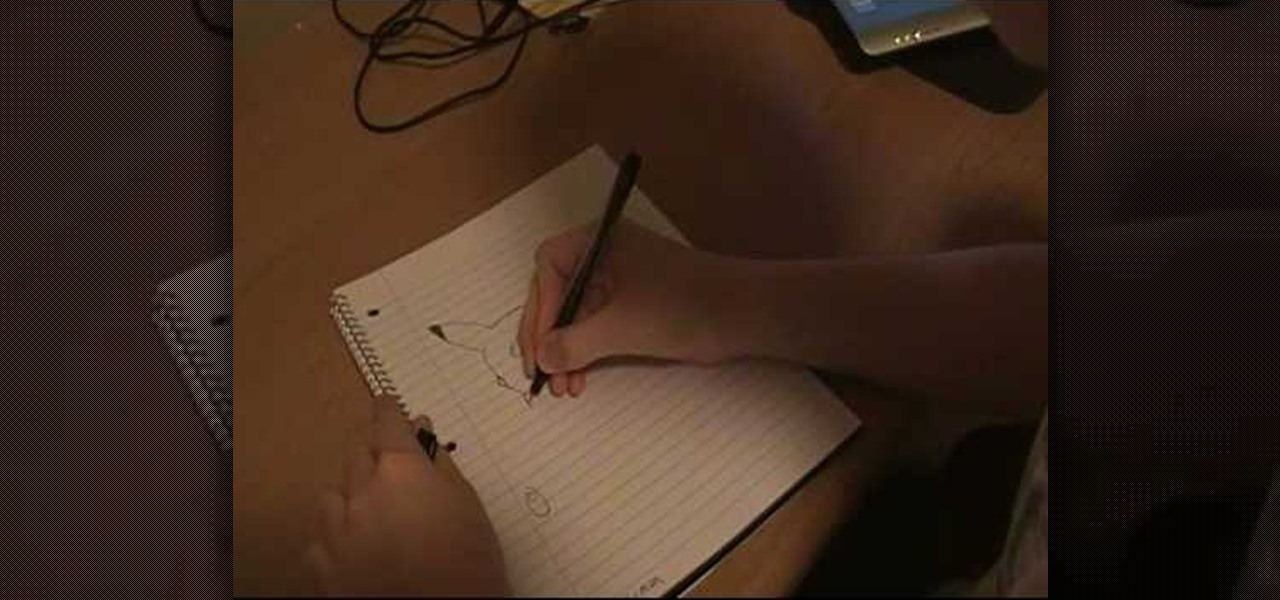
In this video we learn how to draw Pikachu from Pokemon. First, draw the ears and the top of the head. After this, create the sides of the head and color in the tops of the ears. Draw in circles for the eyes and then draw in the nose, cheeks, and smile. Continue on to draw the rest of the body and the details of the chin of the character. Add in the details for the side of the body and then add in shading and body lines wherever possible. When you are finished, share this with others and be a...

In this video we learn how to make an elegant paper hat. First, place the paper over the head and lay it down. Then, have the person hold the hat while you find their nose and attach tape from this and around the entire head. Once you are finished going around twice, then you can wrap up the excess parts of the paper towards the top. Use a stapler to staple down the sections of paper that you have rolled up. Do this all the way around the hat and then add on different items and accessories to...

In this tutorial, we learn how to draw Sango and Kilala. Start out by drawing a circle and reference lines for the head, then draw a stick for the body and draw a half circle going off the bottom of the page. Then, draw circles on the upper body to create the hands and draw fingers coming off of those. Now, draw in the neck and the clothing that is on the character. Erase the background lines, then all in the features of the face and the hair around the head. Also make sure to draw on the ear...

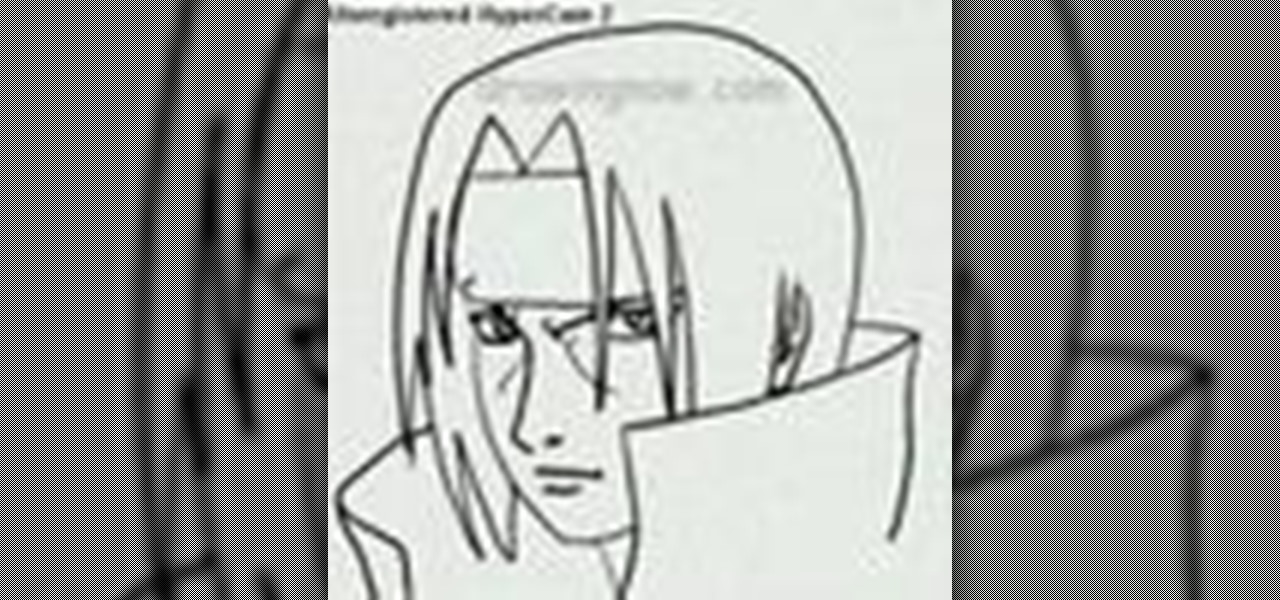
In this tutorial, we learn how to draw Itachi. First, draw your reference lines on the head so you know where to place the features of the face. Draw in the eyes, adjusting them so they are more towards the left of the face than the right. After this, draw in the bridge of the nose and the nose, as well as features of the cheeks. Next, draw in the nostrils and the mouth, as well as eyebrows and creases around the eyes. After this, draw in ears on the side of the head, then start to draw in th...

In this tutorial, we learn how to draw Rock Lee. First draw a circle for the head, making a chin underneath and using lines to reference where the facial features will go. After this, draw eyes that are slightly aligned to the left hand side of the face. The right eye should be larger than the left, both off center. Then, draw two dots for the nose and a "u" shape for the mouth. After this, draw a larger circle around the head and then draw in angry eyebrows above the eyes. Start to erase the...

In this tutorial, we learn how to draw Train Heartnet. Start off by drawing a circle for his head, then lines in the head for reference of where the features will go. Next, draw a stick for the body and draw circles where the shoulders and wrists would be. After this, draw in the neck and the upper body. Draw in the clothes after this, adding in as much detail as you would like. Make sure to add in shading and lines to make the clothes look more realistic. Next, you will need to draw in the f...

In this tutorial, we learn how to draw Marik Ishtar. Start with the outline of the head (in a circle shape) and draw the reference lines around the front of the face. After this, draw in darker lines around the features of the face and start to add in details throughout the entire head. Draw in hair, a nose, eyes, ears, and everything else. Once you have finished with this, draw in the neck of the character and then the shoulders. After this, finish the hair off on the back of the had, then a...

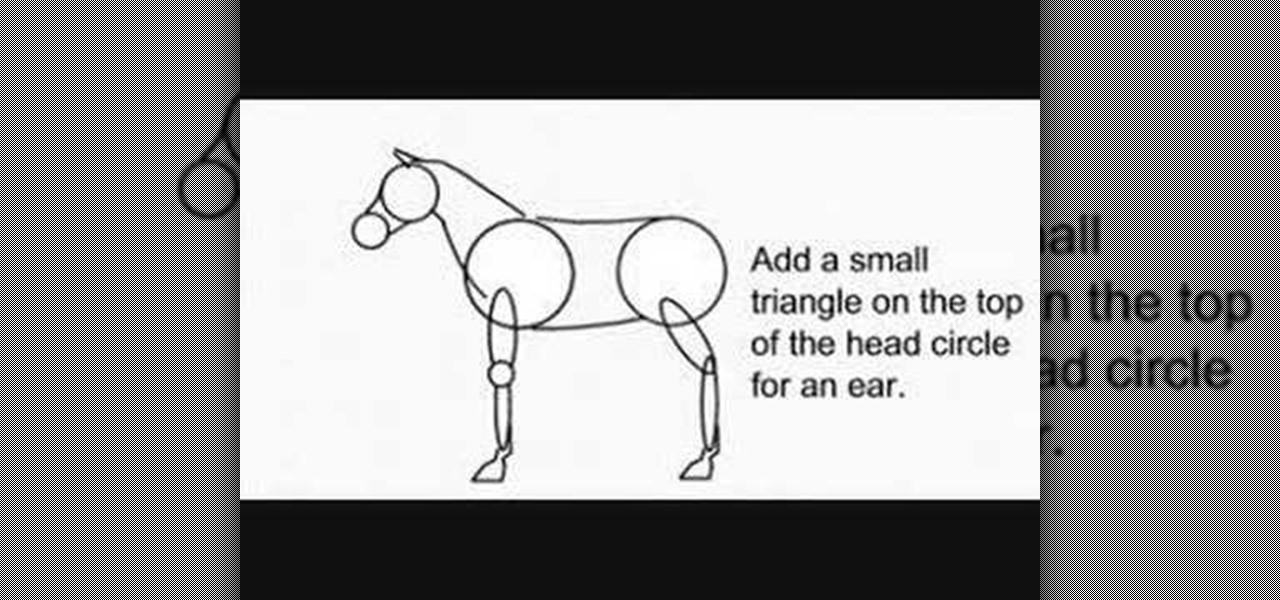
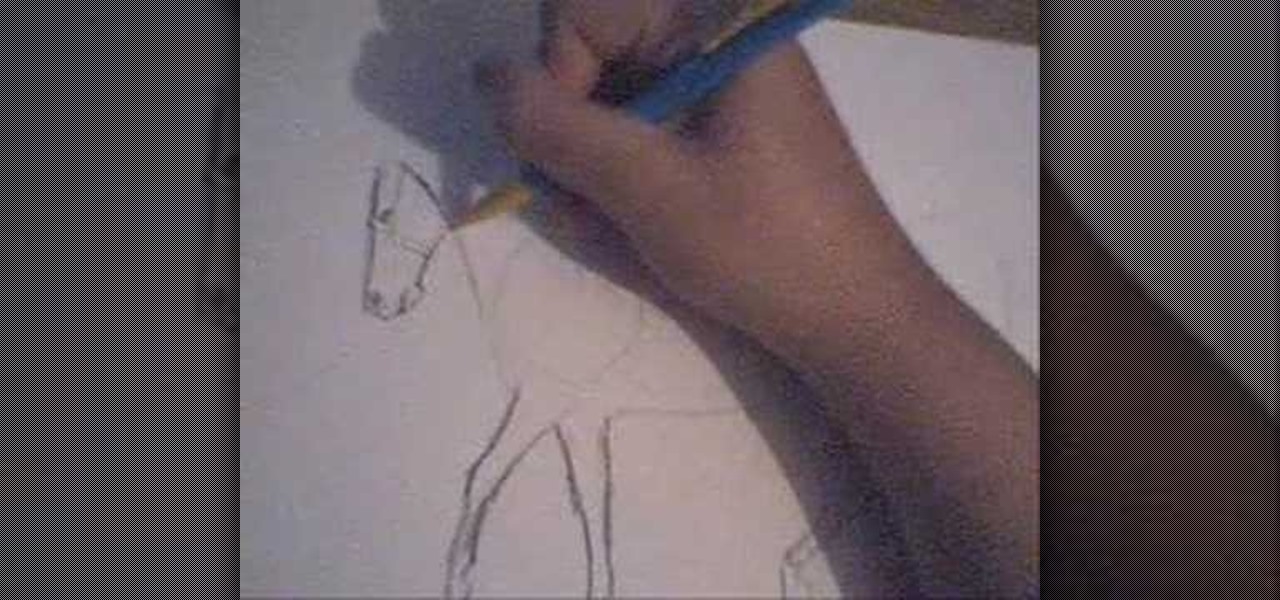
In this video, we learn how to draw a decent horse. First, start with two circles connected by two curved lines. Next, add a sausage for the top of each leg and add a small circle for the front of the knee. Then, add another for the lower part, and add two hoof outlines at the base of each leg. Then, add the back of the hooves. Next, draw two more lines that are far apart at the bottom and narrow at the top for the neck. Then, draw two circles for the top of the head and the muzzle. Join the ...

In this tutorial, we learn how to draw Axel. Start out by drawing the head, then add in the facial features including the eyes, nose, ears, and mouth. After this, draw in the spiky hair that goes around Axel's head. Next, draw the neck and shoulders. Continue to draw down the body until you reach the feet. Add in the details of what the character is wearing, using lines on the clothing to make it look more realistic. After this, you will need to draw in shadowing on the drawing to make it loo...

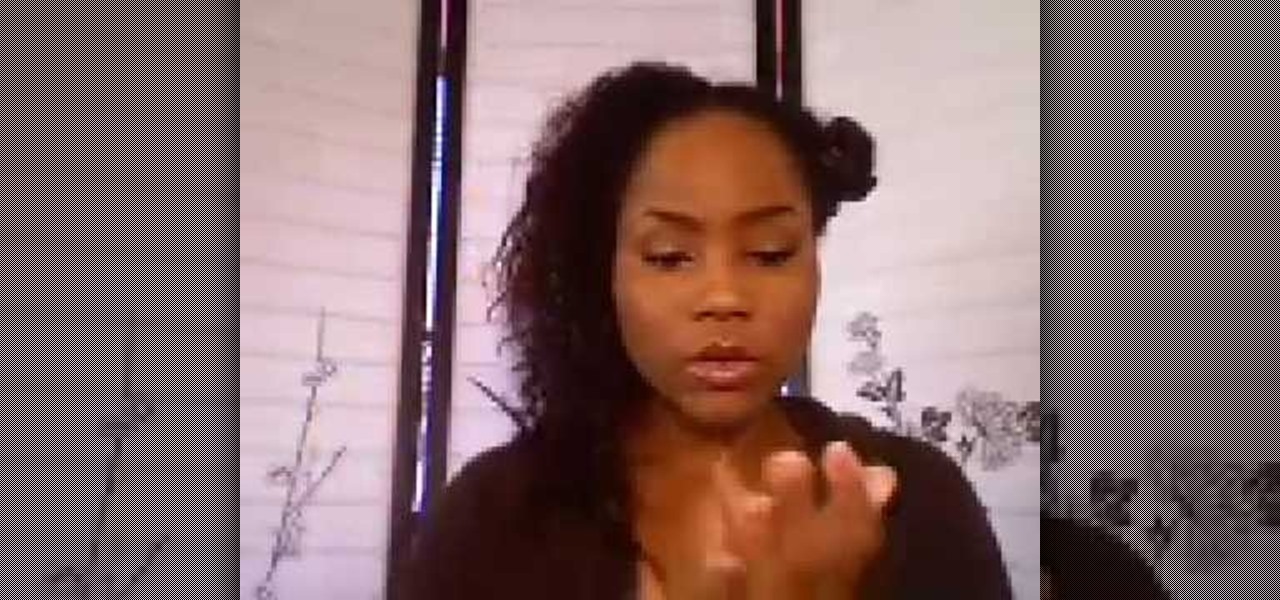
In this tutorial, we learn how to style natural curls. First, spray some water in your hair all over the place so it's just damp but not completely wet. After this, you will need to put the moisture back in the tips of your hair so it's healthier. To do this, you will need to use any moisturizer that works with your hair type and gently work it into the tips of your hair after working into the palms of your hands. Also put this in the underneath section of your head and then work through the ...

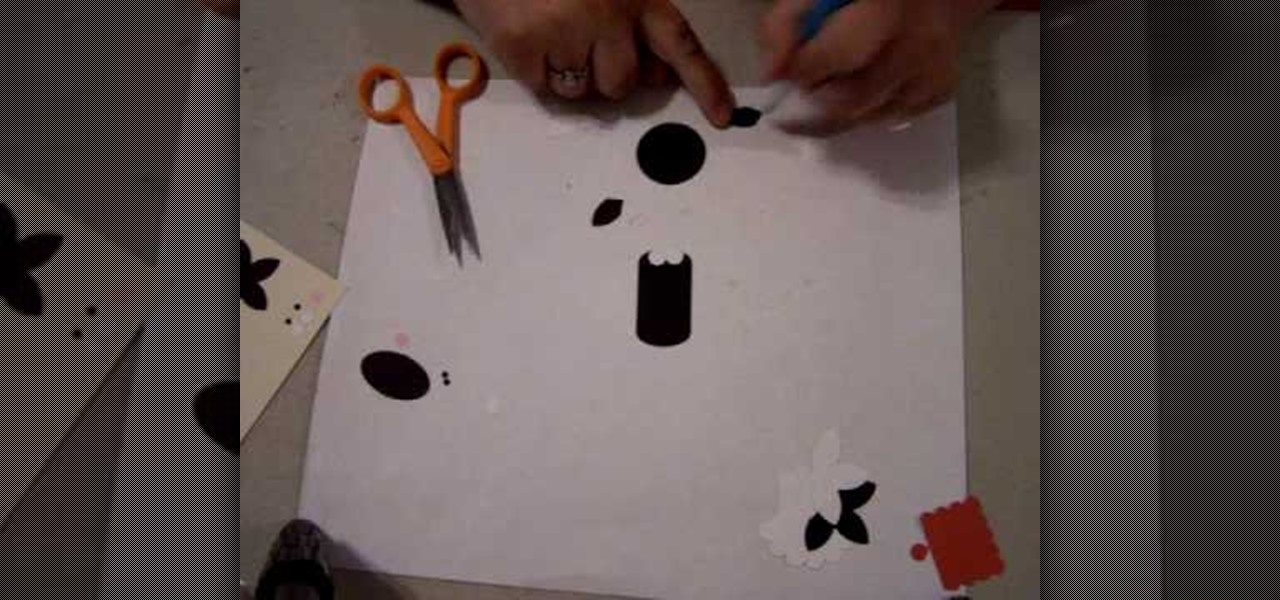
In this tutorial, we learn how to make a cat punch using Stampin' Up! products. First, you will need to use the: circle scalp punch, circle punch, oval punch (black and white), and five petal punch (black and white). You will also need two small circles each of black and pink for the eye and cheek area. Once you have all of these punched out, you will be able to assemble the head. Use the circle as the head and apply the white and black circles in the middle for the eyes. Use the flower punch...

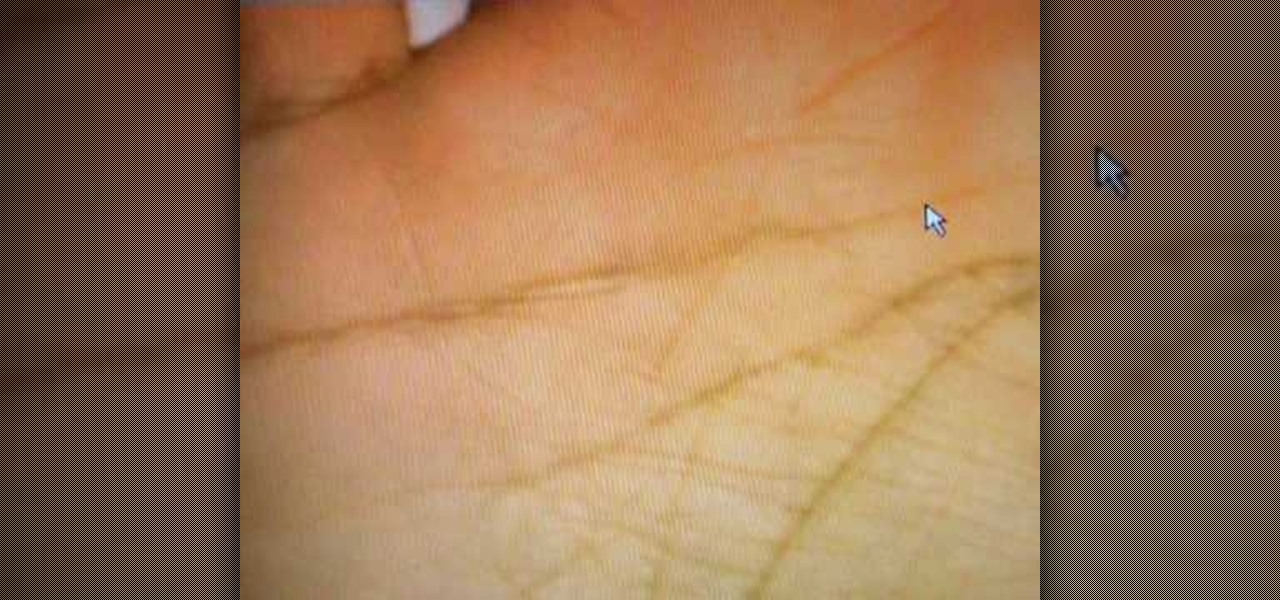
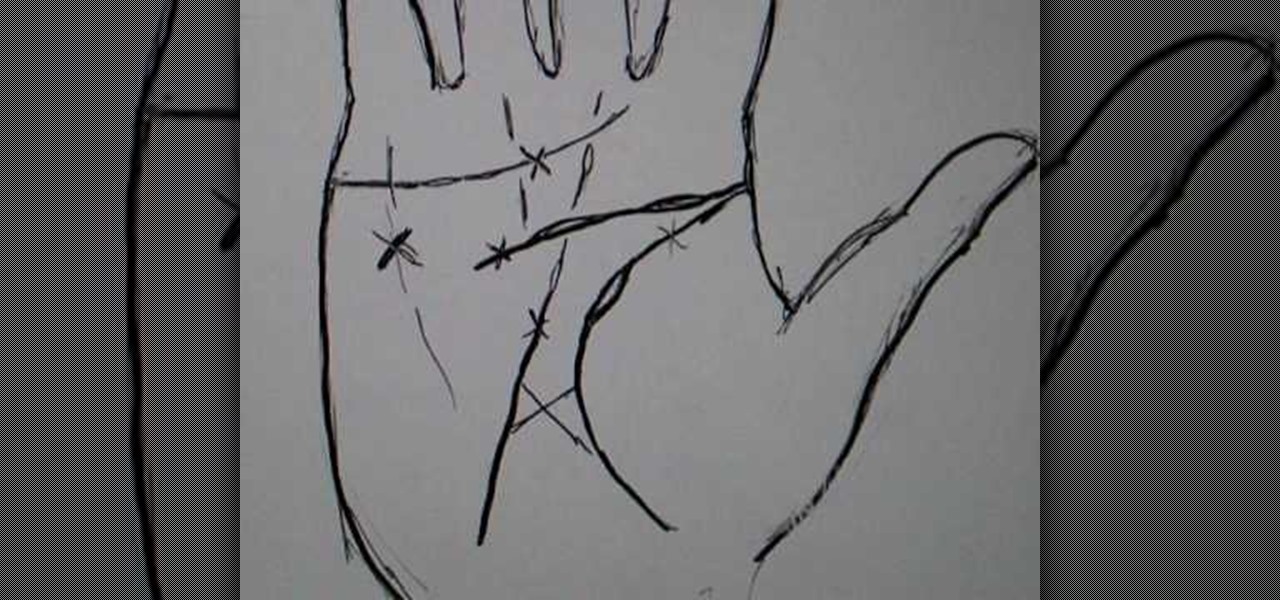
In this video, we learn how to palm read the straight heart line and head line. If the thumb is farther away from the hand this means they like to spend money a lot and don't hold onto it. The line across the top of the hand that is straight is very rare. Islands on this line mean there is a setback in this person's life doing with love. Lines underneath the fingers shows someone who is helpful and hard working. The heart line shows the emotions of someone and how they feel about themselves o...

In this Spirituality video tutorial you will learn how to palm read; crosses and islands on the main lines. These very often come on the main lines and sometimes they show a lot of changes in the person's life. If there is a cross on the heart line, it implies an emotional change. It could be a divorce. Islands on the heart line imply upsets; like an upset in marriage. Islands in the head line are often there because of a slowdown, may be they have changed their thinking or may be they have g...

In order to make an adjustable cable necklace, you will need the following: 20 inch adjustable cable chain, a slide bead frame, 2 head pins, 8 mm bi-cone, 8 mm crystal, 2 6-mm round rondells, 2 7-mm jump rings, a pair of nipper tools, a pair of round nose pliers, and a pair of chain nose pliers.

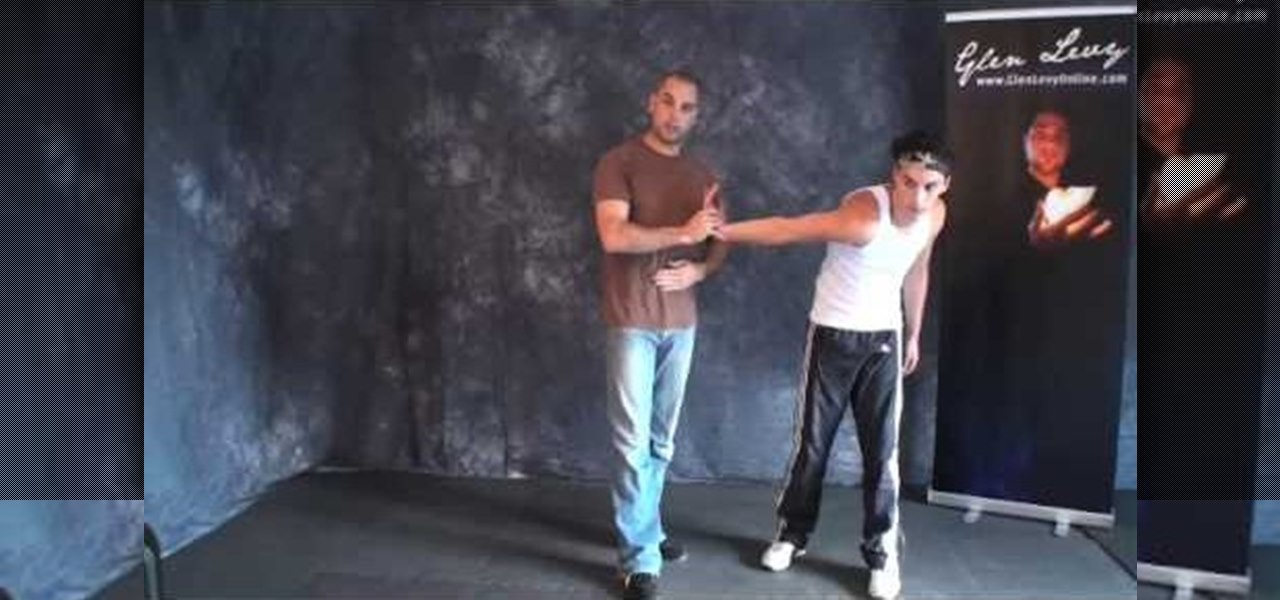
In this video, we learn how to perform a forward wristlock: "Ura gyaku". Instead of twisting the wrist to the right, you will twist it to the left. When everything in the arm is straight, it will help lock the wrist better instead of it being bent. Keep the arm straight and the elbow flexed, then align it with the face. Turn it over using the same muscles between the bones and the head, then flex the shoulder and elbow towards the head. Drag it, then you will have this type of wrist lock comp...

In this video, Peter John teaches us how to palm read the heart and head line on the palm. When you see the heart line come across the mounds of Jupiter, you will be able to tell if someone is going to be wealthy. If the heart line is broken up, this shows the person has extra emotions. The heart line going towards the mounds of Jupiter is someone who is looking for a perfect mate to be with. When the heart line crosses and goes between the first and second person, it means that this person i...

Pendants are like the stars of your necklace. Without them, you'd only have a boring necklace chain or cord. Pendants add excitement to a necklace as well as show off some of your individual style and charm.

In this video, we learn how to draw a horse. First, draw the outline of the horse's body. Start with a circle for the head and wispy lines for the rest of the body. Make large shapes that connect to see where the mass of the body will be. Next, draw in the head, tail, back, and legs of the horse. After you have the outline finished, erased the lines inside of the picture. Now, draw in details on the horse. Add in lines to show where the hair is, then draw in the nose and eyes to the face. Als...

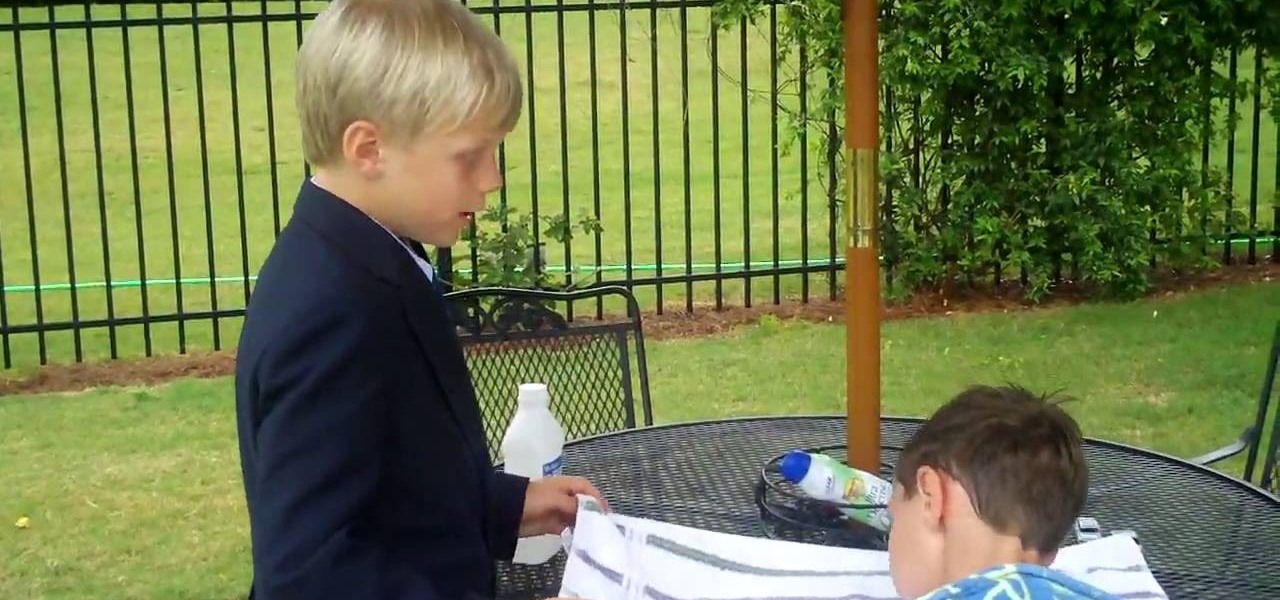
In this video tutorial, viewers learn how to get water of their ear. The materials required for this task are a towel and rubbing alcohol. Begin by laying out the towel on a table. Then place the head on the towel and cover part of the towel over the face. Have another person pour the alcohol into the bottle's lid and then pour it into the patient's ear. Now move the ear and wait for several seconds. Then turn the head over. This video will benefit those viewers who enjoy swimming, and would ...

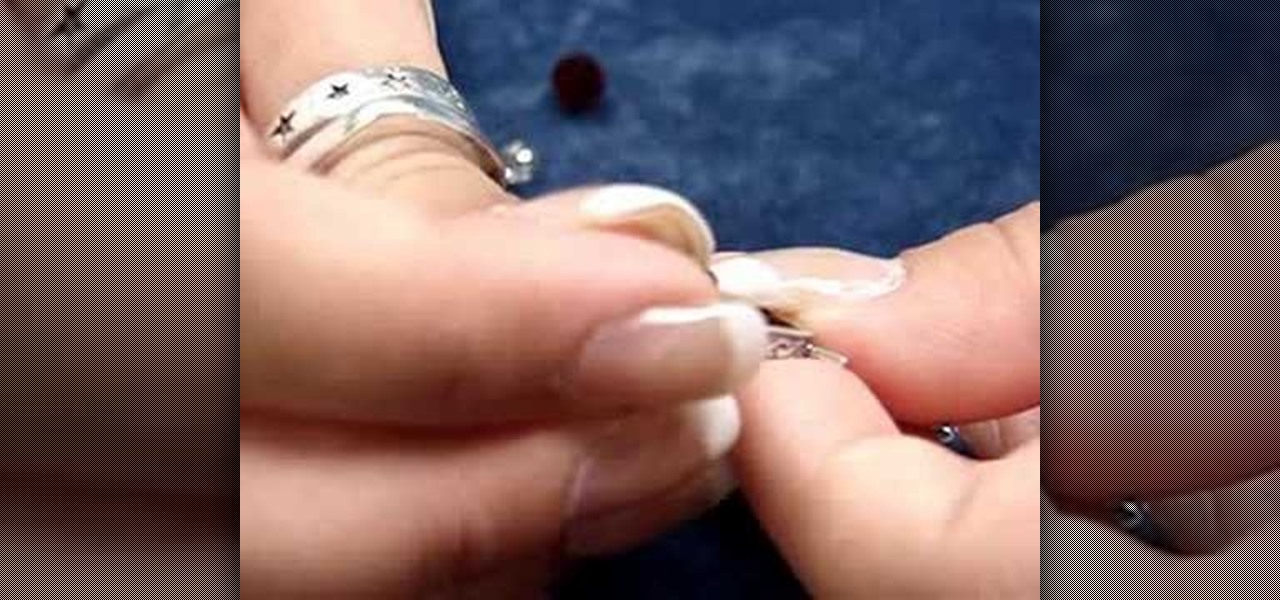
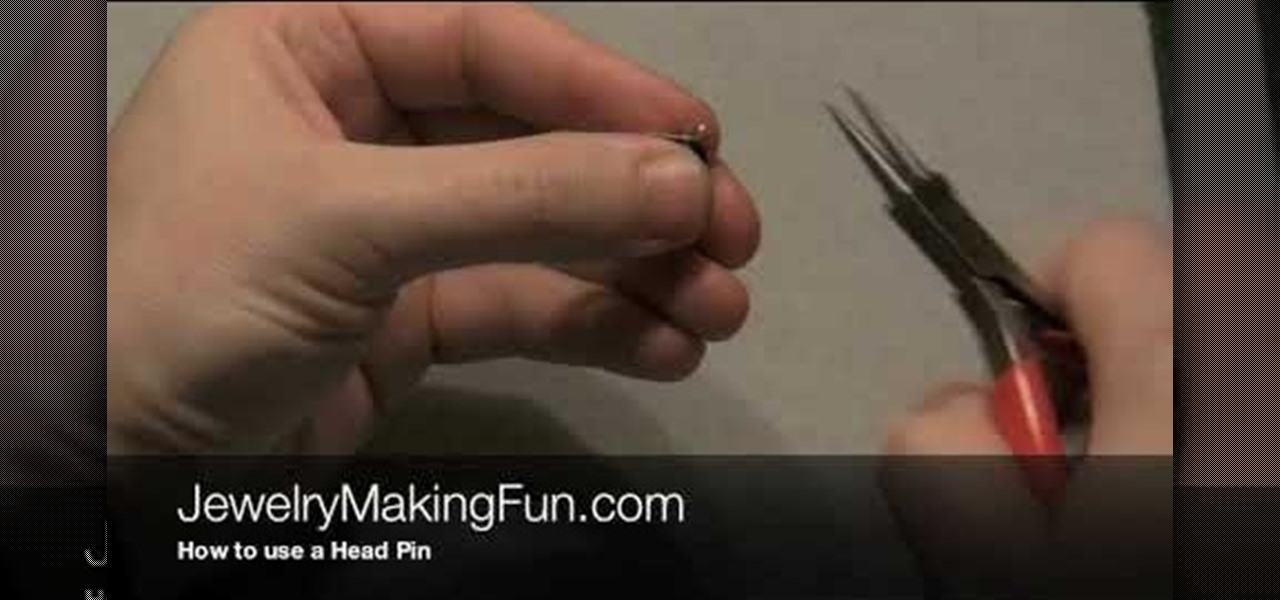
In this video, we learn how to use a head pin while making earrings. Start off by grabbing a 1" long headpin and feed a bead through it until it reaches the other end of the pin. Now, decide how you want to close the loop. The first way to close it is to make a single loop by using pliers and making a 45 degree bend. Cut off any excess wire with wire cutters. The next way to do this is to wind the excess wire around the base until it comes to the bottom of the bead. This is visually appealing...

In this tutorial, we learn how to put on dread falls. First, put your hair into two buns onto the top of your head, then place two cut off socks on top of them. After this, take a string and tie it around the two buns. After this, apply your dread falls to the side of each different bun and tie them on with any type of string. When you are done, flip the dread over your head and then situate in the back. When you are finished, you can put a headband in your hair so the dreads look more realis...

In this video, we learn how to draw a cartoon brontosaurus. First, draw a large hump that is a half circle, then draw a line on the other end of this. After this, draw a tail on the other end of the hump and then go down and draw the feet on the bottom. Continue going and draw up the neck and make a circle for the head. Draw in a large eye on the head and make a smile on it. Next, draw soft spikes on the back of the dinosaur and color it in if you prefer, then enjoy your cute drawing!


