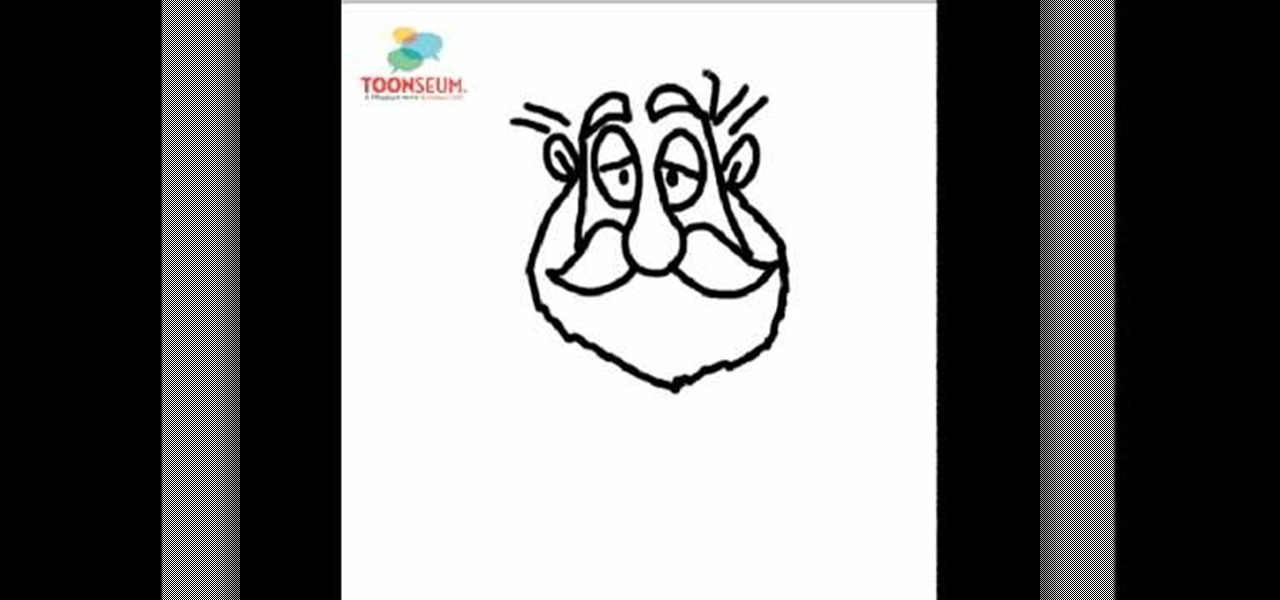
This video shows the viewer an easy way to draw Father Christmas or Santa Claus. The drawing demonstrated is a line drawing but could easily be colored in. The method shows starts by drawing a bulbous nose connected to the eyes. The moustache and the eyelids are then followed by the beard and ears. The hat and eyebrows finish off the top of the face. The mouth is simple and smiling. The body is relatively crude and the legs are very small in comparison to the head. The overall effect is very ...

Teresa demonstrates how left-handed people can complete a crochet project. The project is a round cap for a toy Ogeechee bear. Using her left hand to hold the crochet needle, she starts with a circle of crochet stitches to form the crown of the cap, and counts out the number of stitches needed for each row. A yarn marker is used to keep the rows organized, and Theresa shows how to utilize a slip stitch to make turns in the crochet to complete partial-rows that form a brim to the cap. She ends...

Rather than spending money at a professional salon, learn how to get inexpensive highlights at home. This technique will give you a very natural look with no orange tones. You need a product called Jolen. Mix about 1/4 teaspoon of this powder. Pull your hair back and take small sections about 1/4 of an inch thick and apply product to that section. You should make sure to wear regular gloves as you are applying the product. It is okay if the product mixes with other products. Continue this wit...

This is an easy way to create a 5 o'clock shadow on your beard at 9am. All you need to accomplish this is an electric hair razor like you would use on the hair on your head. You have to take the clips off so it's only the blade, and while it may seem dangerous it is actually safer then using a straight razor in terms of cutting yourself. What you have to do is just be careful and use the electric razor on your full beard, which should take around 2 minutes to complete. So, in 2 minutes you ca...
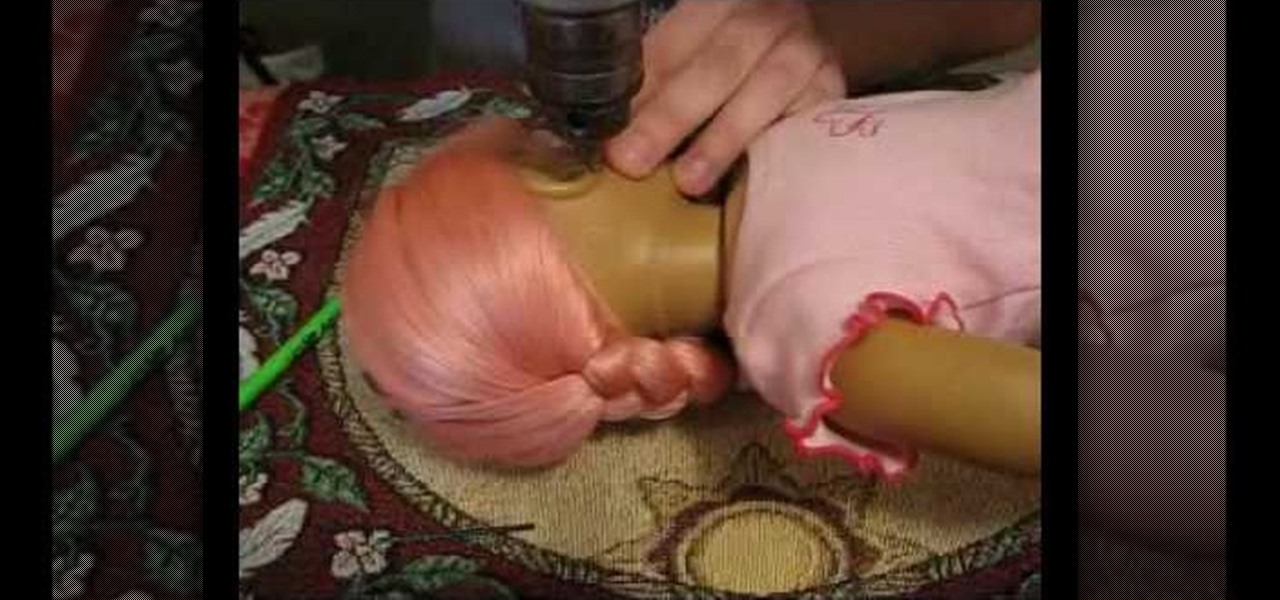
This video shows you how to pierce your American Doll's ears. Lay the doll on the table and mark the piercing spots with a normal pencil, making sure that they are even on both sides. Lie the doll on her back and turn the head to the side. Insert a 1/16 inch bit to your drill for the pilot holes and tighten the chuck. Drill down into the hole. Brush away any vinyl that is extruded. Set the drill to reverse to bring the bit back out. Do this on both ears. Insert a 3/32 inch bit to the drill an...
Joe Richardson, Five Sprockets consultant, demonstrates how to build your own functional boom microphone. First, if you don't already have one, get a microphone from your local electronics store. Then, pick up a mic holder. Next, you'll also need a telescoping pole like a painter's pole. You'll also need zip ties and metal bonding glue. A piece of fake fur from a fabric store will act as a wind sock to cut down on noise. Attach the mic head to the painter's pole with the metal bonding glue. N...

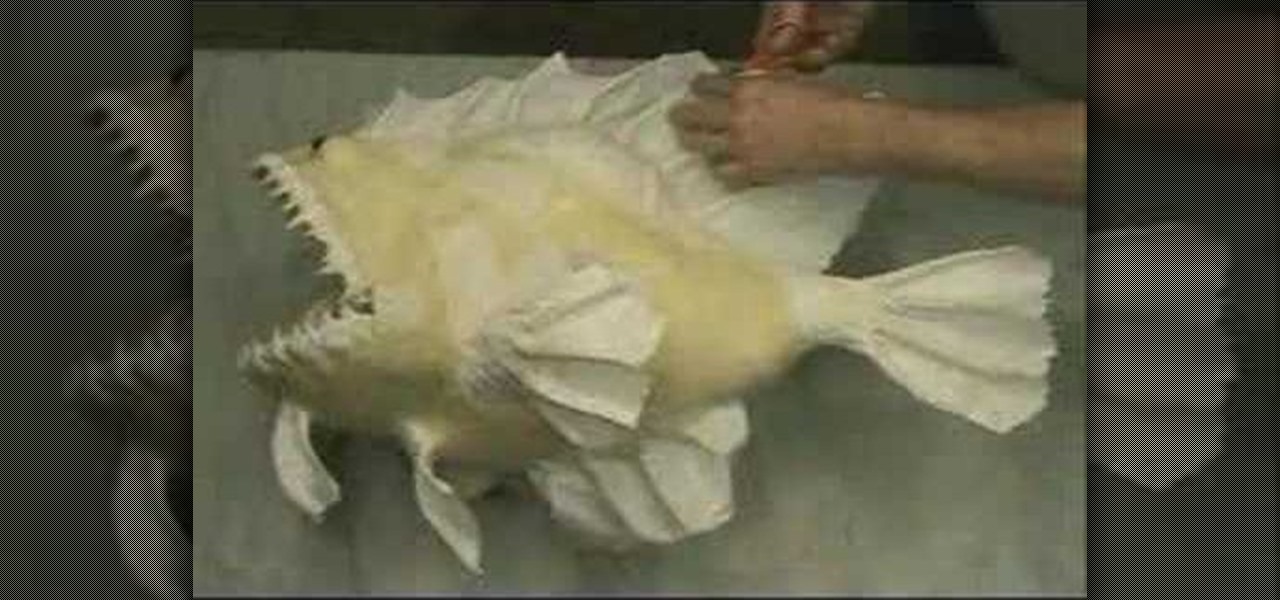
In this video you get to watch a talented mache artist make a fishwichwich from paper mache. It is fast paste but you get the idea of how he does it. Starting with the paper mache materials, the paste and paper, he makes the body and head in several pieces. He pastes these together and uses some sort of stick to make its spikes. He covers the spikes with mache so they have a more realistic look and starts to smooth out the features of the fish. Once the body is done, he's got the teeth and so...

You’ve got the basic head structure down and now it’s time to learn how to draw a detailed face of woman. It can be a little tricky to draw an angled view of a face but you can use sketching and shading tools to give depth, angle and form to create a realistic woman.

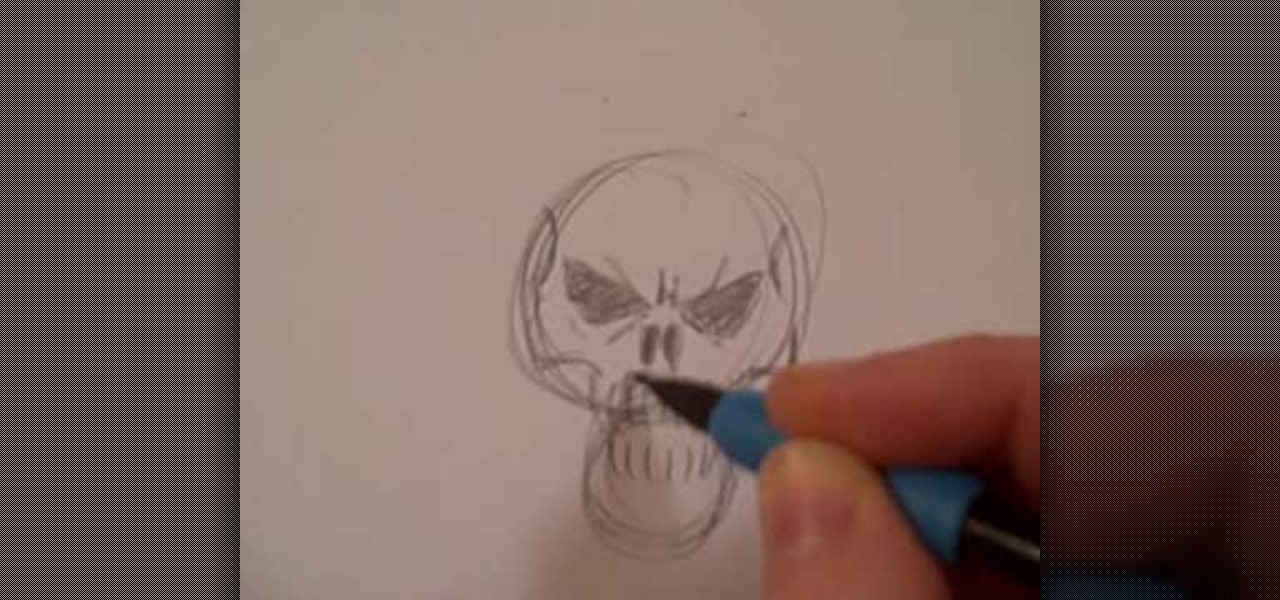
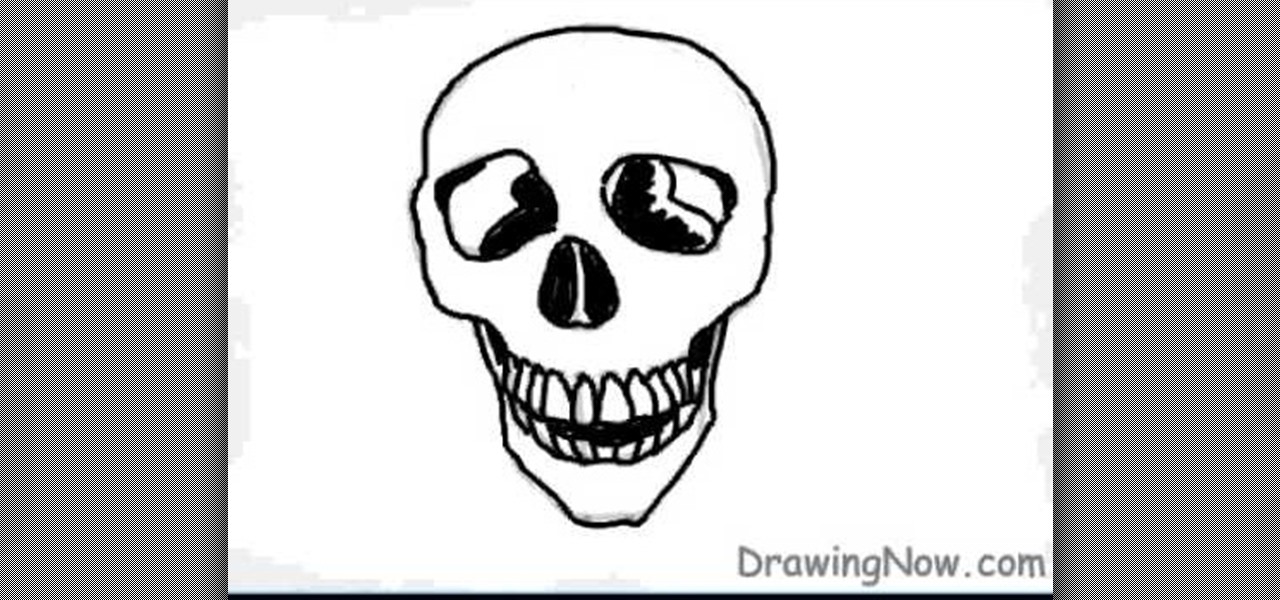
This short video shows how to draw a skull with a pencil. The video contains no spoken or written description of the process the artist in the video is going through, so to duplicate his drawing, you'll have to just watch and draw along. The artist starts the drawing by making two circles vertically, the lower circle being about half the size of the upper circle. He then adds the nostrils, eyes, and teeth, before going on to add some definition to the jaw area, making it look like a complete ...

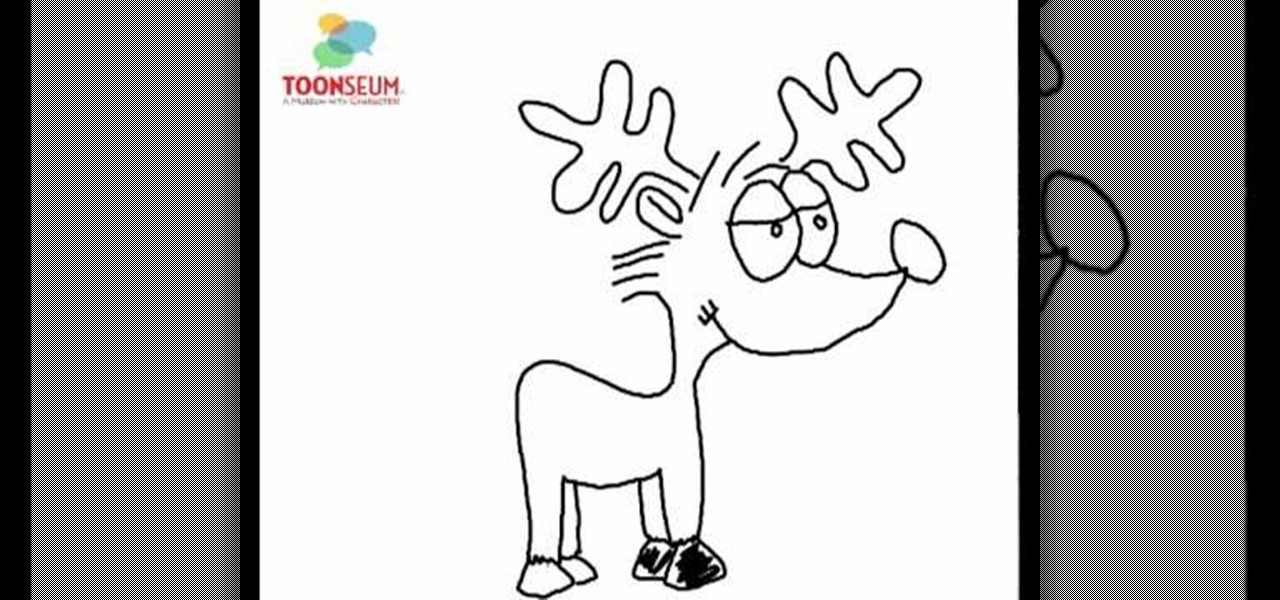
This video shows the viewer how to draw a cartoon reindeer. This is done by building up the character of the reindeer gradually -drawing different features in a set order to create the whole cartoon. The first stage is to draw the eyes and eyelids. The eyelids are crucial as they add character to the drawing. Next is the mouth and the nose, followed by the cheek and the eyes. The antlers complete the reindeers head. The body is very simple and simply compromises of four legs and a tail drawn ...

In this video you will learn how to mod your Xbox 360 so that it will have rapid fire. He notes that the control he uses is a TP3 controller, you can tell if you have a TP3 controller by opening up you battery pack and on the bottom left on the micro chip it says TP3. He doesn't know if this tutorial will work for any other controllers. The materials you will need are a mini flat head screwdriver and a wire with two ends (as well as the controller of course). Then you take apart your control ...

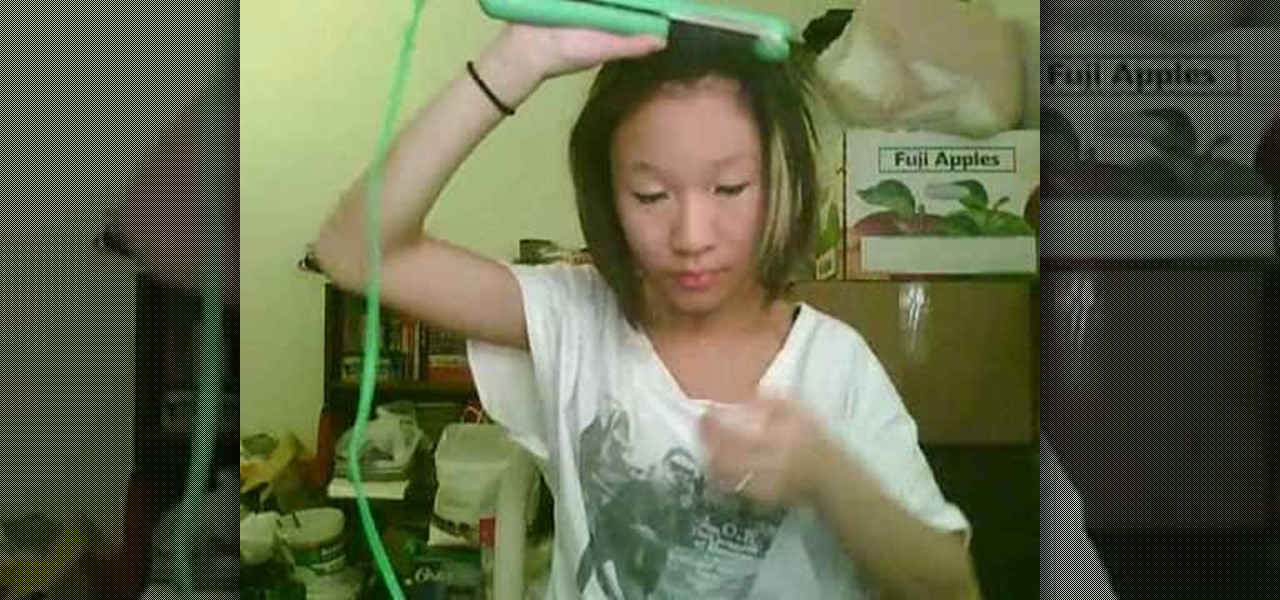
First you need to get some palm aid hair gel and rub it through your hair. Using a flat iron you use it where ever you want to start with your hair. While using the flat iron get a comb and brush your hair while you follow your flat iron. Using your flat iron move it upwards to get the style you like it. To get you hair to stand strait up you have to angle the flat iron away from your head to get that look. The hairspray helps to any parts in you hair that are not standing up. Then you just p...

In this video tutorial, viewers learn how to draw the character Sokka, from the show Avatar and the Last Airbender. Begin by drawing a circle for the head and a rectangular torso. Add the arms and a boomerang in one hand. Now add the legs and feet. Draw some guidelines on the face and add the hair. Draw the face and start outlining the whole image. Add the details while you outline. Erase the guidelines and start adding the color. This video will benefit those viewers who enjoy drawing in the...

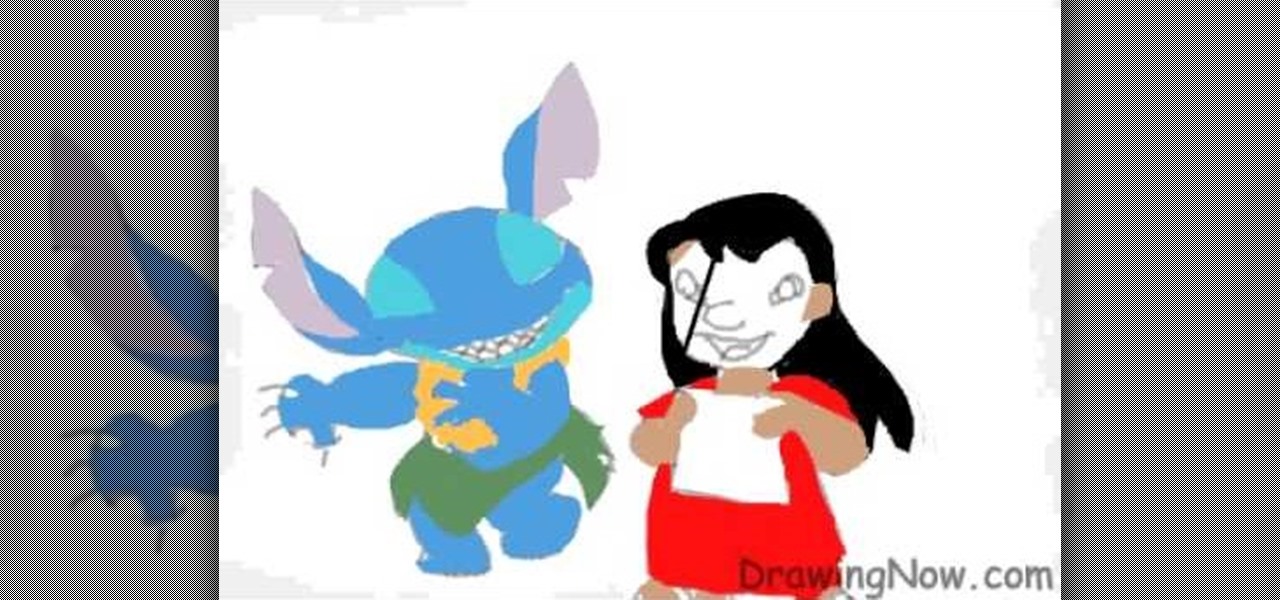
Begin by drawing an oval and attach two feathered shaped ears to head. Draw guidelines for the face. Draw the face and a marshmallow shaped torso. Add the legs and arms. Add the detail and start erasing the guidelines. Repeat the similar steps for Lilo. Once finished both characters, color them. Add a darker shade of the colors for shading. Outline the characters and add all the details. This video will benefit those viewers who enjoy drawing on the computer and would like to learn how to dra...

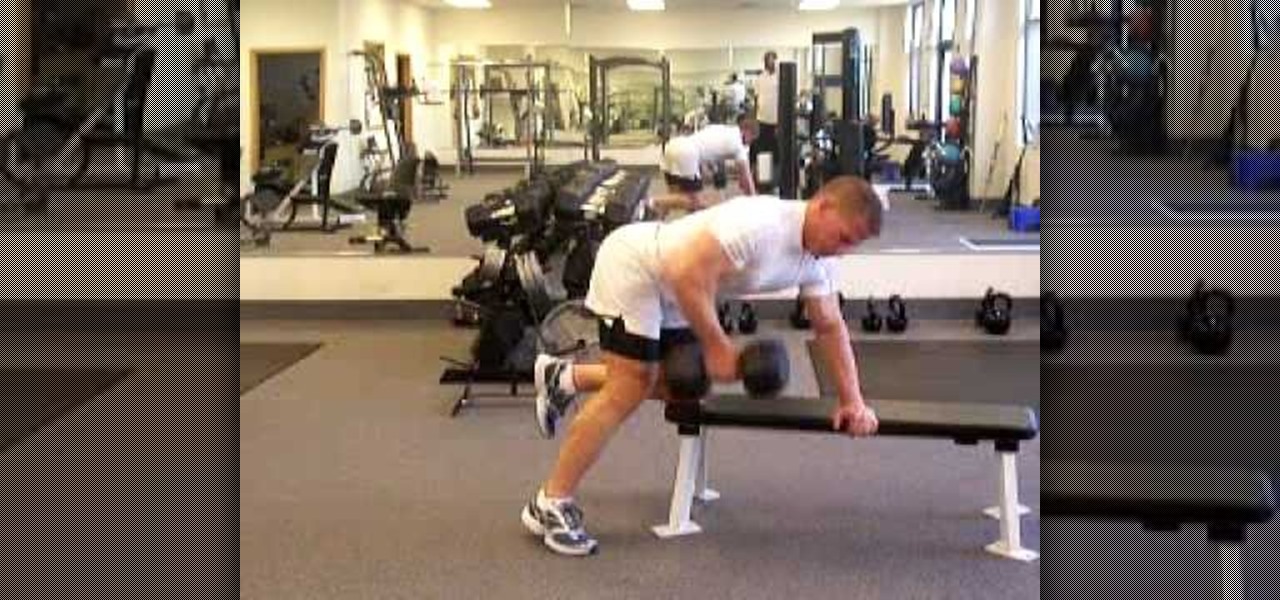
In this video from fatlosslifestyle we learn how to widen your shoulders and upper back with a few exercises. This is a workout you do twice a week. First is a dumbbell overhead press. Bring dumbbells up to starting position, turn palms in to face a bit. Keep dumbbells above shoulder lift up. Don't let the dumbbells touch though when you bring them above your head. Repeat this action. Find a weight where the last 3 are difficult in the 12-14 range. The next exercise you need a flat bench. Thi...

First the item list is as follows: three wreaths (small, medium, and large), two sticks, gloves, a scarf and a hat. You will also need some wire to hold the wreaths together, and the arms to the body. The first step is to use florist wire to tie the bottom, largest wreath to the medium wreath to form the lower section of the snowman. Then you repeat the same process for the head to the body. You then put a colorful hat, the scarf, and gloves and you have yourself a wreathy snowman.

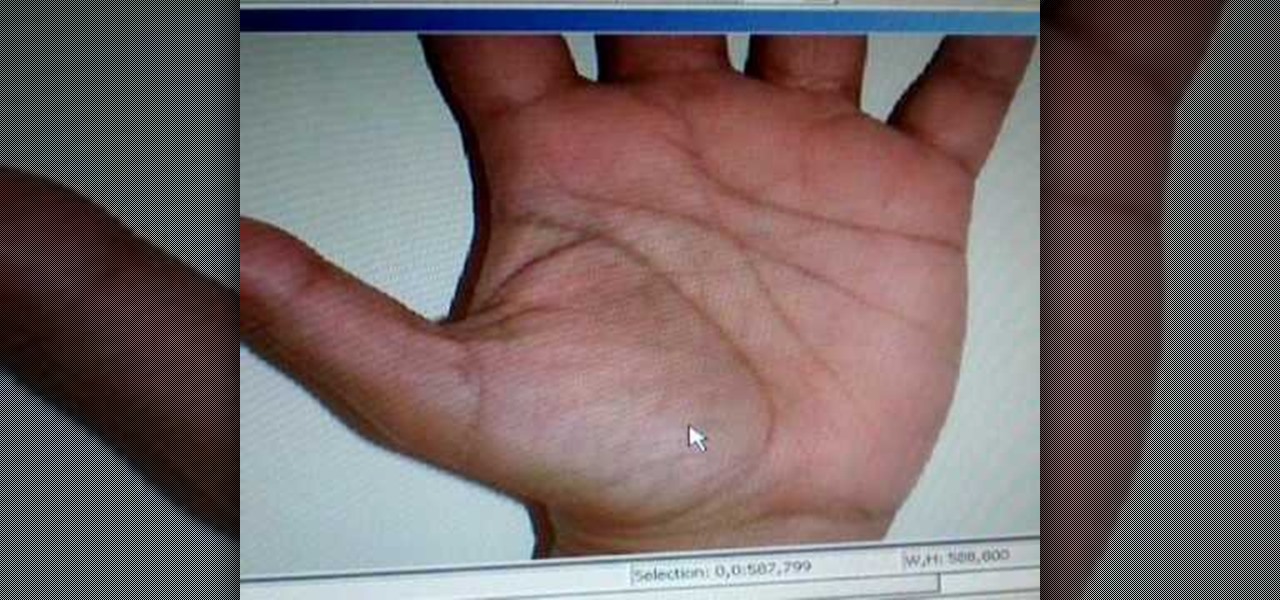
Sugarray844 teaches you how to read the left hand in palm reading. The left hand can tell you what that person inherits from his or her family. You look at the lines, the size of the fingers and the strength of the thumb. If the thumb is strong, this means that person has strong logic. The head line is separated from the life line, which means independence in the way of thinking. The hear line is curved, which shows a break in the beginning and a good emotional side to the person. This also m...

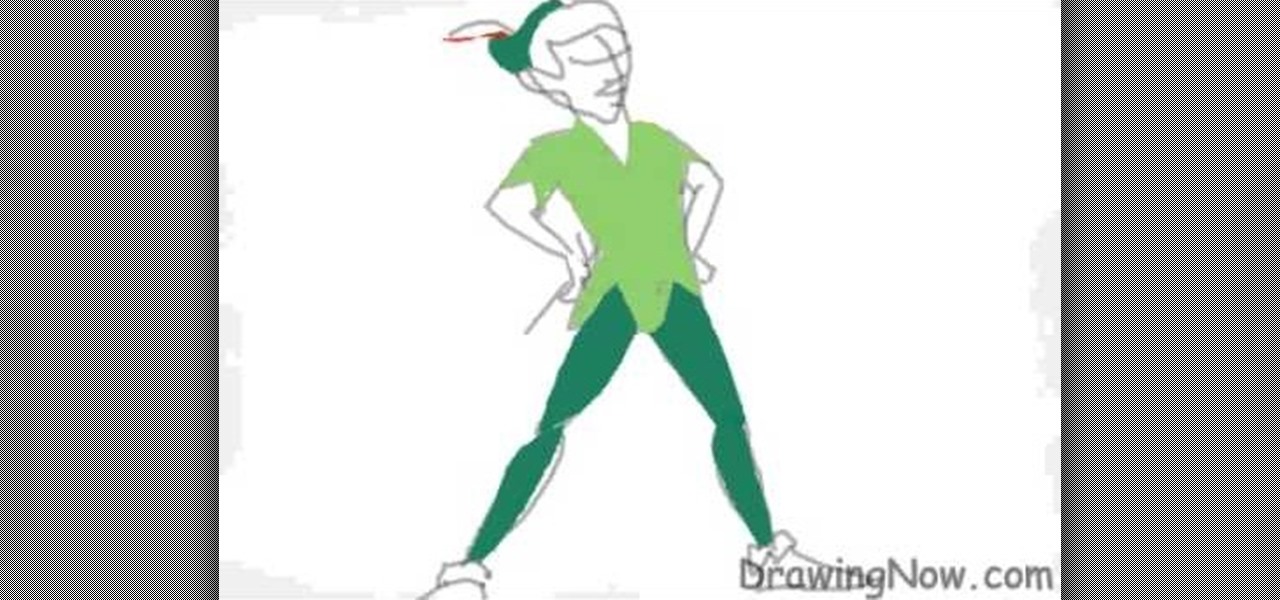
This video turns teaches how to draw Peter Pan with ease. In less than 2.5 minutes he is drawn. Not only is he drawn be he is also colored. The drawing starts with a simple outline of the head and body. Color is then added to the hair, face, and clothing. Then some simple shading is done in the correct areas, such as the hair, eyes and shirt. It is so easy one could easily draw it by hand or on the computer using a paint-like program. The complete drawing is very recognizable and also very si...

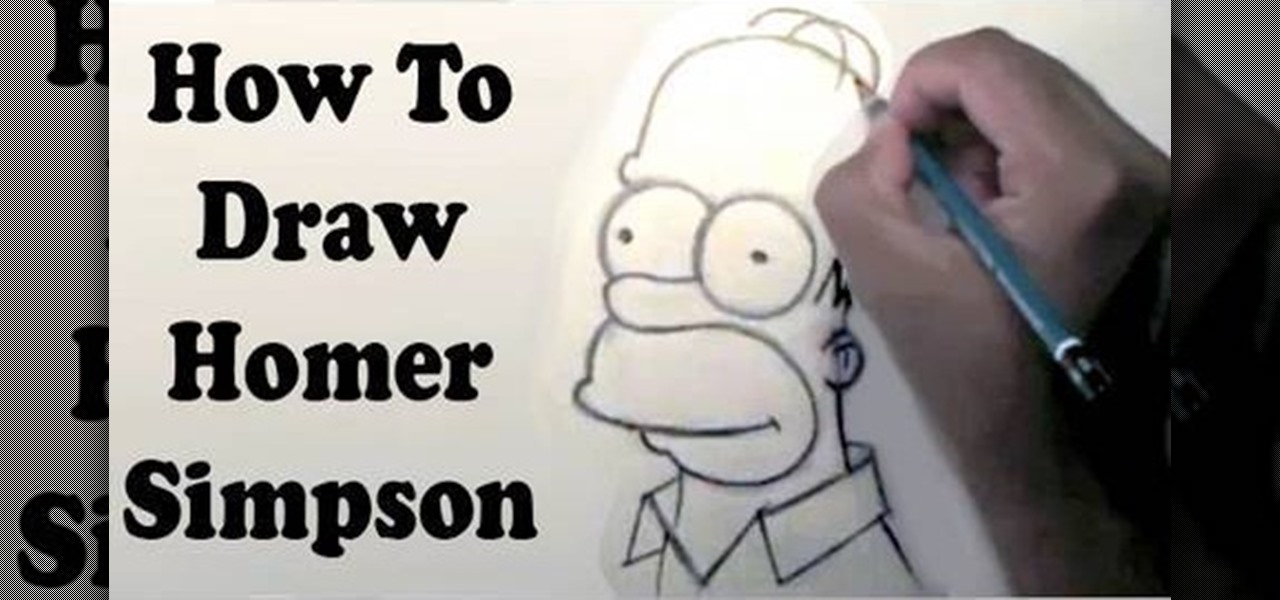
The video shows you how to draw a Homer Simpson cartoon. Start off with a big circle and a smaller circle below. Draw two slightly diagonal lines to the sides, a slightly curved line below and two lines for the lower part of the head. Then add another circle on the left side of the smaller circle. Draw a small pickle shaped nose and an eyebrow above the left circle. Draw the ear just below the eye line. The hair is drawn above the ear, like an M shape. Draw the mouth and the lower lip and ext...

Learn how to draw a flower in MS Paint in this video tutorial from Shannon. In the first step, you will need to draw a circle with the shape tool. To create the petals, you will need to draw additional circles surrounding the first circle. Use the paint brush tool in green to create the stem and leaves, which you will draw free-hand. Using the bucket tool, fill in the leaves and the petals of the flower. Shannon also shows in this video how to draw a bird next to the flower with the paint bru...

In this video from RawRadiantHealth Natasha talks to us about getting back to basics and not getting overwhelmed. A lot of times we can feel like we have too many responsibilities and we can get burnt out. Having a strong foundation and basics like getting enough sleep, eating your meals, your home is clean, you're taking care of yourself can really help you. When the foundation is a bit shaky these things can overwhelm us. If the basics are not taken care of the rest of your life can be a me...

In this video you will learn how to draw an angry tiger using your basic drawing tools. In order to do that just follow these steps and instructions: The first thing to do is to get a pencil and a sheet of paper. These are the tools that you will use for the drawing. Draw the head and the mouth just like in the video. Now draw the body, the legs and draw the right arm in the air. Draw all the other details and complete the sketch. Now you can start to color it. Use the same colors like in the...

This video will show you how to draw the character Pein from Naruto Shippuden. The first step is to draw an oval to begin his head. Then you want to add guidelines for the headband and hair. His face angles down, so you want to factor that in when drawing guidelines for the eyes, nose and mouth. You'll want to use a black pencil to fill in the details. You can erase the guidelines with white pencil. Follow the directions in this video and you'll have a great drawing in no time.

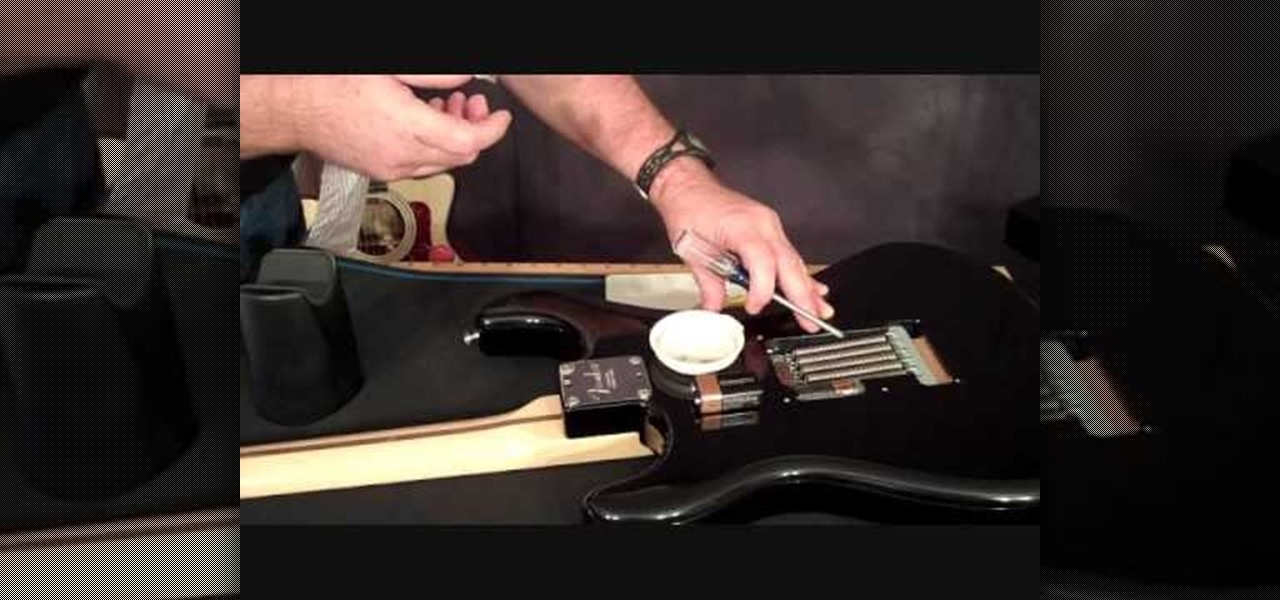
The guy in the video starts out explaining that, over time, his guitar has started to sound a little funny. He thought maybe it was a cord or wire shorting out, but it turned out to be the battery. He shows us how to change that battery. You are going to need a Philips head screwdriver and a new nine volt battery. Take off the tremolo plate on the back of the guitar. You'll be able to see the old battery in the body. Gently remove the old battery and replace it with the new. Slide the new bat...

DrawingNowVideos teaches you how to draw SpongeBob Squarepants. You start off with a squiggly line and you want to create a rectangle and then create a 3D box out of that. That will be the head. Add circles and ovals on the side to make it look more like a sponge. Add eyes, eyelashes, nose, cheek with freckles and an open mouth with two teeth up front and the tongue. Then draw the body and add details such as pants and a tie. Complete the face by adding a few circles around. Also don't forget...

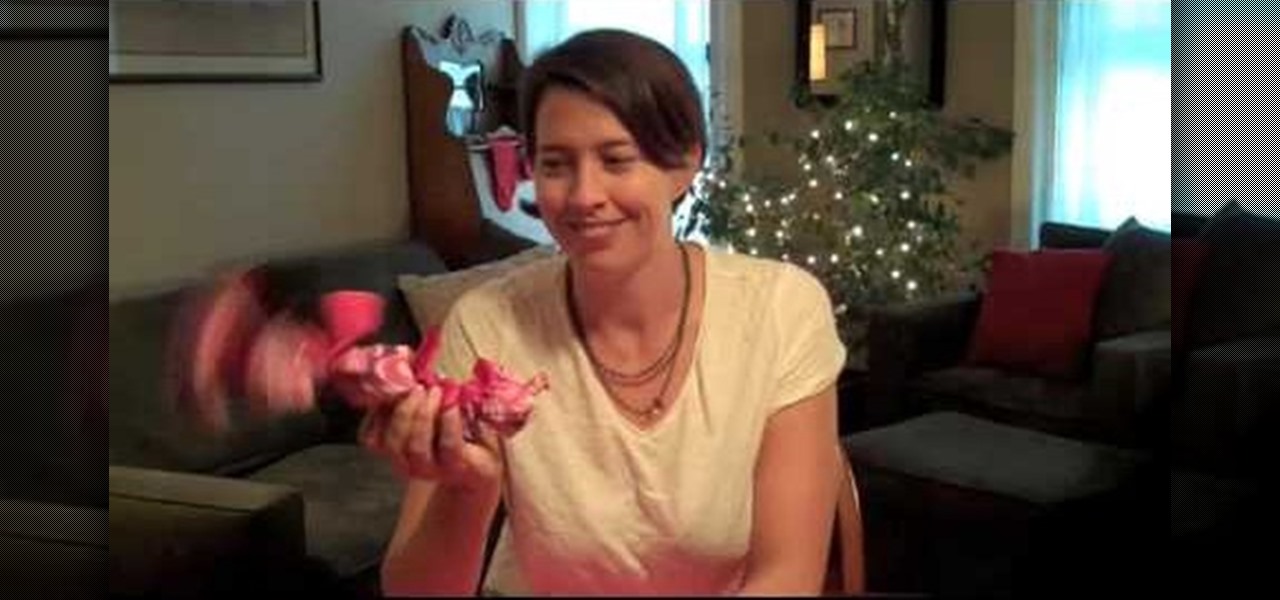
NiftyButton teaches you how to make a simple baby toy. You dig out an old pair of brightly colored stockings and snip off one leg. You want to have a section of about 15 inches. You then stuff this with crumpled paper. Take the open end and make a tight knot. Cut and tie ribbons into knots. Place each ribbon between two pieces of paper. You can also add eyes to the small toy by adding buttons or simply using a marker to draw the eyes on the part that should be the head. Finally, give the toy ...

This is a step-by-step video tutorial on how to keep up your guitar maintenance by tightening your cable input jack, a very simple but extremely important maintenance routine for your guitar. If you let the cable input jack loosen, it could end up costing you quite a bit for repair. First, you are going to need a 1/2" socket and a Phillips head screwdriver. You will need to unscrew the cable input jack. Next, use the 1/2" socket to tighten the nut on your input jack. Then screw the cable inpu...

In this video tutorial, viewers will learn how to draw a skull using a computer. Start by drawing a circle for the head and a rectangular shape at the bottom. Draw a line in the center as a guideline. Then draw the eyes, nose and mouth. Now outline the skull and add the details. Shade in the eye sockets, nose and mouth. Now you can erase the guideline. Start coloring the skull to a preferred color. Then add in a darker color around the skull to shade it. Finally, outline the skull and color t...

You start off with a printed design on your doll. Use regular paper, but you have to print the doll in individual pieces - body, hands, legs, head. You stick those on the front of hard materials like thick card stock or some thick fabric. Now you can putt the doll together and make adjustments. You put the doll together by using small thumb tacks. It's even better if you have ones that have a rhinestone on them. Once you've done the joints, you can also add a little tutu or some fairy wings. ...

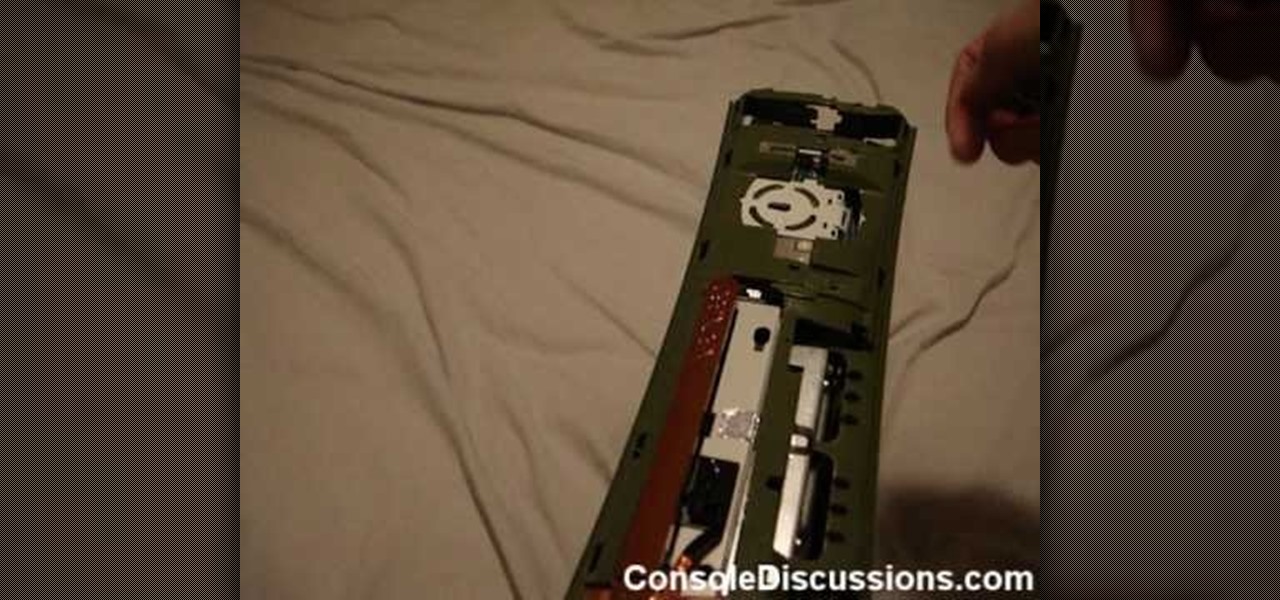
If you've ever wondered how to safely disassemble your Microsoft XBox 360 gaming console for modification, Johnny McKinney of Console Discussions will walk you through the basics. All you need to get started are a T10 Torx screwdriver, a small flathead screwdriver, and an XBox 360 console. Johnny gives you a step-by-step tutorial of which screws to remove, and the order to remove them in. The first step is to remove the sides of the case, as well as the venting grills. After all of the side p...

YouTube user DrawingNow teaches you how to draw Kim and Ron from Kim Possible. You start with a green background and use a pencil to sketch their bodies. Start with a simple circle for the head and then add ears and hair. Add the neck connecting to the body and a fist extending forward. Draw the other hand and remember the pants and shoes. Next start with an oval for Ron's face and draw larger ears, but smaller hair. He's also in an action move, so reflect that in the way he holds his hands a...

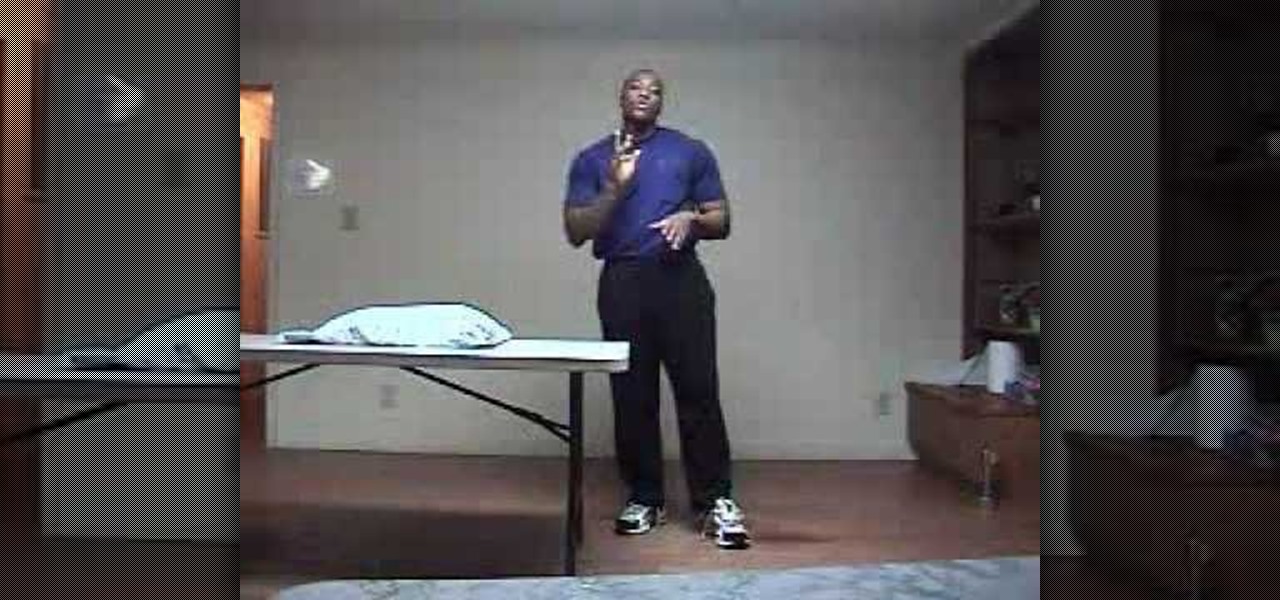
The man describes how to get a nice round sexy looking butt. He says to use a bed, but if you don't have a bed, a long table that will support you will do fine. He shows his technique on a table. Next he lays on the table, reaching up and out he grabs the sides of the table. Rest your head on the pillow for support. With the legs hanging off the back of the table raise them up as high as you can squeezing your butt and then lower back to the ground. Once you got the technique down, raise your...

We have all experienced a screwed up heart, and in this episode of "Look Learn & Create" we learn to turn that experience into some cute art!

In this video Danny Lip ford is showing how you can convert an old sponge mop into an inexpensive pole sander for your household purposes. For this, take an old sponge mop and remove the sponge from it by loosening the screws. Then cover the rectangular sponge fully with the sheet of sand paper. Now screw back the sponge with sand paper to the head of the mop. You can do your sanding in the wall very easily now. If you were to use just a sheet of sandpaper and sand the wall, it would take a l...

You need to escalate the relationship, excite her mind and tease her. You don't want to be too pushy or too confident. You also shouldn't fall in the other extreme, of becoming too quiet and just listening to her. Make sure you remember what she says, so you can latch onto any piece of important information. You need to get into her moment, into her world. You can be goofy and fun and be an approachable person. Women will tend to be attracted by these type of men.

To style short hair for an everyday look, first blow dry your wet hair with Bed Head Superstar Blow Dry Lotion. Then, using a hair straightener, straighten your hair on a curved angle. Roll your hair straightener on an 180 degree angle and lift your hair up. For your crown area, just lift and curve your hair backwards. Use the same process for your bangs. Using your hair straightener, just curl your bangs backwards. Next, to tease your hair, clip up half your hair because it makes it easier a...

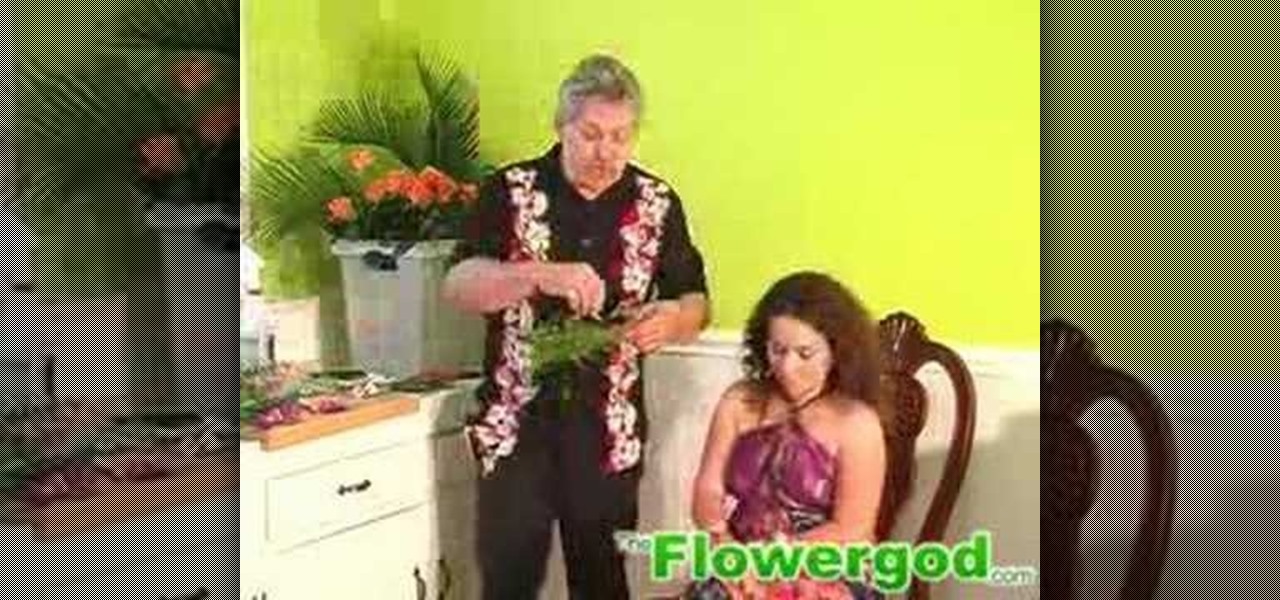
The Flowergod demonstrates how to create a sweet pea and rose halo for a wedding or a luau. First, find and shape a dual ring of wire into a halo. Ensure that the halo fits on the head of your subject. Then weave foliage into the halo, creating a nice green bed for the flowers. After the green foliage is woven into a ring, insert the sweet pea and rose flowers in between the wires of the halo. Shape the flowers and the foliage as needed as you are weaving it through the metal rings. In a few ...

User DrawingNow teaches you how to draw a skateboarder in mid flight. You start by sketching basic shapes like an oval for the head, parallelograms for the hands and feet and a large square for the body. Make sure you make the legs bent and placed on top of the skateboard. You can then draw on top of that, adding more details like a cap, muscles for the arm and a shirt on the body. You can delete the first outline and start coloring it in. Add more details, like wheels, shoes and pants, and a...

This is a video tutorial on how to style a pixie hair cut. First, apply an even amount of hair wax to your hands. Apply it roughly all over your hair, except for your bangs. Beware of using too much hair wax because it will make your hair look greasy. Using just enough will give your hair texture. The girl in the video uses hair wax all over her head. Next, add hairspray wherever you applied the hair wax. The video warns to not use as much hairspray as she does. Finally, add softener to your ...

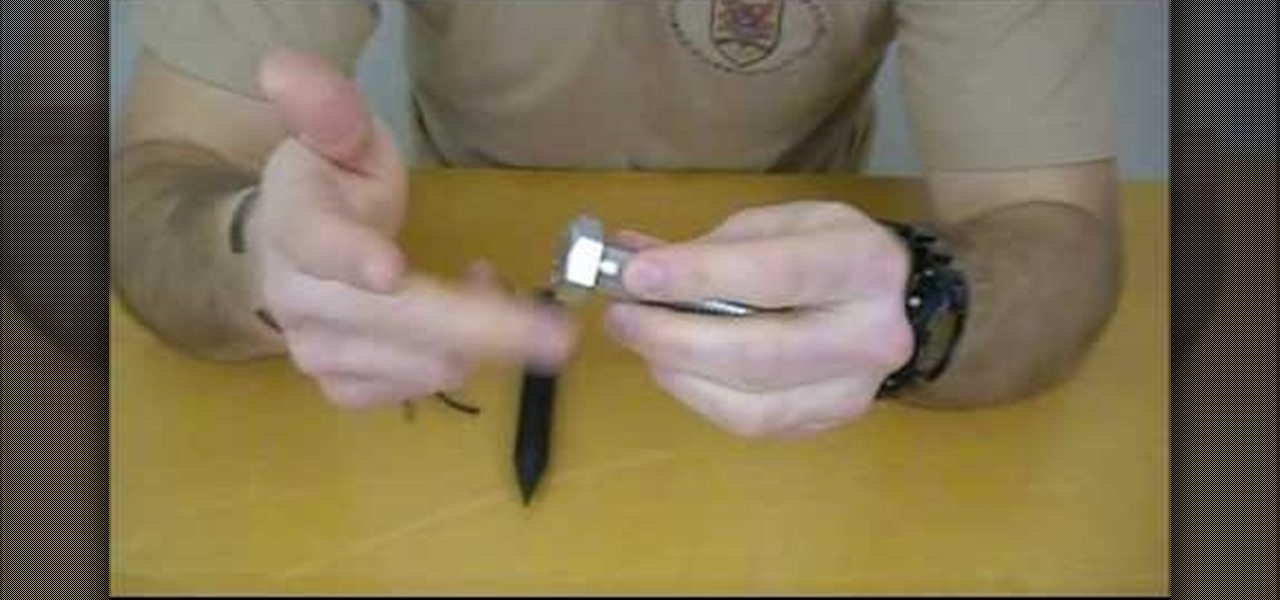
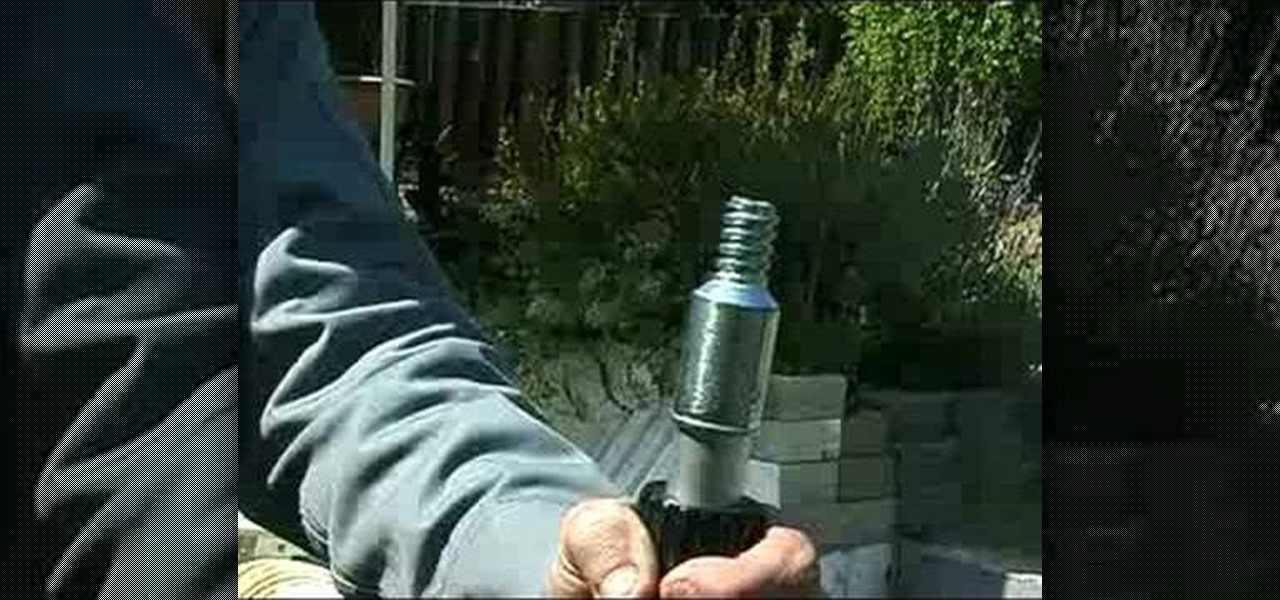
This video discusses Dead Drop Devices and how to use them to transfer messages. The video starts by explaining what Dead Drop Devices are. They are basically common everyday objects that are hollow inside to store a message. The video shows a large lag bolt and a spike that are actually Dead Drops. The head of the dead drop bolt screws off and reveals a hollow cylinder used to store something valuable. The second object is a spike that is supposed to be shoved into the ground so that it will...


