In this tutorial, we learn how to make stencils in GIMP. Start with heads or faces if you are new to this. Then, use the rectangle tool to select the head. Then, go to image and fir canvas to selection. Now, remove the background by using the background tool. Once finished, go to colors, then threshold. The image should turn black and white. Turn the dial to the right, then turn it to the left to make it lighter and darker. Find the spot to where it shows detail but it's not distorted, then h...

This is a video tutorial in the Sports category where you are going to learn how to play offense in a game of soccer. The forward soccer position usually stays on the offensive side in order to score goals. Adrian Heath, head coach, shows you how to play the forward position properly. This is going to be a very easy and simple drill. All you are looking for is a nice little floating pass over the defender's head to your own player in the forward position. And the forward player then tries to ...

In this video, we learn how to create the perfect flat iron curls. Start with the back of the head, taking a section for the size of curl you want. Then, stick your hot flat iron in at the root and turn the iron 90 degrees. Slowly pull it through all the way to the end, going slowly. Give an extra twist at the end, then wrap the hair around your fingers at the root and set the hair down. Hair spray this, then continue to curl the hair on the entire head. Then, loosen the hair up with your fin...
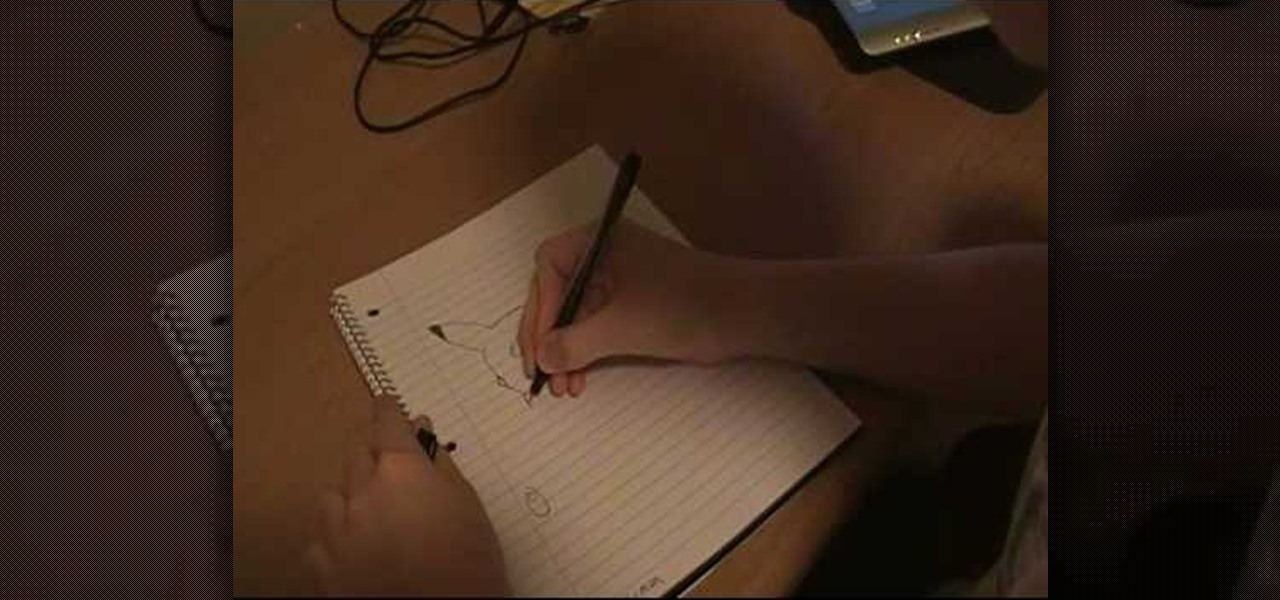
In this video we learn how to draw Pikachu from Pokemon. First, draw the ears and the top of the head. After this, create the sides of the head and color in the tops of the ears. Draw in circles for the eyes and then draw in the nose, cheeks, and smile. Continue on to draw the rest of the body and the details of the chin of the character. Add in the details for the side of the body and then add in shading and body lines wherever possible. When you are finished, share this with others and be a...

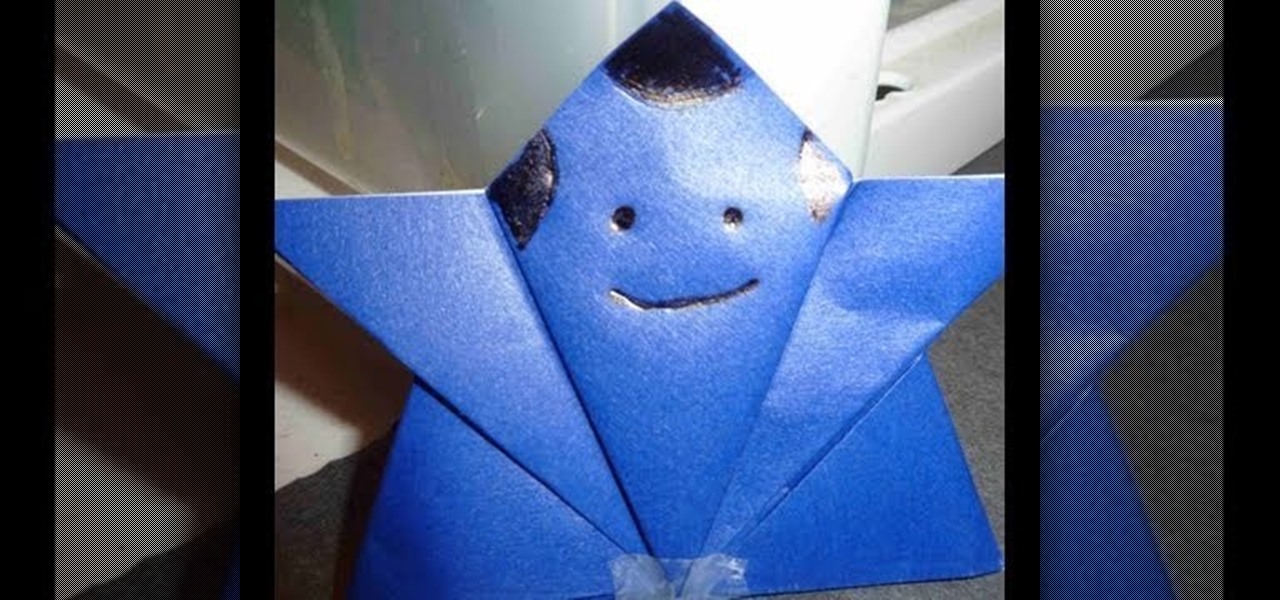
In this video we learn how to make an elegant paper hat. First, place the paper over the head and lay it down. Then, have the person hold the hat while you find their nose and attach tape from this and around the entire head. Once you are finished going around twice, then you can wrap up the excess parts of the paper towards the top. Use a stapler to staple down the sections of paper that you have rolled up. Do this all the way around the hat and then add on different items and accessories to...

In this tutorial, we learn how to draw Sango and Kilala. Start out by drawing a circle and reference lines for the head, then draw a stick for the body and draw a half circle going off the bottom of the page. Then, draw circles on the upper body to create the hands and draw fingers coming off of those. Now, draw in the neck and the clothing that is on the character. Erase the background lines, then all in the features of the face and the hair around the head. Also make sure to draw on the ear...

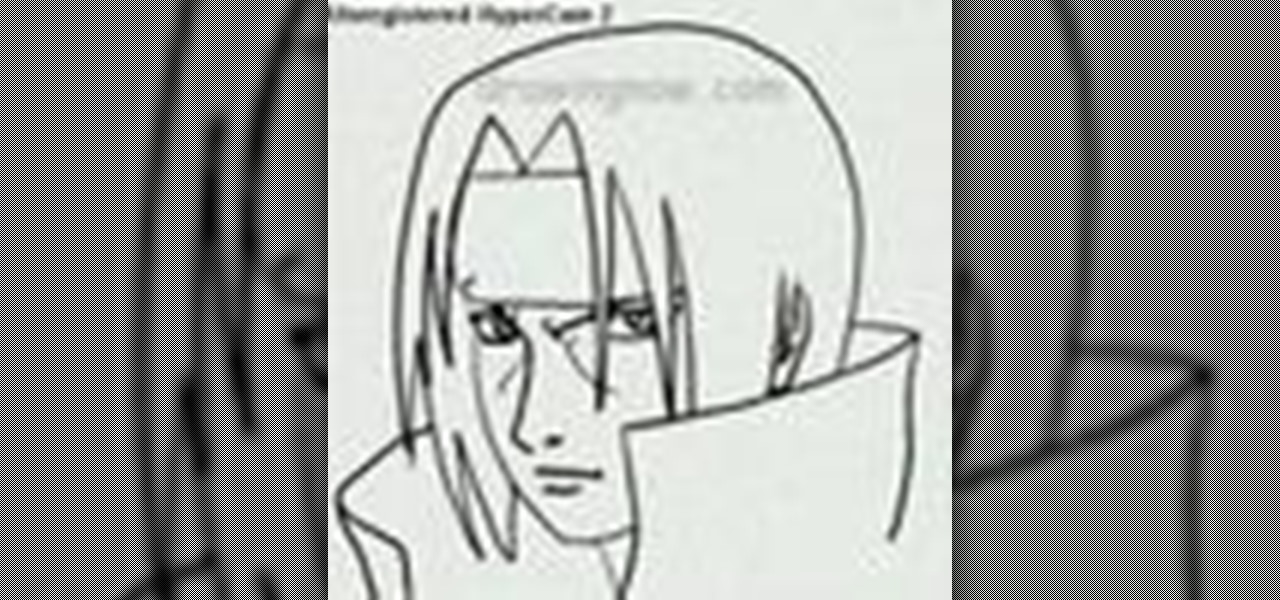
In this tutorial, we learn how to draw Itachi. First, draw your reference lines on the head so you know where to place the features of the face. Draw in the eyes, adjusting them so they are more towards the left of the face than the right. After this, draw in the bridge of the nose and the nose, as well as features of the cheeks. Next, draw in the nostrils and the mouth, as well as eyebrows and creases around the eyes. After this, draw in ears on the side of the head, then start to draw in th...

In this tutorial, we learn how to draw Rock Lee. First draw a circle for the head, making a chin underneath and using lines to reference where the facial features will go. After this, draw eyes that are slightly aligned to the left hand side of the face. The right eye should be larger than the left, both off center. Then, draw two dots for the nose and a "u" shape for the mouth. After this, draw a larger circle around the head and then draw in angry eyebrows above the eyes. Start to erase the...

In this tutorial, we learn how to draw Train Heartnet. Start off by drawing a circle for his head, then lines in the head for reference of where the features will go. Next, draw a stick for the body and draw circles where the shoulders and wrists would be. After this, draw in the neck and the upper body. Draw in the clothes after this, adding in as much detail as you would like. Make sure to add in shading and lines to make the clothes look more realistic. Next, you will need to draw in the f...

In this tutorial, we learn how to draw Marik Ishtar. Start with the outline of the head (in a circle shape) and draw the reference lines around the front of the face. After this, draw in darker lines around the features of the face and start to add in details throughout the entire head. Draw in hair, a nose, eyes, ears, and everything else. Once you have finished with this, draw in the neck of the character and then the shoulders. After this, finish the hair off on the back of the had, then a...

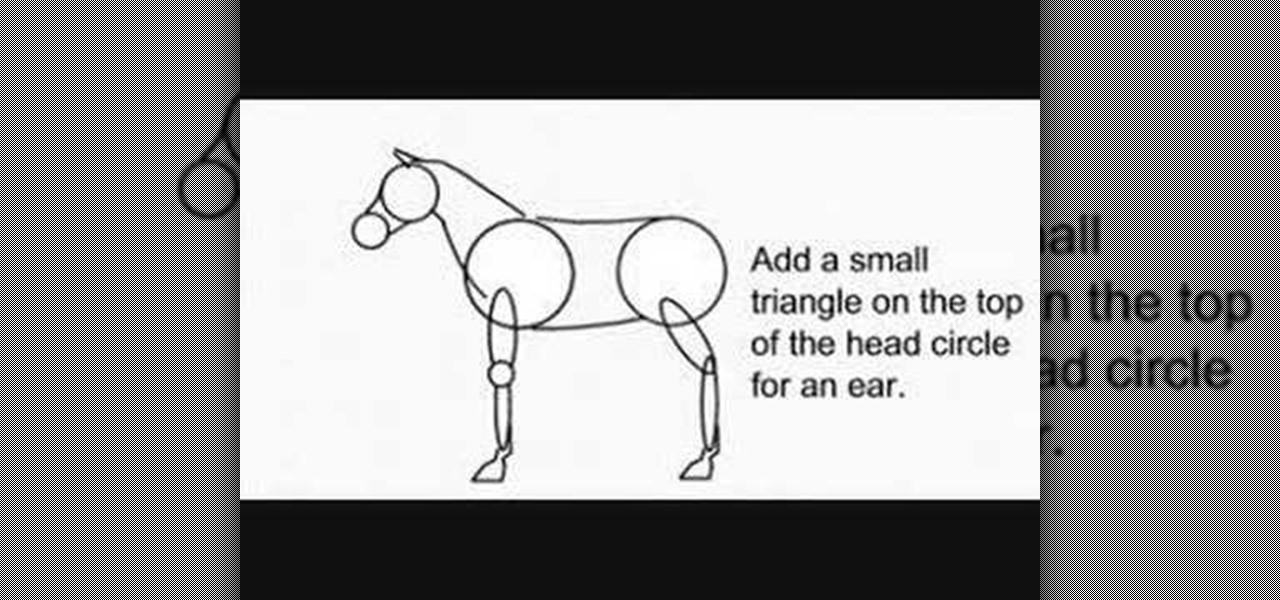
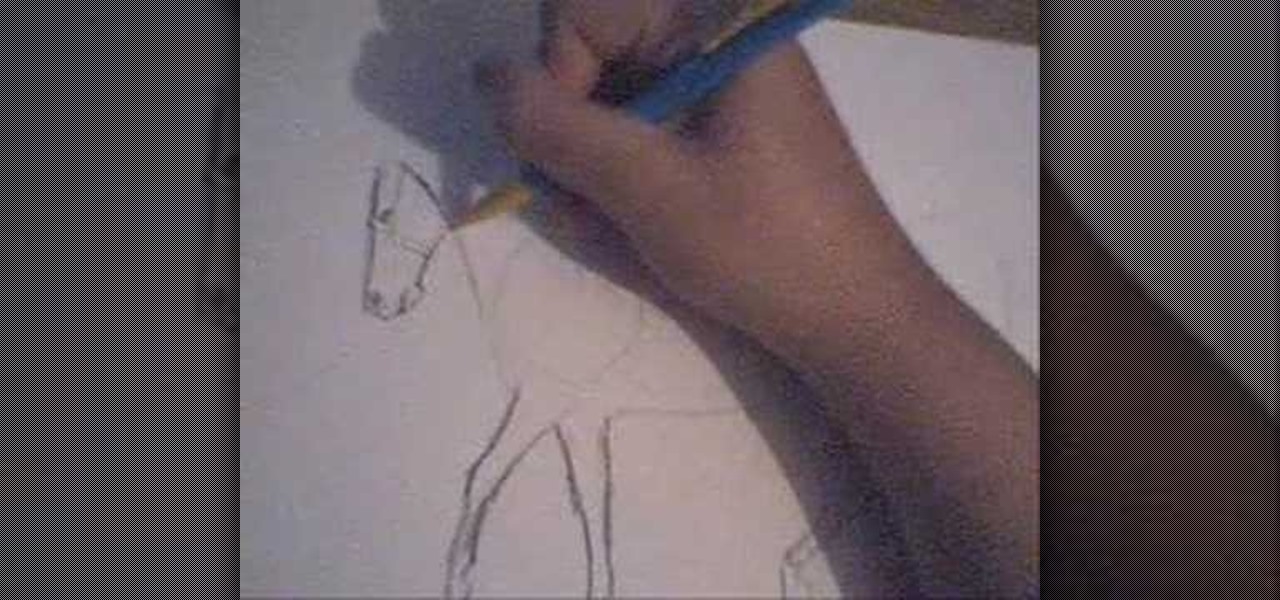
In this video, we learn how to draw a decent horse. First, start with two circles connected by two curved lines. Next, add a sausage for the top of each leg and add a small circle for the front of the knee. Then, add another for the lower part, and add two hoof outlines at the base of each leg. Then, add the back of the hooves. Next, draw two more lines that are far apart at the bottom and narrow at the top for the neck. Then, draw two circles for the top of the head and the muzzle. Join the ...

In this tutorial, we learn how to draw Axel. Start out by drawing the head, then add in the facial features including the eyes, nose, ears, and mouth. After this, draw in the spiky hair that goes around Axel's head. Next, draw the neck and shoulders. Continue to draw down the body until you reach the feet. Add in the details of what the character is wearing, using lines on the clothing to make it look more realistic. After this, you will need to draw in shadowing on the drawing to make it loo...

In this tutorial, we learn how to style natural curls. First, spray some water in your hair all over the place so it's just damp but not completely wet. After this, you will need to put the moisture back in the tips of your hair so it's healthier. To do this, you will need to use any moisturizer that works with your hair type and gently work it into the tips of your hair after working into the palms of your hands. Also put this in the underneath section of your head and then work through the ...

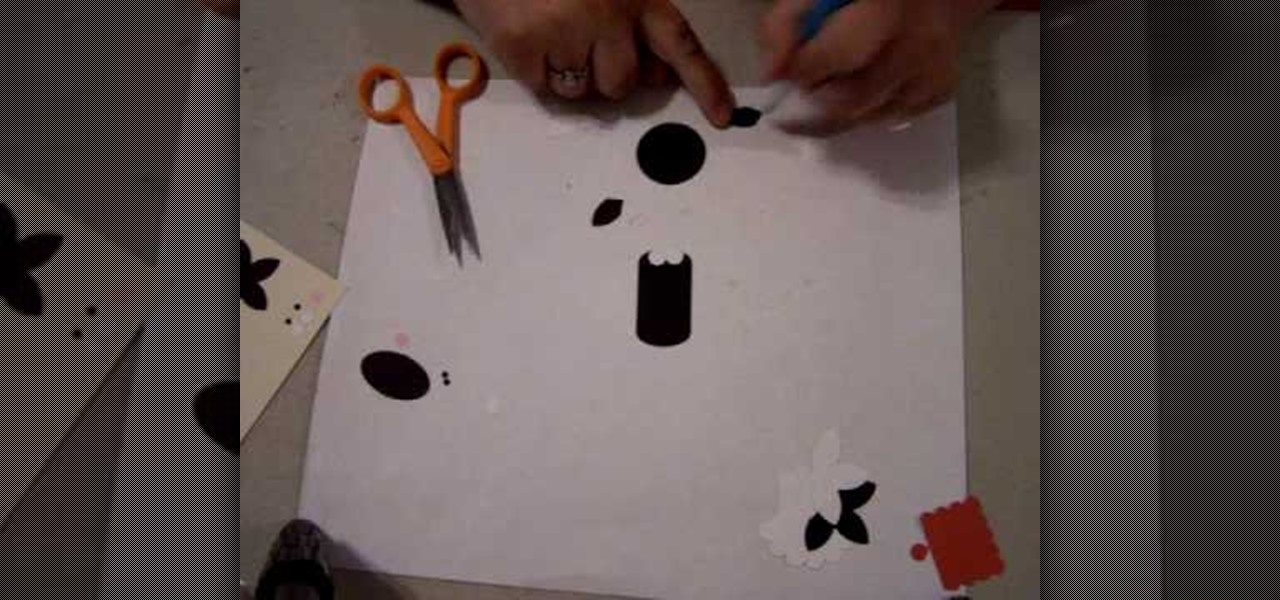
In this tutorial, we learn how to make a cat punch using Stampin' Up! products. First, you will need to use the: circle scalp punch, circle punch, oval punch (black and white), and five petal punch (black and white). You will also need two small circles each of black and pink for the eye and cheek area. Once you have all of these punched out, you will be able to assemble the head. Use the circle as the head and apply the white and black circles in the middle for the eyes. Use the flower punch...

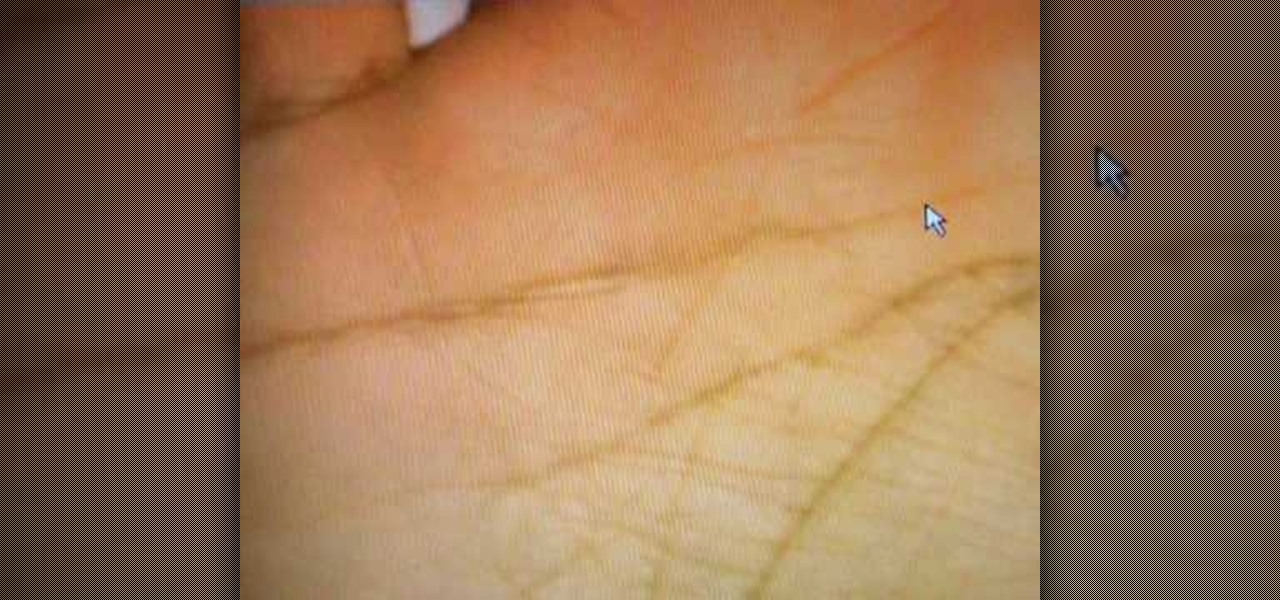
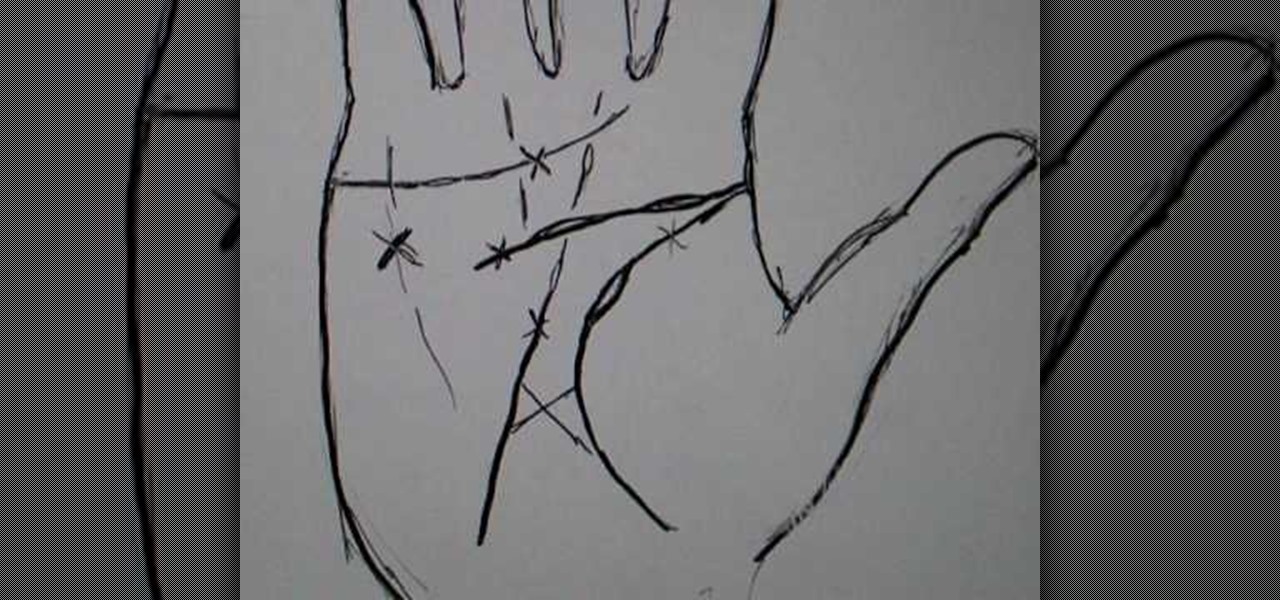
In this video, we learn how to palm read the straight heart line and head line. If the thumb is farther away from the hand this means they like to spend money a lot and don't hold onto it. The line across the top of the hand that is straight is very rare. Islands on this line mean there is a setback in this person's life doing with love. Lines underneath the fingers shows someone who is helpful and hard working. The heart line shows the emotions of someone and how they feel about themselves o...

In this Spirituality video tutorial you will learn how to palm read; crosses and islands on the main lines. These very often come on the main lines and sometimes they show a lot of changes in the person's life. If there is a cross on the heart line, it implies an emotional change. It could be a divorce. Islands on the heart line imply upsets; like an upset in marriage. Islands in the head line are often there because of a slowdown, may be they have changed their thinking or may be they have g...

In order to make an adjustable cable necklace, you will need the following: 20 inch adjustable cable chain, a slide bead frame, 2 head pins, 8 mm bi-cone, 8 mm crystal, 2 6-mm round rondells, 2 7-mm jump rings, a pair of nipper tools, a pair of round nose pliers, and a pair of chain nose pliers.

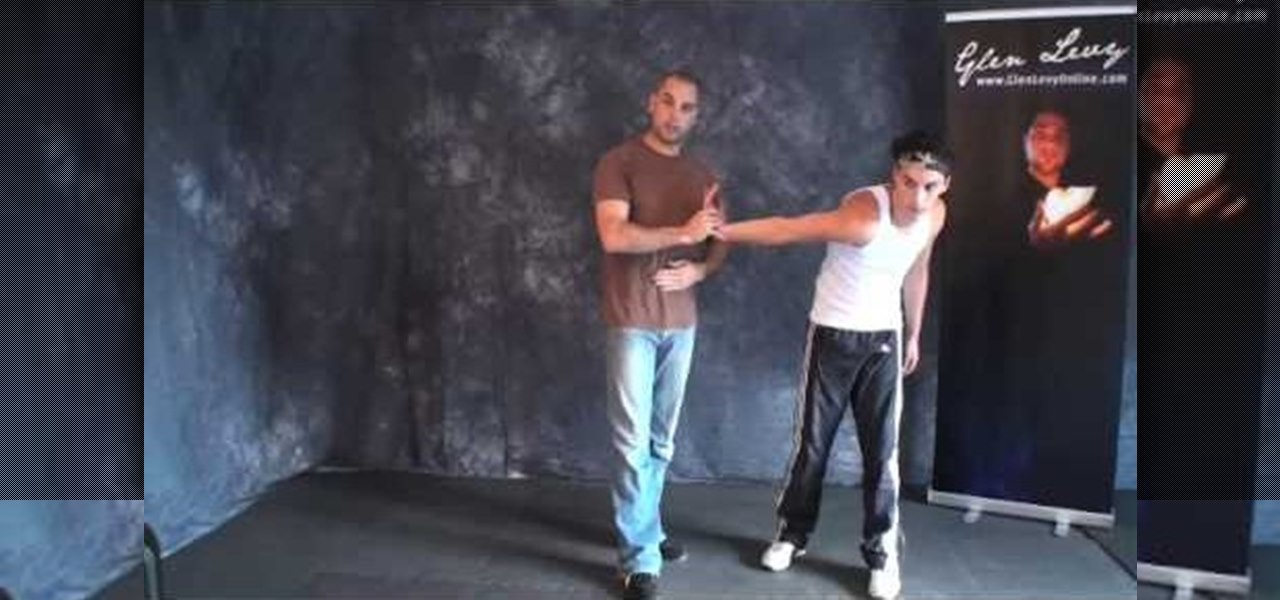
In this video, we learn how to perform a forward wristlock: "Ura gyaku". Instead of twisting the wrist to the right, you will twist it to the left. When everything in the arm is straight, it will help lock the wrist better instead of it being bent. Keep the arm straight and the elbow flexed, then align it with the face. Turn it over using the same muscles between the bones and the head, then flex the shoulder and elbow towards the head. Drag it, then you will have this type of wrist lock comp...

In this video, Peter John teaches us how to palm read the heart and head line on the palm. When you see the heart line come across the mounds of Jupiter, you will be able to tell if someone is going to be wealthy. If the heart line is broken up, this shows the person has extra emotions. The heart line going towards the mounds of Jupiter is someone who is looking for a perfect mate to be with. When the heart line crosses and goes between the first and second person, it means that this person i...

Pendants are like the stars of your necklace. Without them, you'd only have a boring necklace chain or cord. Pendants add excitement to a necklace as well as show off some of your individual style and charm.

In this video, we learn how to draw a horse. First, draw the outline of the horse's body. Start with a circle for the head and wispy lines for the rest of the body. Make large shapes that connect to see where the mass of the body will be. Next, draw in the head, tail, back, and legs of the horse. After you have the outline finished, erased the lines inside of the picture. Now, draw in details on the horse. Add in lines to show where the hair is, then draw in the nose and eyes to the face. Als...

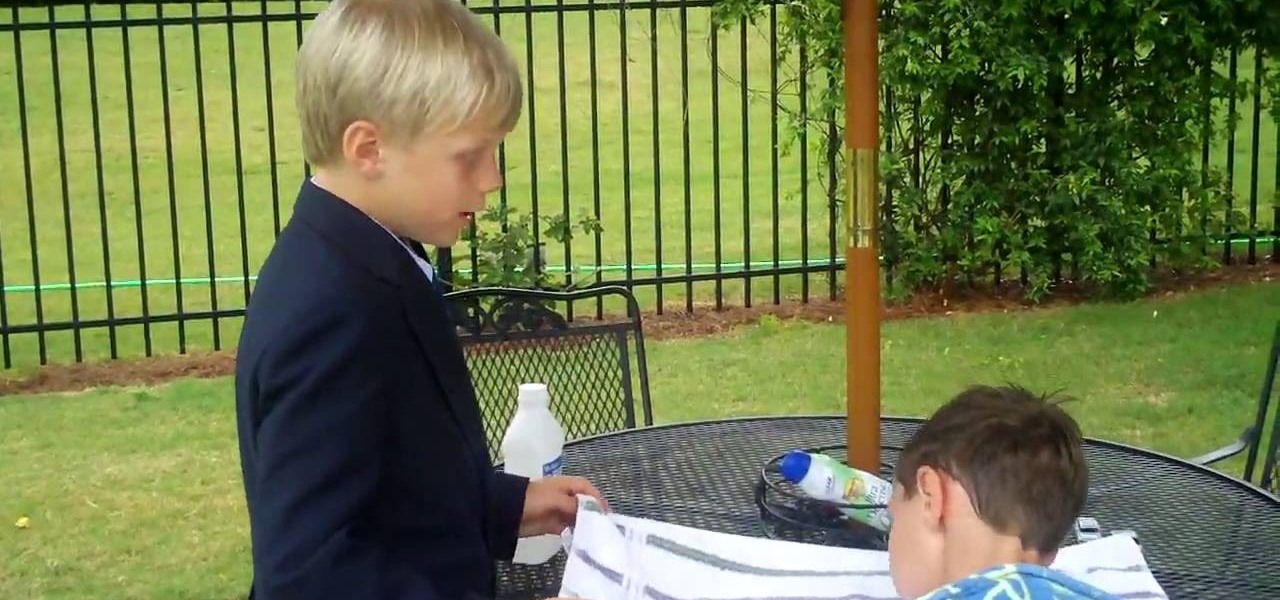
In this video tutorial, viewers learn how to get water of their ear. The materials required for this task are a towel and rubbing alcohol. Begin by laying out the towel on a table. Then place the head on the towel and cover part of the towel over the face. Have another person pour the alcohol into the bottle's lid and then pour it into the patient's ear. Now move the ear and wait for several seconds. Then turn the head over. This video will benefit those viewers who enjoy swimming, and would ...

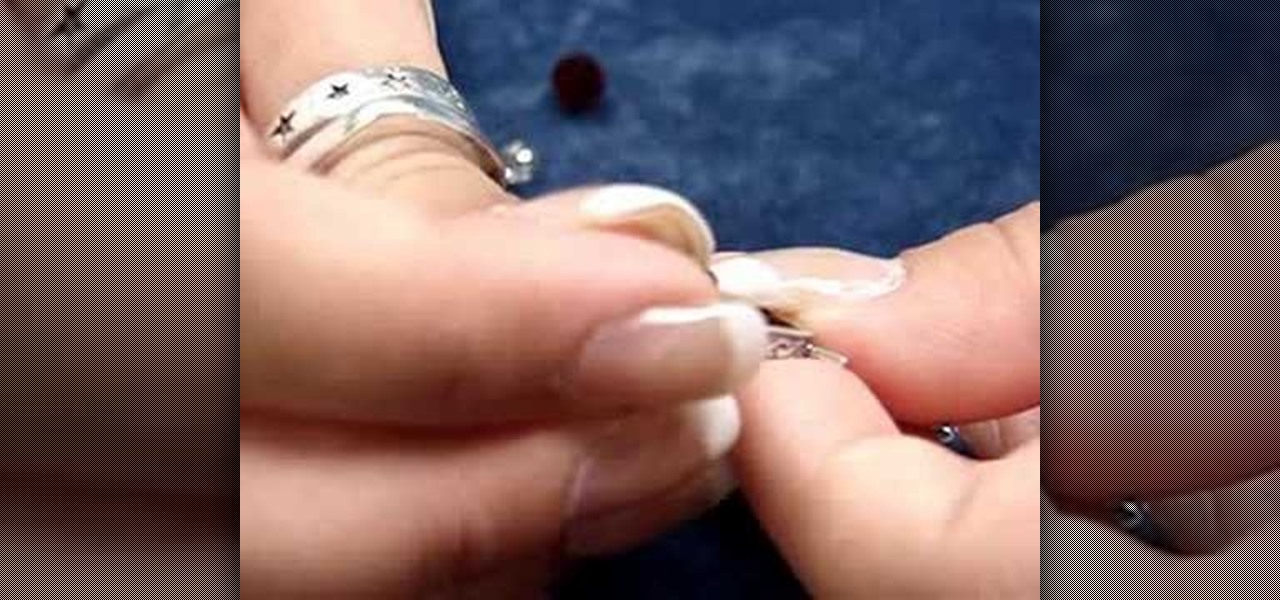
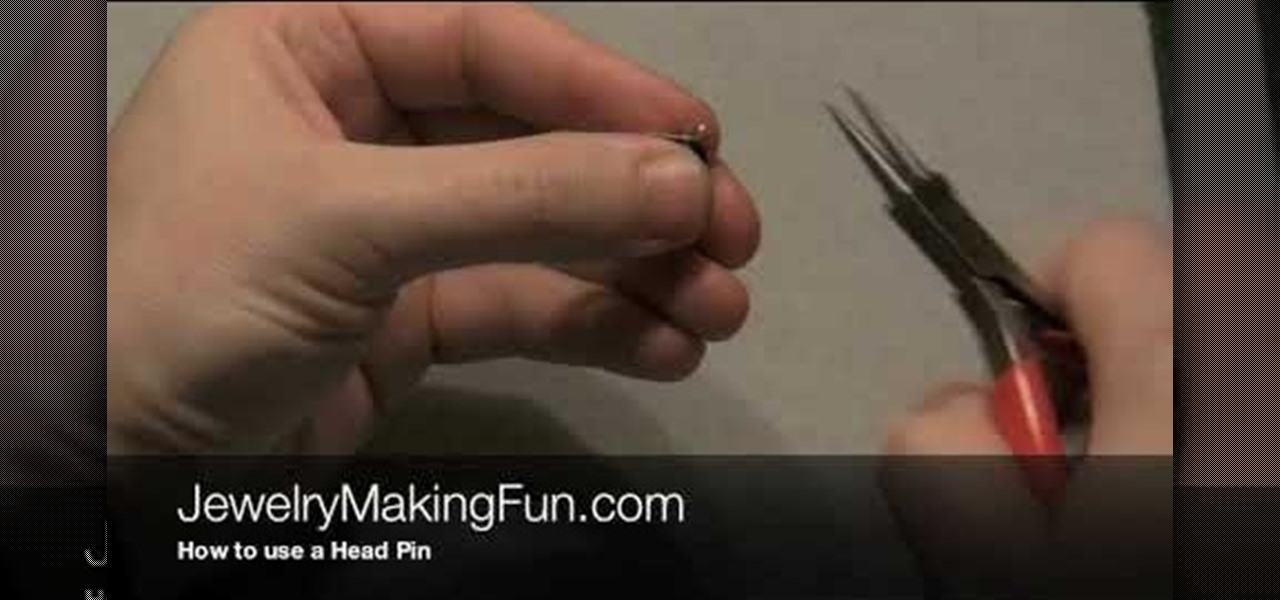
In this video, we learn how to use a head pin while making earrings. Start off by grabbing a 1" long headpin and feed a bead through it until it reaches the other end of the pin. Now, decide how you want to close the loop. The first way to close it is to make a single loop by using pliers and making a 45 degree bend. Cut off any excess wire with wire cutters. The next way to do this is to wind the excess wire around the base until it comes to the bottom of the bead. This is visually appealing...

In this tutorial, we learn how to put on dread falls. First, put your hair into two buns onto the top of your head, then place two cut off socks on top of them. After this, take a string and tie it around the two buns. After this, apply your dread falls to the side of each different bun and tie them on with any type of string. When you are done, flip the dread over your head and then situate in the back. When you are finished, you can put a headband in your hair so the dreads look more realis...

In this video, we learn how to draw a cartoon brontosaurus. First, draw a large hump that is a half circle, then draw a line on the other end of this. After this, draw a tail on the other end of the hump and then go down and draw the feet on the bottom. Continue going and draw up the neck and make a circle for the head. Draw in a large eye on the head and make a smile on it. Next, draw soft spikes on the back of the dinosaur and color it in if you prefer, then enjoy your cute drawing!

In this video, we learn how to draw Naruto. Start out by drawing a circle as the outline. After this, draw the jawline. Next, draw lines in the middle so you know where you are going to draw the eyes and the rest of the facial features. Next, define the features on all the different parts of the face. Start to add in shading to the face, then draw in the hair. Next draw in a hair band at the top of the head, followed by spiked hair coming out of the top and ears on the side of the face. When ...

In this tutorial, we learn how to draw Totoro. Start off with the ears, then connect the top of the head around them and continue to draw the rest of the head. Fill in the eyes and the nose on the face, then make lines on the side of the face to show whiskers. After this, draw an egg shape as the rest of the bottom, then add hairs onto the stomach area. Draw small little lines on the bottom of the character to make it look like he is sitting on something. To finish, draw the character holding...

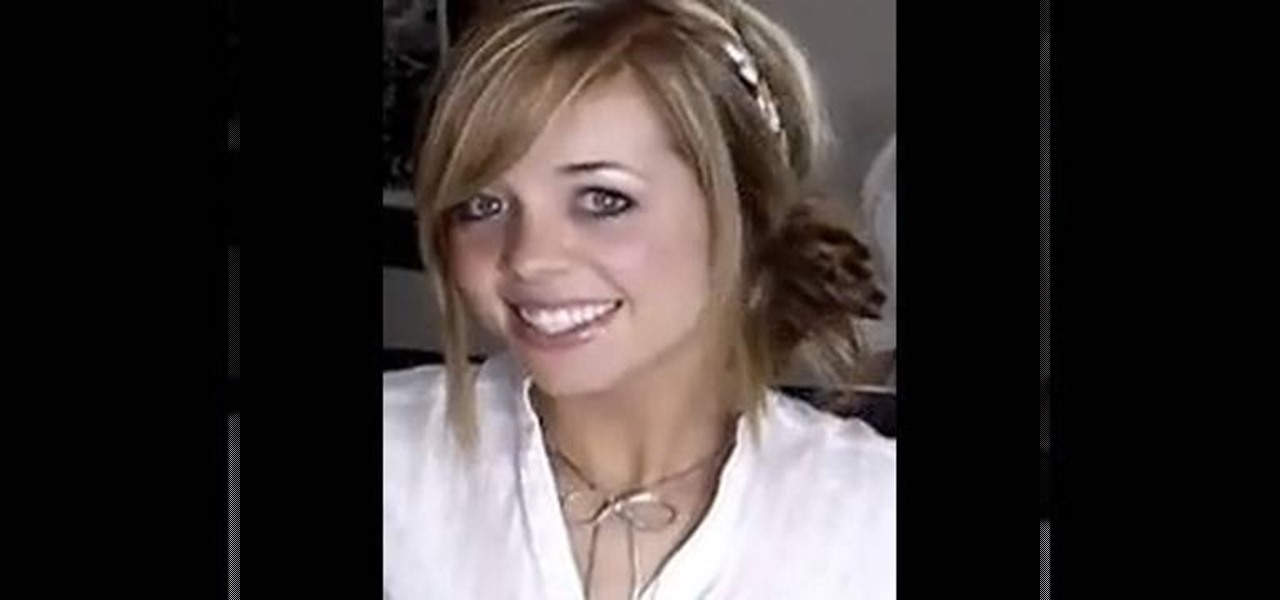
In this tutorial, we learn how to do a side headband braid with ribbon intertwined. First, grab a ribbon that is around 32 inches and any color you want. Now, take a chunk of hair on the side of your head, and place the middle of the ribbon underneath it. Now, separate your hair into three sections, then start to braid by connecting the ribbon in with the strands. Once you finish this, tie off at the end. Now, make a messy bun in the back of your hair with the braid on the side still. After t...

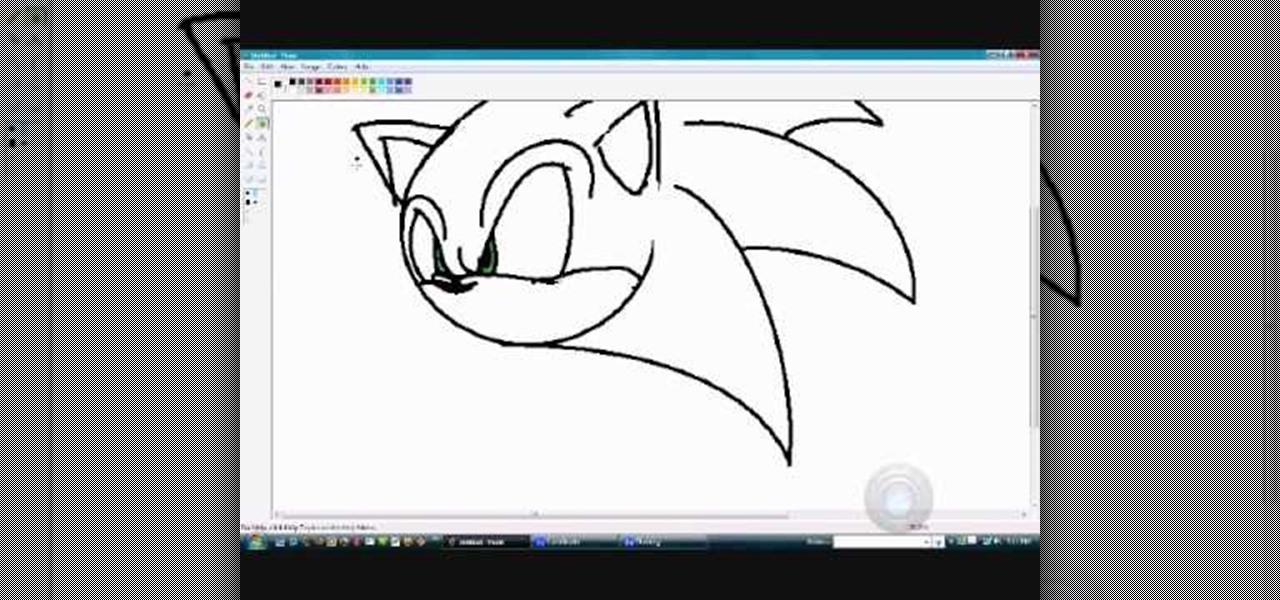
In this video, we learn how to quickly draw Sonic the Hedgehog. Start off by drawing the eyes and eyebrows. Next, draw the ears on the side and connect the head around it. After this, start going to the side to draw the three spikes for the hair. After this, draw in the nose, mouth, pupils, and inside of the ears. Add in shading where appropriate and add highlights to the top of the head. Use a black paintbrush to draw the outline of Sonic darker. After this, finish the picture by coloring it...

In order to make an "I love you, Mommy" pop-up card, you will need the following: scissors, card stock, glue, and markers.

In this drum lesson for beginners, you'll learn how to play quarter notes on the drums. Regardless of your preferred style of music, if you want to be great, you'll need your head and hands on the same page. And there's no better way to get your head and hands on the same page than to practice. Happily, the Internet is awash in video tutorials like this one. For more information, watch this free video drummers' guide.

The Japanese Shoguns built their entire warrior culture around masochism. Did you lose in battle? Congratulations, you must cut off your own head! Did you dishonor your general? Punishment consists of swirling your guts around with your own sword (yes, you're doing this yourself) and then chopping off your head. As you can see, failure - and disobedience - was not an option, and to commit it shamed you so much it would be more honorable to be dead than alive.

In this tutorial, we learn how to draw Timmy Turner. Start off by drawing the head, making the front round and the body will be a triangle shape. The back of his head should be a triangle as well. Draw two large circles on the face, followed by arms and legs coming off of the body. Next, draw ears onto his face followed by a shirt and pants on his legs. Draw Timmy's mouth with a large smile and two teeth at the top. His eyebrows should almost touch in the middle, then don't forget to add on h...

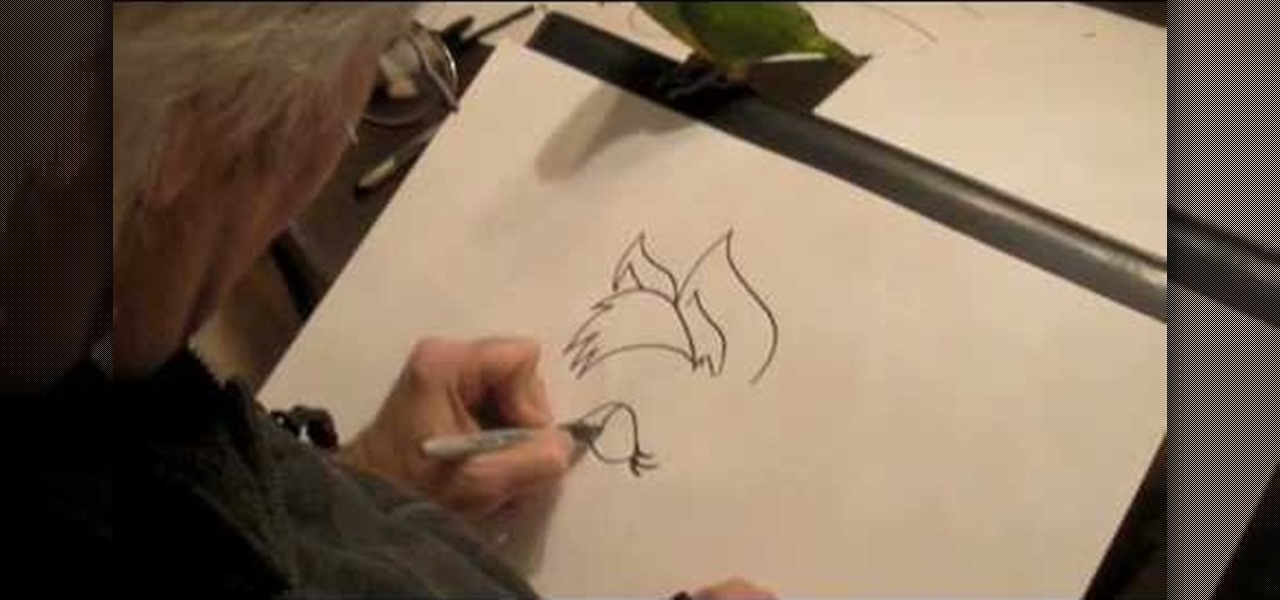
In this tutorial, we learn how to draw a cartoon horse's head. First, make a large ear followed by a large amount of hear and a smaller ear. Next, draw a large eyes underneath the ears with eyelashes. Then, draw a nose for the horse and a mouth making a smile coming outwards of the eyes. Next, draw the mane with a lot of hair and the neck going downwards off the paper. You can add a collar onto the neck of the horse if you want it to look like it's wearing a shirt. To finish, add in more hair...

In this tutorial, we learn how to draw Bowser Jr. from Mario Brothers. Start off by drawing the nose, which has two large humps going to the chin. Next, draw his mouth, dimples, teeth, and nose holes. Next, draw in the eyes and eyebrows, filling in the pupils with small white circles in the middle. Make sure the eyebrows are pointed upwards, so it looks like he's glaring. Now connect the top of the head, followed by drawing the hair onto the top of the head. Next, draw on the arms and front o...

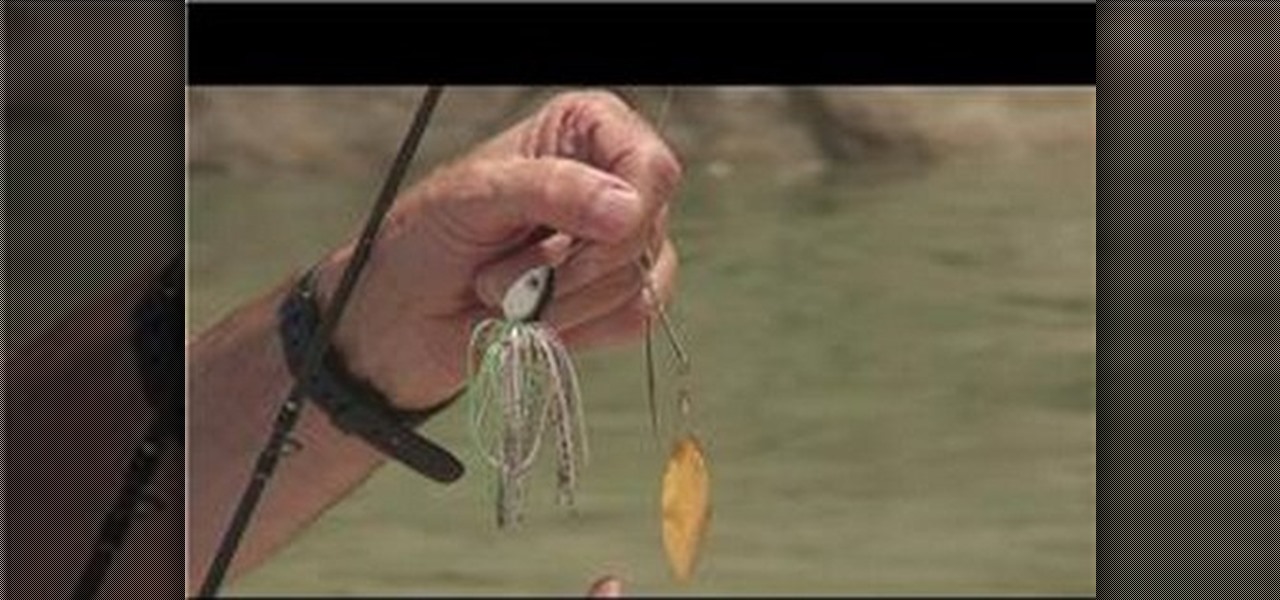
In this tutorial, we learn how to work a spinner bait. This has a head as the weight, then the hook underneath the head and skirt. On the other side of the safety pin, there is who flat blades for murky waters. These help with sun reflection. This is a very versatile type of bait that helps you fish in murky waters. Bass will attack it as soon as they see it, helping you catch more fish. There is a lot of equipment on this, so it takes the bass a little while to get a hold of it. To ensure yo...

In this tutorial, we learn how to draw Umbreon from PokŽmon. Start off by drawing the head and using crossing lines as the reference points for the eyes. After this, draw the neck and body underneath the head. Next, draw the feet, rear legs, and tail as well. Use your pencil to add lines on the sides to make the fur look real. Next, start drawing in details to the character, including; ears, paws, and eyes. Also, draw the nose and mouth to the character. After this, start to shade different p...

In this free video guitar lesson, you'll learn how to play an open C major chord. Regardless of your preferred style of music, if you want to be great, you'll need your head and hands on the same page. And there's no better way to get your head and hands on the same page than to practice. Happily, the Internet is awash in video tutorials like this one. For more information, and to get started playing this chord yourself, watch this guide for guitarists.

Bob Schmidt teaches us how to screw drywall to studs with a drywall screw gun. A countersink bit is a great option to help you screw drywall studs in. This will fit in a variable speed drill for setting counters and drywall. Use a DeWalt screw gun, which is specifically made to install drywall. It has a clutch driven head with different adjustments on the head for different screws. The gun should be inexpensive and doesn't have a very large motor, so it's perfect for a homeowner. If you just ...

In this tutorial, we learn how to do a half up and half down hair look. First, grab the top middle of your hair and comb it up, then hair spray it and tease it up. After this, curl while still holding up, the repeat this for the rest of the hair on your head. To finish, spray hair spray all over the hair to keep it in place. Next, pull half the hair up and push upwards, then use bobby pins to clip it into place. Check in the mirror to make sure it's even and move your head to make sure it's s...


