
How To: Install a sprinkler head
Check out this video tutorial to see how to install and adjust a sprinkler head as explained by Sprinkler Daddy's Sean Stefan. These are quick and easy instructions to installing an underground sprinkler head.


Check out this video tutorial to see how to install and adjust a sprinkler head as explained by Sprinkler Daddy's Sean Stefan. These are quick and easy instructions to installing an underground sprinkler head.

In this tutorial, we learn how to draw Sonic the Werehog. Start by drawing the outline of the character, making sure to draw in the spiked hair on the back of the head. Then, draw in the circle for the head and use crossing lines to reference where you want the features of the face to go. Draw in the features and then add in more detail to them as well. Erase the background lines and then draw in the details of the body. From here, color in the body and then shade in corners to make it look m...
In this tutorial, we learn how to do a simple Mario drawing. First, take your pencil and start to draw the outline of the head. After this, you will draw in the mustache, nose, and mouth on his face. From here, draw in the hat on the top of the head and then draw in the eyes as well. Add in shading and lines to create additional details and depth in the drawing as well. Continue to draw in the body and the overalls that are on the body as well. Finish off with the legs and the shoes and then ...
In this tutorial, we learn how to tease hair. To start, you will grab the hair at the top of your head and hold it up straight. After this, you will hair spray your hair in the back and let it dry a little bit. After this, grab a teasing comb and brush your hair down from the direction it grows. Next, you will let it lay down and hair spray it. Continue to do this throughout your entire head until you have done it all over. Then, comb all of your hair back gently with a light brushing. When f...

In this video, we learn how to do a hippie hairstyle on your American Girl doll. To start, you will simply take the side of the hair and braid two braids into it. Pull these across the back of the head and then repeat on the other side of the head in the same exact braid. Next, you will pull these braids all together and then braid these together going all the way down to the bottom of the hair. Tie this off with a rubber band at the bottom. This will finish up your hippy hairstyle, enjoy and...
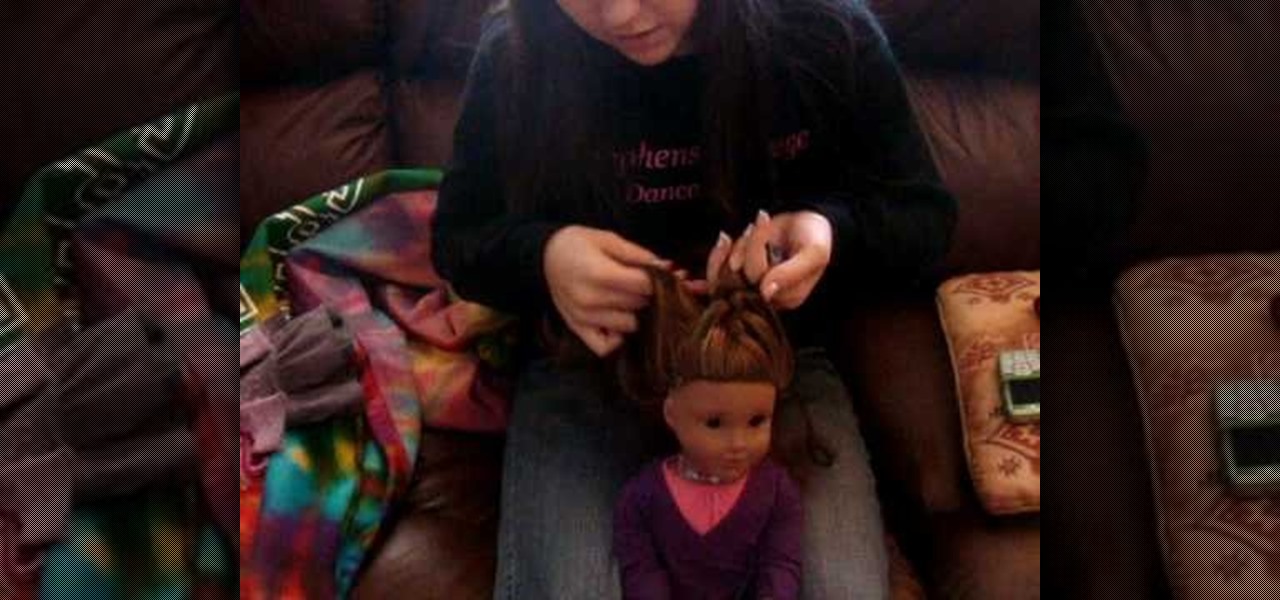
In this video, we learn how to do a single French braid on your American Girl Doll. First, brush the doll's hair back and make sure it's smooth with no bumps. After this, grab a small section of hair at the top middle of the head. Split this into three pieces and then start braiding like normal. From here, grab some hair from one side of the head and braid the hair sections over each other. Then, grab hair from the opposite side and braid the sections over each other. Continue to do this, alt...
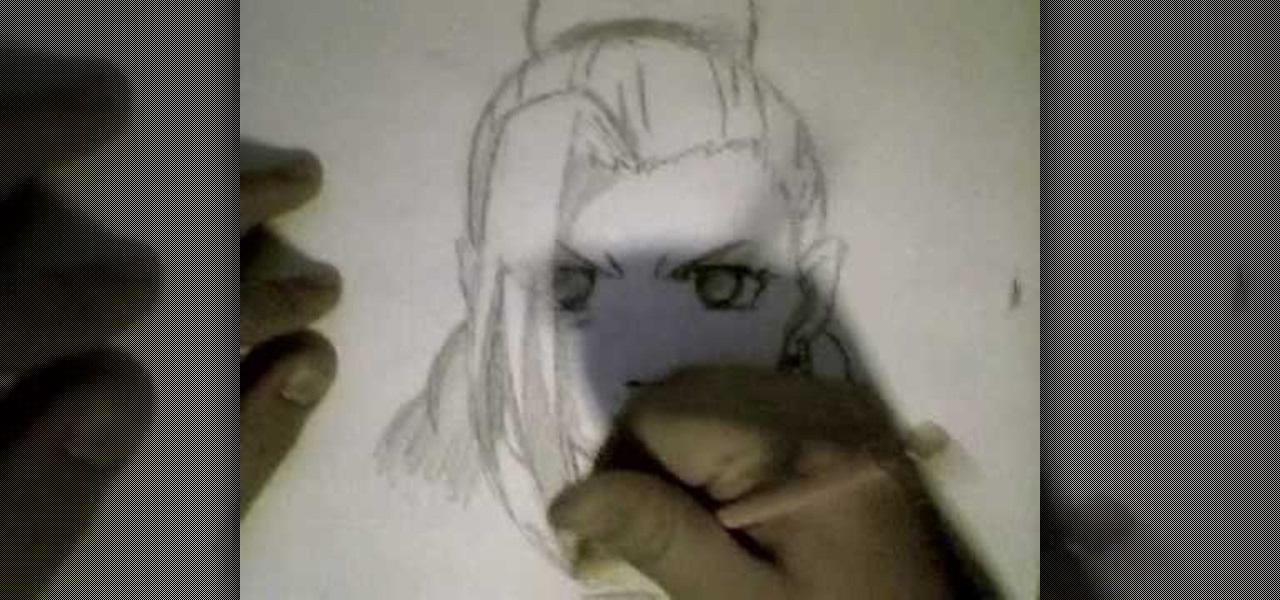
In this video, we learn how to draw Ino from Naruto. Start off by drawing a circle for the head, then drawing lines in the middle to create reference for where the facial features will go. After this, draw in the hair on the top of the head along with the eyes, eyebrows, and creases of the eye. Then, draw the jaw line around the face and erase the lines you used for reference. After this, add in additional lines and hair to make it look more realistic. Use shading around the face to show ligh...
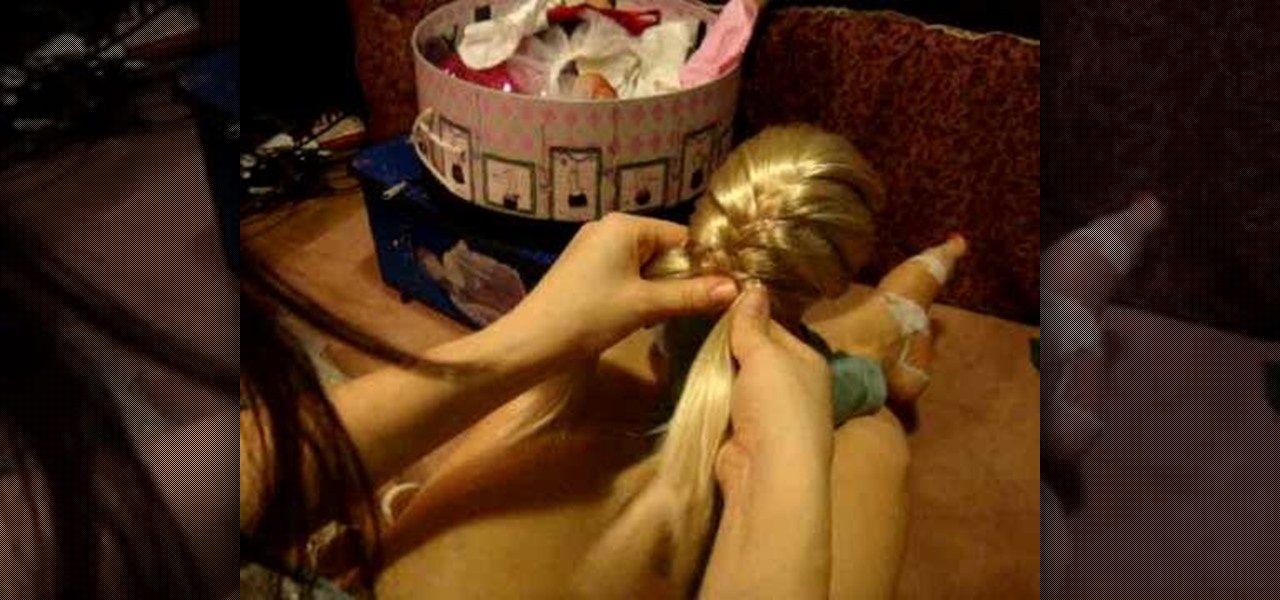
In this video, we learn how to do a fishtail variation on your American Girl doll. First, brush the hair out so it's smooth and then take a section from the top right side and top left side. Cross these together on the back of the head and then grab another piece of hair. Start to braid these together and push them from side to side. Alternate grabbing pieces of hair from each side of the head, making them as big or little chunks as you want to. As you continue to cross the hair, you will rea...
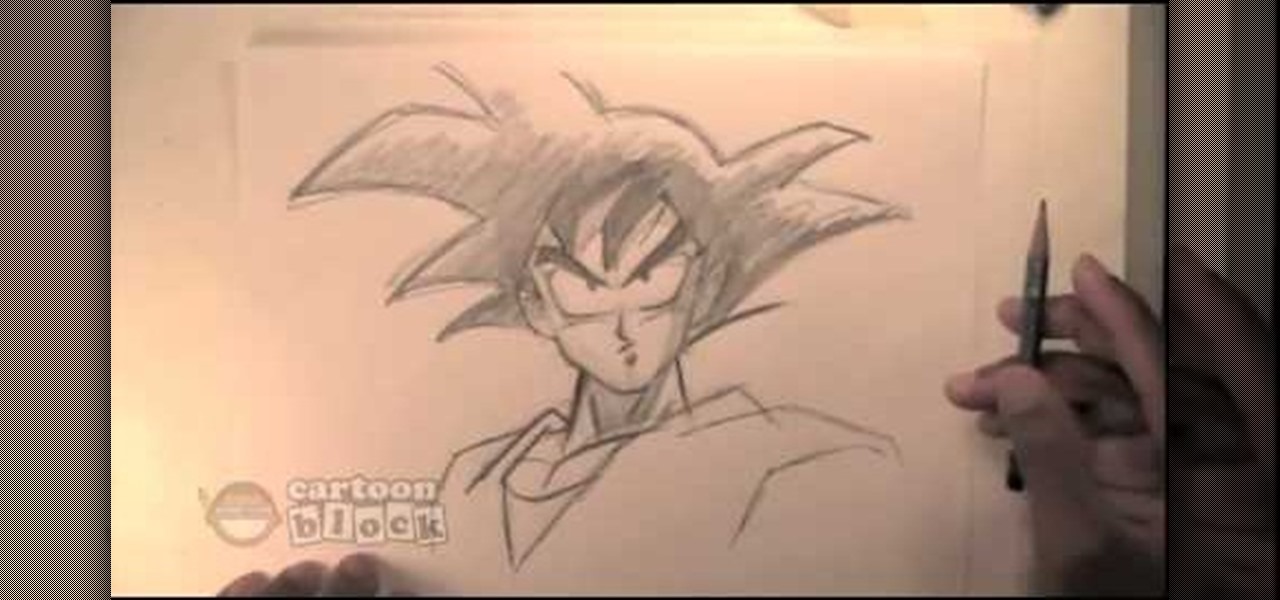
In this tutorial, we learn how to draw Goku. First, you will start drawing the outline of the face, including the features of the face. After this, darken around them by drawing with the pencil. From here, draw in the hair on the top of the head and the ears on the side of the head. Next, you will draw in the neck and the rest of the body as well. Add in lines on the body to show the contours and the muscle on the body as well. Finish this off by adding in shading and erasing any background l...
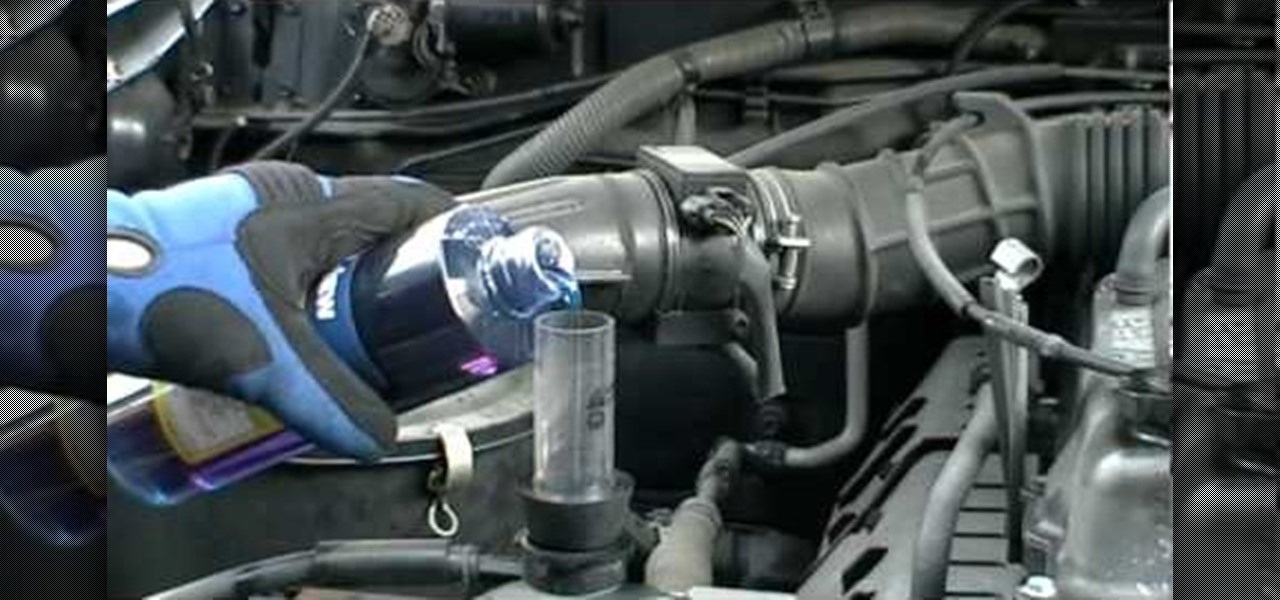
Gaskets are the most likely parts of nearly any combustion engine to break. Detecting a blown head gasket is nearly impossible without taking the engine apart because they are so deep in the engine. In this video you'll learn how to use a testing kit to diagnose blown head gaskets.
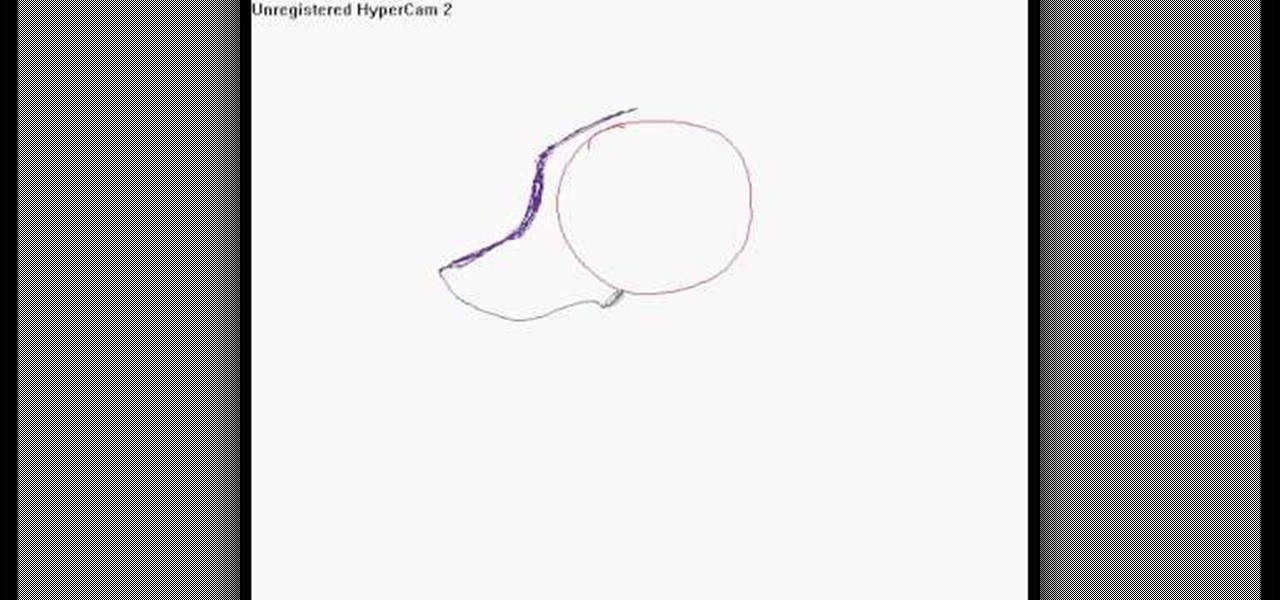
In this video, we learn how to draw wolf eyes. Start out by drawing the outline for the wolf head. Then you will draw the eyes in an almond shape dragging downward on the nose. After this, zoom in on the eyes with the computer and then fill in darker lines around the eyes. Draw in the pupils on the eyes and add in the details for the corners of the eyes as well. If you want to draw wolf eyes from a side view, draw the outline of the head to give you reference, then draw the shape of one of th...

In this tutorial, we learn how to make stencils in GIMP. Start with heads or faces if you are new to this. Then, use the rectangle tool to select the head. Then, go to image and fir canvas to selection. Now, remove the background by using the background tool. Once finished, go to colors, then threshold. The image should turn black and white. Turn the dial to the right, then turn it to the left to make it lighter and darker. Find the spot to where it shows detail but it's not distorted, then h...

In this video, we learn how to create the perfect flat iron curls. Start with the back of the head, taking a section for the size of curl you want. Then, stick your hot flat iron in at the root and turn the iron 90 degrees. Slowly pull it through all the way to the end, going slowly. Give an extra twist at the end, then wrap the hair around your fingers at the root and set the hair down. Hair spray this, then continue to curl the hair on the entire head. Then, loosen the hair up with your fin...

In this tutorial, we learn how to draw Sango and Kilala. Start out by drawing a circle and reference lines for the head, then draw a stick for the body and draw a half circle going off the bottom of the page. Then, draw circles on the upper body to create the hands and draw fingers coming off of those. Now, draw in the neck and the clothing that is on the character. Erase the background lines, then all in the features of the face and the hair around the head. Also make sure to draw on the ear...
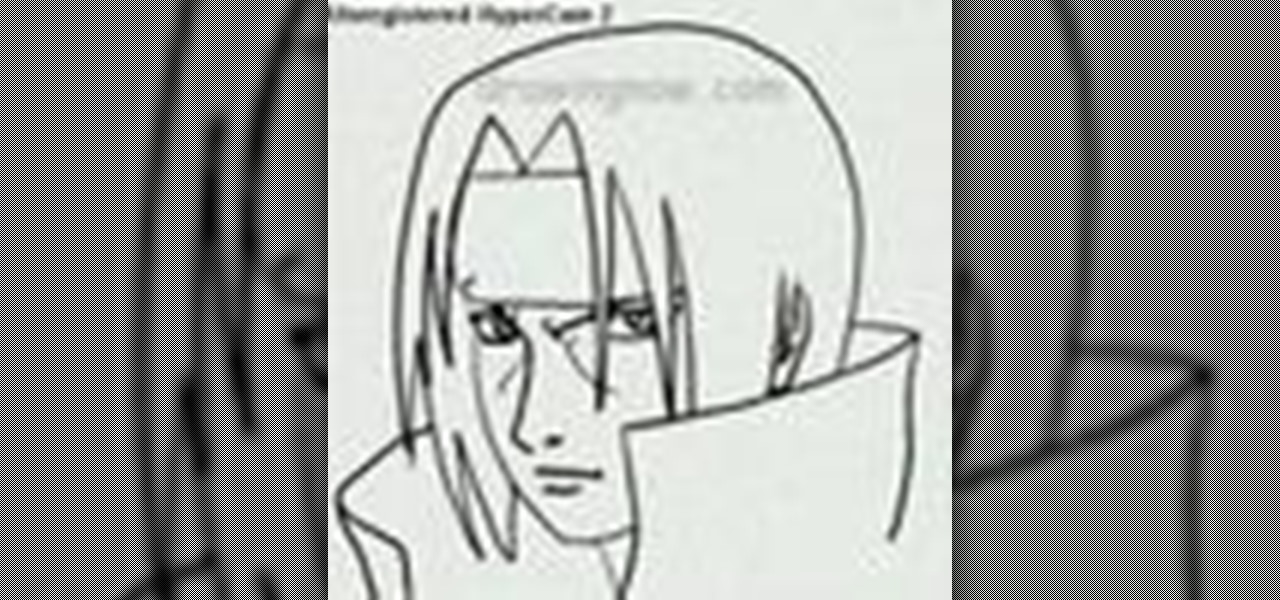
In this tutorial, we learn how to draw Itachi. First, draw your reference lines on the head so you know where to place the features of the face. Draw in the eyes, adjusting them so they are more towards the left of the face than the right. After this, draw in the bridge of the nose and the nose, as well as features of the cheeks. Next, draw in the nostrils and the mouth, as well as eyebrows and creases around the eyes. After this, draw in ears on the side of the head, then start to draw in th...

In this tutorial, we learn how to draw Rock Lee. First draw a circle for the head, making a chin underneath and using lines to reference where the facial features will go. After this, draw eyes that are slightly aligned to the left hand side of the face. The right eye should be larger than the left, both off center. Then, draw two dots for the nose and a "u" shape for the mouth. After this, draw a larger circle around the head and then draw in angry eyebrows above the eyes. Start to erase the...

In this tutorial, we learn how to draw Train Heartnet. Start off by drawing a circle for his head, then lines in the head for reference of where the features will go. Next, draw a stick for the body and draw circles where the shoulders and wrists would be. After this, draw in the neck and the upper body. Draw in the clothes after this, adding in as much detail as you would like. Make sure to add in shading and lines to make the clothes look more realistic. Next, you will need to draw in the f...

In this tutorial, we learn how to draw Axel. Start out by drawing the head, then add in the facial features including the eyes, nose, ears, and mouth. After this, draw in the spiky hair that goes around Axel's head. Next, draw the neck and shoulders. Continue to draw down the body until you reach the feet. Add in the details of what the character is wearing, using lines on the clothing to make it look more realistic. After this, you will need to draw in shadowing on the drawing to make it loo...
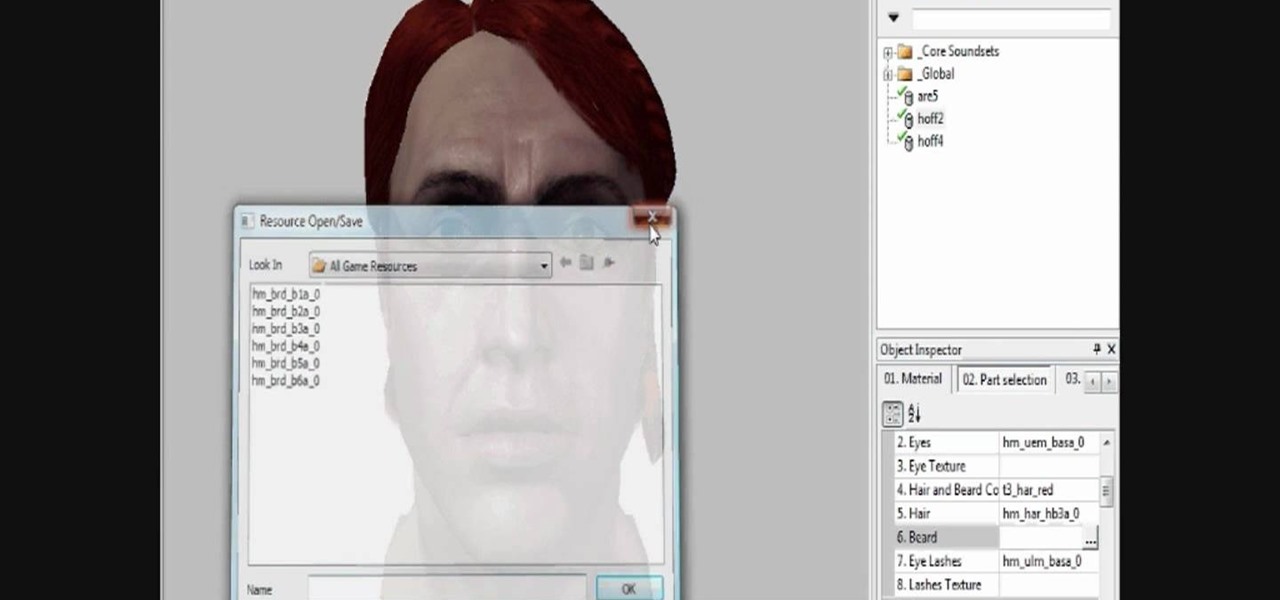
Creating the NPCs (non-player characters) that fill your world is just as important as the story itself! Creating the atmosphere and setting the tone of your characters are incredibly important, and if the stock NPC looks just aren't doing it for you, then try using head morphs in the toolset! In this video you will learn how to do head morphing in the toolset and where to find each of the options and edit your NPC's together.
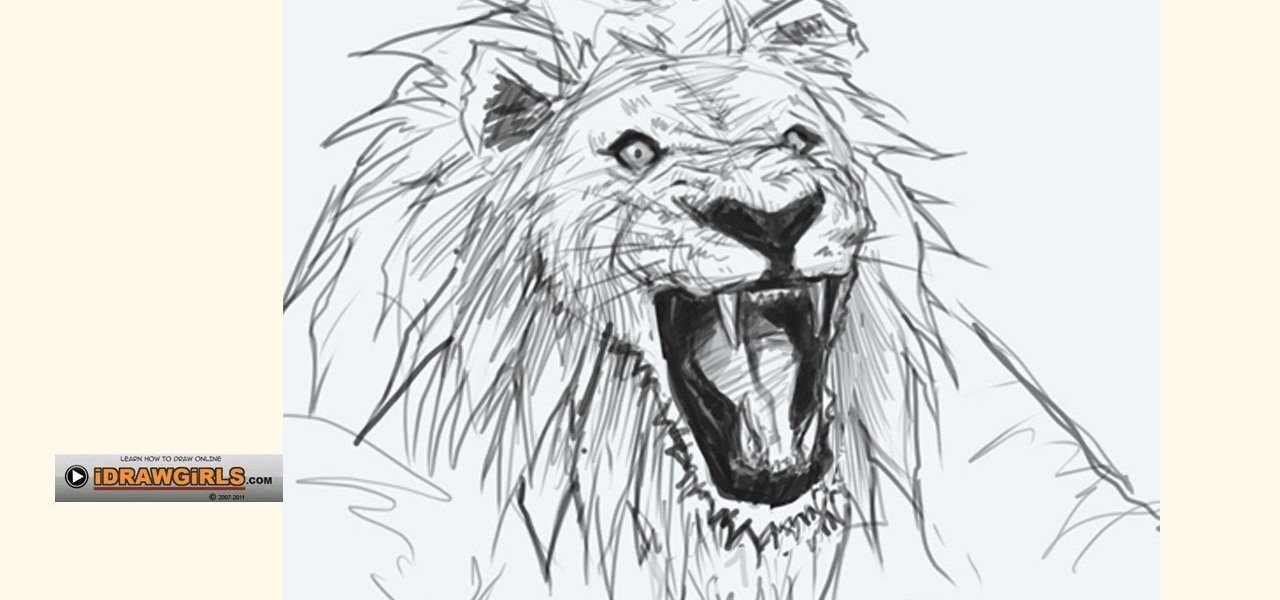
Simba from "The Lion King" couldn't have done it better himself. In this video tutorial you'll learn how to sketch out a very realistic lion head held in a bemused expression. Whether you love lions or find them frightening, drawing this lion head is an excellent way to gain knowledge of anatomy and how it affects different poses.
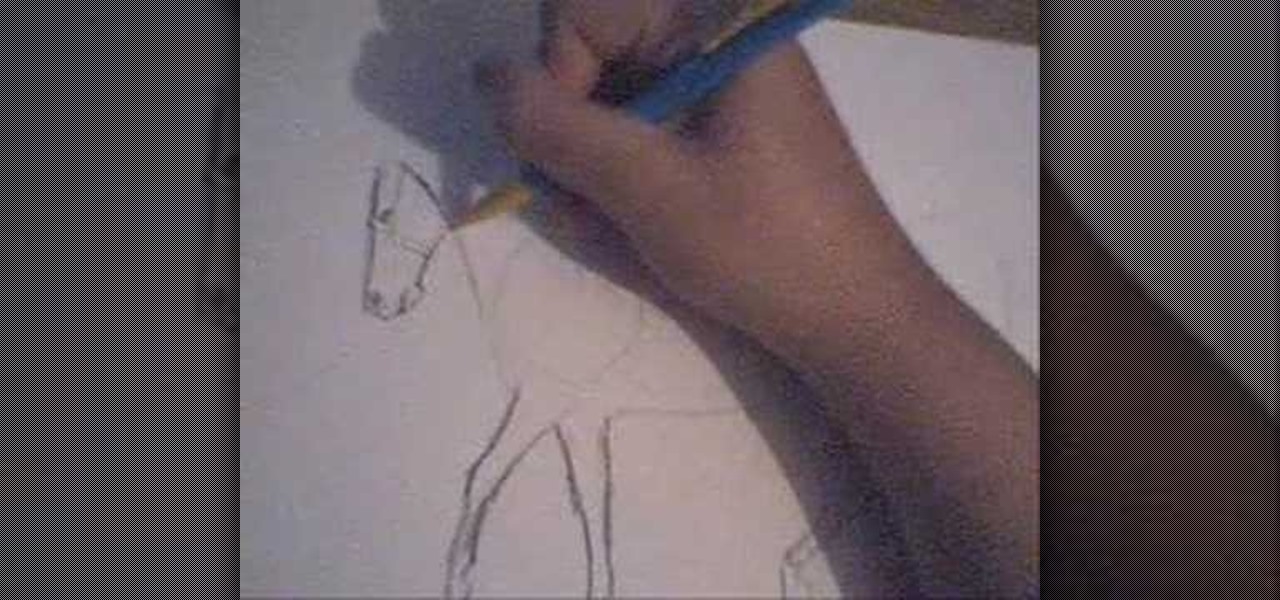
In this video, we learn how to draw a horse. First, draw the outline of the horse's body. Start with a circle for the head and wispy lines for the rest of the body. Make large shapes that connect to see where the mass of the body will be. Next, draw in the head, tail, back, and legs of the horse. After you have the outline finished, erased the lines inside of the picture. Now, draw in details on the horse. Add in lines to show where the hair is, then draw in the nose and eyes to the face. Als...
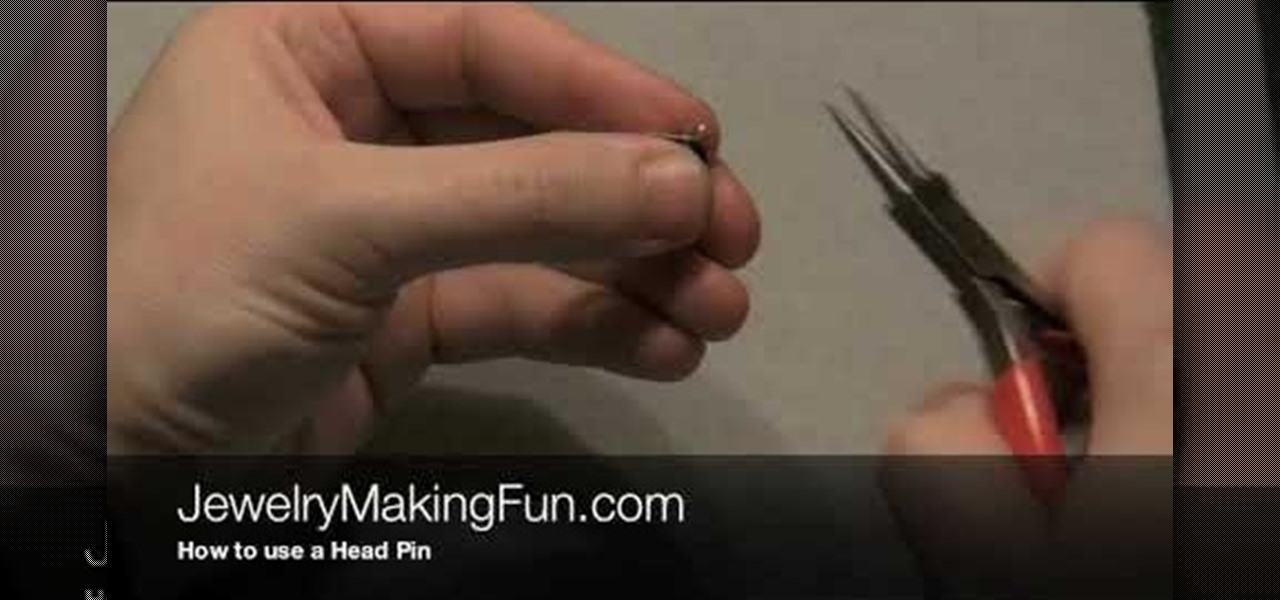
In this video, we learn how to use a head pin while making earrings. Start off by grabbing a 1" long headpin and feed a bead through it until it reaches the other end of the pin. Now, decide how you want to close the loop. The first way to close it is to make a single loop by using pliers and making a 45 degree bend. Cut off any excess wire with wire cutters. The next way to do this is to wind the excess wire around the base until it comes to the bottom of the bead. This is visually appealing...

In this tutorial, we learn how to draw Totoro. Start off with the ears, then connect the top of the head around them and continue to draw the rest of the head. Fill in the eyes and the nose on the face, then make lines on the side of the face to show whiskers. After this, draw an egg shape as the rest of the bottom, then add hairs onto the stomach area. Draw small little lines on the bottom of the character to make it look like he is sitting on something. To finish, draw the character holding...
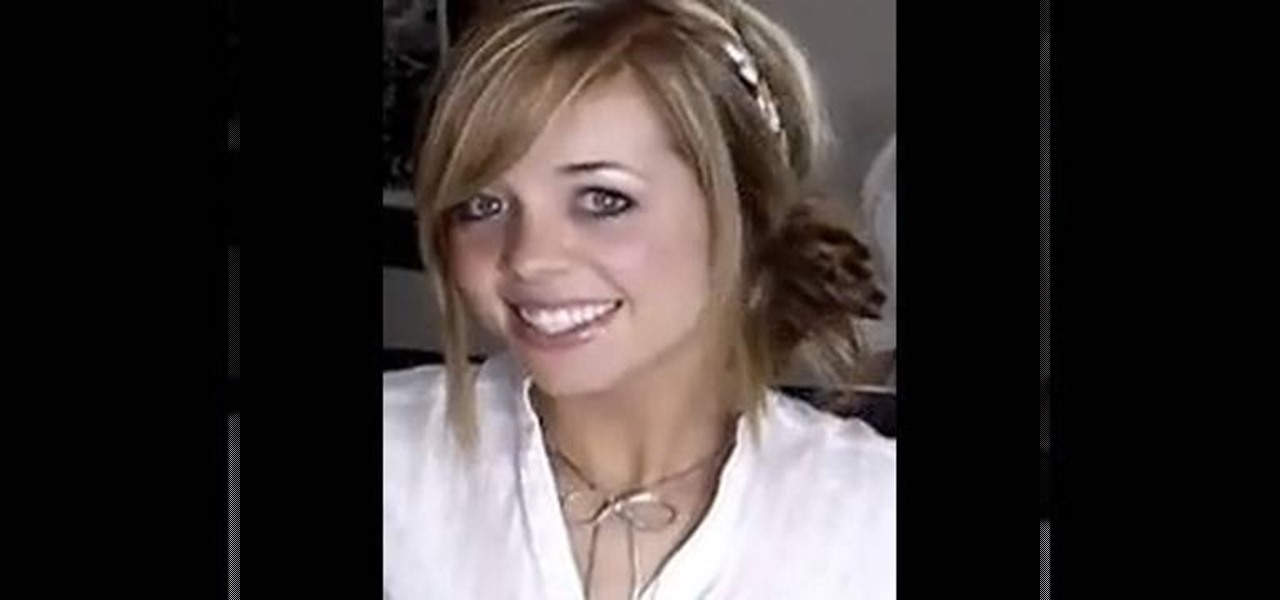
In this tutorial, we learn how to do a side headband braid with ribbon intertwined. First, grab a ribbon that is around 32 inches and any color you want. Now, take a chunk of hair on the side of your head, and place the middle of the ribbon underneath it. Now, separate your hair into three sections, then start to braid by connecting the ribbon in with the strands. Once you finish this, tie off at the end. Now, make a messy bun in the back of your hair with the braid on the side still. After t...

In this tutorial, we learn how to draw Timmy Turner. Start off by drawing the head, making the front round and the body will be a triangle shape. The back of his head should be a triangle as well. Draw two large circles on the face, followed by arms and legs coming off of the body. Next, draw ears onto his face followed by a shirt and pants on his legs. Draw Timmy's mouth with a large smile and two teeth at the top. His eyebrows should almost touch in the middle, then don't forget to add on h...
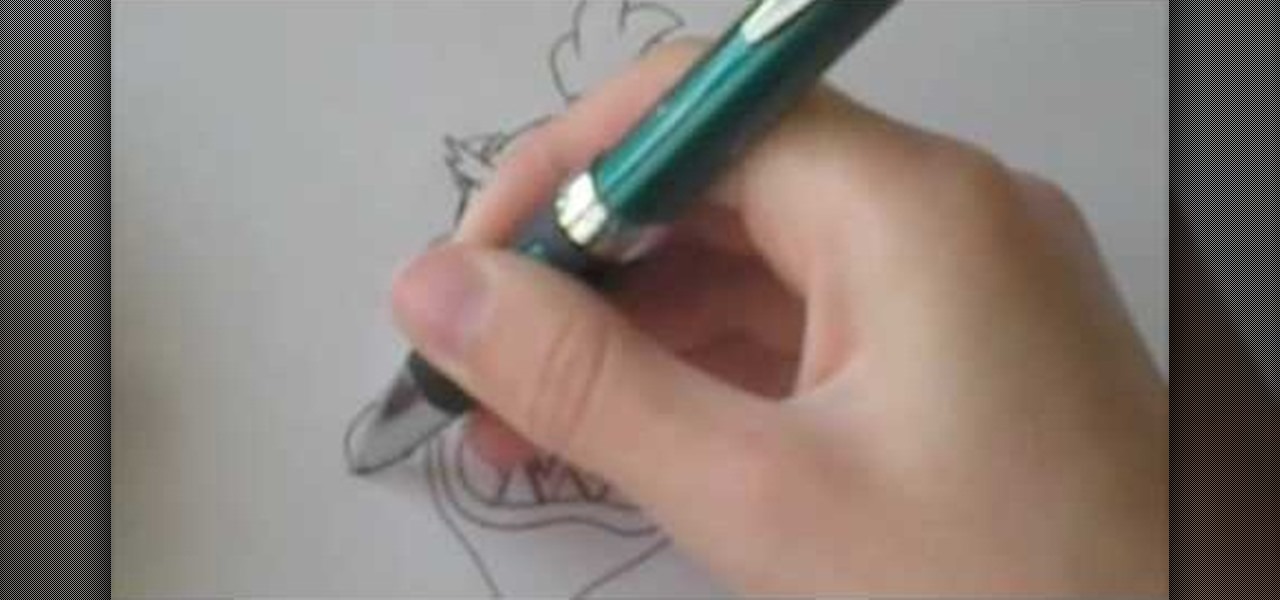
In this tutorial, we learn how to draw Bowser Jr. from Mario Brothers. Start off by drawing the nose, which has two large humps going to the chin. Next, draw his mouth, dimples, teeth, and nose holes. Next, draw in the eyes and eyebrows, filling in the pupils with small white circles in the middle. Make sure the eyebrows are pointed upwards, so it looks like he's glaring. Now connect the top of the head, followed by drawing the hair onto the top of the head. Next, draw on the arms and front o...

In this free video guitar lesson, you'll learn how to play an open C major chord. Regardless of your preferred style of music, if you want to be great, you'll need your head and hands on the same page. And there's no better way to get your head and hands on the same page than to practice. Happily, the Internet is awash in video tutorials like this one. For more information, and to get started playing this chord yourself, watch this guide for guitarists.
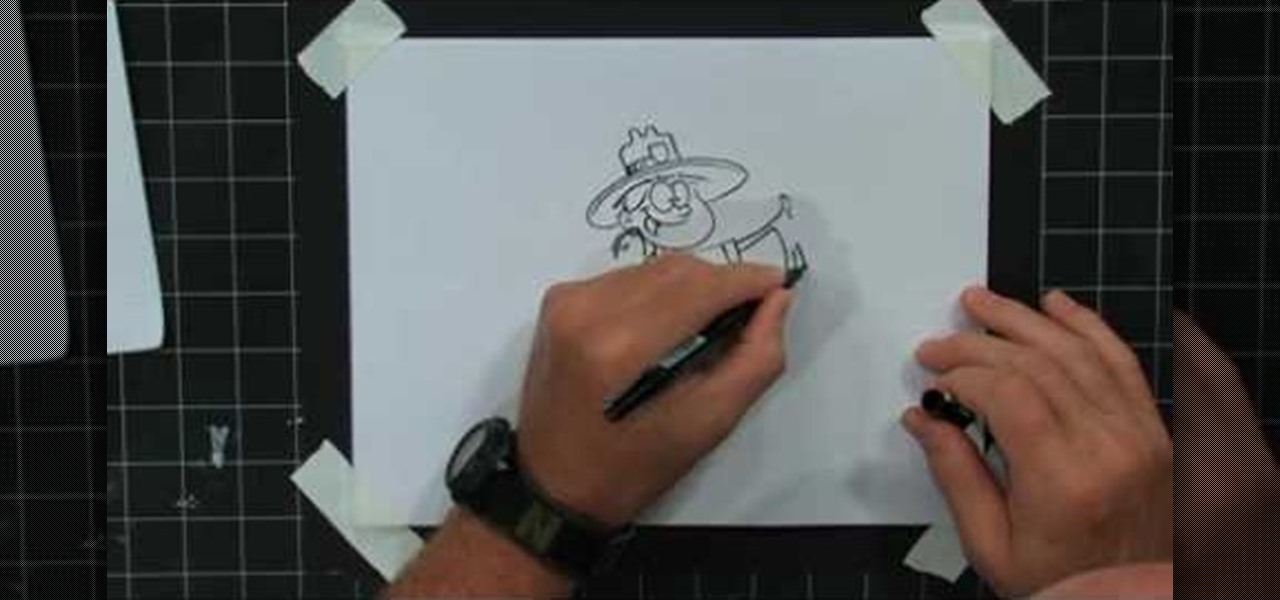
In this tutorial, we learn how to draw a cartoon park ranger with Bob Ostrom. Start off by drawing two eyes touching each other, and a nose coming off of the second eye. Next, draw a large mouth for the smile, and now draw the head around the character. Draw ears on, then give her a park ranger hat and long hair. Next, draw a neck coming down from the head, then draw the chest and arms. Draw a park ranger shirt onto her and a badge as well. Keep drawing down until you make the legs and shoes....

In this tutorial, we learn how to draw a husky puppy. Start off by drawing the head, don't use a straight line at the top, make it look like it has hair. After this, continue and draw teeth and a tongue hanging out of the dog if you want it to look happy. Next, add ears to the top of the head and eyes to the face. Give the dog markings and pupils on the eyes. Then, add the nose on with a button shape at the top. Draw out the collar and chest of the dog, then add on the two front feet, the bel...

Want to play like the great Brent Mason? This free video guitar lesson will get you started. Regardless of your preferred style of music, if you want to be great, you'll need your head and hands on the same page. And there's no better way to get your head and hands on the same page than to practice. Happily, the Internet is awash in video tutorials like this one.
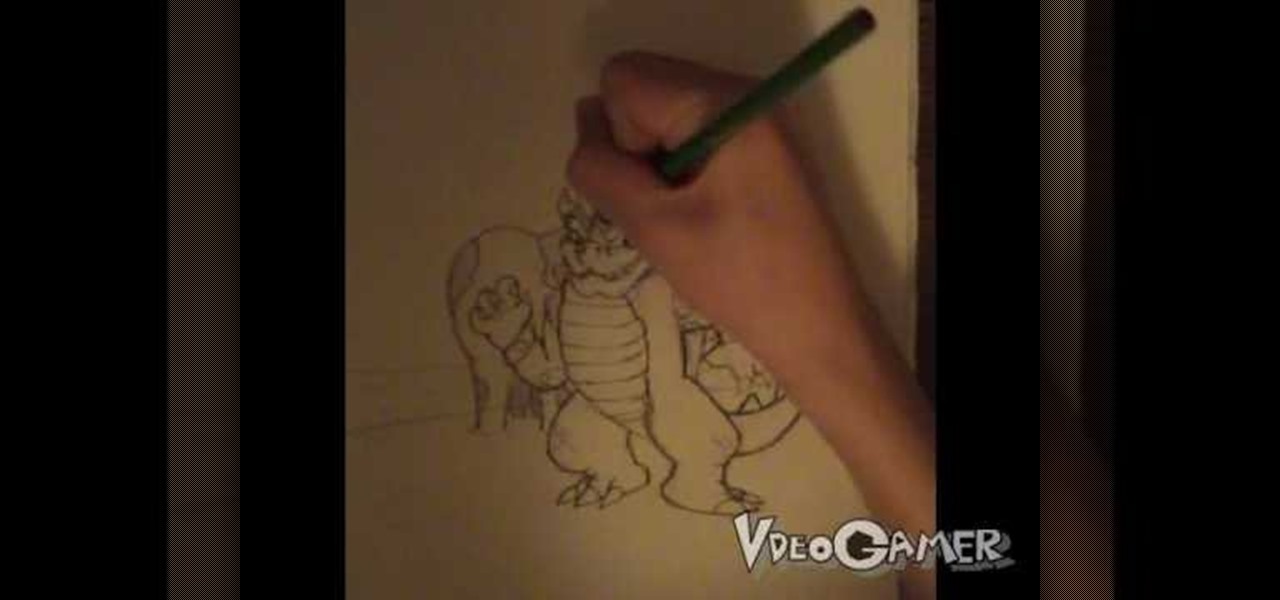
This video illustrates how to draw Bowser from Bowser's inside story. Here are the following steps: Step 1: First of all take a sheet of paper and pencil and start drawing the character.

You will need a sketch book and various pens. Start by roughly sketching the head. Next draw a center line that will become the center of Xena's torso. Sketch the arms, legs, breasts, and the ring that she is holding. Remember, this is the first draft and it doesn't need to be perfect. Next, flip another page down on top of your first draft. On this draft begin to add more details and proportions. Start with the head forming the shape of the jaw and the size of the head. Work your way down to...
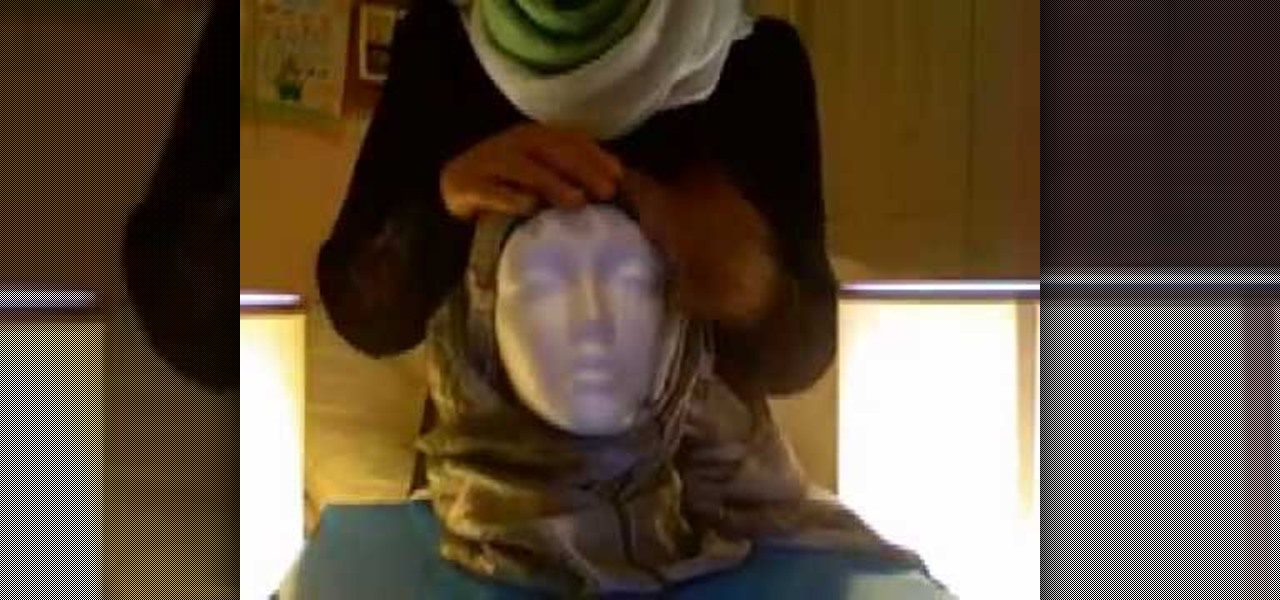
This video is a demonstration of how to fold a stylish hijab the way it's done in Egypt. Start with the undercap, and use a pashmina for the hijab and a few straight pins to help hold it in place. Take one end of the hijab and fold it over to make a triangle, making the tail longer or short as you like. Lay it over your head so the open point of the triangle is at your forehead. Pin it to the underpiece at the sides. Let the short side hang down. Wrap the long end around under your chin and u...
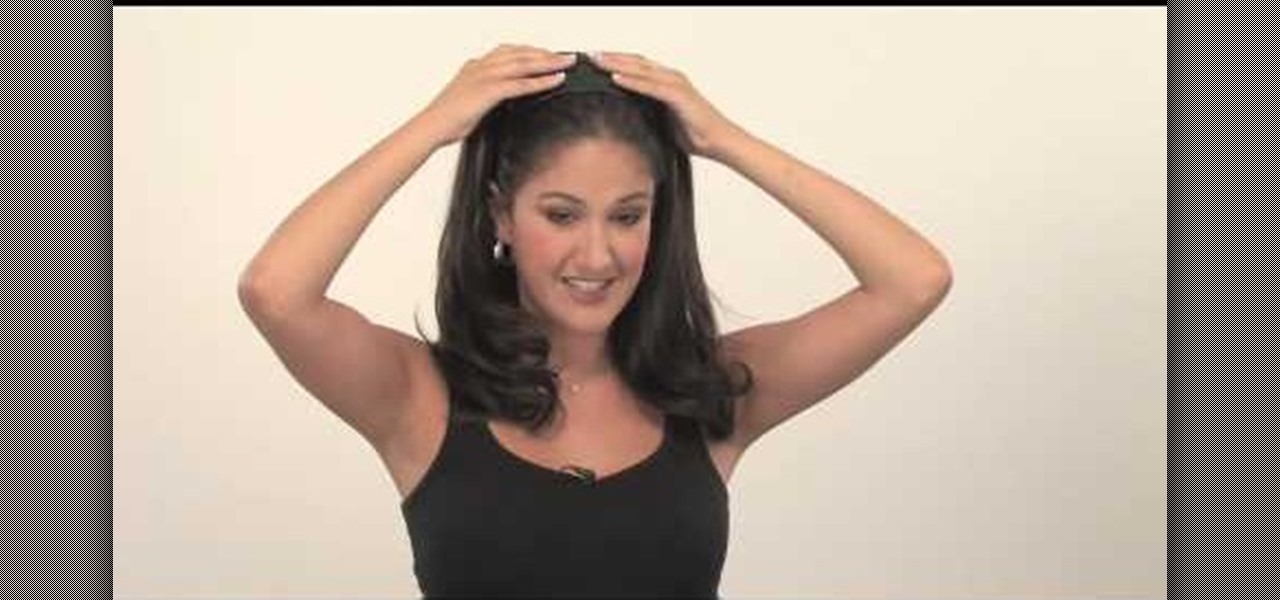
To create almost any headband look, start by using a real human hair headband with extensions. Mostly, the extensions will come with an interchangeable headband for different colors. Now, start by pinning back the front crown area of your hair, if you have bangs you can leave them out of the hair that you are pinning back. Secure the crown of your hair with bobby pins. The headband with extensions should have three little combs. These will help secure the extension and the headband onto your ...
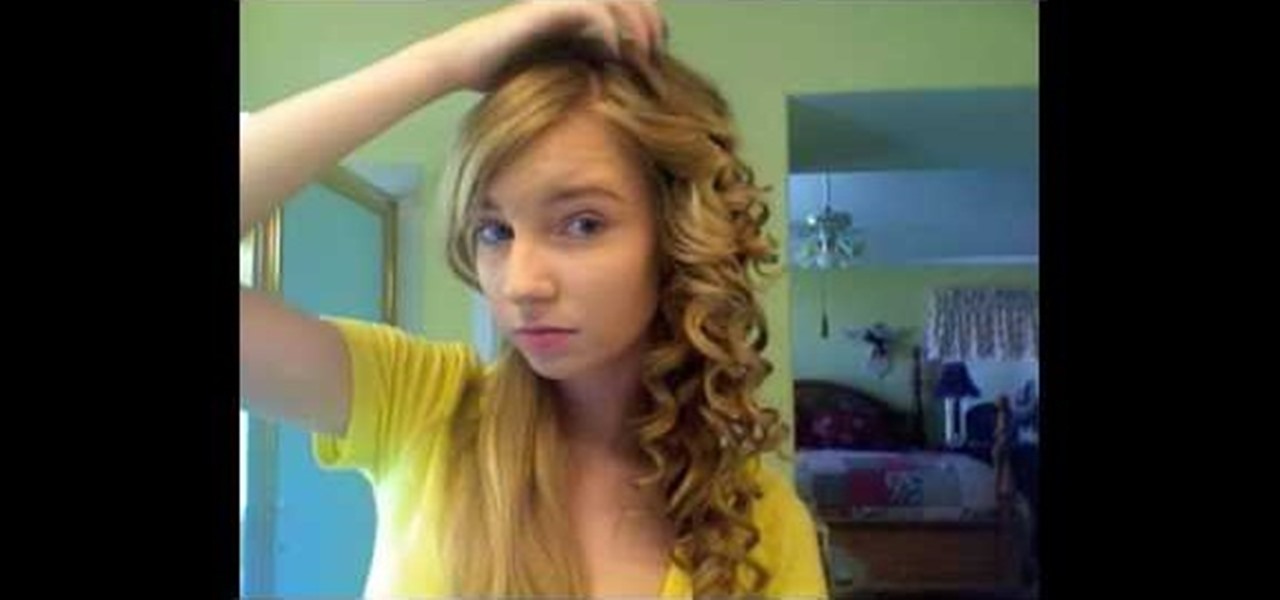
To achieve Taylor Swift's hair start off using a heat protectant spray and brush evenly through your hair. Part your hair the way you want to wear it letting your hair down in little sections. Use the wrap around method to curl you hair. This should create a nice spiral curl. Make sure to curl away from your face, do this all over your head. For the top layers use should hold the curling iron above your head while continuing to use the wrap around method. For the hair framing the face you sho...
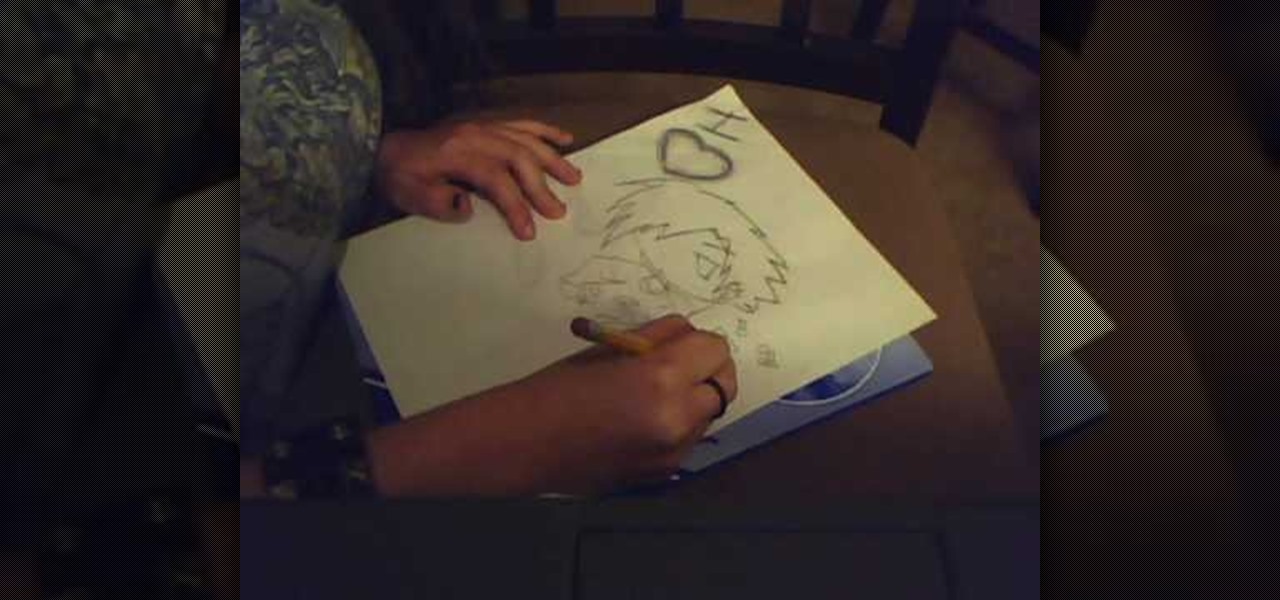
Sasukeisahotie shows you how to draw an Emo Chibi. Start by drawing a prominently spiky, asymmetrical, "emo" haircut, wider than tall. Then draw a line making the outline of the face from the right bottom of the haircut, to the left clump of hair, again this should be wide. Draw one eye on the face (where the other eye is, it should be hidden underneath hair). Draw in the shirt/jacket/top half of the character underneath the head, but make this smaller than the head. Decorate the shirt with s...

Catherine demonstrates how to create an eclectic, sunset-inspired necklace in this video. To create the necklace you must gather 40 yellow bugle beads, 18 orange chip beads, 3 mm red round beads, a barrel clasp, 2 crimp beads, 2 bead covers, about 20 inches of beading wire, clippers and pliers. The design is to start by threading a clap and a crimp bead onto the wire, leaving a 2 inch tail. Then thread on 15 yellow beads, remembering to cover the tail you left with the beads, 3 orange beads, ...
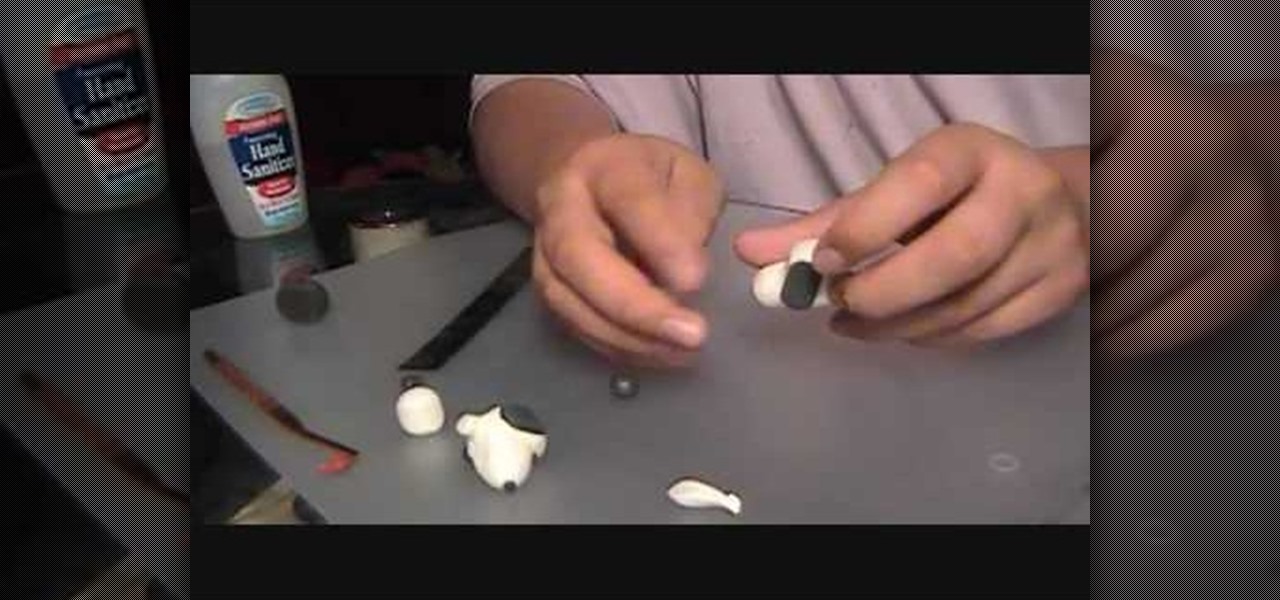
This video describes how to make a snoopy head from a type of polymer clay. You will need both black and white polymer clay, a blending tool and a ruler. It begins with the main part of the head and moves onto creating the correct structure using a blending tool. It advises using your thumbs to smooth away the creases and cracks from the surface of the snoopy head. After the main part of the face is made, it describes how to create the eyes and ears using the black clay. The eyes and ears are...
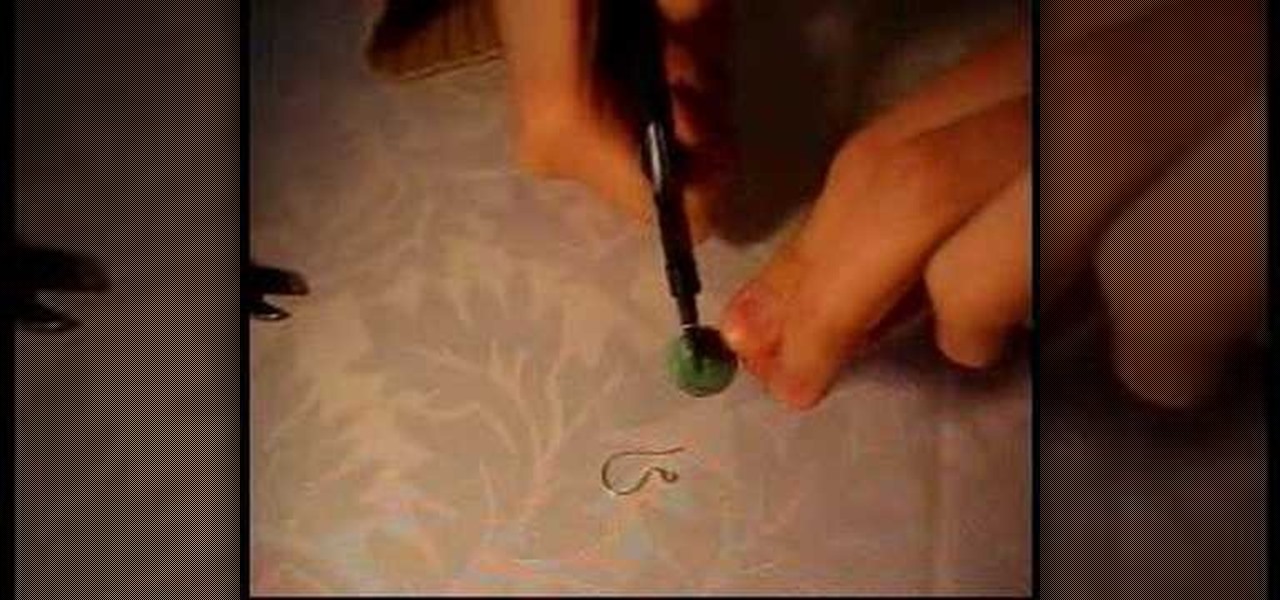
In order to make a simple hair pin you need a couple things first, a small and big bead (although you can use other items), an ear wire and a head pin. Tools that you will need are a pair of round nose pliers and a pair of cutlets. Now take the head pin and loop the beads through it. Take the nose pliers and bend it, about half way up the head pin and gently bend it with your fingers, making a 90 degree angle. Twist the pliers up and bring the head pin over the nose pliers. Then twist it cloc...
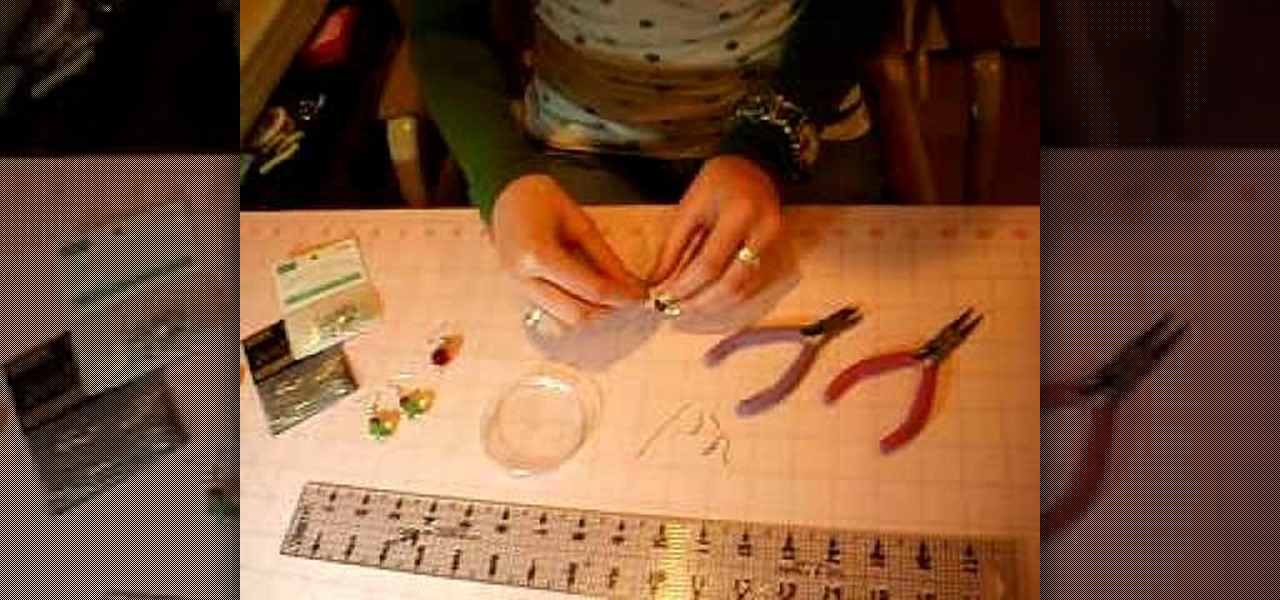
To begin you will need to gather the following supplies: needle-nose pliers, wire cutters, two fish hook wires, two head pin wires, and a few beads of your choosing. First take the head pin and string your beads onto the head pin. Once all of the beads are on the head pin bend the top of the pin at a 90 degree angle, then cut the wire about 3-4 cm from the top of the wire. Next use the needle nose pliers and bend the wire into a circle, place the fish hook wire on top of the head pin wire to ...