In this video taxidermy tutorial series, a professional taxidermist demonstrates how to prepare a whitetail deer cape for mounting. Now that the skin has been fleshed and tanned, the deer head cape is ready to be mounted. The skin will need the mount that will shape the skin, and will require trimming and sewing of the tanned and prepped skin. Watch this instructional video and learn how to prepare a whitetail deer head for mounting.
Ready to start your journey into the world of Magic: The Gathering? If so, there's no better place to start than with this five part tutorial. This tutorial comes straight from the pros at Magic and teaches you everything you will need to know about the Multiverse. So, go get some cards and get ready to dive head first into the Magic universe.
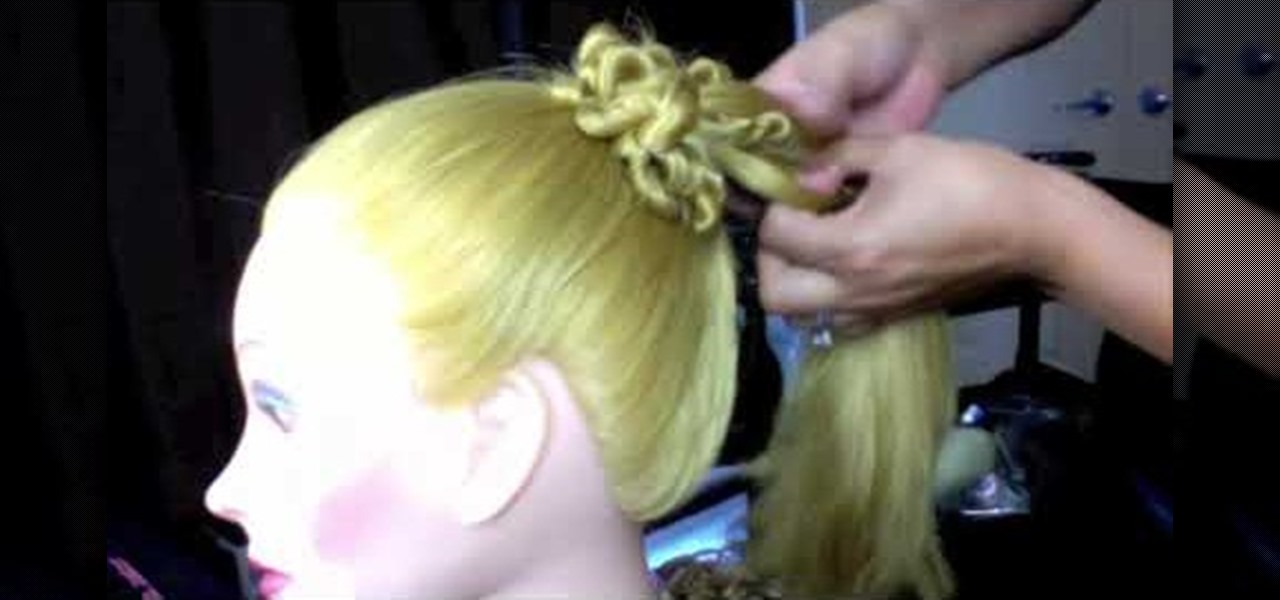
Britney, our host, shows how to create a multiple strand twist. Start with a high ponytail with a section of the hair twisted around to cover the rubber band. Take small sections of hair, about half an inch, and start twisting it. Keep twisting until it starts to coil up. Secure it with a bobby pin. Continue twisting sections of hair and pinning them to the head. Start pinning the sections to one side, and work your way around to the other side. Once you have worked your way all the way aroun...
Learn how to do step-ups. Presented by Real Jock Gay Fitness Health & Life. Benefits

A good prank requires decent effort, creativity, and impeccable timing. If you're in the office, there are plenty of hilarious pranks to play on coworkers, and for your family and friends, there's everything from toothpaste-filled Oreos, to solid milk, to impossible-to-solve Rubik's Cubes and smartphone-friendly pranks.
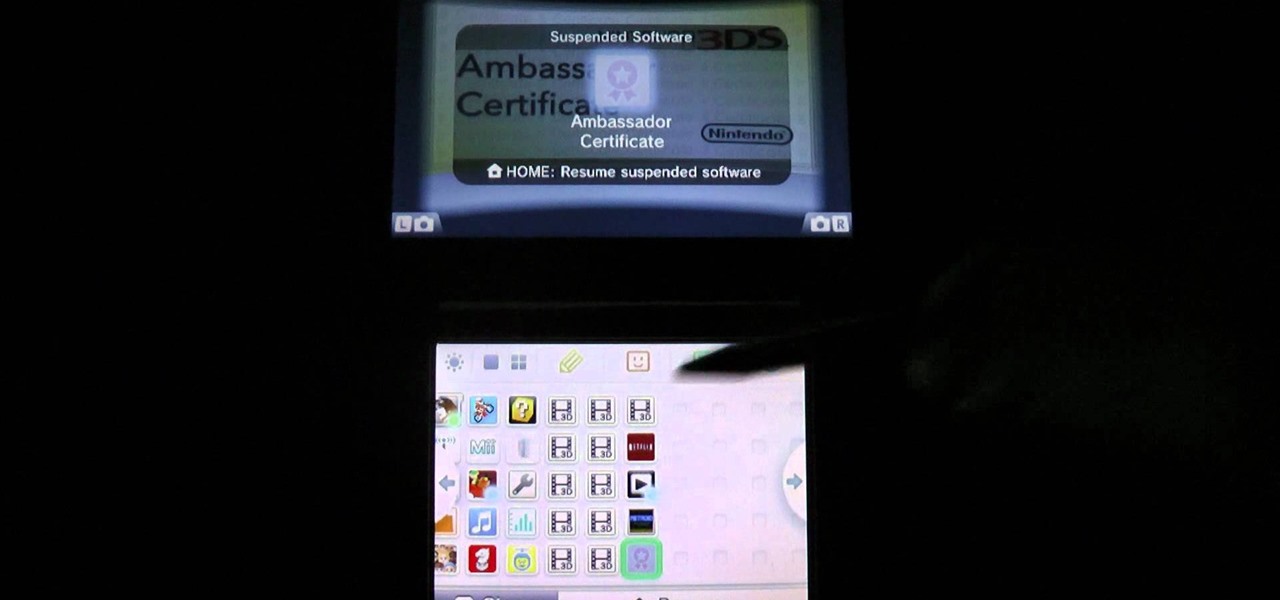
If you're one of the lucky members of the Nintendo Ambassador Program on the Nintendo 3DS, take a look at this walkthrough of the perks available through the eShop on your 3DS. You'll be able access and download an Ambassador Certificate, Metroid, and more. Just enter the eShop and head to the 'Your Downloads' menu to start loading them up on your handheld.

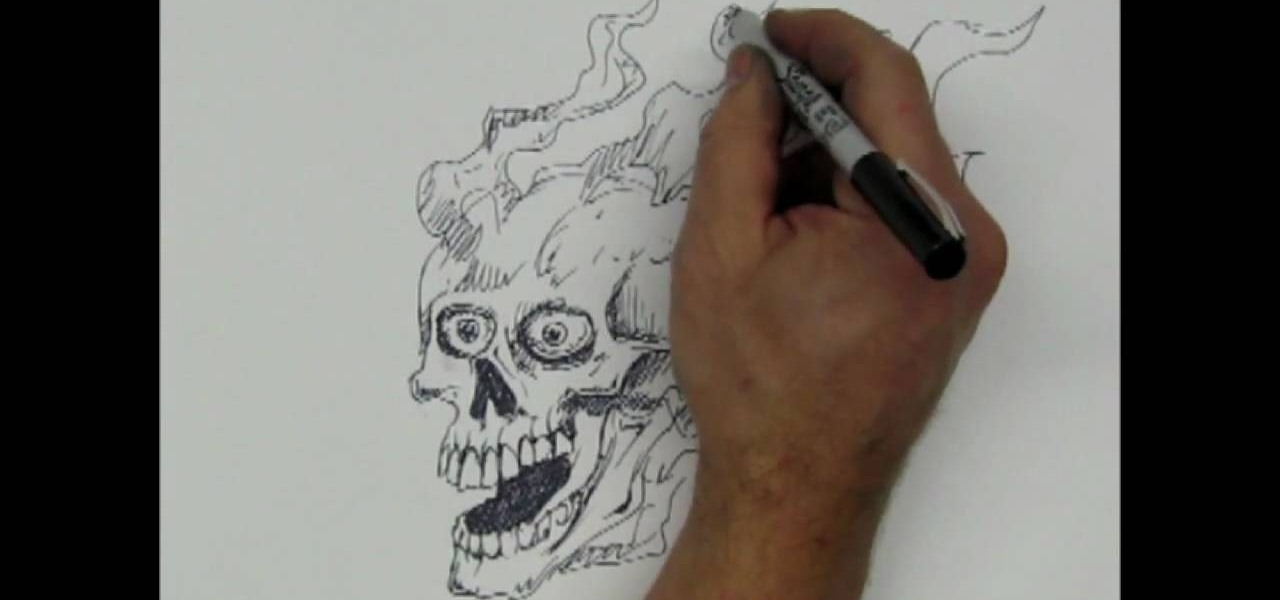
In this tutorial, we learn how to draw a skull with a Sharpie. First you will draw the eyes, make sure to draw lots of little lines around them then cross them to create depth. From here, draw the outline to the head and then the nose and the teeth. Make sure to add lines in around the head to show cracking and marks around the head. Use shading to create darker lines along the head and then add in additional details. Make this unique to you, it doesn't have to look one certain way. When fini...

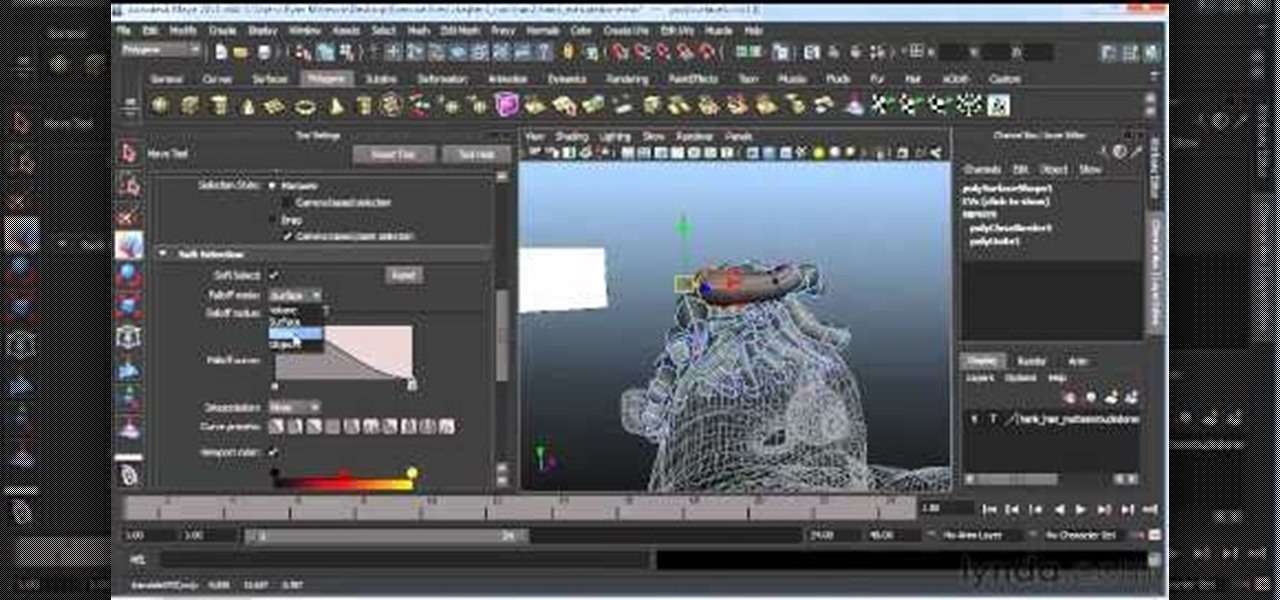
In this video tutorial, we learn how to generate a model of a head and neck in 3ds Max. Whether you're new to Autodesk's popular modeling software or a seasoned 3D artist just looking to better acquaint yourself with the 3ds Max 2011 workflow, you're sure to be well served by this video tutorial. For more information, and to get started using the lessons imparted by this free video software tutorial yourself, watch this free video guide.

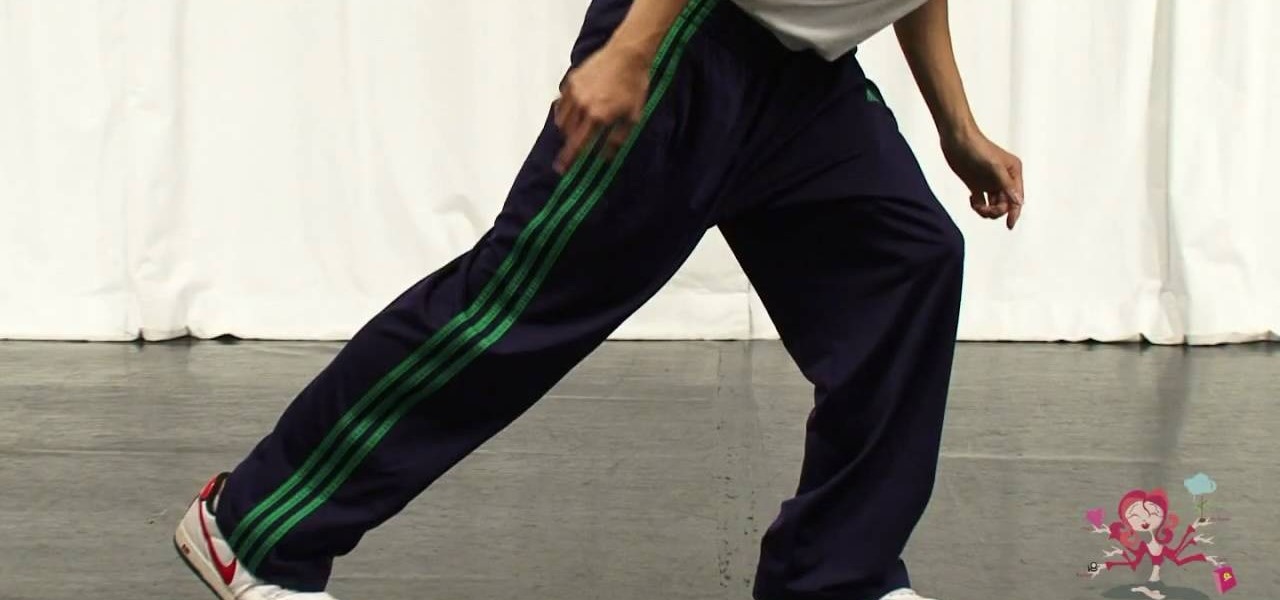
The body wave is a very simple move to understand and a great move to learn if you're just starting to take hip hop dancing lessons. The move involves moving the body like a wave, rolling smoothly from the head, neck, and butt.

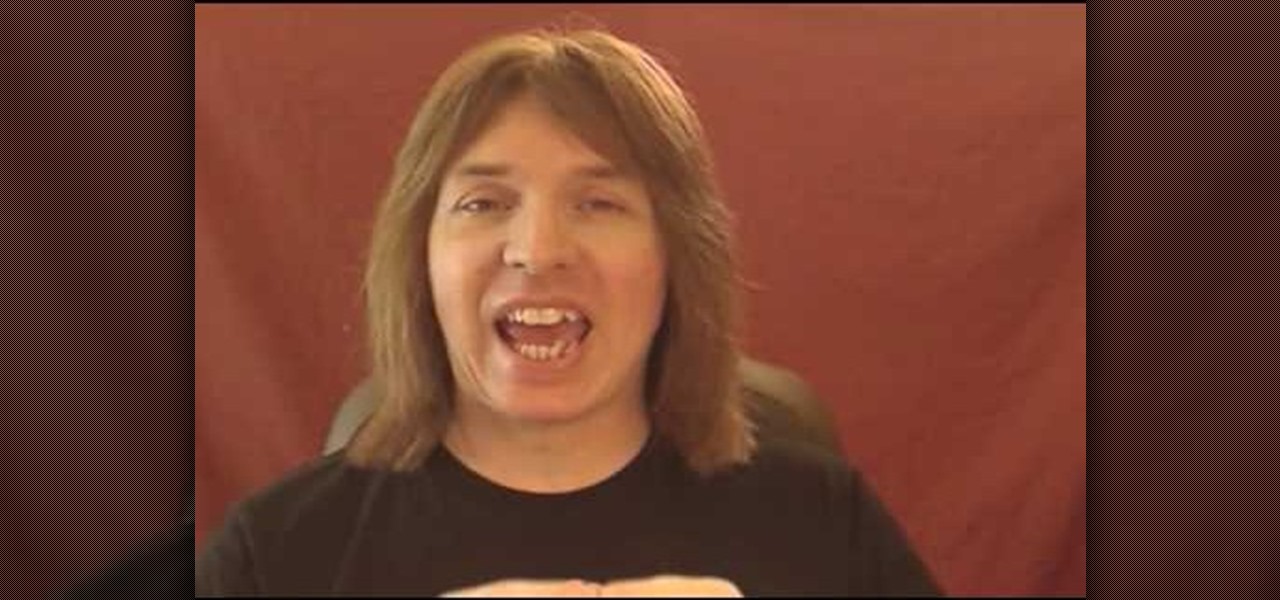
In this two-part singing lesson, Kevin Richards will teach you about octave slides, sometimes called octave sirens, which are vocal drills that well help increase the range of your head voice and strengthen the transition between chest and head registers. This vocal exercise can be done anytime, anywhere. There's no need for a piano or audio scale.

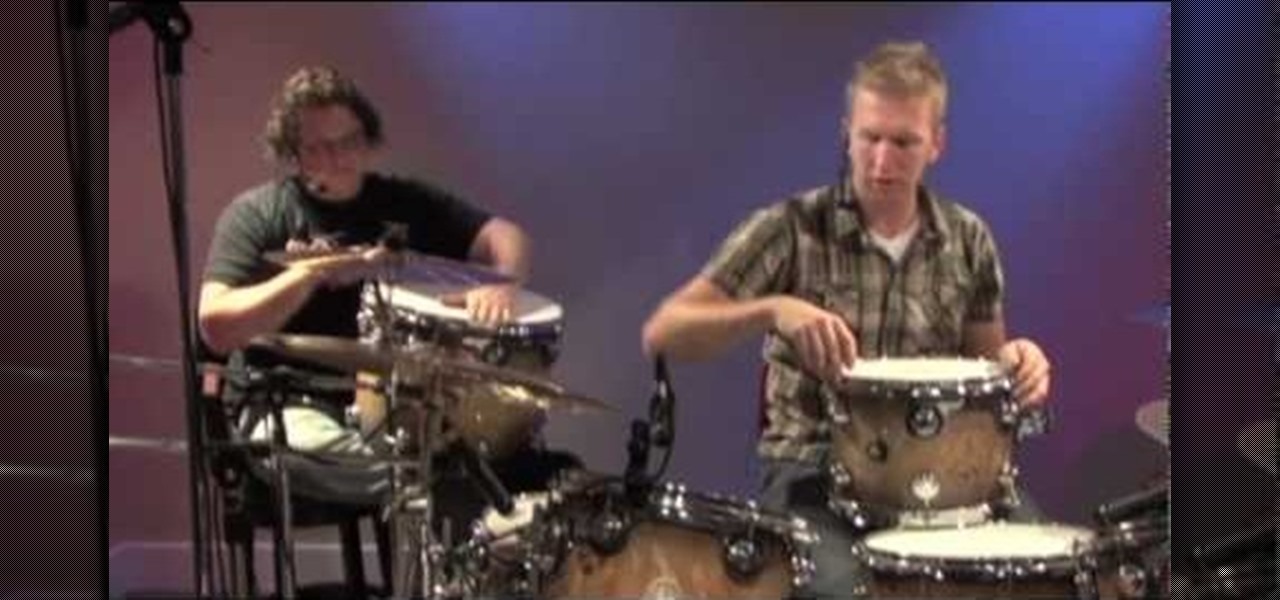
Getting the right sound from your drum set is important for any drummer. This video shows you how to choose the right head for the sound you want to get from your drum set and attach them to the drum. You're also shown how to tune your drum set to get the sound precisely how you want it.

The wooden spoon prank is one of the great group pranks, especially if you have a big group of spectators that won't ruin it right away. What you do is get three wooden cooking spoons and an accomplice. Your accomplice will challenge your victim to a game where they take turn seeing who can hit each other's head the hardest with a wooden spoon held in the mouth. The victim goes first, landing a weak hit on your accomplices head. What the victim doesn't know is that you have a spoon too, and a...

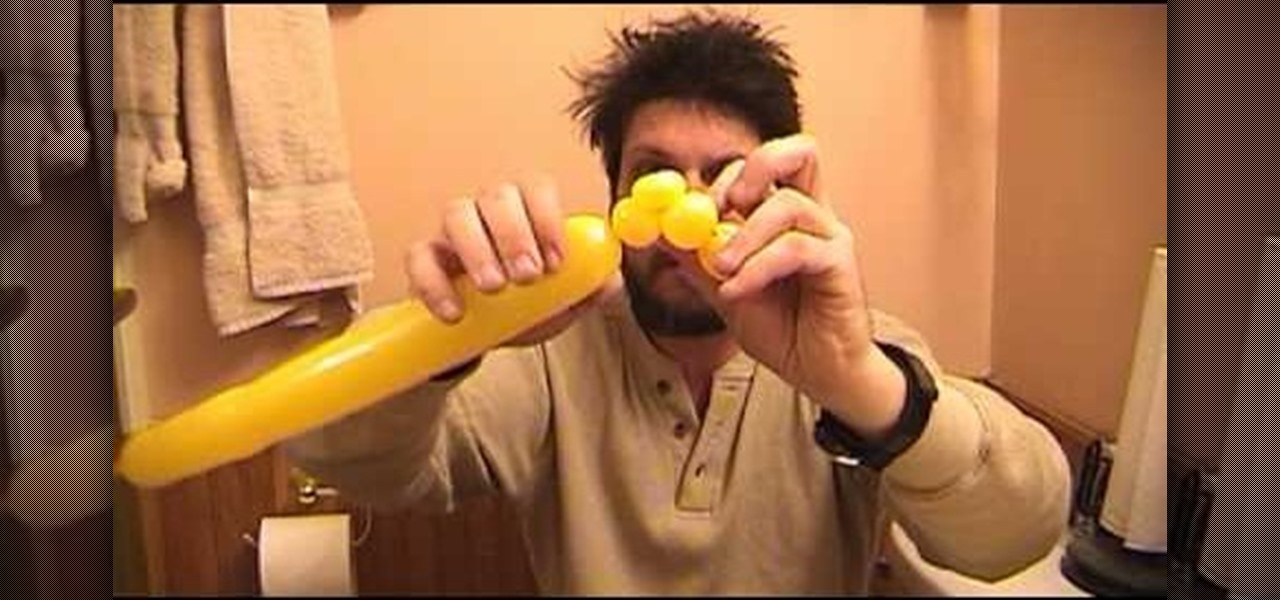
In this video, we learn how to twist a balloon to make a Chihuahua and teddy bear head with balloons. First, take a balloon and make a soft bubble. Next, twist this and make the side of the head and ear. Next, pinch and twist these and bend the side of the balloon. After this, make the top of the head, followed by the other ear and pinch them together. Now, twist a new bubble to match the opposite of it, and twist them at the neck. Shove the snout into the middle of the bubbles, then repositi...

Interested in creating your own custom keyboard shortcuts within Mac OS X? It's easier than you might think. It's so easy, in fact, that this home-computing how-to can present a complete, head-to-toe overview of the process in just over a minute's time. For details, including detailed, step-by-step instructions, and to get started making your own custom key commands on your Apple computer, take a look.

Challenge yourself with this swimming video, which teaches you a pre-swim exercise called the Dragon. As fiery and monstrous a move as its name suggests, it involves lifting a set of heavy (10-30 pound weights) from your hip to over your head and then jumping as the weights go up.

This video shows you how to deliver a baby. There are several steps. The first one is labor and it comes in various time frames. Once dilated to 10 centimeters, the mother will begin to push.

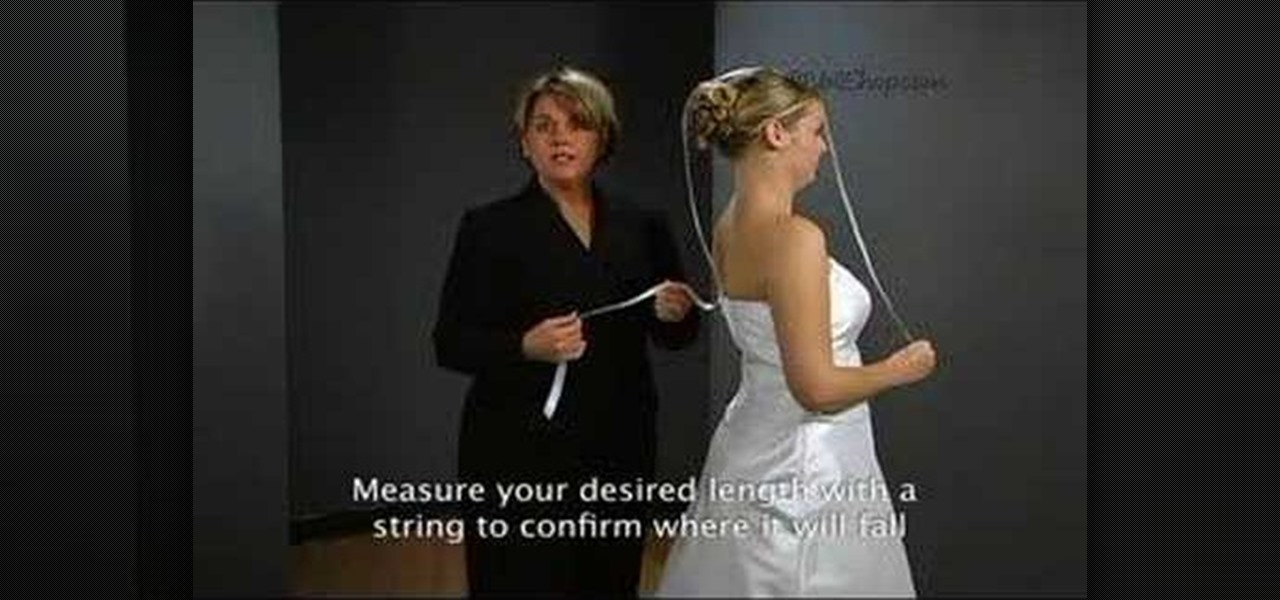
Drop veils are the sheerest veils offered. They drop over your head. There is no comb and no gathering at all. They are attached with hat pin. The veil is draped over the head and if you had a head piece the veil is draped over that as well. Then you take the hat pin and you just weed it in and out between the hair and the veil several times. Now after the ceremony all you have to do is remove the pin and the veil is removed without ruining the hair. To measure for the drop veils take a piece...

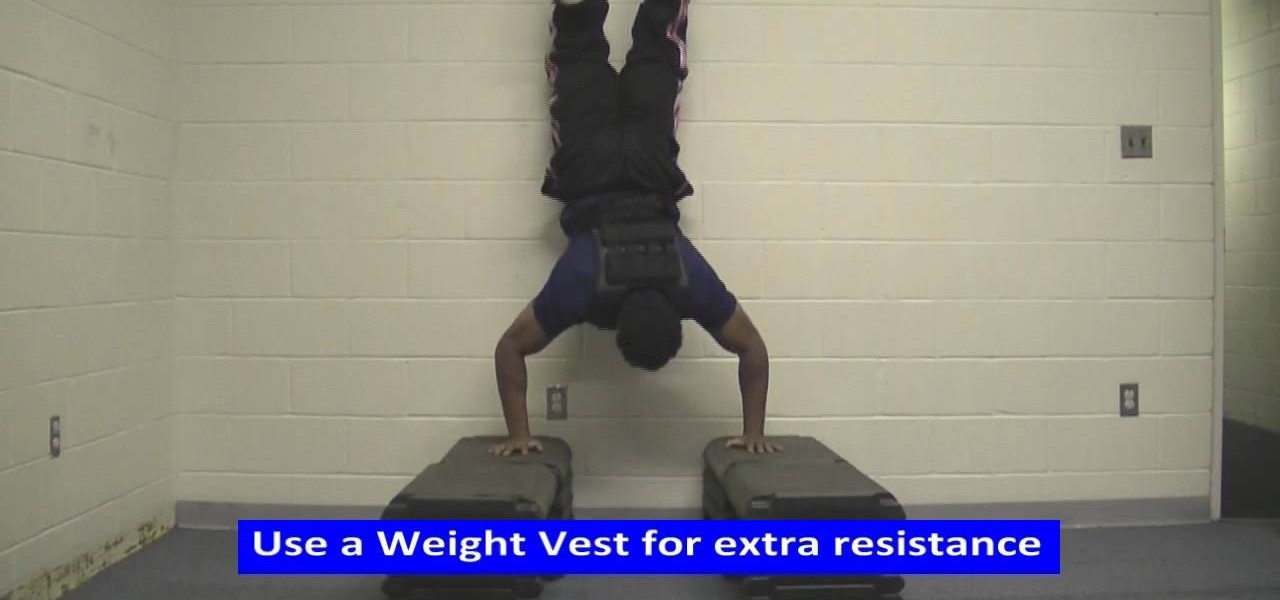
First of all you need to place your palms on the floor and place your feet upside and touch the wall. Now start walking on your hands backwards towards the wall and at the same time moving your legs higher on the wall. Try to get as close as to the wall. Once you are into the basic hand stand then hold this position for sometime. After this get out of the hand stand position and then again repeat this exercise and holding for five to thirty seconds. Do it five to ten sets. And do it five to t...

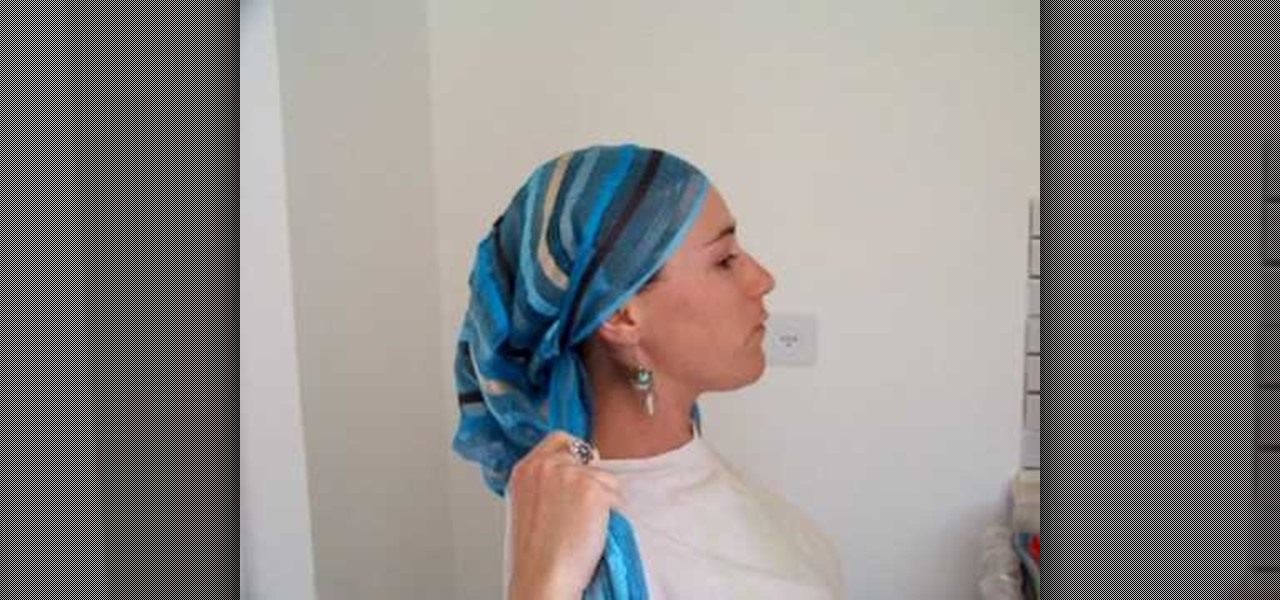
This how to video is for people looking to learn how to tie a scarf attractively. Get a long scarf for your head and place the middle of it on the top of your head. Gather each end in the hand closest to it in the middle. Turn it around by pulling it behind your head and tie the ends over each other. Next step tuck the scarf behind your ears if you like it that way. Then twist the left end around your head. Create a bun with your hair and the scarf in the back using the final side to tie it up.

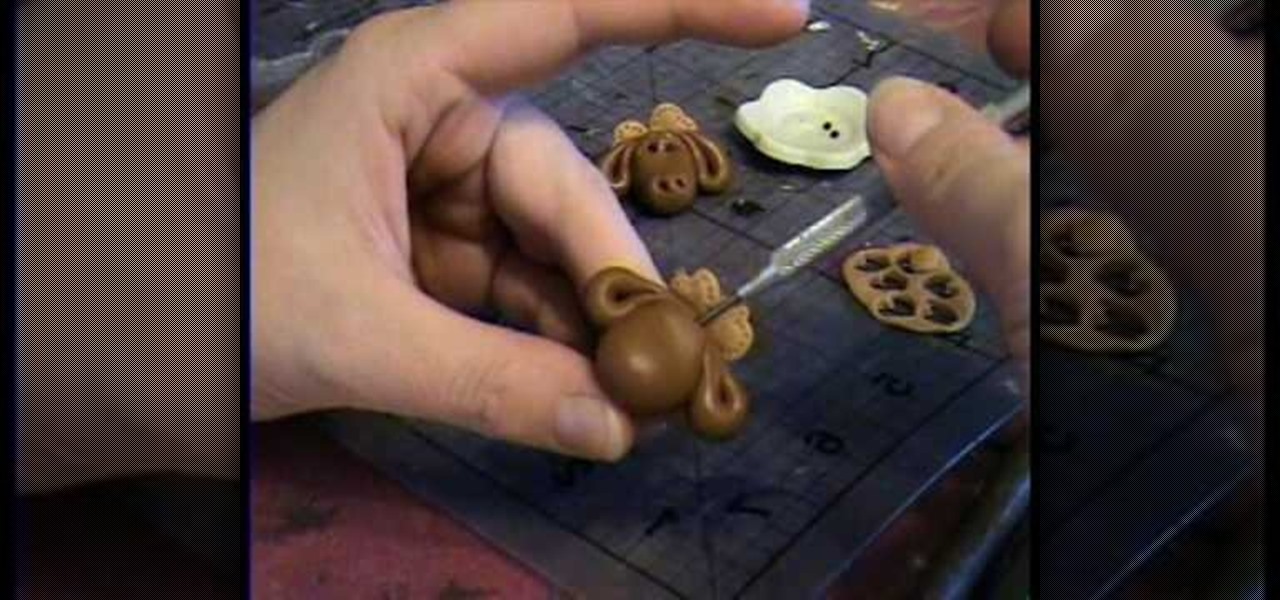
This art and craft video shows you how to create a bunny head out of polymer clay. You start it by creating a round ball for the bunny head. You can then make it into a bead by using a small screwdriver (if you wish it to be a bead). You then take some additional clay and shape it into flat ears, fold them over to make them look floppy and attach them onto the round ball (head). The presenter then shows you how to add eyes, by pressing beads onto the face of the bunny using a needle. You can ...

Marianna takes us through the process of creating a beautiful set of earrings! For this project you will need two sterling silver head pins, four fresh water pearls, some gemstones of your choice, two sterling silver ear wires, round nose pliers, flat nose pliers, and a cutter. Take your head pin and string your beads and gemstones on the head pin. Next using the flat nose plier, bend the end of the head pin to create a 90 degree angle. Then make a simple loop where the ear wires will be plac...

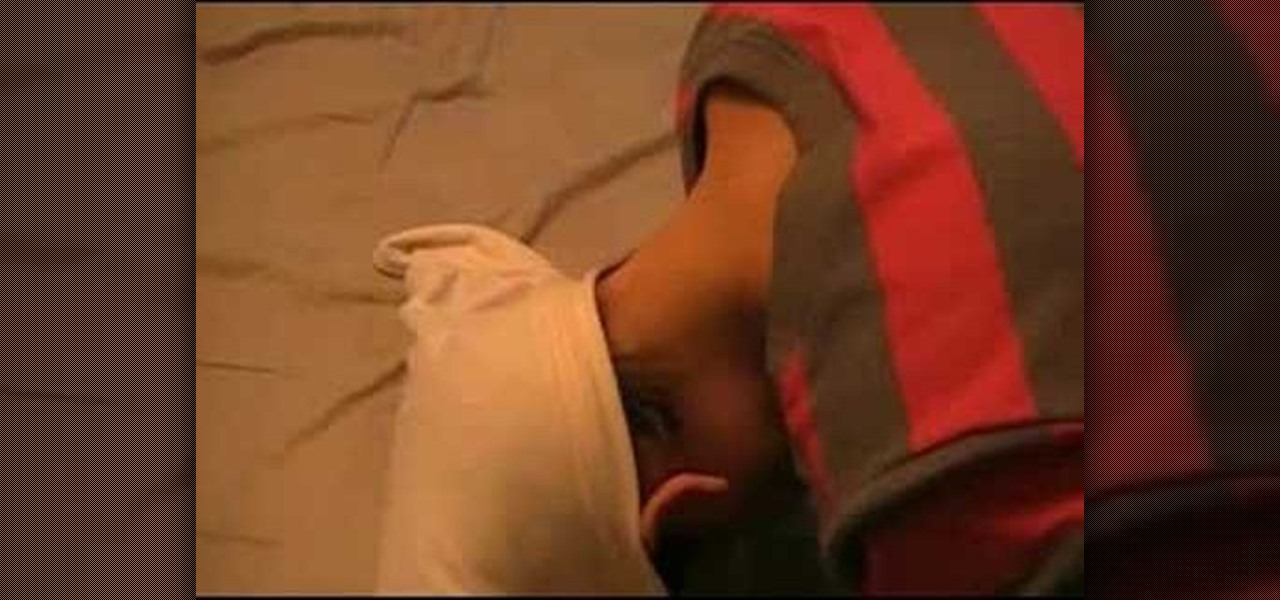
To plunk your curly hair, first put all your hair products in and make sure your hair is half dry. Spray lift booster into the top of your hair. Add volume boosting mousse all over your hair. Then, add a curl activator and a de-frizz product to your hair to get a more defined curl. Next, grab a t-shirt and place it on a flat surface. Place your forehead on the t-shirt and wrap the shirt around your head. Tie the arms of the t-shirt around the back of your head. Leave the shirt on your head fo...

This video tutorial is going to show you how to make a Moose Bead from Polymer Clay by Garden of Imagination. You begin with clay and make a shape it like the head of the moose as shown in the video. Then take more clay and make the ears and attach them to the head. Now take lighter color clay, cut it out into heart shapes, poke around the edge with a pin, and attach them behind the head. Take a pin and make a hole at the top end of the head to make it a bead. Watch the video to finish the pr...

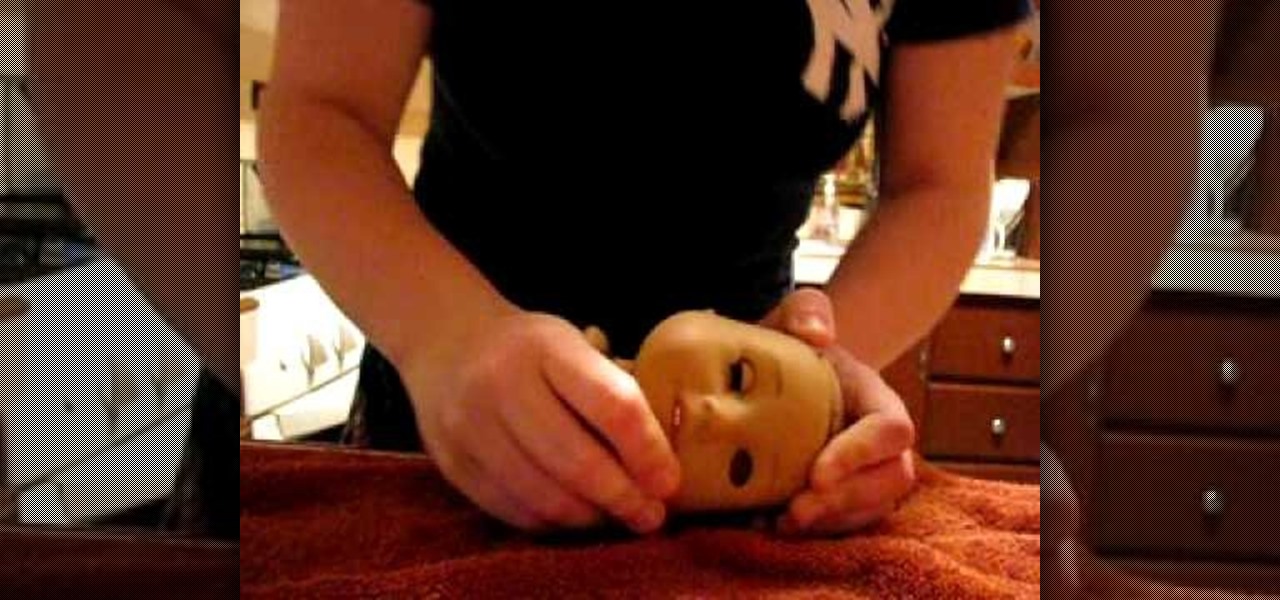
TrollForHire demonstrates how to remove eyes from an American Girl doll. To remove eyes from an American Girl doll, first you must remove the head from the doll body. It would also help if you prepare the head by removing the hair. Once the doll head is bald, stick your thumb into the open neck part of the head and grip the doll by the nose. Place the other hand on the doll's forehead and bend the face part back. With enough strength and force, an eye will pop out of the American Girl doll. R...

This video explains how to calculate percentages in your head. To calculate a percentage in your head, start by breaking the percentage off into smaller units. For example 25% is 10 + 10 + 5. 30% is 10, 10, and 10. Now you have numbers you can easily work with in your head. Find 10% of the number. This is easily done by one of two methods. You can either move the decimal point one place to the left or you can drop the last number. Dropping the last number sometimes gives you an estimate, thou...

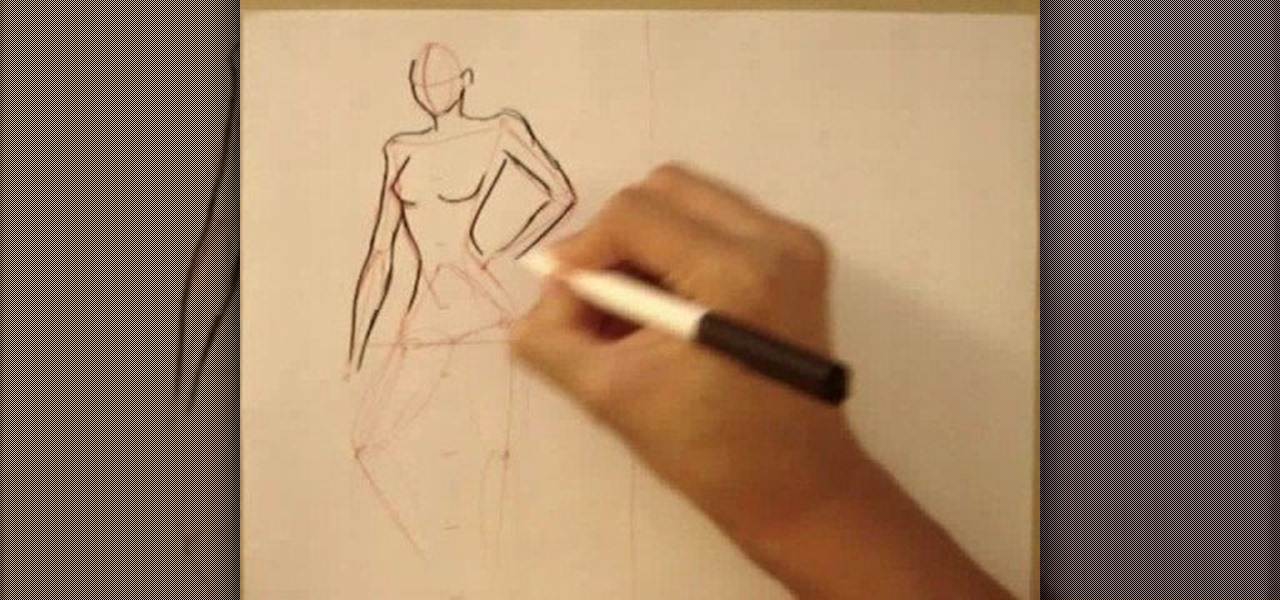
Learn how to draw the female body with this tutorial from AEROblivion taking you through an extensive step by step process, hopefully making it easier on you, the artist! By starting at the head and working your way down, and with this tutorial at your side, results are sure to improve overtime!

The red headed slut, a bit of Jagermeister, a tad of Peach Schnapps and some cranberry juice. This is a tasty little beverage indeed!

Increase energy, heart health and respiratory muscles with aerobic exercises. Learn how to do callisthenic mountain climber exercises in this fitness tutorial. When performing

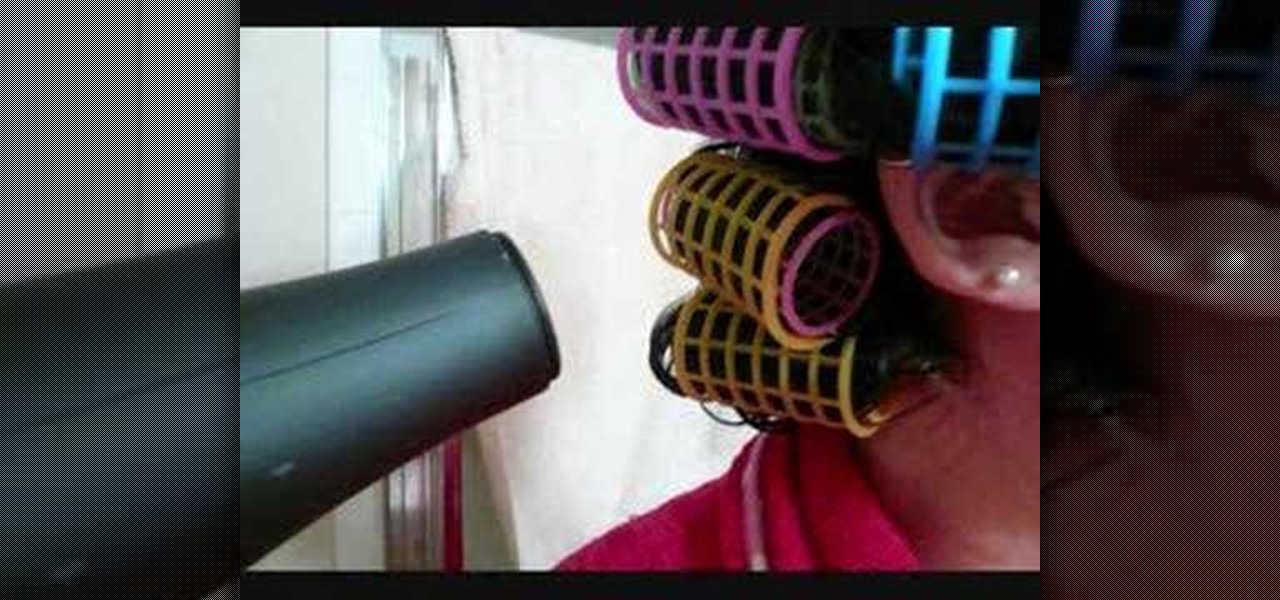
Want a headful of curls? This hairstyling how-to should help you achieve the look you want, unless you have unusually straight and thick hair. The demonstrator in this instructional video had a head start with a perm, but these tips will work either way. You'll need curlers, gentle and moisturizing shampoo and conditioner, and a curl cream. Watch this video tutorial and learn how to curl straight hair.

The head is a good area to massage. Massaging the head can relieve headaches and stress. Get expert tips and advice on massage and other treatments in this Diet & Health how to video.

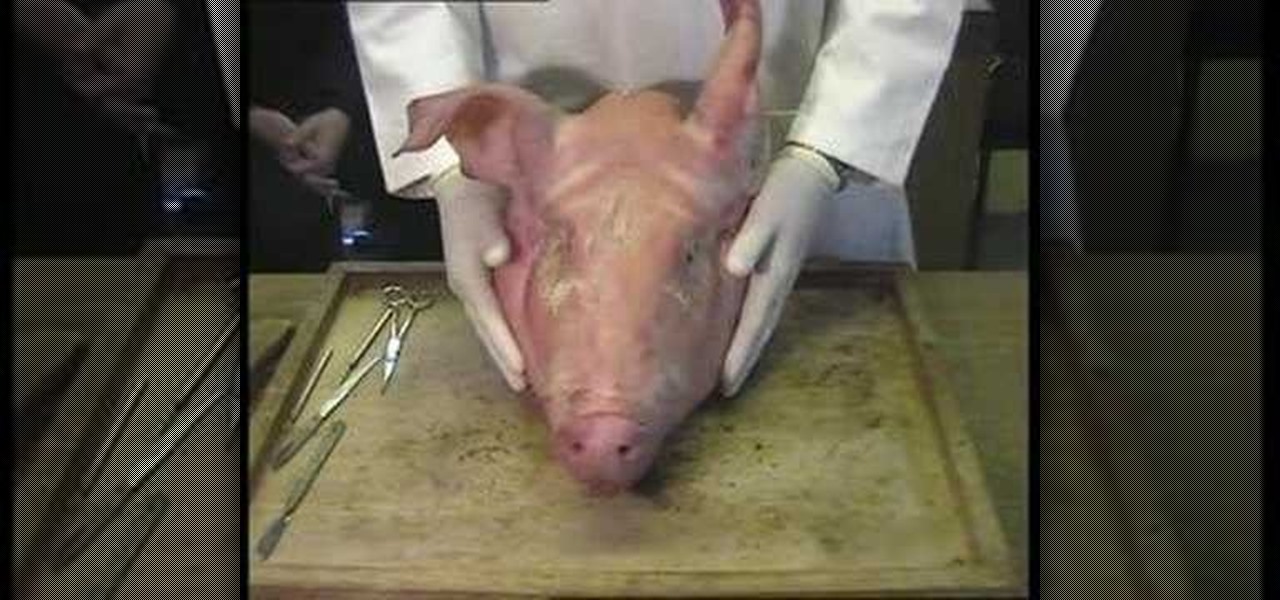
Check out this anatomical video on a pigs head. This swine is sure to teach you all you need to know for your biology class. The science of a pigs head isn't too far off from ours, so pay attention. If you don't want to do the cutting with that scalpel yourself, than just watch this video tutorial, so you don't have to get your hands dirty.

Once you get the roughed in form of the Head done it is now time to Re-topo the head for better structure. This tutorial will show you how to use the topology tools in Zbrush to do this. This lesson follows "shape a human head in Zbrush" but is not necessary to do if you just want to learn topology tools.

Get a head start on one of Fall's hottest looks for eyes. It's all about really tight liner, lush lashes and a deep lip. Here, Smashbox artist, Hank Hoffman, demonstrates how to turn this high fashion inspiration into an everyday reality.

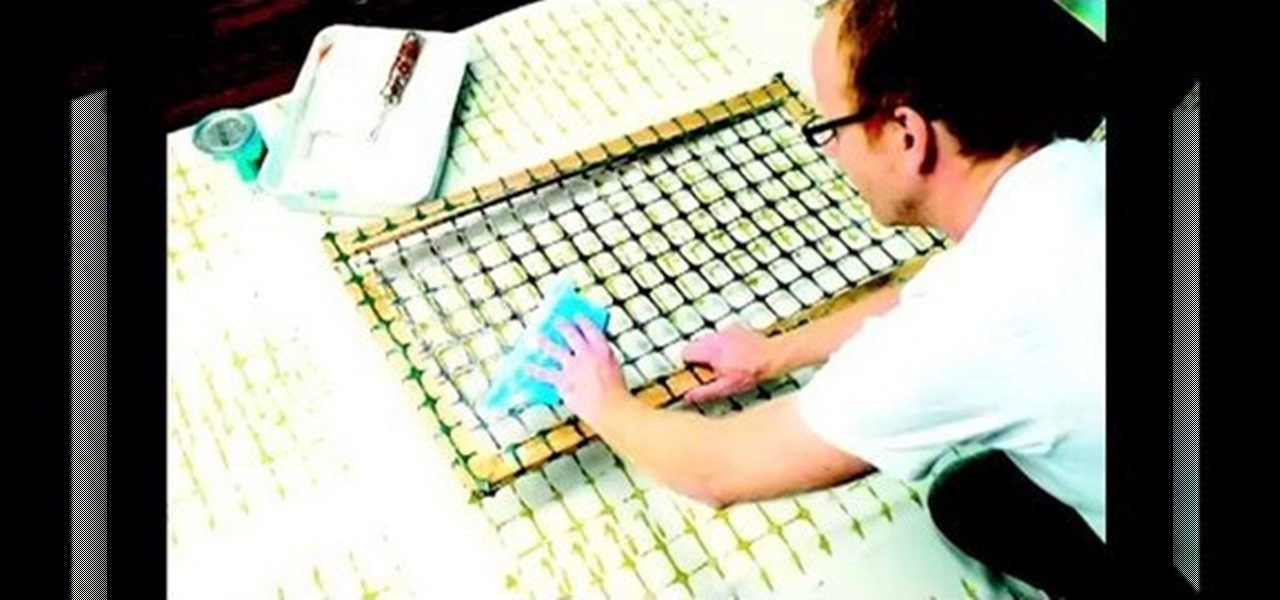
The Thread Heads visit ReadyMade magazine and take on one of their projects. The How-to doesn't start until a few minutes in, but it's a good one. Use sprockets and chicken wire to make cool patterns for your clothes. Sweet!

Want to supply your head with a little extra jazz factor? Why not tie a scarf around it? You have only one head, but any number of ways to decorate it with a scarf.

Watch this two part video series to learn how to give a headache relief head massage. Part 1 of 2 - How to Do a headache relief head massage.

The importance of paint cannot be underestimated when it comes to correctly constructing a reborn baby doll. There are many tutorials showing you how to correctly replicate the hair on your baby doll's head, but what about the eyebrows? This tutorial shows you how to use a variety of paints and fine tip brushes to correctly achieve realistic eyebrows as well as head hair for your next reborn project.

The fine folks at Film Riot usually teach you how to do two awesome film tricks per episode, and this one is no different. It will teach you how to do really scary professional zombie makeup first and follow that with how to blow someone's head off with a shotgun. Using effects, of course.

If you're trying to get in some last minute Halloween costume ideas, or have something that you're looking to do with one of your films involving knights armor, zombies, or giant Jim Henson style talking heads, this video from Indy Mogul might just be what you're looking for! Learn how to make all these costumes and effects on the cheap!

The neck stall is a really cool-looking freestyle soccer trick, but transitioning out of it into other tricks can be, well, tricky. This video will show you how to transition from a neck stall into a head stall, from which it is pretty easy to get the ball back to your feet and move on to the next part of your routine.


