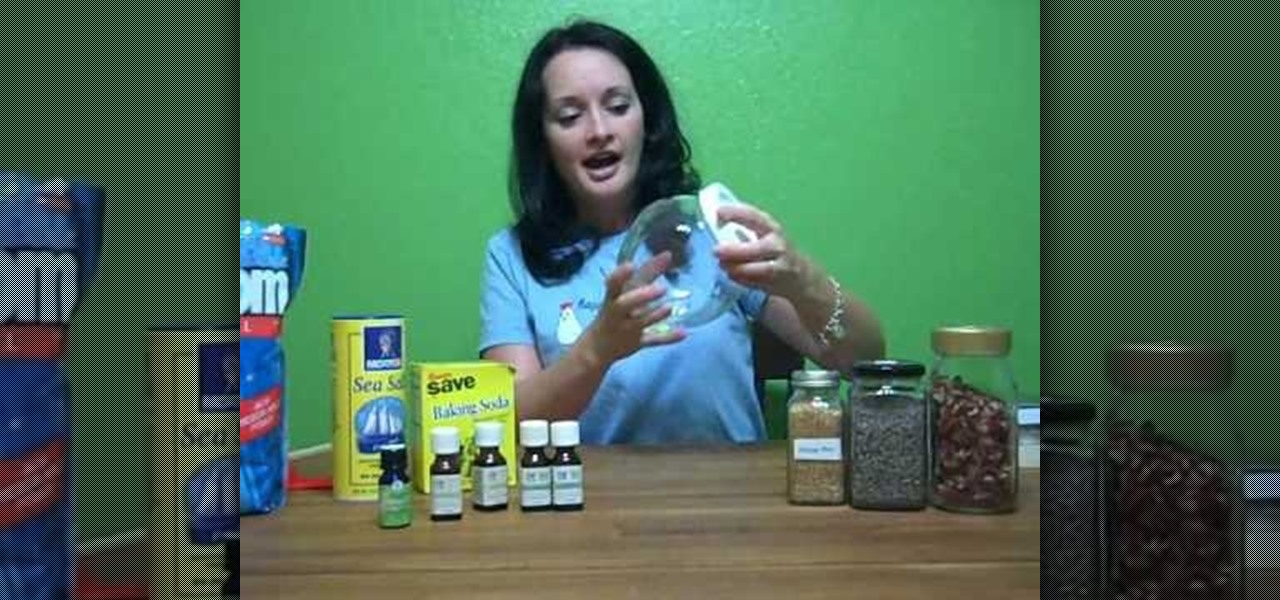
The main ingredients needed in both herbal and essential oil bath salts your main ingredients needed are Epsom salts, baking soda (not needed if salts will be used immediately), and sea salt. For the essential oil bath salts you will need essential oils, and for the herbal bath salts you need whatever herbs or rinds you like. You will also need some sort of container to put the salts in, and measuring tools. For the essential oil salts, fill a jar about halfway with Epsom salts, then add a ge...
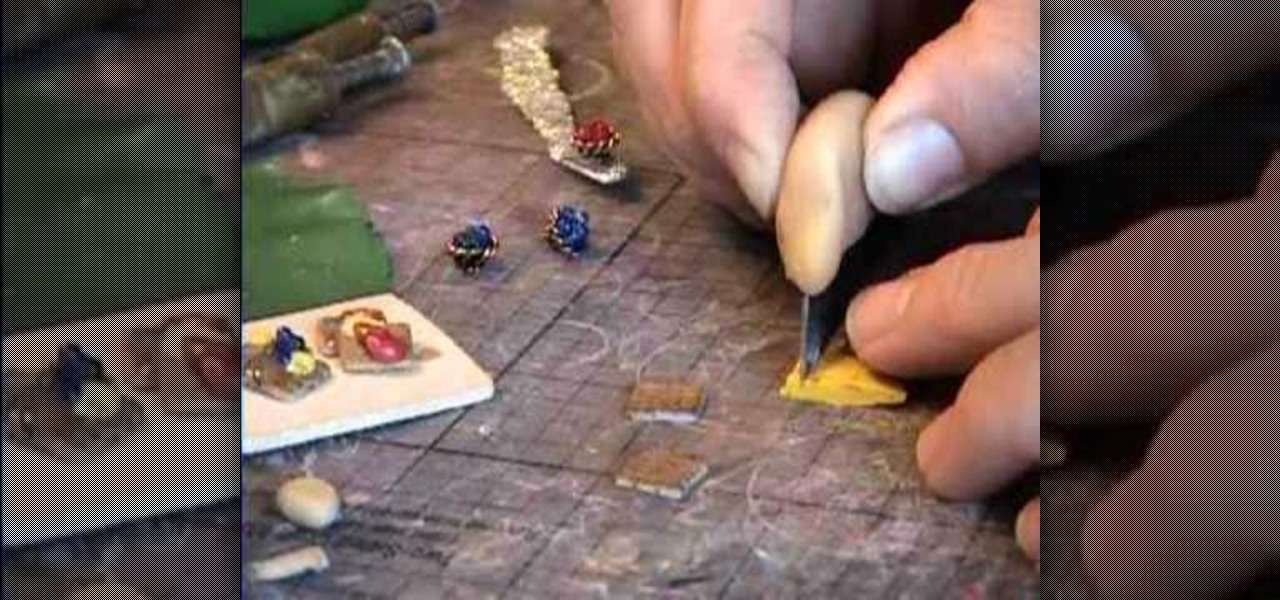
Garden of Imagination demonstrates how to make miniature blueberry polymer clay waffles for use in a doll house. Starting with a small ball of either ecru-colored clay, or pearl-white, you can blend in tiny black glass pebbles to resemble blueberries or raisins. The ball is then pressed onto a small strip of dry-wall tape that has an open weave to it, to make waffled impressions. The strip with the clay on it is run through a pasta-maker at a setting of “four” to flatten the clay into the mes...

In this video from kandeejohnson we learn how to tweeze, shape, and groom eyebrows. Must have tools for this are tweezer, a curved pair of cuticle scissors, an eyebrow brush, and mini razors. First find the dimensions of your eyebrow. Take the eyebrow brush and using the stick part of it and place it on the side of your nose and go straight upwards. Right where it goes straight up is where your eyebrow should begin. So tweeze everything between there. To find the arch, go from side of the nos...

MsKreant teaches viewers how to create cute radish earrings with polymer clay! Use Sculpey baked clay in red, white, and two different greens for the leaves. Roll each color into tiny balls. First, take the red ball of clay and put the white ball of clay next to it. Put them together and pull together. Make the white part pointy. Next, make and indent at the top for the leaves with a bamboo skewer. Next roll your two colors of green into long spaghetti strips. Put the two together and flatten...
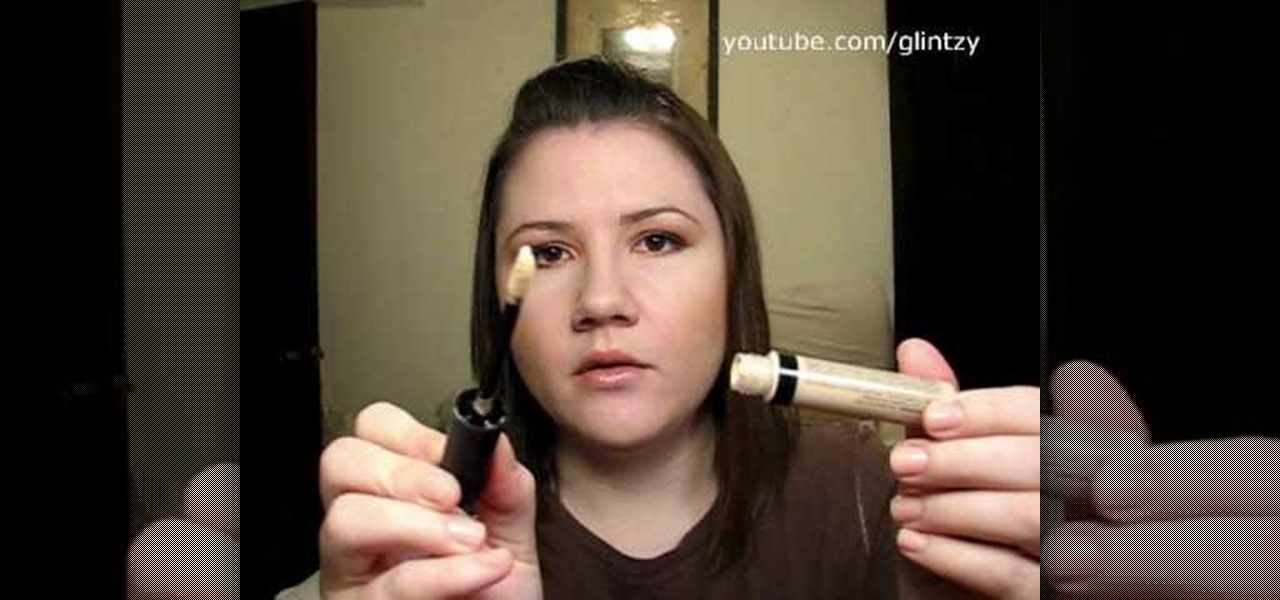
Glintzy shows viewers how to sanitize all of their makeup products. To do this you will need, a spritz bottle with rubbing alcohol in it and some paper towel. You should always wipe down wherever you put your makeup on with a germ killing spray. Also, always clean the outside of your makeup to make sure this is clean because you are always touching the makeup. Also, don't forget to clean the handles of your brushes. Foundation you cannot sanitize if it does not have a pump so you have to be r...

Rob shows us how to use a silver one inch long wire head pin to place a bead on. He uses both flat nose and round nose pliers to close the loops he demonstrates how to make. outlining the basics for loop making and the loop connection process. He slowly and clearly shows us how to make two different types of loop closures. On of the loop closures is simple and easily reopened. The other loop closure is made by making the first loop and then using tools to wrap the rest of the wire around the ...

In this video tutorial, viewers learn how to prevent slice shots in golf. Slice shots are when the ball curves in the shape of a banana. A mistake that people make when they swing is that they drag their hands to far in front of the golf head, causing a slice shot. It also releases the head of the club too late and turn the club into another direction. The correct way is to swing and hit the ball at a straight line from the left shoulder to the club. This video will benefit those viewers who ...

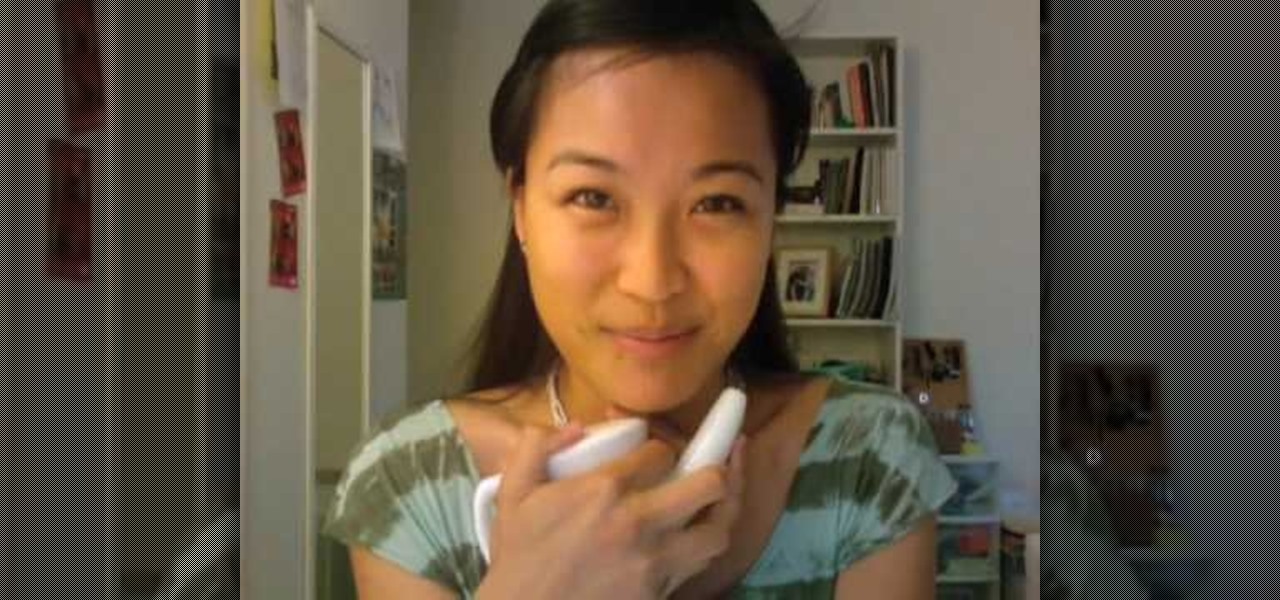
In this video tutorial, viewers learn how to use the neti pot. A neti pot is a small pot used for irrigating the nasal passages. This pot looks very similar to a tea pot. To use the pot, fill it with warm water. Lean your head over a sink and put the spout into your nostril. Tilt your head to the opposite side of the pot and slowly pour the water into the nose. The water will come out of the other nostril. This video will benefit those viewers who have nasal problems and would like to learn h...

First, begin by drawing a big circle in the middle of the page. Then draw a smaller circle (about a third the size of the bigger one) above your first circle. This will be the head. Next draw two lines where you want the arms to be, and one leg on the right side. Next draw two big eyes and a big half circle mouth as well as a little curl (for the tail) on the left side, opposite the leg. In heavier ink trace over the head and face and begin to draw arms around the arm lines you drew earlier. ...

Follow along as Patricia Stark from Craving Confidence tells us how to regain confidence after an accident or fall.

The video is about the basics of building a kite. The wind takes up the kite up. The first is a slate kite. A stable kite capable of flying in very light winds. The wind lifts the kite. The lift acts against the gravity. The tension on the string resists the drag by the wind. To construct such a kite, you need a plastic bag, scissors, some string, sticks. The dimensions are important. It need 45 cms length and 50 cms width in a specific dimension. The all project can be found in website hilar...

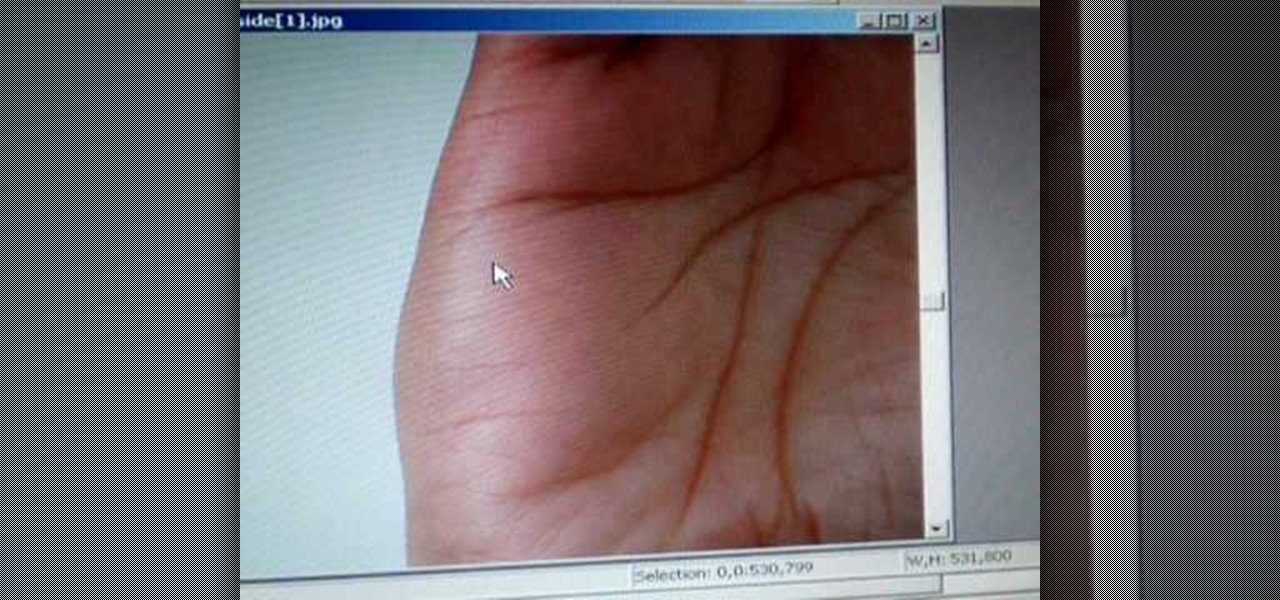
To read the right palm, look at the left side of the hand. This gives an indication of the affection lines and the travel lines. The deep lines means travel outside the country and if they're straight it means the journey will be successful. Locate the curved heart line. Below it, curved in the opposite direction is the head line. The life line bisects the head line. The affection lines are above the heart line which determine the length of engagements and marriages. The affection lines are r...

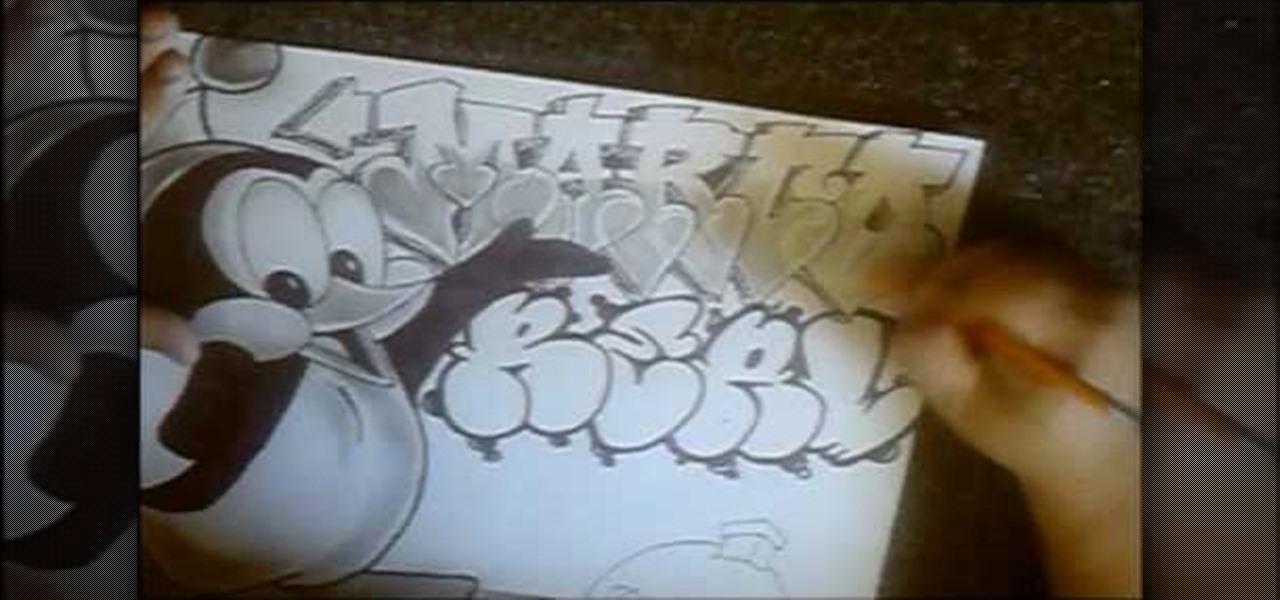
In this video cholowiz13 teaches you how to draw Chilly Willy. You start with a big circle for the head. Inside, draw two ovals and two smaller circles there. These will be the eyes. You then create another oval adjacent to that which will be the cheek. Draw a triangle facing outward, which will be the beak. Draw the body next and two flat feet at the bottom. One arm should be behind his back and the other extending, showing the letters you will draw. Also add a hat on top of his head and dra...

In this video from FusionNW, Paige Walker from The Container Store gives us some gift wrapping tips. A lot of people have trouble wrapping presents with wrapping paper. Here we learn how to make it simple, with your gift-wrapped presents looking like they were professionally wrapped. Remember: A gift that's wrapped in a very special way is just as special as the gift itself! One thing that's important is that you measure the wrapping paper right, and this is demonstrated for us. You'll want t...

David Wygant discusses how to meet girls with the right opening line. First, don't initially get hung up on one girl. You can become selective once you successfully utilize techniques to be open to everyone and gain their interest. First, observe a woman and get inside her head. Women and men think in very similar ways. Everyone's favorite conversation is about themselves. Keep her lips moving and talking about herself by observing and paying attention to every little detail. Train your mind ...

This video demonstrates how to style short hair and get volume. If you have side bangs, part them around and up from the arch of the eyebrow. Make sure you have a blow-dryer and a large round brush, as well as a hair serum, and clips. Rub a quarter size amount of the serum on the ends of your hair, trying to avoid the roots. Put mousse on the hair roots near the top of your hair where the volume will matter the most. Section your hair off at the top and begin blow-drying by lifting the hair u...

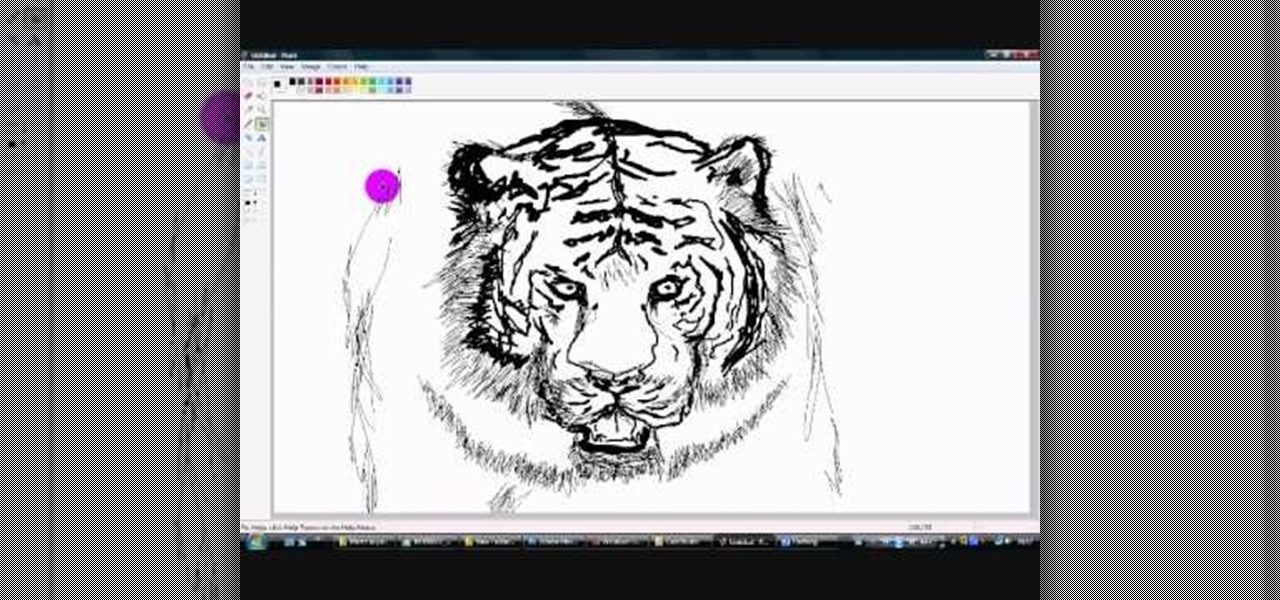
FreshLove8 teaches you how to draw a tiger in Microsoft Paint. Start with the thick pencil or paintbrush to first draw the whiskers and the nose. Connect this to the mouth that you will draw open, underneath. Continuing upwards you will draw pointed ovals for the eyes and then forehead. You can now start adding more details to the drawing, accentuating the contour. Draw the lines on the tiger's face and also add fur around it. Give it a menacing look and complete the head by adding ears. The ...

Dressing up a cake with gum-paste flowers does not have to be difficult. Just follow the steps outlined by Brandi in this video tutorial to learn how to make gum-paste hibiscus flowers. To begin, buy some silk hibiscus flowers to use as a template for the flower. You will also need a petal mold. Brandi uses an orchid petal mold that she already had. You will need to roll the gum-paste out and then place it into the petal mold. Make sure to sprinkle some corn starch on the mold to make sure it...

LoveMaegan teaches you how to style a full frontal French braid. First, you will separate the front strands of hair and braid them together as you would for a regular braid. To do this, pull the strand from the right under center piece, catch it under the center strand, weave over and then repeat until you get to the left side of the head. Here you will grab a strand of hair from the left side and bring it together with the strand from before. Grab the new strand from farther back in order to...

Anastasia Khozzisova, runway coach, explains that many women do not know how to walk properly down the runway. Follow these tips and learn now to walk in high heels as a model. The basic parts of the walk are: -Hips, this is where your movement comes from. -Head, make sure your neck is relaxed. Keep your head back and chin up. -Toes, practice walking on your toes before putting a pair of heels on. -Arms,make sure you are swinging and moving your arms. It helps for a great picture. Learn to be...

Dawn5377 teaches you how to create a flower brooch using the Big Shot tool. Start with the flower folds bigz die. Apply pieces of material over each flower and cover it all with a piece of acrylic. Pass it through the Big Shot tool and you will have flowers made of that material. Now use the basket and blooms bigz die and cut small circles with the process described above. Fold the flowers in half and create groupings of 3 or 4 flowers with different textures. Use a punch hole to cut pieces o...

This video will teach you how to make easy cheesy grits. They're great for snacking on all day long. Things you will need: 6 cups water 1-1/2 cups uncooked grits 1 stick butter 1 pound processed cheese (like Velveeta) cut into chunks 3 whole eggs, lightly beaten 1 small can chopped chili peppers 2 teaspoons salt or salt substitute (optional) Step 1 Preheat oven to 275 degrees. Step 2 Butter or spray with cooking spray a large (one and one half to two quarts) baking dish. Step 3 In a large sau...

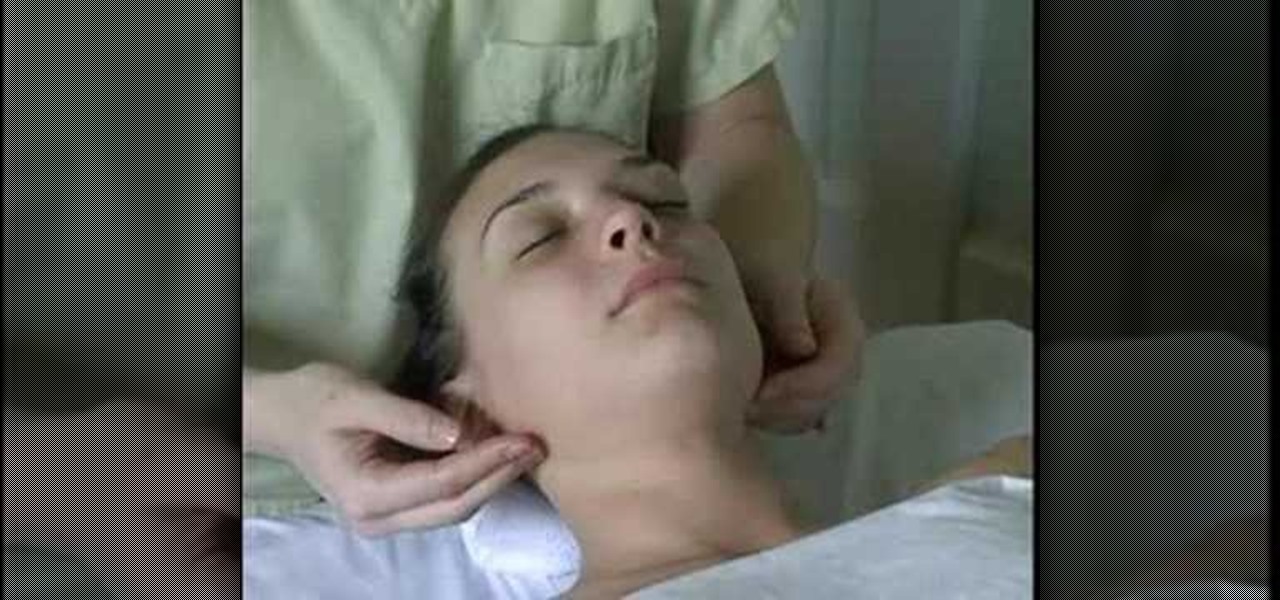
This video shows the viewer how to give a lymphatic drainage massage of the head and neck. A pillow elevates the head slightly to help the drainage process. Using a light oil, she applies the oil to the neck and the face of the client. She puts her fingers inside the clavicle bone at the base of the neck and pumps to start the fluid moving down. Encourage the client to take deep breaths as this helps the fluid to move down. This is a great massage to get in the spring time when allergies are ...

Do you believe in fairy tales and those wicked witches? Let’s draw our conceptual witch. First we need a paper and a pen. Let’s start with a hat (typical one).Then draw the basic shape of the head with eyes, nose and mouth as well as the hair curls. Then start with the detailing i.e.; shadows and highlights on the hat and the face. You can even do it with a pen. This will help in creating your sketching art work.

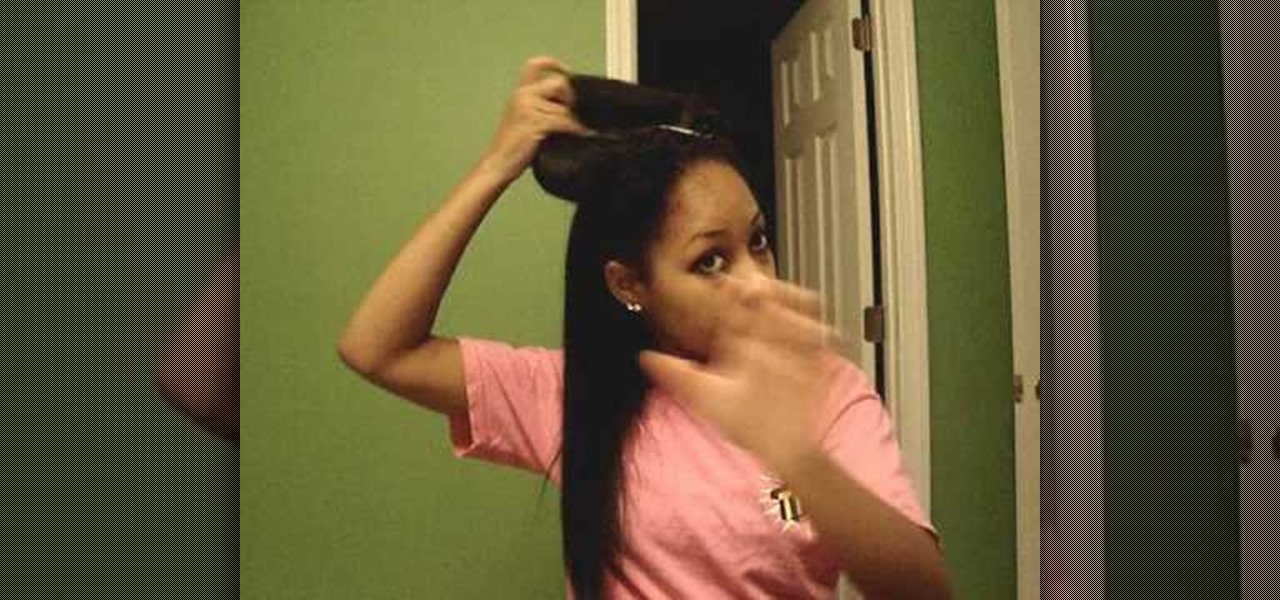
Do you know how they divide your hair into sections when you are at the salon? Though it is never easy to reproduce what they do at the salon, but you can do the same thing as best you can (and next time you are at the salon, watch closely to see how they do it). You are going to divide your hair into sections and put all the sections up on top of your head except for the bottom section. Use a brush to select a small segment of hair from the bottom section that you did not put up. Start at th...

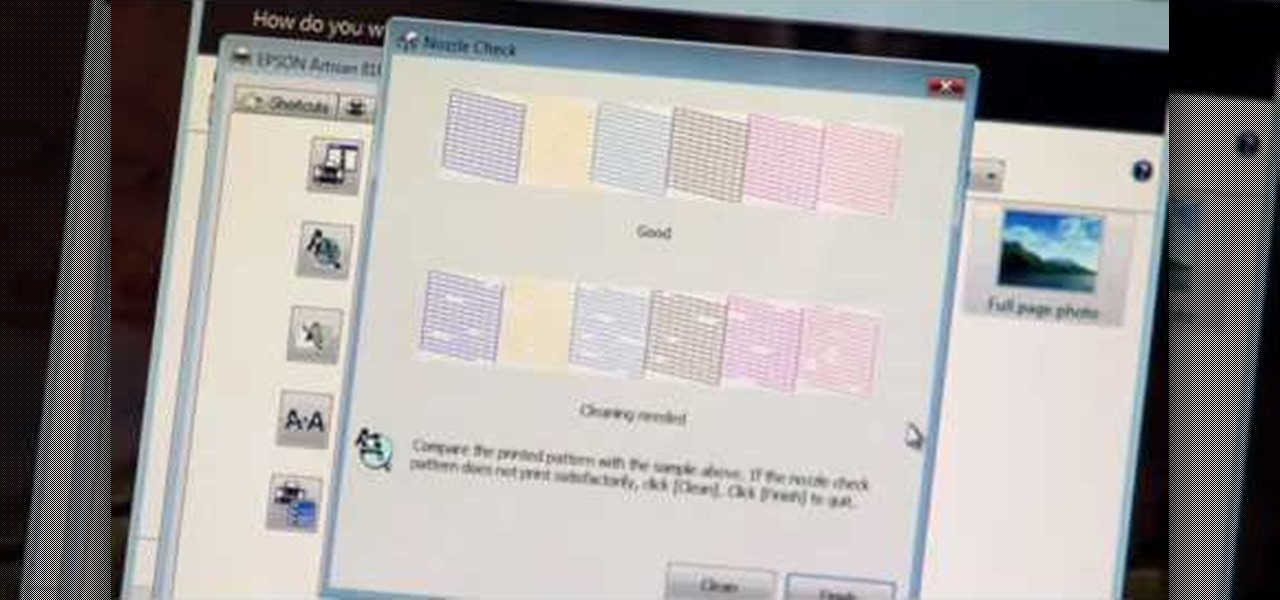
If you're printed pictures and photos aren't coming out the way you expected, then something might be wrong with your printer, specifically, the printhead might be dirty and might need to be cleaned. This is an easy troubleshooting step for Epson printers.

If you need to draw a demon monster in a hurry then watch this video to see how you can sketch one up in a flash. The great thing about sketching is that you can just sort of etch out the form, refining it until you have the scary demon you are looking for.

To change a tubular bike tire start by stretching the tube. Put your foot on the tire and pull it upward with your hands to stretch it out. Take a clean rim and put Tuflo tire tape onto the rim inching your way all the way around the rim leaving a 2-3 inch gap opposite the valve stem so that you can remove the tube in case of a flat. Pull a small section of the tuflo tape foil loose and leave it sticking out to side of the tire. Put the tire on the rim starting at the valve stem. Once you hav...

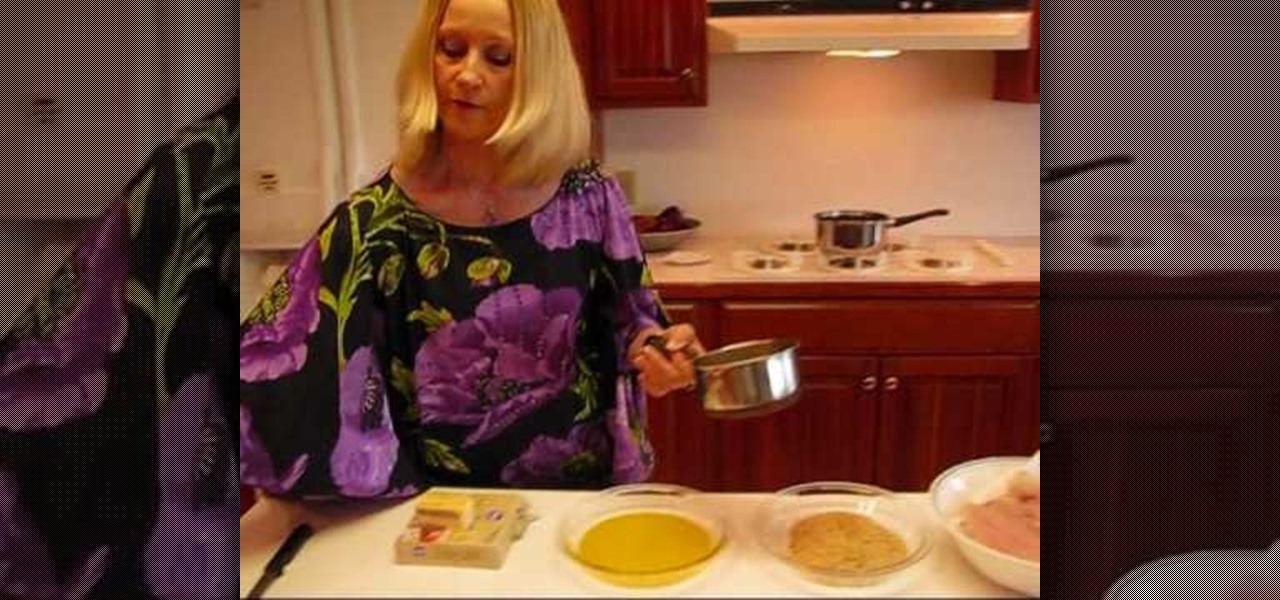
What could be more Southern than catfish? But how do you cook it up? Betty shows you a recipe for delicious broiled breaded catfish!

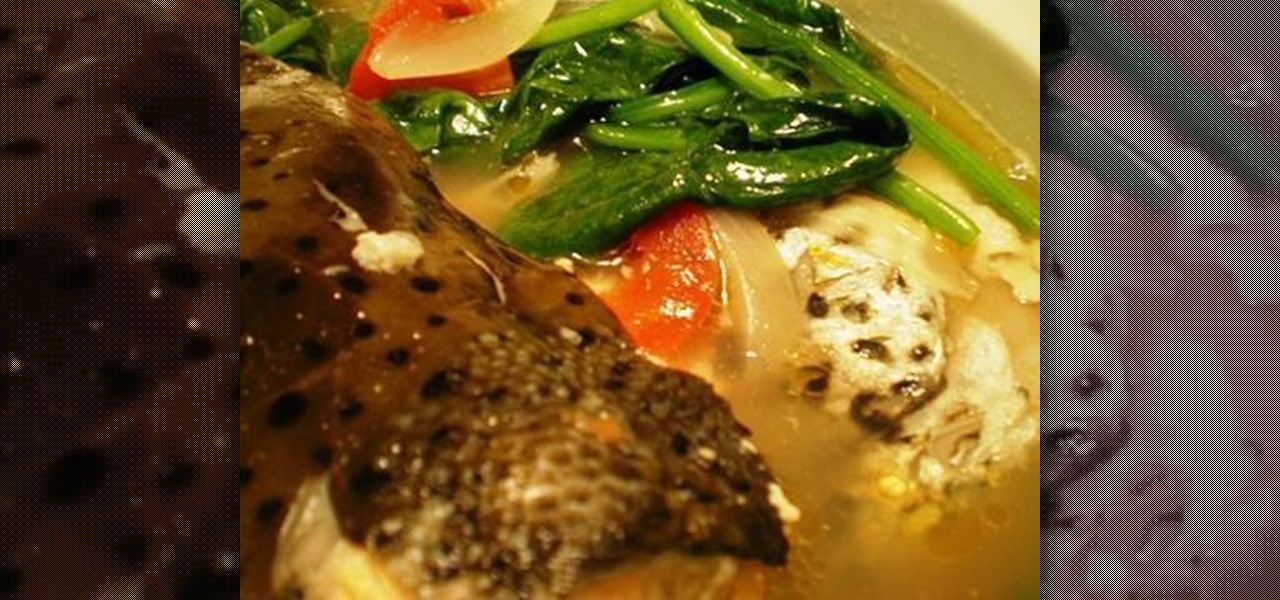
This how-to video is about how to cook Filipino sinigang na ulo ng salmon, normally this dish is salmon boiled with spinach, the best thing about a Filipino dish is that they used to add spinach to most of their dishes which makes the dish more nutritive.

What a unique combo! And it's easy to make. Try out Betty's epicurian concoctions for a unique eating experience!

Description: How to cover or conceal your eyebrows in two different ways. - First brush your eyebrow hairs down and with a glue stick cover the brow. Brush the hairs to their normal place again.

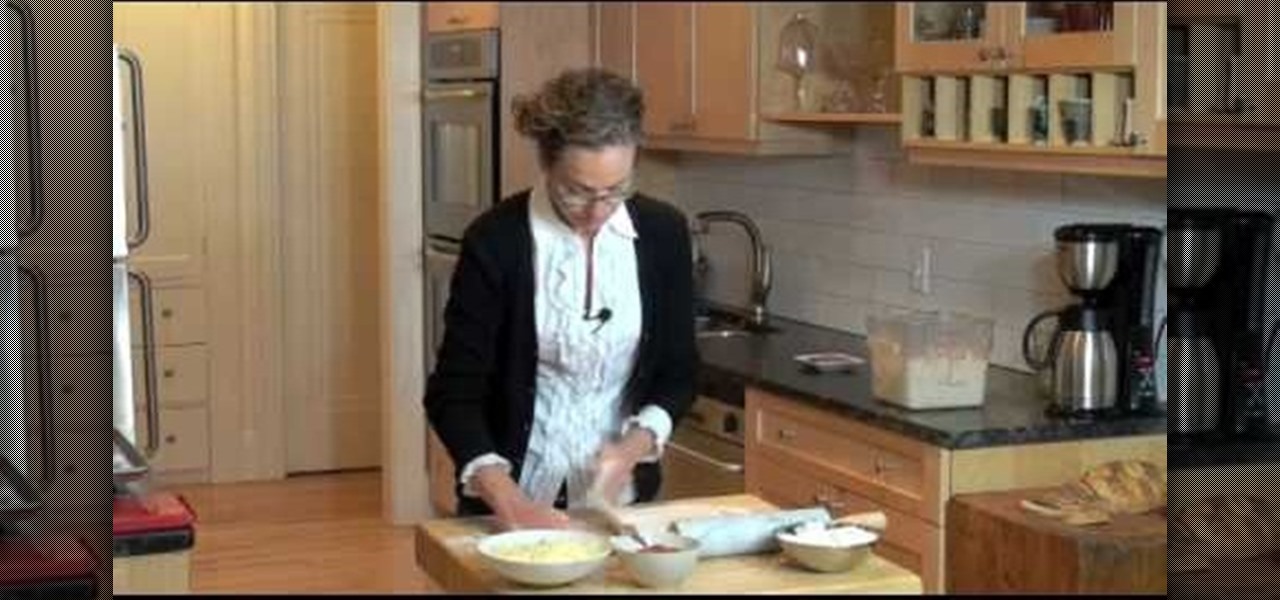
Jeff Hertzberg shows us how to prepare the dough for the bread and pizza base. Zoe Francois shows us how to use this dough to make a roll up spiral pizza which kids love in their lunch boxes.

This video shows how to make a hair pin with small items. This sure looks easy to make. You would need:

In this video of 3 parts you are shown how to make a shot gun out of simple paper. You need Scissors, tape and paper for this. Now follow these simple steps:

Get hair like Mariah Carey's with these simple steps. Start with clean dry hair, BioSilk, two-inch curling iron, and a hair straightener tool. Add BioSilk to hair and dry to protect hair. Starting at the top, and working in sections, lightly tease hair at the base and curl hair to the back, or down for the sides of the head. Each section takes only a few seconds on the curling iron. Once done over the entire head, use the straightener and pull curl through. Fluff hair and done!

Ever heard of the Blink Card Trick? Well, it's an easy way to impress your friends, without having to know much about card tricks. Learn how to perform this card trick, step by step, in this tutorial.

Can't get that ring off your finger for the life of you? Avoid a trip to the hospital by using these tricks to safely dislodge a stuck ring.

Sometimes it's more than just inconvenient when your electronics lose power. Sometimes, losing power could be dangerous. Never worry about a dead cell phone again! Charge your portable electronics by harnessing the power of the sun.

Are you have more bad hair days than good? In this tutorial, learn some ways to tame that unruly do.... Make your crowning glory the envy of all by permanently banishing bad hair days for good.


