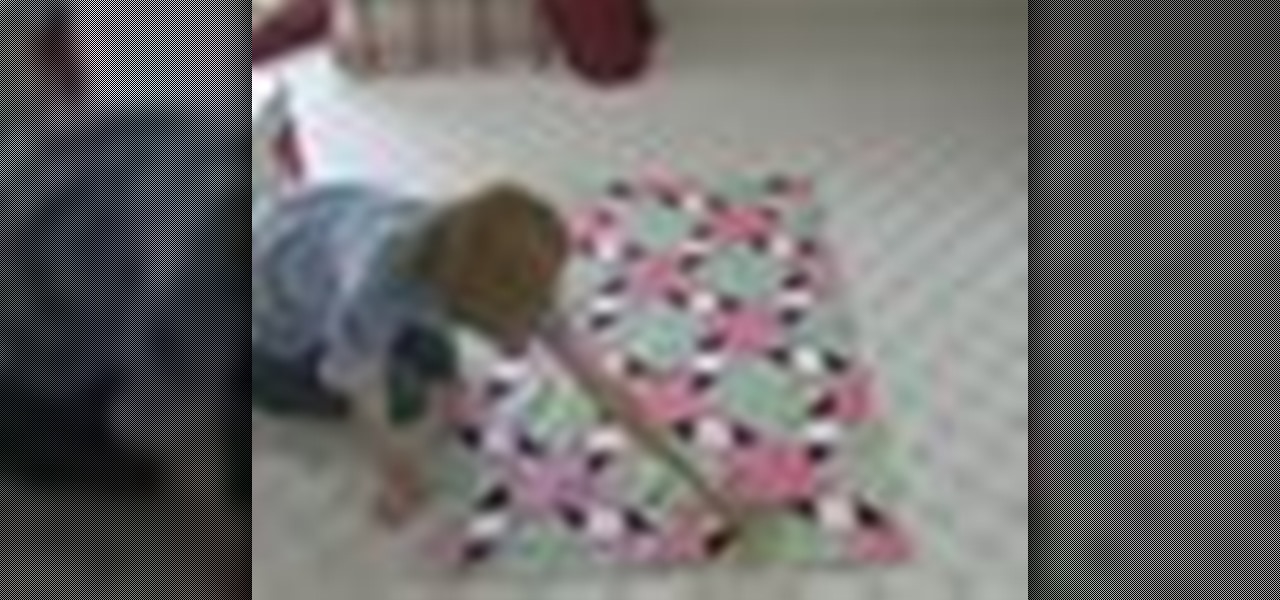
When measuring for borders on your quilt, begin by spreading your quilt out on your work surface making sure that it is laying flat but not pulled tight. With a tape measure, measure from one edge to the opposite edge across the length of the quilt. You should measure along two or three different seam lines and cut the border material to correspond with your longest measurement.If you would like a two-inch wide finished border then you should cut your border material two-and-a-half inches wid...
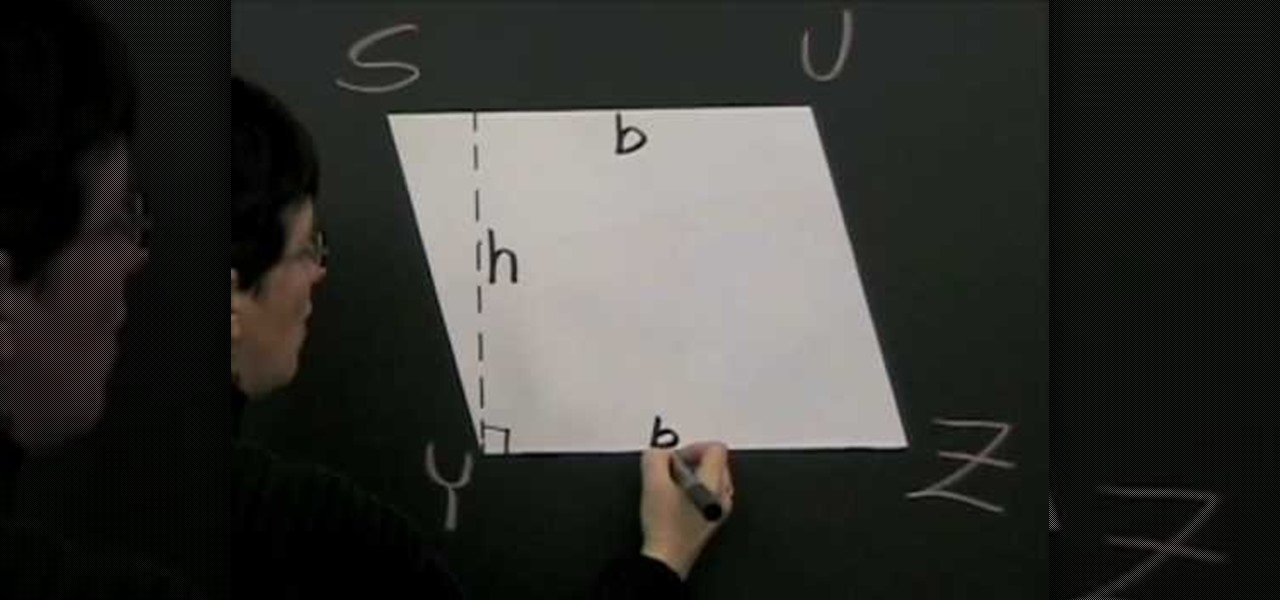
Parallelogram is a quadrilateral in which both pairs of the opposites are parallel. To find the area of a parallelogram first draw the diagram of a parallelogram. Parallelogram can be further divided into squares and rectangles. To calculate the area of both of these kinds of parallelograms multiply the length of the parallelogram with its height. In general the area of a parallelogram in obtained by multiplying the base of a parallelogram with its altitude. In square and rectangle cases, the...

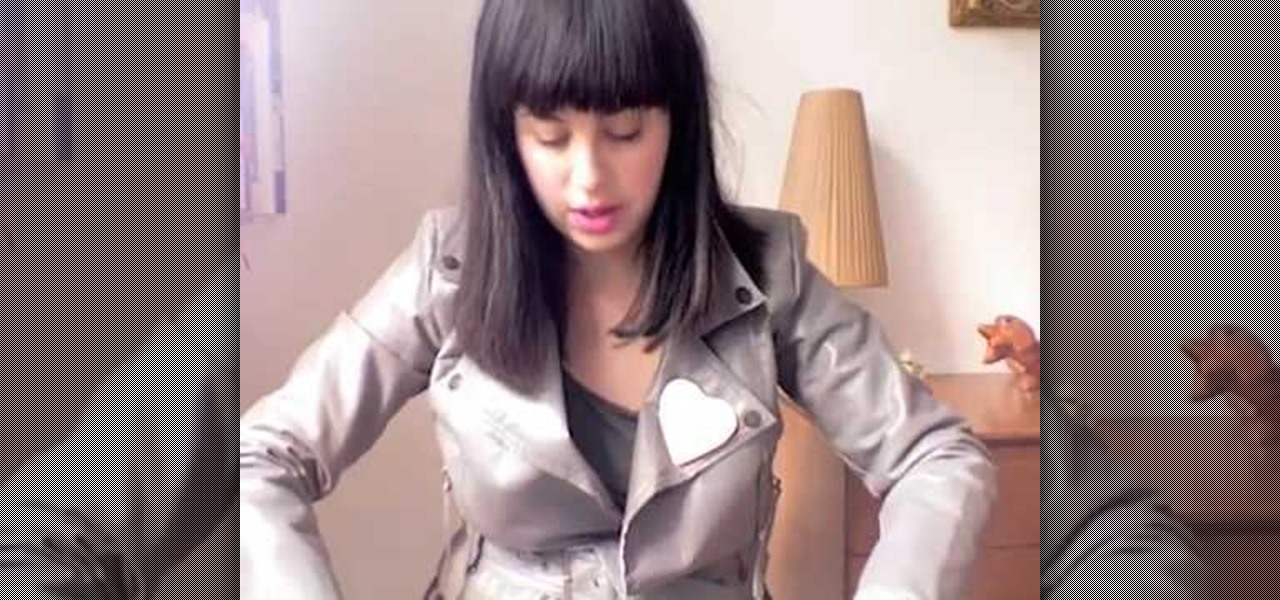
In this video, the user gives some suggestions on how to make at home hair protein treatments. She emphasizes that every good treatment consists of two components: a conditioning element, and a protein element. She suggests eggs, avocado, almond butter and soy milk for protein and yogurt, mayonnaise, nut and olive oils, and honey for the conditioning portion. She explains the importance of including both elements for moisturized hair and also that you should choose ingredients in response to ...

The Bespoke Center shows how to measure the right sleeve for a custom made men's suit. The Center recommends using a tape measure of course to do your measuring. These recommendations are easy and work well for custom made DIY projects. For this project the man will need to wear a shirt. Measure from where the seam on the shoulder meets and to the base of your thumb located at the wrist joint. The tailor also recommends that you do this so that you can decide where you want the sleeve to end....

Childcareland demonstrates how to make a cupcake shaped book in this video. First, make a pattern page from a regular piece of paper. It should be designed like a cupcake. Place the designed pattern on top of a thicker paper like construction paper or card stock. Place five pages of regular paper behind the thicker page and finally place another thicker page at the back of the stack. Glue the cupcake pattern to the top, thick page, slightly to the left side. Then staple down the length of the...
In this video, we learn how to remove acrylic nails easily! First, you can cut down the acrylic nails using fingernail clippers if you want to keep your natural nails the same length. Next, take a drill or buffer to remove the shine from the acrylic. After this, put acetone on a cotton pad and place on nail, then wrap the nail in foil. Repeat this for all nails then leave on for one hour. Next, you should be able to easily remove the acrylic. Make sure you buff off any excess material then ap...

Fimo expert Corinne Bradd and Emma Ward with The Crafts Channel and magazine Craft Beautiful demonstrate how to create a striped cane in 5 minutes. To create the stripes, cut out rectangles of black and white clay and stack them in alternating colors. Then, roll out a cane in a nice, bright color so that it matches the length of the stacked clay rectangle. Then, cut the rectangle into slices. Then, press the rectangle stripes onto the bright cane so that it completely wraps the cane. Squeeze ...
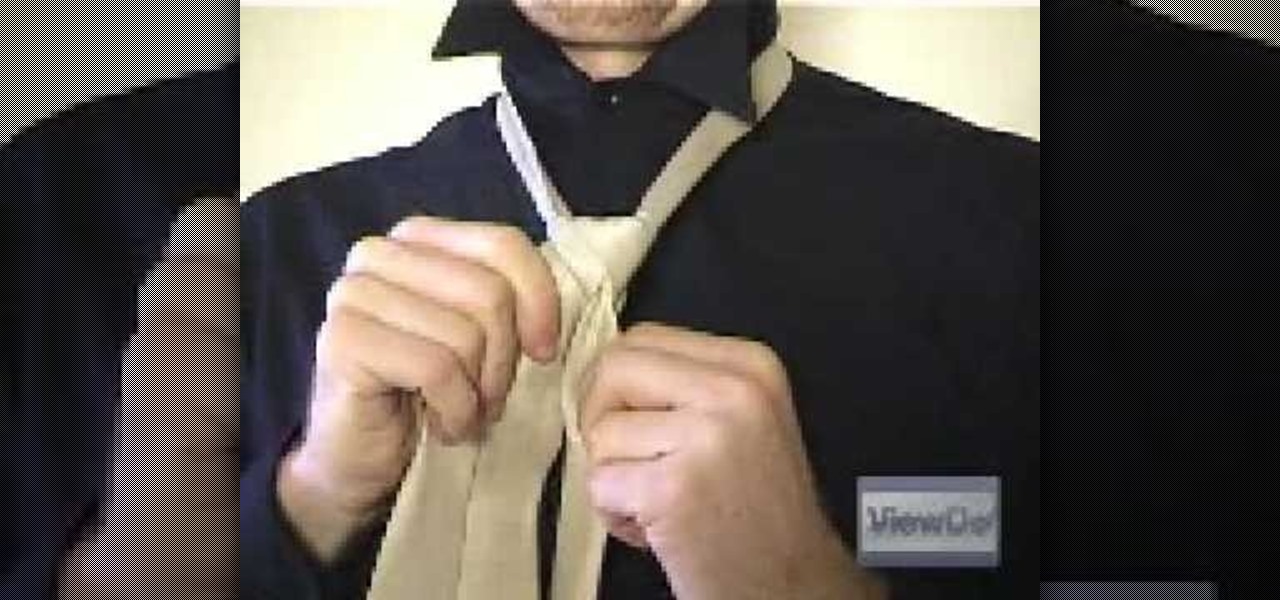
In this how-to video, you will learn how to tie a single Windsor knot. This will be useful if you need to wear a tie at a formal event. First, place the tie around the back of your neck. Next, cross the bigger side over the smaller side and then pull it up through the loop. Next, bring it underneath the knot and around the front of it. Bring it through up through the loop one more time. Pull the end through the knot. Make sure to adjust the tie so that it is at the desired length. By viewing ...
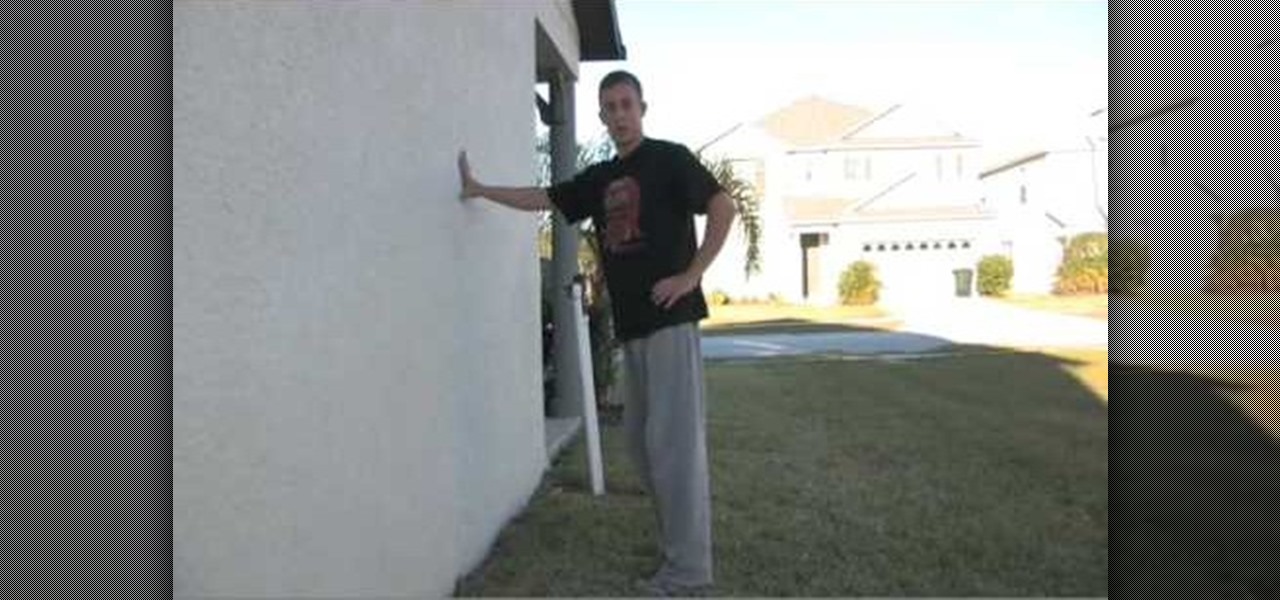
First, you take your position at about arms length away from the wall. You'll want to be somewhere around two feet away from the wall. Place you hands straight out in front of you. You always plant your feet first and then place you hands on the wall. As you start jumping, push off the wall with your palms pushing into the wall. Once you start to rotate, don't put your hands behind you. Straight from the wall to your knees. Tuck your neck, then you can jump, placing your hands on your knees a...
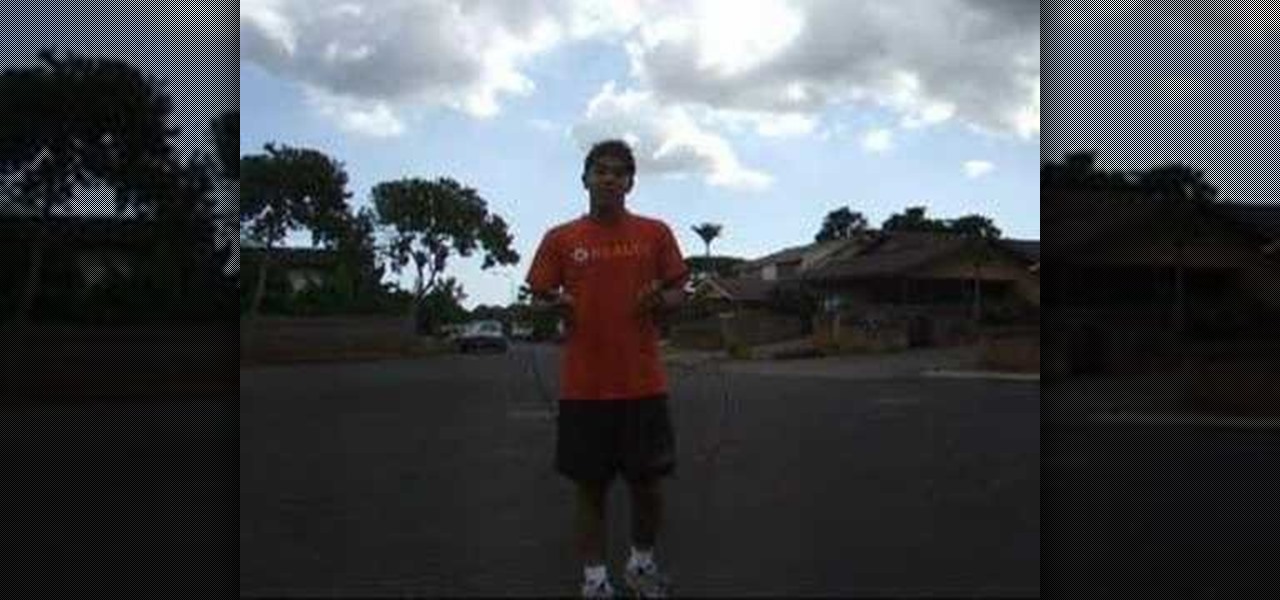
Quincy shows how to jump rope like a professional or for competitions. 1. Make sure that the rope is the proper length. The rope should meet your armpits. He teaches that you'll start with the basic jump. 2. To initiate the jump, move the rope in a circular motion, make sure that it passes your head. 3. To do continuous jumps keep moving the rope in circular motions. 4. To do a double ended jump, the rope goes under your body two times and you move the rope faster.He also teaches advanced jum...
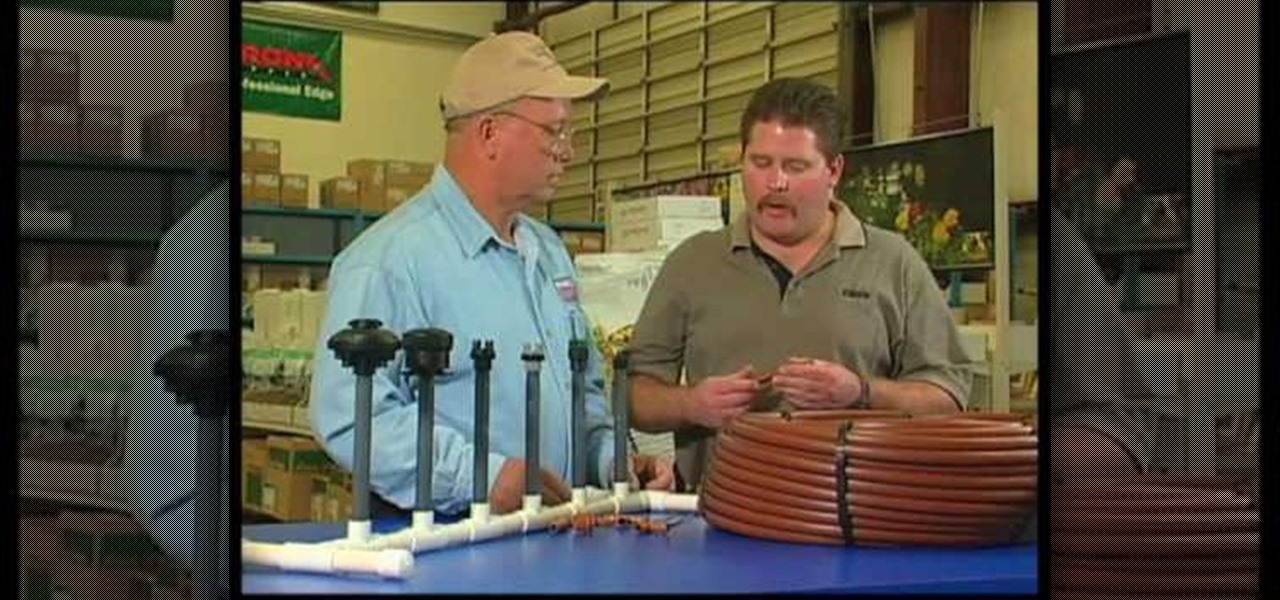
Drip irrigation systems in your garden are centered around a long length of pressure compensating drip tubing. The tubing will also need a pressure regulator and a "Y filter" to keep it clear of impurities. When laying the tubing down in your garden, be sure to keep the kinks out of the line. When choosing an emitter for your irrigation system, keep in mind the needs of your particular garden, and choose either a single emitter or one of various multi-emitters. Depending on the size of your g...
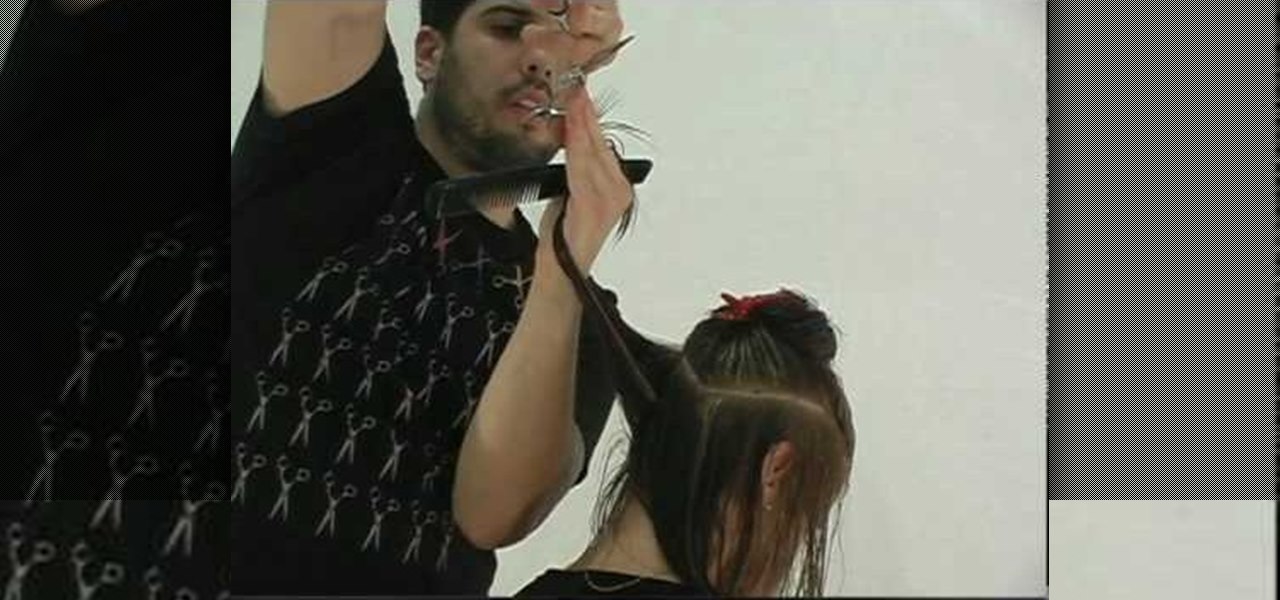
This video illustrate how to do long layered hair cut step by step. Here are the following steps:Step 1: First of all clean your hair and then take all your hair and hold them through a clip.Step 2: Now release a inch of your hair from the lower bottom and cut it.step 3: Now release the upper inch layer and cut it slightly above the lower most layer.Step 4: Similarly take the next layers and cut them so that each layer has sharp cutting and is differentiated easily.Step 5: Release hair on the...
Marilyn Bohn, of Get it Together Organizing, offers a travel tip of how to measure carry on luggage. She warns you that every carrier has a different requirement for carry on luggage, so check before you leave what your carrier requires. In order to measure your carry on luggage you use three different figures and add them together for the final result. Measure length, measure width, and measure depth. Write your numbers down and then add them together. After this, you will come up with a sin...
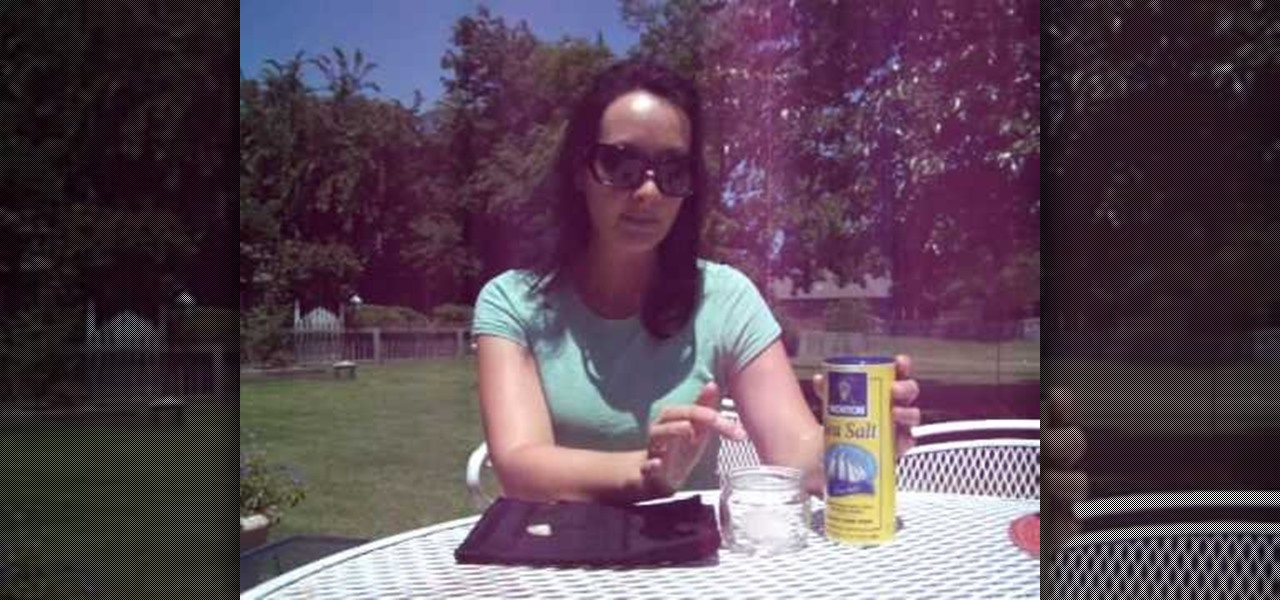
The Wicca stones in question may be dried in either sunlight for a full twenty four hours, or the item may be wrapped in a dark black cloth to dry. The stones may also be cleaned in water as well. Another method would be bury the stones in a pot covered with dirt. If unsure if water would damage the stone, however do not submerge the item in water if you are unsure Additionally salt water may be used to cleanse the stone.
Learn how to make a unique rose from clay that can be given as a gift to your special someone. 1. Make about 20 tear-drop shapes out of the clay. 2. Flatten each of these to form petals. 3. Roll one of the petals up to form the center. 4. Curl each of the other petals around this center. 5. Stretch the base of the flower downward to form the stem. Add clay as needed to make the stem the desired length. 6. Form leaves with the remaining "petals" by creasing them and attaching them to the stem.
Learn how to make a River Bar bracelet, which is also known as a Paracord bracelet, by following the steps outlined in this video tutorial. To start your bracelet, you will need to tie a reef knot. This is done by taking two loops (in two different color strings) and then placing one loop within the other, pulling this through the first loop to secure the two loops together. This knot creates the end of your bracelet. To actually make the River Bar design, bend the two colors of string so tha...
This tutorial will focus on how to use the fit image function within Adobe Photoshop. You will utilize this function when you want the pixel width to match between different sized photos in portrait and landscape. First you will select all the photos (you must create a batch action in Photoshop). Next select the fit image option in the file menu under automate. You will need to put the same number into length and width to constrain the proportions of your landscape and portrait photos have th...
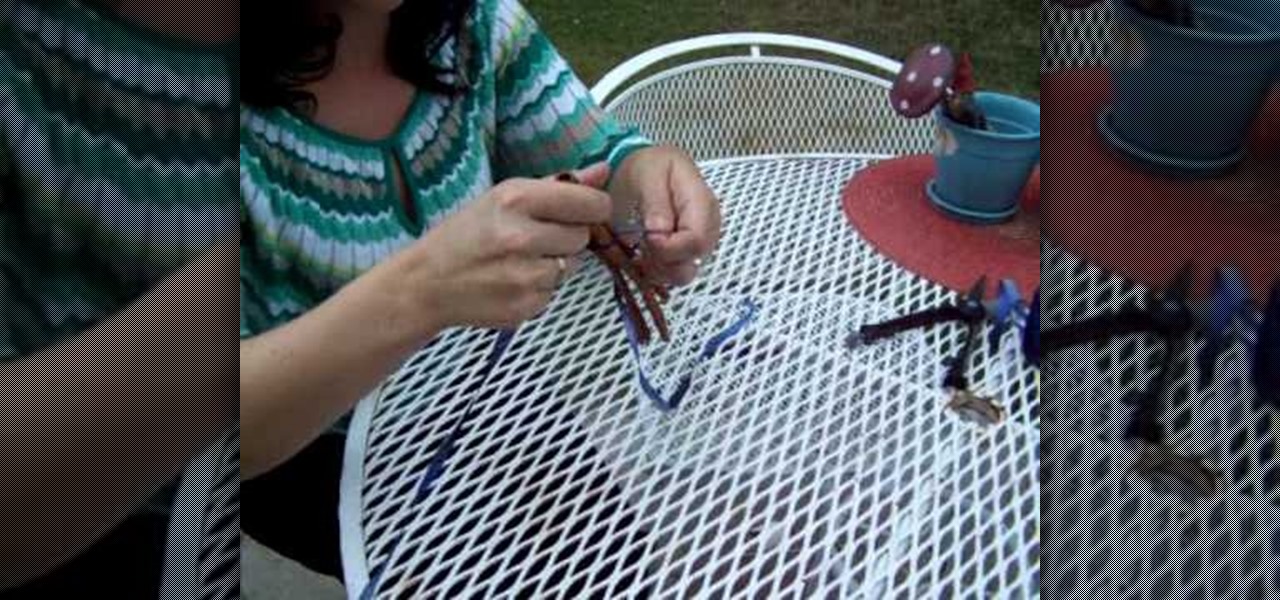
In this jewelry-making basics tutorial, learn how to make an eye pin. To create an eye pin, you will need wire. Size 24 or 22 gauge wire is the best kind of wire to make an eye pin. The thicker the wire, the more difficult it may be to work with. To begin, straighten out your wire and cut the length you need to make your eye pin. Taking some round nose pliers, you will bend the wire up while rolling it toward yourself. Do not pinch the wire too tightly with the pliers because it can leave per...
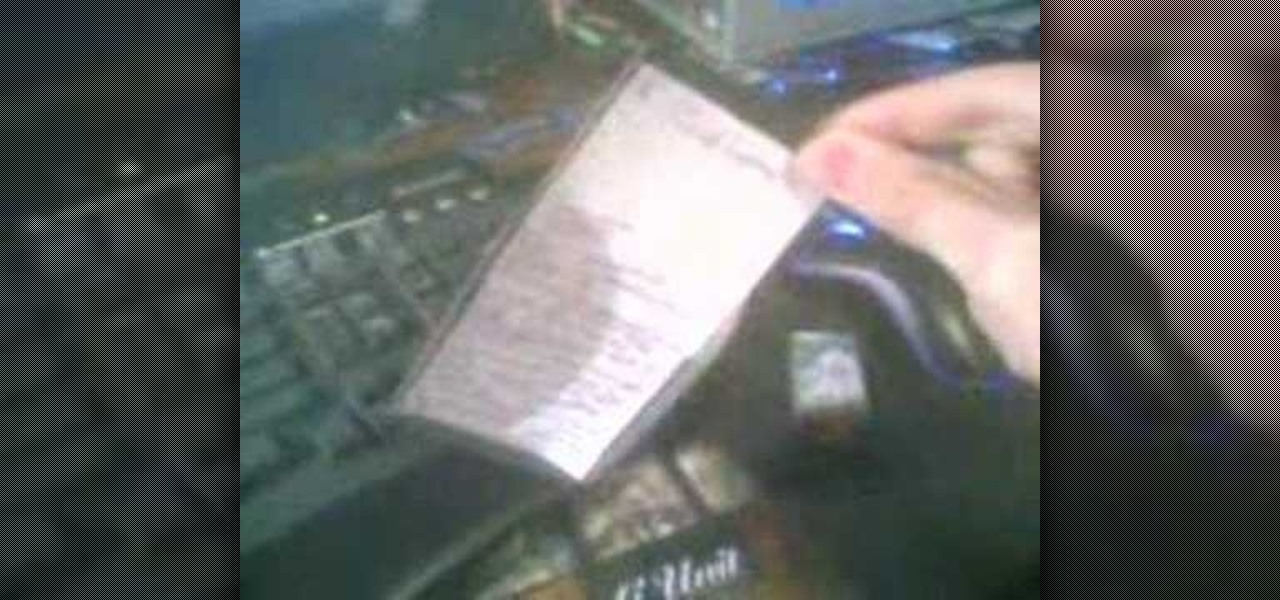
Learn how to cheat on a calculator test with a calculator in simple steps. You will need: a scientific calculator, a ruler and a small paper. 1. First remove the cover of your calculator and measure its length and width using the ruler. 2. Now cut a piece of paper with the exact measurements taken from the cover. 3. Write all you need on the paper and fix it in the cover carefully. 4. Make sure the paper does not fall out and then put the cover to the back of your calculator. 5. Finally test ...
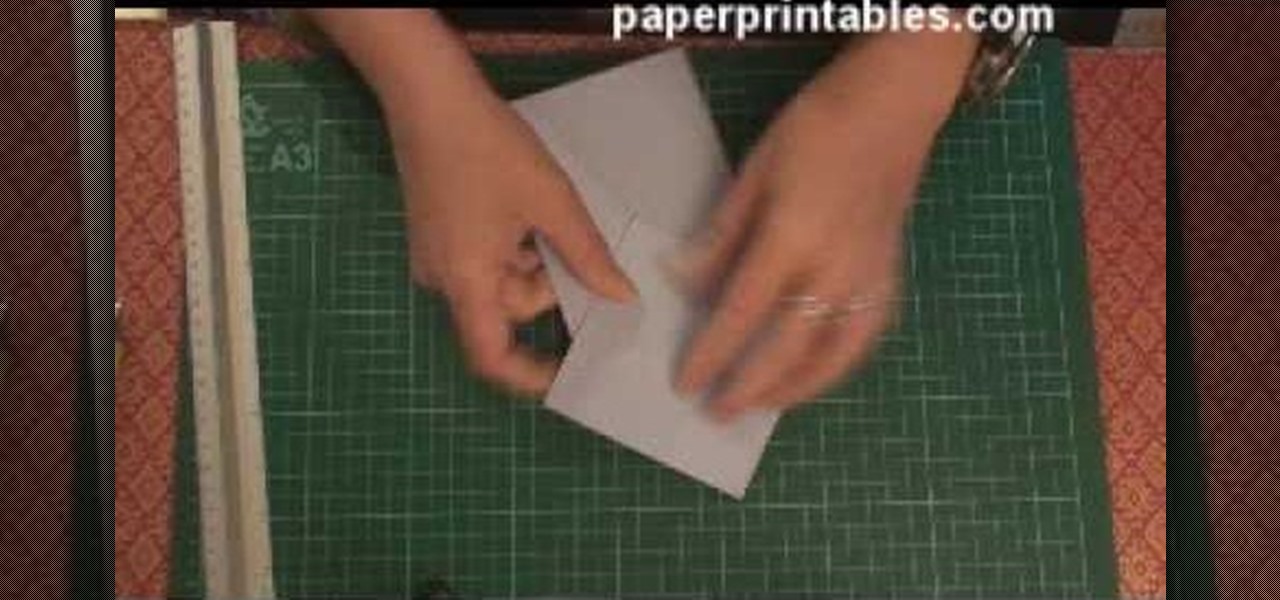
Watch this video to learn how to make a stunning diamond topped 3d card from a single sheet of A4 paper! 1. You'll need one A4 sheet of paper and some printed papers to decorate. 2. Score at 10. 5cm across length and 10. 5cm from one end. 3. Crease both scores in the same direction (mountain folds). 4. Turn card over mark 13cm from top on centre line an 17. 5cm from top on both edges. 5. Score from central 13cm mark to 17. 5cm mark on each edge. All printed papers used in this tutorial are av...
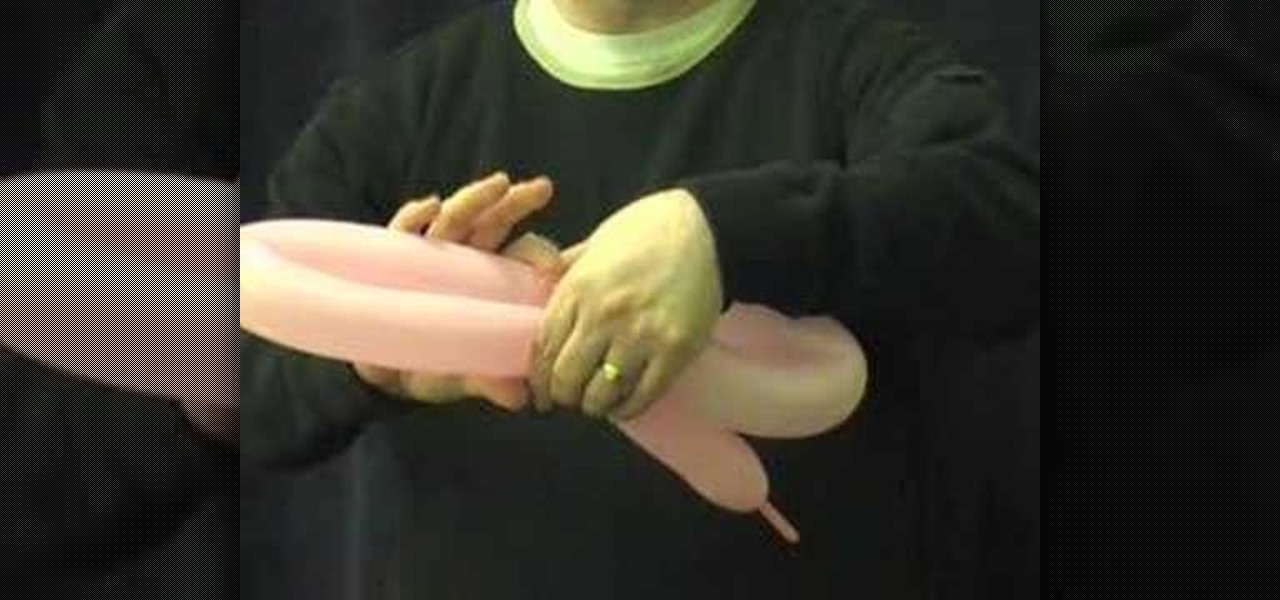
Watch this video to learn how to make a swan balloon animal the quick and simple way. Before starting, you need to remember that the key to making the swan correctly is how you construct the neck and the beak. 1. Leave a three or four finger length area of the balloon deflated. 2. With one hand, grab the balloon at the nozzle, and with the other hand, grab the balloon at the base of the swan's neck. 3. When twisting the body, try to make the two bubbles equal in size and place the nozzle in t...
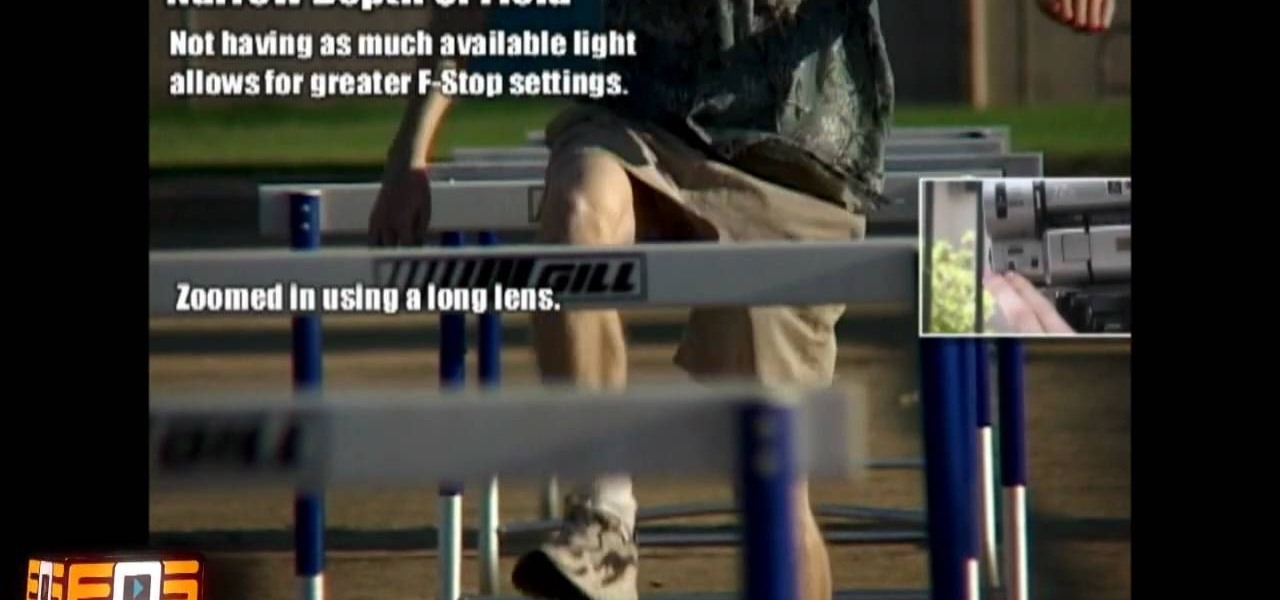
In this Film and Theater video tutorial you will learn about depth of field and how to adjust it. Depth of field means how many objects are in focus in the frame at one focus setting. If the depth of field is large, more objects at various distances from the camera are in focus. The first factor is the amount of light. If the light is good, more objects will remain in focus. On the other hand if you zoomed in with a long focal length lens the depth of field will reduce and lesser objects will...
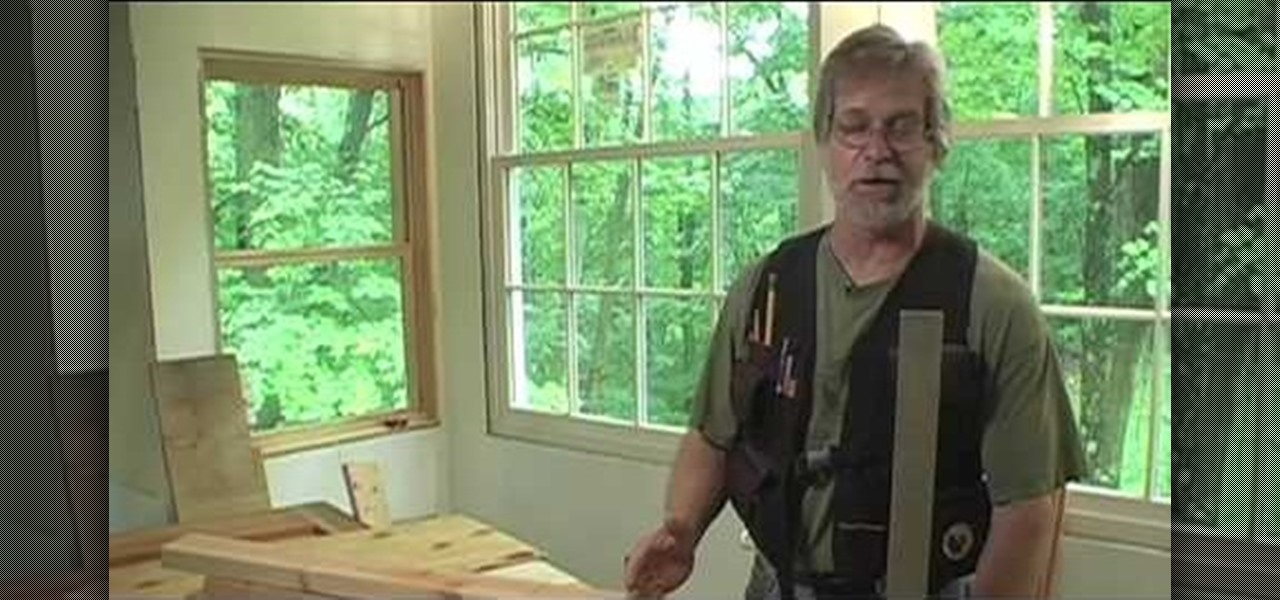
In this video tutorial, viewers learn how to stack cut lumber. This process if very simple to do. It will save the worker a lot of time, instead of measuring and cutting each piece individually. The stack cut will cut a number of lumber into the same length. This can be used to cut a single stack or an entire unit. Begin by squaring up one end of the stack. Mark your measurement on top. When you cut, it will leave a mark on the next board. Continue to cut through all the lumber. This video wi...
In this video we learn to make a zigzag Chinese staircase friendship bracelet. You can go wild and make it all different colors or all one color. You start off with 5 strings about a yard long and fold then in half. Then you make a knot creating a loop for the end and to hold to a nail or clip while you make it. Take a strand and make 5 forward knots. With the same strand you then do 5 backward knots. Repeat this one time, so in all are 20 knots and then switch color, or to another strand. Do...
This Spirituality video clip will show you how to wrap a Wiccan cinnamon stick bundle for protection. You need some cinnamon sticks, scissors and ribbon. Cut a very long piece of ribbon, lay it down on a table, place the cinnamon sticks on the ribbon, tie a basic knot flip it over and tie another knot. With one end of the ribbon, go over and in between the sticks and with the other end, go under and in between the sticks. Now put one more knot in between the sticks. One more time go under or ...
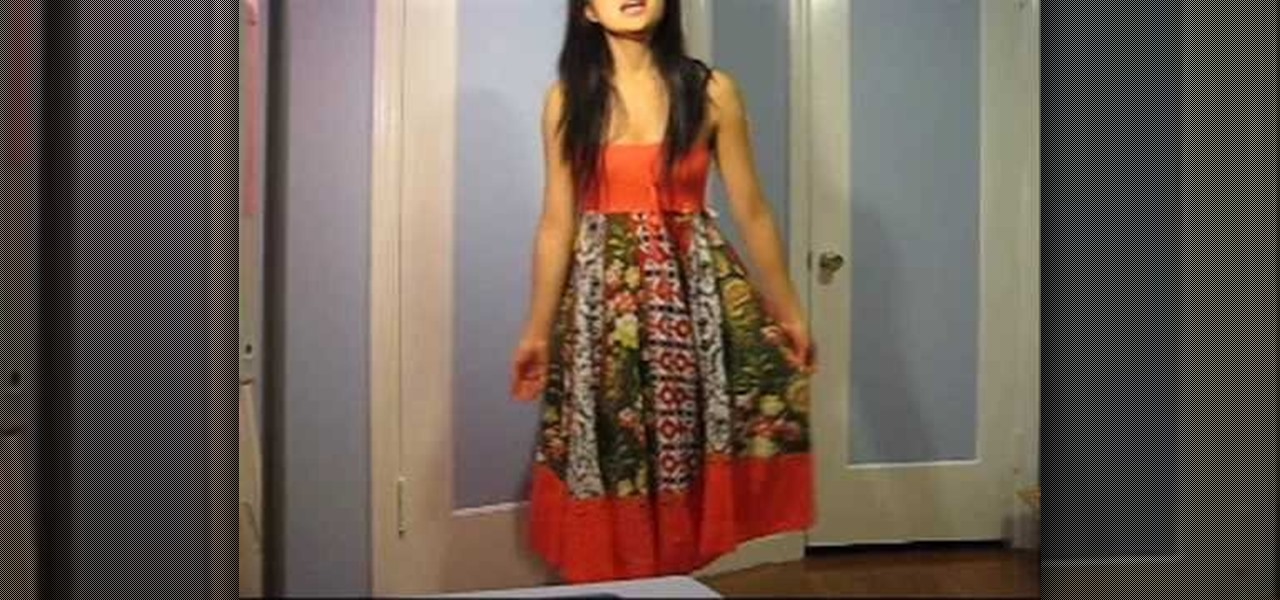
This video shows how to alter an oversized dress into a summer dress and a scarf. Do you have a dress that is an awkward length? Depending on how tall you are an otherwise cute dress might need some alterations to look best on you. The dress used in this video has a strip of fabric going from the knee almost all the way down to mid-calf. Removing this strip of fabric was easy to do by simply pulling out the stitches. This simple move turned a frumpy gown into a cute sun dress. The leftover st...
Teresa demonstrates how left-handed people can complete a crochet project. The project is a round cap for a toy Ogeechee bear. Using her left hand to hold the crochet needle, she starts with a circle of crochet stitches to form the crown of the cap, and counts out the number of stitches needed for each row. A yarn marker is used to keep the rows organized, and Theresa shows how to utilize a slip stitch to make turns in the crochet to complete partial-rows that form a brim to the cap. She ends...
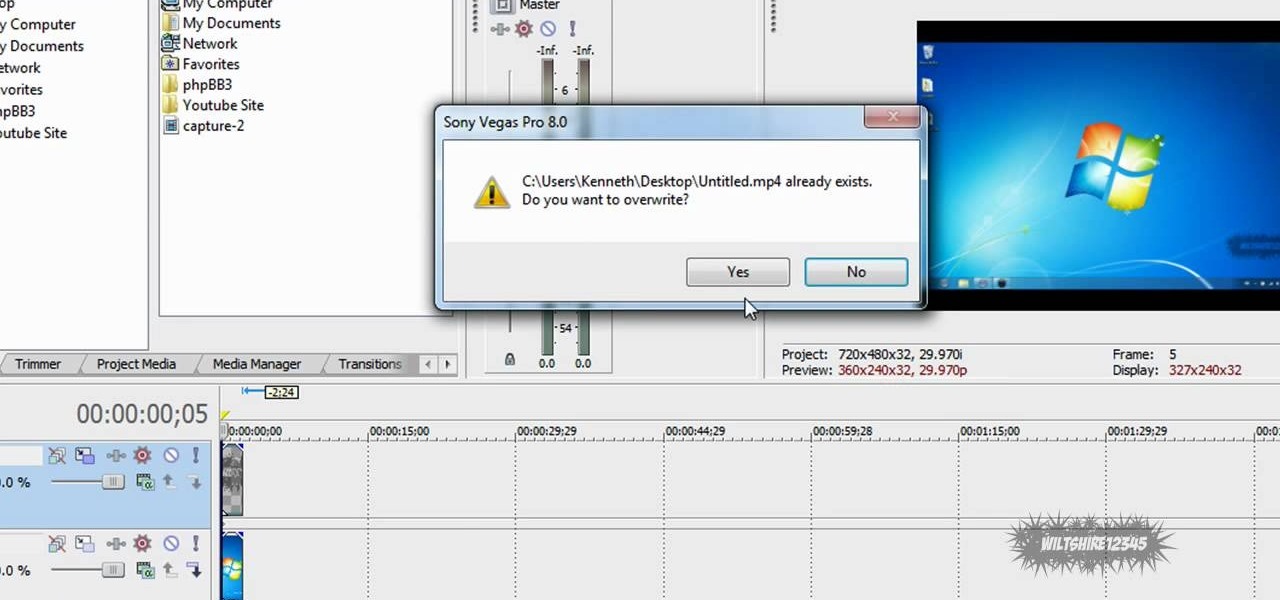
This video in the Software category will show you how to add a watermark to a video in Sony Vegas. This video tutorial is using Sony Vegas Pro8. Import a video into your timeline on which you want to put a watermark. Then go to the video layers on the left bottom, right click and select ‘insert video track’. This will create a blank video layer. Now find a picture that you want to use as a logo and drag and drop it into the blank layer. Edit it to the length of your video. Then go to ‘track m...
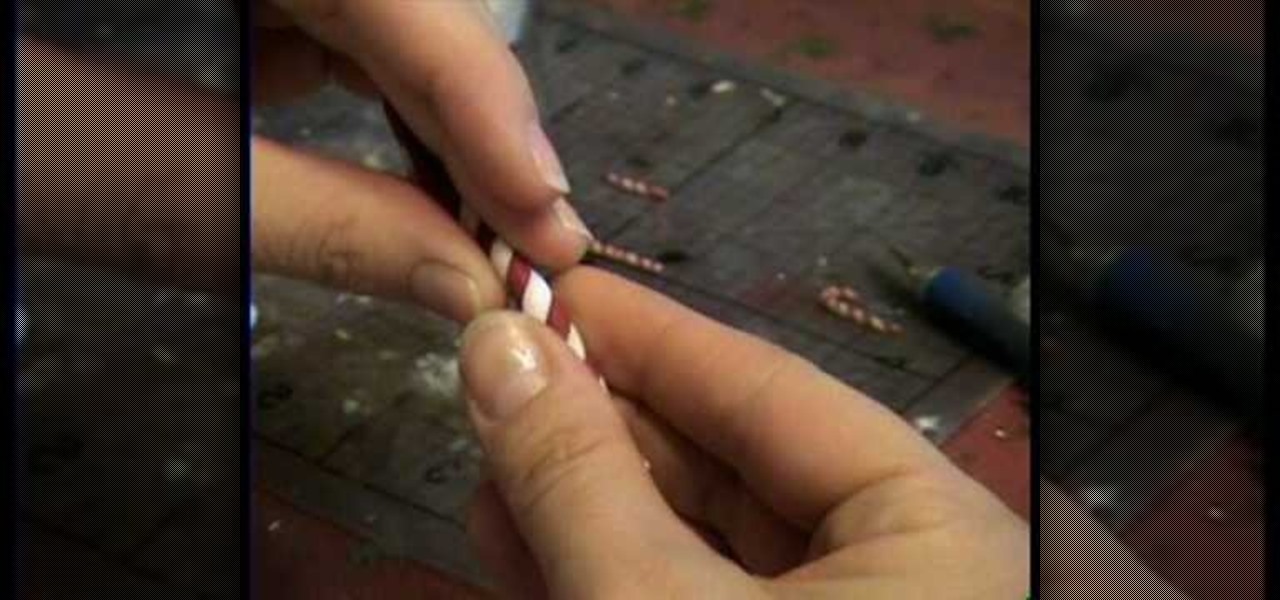
This video shows the method to make a clay candy cane. We require two colors of clay and a knife to cut it. Take some red polymer clay and some white polymer clay. Warm the clay and make tiny snakes out of it. Take a red clay and a white clay snake and put them together. Start twisting them around. Roll it with your palms to make it even. Warm it up occasionally with your hands to prevent it from breaking. Keep twisting and rolling till you get a thin candy cane. Cut a suitable length with th...
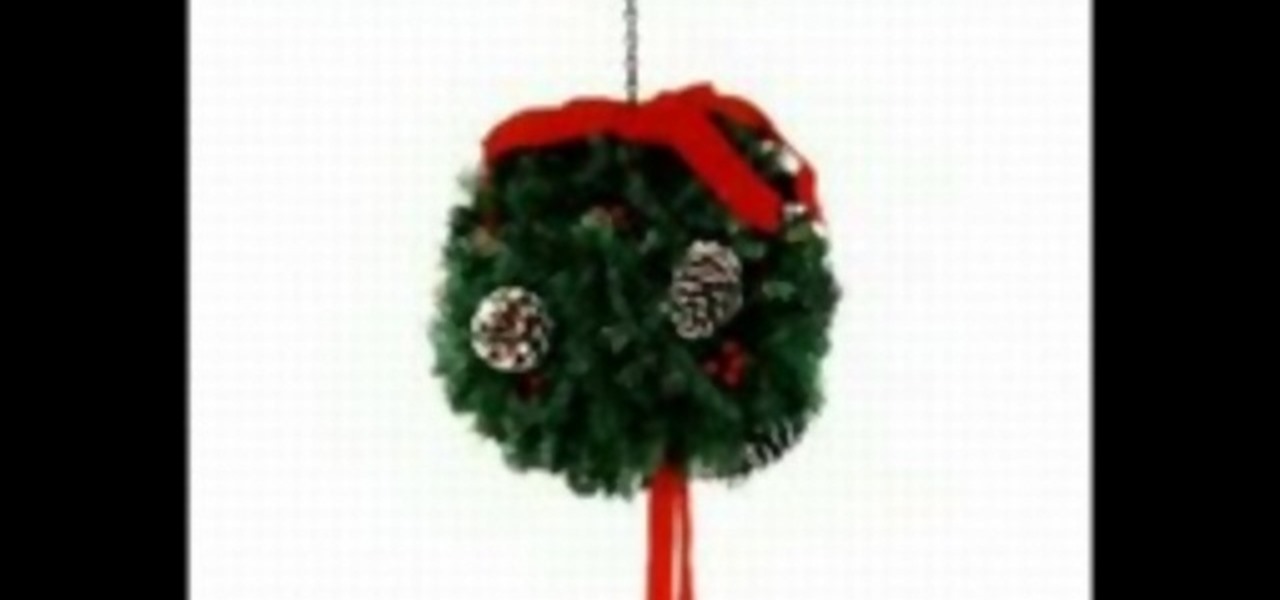
Learn how to make a kissing ball for Christmas with these steps outlined in this video tutorial. A kissing ball is essentially a bunch of pine boughs in the shape of a ball decorated with red ribbon and pine cones that can be used as seasonal decorations. You need to cut the boughs of pine in the desired lengths you want. The longer the boughs, the larger the ball. You will need a florist's Styrofoam ball soaked in water, which will be covered with the pine boughs. Once the ball of pine is fo...
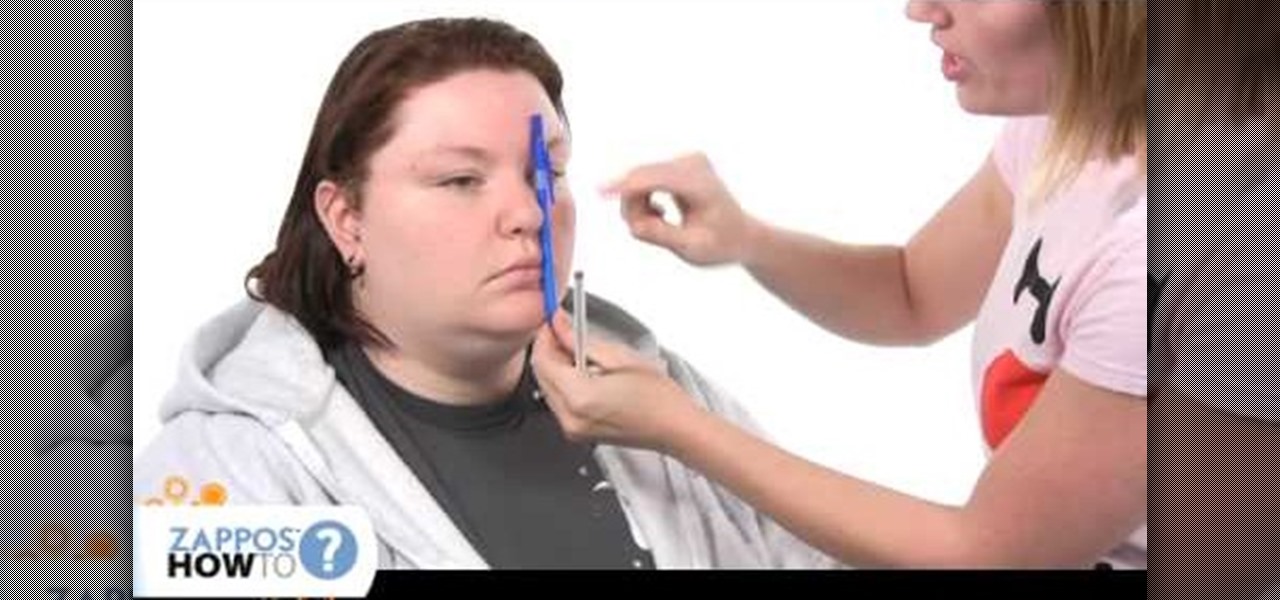
In this video tutorial, viewers learn how to pluck the eyebrows. Users will need a pair of tweezers and manicure scissors. To reduce the pain, users can use an ice cube to numb the area, use a dental numbing gel or use a hot towel to open up the pores. The eyebrow should begin at the corner of the eye and nostril. For your arch, it should line up with the nostril and pupil. The length of the eyebrow should begin at the outer corner of the eye and nostril. This video will benefit those viewers...
Dragontrap uses 1/2 a yard of three different colors of fleece for this scarf project. She cuts the fleece into strips of twelve to sixteen inches in length and two to three inches wide. Then she sews the strips together lengthwise, rotating the colors of fleece. Once the strips are sewn together, she has a large rectangle of pieced together fleece This is folded in half with outsides together. She sews one edge of the scarf closed and sews all the way down the long edge of the scarf. Finally...
MRTV demonstrates how to make a scarf necklace. Making a scarf necklace is very easy and doesn't require cutting, sewing or altering. If you know how to tie a knot and you have a scarf then you can make a scarf necklace. Fold a square scarf into a triangle. Take the tip of the triangle and fold it in. Roll the scarf up and knot it loosely in the middle. Make knots in the loose ends of the scarf, using your desired length to determine how many knots to make. Tie the ends of the scarf together ...
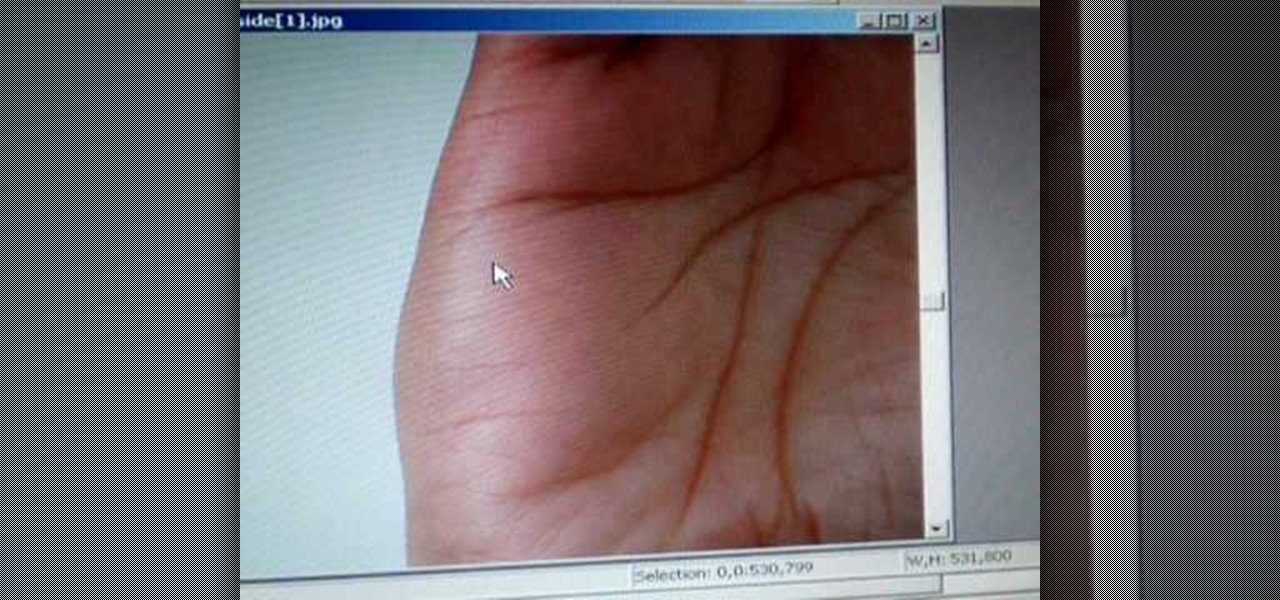
To read the right palm, look at the left side of the hand. This gives an indication of the affection lines and the travel lines. The deep lines means travel outside the country and if they're straight it means the journey will be successful. Locate the curved heart line. Below it, curved in the opposite direction is the head line. The life line bisects the head line. The affection lines are above the heart line which determine the length of engagements and marriages. The affection lines are r...
This tutorial suits for Halloween occasions, featuring Glamour Doll Eyes, which is a perfect colors for the Mad Hatter. The shadows used in this tutorial are Cloud Coverage, Shaded Orchid, Love Spell and P inky Swear. Cotton balls are used for eyebrows and eyelash glue is used for the eyebrows, to? remove it just pulled it off, you can take a cotton ball with makeup remover on it and hold it against the brow which should help loosen the glue. Other products used are Fluorescent Colored Hairsp...
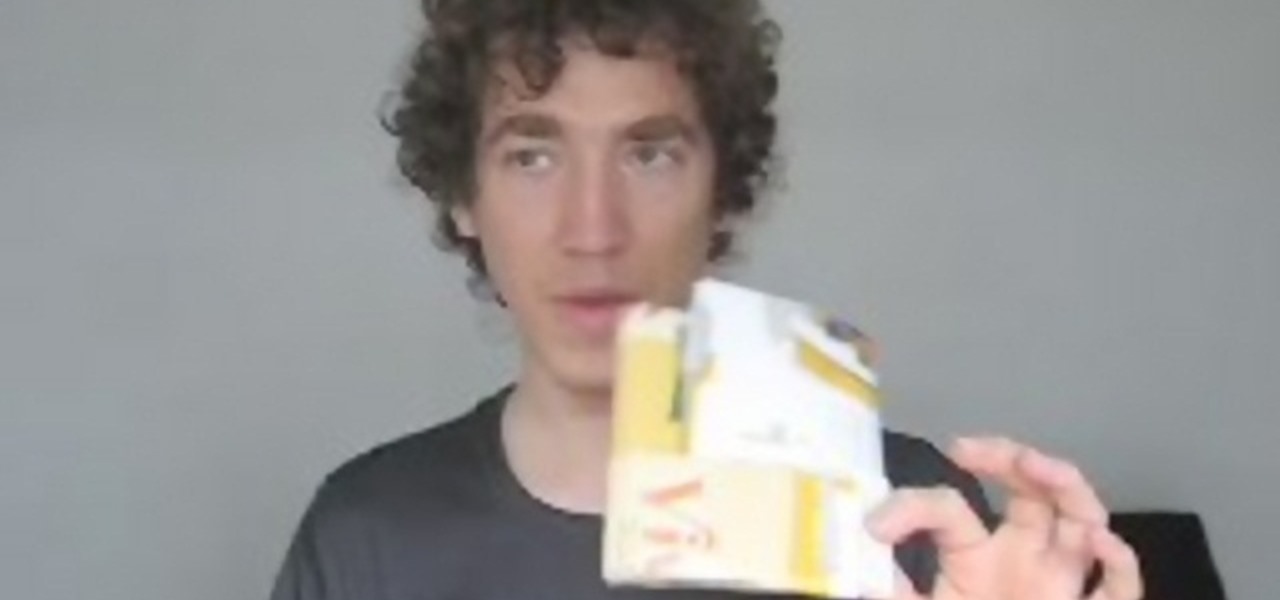
The top flaps on the cereal box should already be open. Then you must open the flaps on the bottom of the cereal box (the side parallel to the opening) and flatten it. Now use the creases made by the corners of the box and fold them inward; it should be flat again. Fold it length wise thus leaving a little rectangle of the flattened box that is not overlapped by the other half of the flattened box. Tax this tab and insert it into the opening in the adjacent half of the cereal box. Your cereal...
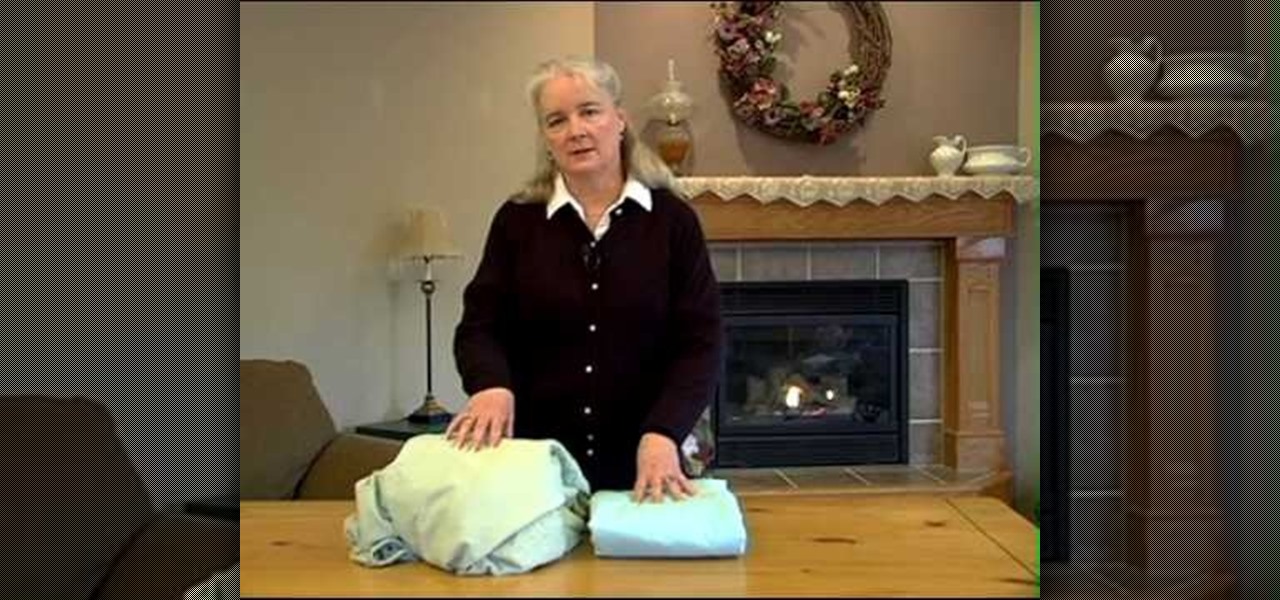
This video shows the way to fold a fitted sheet for maximum storage. Folding a sheet can save a lot of storage space. The time taken for folding the sheet is less than the time taken for searching through unfolded sheets to find the right match. Start by holding the sheet lengthwise with the right side towards your body. Fold corner number one over corner number two. Slide down the edges and tuck corner number three and four in. Straighten the edges and place it on the table. Fold the sheet i...
This video helps in making a bow and arrow using pencil, pen and rubber band. You can get these from school, stores, house etc.
This is a tutorial that will show you how to create a powerful bow and for under $5. The material you'll need is 1 curved pipe, poly poli string, tape, scissors, and a knife. First you want to cut a slit and a hole on each end of the pipe and then add some tape underneath it to prevent it from splitting. Next, you want to line up the string with the pipe and cut it at that length. Also, you want to tie a knot at both ends of the strings and attach it by using the slits you made in the pipe. T...
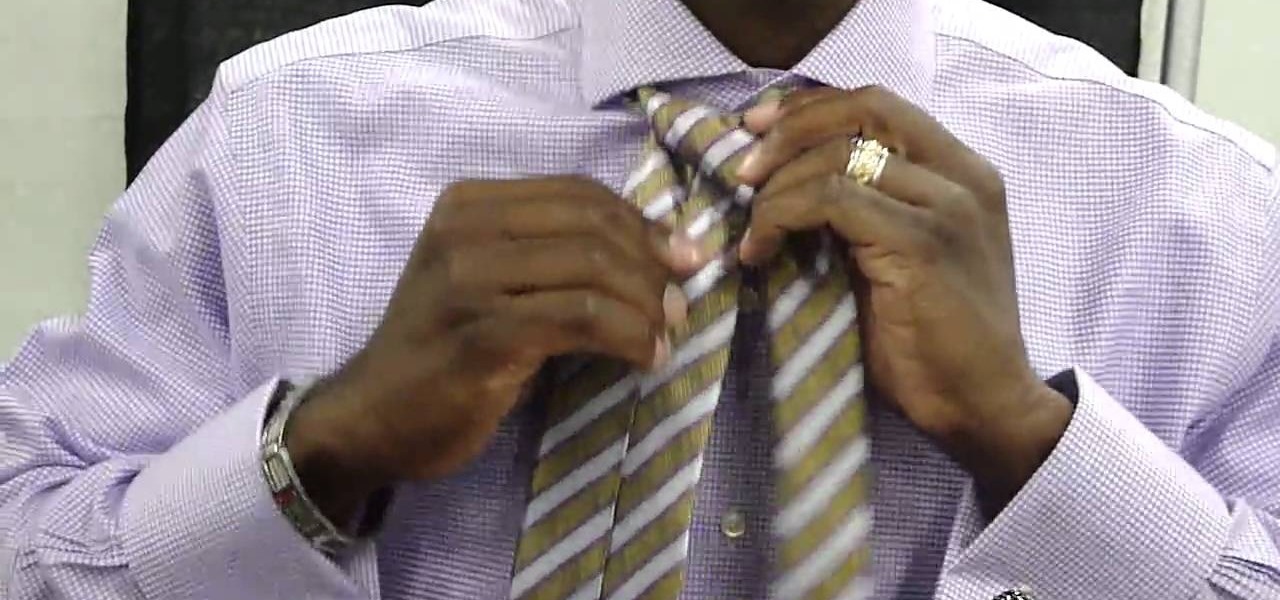
This video demonstrates how to tie a double Windsor knot, which is the neatest and most uniform looking tie knot. This knot can be tied in a few steps. First flip the shirt collar up and drape the tie around the neck as shown. Make sure to adjust the tie length so that the narrow end is just above the navel ring. Cross the wide end over the narrow end, pull the wide end back up the loop you just made, wrap the wide end behind the narrow end and back through the neck loop as shown. Pull both e...