
How To: Cast off loose ends when crocheting for left-handers
The beauty of crochet patterns can only be compared to the delicacy of snowflakes. A talented crochet veteran can craft motifs that mimic and rival patterns found in nature.


The beauty of crochet patterns can only be compared to the delicacy of snowflakes. A talented crochet veteran can craft motifs that mimic and rival patterns found in nature.
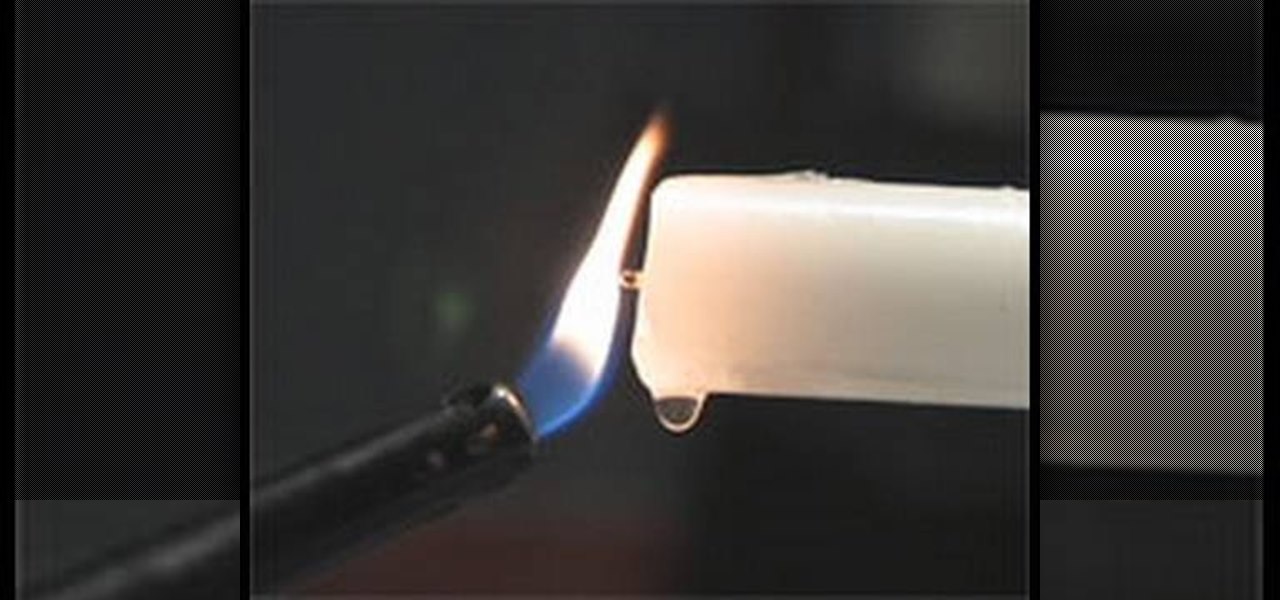
Forget the standard one-ended candle— this two-ended spinning candle beats even the biggest candle. It's a simple trick, which needs only a couple glasses (wine glasses used here), one nail, a long taper candle, and a lighter or pack of matches.
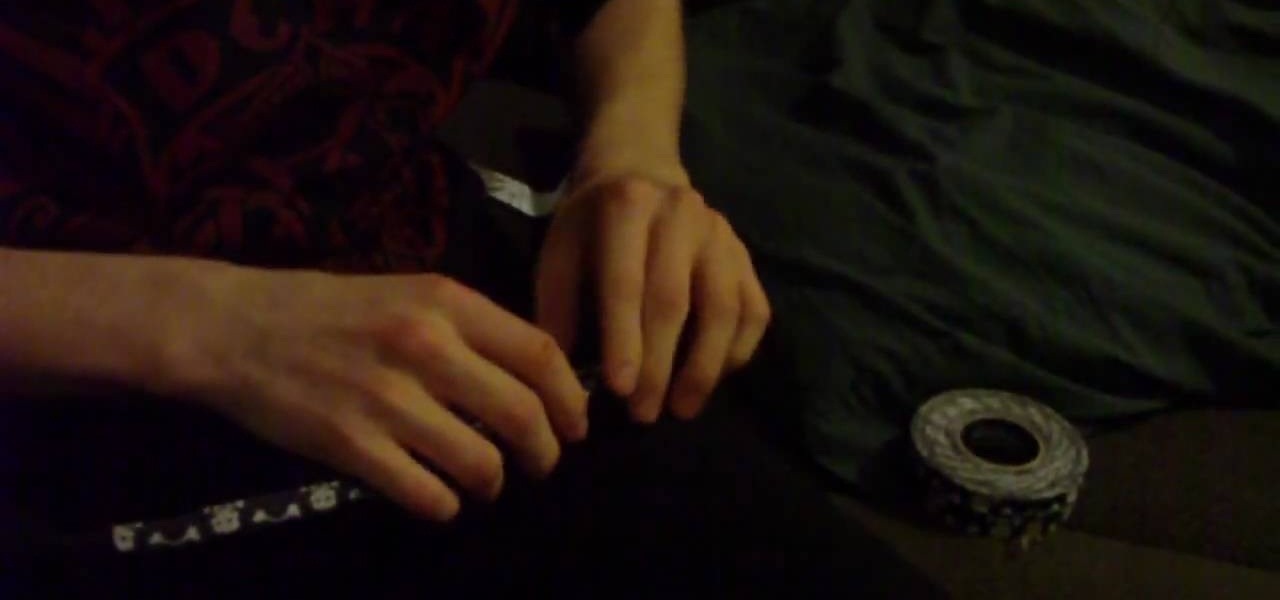
Before beginning to tape your hockey stick, take your desired cloth grip tape and score it in half with a knife making sure to not cut through the cardboard core. The purpose of this is to make thinner strips of tape. To begin the taping process, start at the top of the stick and go down the stick in a diagonal for about six inches. Then, back at the top of the stick, wrap with white (shin guard) tape around and around to make a knob. Now, we focus attention on the blade end. Run a thin strip...
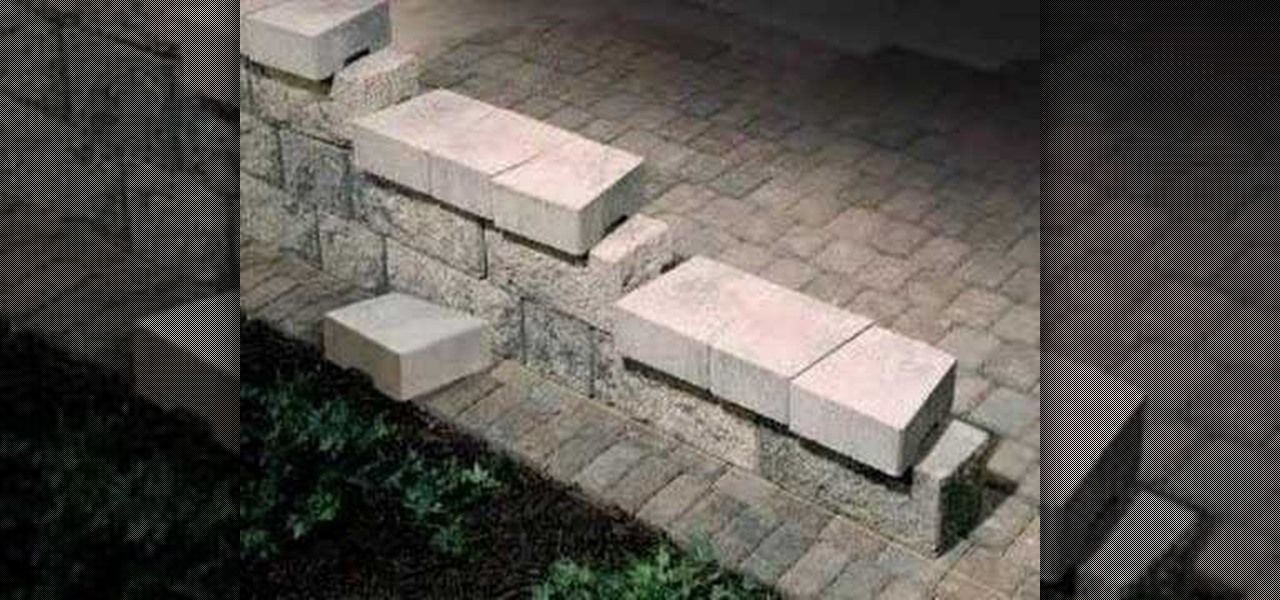
In this Home & Garden video tutorial you will learn how to step down or end your patio wall. This video is from www.allanblock.com. Get the installation details and the location of the nearest dealer from the website. The instructions are on How-to sheet #160. The easiest way to create step down is to create corner blocks. Simply place corner blocks at the end of each course overlapping the block as the wall steps down. Finish the wall with wall caps. Once the wall caps are in place, you can ...
To make your very own Spartan Spear, like in the movie 300, you just have to follow a few short, easy instructions. Start off by taking a broom stick, and cutting off the end. Make sure your broom stick is empty inside. Then take a hammer and flatten the last few inches of it, hammering it into a point or a flat blade at the end. Cut off part of the tip at an angle on either side, then open it back up with pliers. A few inches below the opening, take your pliers and press in on the broom stic...
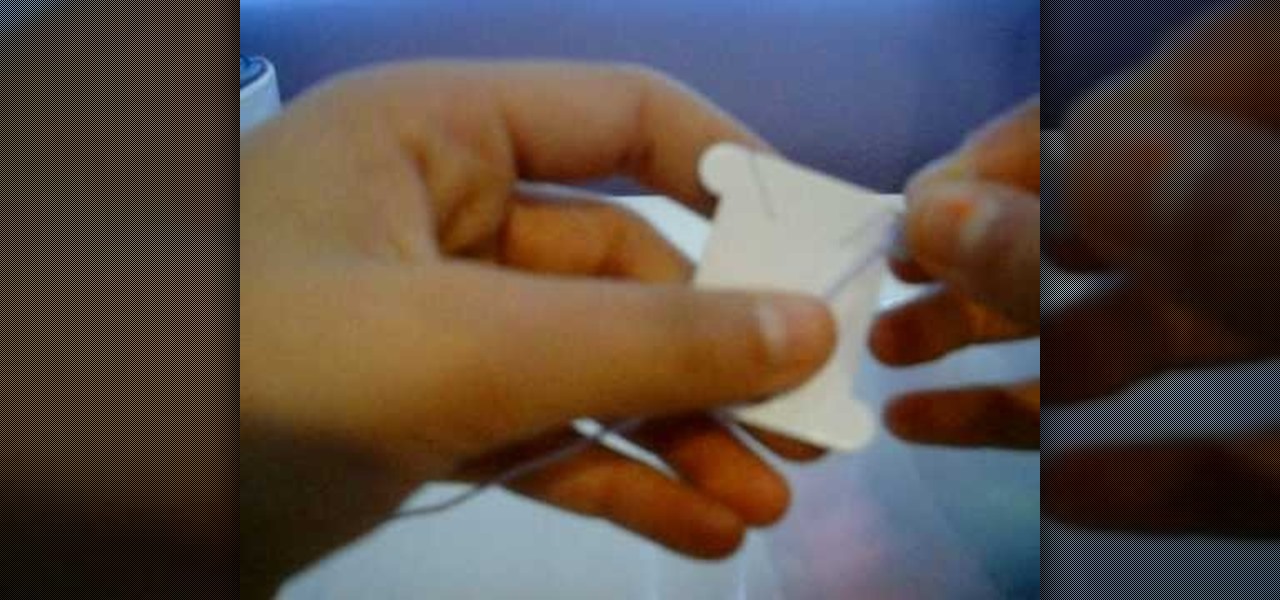
In this how-to video, you will learn how to wrap embroidery thread around a bobbin. In this example, the embroidery thread is both purple and light purple, but you can choose whatever you want. First, take the end of the embroidery thread and place it through one of the slots. Hold it back, and then wrap the embroidery thread around the bobbin until you get near the end of the thread. The end should be placed in a different slot on the bobbin. By viewing this video, you will learn how to quic...
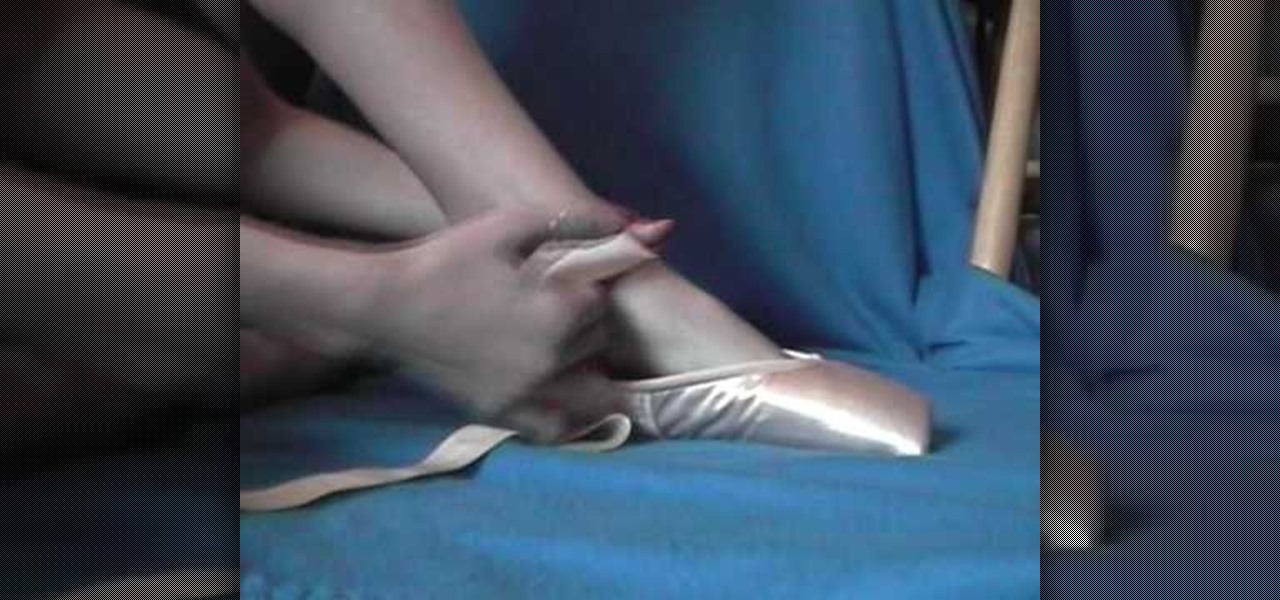
Elizabeth while showing us the way to tie your pointe shoes tells us to put the foot through the elastic first and then put some padding on and then stick your foot inside the shoe. Adjust the ankle part of the shoe properly after stretching the elastic up. You can use the thumb to get the shoe properly in. To tie the ribbon take the right side and take it up to the ankle and not further and same with the other end too. Make the two ends meet at the back of the leg. Then double knot the two o...

This is part one of two in how to make a beautiful tree of life pendant. It is very easy, and you'll only need a few items. Things you'll need: wire 2-3 mm thick, Round nose pliers, 4 pieces of thin wire, 12 inches long, wire cutters. With your round nose pliers, bend the thick wire about an inch form the end. Make a question mark shape, and twist the end around. Go down about 5mm, and make a 90 degree bend. Go across as far as you want, and make another 90 degree bend. Keep making bends unti...
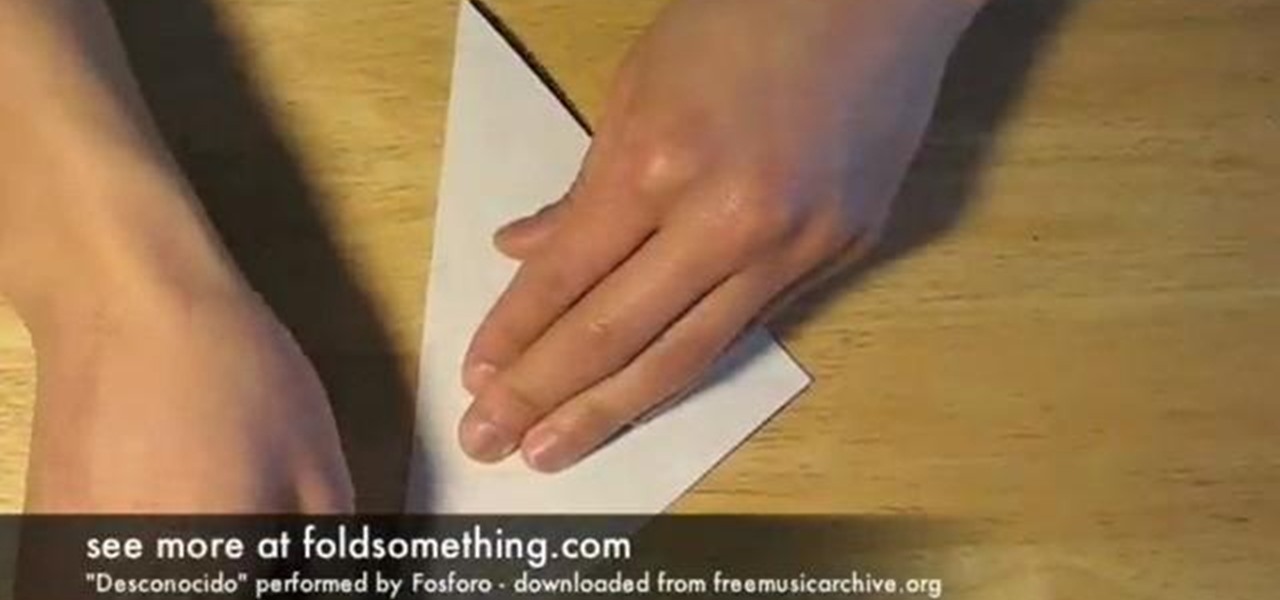
Learn how to make an origami "orchid" by slightly altering an origami iris / lily flower. This origami video shows how to make what I call an orchid flower... really it's something I made by mistake when first learning to make an origami lily / iris. You'll need to start from the frog base.
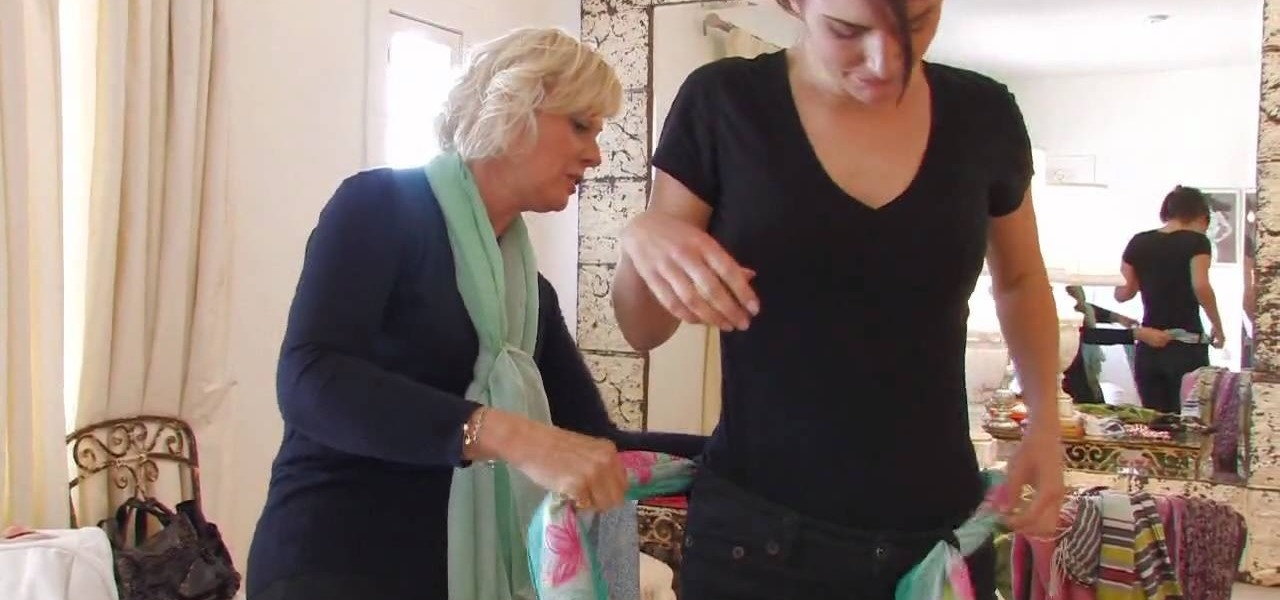
First, remember not to be afraid to experiment. A scarf is not a big investment. Once you have a scarf, you can proceed to tie it on a handbag in a knot. Next, you can get another scarf and use it in place of a belt around your waist. To do so, just run the scarf through each of your belt loops like a belt, and continue until you have reached the front belt loops. Tighten up the scarf so it is taut. Then, you run both ends of the scarf through opposite ends of one of the two front belt loops,...
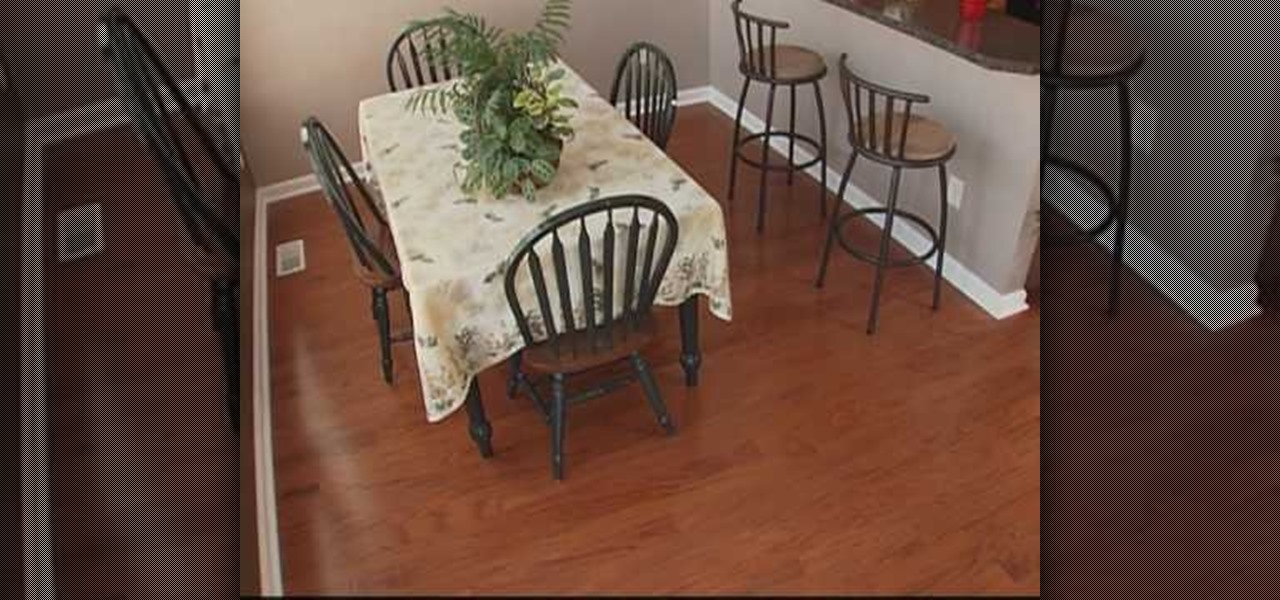
In this video, we learn how to install a locking hardwood floor with Lowe's. First, prepare the sub floor before you begin installing the floors. After this, grab all of the tools you need to install the flooring properly. Place spacers between the flooring and the walls and start to lay it down. Lock the planks together on the first row. Then, lock the sides to the next row and use weights to keep the floors from moving. The ends must be 6 inches apart on each row. For a locking floor, cut o...

Want to perk up your manual transmission Mitsubishi? A end clutch kit is the way to go. But most people who try to install an end clutch kit in a Mitsubishi have a hard time. It's not the easiest thing to do… at least until you watch this repair video. It will show you the full steps to installing a Mitsubishi (DSM) end clutch kit.
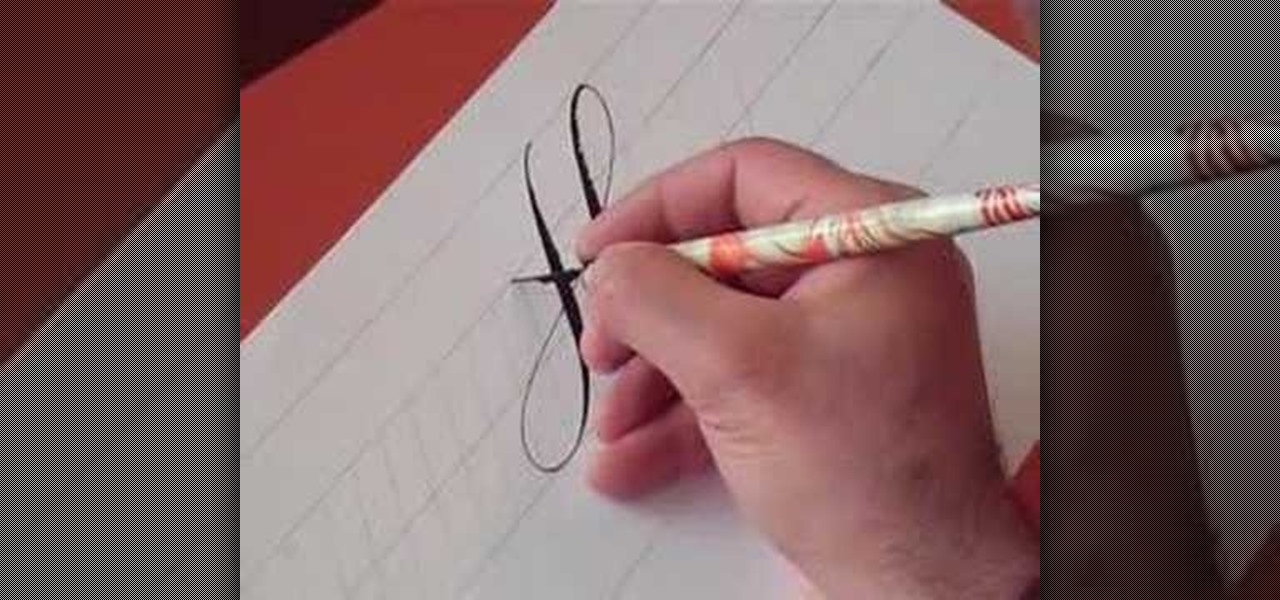
In this video, we learn how to write the letter H in calligraphy copperplate. To make the upper-case letter, start off drawing into a thick line, with a curve at the end of the letter. Make the curve end touching the line, then draw it out to the right side of the letter, bringing it back down to a line to make the "h" shape. Next, draw a line across the two lines with a curve at both ends. To make the lower-case letter, start by drawing a thin line to make a loop at the top, then bring it do...

In this video, we learn how to tie a triskelion knot. First, create the knots base by tying a knot at the end of the ropes. After this, weave the knot by pushing a side loop into the side loop next to the end pieces. Once you push these through the middle, push the ends through the loops and then pull the sides tight until you have a "y" shape. After this, your knot will be finished and you can use this however you would like. You can turn it around the see the best design on the rope and enjoy!
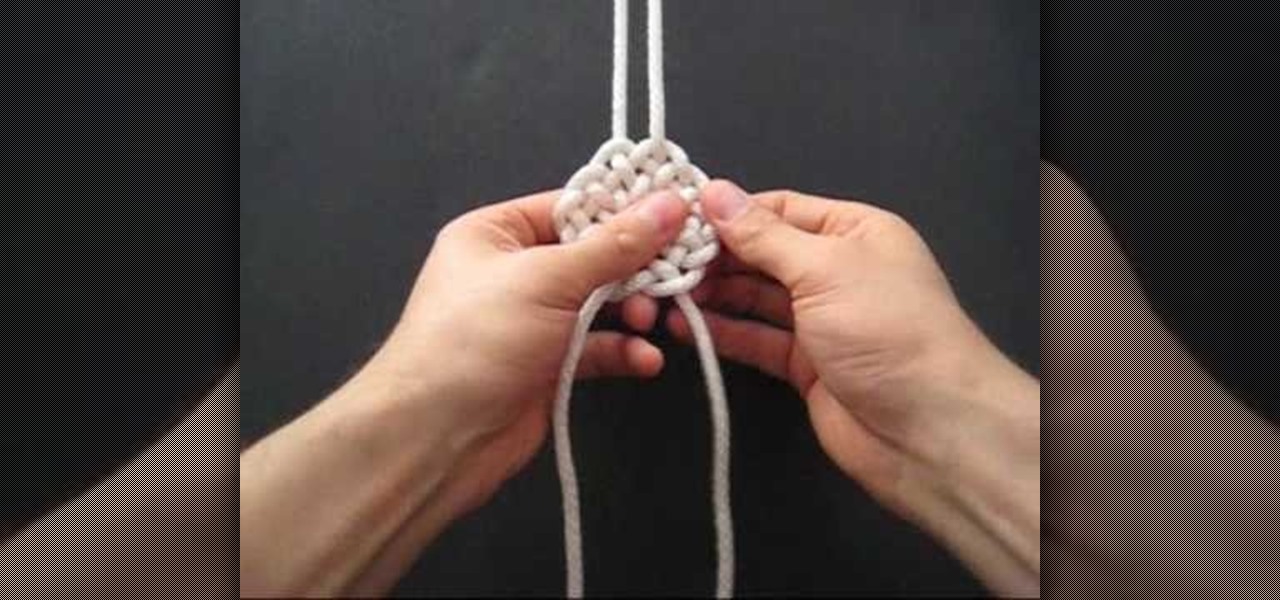
In this tutorial, we learn how to tie a compound double coin knot. First, take two strings and make a loop with the left one, then loop right right one into that. Tighten these together, then bring the end of the right working string over the loop and through the bottom of the shape, then continue to thread it through. Now, repeat this on the left side with the left string. Next, loop the right side of the string and push through the loop with the end of it. After this, tighten up the ends of...
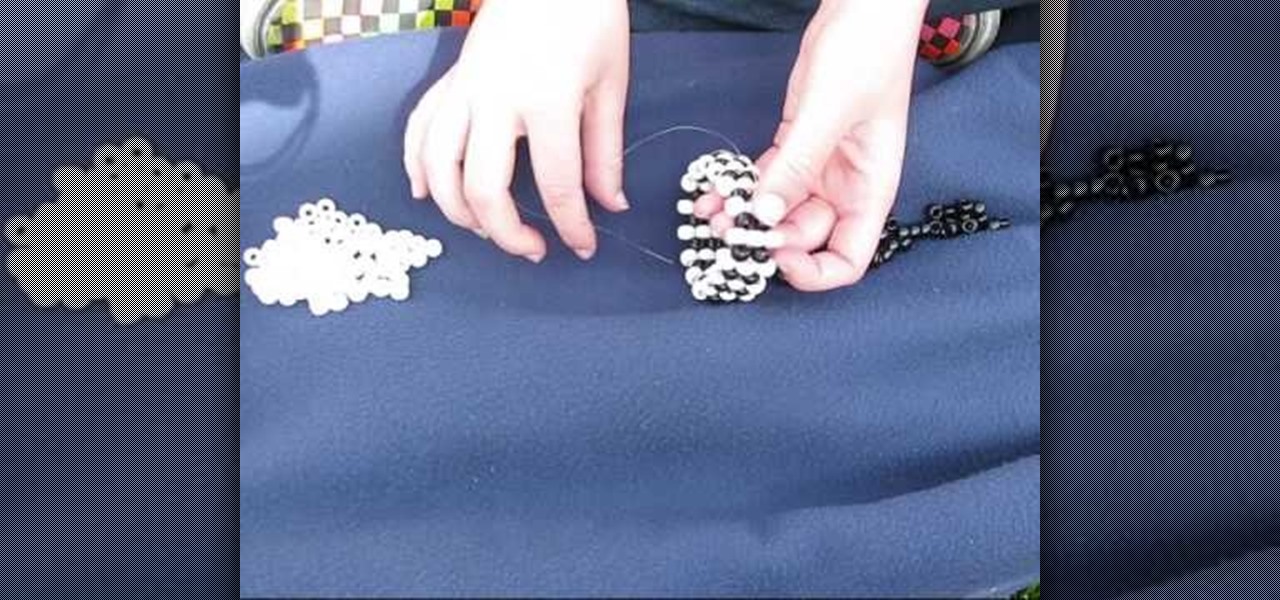
In this video, we learn how to make a vertical striped bracelet cuff out of beads. Start with a long piece of string and string on your beads until you have a length that fits well around your wrist. After this, tie the ends together and cut the tails off the excess string on the short side. now, start to thread through new beads around the entire bracelet. At the end of every few rows, tie it to keep it tight at the end. When you are finished, tie the string and make a knot, then cut off any...
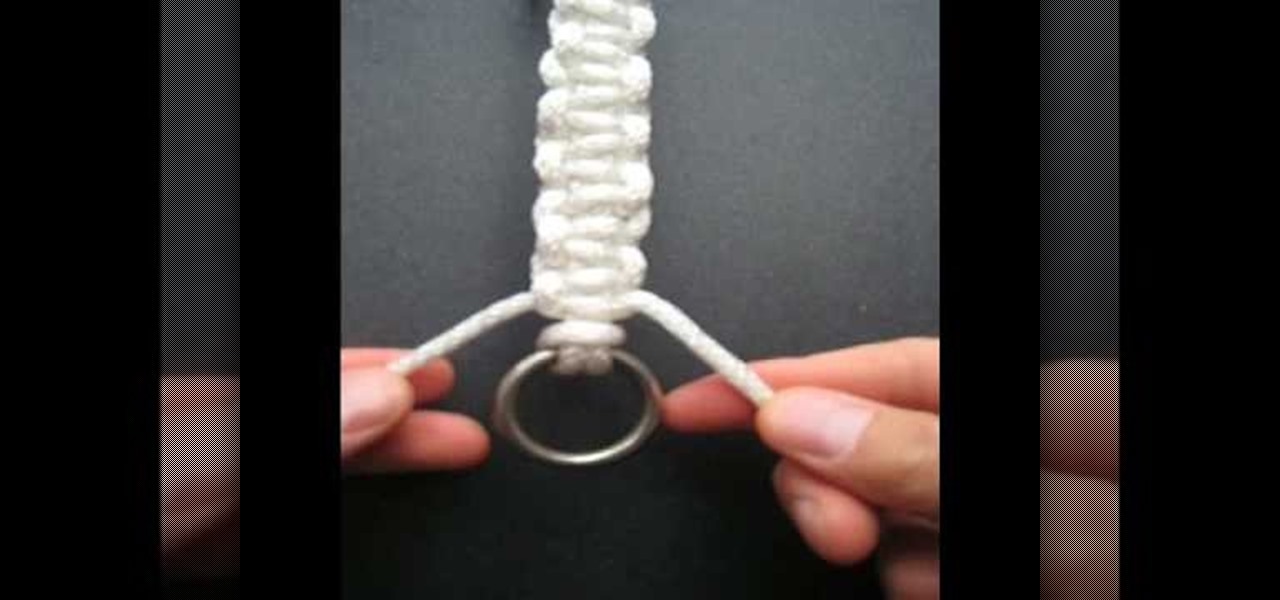
In this tutorial, we learn how to make a Solomon bar decorative knot. You will start by grabbing the ring at the end of the string, then tie it to an opposite ring. Fold the left side of the string to the right and bring the right over to the left. Pull the left into the loop to create a knot. Now, you will have two string that are more up and two that are more down. Next, tie the top strings into a knot, then bring the right knot behind the bottom two, and thread the left knot into the right...

Quinten shows us how to protect your hands in boxing using a correct hand wrap in this video. When you punch something, you put a lot of pressure on your hands and wrists so wrapping your hands before this is highly recommended. First, start on one end of the wrap and put your thumb through the loop at the end. Go over the top of the wrist first, then go over the top of the hand over the knuckles. Keep your fingers parted so the wrap doesn't become too tight at the end. Go between the knuckle...
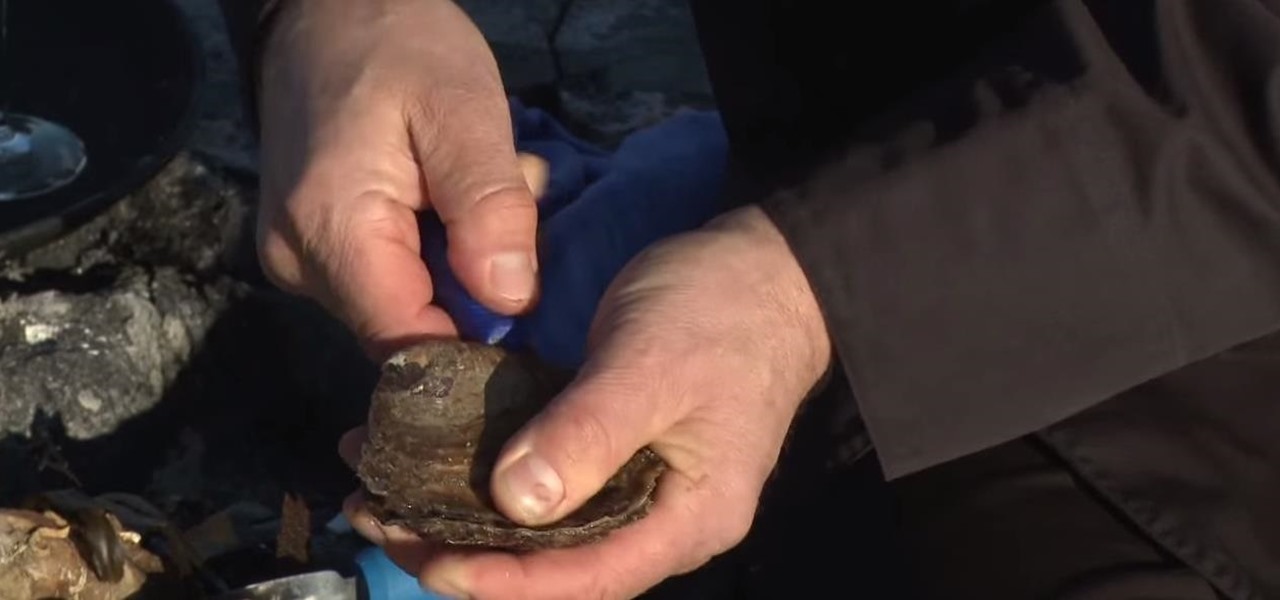
Following are the steps to describe how-to open and shuck the oyster properly: All you need is a good sharp knife to open the oyster.

Wilton Cake Decorating demonstrates how to do a ruffle and a ruffle bow cake decorating techniques. Use a #104 petal tip to create this effect. Also use a medium icing consistency and hold the bag at a 45 degree angle. A petal tip can be used to make ribbons and bows. The icing tip has a narrow end and a larger end. Place the larger end down and move your hand up and down to create the ribbon. Make a figure eight to make the bow. Add a knot in the middle, if desired, and add strings. Star tip...
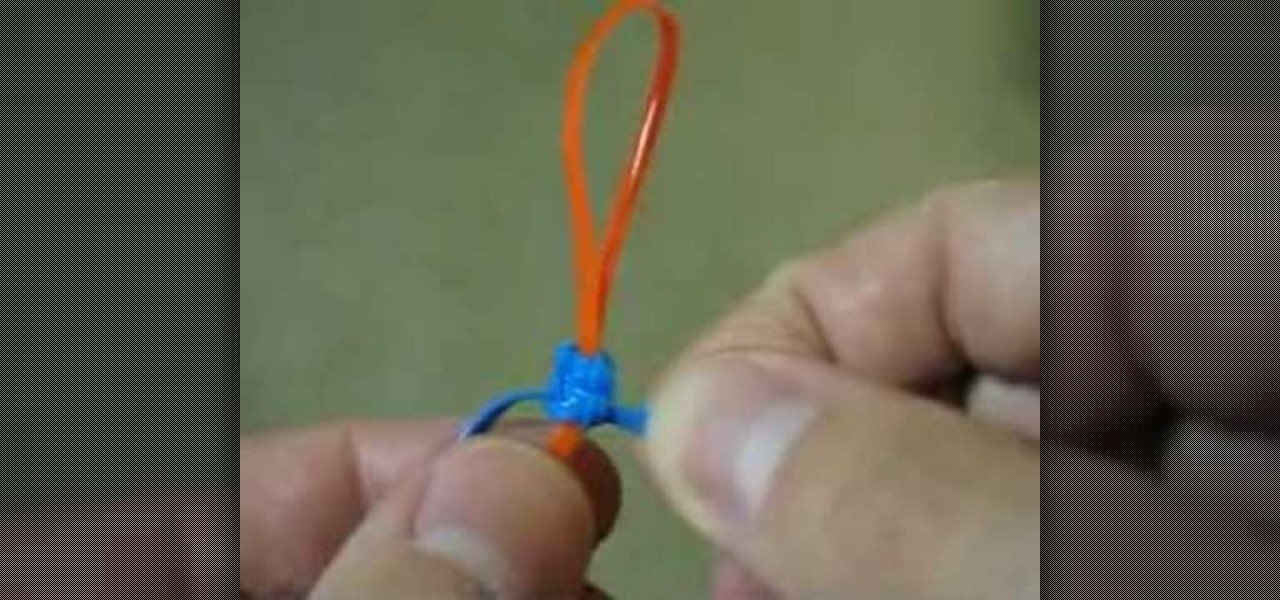
This video shows us how to do a lanyard cobra stitch. Here are the following steps. Step 1: First of all take two threads and make a loop of one thread.
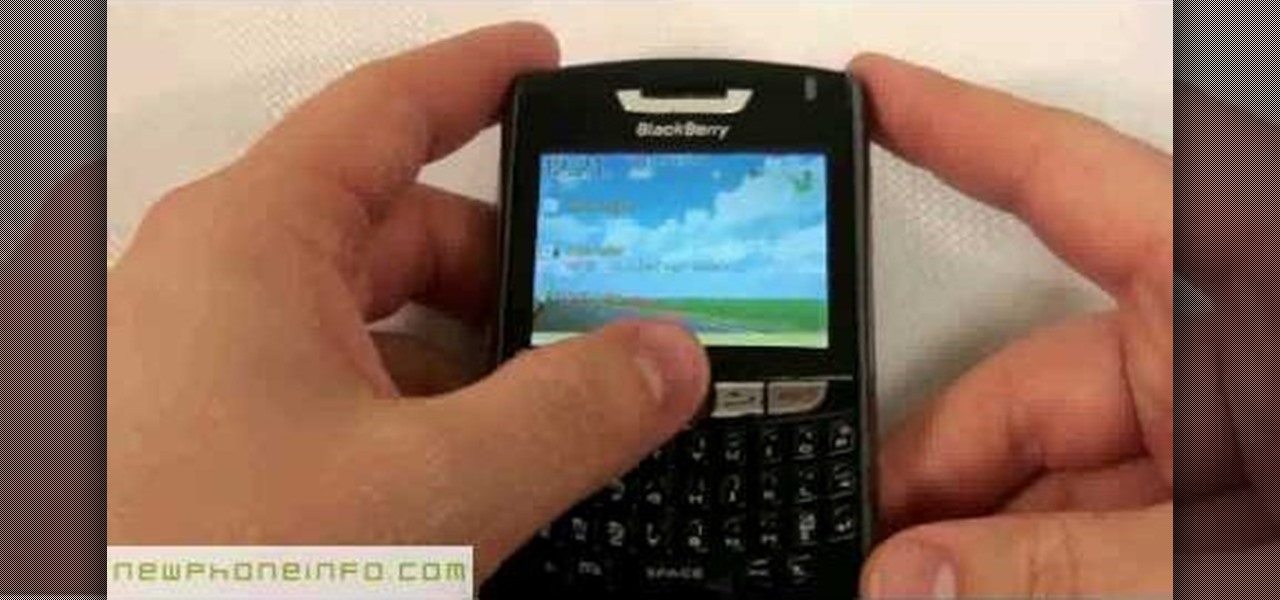
Learn how to operate the latest Blackberry 8330 in simple steps. Follow the steps below to overview the Blackberry 8330: 1. First switch on your Blackberry by pressing the power button on its top. 2. Use the 'Trackball' to navigate around the menu options and press it to select an option. 3. The 'Send' can be used to call a contact, the 'Menu' key opens a list of options, then the 'Escape' key is used to end an application and the 'End' key is used to end a call. 4. You can find on the left s...
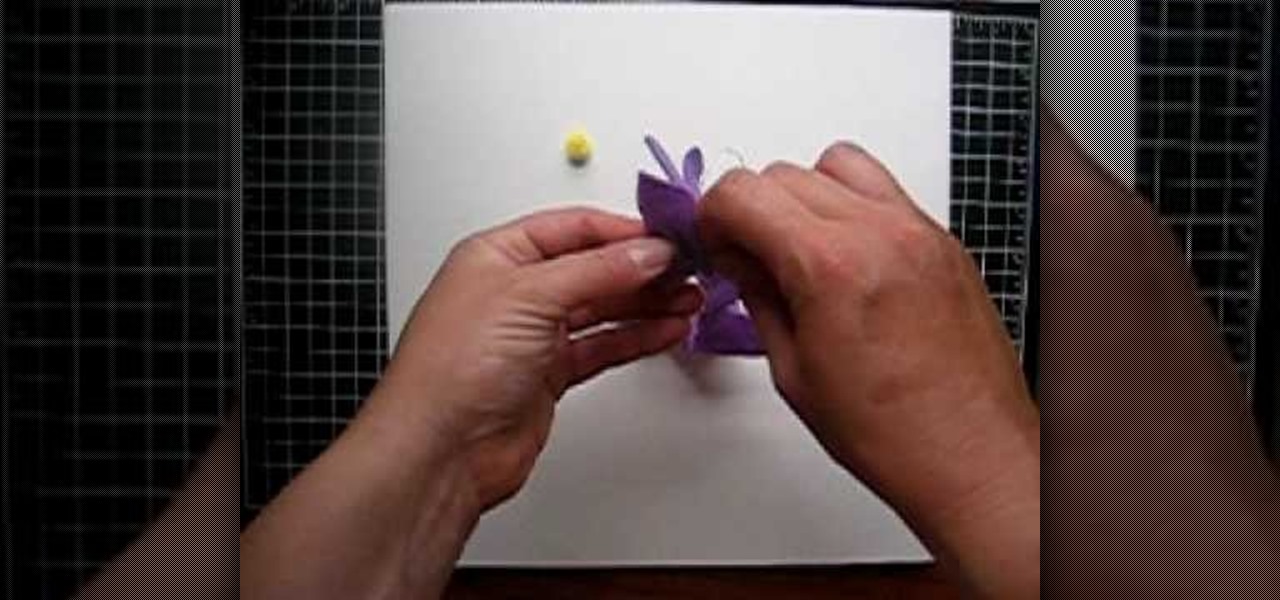
This video is going to show you how to create purple felt flowers for your children or a nice little gift. The items you will need are an 18in piece of tread doubled knotted at the end, hot glue gun, a needle, a pom pom, and felt cut into the shapes you want to make your flowers out of. You want to begin by take the thread attached to the needle and doing a running stitch through the felt. Pull the thread as much as possible and then take the two ends and do a whip stitch to connect the two e...
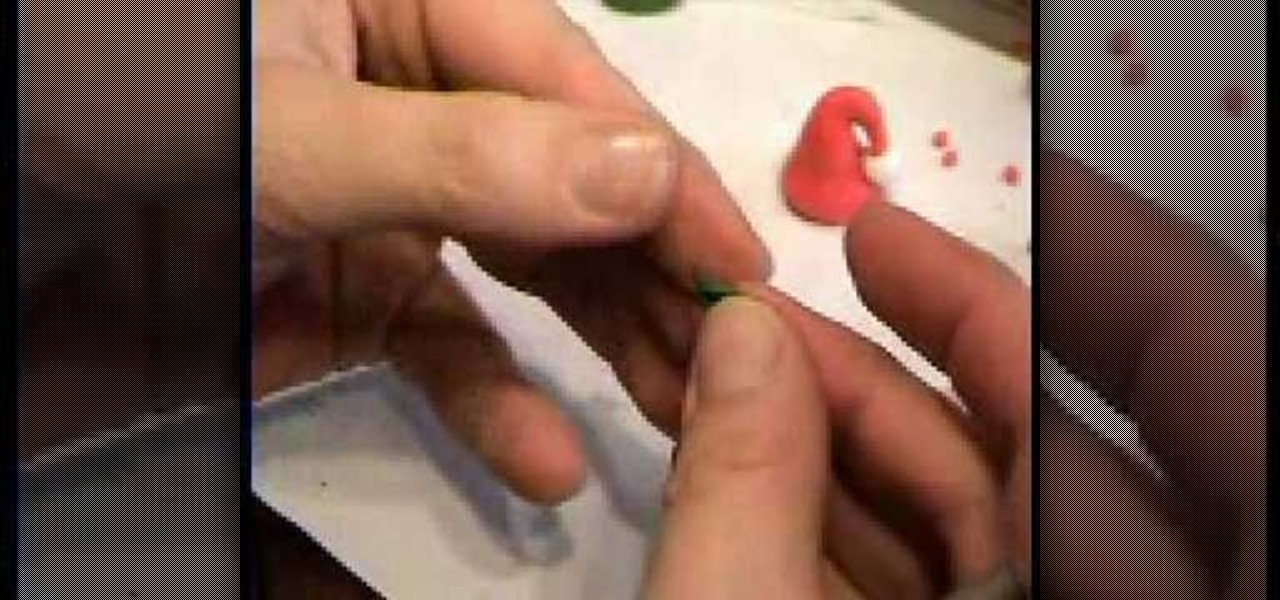
To make a Santa hat bead, begin with red clay and condition it by kneading it with your fingertips. Form the clay into a thick worm shape, with it being the thickest at one end then tapering off. Use your fingertip to make a shallow indentation on the thicker end, and remove any excess clay from the thinner end (total length should only be an inch or two). Curve the thin end over slightly to create a hook shape at the top of the hat. Take a small ball of white clay and make a small hole in it...
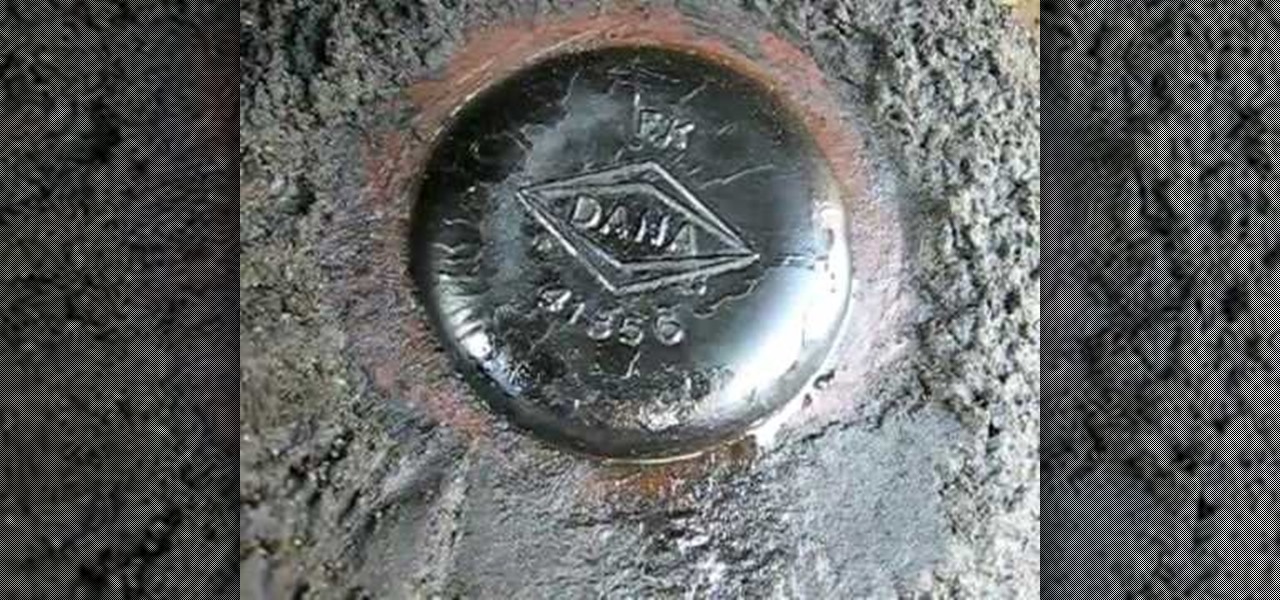
RichPin shows how to identify a rear axle on a Jeep Grand Cherokee to determine the correct replacement part. The first thing to do is to identify the axle by cleaning the fill plug on the back cover. Look at the inscription of the plug to find out the style of the rear end. In this example, Rich has a "Dana" style rear end. To determine if it is a 35 or 44 Dana, look at the web area to the right of the plug to locate the number. The two steps outlined in this video allow you to identify the ...
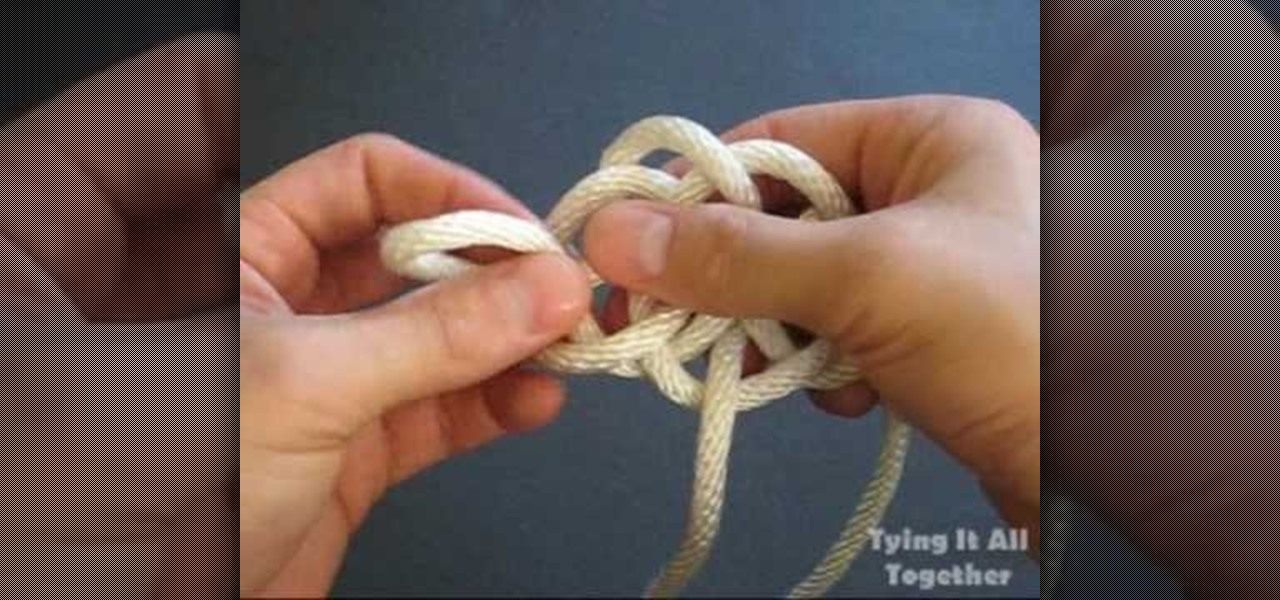
This video from Tying It All Together demonstrates how to tie a river knot. Holding the rope in your left hand, make a loop to the right and bring the rope down so it lies over the loop. Bring it up behind and pull it through the loop. This makes a loose knot with three overlapping loops. Make another loop on the right and pull the end through the lower part of the right loop. Then make another loop on the left and pull it through the lower part of the left loop. Take the rope from the left s...
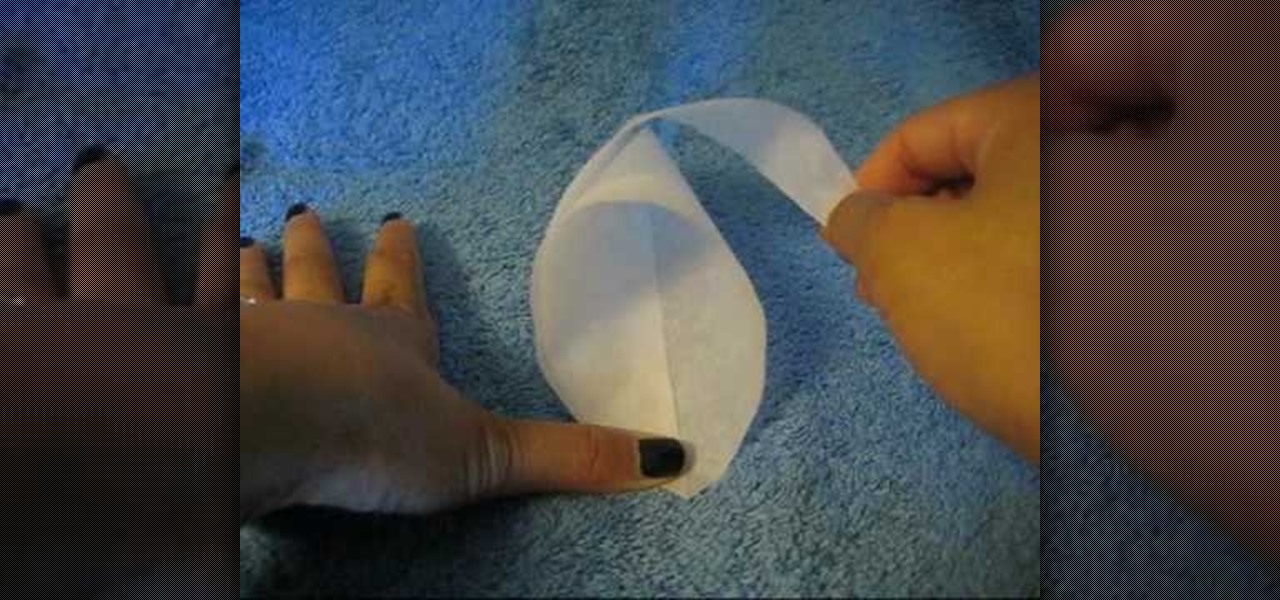
Want to make parchment cones for cake decoration? The secrets of making parchment cones for cake decoration are given in simple steps. First cut a parchment paper into an isosceles triangle of any size you wish. Now roll one corner inwards to the bottom end, curl it under and hold it. Now roll the other end over it and curl it under to form a cone, all the three tips should meet. Now fold the end with a sharp point inside the cone twice to secure it. If you are going to use it as decorating t...
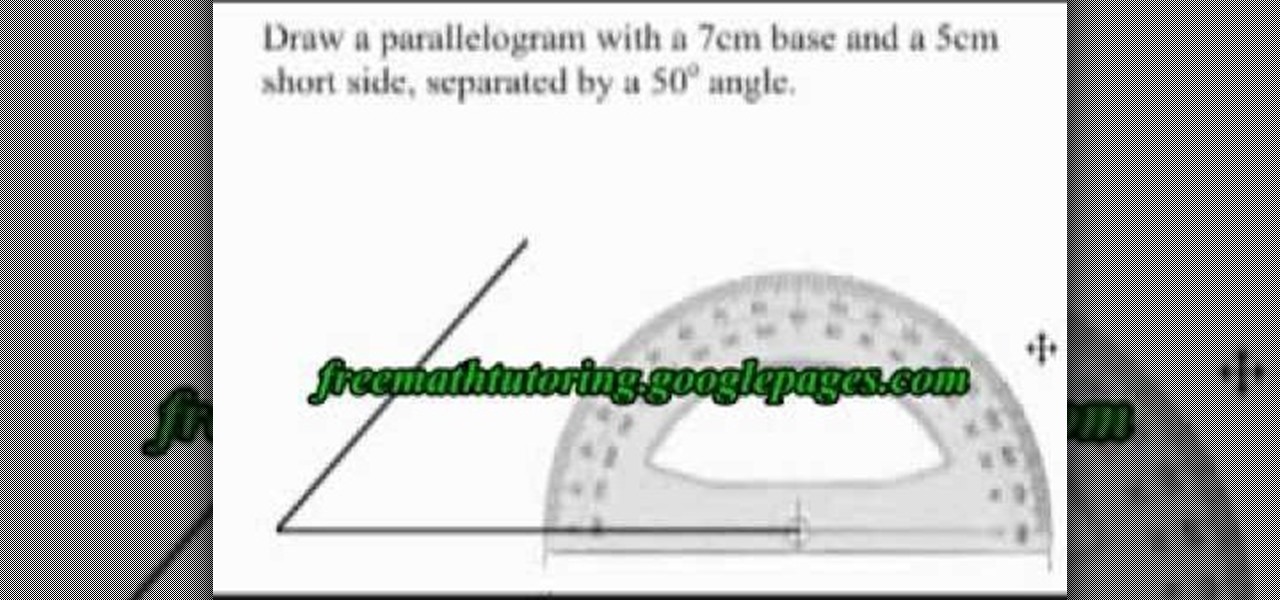
In this tutorial the tutor shows how to draw a parallelogram using a base, a short side with a given length, and the given angle between them.

This video is about how to make a duct tape purse. For this, you will have to remember only a few easy steps that are the following. Take two different colors of tape, from first take some strips and start joining one after the other; repeat same at the back side also. Fold its end; join the ends with the help of tape. Remember not to paste from the upper side as it is a purse. Take a strip of second color tape on its back side also. Paste the ends into the purse formed.
Making three different scarves out of an old T-shirt is fast and simple. For the first one, lay the t-shirt out flat and cut horizontally from one underarm to the other. Next, cut one layer of the tube. Now cut straight lines every 1/2" inch all the way up to the last inch of fabric. After that, pull on the fringe. For the next scarf, cut under the underarm again. Now, cut off the hem. Fold the tube in half, open end to open end, and cut it down the folded middle. After that, cut one layer of...
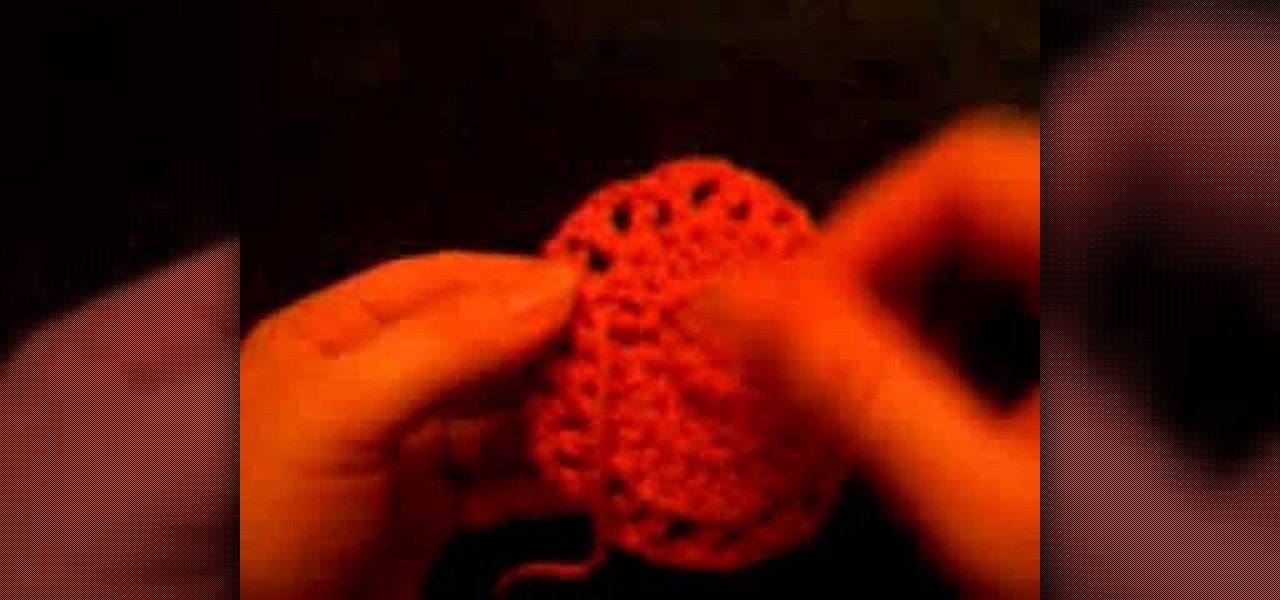
This video shows you how to weave in your ends on a project when you really don't have stitches to weave into. Instead of weaving it onto the edge, in case of continuation, it can be woven back into the crocheted stitches. Watch this video crocheting tutorial and learn how to weave in a hidden end to a double or triple crochet.

This instructional video shows how to finish off the loose end of knitting with a yarn needle. Wear is bound to cause knitwear to thread and original projects need to be polished. Learn how to bind up ends before the yarn unravels.

Watch this piano tutorial video to learn how to play "In the End" by Linkin Park on the piano. The instructions include the scale, key signature, and chord breakdowns. Intermediate pianists will have no trouble learning how to play Linkin Park's "In the End" on the piano after watching this helpful how-to video.
This video will show you two different ways on how to make an end on a coaxial cable TV wire. We will show you how to use a tool that makes it very easy to strip the coax cable to expose the metal and bare wire so that you can adapt the end on, and how to also use just a razor blade to accomplish this.
Learn how to repair,fix or replace the damaged end on your garden hose. This video will show you how easy this repair is to do and will save you a ton of money.

Ian Ozsvald walks you through installing and testing Python 2.5 downloaded from Python.org. This includes how to start Python from the Start Menu and writing your first (Hello World) line of Python code.

This tutorial is a short Hello World tutorial on setting up the free IDE Eclipse w/ Pydev extension on the Intel Mac OSX. Shows you how to quickly setup and get developing with Python.

This is a pretty obscure Dragon Age 2 glitch that could save your life in some difficult battles. The video maker discovered it in Loose End, a sidequest, and it works in many other open combat environments in the game where there's somewhere to escape to. If you escape far enough (really not far enough) the game thinks the fight has ended and resurrects your whole squad AND brings them to your, all while the baddies are still on you. This video will demonstrate.

'Enemies Among Us' is one of the longest, most involved quest in Dragon Age 2, and this walkthrough of it spans a whopping five videos. Stick with it, it's really goods stuff and great viewing even if you aren't stuck on this quest.
If you own a PS3 slim and you'd like to jailbreak it (read: hack) this video will show you what to do. You'll be dealing with a firmware of 3.41 or lower, and you'll need an iPhone (2G or 3G only) or an iPod Touch (First Generation Only)