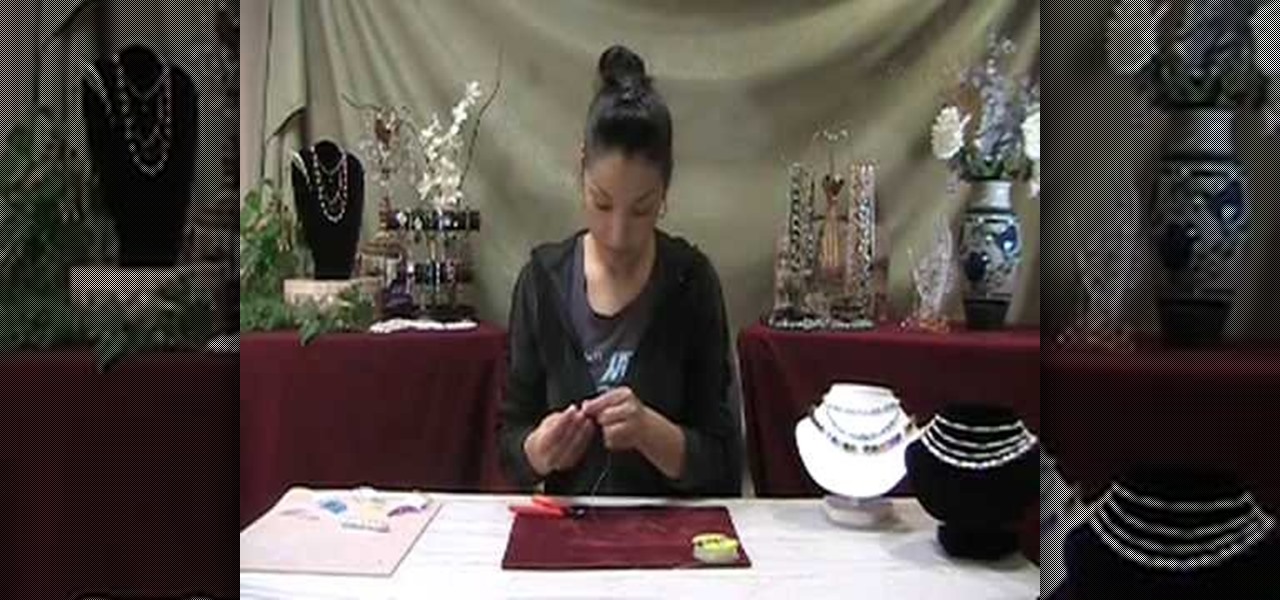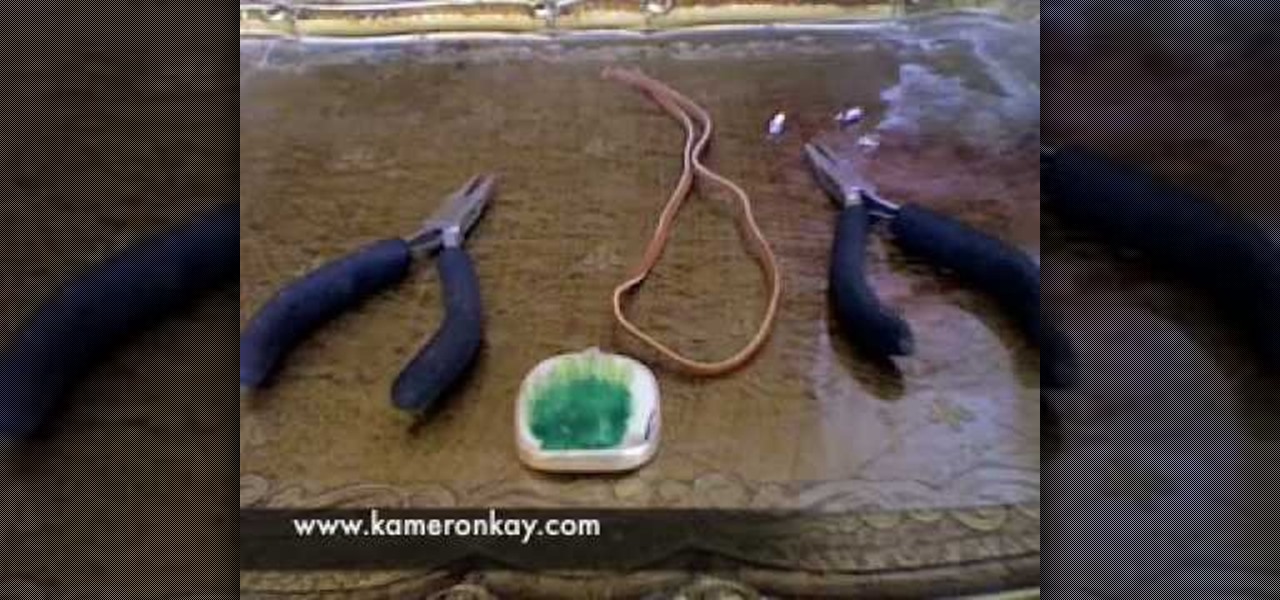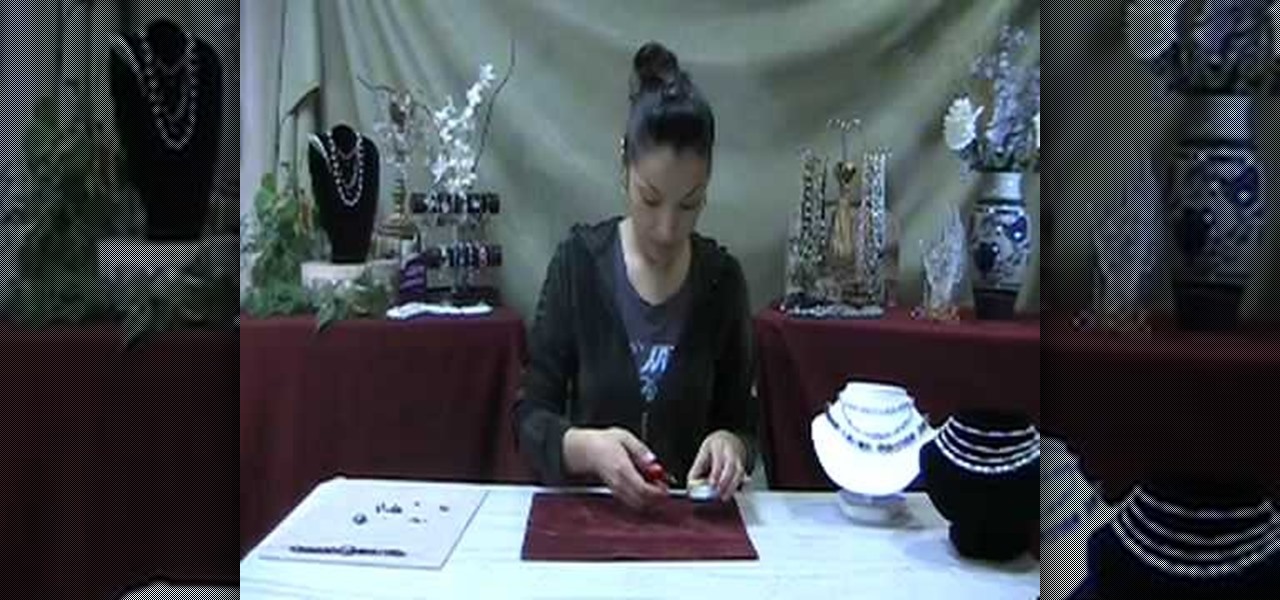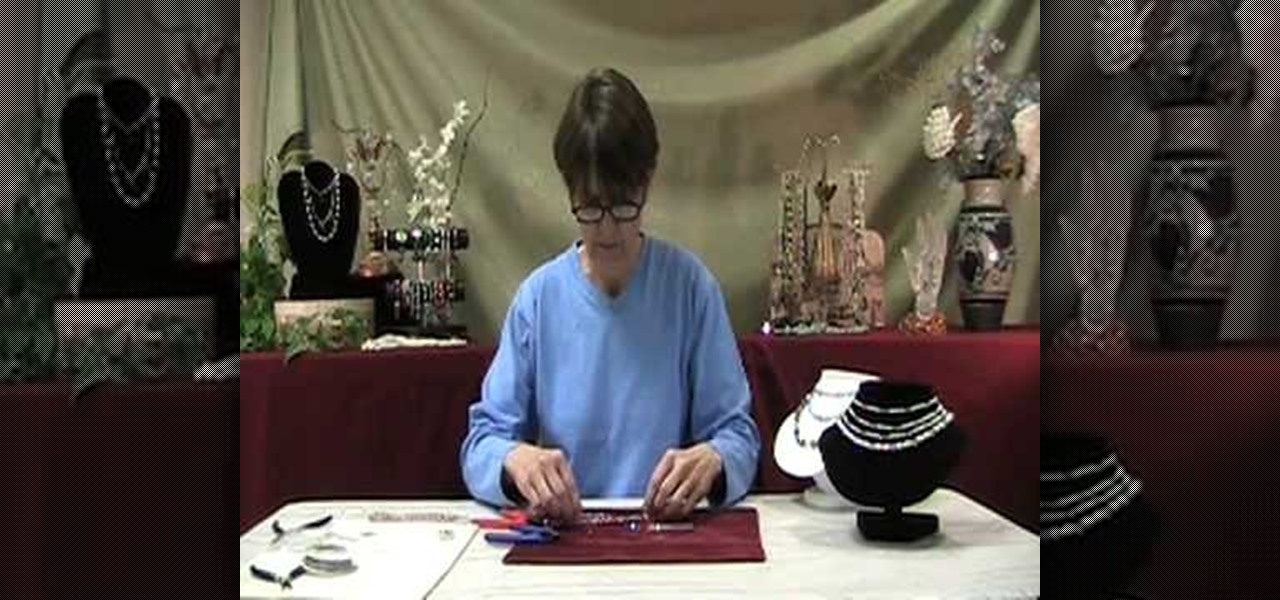
In this tutorial, we learn how to make a interchangeable beaded watch band. First, cut your beading wire to appropriate length, then slide a crimp bead and lobster trigger clasp to one side of the wire. Then, bring the end of the wire back through the crimp bead creating a snug fit. Using the rear notch on your pliers, crimp the bead tightly. Then, add a crimp bead cover using the front notch on the pliers to close the bead tightly. Next, string your chosen beads, then repeat the first steps ...

In making jewelry, the head pin loop is used many times. Let's learn to make a head pin loop so jewelry making will be that much easier.
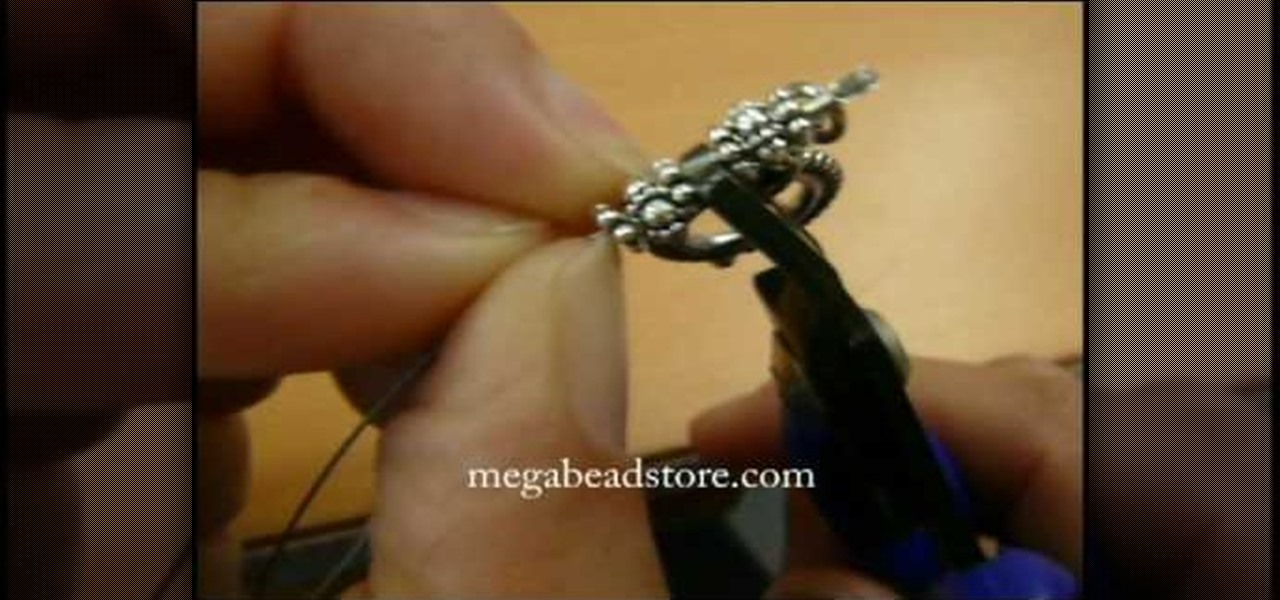
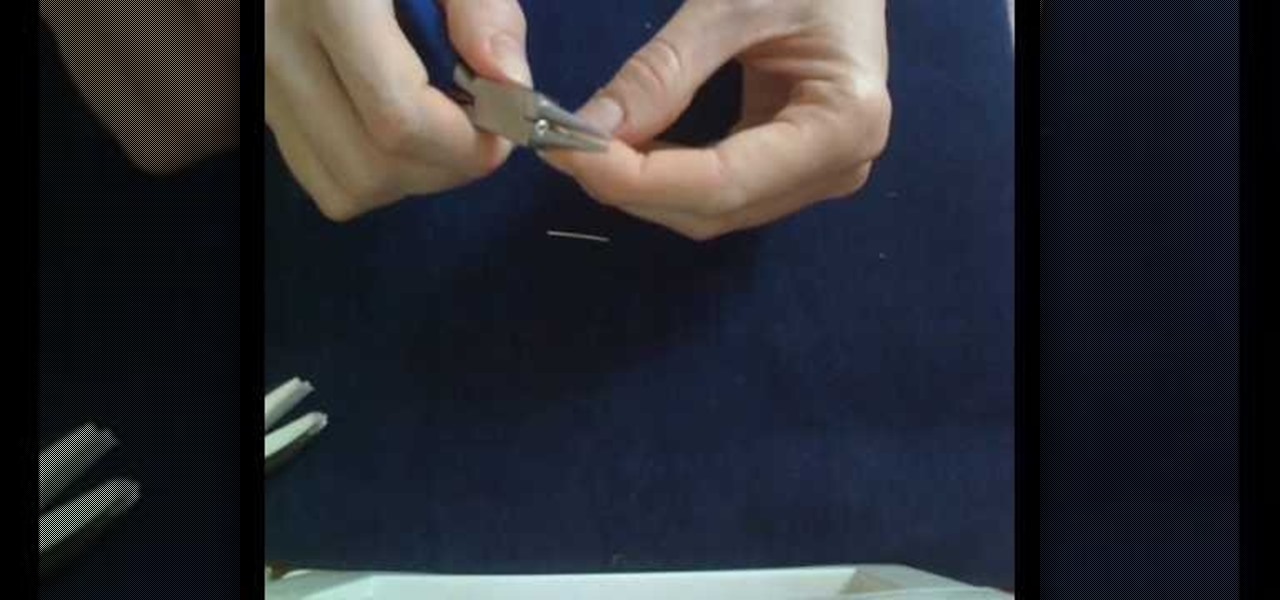
In this video, we learn how to hide a crimp bead with a crimp bead cover. First, string your spacer followed by a crimp bead and another spacer. At the end, you will have the end piece with the wire protector next to it. Then, bring the piece of jewelry through the crimp bead twice, then through the spacer once more. Now the spacers and crimp beads will be pressed with the crimping tool tightly. Pull on the string to test it out, then slip in your crimp bead cover so it looks like another bea...

In this video, we learn how to speak Spanish by asking what time. The phrase, "a que hora" translates to "at what time" in English. The word "termina" means "it ends" ad "empieza" means it begins. You can ask questions using these words, such as what time a concert starts, what time school starts, what time a party begins, etc. Practice learning how to say the hours of the day in Spanish so you can respond to someone when they ask you what time it is. When answering this question, you will st...
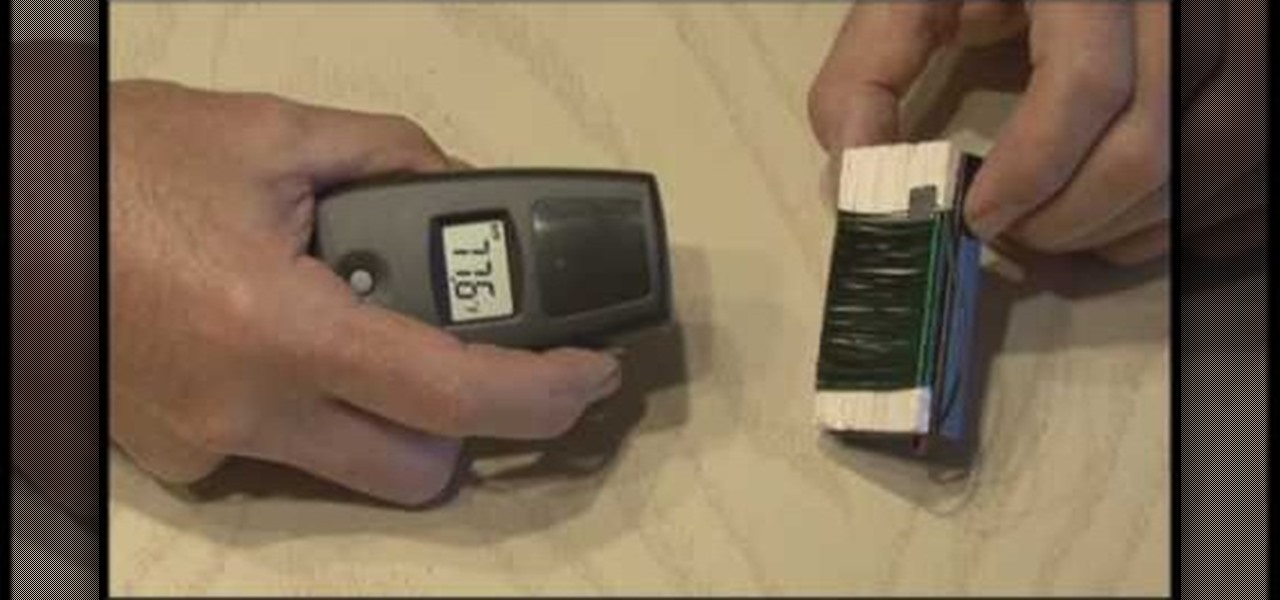
In this video, we learn how to build a portable personal heater. This is a great weekend project that is easy to make and will keep you warm during a freezing winter. You will need: two double a batteries, charger, twin double a battery charger, winding wire, and balsa wood. First, cut the wood the size of the battery holder and cut it out. Now, reel off 30 ft of winding wire and hold down with duct tape. Wind the wire around the piece of wood and tape down the other end of the wire. Scrape o...

In this video, we learn how to draw a cartoon brontosaurus. First, draw a large hump that is a half circle, then draw a line on the other end of this. After this, draw a tail on the other end of the hump and then go down and draw the feet on the bottom. Continue going and draw up the neck and make a circle for the head. Draw in a large eye on the head and make a smile on it. Next, draw soft spikes on the back of the dinosaur and color it in if you prefer, then enjoy your cute drawing!

In this tutorial, we learn how to play a ghost catcher. First, you want to place your index finger on the top of the end of the ghost catcher, then use your other fingers to help hold it. Now, place your mouth on the other end of the instrument. You will pick the strings with your right hand and put the ghost catcher in the left corner of your mouth. Start strumming with your index finger, while still holding it with your other hand. Push your thumb the opposite way, going down instead of up....

In this video, we learn how to measure your space when drawing a landscape. First you want to draw a line in the middle and measure out the line to the top of the building, and create another line there. Measure the length and then measure the edge of the outside of the building. After this, find the end point for the building and measure from the top down or from the second line to the roof, then draw the line across. Measure in from the end to get the angle, then find the layout for the tre...

Crochet an alt turning chain for half double crochet Double crochet leaves a hole in the fabric. The special stitch makes the fabric more dense. You will have to go back and double crochet.

Gary France shows us how to properly straighten your hair in this video. Start off by blow drying your hair or simply just brushing it after the shower. Start with the underneath of the hair, then work the iron through the hair. Make sure to start at the root and end with the tips of the hair. Follow a comb through the hair until you reach the end. Continue this technique while working through all the different sections of the hair. You may need to place the iron through the hair several time...

In this tutorial, we learn how to customize a pi–ata buster stick. First, choose a couple streamer colors that match the theme of your party. Next, roll the streamer around the stick, covering the entire stick. Tape down the end on both sides so the streamers stay on. Next, wrap a different color streamer around the stick and tape that down as well. You can also add on ribbon around the stick to make it more decorative. When finished, make sure everything is taped down at the end and you will...

In this video, we learn how to do a yukata inspired hairstyle. First, brush out the hair, then bring the top section of the hair and start to braid it. Continue to braid it until you read the end of the hair, then tie it at the end. Now, set the braid aside and put the rest of the hair up in a pony tail. Push the hair together in a bun, then pin it together with bobby pins. After this, take the braid and wrap it around the bun, then secure it with more bobby pins. To finish the look, add in a...

In this tutorial, we learn how to make a paper flower pot. First, fold your paper into a triangle then crease and unfold. Next, fold the paper in half to make a rectangle, then crease and unfold. Do this on the other directions, making creases for each. Now, flip the paper over and make a triangle, then crease and unfold. As you unfold, push the sides in, the squish down to make a square piece. Fold the open end of the square base to the opposite corner, then fold a triangle from the top in t...

In this tutorial, we learn how to do an arrowhead stitch when embroidering. Start off by pushing the thread through, then pulling it under, then back through at a diagonal angle. After this, thread it back through, making the same angle on the opposite end. As you continue to do this, you will start to see arrows forming after two stitches. Place the arrows one in front of the last to make the stitch complete. When you are done, you will thread the needle through the bottom and tie it. After ...

In this video, we learn how to work with Stretch Magic. This is a beading technique that is very easy to use. It's great for making bracelets, because no clasp is required. First, cut a piece of Stretch Magic 4-5 inches longer than you want it. Now, string your favorite beads onto the Stretch Magic. When you are finished with this, connect the ends with a square not and add a drop of super glue for added security. After this, cut off the excess strings from the end and you will be able to wea...

In this tutorial, we learn how to weave a (king) cobra stitch for paracord bracelets. First, take a 10 inch cord, fold it in half, then tie a knot at the end of it. Put this on a holder, then tie another chord on the bottom of it and hold it with your knees for tension. Next, start to weave the other color chord around it by going in and out of the two sides of the first chord. Continue to do this for the entire bracelet, then knot it off at the end to finish. You can add your favorite colors...

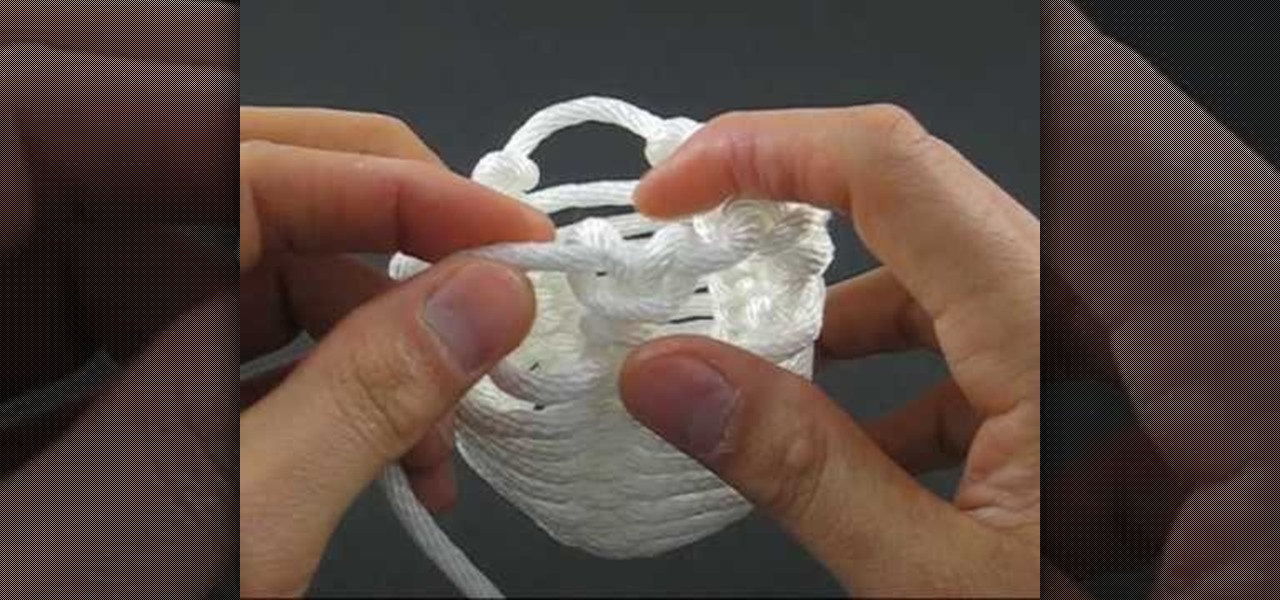
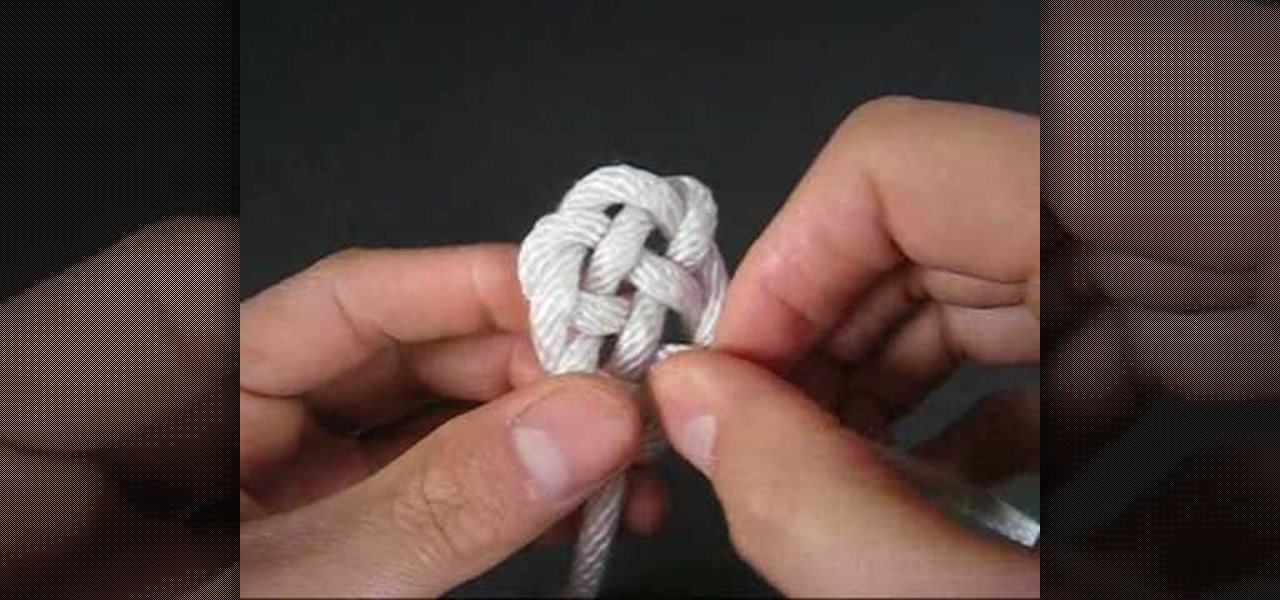
In this video, we learn how to tie a honey rope basket knot. To do this, you will need a 10ft of nylon rope. Start off by tying a counter-clockwise slipknot at one end of the rope. After this, pull the loop of the slipknot out four inches. Then, tie a second slip knot clockwise next to the first slipknot. Draw the loop length of the second so it's equal to the first. Next, continue to create slipknots next to each other until you've done five. No, hook your working end into the first loop and...

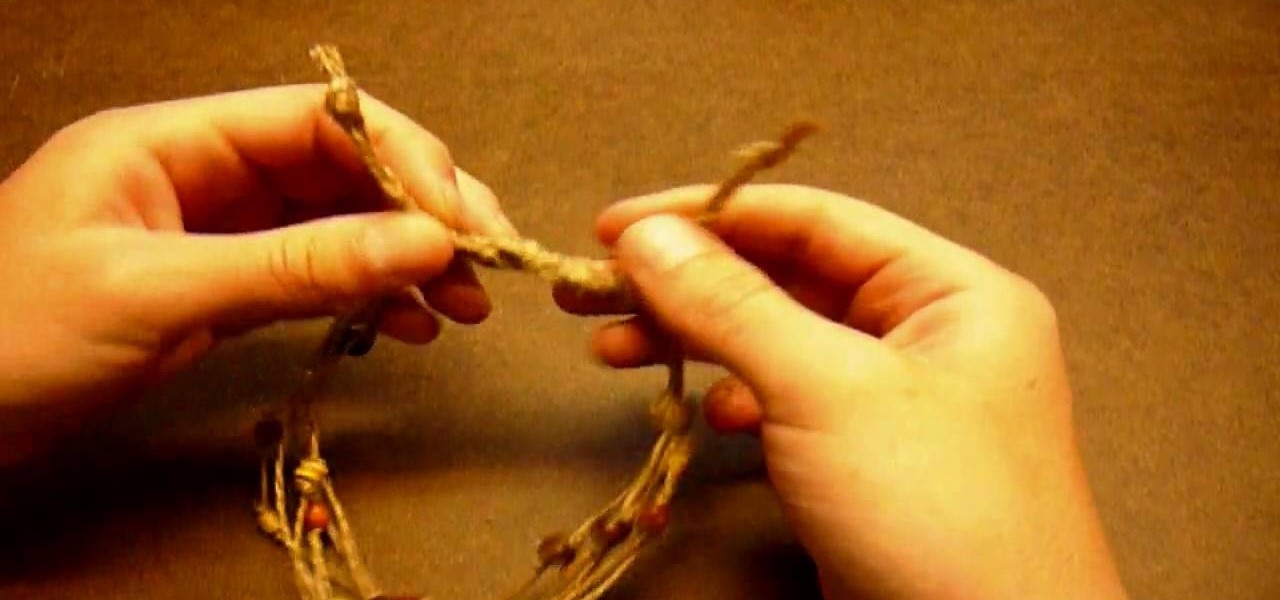
In this tutorial, we will learn how to make a simple beaded hemp anklet. Start off by measuring six 34" strands of hemp. Now gather the hemp strands and tie them into a knot at the end, pulling the strands tight. Clip the end into the clipboard and start to tie your hemp strands into a braid. When you reach the bottom, tie a knot and pull tightly. Now, add wooden beads onto your anklet and keep braiding in between these on other anklets. When you are finished, you can give these to friends as...

In Japan, kanzashi are hair ornaments, often in a floral or jeweled style, which adorn traditional female Japanese hairstyles. These are gorgeous long pins with a special adornment attached at the end.

In this tutorial, we learn how to make a Victorian hat from a lampshade with Gwen. You will need: a lampshade, scissors, acrylic paint, paint brushes, glue, a compass, and cardboard. First, take the compass and make the circle as wide as you want your hat to be, then trace your lampshade on the cardboard. Now place the small end of the lampshade around the large circle that you drew. Next, cut these circles out of the cardboard. Leave extra room, don't cut it out exactly on the line. When fin...

In this video tutorial, viewers learn how to learn how tie a kerchief scarf. Begin by opening the square scarf and then fold the points together on opposing sides to create a triangle shape. Now place the triangle on your chest, with the pointed tip facing downwards and bring the end points around your neck. Users may choose to let the end points hang down loosely or tick them under for a more fuller look. For a more asymmetrical look, turn the scarf to one side. This video will benefit those...

In this video tutorial, viewers learn how to make paper footballs. Begin by cutting a straight strip of paper. The wider the width, the larger the football will be. Then fold the edge into a right triangle shape and continue folding the strip in the right triangle pattern. Once you have reached the end of the strip, tear off the end at an angle and tuck it in the side of the football. This video also shows viewers how to play a game with the paper football. This video will benefit those viewe...

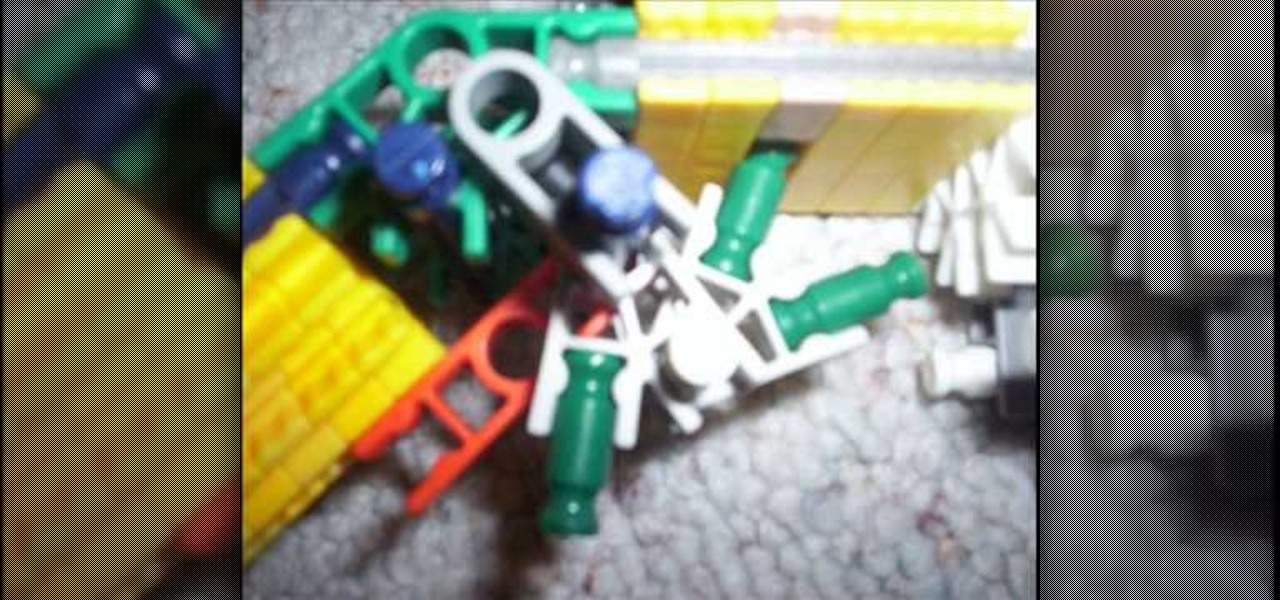
This video tutorial is in the Hobbies & Toys which will show you how to make a mini K'Nex pistol. Chris Swartzentruber shows you how to do this in this video. First make the trigger mechanism with the green, white, blue and orange parts as shown. Next make the handle using the parts as shown in the video. One end of the handle is green and the other end is orange. Then you make the handle support, barrel, magazine, rod pusher and the firing pin as demonstrated. Attach the handle to the barrel...

In this tutorial, we learn how to straight pipe your small tractor engine. First, insert a one inch screw pipe to your exhaust, then connect pipes into it so it connects to the back of the vehicle. You will need to install several elbow pipes as well as longer straight pipes. The pipes should reach the end of your tractor out of the tires. Make sure it's secured tightly to the floor boards and screwed in on the bottom of the tractor. You can experiment with different types and shapes of pipes...

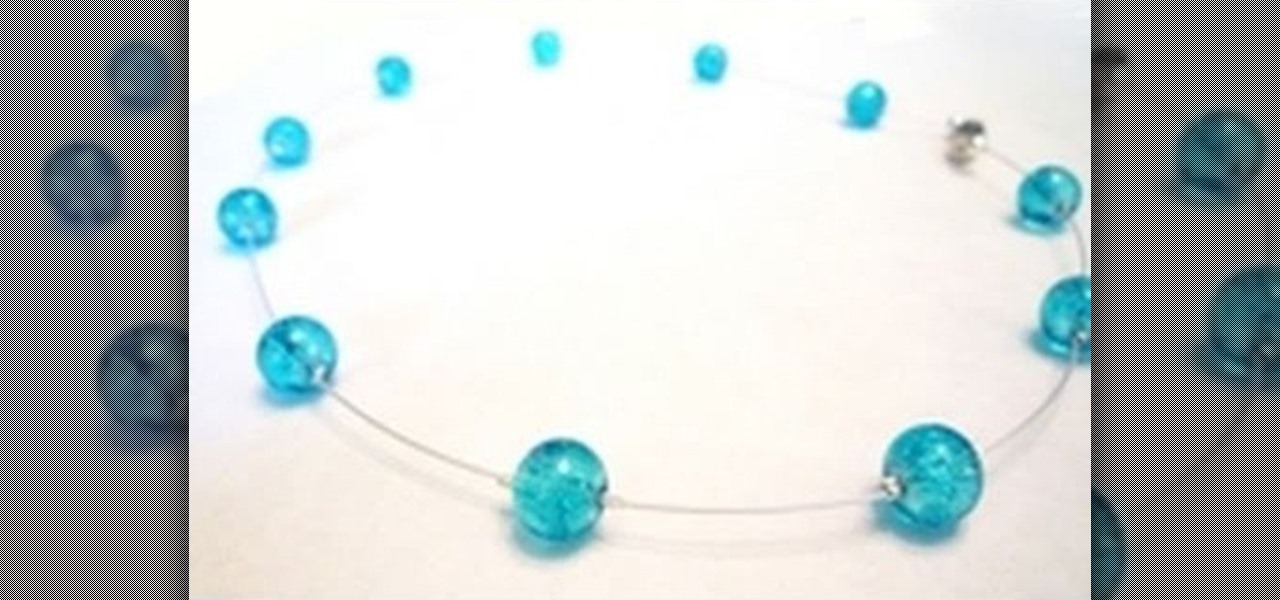
In this tutorial, we learn how to make a floating illusion style necklace. You will need: beading wire, crimping pliers, wire cutters, beads (your choice), crimp beads, crimp covers (3mm), and a clasp (barrel clasp). First, cut your beading wire to the length you want your necklace, add 3-4 extra inches. Next, space your beads out on a beading board evenly, 1 1/2" apart. Now string a crimp bead onto your wire and take the end of the wire and string it through the crimp bead on the opposite si...

Mr. G shows us how to craft a mobius strip out of paper in this video. First, take a sheet of copy paper and fold it in half length wise and crease it down the middle. Now, cut the paper on the crease so you have two strips of paper. Next, lay the papers end to end and tape them together. Now, the strip and give it half of a twist and attach it together with tape on one of the ends to the other. Now get a felt tip pen and draw a line down the middle of the strip. Now as you roll the paper, yo...

Jessica VanDen shows us how to make a hand forged silver clasp in this video. Start off with two pieces of sterling silver wire. Now make a simple S clasp with pliers. Then grasp the wire at the thick end and wrap it around until the long piece meets the curve you made. Next, wrap a curve around the end of the wire with pliers to make the clasp. You will need to put the chain through it to attach it. Make sure your chain can fit through the loop that you have made. Now you're finished and mak...

There's a proper and improper way to line a baseball field. Learn how to prepare the ball field the correctly in this video. After the field has been mowed and leveled, you can place the bases and begin to line the field. You'll learn that the proper way to line each baseline is to take a cord reel with a stake attached. Place the stake down on your starting base or home plate, and pull the cord to your ending point. This way you can make sure your line is correct before you begin lining. Onc...

In order to create a Key Hole Weave Knot, you will need: rope or twine. Begin by making a loop. Then, make a second loop next to it. Cross the loops, placing one on top of the other. Weave a free end through the loops. Next, weave the other free end through the loop. Pull them both through carefully. Next, you'll need to shape your knot, by making sure that the spacing is even.

Same money at Christmas time by making some of your gifts. This video shows us how to make a pendant necklace.

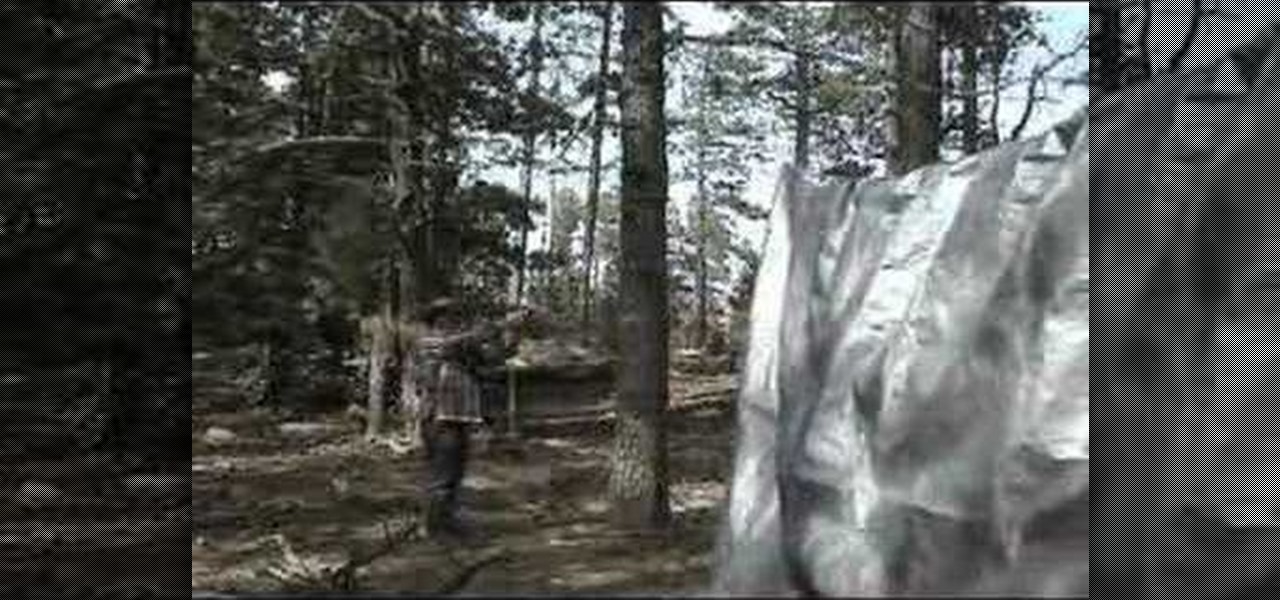
Learn how to put up a tarp for shade and protection from the rain in this video. First, find two trees with a nice flat spot in between them. Throw a rope up over a limb at least fifteen feet or so high. Now, tie the rope off to itself or to a smaller limb. Next, secure the rope on the other tree and leave the slack on the ground. Next, put the tarp over the rope evenly and anchor one end with a wire tie, small rope or bungee. Now you hoist the tarp up using one end of the rope and pull it to...

In this video tutorial, viewers learn how to make a beaded watch band with a non-loop watch face. Begin by cutting 2 pieces of the stringing materials to approximately 10 inches. Then put one end of the string through the hole of the watch face and pull it to about halfway. Now users will have 2 strands to work with. Users may choose to making a double strand watch band by putting beads on both strings, or a single strand watch band by running both strands of string through a single bead. Fin...

In order to make furniture out of old cardboard boxes, you will need cardboard boxes, rods, nuts, and washers.

In this Outdoor Recreation video tutorial Dave from 'journey the outdoors' explains how to make a bench shooting bag. This is used by bench or week-end shooters for recreation purposes. For this you will need an old sock. Take one that you don't use anymore and preferably a tight knit sock. Then fill it with rice and tie the open end of the sock. You can also fill it with beans or some other such substance. Rice and beans being bigger than sand, there will be more air in the bag and it will a...

They say blondes have more fun, so why not go as blonde as possible? In this tutorial, learn how to use bleach to create a white blonde look, no matter what color your original hair is. If you are ready for this dramatic change, this tutorial is here to show you how to use the bleach, step by step, so that you safely dye your hair without burning yourself or ruining your locks. This process will strip all of the color from your tresses, so make sure you are ready for it before you start.

This is a video produced by KazzieHeart on Youtube explaining how to make a puffy hairbow from a t-shirt. Choose a t-shirt and cut two equal-sized rectangles approximately 8"X4". Placing the two pieces facing inward, three sides are sewn together. It is then turned right side out and evenly stuffed with soft stuffing. The end of the remaining side is folded inward and sewn shut, forming a small pillow. A smaller rectangle approximately 5"X2" is cut from the same fabric. The pillow is sewn thr...

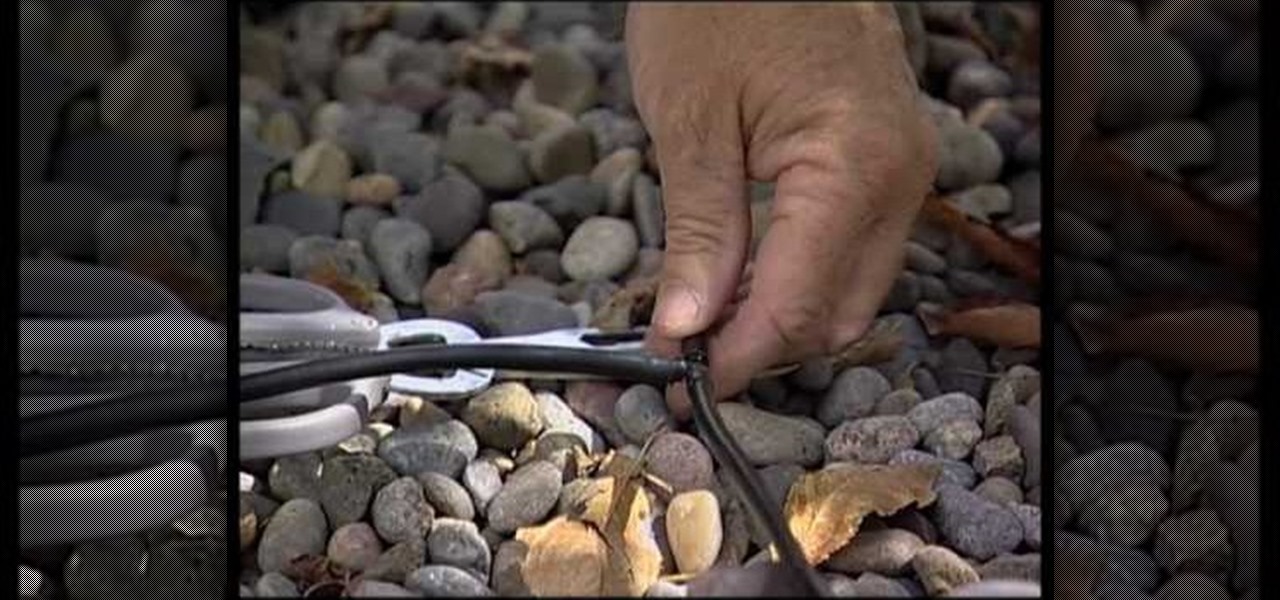
A drip irrigation line is placed around the base of a tree in a ring. A section of the ring is cut open and made into a T shape with the addition of another piece of drip emmiter wire going from the ring outwards. The next end of the additional wire is bound to the ground with a pin. An additional wire is placed at the irrigation ring and the opposing end bent,covered and also pinned outward from the ring. Holes are pierced into the plastic bedding of gravels on the ground to allow water to p...

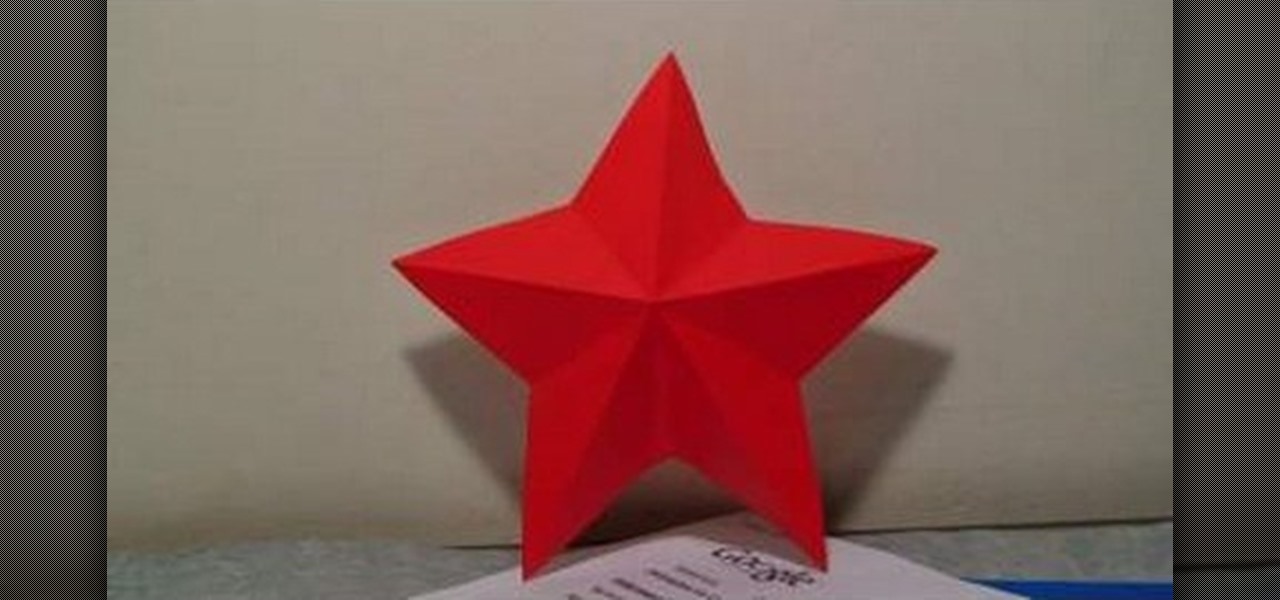
This video is about making a kirigami simple star. The materials required are two sided piece of paper, a scale and a cutter knife. Fold the piece of paper in half to form a rectangle. Now fold the upper and lower half of one end to form triangle. Make sure when you fold the paper it is in a clean line and the unfold the paper. The paper will have a square with four triangles in it. Now bring the other end of the paper such that it fits into one of the triangles of the square. Now fold the pa...

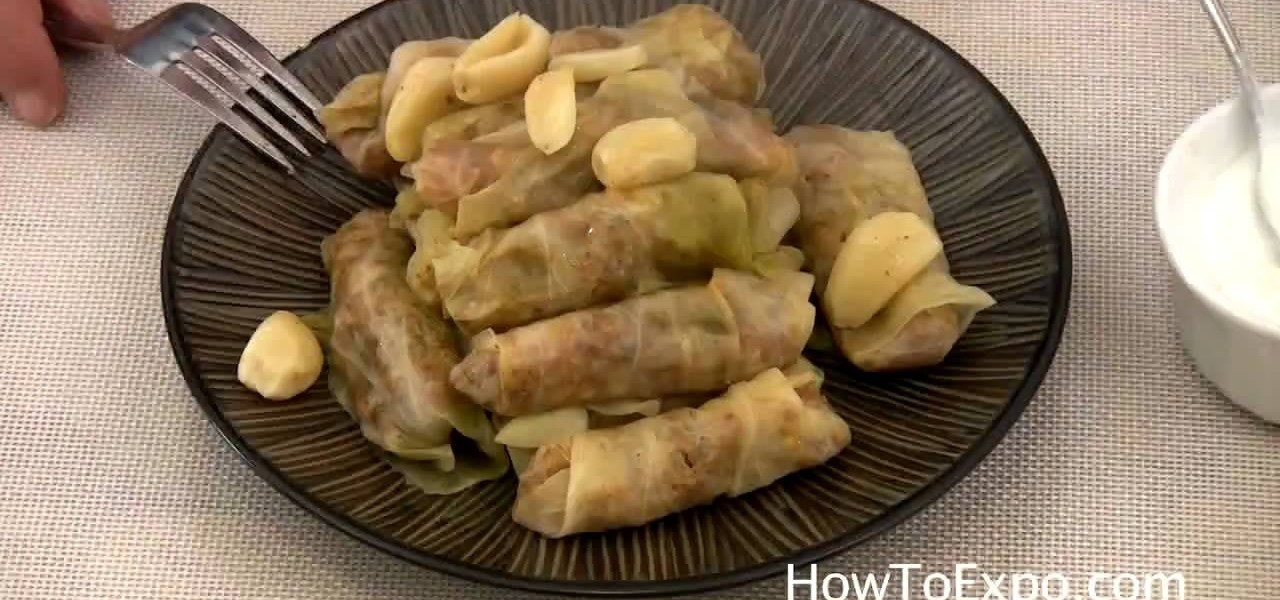
In this tutorial Maria shows how to make Mediterranean-style stuffed cabbage by just using a few simple steps. For this recipe you will need: 1 pound ground beef, 1 cup round grain rice, 4 tablespoons chopped parsley, 1 1/2 tablespoons all spice, 1 teaspoon black pepper, 2 head garlic, 1 tablespoon dry mint, 1 tablespoon paprika, 3 or 4 crushed garlic, 1 medium chopped onion, salt, 15 oz of tomato sauce, 2 squeezed lemons or limes, and 1 large head of blanched cabbage cut into sections. The f...

This video shows you how to make a homopolar motor. First of all things you need to make motor are AA battery, couple of magnets and copper wire. Now take magnet and attach it to the negative end of battery, now take a copper wire and bend it to the shape shown in the video and place it over the positive end of the battery, now you will see that wire starts rotating. Now to make a stand take a small plastic lid and two pieces of rubber magnet then place magnets to both the sides of the lid an...


