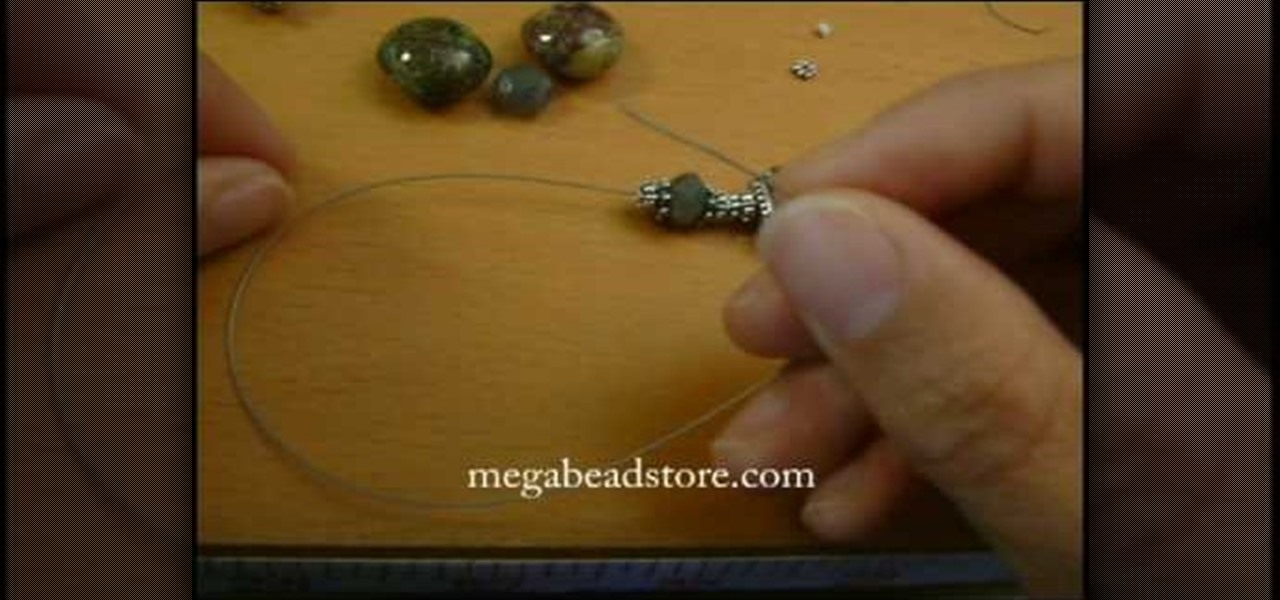
For anyone interested in learning how to make their own jewelry, try the simple steps in this arts and crafts tutorial to make a Bali bead and lampwork bracelet. To make the bracelet, you will need jewelry wire, a sterling silver toggle and clasp, crimp beads, Bali stone beads, lamp beads, silver bead snowflake caps, and silver spacers. The pattern calls for a snowflake cap, two natural stone beads, medium-size spacer, followed by a small spacer. This pattern of sandwiching a stone bead betwe...
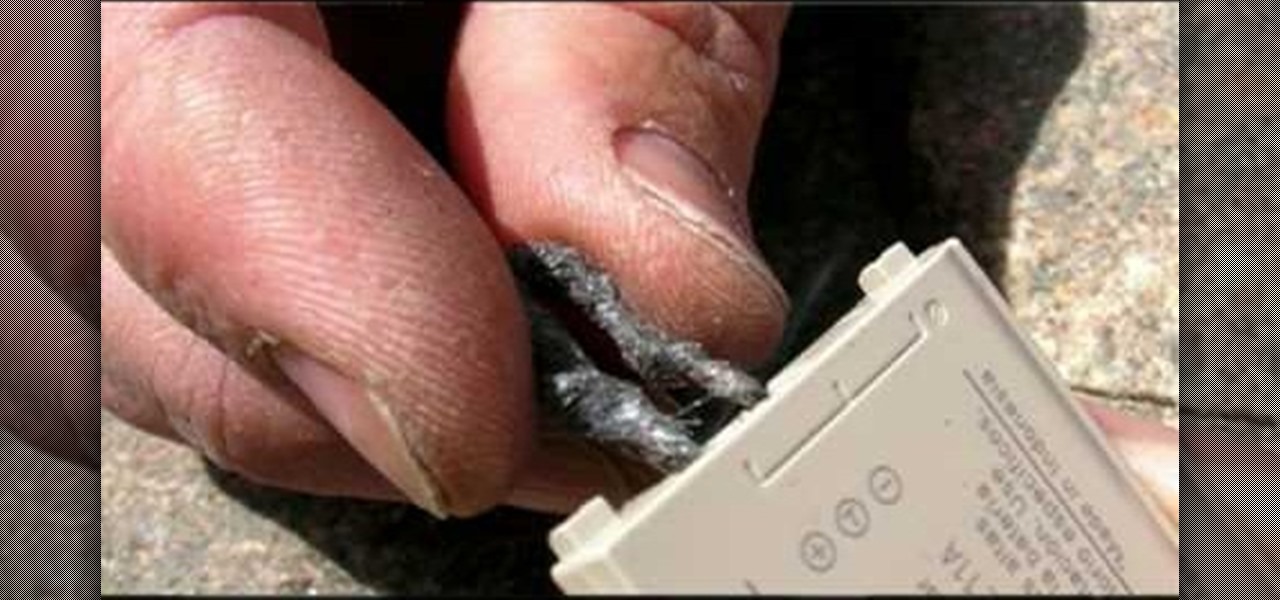
Ever wanted to know how to make a fire with your cell phone? All you need is a cell phone, a brillo pad, and material for tinder. First take the battery out of your phone and find the positive and negative contacts on the bottom of it. Next tear off a chunk of the brillo pad, roll it up until you have a twisted piece about an inch long. Bend the steel wool over and touch an end to the positive and the other end to the negative contacts on the battery. That causes the steel wool to smolder--no...
Dbltoe is showing you a simple way to get a French braid hair. You start at the back of the head with strands of hair from the middle that you gather together using a Hair Do accessory. You then take strands of hair from near the ears and place them on top of the first strand. You twist these once and use the Hair Do on top. You continue with the twisting until you run out of hair or you finish the hairdo. In the end, twist the ends of the Hair Do accessory and make sure everything is tight.

In this video you can learn how make an easy paper flower. Cut the card stock into strips of paper that are either 1/8 inch, 3/8 inch or 1/2 inch wide. The width doesn't really matter, but all the strips must be the same size. Use scissors to cut slits 3/4 of the way through the paper strip, creating a fringe along the entire edge of the piece of paper. The smaller the distance between cuts, the more realistic and delicate the flower will appear. Insert the end of the paper fringe 1/4 inch th...
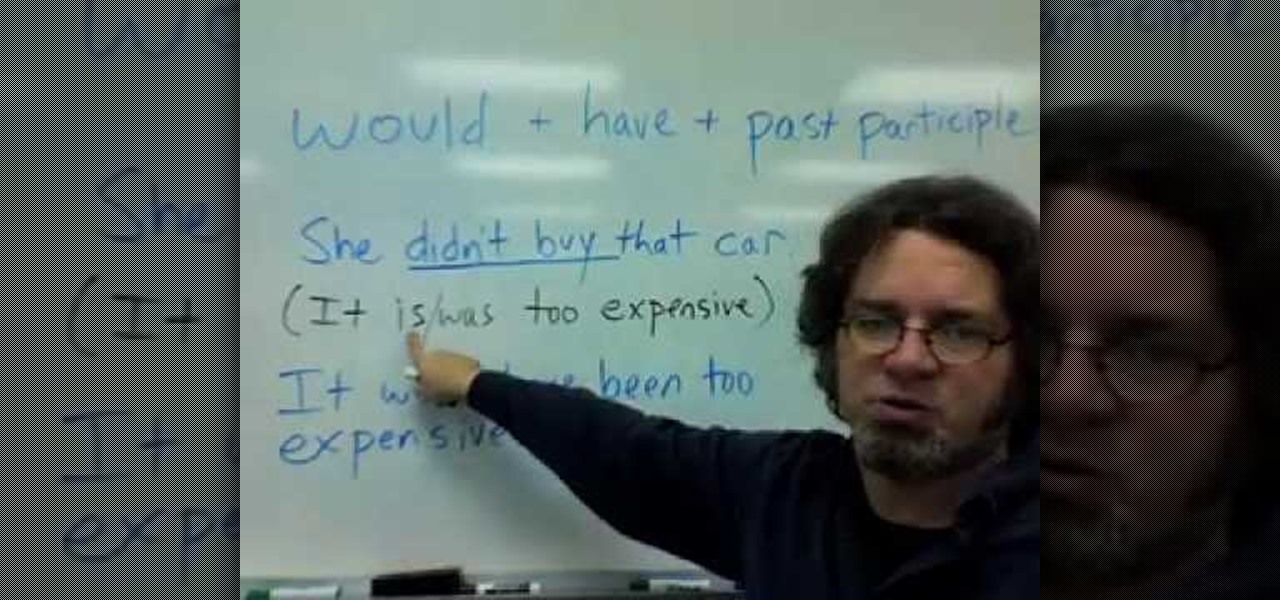
This video shows us how to describe the situations that are opposite of the future perfect tense. Here it is shown how to describe the situations that did or did not happen in the past using would, have and past participle. He gives us 3 very good examples that are describing such situations. In these examples he describes a situation which happened in the past which is actually a negative and uses a fact that is described in the present tense to give the reason why that situation ended in a ...
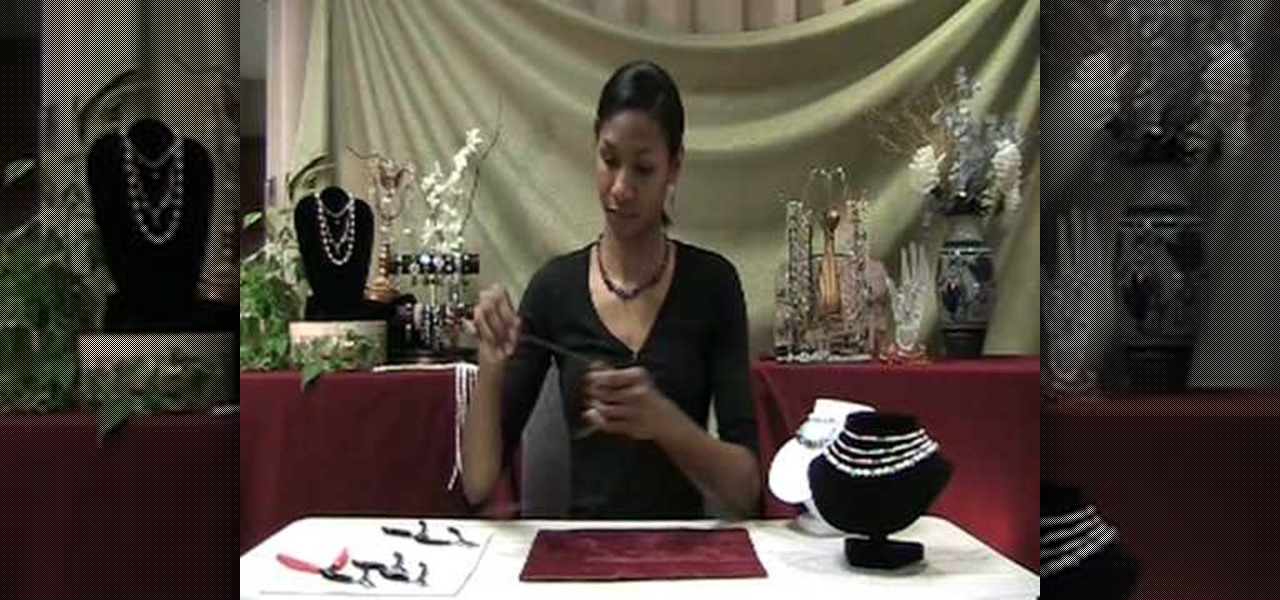
Christina of Bright ling Beads explains how to use a fold over crimp to finish an organza ribbon necklace. First, fold down the ribbon approximately an eighth of an inch. Then, fold it down over once again. Make perpendicular folds bringing each fold towards the middle and making the end of the ribbon as wide as the crimp bed. Lay the folded ribbon inside the crimp, leaving a small piece of the ribbon sticking out of the top. Use flat nose pliers to hold the tab of the crimp and hold the ribb...

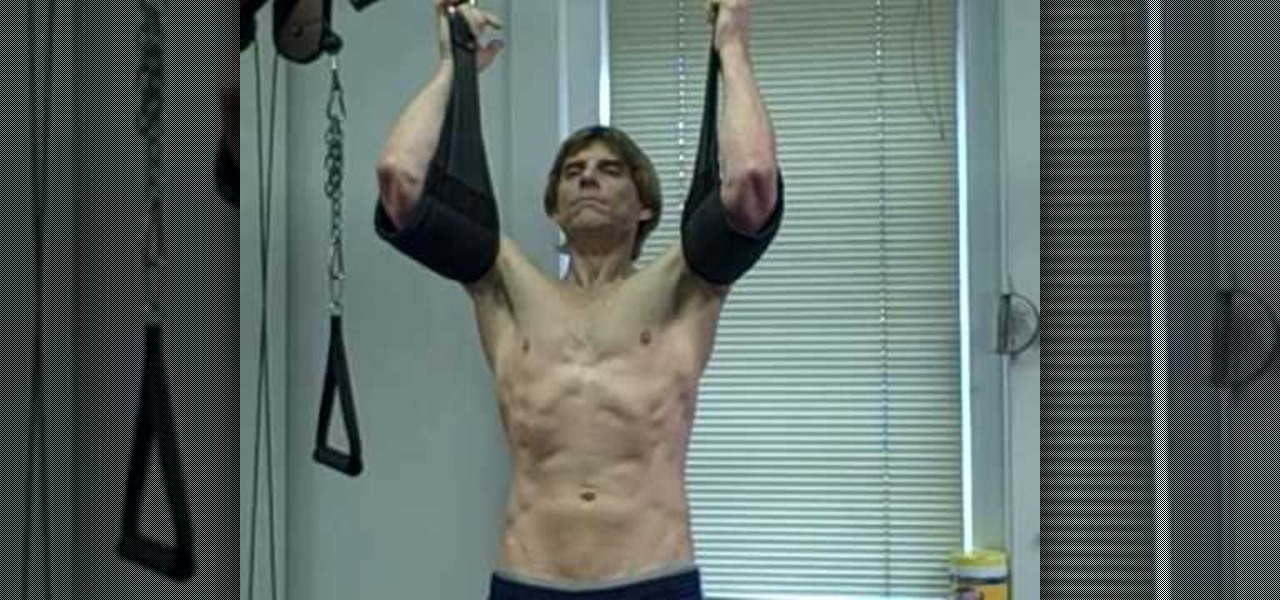
It's never a bad time to get excellent abs. This instructional video demonstrates how to exercise your lower abdominal muscles with hanging leg raises. This routine is especially effective because it maximizes spinal flexion and extension. The focus of the exercise should be about rolling the hips up to generate an abdominal contraction, then returning to a good lumbar curve to relax and stretch out the abs. A good stretch at the end range of motion allows for a better workout and builds flex...

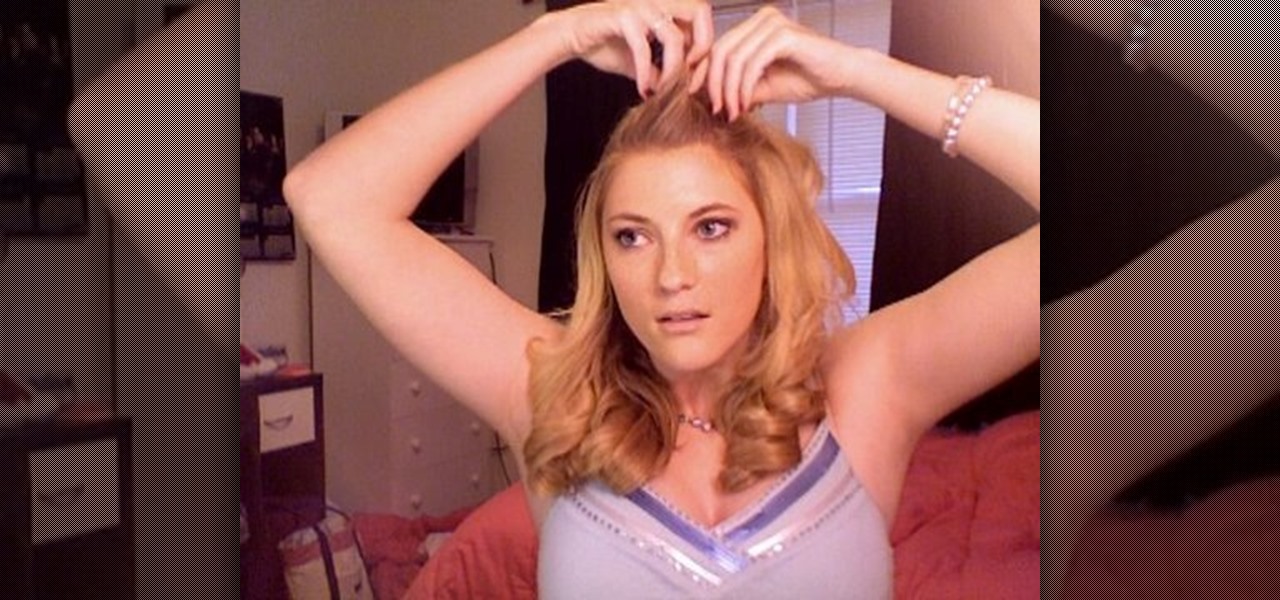
This video author explains how to curl hair with a curling iron. She uses a 2 inch curling iron for flipping the ends of her hair out, or to cover up frizziness at the ends. The next curling iron she shows is a one inch curling iron, and she explains how it snags her hair. The one she's going to use for the video is a different one inch curling iron. She uses two clips to split her hair into two sections. She curls the bottom layer first, and then uses hairspray to prolong the curls. She does...

Crochet the half-double stitch with these easy steps and achieve that beautiful design you've been longing for. Insert your crochet hook to the two loops found at the end of your cross stitch. Yarn over your stitch and make three loops wrapped around the crochet hook. Always count the number of stitches that you do and continue step number 2 to the rest of the yarn. Skip the first loop at the end of every row and insert your hook on the second loop. repeat the process until your desired desig...

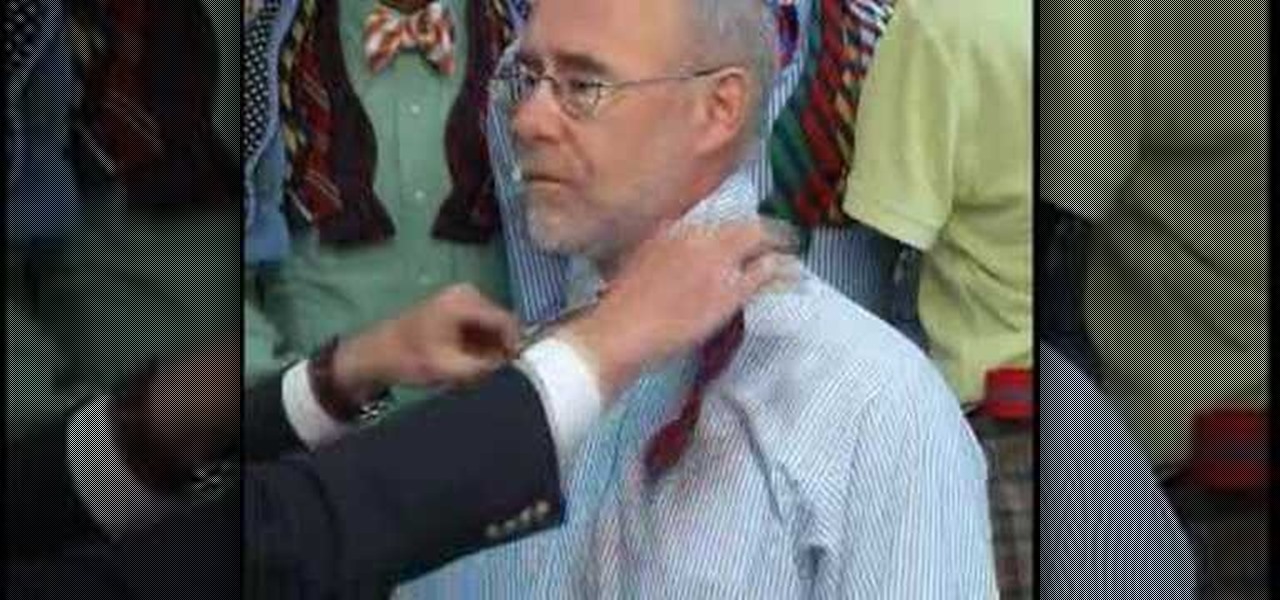
Lucky Levinson of Brittons of Columbia demonstrates how to tie a bow tie. First drape the tie around the neck. Make one side shorter. Cross the longer side over the shorter side, then bring the longer side back through to make a basic knot. Take the short end (which emerges from the bottom of the knot), and make a loop with the indentation under the chin. The long high side comes straight down the center of the indentation, the back trough the hole. Tighten both loops, then adjust the flat en...

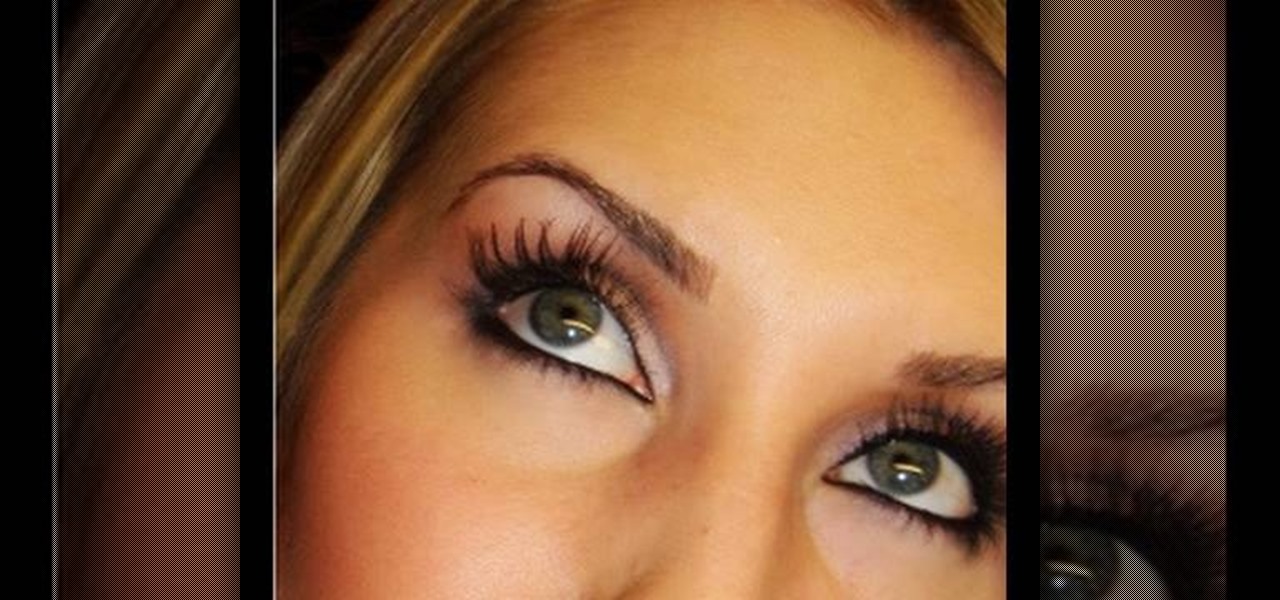
This is one of the biggest mistakes women make when it comes to eyebrows. Many women become overly aggressive when it comes to plucking their brows and end up with thin or almost nonexistent brow hairs. Unfortunately, eyebrow hairs can take months to grow back and, in some cases, plucked eyebrow hairs may not grow back at all, particularly after years of over plucking. Stop plucking and give your eyebrows a chance to grow back to their natural state. In the meantime, you can use a soft eyebro...

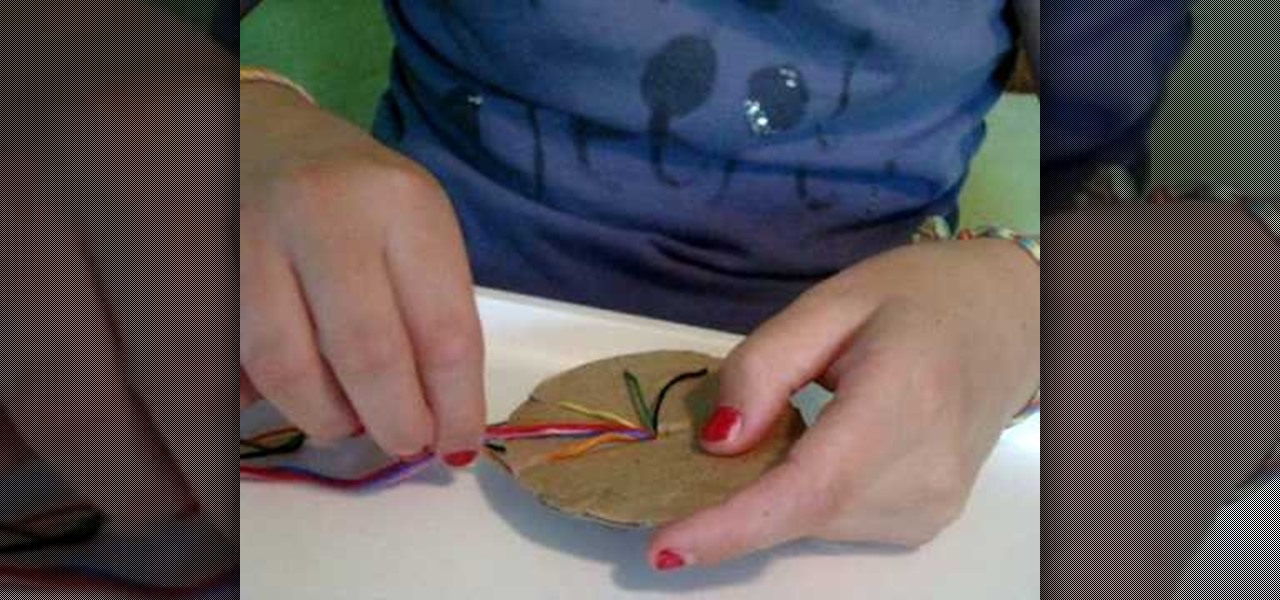
A little girl from Live Love Embroidery explains, in this video, how to make a circle woven friendship bracelet. The process involves seven strands of embroidery thread tied at the end with a simple half-hitch knot. The knot is fed through a small hole in the center of a circle of cardboard. The strings are then individually latched through seven of eight notches located at the end of the cardboard. After that, rotating in a circle pattern around the cardboard, the strings are exchanged aroun...

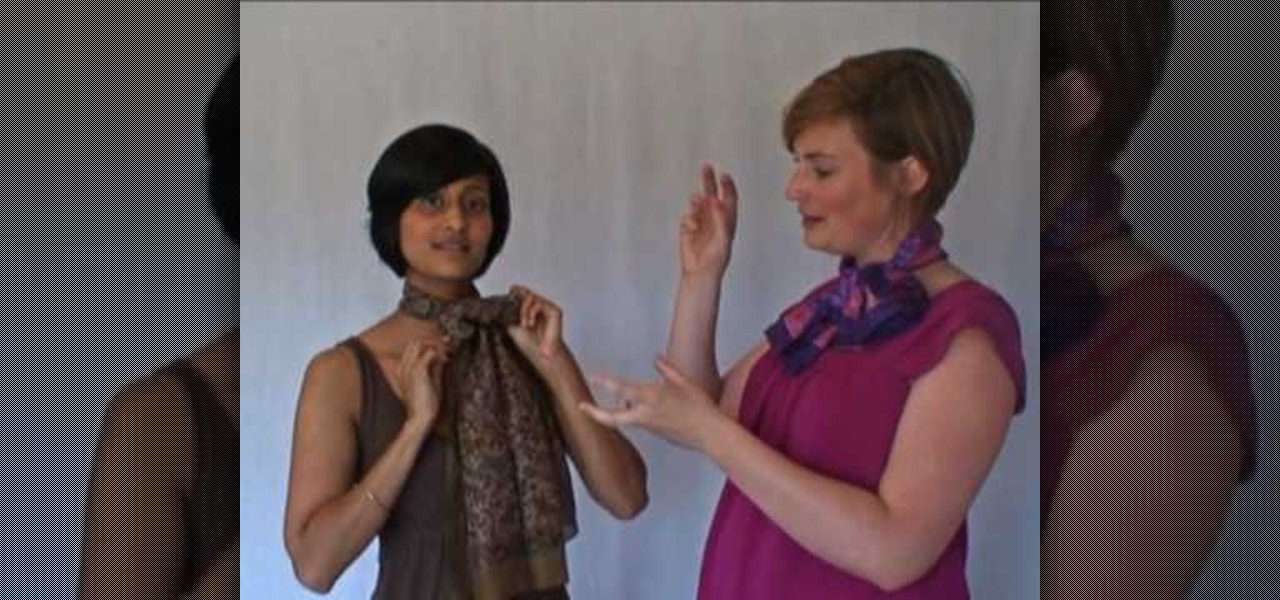
Wendy Woods from The Refinery teaches you different ways to tie a scarf. The three things to consider when buying a scarf are: size/shape, fabric, and pattern. First style: Fold scarf in half, put around your neck, pull ends through the loop, pull to the side and fluff out ends. Second style: Wrap scarf around neck (with right side twice as long as left), cross long side over short and pull up through loop, pull short side down until tight, pull to the side and fluff out. Third style: Wrap sc...

This video shows you how to wrap cables for later easy unraveling. Place one of the ends of the cables in one hand. With the other hand make a loop out of the cord and place it into the first hand. Make a second loop and turn it 180 degrees before placing it in the first hand. Make another loop and place it into the first hand. Make another loop and turn it 180 degrees and place it in the first hand. Keep repeating this process to the end of the cord. Eventually the cord will form itself to t...

This video will show you how to make an interesting 3D paper snowflake. You will need 6 pieces of paper, some scissors, glue and a stapler. First, make 6 squares which are the same size. After folding the squares across its diagonal axis into a triangle and folding it over again, hold the triangle so that its open ends are facing outwards. Cut diagonal lines along the line of the triangle towards the center, stopping close to the middle line. After opening the paper, take the two ends of each...

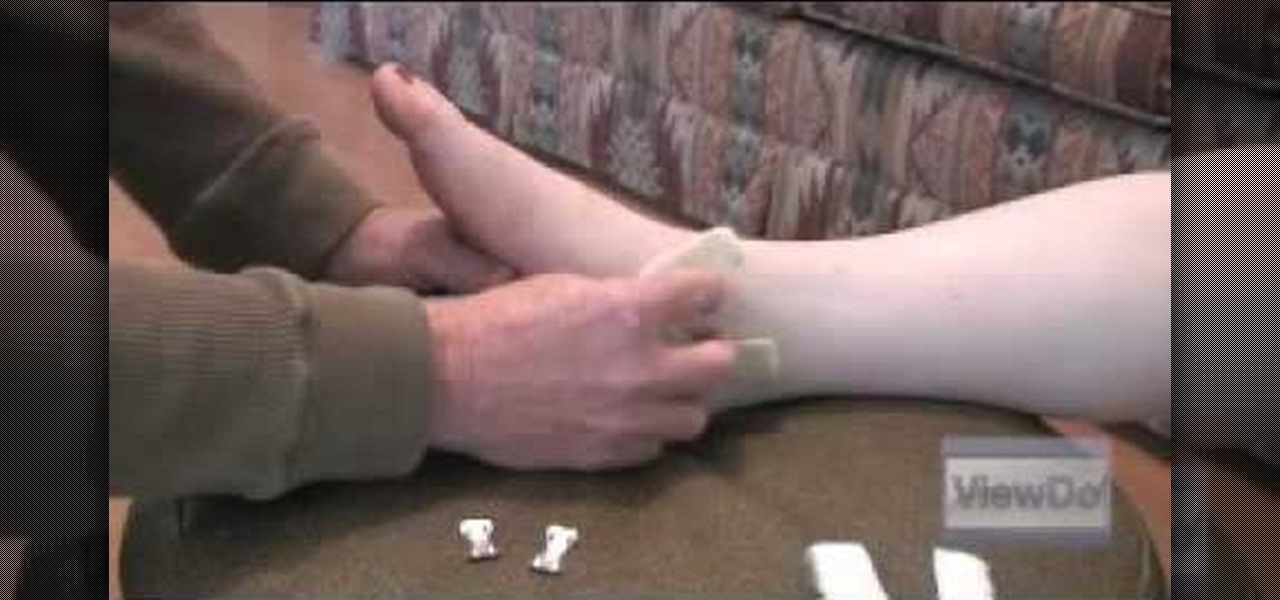
Assemble the necessary equipment: a roll of 1- to 2-inch-wide athletic tape and a pair of scissors. Wrap one piece of athletic tape under the heel of the foot and bring both ends up the ankle to either side of the leg. The tape should form a "U," like the stirrup on a horse's saddle.

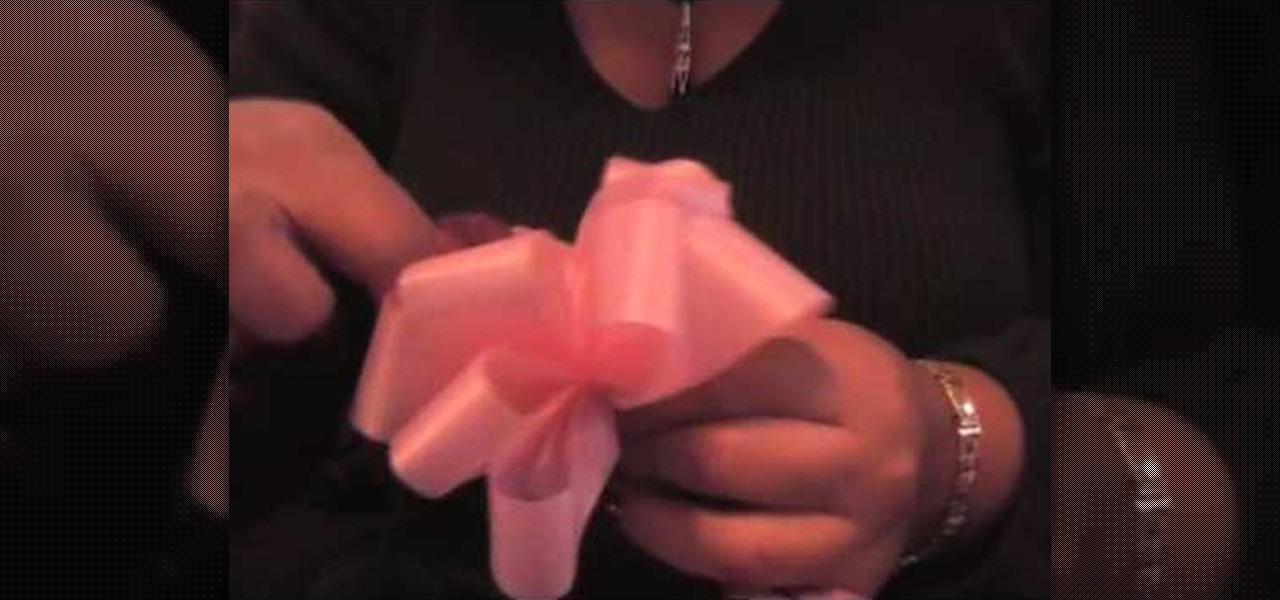
Choose ribbon in an appropriate color, texture and width. Are you trying to match the ribbon color to a particular gift wrap? Will the ribbon width give you the size bow you want? How will you be using the bow?

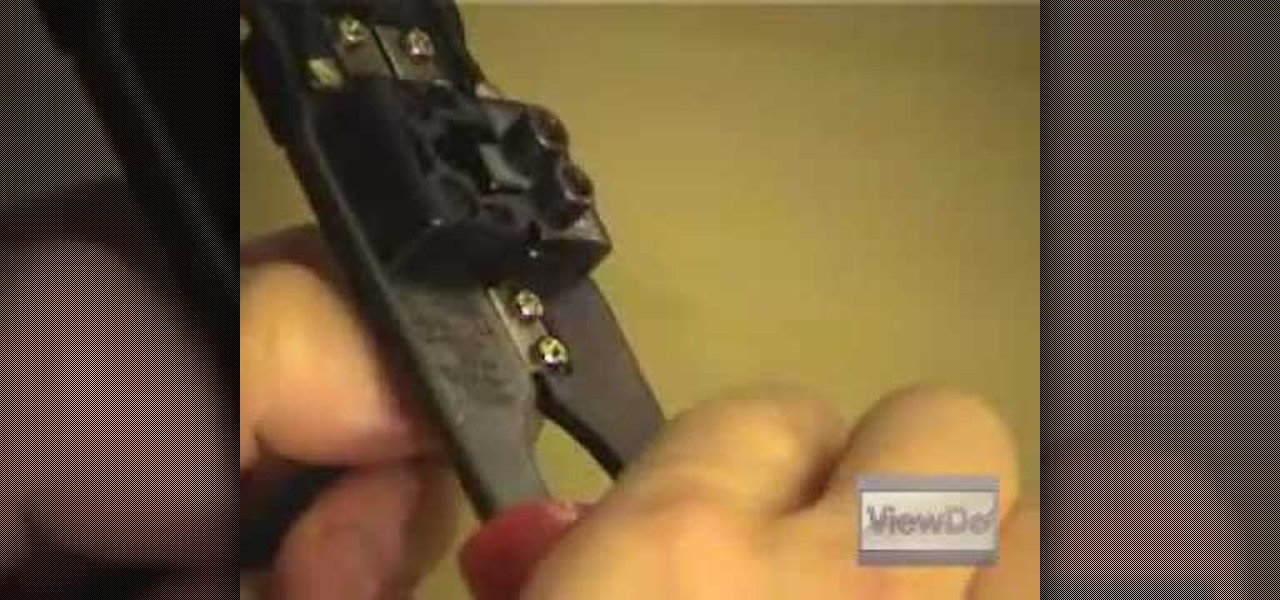
The following video is about making an Ethernet patch cable using RJ45 cable tool, category 5,5e or 6 cable, RJ45 connectors and optionally a scissors and cable tester. First of all, measure out the length of cable needed for your purpose and then cut it. Strip out the outer insulation of the cable using a cable tool. After stripping the insulation, sort the eight wires inside it in the order orange-striped, orange, green-striped, blue, blue-striped, green, brown-striped and brown. Cut off an...

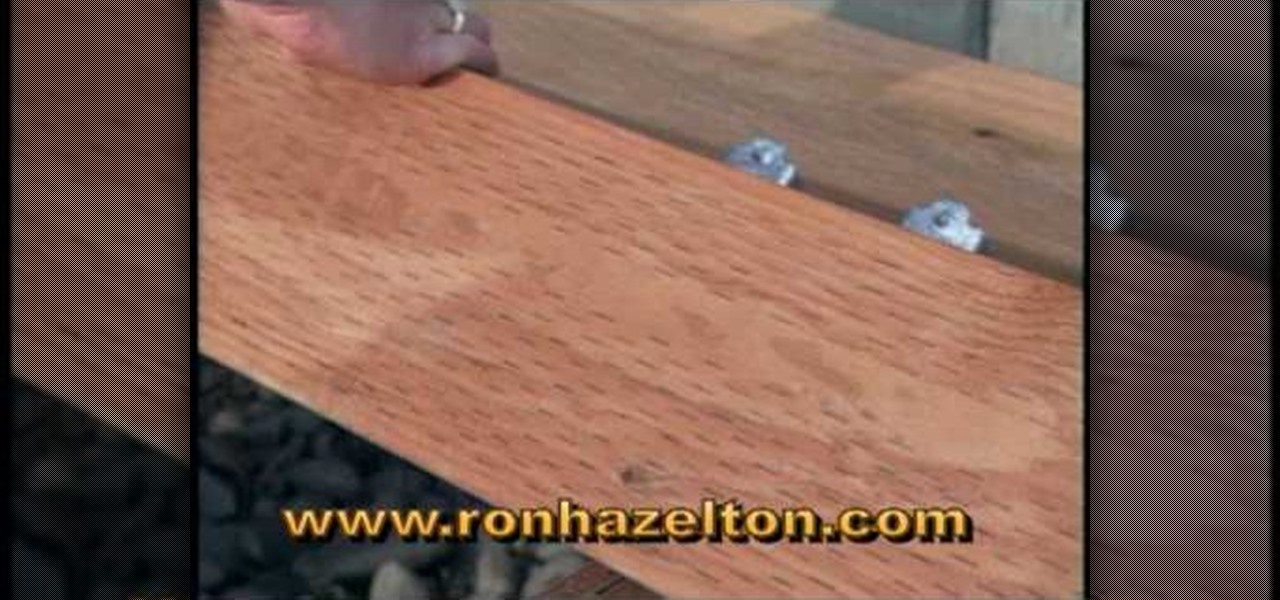
If your decking boards need to be replaced it is really not that difficult. Start by removing the facia or edge boards that hold the decking boards in place using a crowbar. Remove the decking boards from the joists. Check the joists for dry rot while you have the decking boards off by poking them with a screwdriver. If the wood is soft and the screwdriver sinks right into the joist then you may need to replace that joint because it is dry rotted. When replacing the decking boards it is best ...

This video shows how to do turning the bottle trick in few simple steps as follows: - Firstly we take two bottles, we have to start keeping the pouring ends of the bottles together and end by keeping the bottoms of two bottles one on top of the other.

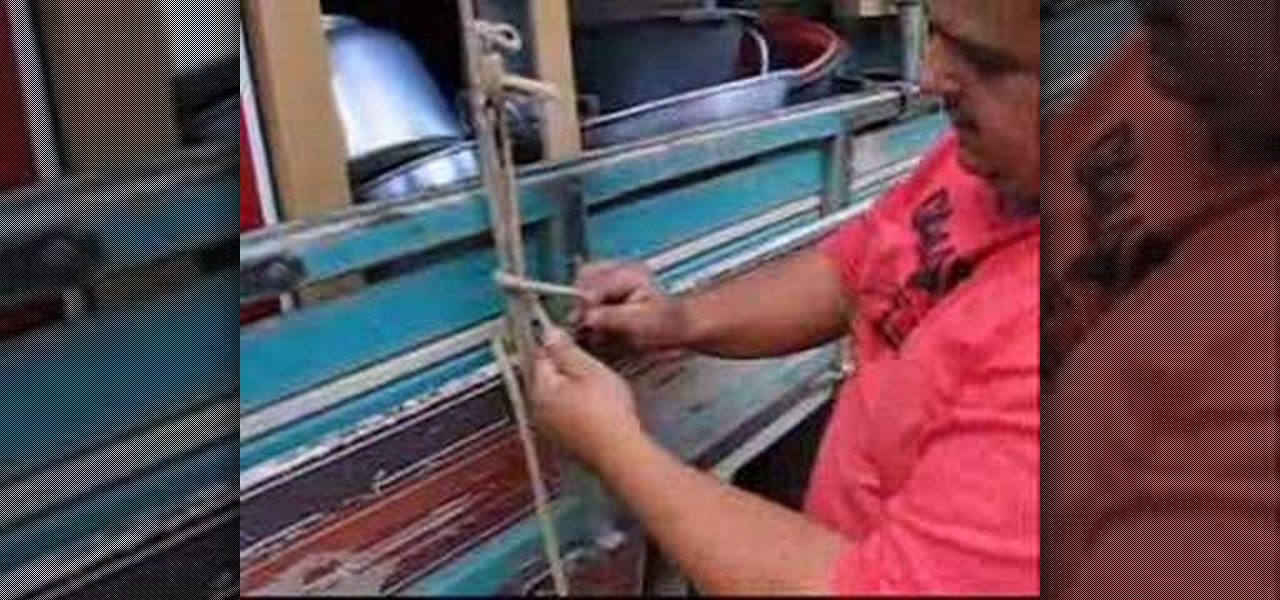
Professional truck driver, Yesterday Irmani, teaches us how to tie a time honored, weight sustaining knot, for transportation purposes.

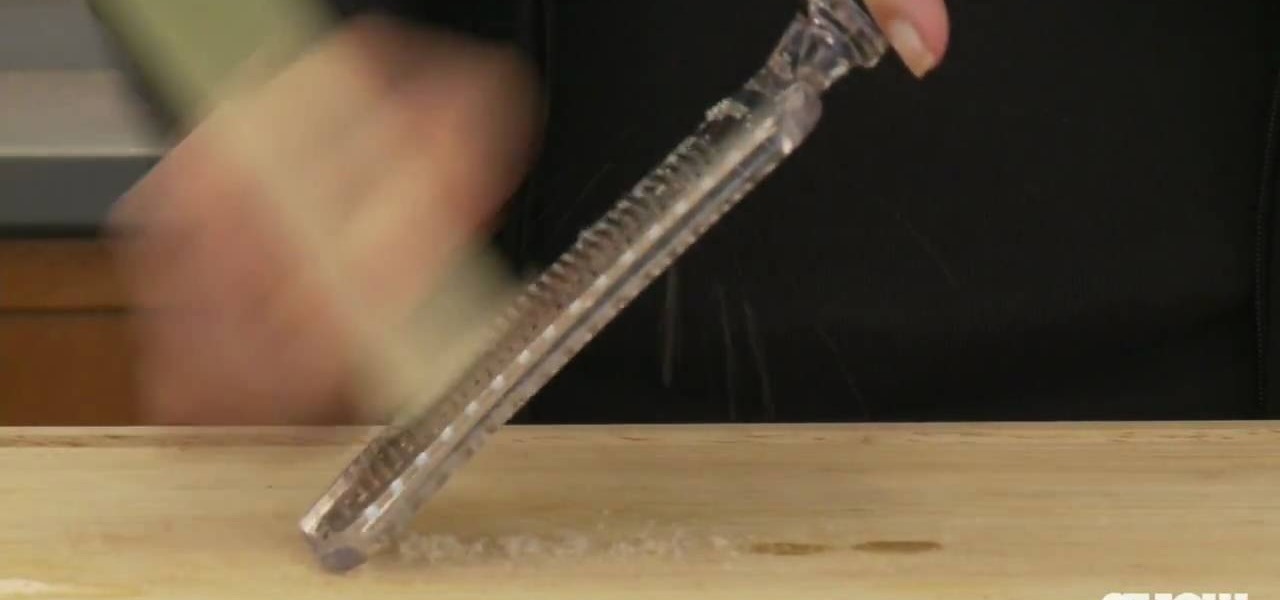
CHOW Associate Editor Corinne Trang teaches you how to use lemongrass in your cooking. 1. To use your lemongrass in your cooking, first strip away the dry outer leaves, and cut away the stumpy end and the dry leafy ends.

Transform that tumbleweed 'do into bouncy, beautiful Botticelli curls. In this video, learn how to blow dry your curly curls to create sexy, bouncy curls.

Accidents are the worst. They're costly, time consuming and an all around pain in the butt. Rear-end collisions are among the most common types of accidents on the road. Take these simple precautions to avoid a rear-end collision.

Getting an outdoor itch to start something new? How about the ever-so-fun game of shuffleboard? Begun more than 500 years ago as a game for European royalty, shuffleboard is becoming more popular with Americans who see it as a less expensive alternative to golf.

If you're not technologically savvy, don't stress. You probably want to jump right into the game, so check out this video on how to properly install your Playstation 3.

You want to transfer your cassettes to digital music but don’t have a clue where to start. With these tips and the right equipment, your old music will sound brand new.

Your sewing machine needs bobbin thread to create overlock stitches, so keep your machine going by learning to fill your bobbin.

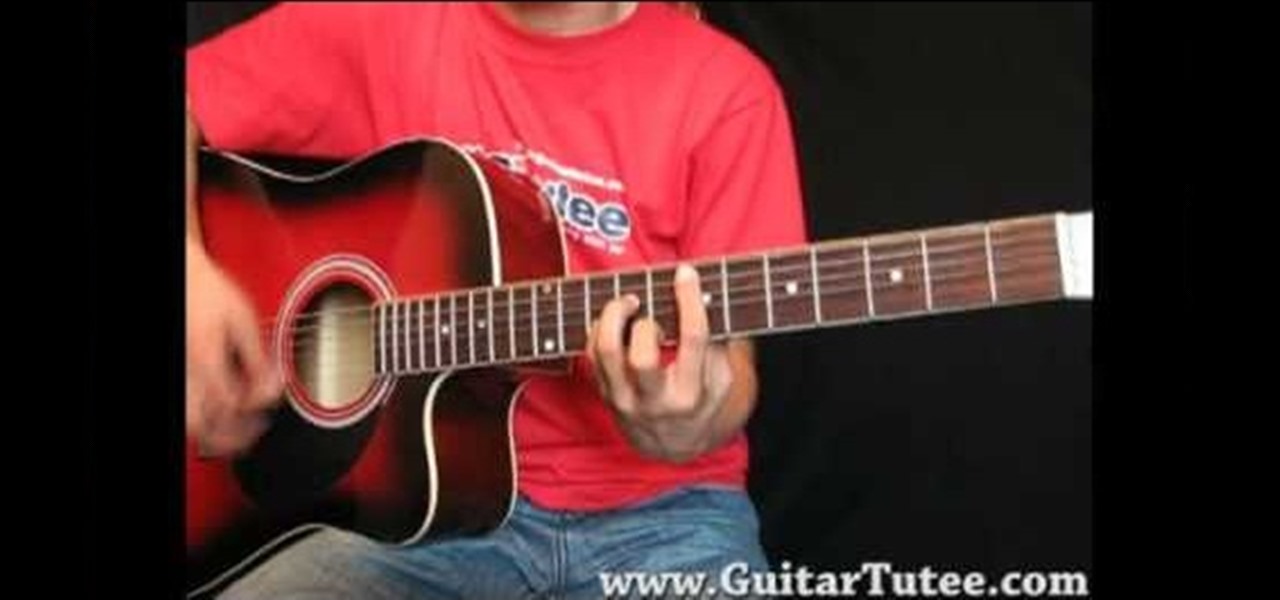
Learn how to play ____________, an acoustic guitar tutorial. Follow along with this demonstration, tabs and lyrics here:

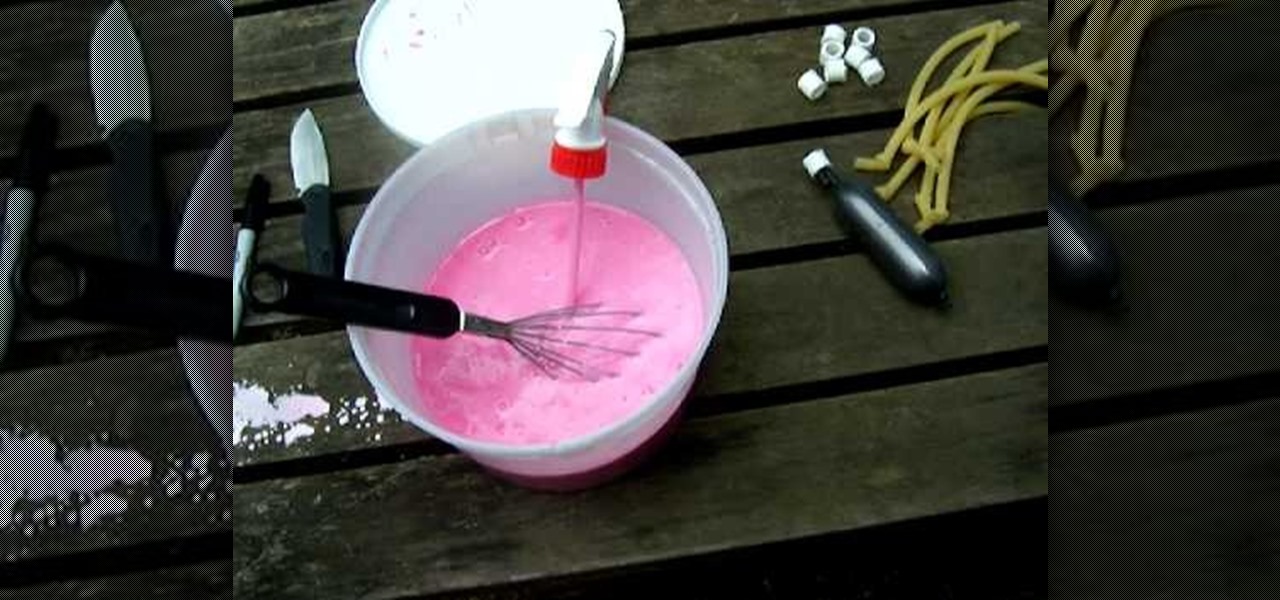
Want to make your own paint for your paintball grenades? Well, this video tutorial will show you how to make fill for your paintball grenade. This recipe is sure to make you happy, so give it a try. It's washable and biodegradable too!

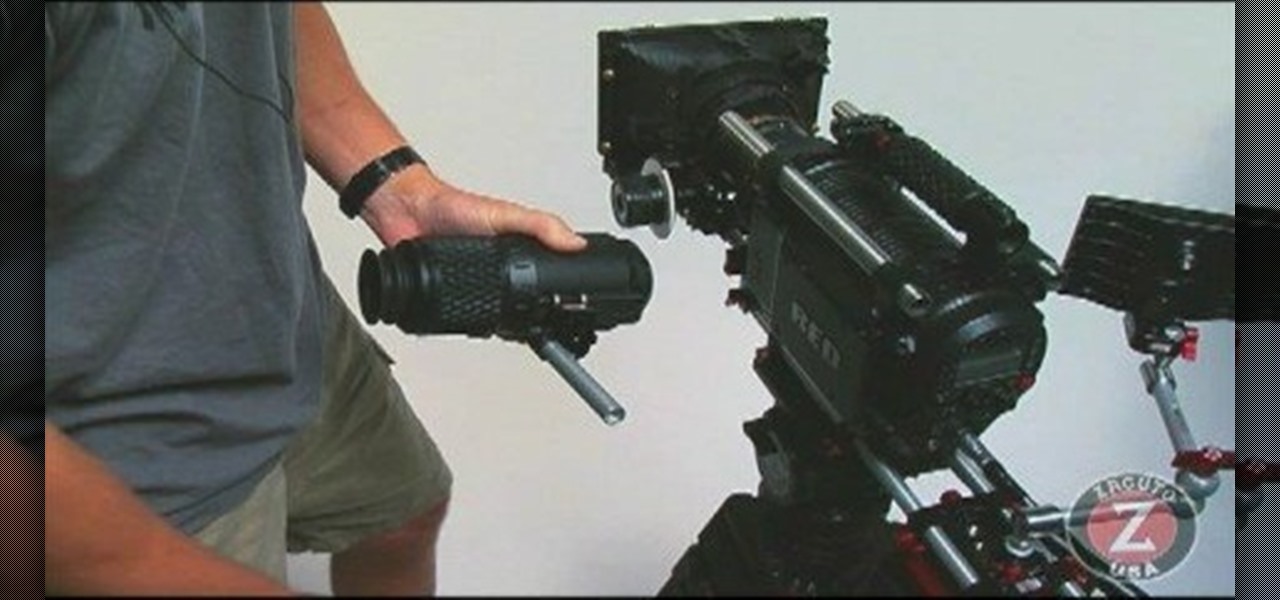
This EVF mount is the mount all RED users have been waiting for. It is inexpensive, adjustable and will not loosen. This simple three hundred dollar mount is a great addition to any RED ONE camera setup. This video will show you how to install the Zacuto EVF mount on the RED ONE Camera.

Devolped by the same team of engineers responsible for LightWave 3D, modo, lowercase, delivers the next evolution of 3D modeling, painting and rendering in a single integrated and accelerated package for the Mac and PC. And now, modo is a true end-to-end solution that includes true 3D sculpting tools, animation and network rendering! More than just features, modo is a truly elegant integration of technology, raw horsepower and refined workflow. With such a wealth of inbuilt features, however,...

Developed by the same team of engineers responsible for LightWave 3D, modo, lowercase, delivers the next evolution of 3D modeling, painting and rendering in a single integrated and accelerated package for the Mac and PC. And now, modo is a true end-to-end solution that includes true 3D sculpting tools, animation and network rendering! More than just features, modo is a truly elegant integration of technology, raw horsepower and refined workflow. With such a wealth of inbuilt features, however...

Developed by the same team of engineers responsible for LightWave 3D, modo, lowercase, delivers the next evolution of 3D modeling, painting and rendering in a single integrated and accelerated package for the Mac and PC. And now, modo is a true end-to-end solution that includes true 3D sculpting tools, animation and network rendering! More than just features, modo is a truly elegant integration of technology, raw horsepower and refined workflow. With such a wealth of inbuilt features, however...

Developed by the same team of engineers responsible for LightWave 3D, modo, lowercase, delivers the next evolution of 3D modeling, painting and rendering in a single integrated and accelerated package for the Mac and PC. And now, modo is a true end-to-end solution that includes true 3D sculpting tools, animation and network rendering! More than just features, modo is a truly elegant integration of technology, raw horsepower and refined workflow. With such a wealth of inbuilt features, however...

Developed by the same team of engineers responsible for LightWave 3D, modo, lowercase, delivers the next evolution of 3D modeling, painting and rendering in a single integrated and accelerated package for the Mac and PC. And now, modo is a true end-to-end solution that includes true 3D sculpting tools, animation and network rendering! More than just features, modo is a truly elegant integration of technology, raw horsepower and refined workflow. With such a wealth of inbuilt features, however...

Developed by the same team of engineers responsible for LightWave 3D, modo, lowercase, delivers the next evolution of 3D modeling, painting and rendering in a single integrated and accelerated package for the Mac and PC. And now, modo is a true end-to-end solution that includes true 3D sculpting tools, animation and network rendering! More than just features, modo is a truly elegant integration of technology, raw horsepower and refined workflow. With such a wealth of inbuilt features, however...

Devolped by the same team of engineers responsible for LightWave 3D, modo, lowercase, delivers the next evolution of 3D modeling, painting and rendering in a single integrated and accelerated package for the Mac and PC. And now, modo is a true end-to-end solution that includes true 3D sculpting tools, animation and network rendering! More than just features, modo is a truly elegant integration of technology, raw horsepower and refined workflow. With such a wealth of inbuilt features, however,...

Devolped by the same team of engineers responsible for LightWave 3D, modo, lowercase, delivers the next evolution of 3D modeling, painting and rendering in a single integrated and accelerated package for the Mac and PC. And now, modo is a true end-to-end solution that includes true 3D sculpting tools, animation and network rendering! More than just features, modo is a truly elegant integration of technology, raw horsepower and refined workflow. With such a wealth of inbuilt features, however,...

Developed by the same team of engineers responsible for LightWave 3D, modo, lowercase, delivers the next evolution of 3D modeling, painting and rendering in a single integrated and accelerated package for the Mac and PC. And now, modo is a true end-to-end solution that includes true 3D sculpting tools, animation and network rendering! More than just features, modo is a truly elegant integration of technology, raw horsepower and refined workflow. With such a wealth of inbuilt features, however...


