Hello! I want to share a few thoughts about affection with you. This post is for all who wonder what is or could be the best way to communicate with the person you like. There are many ways of expressing. When Two Worlds, Mars and Venus Collide.

This Hello Kitty drawing is a sketch of an image from the "Hello Kitty" website. It's adorable and isn't the typical image you see on a Hello Kitty character. DragoArt has this video tutorial on how to draw Hello Kitty. Get more detailed instructions on the step-by-step cartoon drawing here.
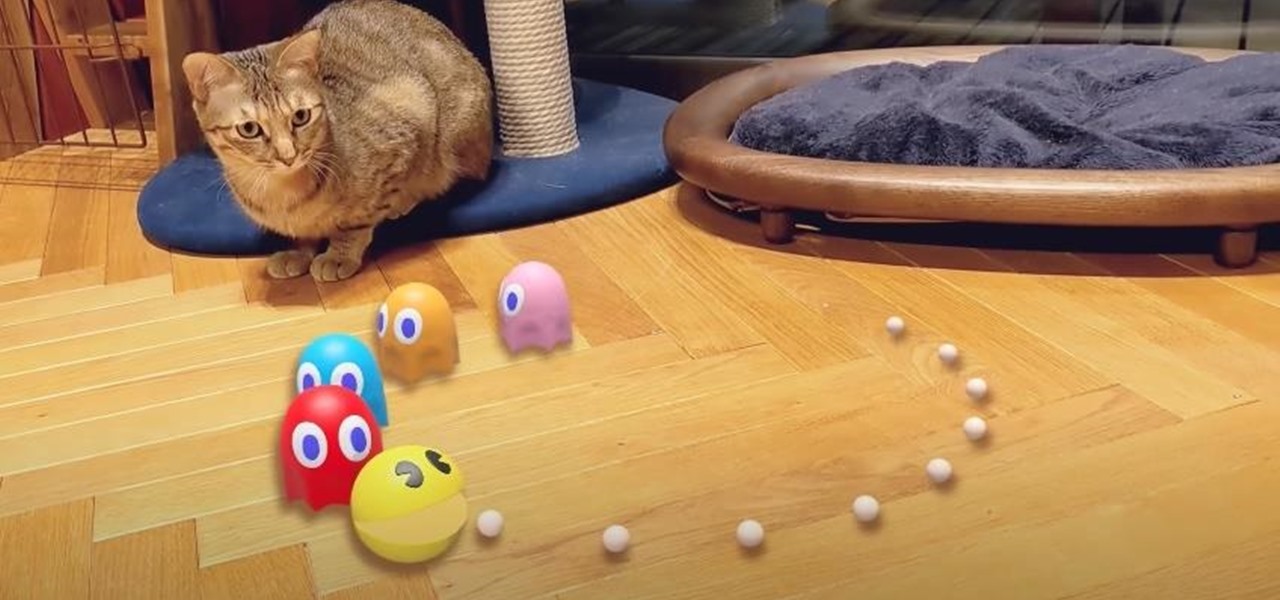
Gamers, anime fans, and those with an interest in Japanese culture are in for an AR treat courtesy of Google.
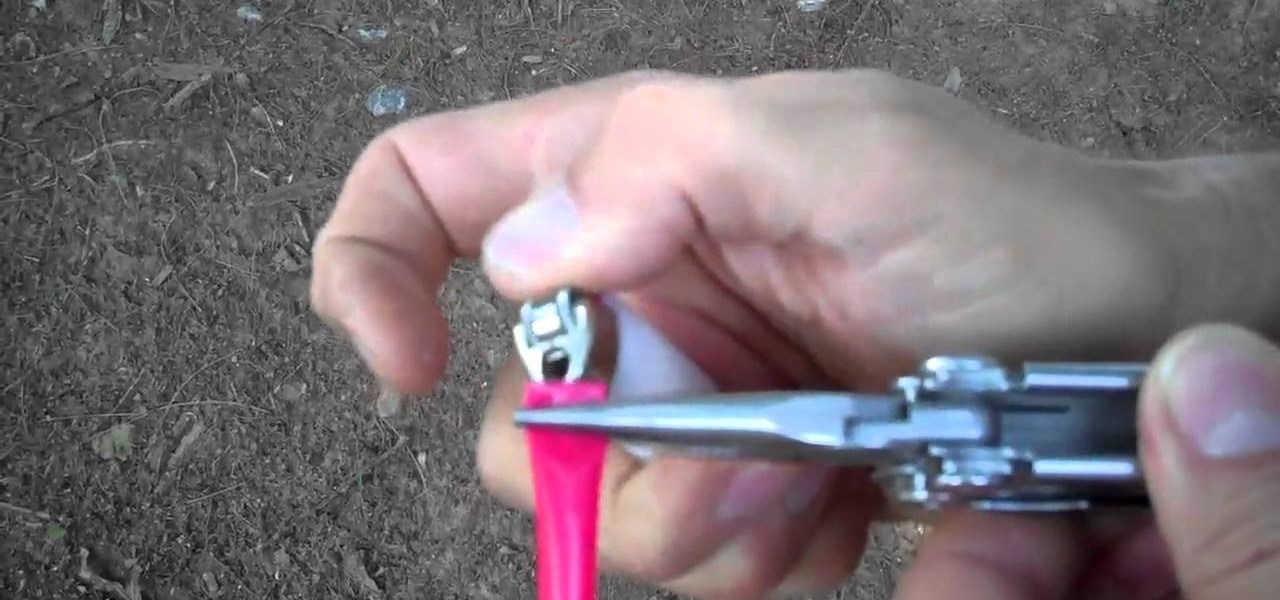
Okay, so you're fishing and you forget the basic essentials… you're fishing pole and your bobber. How are you going to catch a fish with just some fishing line? The answer? Plastic straw.

Tracie Cunniliers demonstrates how to wind a bobbin and thread the needle using an automatic needle threader in 'Elna 2800'.To wind a bobbin, place a spool of thread on the holder. Place a thread holder next to the spool of thread. Take the end of the thread and wind it around the clip situated on the other side of the machine. Now take a bobbin and pull the needle through the bobbin inside-out. Now place the bobbin on the holder and click into place. Hold the end of the thread and slowly pre...

The make-up artist Kandee Johnson demonstrates how to create a cute look of big dolly eyes for Asian girls. The first step is to make the eyelid look bigger and lighter by using a white eye pencil from Sephora. The second step is to use a light-colored eye shadow from Mac, which needs to be applied all over the lid and under the eyebrows. Then take a black pencil and accentuate the outer corners to make your eyes look bigger and rounder. Start from the outside and work your way in to create a...

English can be difficult because few words are spelled phonetically, and every rule has exceptions. But you can become a champ in no time by memorizing a few basic rules.
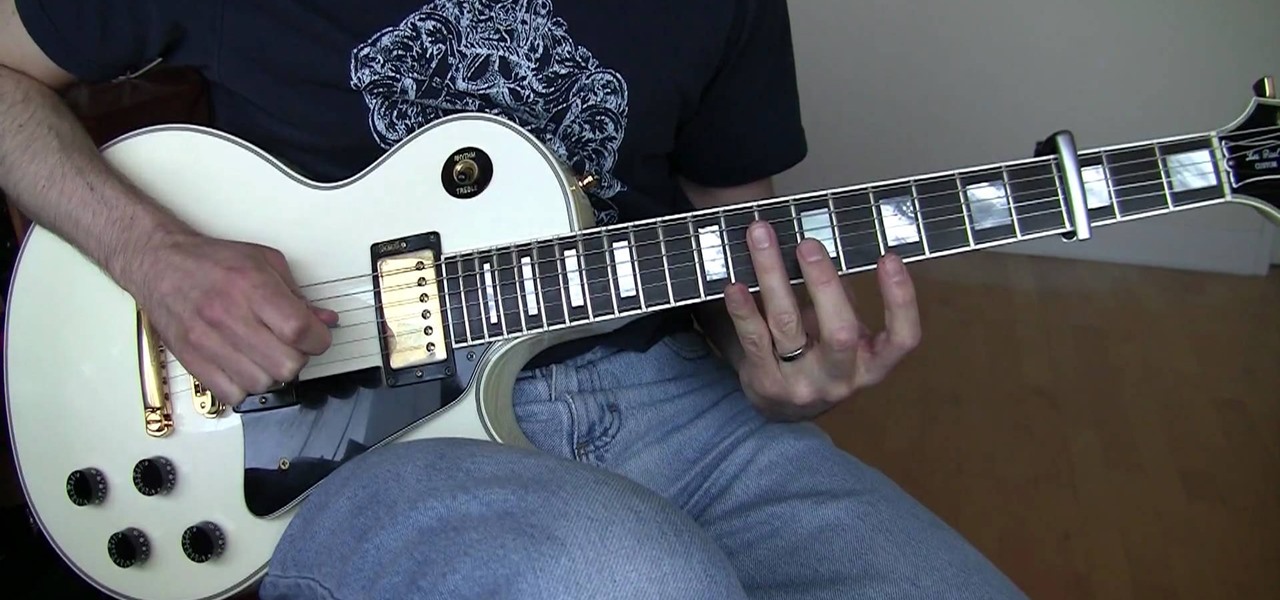
Want to play "Until the End of the World" by U2? See how it's done with this free video guitar lesson, which presents a complete (and we mean complete) breakdown of the song and its constituent parts. While this tutorial is geared toward those who already have some knowledge of the guitar, players of all skill level should be able to follow along given adequate time and effort. For more information, and to get started playing "Until the End of the World" on your own guitar, watch this video g...
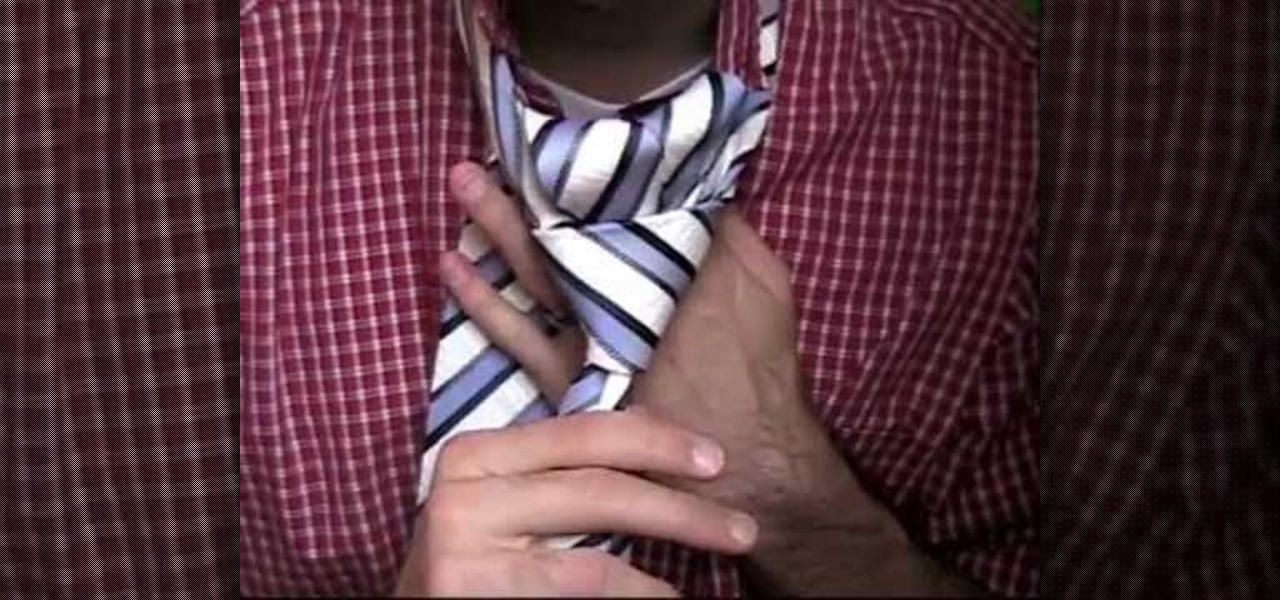
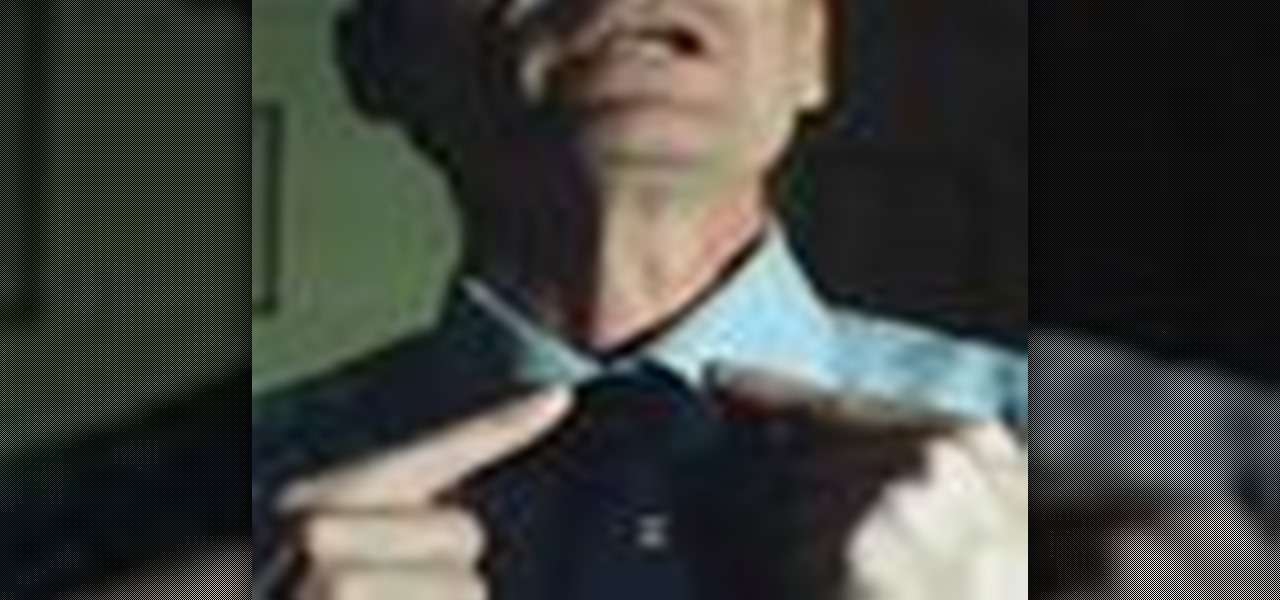
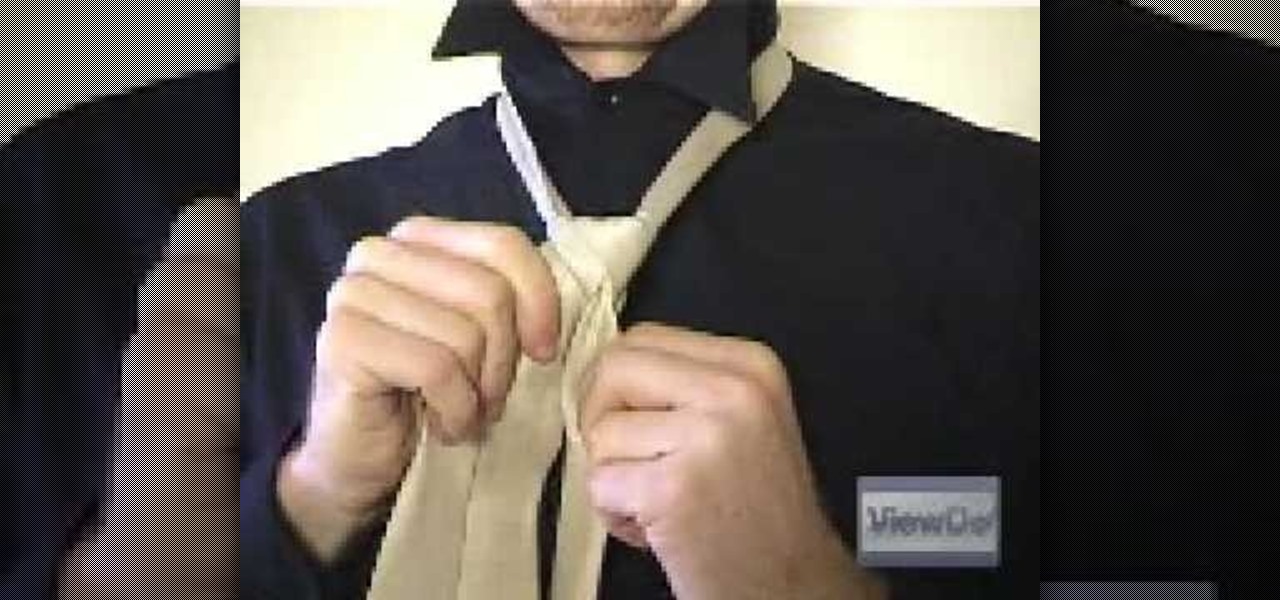
If you want to know how to tie a Double Windsor knot, this video is for you. To tie a Double Windsor knot: Lift up the collar of your shirt. Place the tie around the back of your neck so that the wide end hangs down on the side of your dominant hand, a little more than twice as low as the thin end. Cross the wide end once over the front of the thin end and then around the back of the thin end a few inches below your neck. Slip the wide end through the back of the V-shape made by the knot, pul...
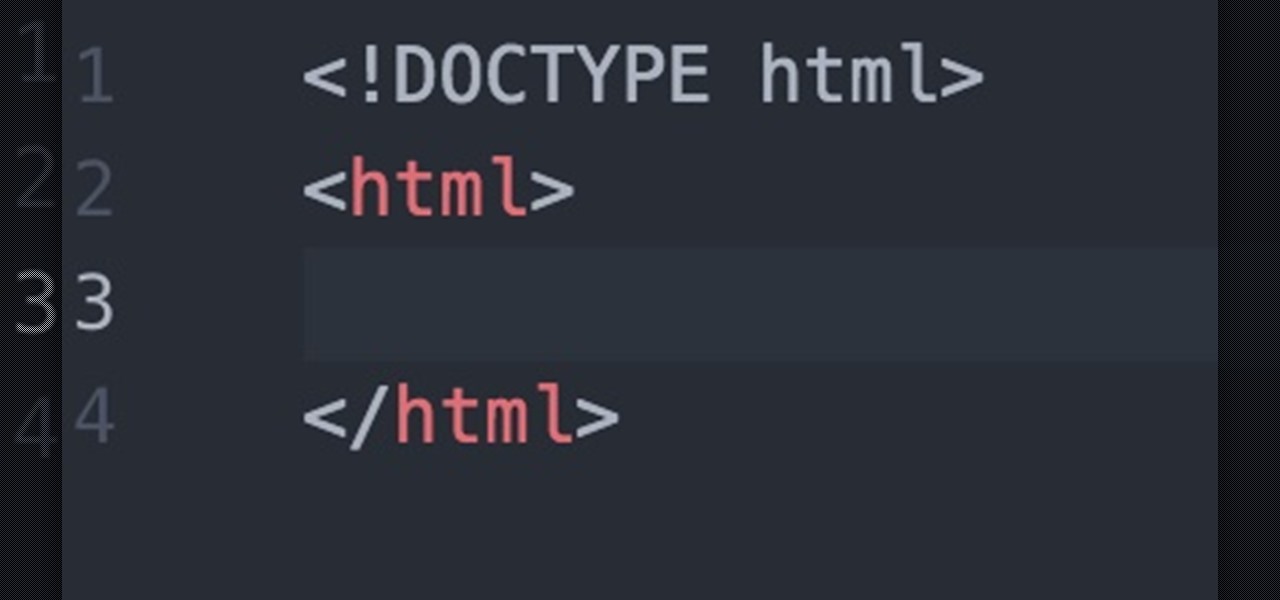
Hello fellow Null-Byters! In this "tutorial" we will be going basics of HTML. In the next tutorial, we will be going over CSS and then apply JavaScript.
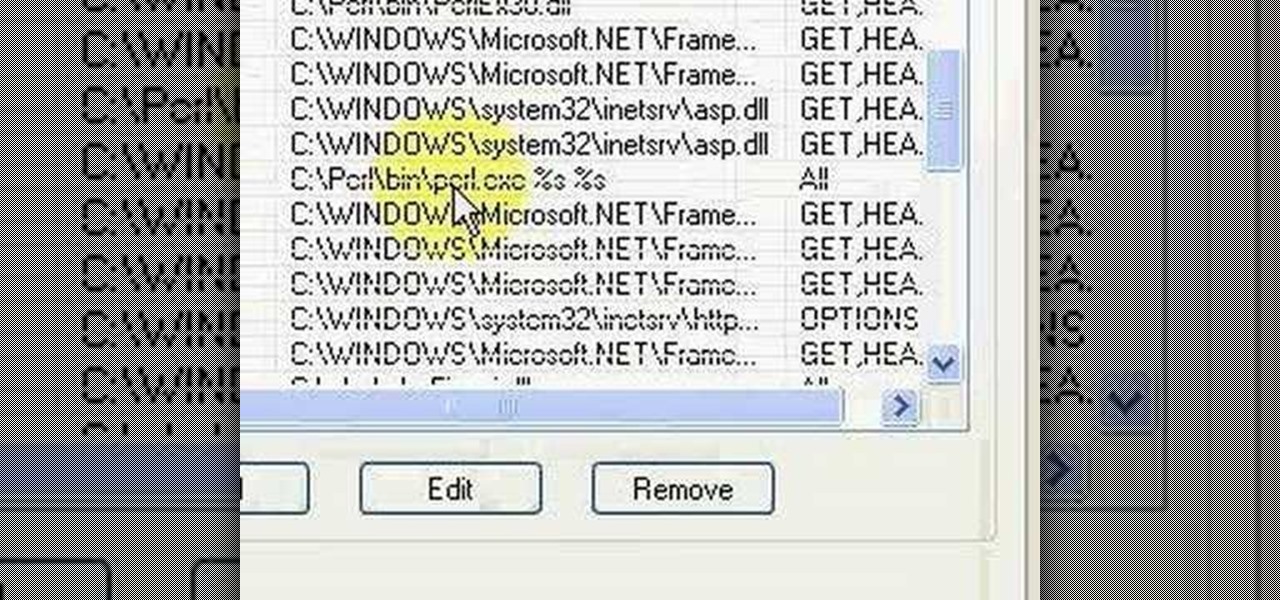
Brief 9-minute video demonstrates running "Hello World" Perl script on IIS and Apache Web Servers.
'Loose Change' is cool secondary quest in Dragon Age 2 that varies depending on whether you chose to be a smuggler or a mercenary when you enter Kirkwall. This video will walk you thorough the mercenary version of the quest, allowing you to, in fact, tie up your loose ends.
Sometimes when you're camping it's necessary to pitch a little something called a tent after a long trek hiking and exploring the great outdoors. And when you're ready to call it a day, make sure you can do so peacefully without the fear that your tent contraption will fall down on you during the middle of the night.
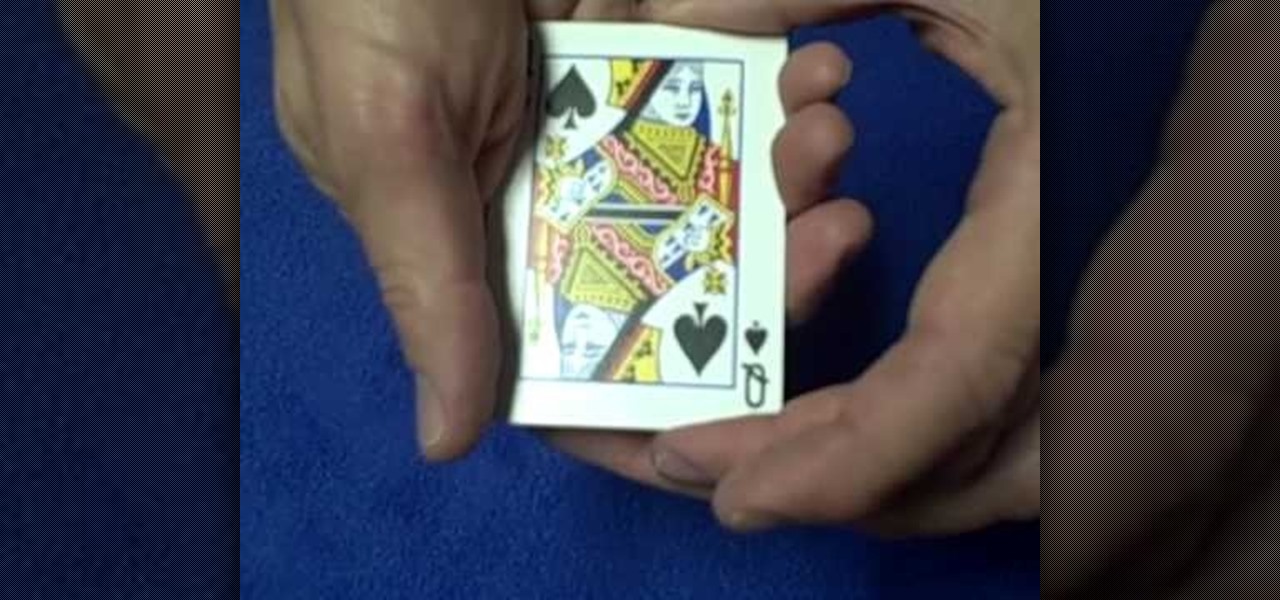
In this video tutorial, viewers learn how to do the "Jacks would be Queens" card trick. This trick begins with a story of 4 jacks who all want to become women. The magician begins with 4 identical jack of diamonds. The first jack is the bravest. He goes under the knife and ends up as an ugly woman. The other jacks do the same and all end up as ugly women. In the end, the magician ends up with 4 queen of spades. Users will need 2 jack of diamonds, 3 queen of spades and a fake card with both th...
A demonstration on how to make a lucky star from folded paper with origami is shown in this video. For this you need to get a strip of paper. Attractive papers are available at the stores for this. First to start up take an end of the strip of paper and tie a knot, flatten it and bring it as close together as you can. Then with the small free end fold it in, flip it over fold the long free end in such a way as it gets a pentagon shape. Next flip the free end over the edges. Continue to turn i...
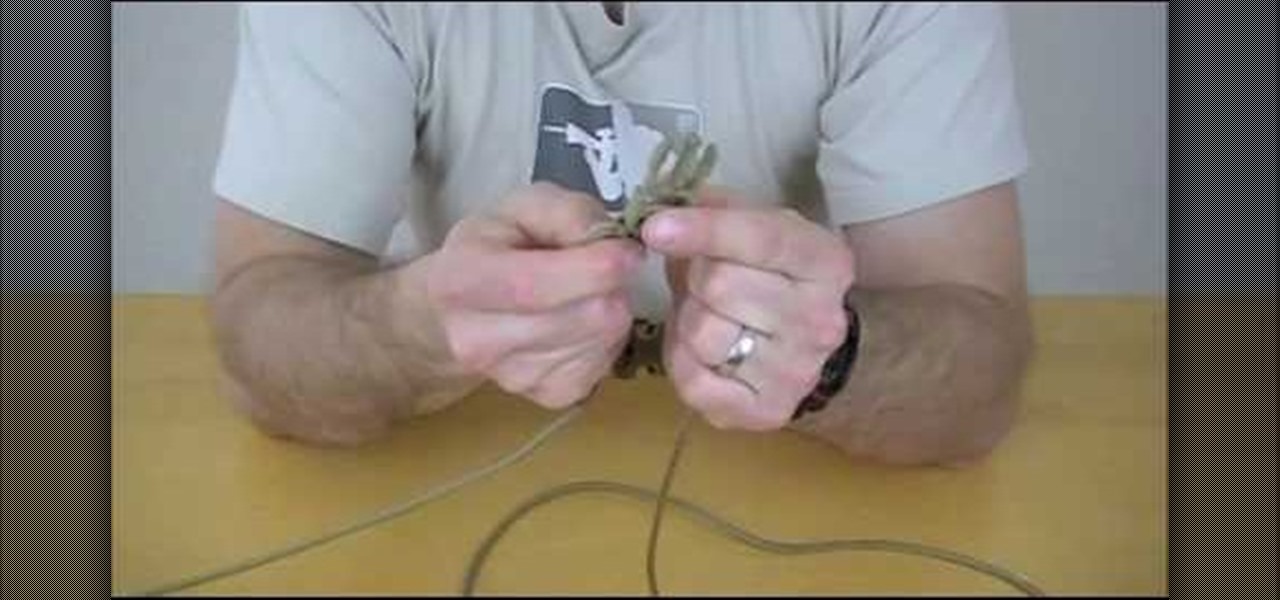
This video will show you how to make a very useful bracelet with 550 paracord. Once you watch this video, you'll have no excuse not to have any paracord on you. You'll always be prepared; after all, you never know what you could use this for! Just follow these steps:
Loose ends are never good, whether you're talking about who gets the kids and when once a relationship has ended or fixing a science project you did at the last minute five minutes before class.
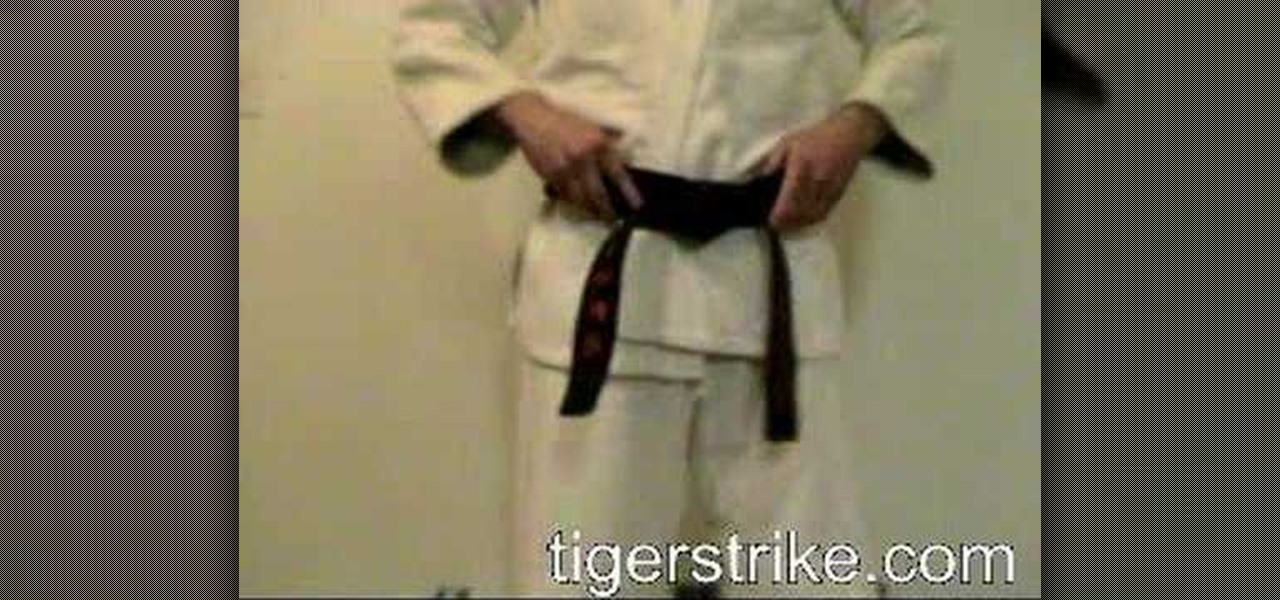
In this Sports video tutorial you will learn how to properly tie a karate belt. This video is from Tiger Strike. There are two ways of doing this. 1st method. Take 3 hand lengths of the belt from one end, place it on the right hip wrap the belt around the waist with the left hand twice. Then take the other end and pass it underneath both the layers of the belt from bottom to up, pull both the ends and make them even. Now take the left end, put it over the right side end then pass it through t...
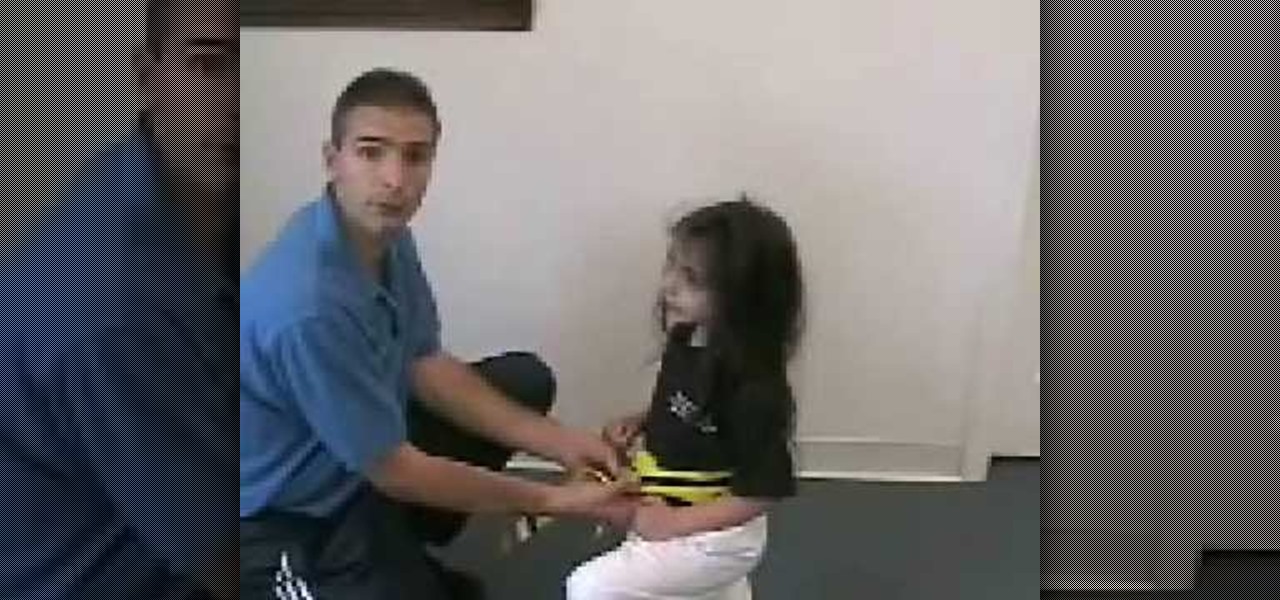
In this how-to video, Mark Denino will show you how to tie a karate belt tightly and safely onto a child. Have the child kneel down for you to tie the belt on. Unfold the belt and hold the middle. Place that section around the belly and wrap the ends around. Cross the ends over and pull one end under both strands. Take the other end cross them over. This will create a knot. Pull tightly so that it fits snugly on the child. Make sure the ends are about the same length. Viewing this video will ...
Windsor knots are among the most well-known type of knot. They look wonderful and they just seem to radiate talent and professionalism. However, the process is painless and takes only minutes to learn. You should watch this if you want to learn how to make Windsor knot. 1. Drape the tie over your shoulders (the same way that you would an Honors cords at a graduation) with the wide end hanging down roughly a foot over your right shoulder. 2. Take the wide end of the tie and cross it over the n...
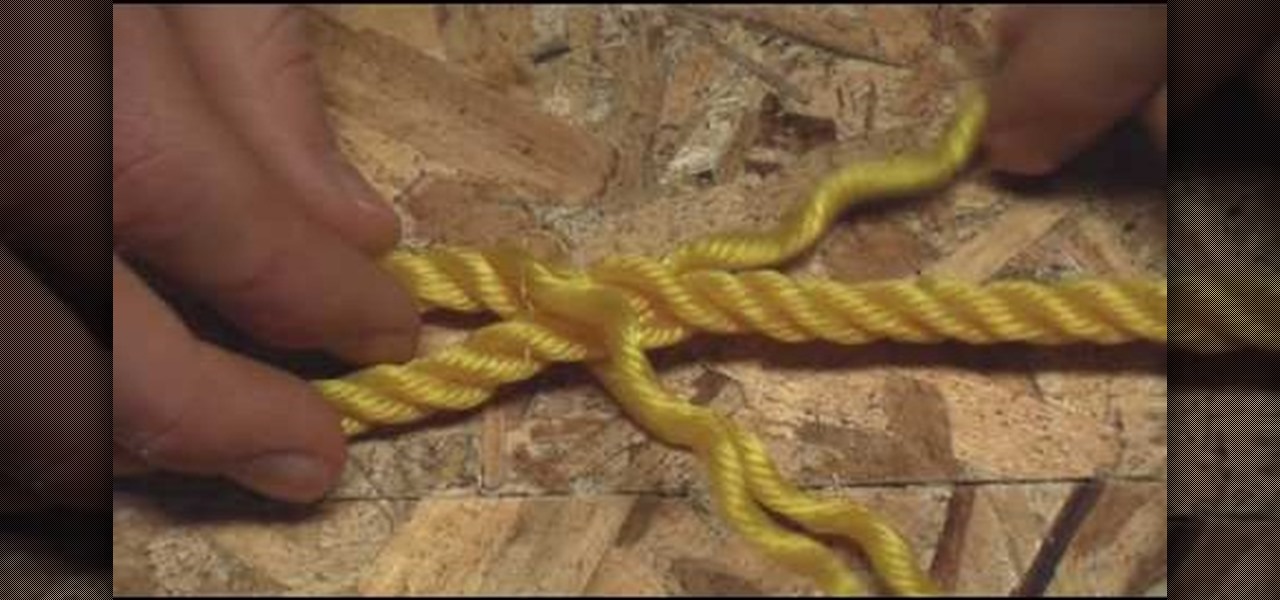
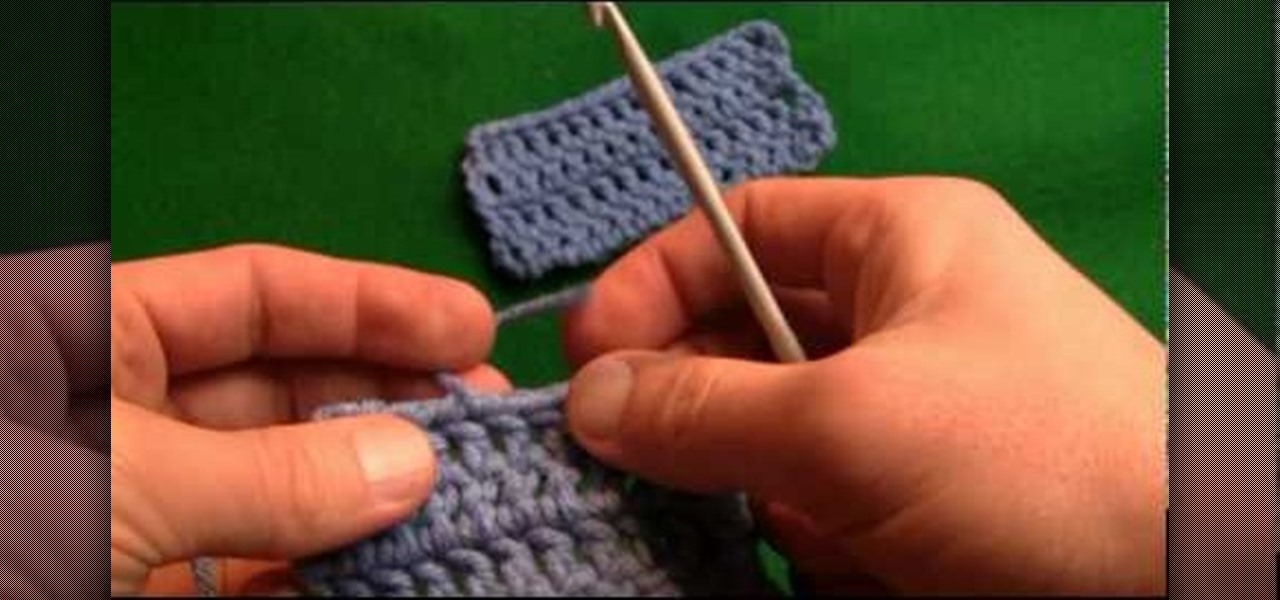
He explains how to tie a "blood knot" and what the blood knot is used for, which is joining two separated rope/string ends. He demonstrates the knot, which starts by taking the two lines and lining them up one on top of the other, so they are parallel to each other. Then, start winding one end around the other, at least 3 or 4 times. Do the same with the other loose end as well. Then, place the first end through the wound part of the two ropes where you started. You pass the other end through...
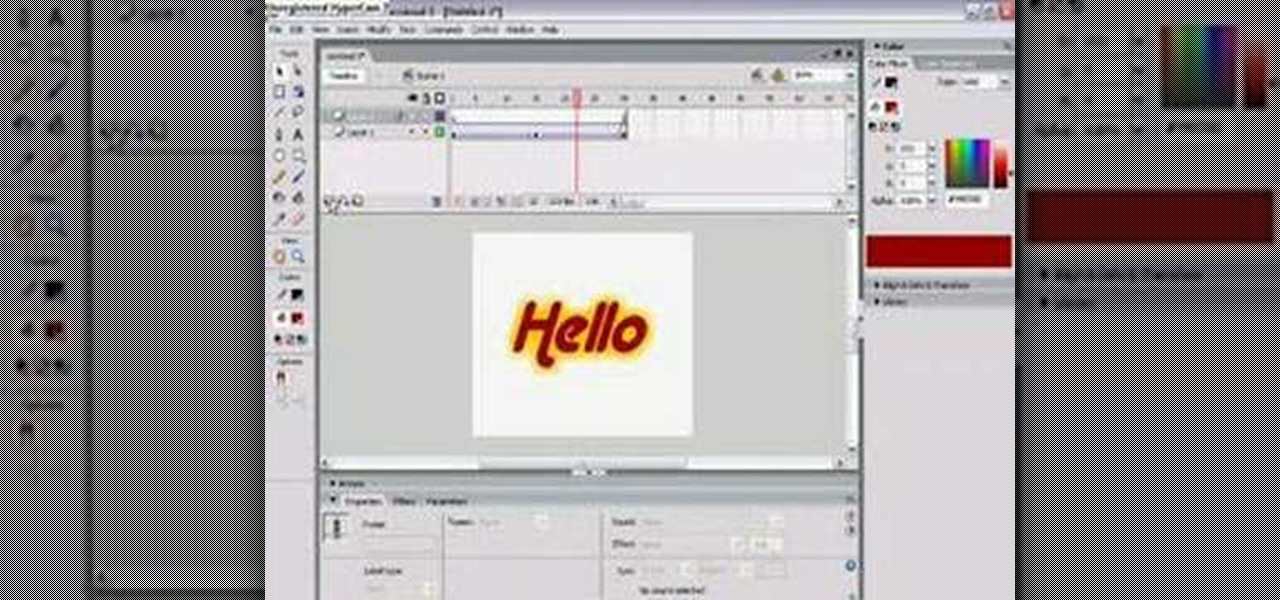
1. The following lines describes how to create animated glowing text on Flash. 2. Open a new Flash Project and select first Key Frame and place a Text Box and Type "HELLO" 3.Select TextColor as red. 4. Then Go to Filters->Glow a. select color as Dark Yellow b. increase the Blur x,y Property value to 5 c. strength value to 200 d. Quality: Low 5. Select 15th Frame and Right click->Select Insert KeyFrame. 6. Then increase the Blur x,y Property value to 50 and strength value to 300. 7. Then selec...
hello hackers,newbies and followers of this great community, after some research here in our community, I noticed that there is not even one tutorial that teach Web Development. We have a lot of tutorials on how to hack web site but many do not know exactly how a web site is composed, then I decided, meeting the community's needs, begin to teach people how to develop web sites.
In python, or any scripting language for that matter, there are certain things that you will carry with you throughout your entire scripting career. Some of the most basic things that you will keep with you are output, variables, and their value types. We'll start by going over output, then cover variables and their types. So, let's get started!
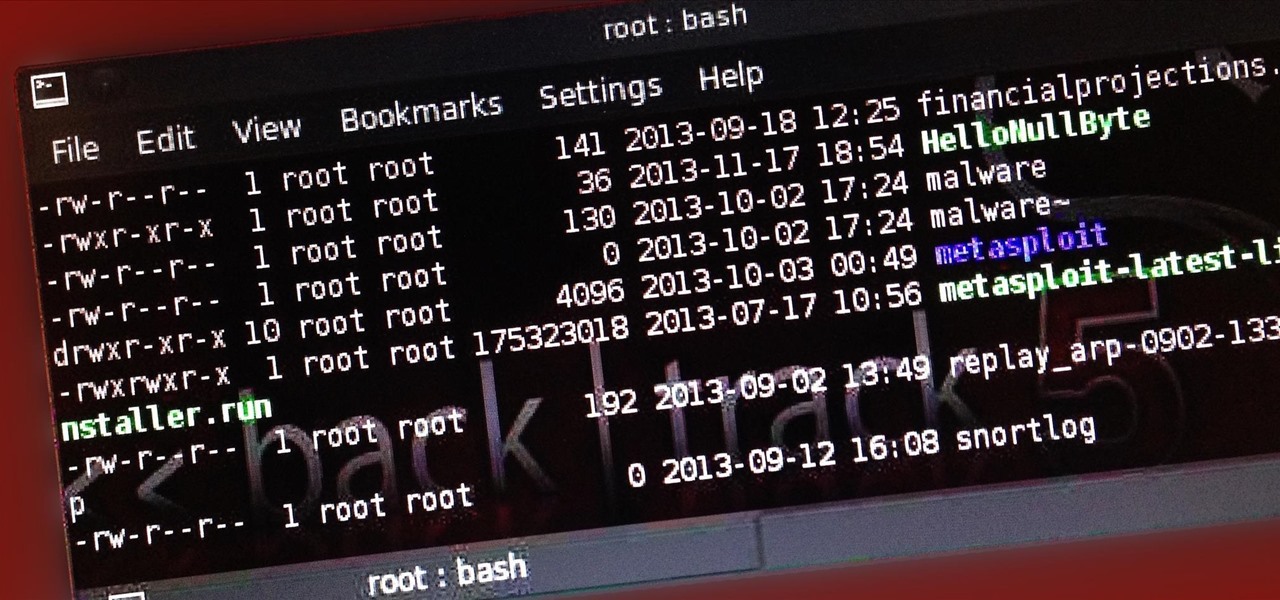
Welcome back, my greenhorn hackers! Recently, I asked the Null Byte community what subject they would most like me to cover in future tutorials. Many of you cited scripting, and I decided it's best to cover this subject soon, so here goes.
This video tutorial is in the Beauty & Style category which will show you how to tie a necktie in a four-in-hand knot. The broad end should hang lower and to the right. Take the short end of the tie in your left hand and bring the long end of the tie across it and hold it in your left hand. Then bring the long end back underneath the short end showing the back of the long end in front. From there you bring the long end back over the front of the tie to create a cross-section of the tie. Now p...
In this tutorial, we learn how to tie a necktie on someone else. First, pop the collar and drape the tie around the neck with the wide end on your right. Then, tug the wide end down, so it hangs 12 inches below the narrow end. After this, cross the wide end over the narrow end, and bring it up through the neck loop and down the front. Swing the wide end to the right, pass it under the narrow end, then cross it back over the right. After this, push it up through the neck hole. Now, tuck it thr...
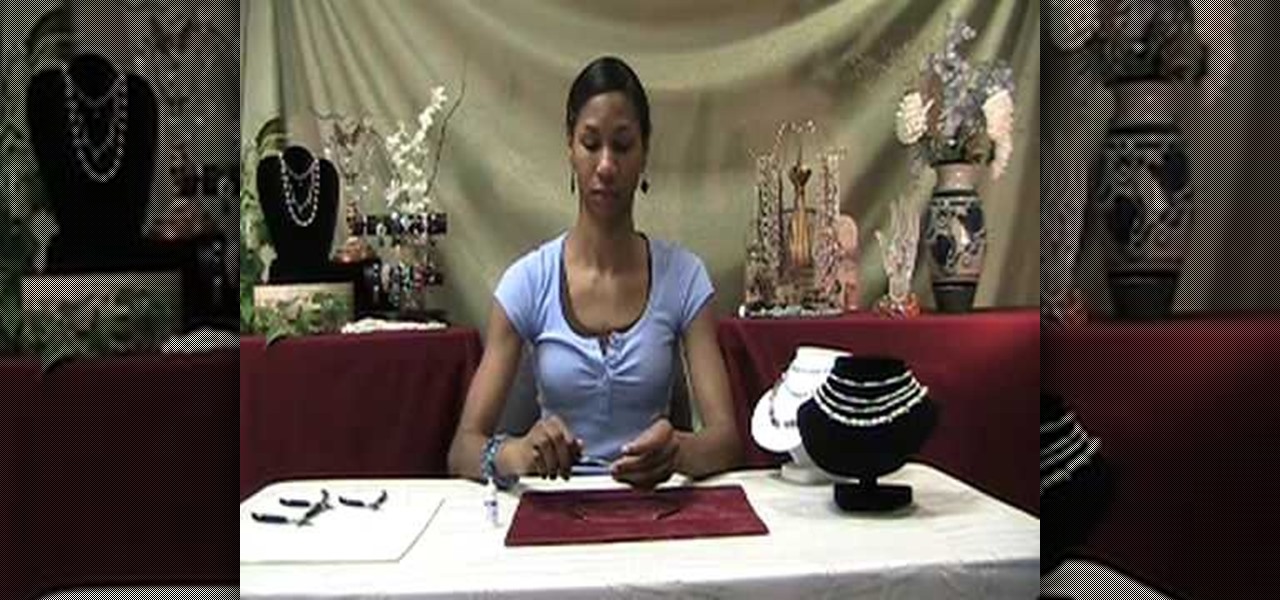
In order to make a neoprene necklace, you will need the following: neoprene, scissors, end caps, clasps, glue, and 2 pairs of pliers.
Make a hematite bead ring
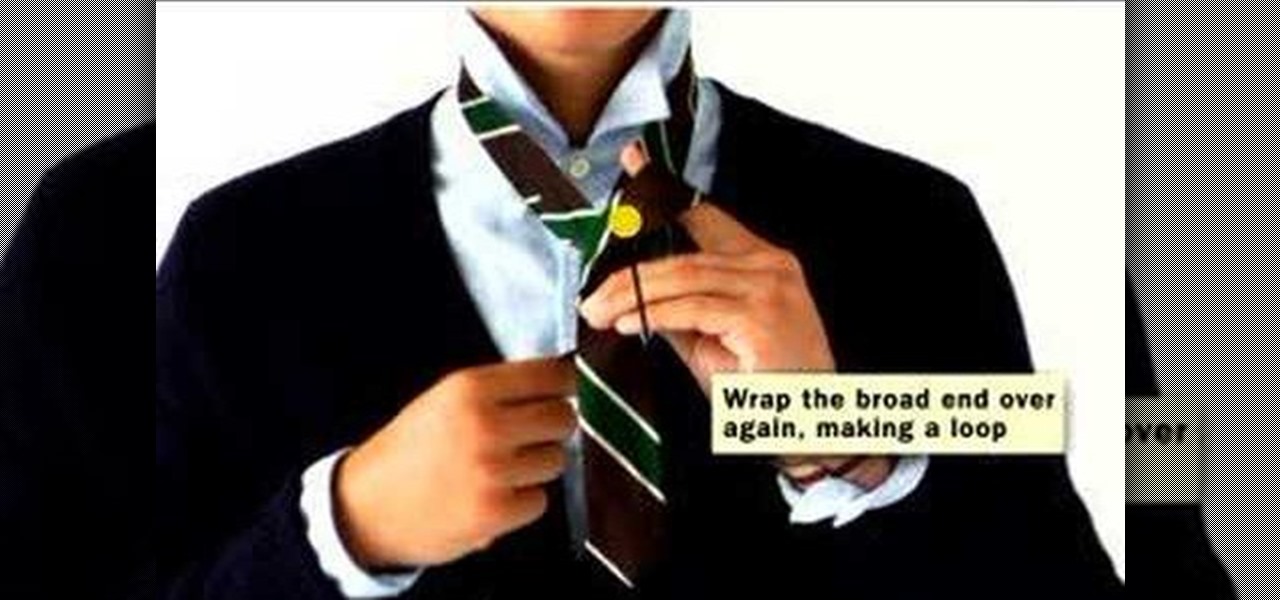
In this video, we learn how to tie a tie in ten easy steps. First, you will need to put the tie on and put the wide end in your right hand and the thin end in your left hand. After this, place the wide end over the top of the narrow, then put the wide end back over top the narrow end. Next, put the wide end through the loop made with the tie and your neck. After this, put the wide side through the front loop of the knot and pull the wide end down tightly. After this, hold the knot and pull th...
Place you tie around your neck. Make one side longer and one side shorter. Then you will criss-cross the two sides of the tie, with the longer end being placed over the short end. Take the long end and loop it around the shorter end. Then you will take the longer end and bring it through the little loop that you have already formed by looping the end around. This will give you the ascot. To do a scrunchy tie, take the ends and pull them through the loop that has formed, and then you will have...
This video shows expert instructors tying a tie in the full Windsor knot. First you cross the wide end of the tie over the narrow end. After that you put the wide end up through the loop (behind the narrow end) and then you pull it through the tie. Next you cross the wide end behind the narrow end of the tie and then pull it back over the loop. Then you cross the wide end in front of the narrow end, go up the loop around your neck, and then down through the loop in the tie. You have now tied ...
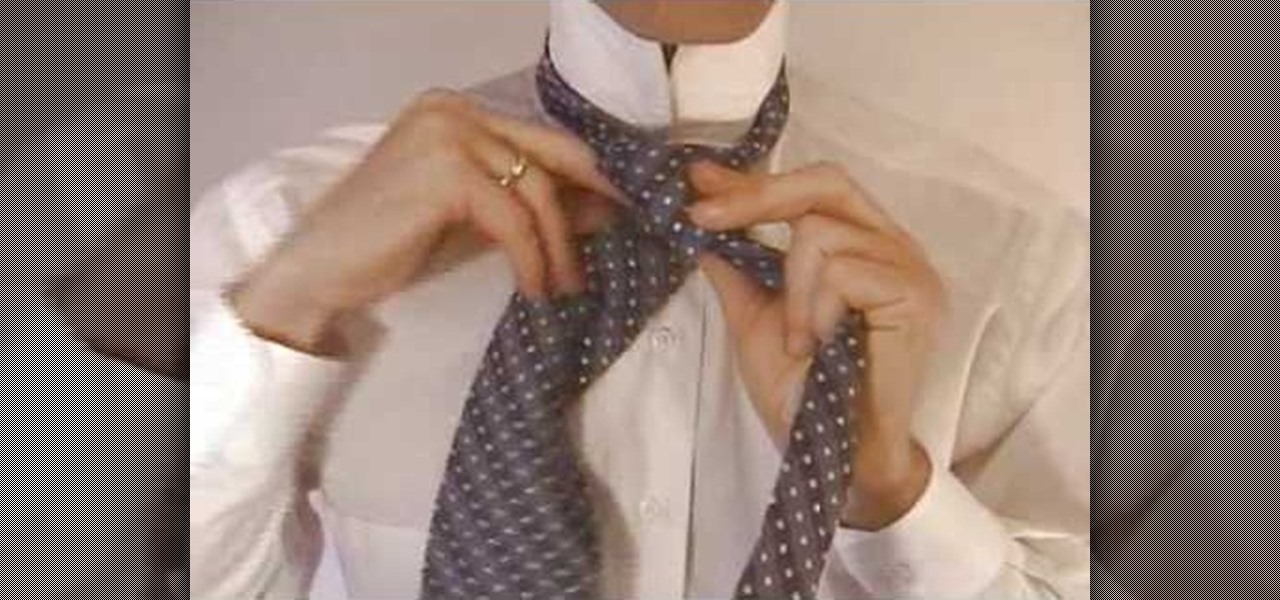
Our host Roe is going to show you how to tie a double Windsor knot into a tie, with this quick step by step guide. To begin, you want to make sure the wider front end of the tie is on your right side and the little end is shortened to about the pectoral level of your chest. Next, you want to cross the two ends with the wider front end on top of the little end, hold where they cross and then bring the wider end through underneath the spot where you're holding. Now, hold the spot where the two ...
This video demonstrates how to tie a double Windsor knot, which is the neatest and most uniform looking tie knot. This knot can be tied in a few steps. First flip the shirt collar up and drape the tie around the neck as shown. Make sure to adjust the tie length so that the narrow end is just above the navel ring. Cross the wide end over the narrow end, pull the wide end back up the loop you just made, wrap the wide end behind the narrow end and back through the neck loop as shown. Pull both e...
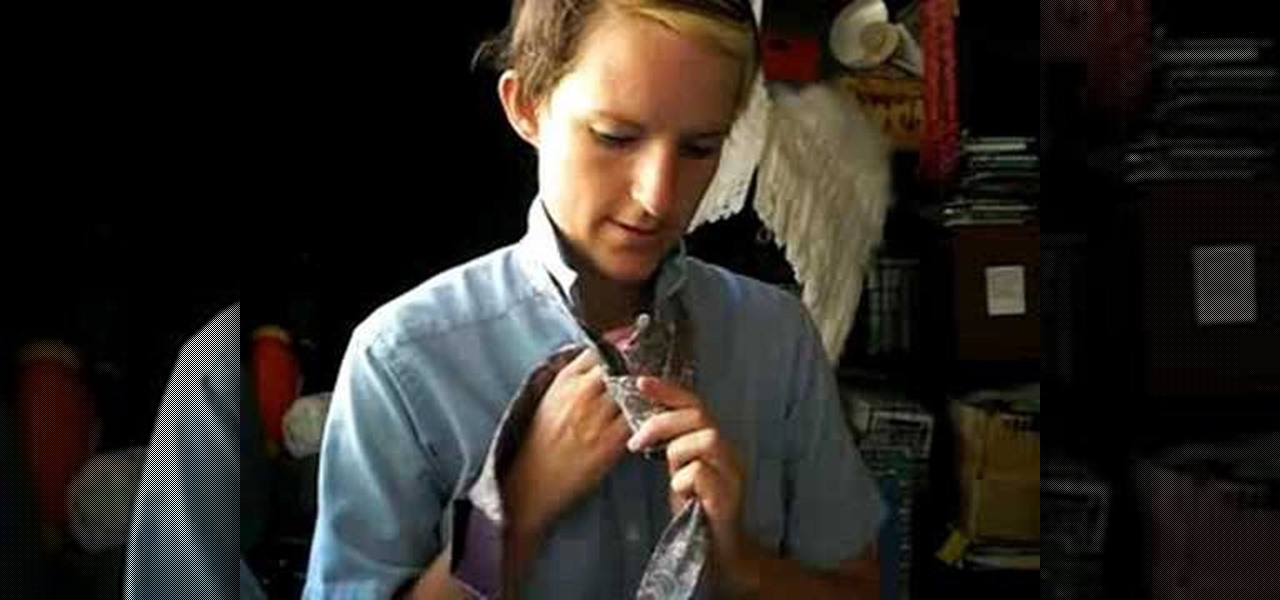
Linda shows us how to easily tie a tie for a woman. To tie a tie: Start with the wide end of your necktie on the right. make sure that it is longer than the one with narrow end. Then cross the wide end over the narrow end. Turn the wide end back underneath the narrow end. Do steps 2 and 3 thrice. Then, pull the wide end up and through the loop around your neck. Hold the front of the knot loosely with your index finger and bring the wide end down through the front loop. Lastly, remove your fin...
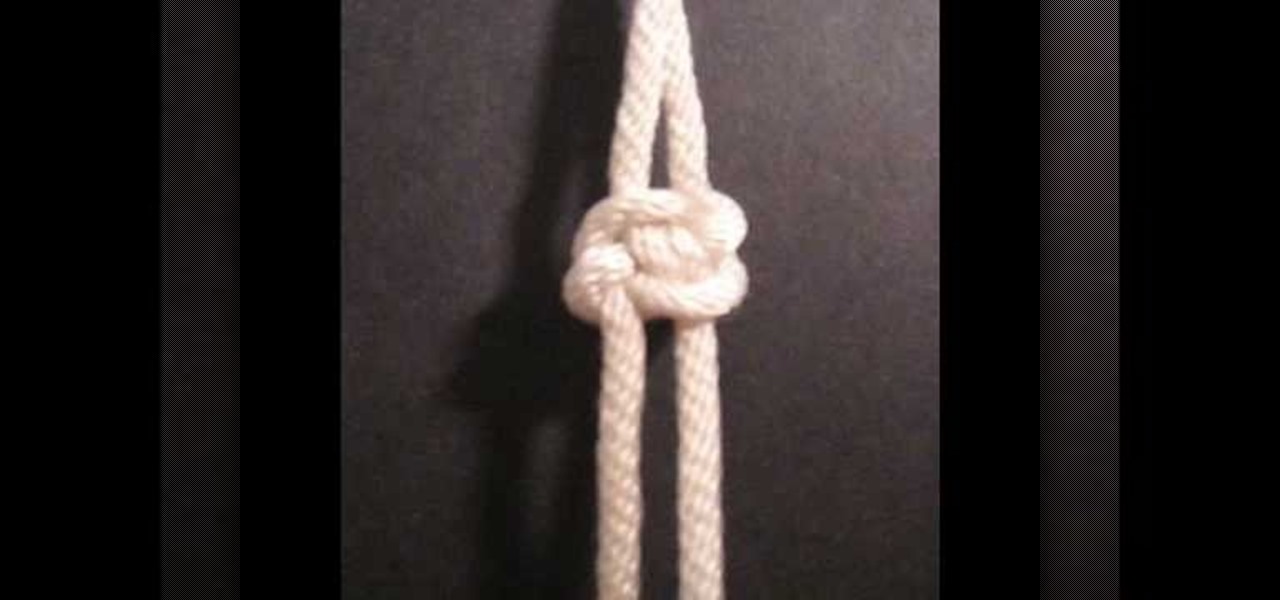
To make a Kinky Lover's knot, first hang or keep the tag on something. Then take the first end. Tie it by keeping a loop. Then take the second end and pass it through the loop by leaving a loop. Then take the second end, which was taken earlier , through the loop made by the first end. Then pass the second end through the loop, which was made by the second end. The knot is ready! All we have to do now is to tighten the knot by pulling the two ends. Make it beautiful by arranging the tag clearly.
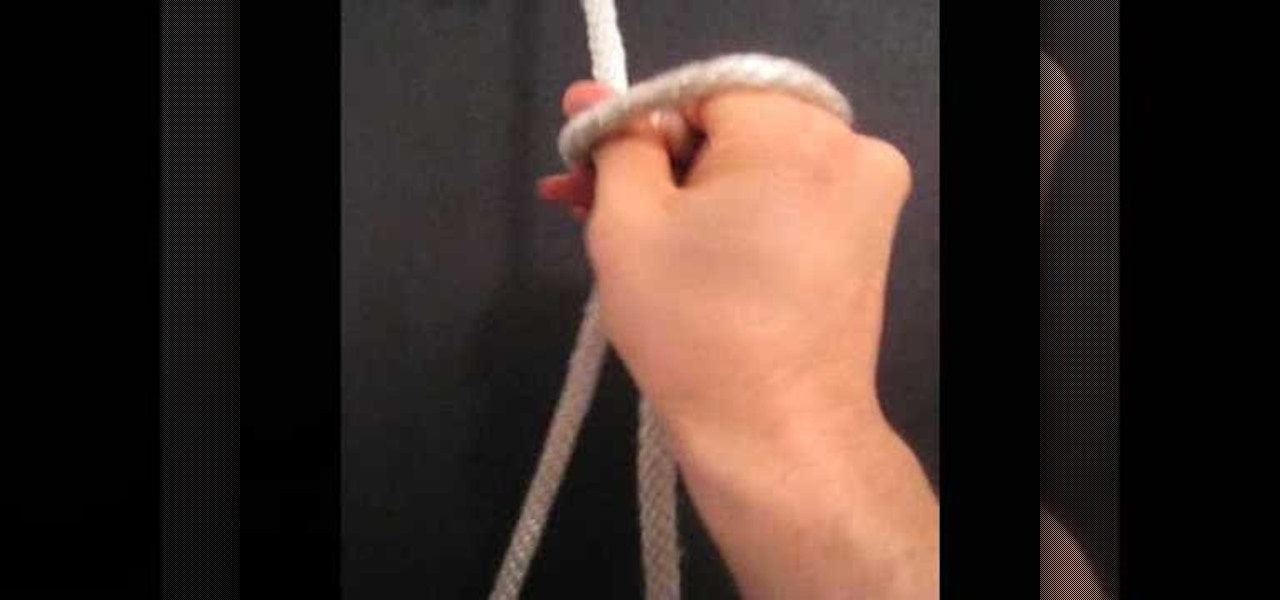
This is a video tutorial in the Arts & Crafts category where you are going to learn how to tie a Bowline knot with one hand. Doing this is really simple and easy and doesn't take any time at all. Hang a line from any support. Take the lower end, that is the running end in one hand and pass it around the standing end. Then take it out through the loop and pass the running end around the standing end and pull it out through the loop. Tighten the knot and it's done. It's really that simple and e...
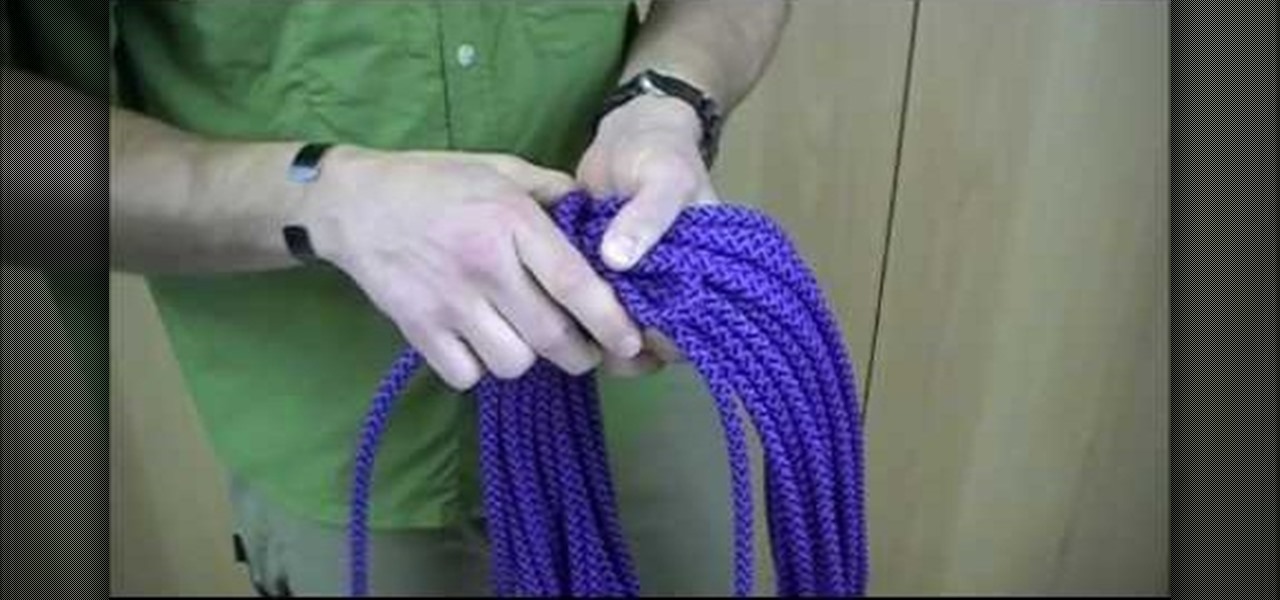
In this tutorial, we learn how to tie an Alpine Coil knot. When you start your coil you want the starting end to be inside your hand. First, take the working end of your rope on your last coil and make a loop in your rope. Then, wrap a couple of turns around the rope and lock it into place. Once you've made a couple of turns, the working end will go into the loop. To secure, go over to the end from the loop and give it a tug, which will lock the working end into the rope and make a nice way t...
This video tutorial is in the Arts & Crafts category which will show you how to tie a decorative Door Knocker knot. Take a piece of rope and make a loop at the center with the left hand end of the rope over the right hand end. Now pass the right end above and through the loop to make a half knot. Twist the loop to make a figure of eight, pass the right hand end through the lower loop of the "8" and back through the upper loop. Repeat this once again. Now repeat these steps with the left hand ...
In this video tutorial, viewers learn how to insert or delete footnotes or end-notes in Microsoft Word 2007. A footnote is a little reference which will place a small number in subscript and link it to a comment. A end-note is similar except it links the comment to the end of the document, rather than the end of the page. Begin by highlighting the text. Then click on the Reference tab and select Insert Footnote/End-note. Then just add a comment to the subscript. This video will benefit those ...