Welcome back, my hacker apprentices! To enter the upper echelons of hackerdom, you MUST develop scripting skills. It's all great and well to use other hacker's tools, but to get and maintain the upper hand, you must develop your own unique tools, and you can only do that by developing your scripting skills.
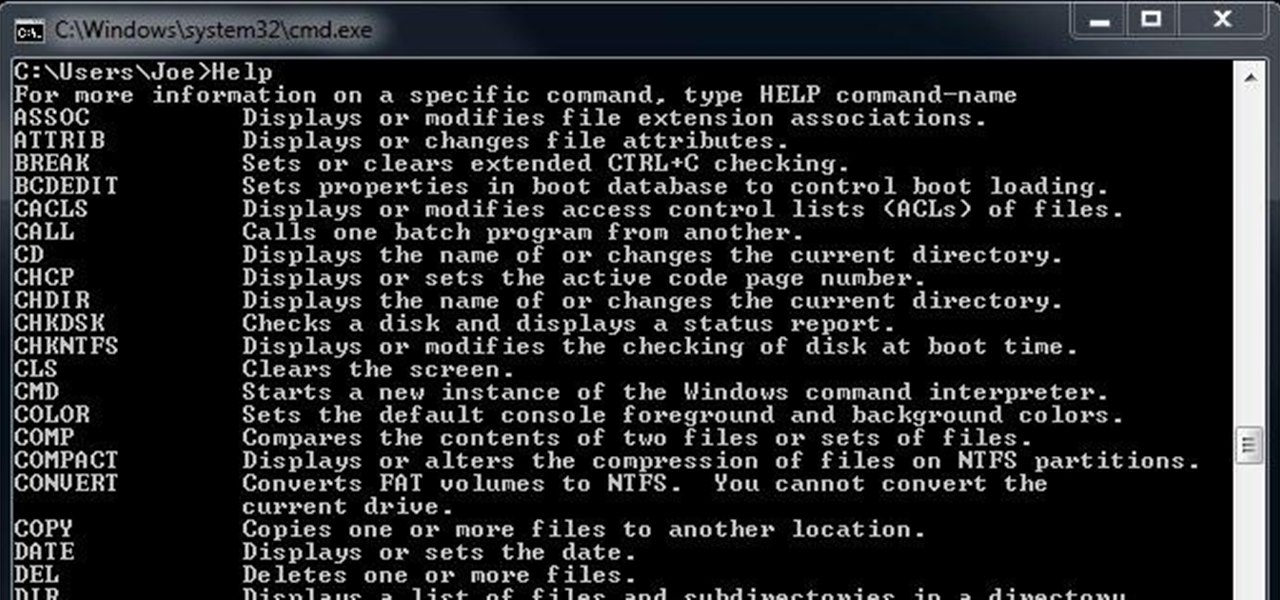
Every Windows system includes command prompt; and while a lot of people on Null Byte and WonderHowTo in general know how to use it, some people don't know anything about it, even how to access it.

In this tutorial, we learn how to turn an old scarf into a purse with Threadbanger. First, you will grab your old scarf and tie it at the ends, making a knot. After you have tied each of the ends, bring the opposite ends together and tie them together into a knot. After this, do the same on the other side. Now, you will have two handles and a hobo type of purse to carry around! This is a great way to use a scarf that you aren't going to wear. You can make this however you would like using dif...
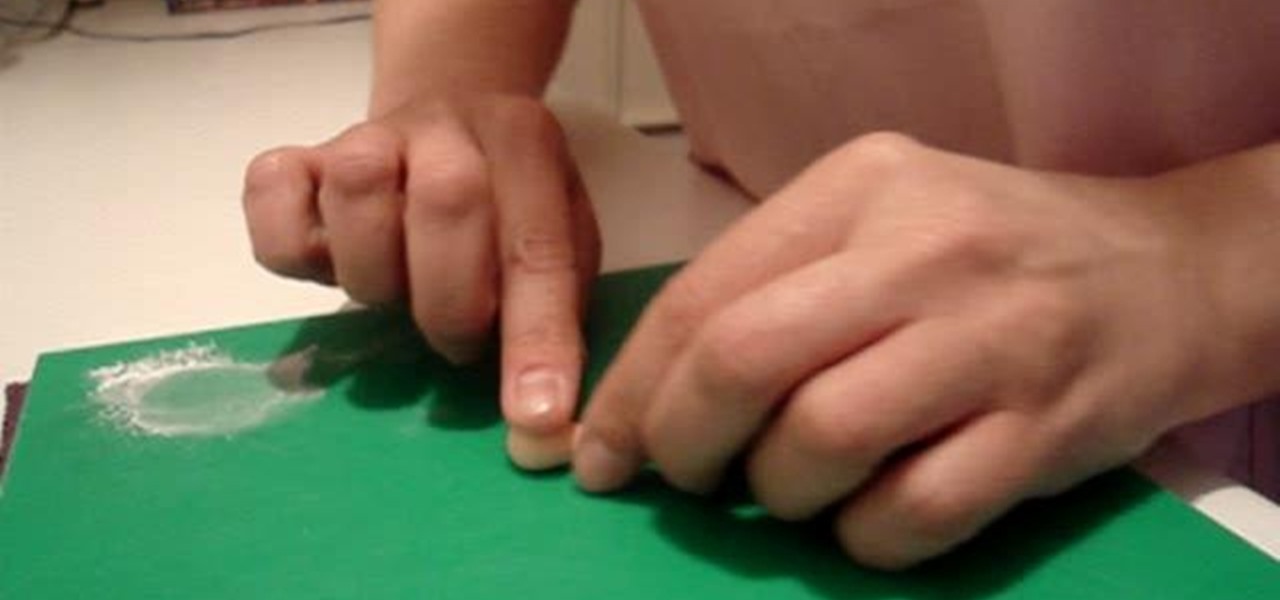
In this video tutorial, viewers learn how to make hands with modeling sugar paste. Begin by rolling a small ball of paste into a tear drop shape. Then flatten the end, making it look like a ping pong paddle. To make the thumb, use a knife and cut into the side of the flat end at an angle. Do the same to make the fingers. Now roll and pull each finger of the paste, and hen tap the end. This video will benefit those viewers who are interested in art or baking pastry and would like to learn how ...
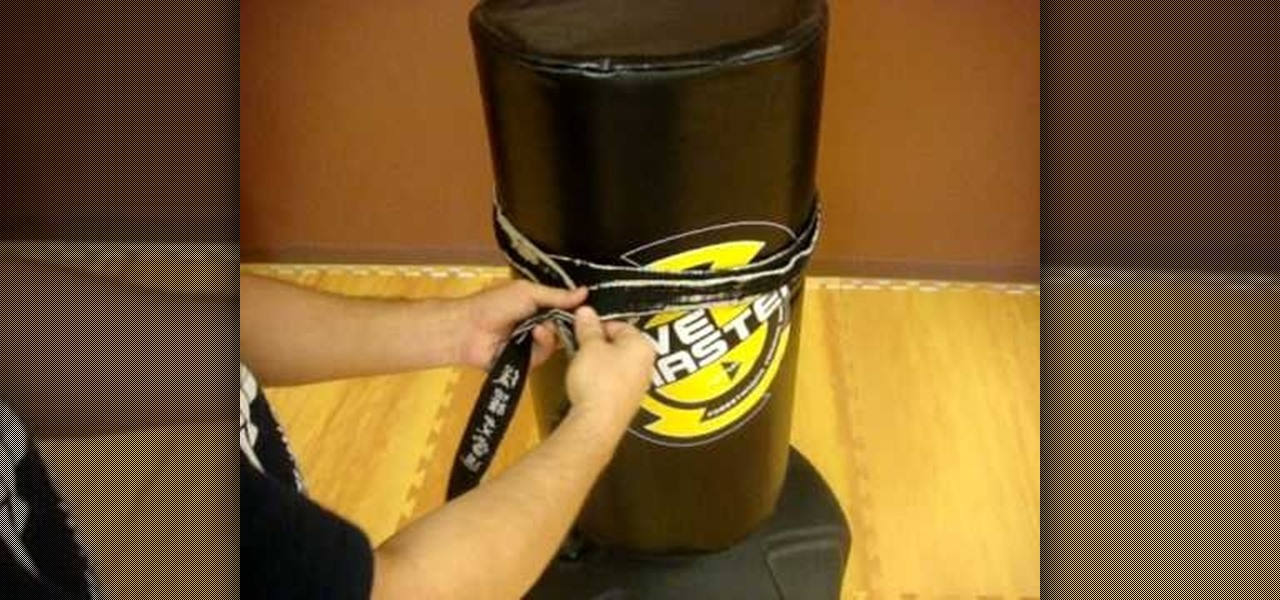
In this how-to video, Sensei Paul Adams will teach you how to tie your belt on your karate kid. The belt will be very stiff at first, but will loosen up over the years. Take the middle of the belt and place it on their belly. Take the ends and pull them all the way around until they reach the belly again. Make sure the belt is snug the whole time. Place the right side over the left and pull that end under both layers of the belt. Once this is done, pull the left end over the right and tie a t...

Learn how to dice any kind of onion or shallot. First cut the ends off of the onion, being sure to remove only a little bit of the root end. This is so the onion stays together when chopping. Make vertical cuts in the onion starting from the opposite end of the core. Then make horizontal cuts only cutting 3/4 of the way through. Then cut across to dice the onion.

Tie a double overhand knot 4" from the end of the shock tippet or other material to which you want to connect your class tippet. Gently tighten the double overhand knot, but only until it turns over and forms a figure-eight. This leaves two gaps through which you can pass the tippet material. Create a doubled section of your tippet 18". Putting a sharp angle on the tip of the doubled loop will help it pass through the figure-8. Pass the doubled tippet line through the top of the figure-8 knot...

Split ends suck. And while paying a visit to your hairstylist every two months or so helps to get rid of most of them, regular styling and wear and tear will cause split ends on even girls with the strongest hair.

This mod will run you about $130, but you'll have your own laser torch at the end of it. You'll need a high end flashlight, a Aixiz module, an AR coated lens and a blue diode. Then assemble according to the instructions, and get a laser at the end of it!

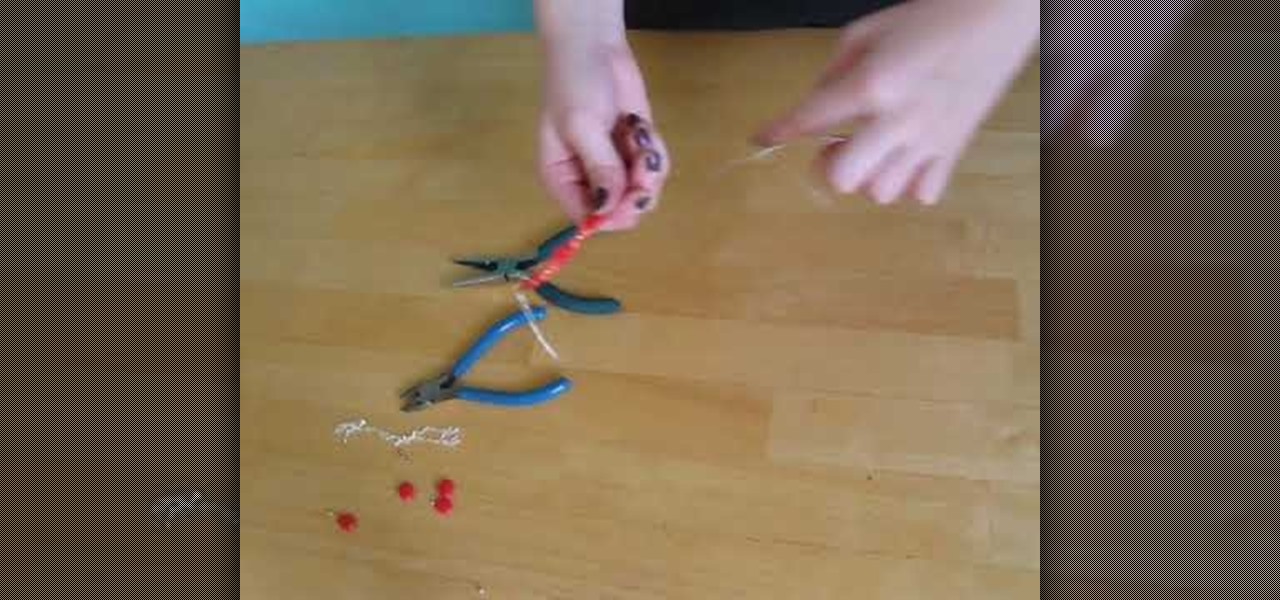
In this video, we learn how to use French wire when jewelry making. First, you want to take your wire and cut it to the length you need, using wire cutters. After this, you will place a stopper next to the pendant or bead that you are applying inside the necklace. Next, string on the clasp to the wire and then bend the end of the wire to the inside of the stopper, then cut the end of that with wire cutters. When finished, your clasp should be secure at the end of the wire and ready to hook on...

In this tutorial, we learn how to tie a decorative noose. First, form a loop and then and wrap the end around the loop thirteen times. Next, take the loose end and stick it into the coils you just made. Use a pencil and long scissors to help you do this. After you are done with this, tie a knot at the end and pull so the loop is tight. You can also clip off the loose end and pull the loop to make it larger if you prefer. When finished, use this as you wish but do not use it for violent activi...

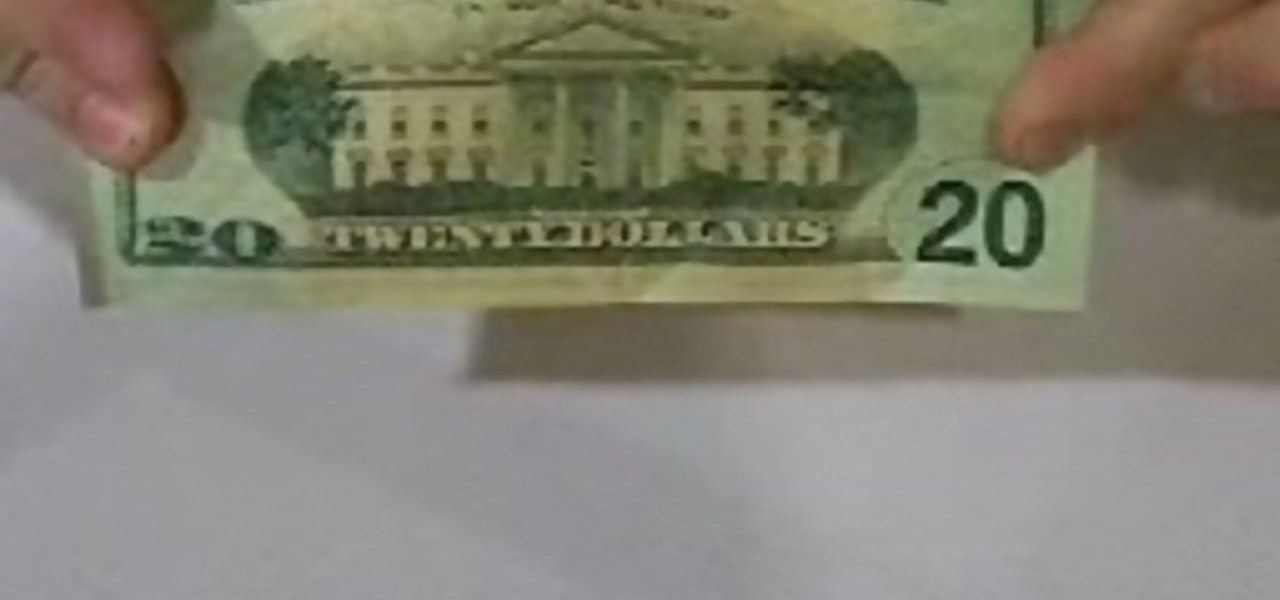
In this tutorial, we learn how to make a paper football with a $20 bill. First, take the bill and fold it in half length wise. Next, take the bill and fold one of the ends into a triangular shape. After this, fold the triangle over and keep doing this until you get to the end. When you reach the end, and tuck the flap on the end into the pocket you created. After this, you can hold the bill up with your fingers, and flick it with your other fingers. You can use any type of bill to make this, ...

Missa teaches us how to create a claspless lariat necklace in this video. First, cut your wire so it's 20 inches long and then make a loop on one of the ends, and attach a chain to it. Now put on the end bead and attach the chain to the metal wire. Now make a loop around the end where the bead is. Now take pliers and clamp the wire on the end down. You can now take wire cutter and cut an inch down on the chain and cut it off. You can now apply your favorite beads to the wire, and any pendants...

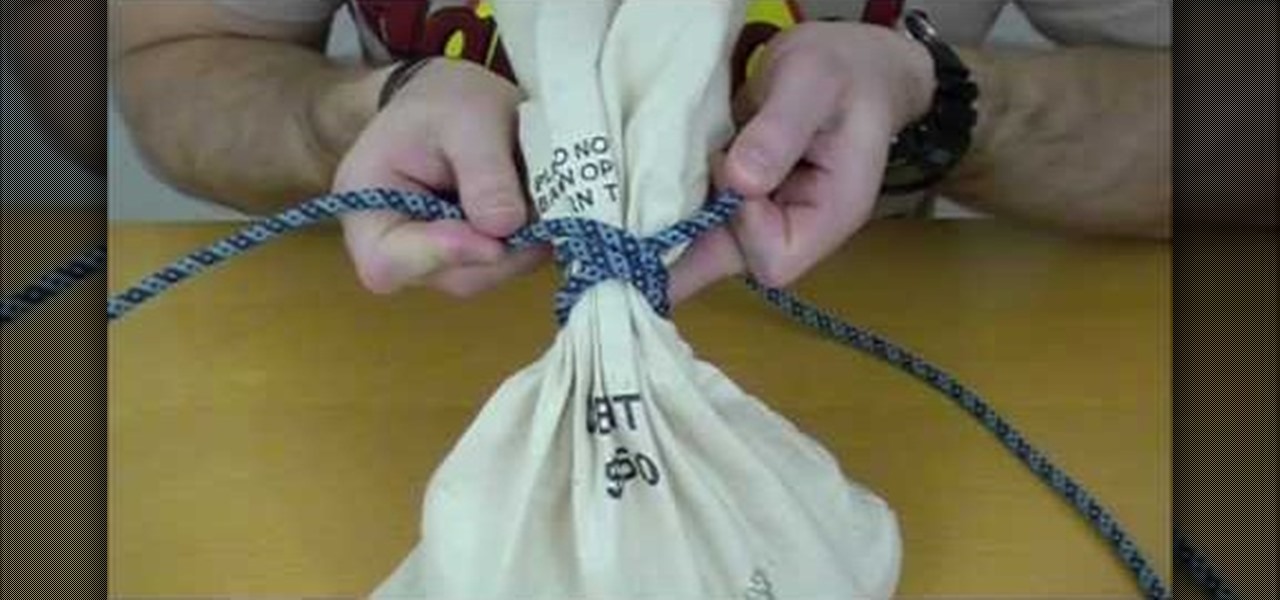
In order to tie a Miller's Knot, which is also known as the bag or sack knot, you should begin by wrapping the rope around the object you wish to bind: the Miller's knot is a binding knot. It is used to bind things. Next, wrap one of the free ends around it. You are, basically, wrapping one end around a second time.

In this tutorial, we learn how to work with memory wire to make jewelry. This is a coil material that remembers its shape and comes in a variety of different sizes. First, decide how thick you want your jewelry piece to be, then cut the excess wire with wire cutters. Next, apply a drop of superglue to one end of the coil followed by a Memory Wire end cap and let dry. Now, string your beads onto the wire. When finished, put a bead stopper onto the wire and apply glue to the very end with anoth...

Torrin creates a Victorian up-do with long hair. The style can be done with hair that is at least just past the shoulders in length. Make a ponytail at the base of the neck. Slide the band down a bit and poke fingers through the middle of the ponytail to split the hair. Then pull the ponytail through the split from top to bottom. Separate the ponytail into three sections and make three English braids. Attach the three braids together with one rubber band, leaving several inches of hair left o...

In this how-to video, you will learn how to make jewelry using cord in less than four minutes. Corrine Bradd shows you how to easily do this. First, take a satin braid and tie it in a knot. Trim the excess off with scissors and take a cord end. Place the knot inside the groove and then clamp the cord end with a pair of pliers. Turn it around and do it again for the other side. These cord ends come with a loop on top for further use. These look great on jewelry such as charms. You can use a sl...

The Pashmina master shows us three unique ways to wear our pashmina shawls. The first one involves putting your pashmina on your left shoulder and gently slide it over your chest till you reach your other arm. Then you easily raise it until you cover your other shoulder too. Don't forget to leave the other end hanging up front as it's part of the process. The second example needs the pashmina to go over your neck like a scarf. Then you take both ends and run them through the pashmina just lik...

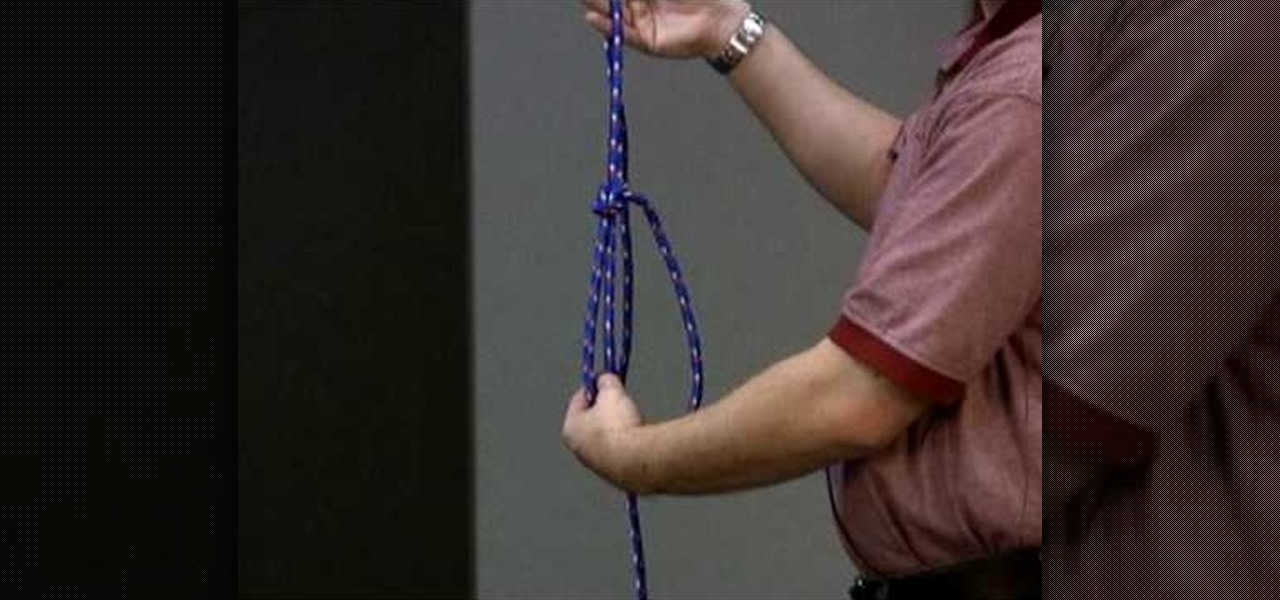
This video describes and shows you how to tie a loop in the end of a rope with a bowline knot. A bowline knot is used in rigging by the ground rigger to create a point for the up rigger to have a point to pull up. This is how you create a bowline knot. First you must create a loop in the middle of the knot. With the free end, come up through the loop, then you go around the standing end of the rope and then you move it back through the loop. You pull the knot tight. That is how you create a b...

This video illustrate us how to tie an ascot. Here are the following steps:Step 1: Take a scarf and hang it around the neck so that it is parted into two equal halves.Step 2: Now take one end and move it towards the other.Step 3: Now bring this end under the first half of the scarf and taking it out from above ,this will form a loop like structure.Step 4: Now bring it out from the loop formed and pull the end downwards to form a knot.Step 5: Now move this knot sideways for a better fashion st...

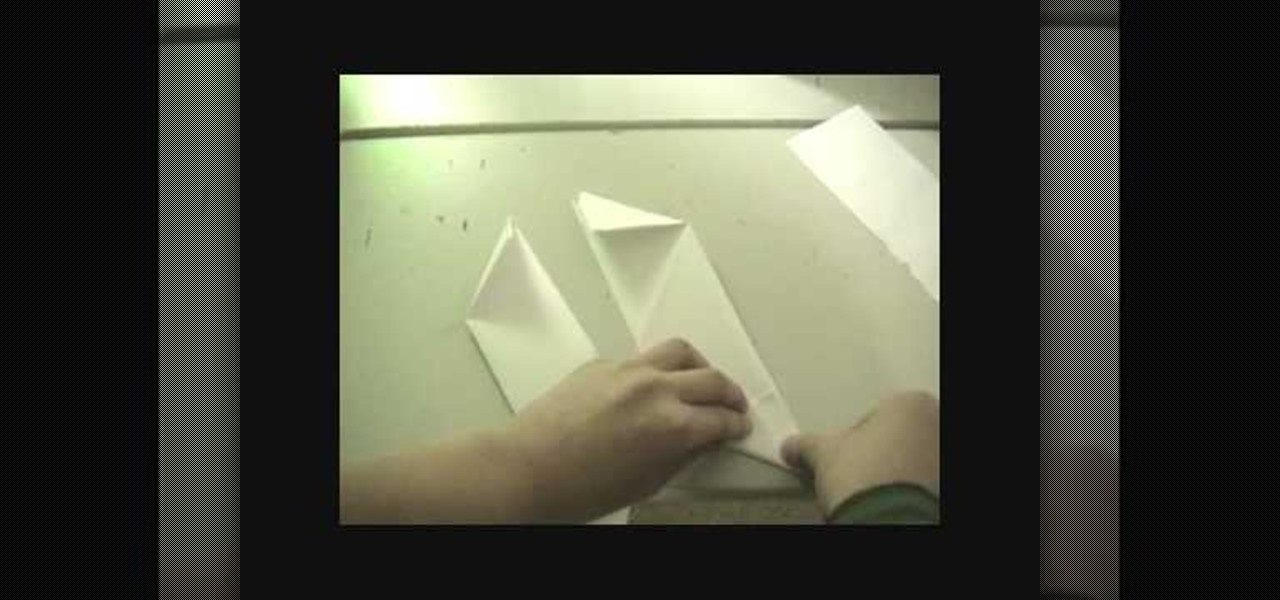
In this Weapons video tutorial you will learn how to fold a ninja star (shuriken) out of paper. Take a square piece of paper and fold it in half and tear it off to get two pieces of rectangular paper. Fold each piece of paper in half lengthwise. Then fold one end of each paper like a triangle. Fold the other end in the opposite way. Now fold both the ends to get a bigger triangles and the final shape of the paper should be like ‘Z’. Put both the pieces over each other in the form of a cross. ...

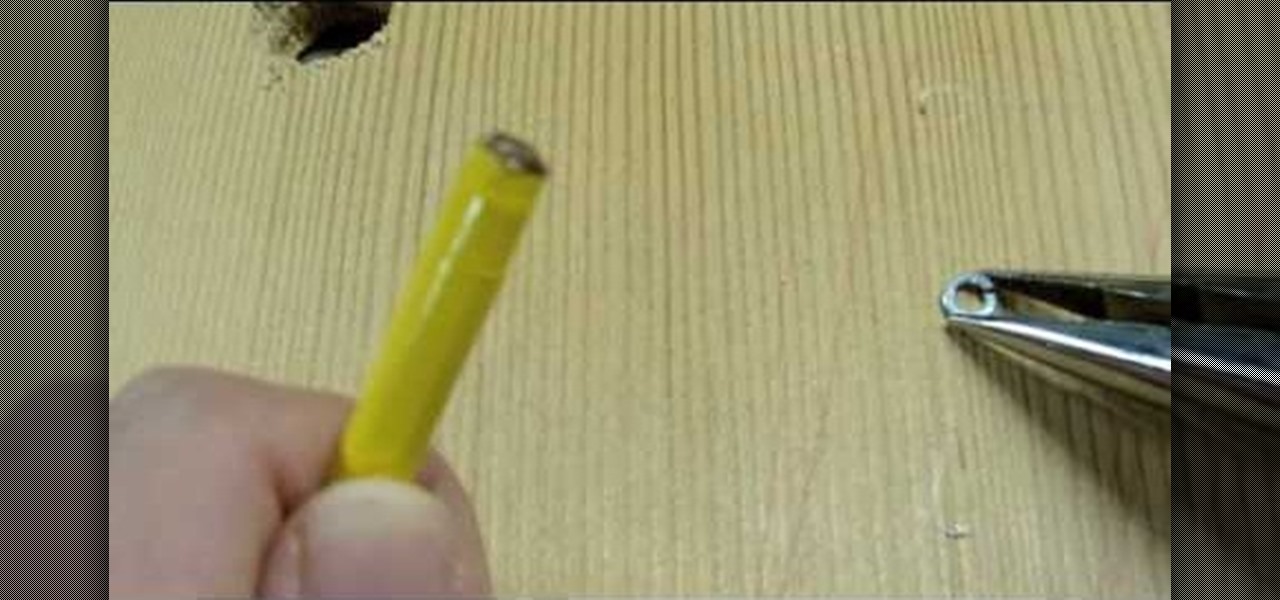
In this Hobbies & Toys video tutorial you are going to learn how to make deadly homemade bolts. Take a pencil and remove the ferrule from the end of the pencil. Make sure to pull it off completely so that you expose the flat end. Then take three pieces of electrical tape and tape them on the pencil and on to each other so that they form three wings. Now take a tack pin and with the help of nose pliers and pliers break off the rear end. Apply some hot glue to the ferrule end of the pencil and ...

This video teaches you how to make glitter wands using a simple and fast method. For a wand measuring about 18 inches long, you will need a sheet of A4 printer paper, glue, 2 strips of 1 inch wide 2 ply tissue paper, a pair of scissors, black and gold paint, an old sponge and glitter. First roll the sheet of paper and stick it so you have one small end tapering towards a slighter bigger end. Stick tissue rolls on the rolled paper and seal off the ends by twisting gently. When the glue dries a...

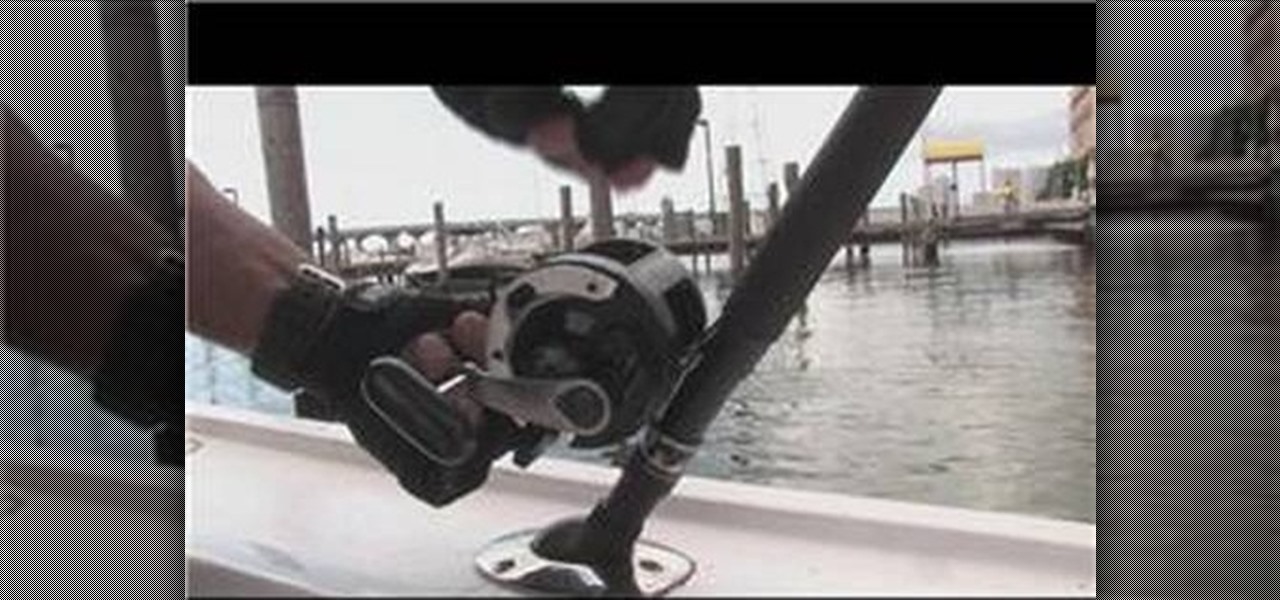
Mark the Shark demonstrates how to replace fishing line on a reel for deep sea fishing. First make sure to thread the fishing line into the guide ends and that you don't miss any. Put the rod in the rod holder so that you have two free hands to work with the line. Thread the line twice in the spool and make a knot to hold the line in place. Pull the line tight so it's snug against the reel and snip off the loose ends. Turn the crank and make sure that the line feeds into the spool very evenly...

This video shows the way to name a line segment. A line segment begins and ends with an end point. We can name a line segment by naming the two end points of the line segment. The example shown in the video shows a line segment that ends with points named 'A' and 'C'. So, we can name this line segment as segment 'AC'. This can also be named as segment 'CA'. The example shown consists of a point 'B' in between 'A' or 'B'. We cannot name the line segment as segment 'AB' or 'BA' and segment 'BC'...

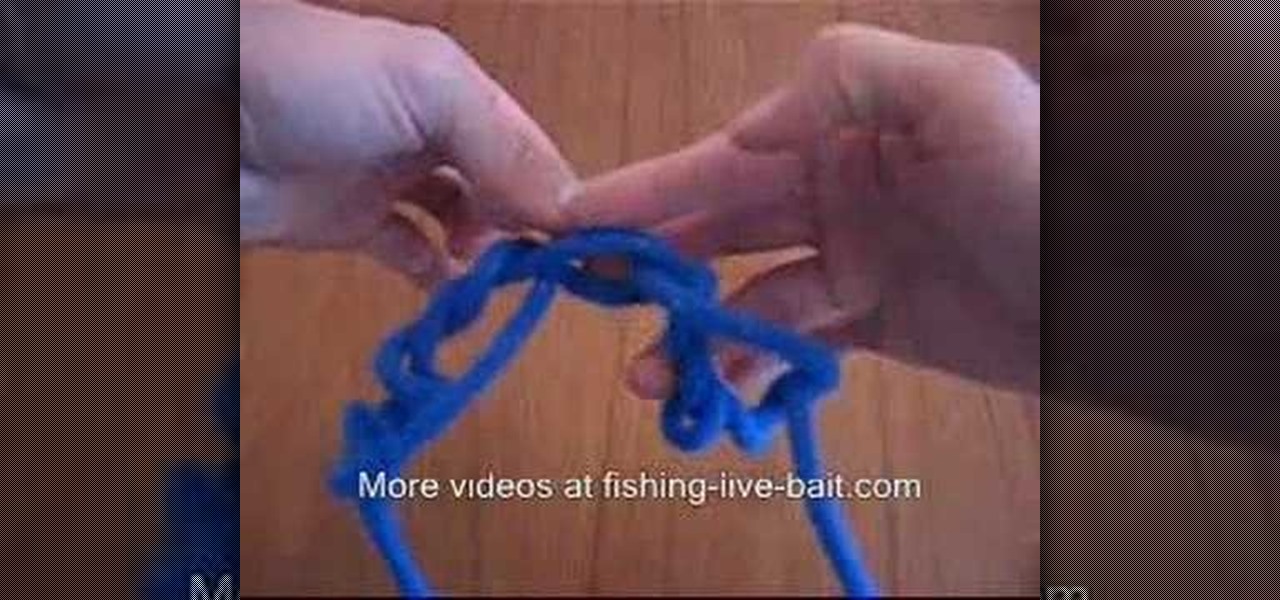
Learn the right way of tying 3 handy fishing knots by watching this video. The first knot shown is the 'Clinch Knot'. One end of the fishing line is passed through the eye of the fishing hook. This end is pulled and wound around the main line about 6 to 8 times. Thereafter, the free end of the line is passed through the small loop formed at the beginning of the winding process. The winds are gently pushed to tighten the knot. The free end is then tucked in to complete the clinch knot. The nex...

Learn to make a beautiful spiral rose of paper, by watching this video. Things you will need to make this rose are: Red colored paper (or any color of your choice for the rose), a toothpick or small stick, glue, scissors. Begin by drawing a spiral on a square piece of red colored paper. With the help of scissors, cut along the lines of the spiral till the centre. Next, begin winding the spiral strip onto one end of a toothpick, from the outer end. Keep winding till you reach the other end of ...

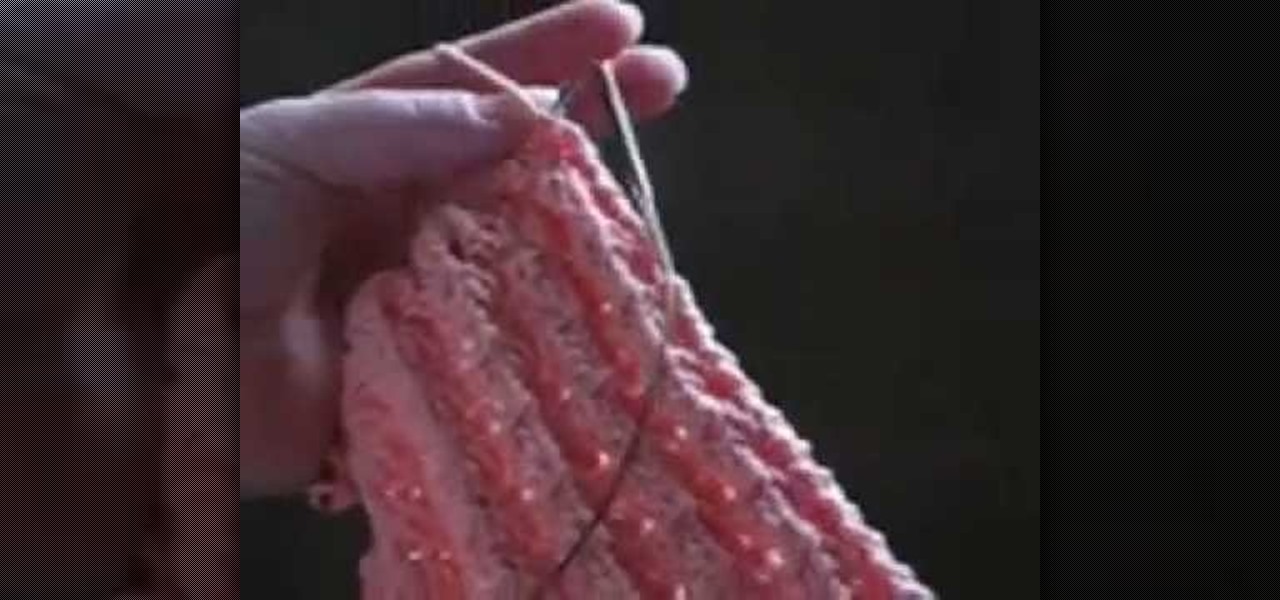
Iknitwithcatfur teaches us how to knit perfect puffed ribs. Cast on a multiple of 3 stitches plus 2 stitches. This means that any number of stitches that you want to cast on for you project must be divisible by 3 plus 2 extra stitches to create the selvage. Purl the first 2 stitches of row 1 then begin the repeating pattern of yarn over, knit 1 stitch, yarn over, purl 2 stitches. Repeat this pattern until the end of the row. This will be the right side of your knitting. In knitting abbreviati...

In this video the author shows how to make a never ending foam snake. He starts by speaking about how hydrogen peroxide can be fun. He starts with the requirements first which are a dish soap, a bottle of hydrogen peroxide, some dry yeast, and a red fruit color. Now he fills up a cup with hydrogen peroxide, adds the color and two table spoons of dish soap. Now he shows how to use yeast which is used to remove the oxygen from the hydrogen peroxide. And finally he demonstrates the never ending ...

Not sure how to close an important letter? Convey a powerful meaning to readers by choosing the right sign-off. In this video, proper etiquette to close a letter is gone over.

If you have a stack of old t-shirts that sit in your dresser, unworn, why not get some use out of one of them by transforming it into a scarf? Save some money... You'll have scarves for days with this technique!

You've got style. You've got class. You've got... No reason to still be wearing a clip-on. Show off your suave side with a perfectly knotted tie. Watch this video to learn how to tie a bow tie.

If shaky home videos are making your audience seasick, it's time to steady your hand. Watch this video to learn how to make a camcorder stabilizer.

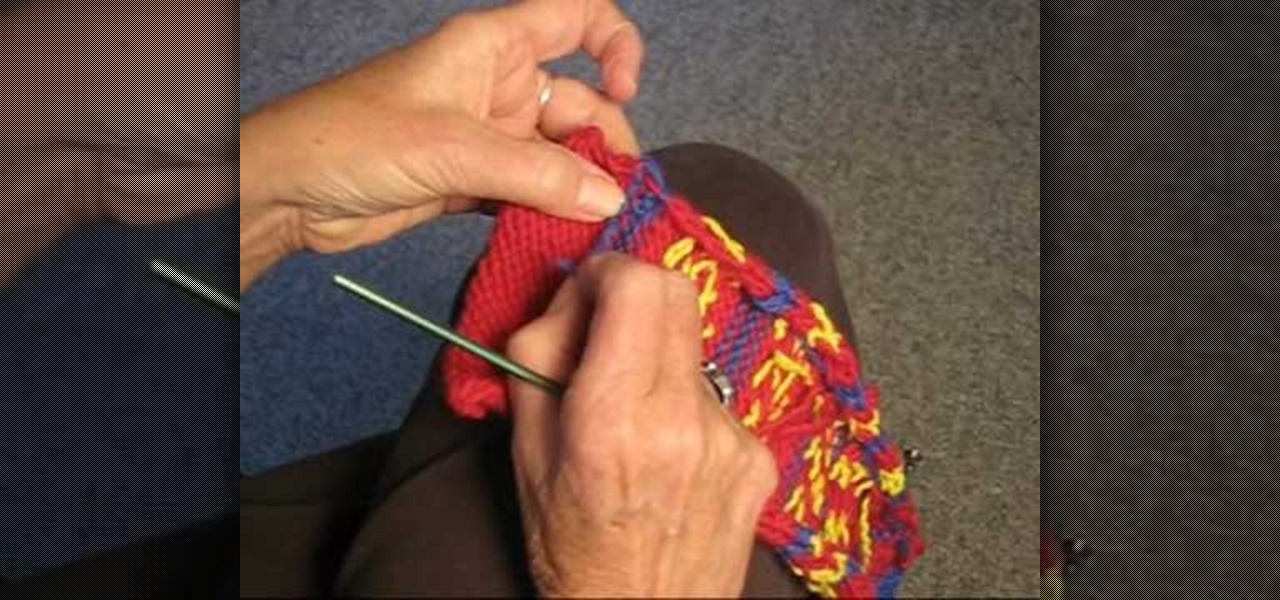
An easy, up close, demonstration of HOW TO WEAVE IN ENDS By Judy Graham, Knitter to the Stars, who's knits have appeared in movies, TV, and concerts for over 30 years and who has been hand knitting for over 50 years. Check out the web-site for more knitting tips, what it's like to make knits for the movies and fun celebrity stories. Watch this knitting tutorial to learn how to weave in ends when knitting.

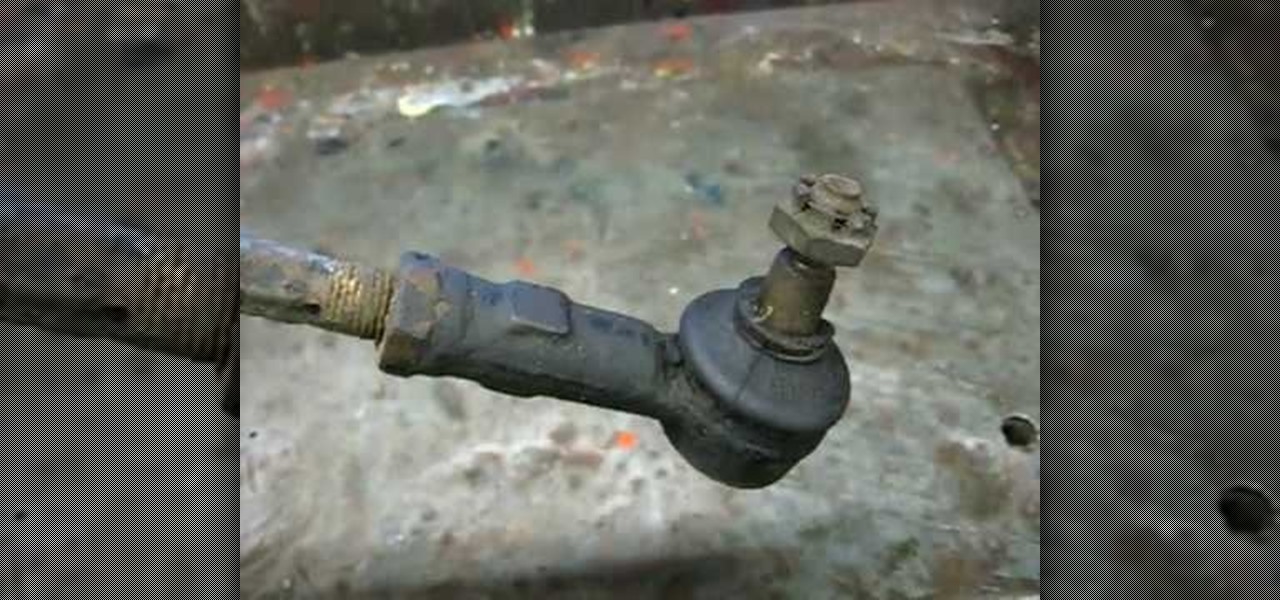
One day, your car may break down and you won't be able to afford to hire a mechanic, so what do you do... you look on the web for some how-to vehicle repair videos and become your own car mechanic, that's what. You don't need any advanced training to perform repairs and simple maintenance on your automobile, but you may need a few tools. Invest in the basic tools and you'll be prepared for just about any car malfunction you can think of. These tutorials will help get you on your way, as long ...

This is a demonstration of High End exercises on the saxophone. This exercise involves the last five notes on the top, starting from B up to a high F and back down. There are also different combinations. This tutorial video is great for beginners and advanced sax players. Check out this instructional sax video that shows you how to practice these high end exercises and improve your saxophone playing skills!

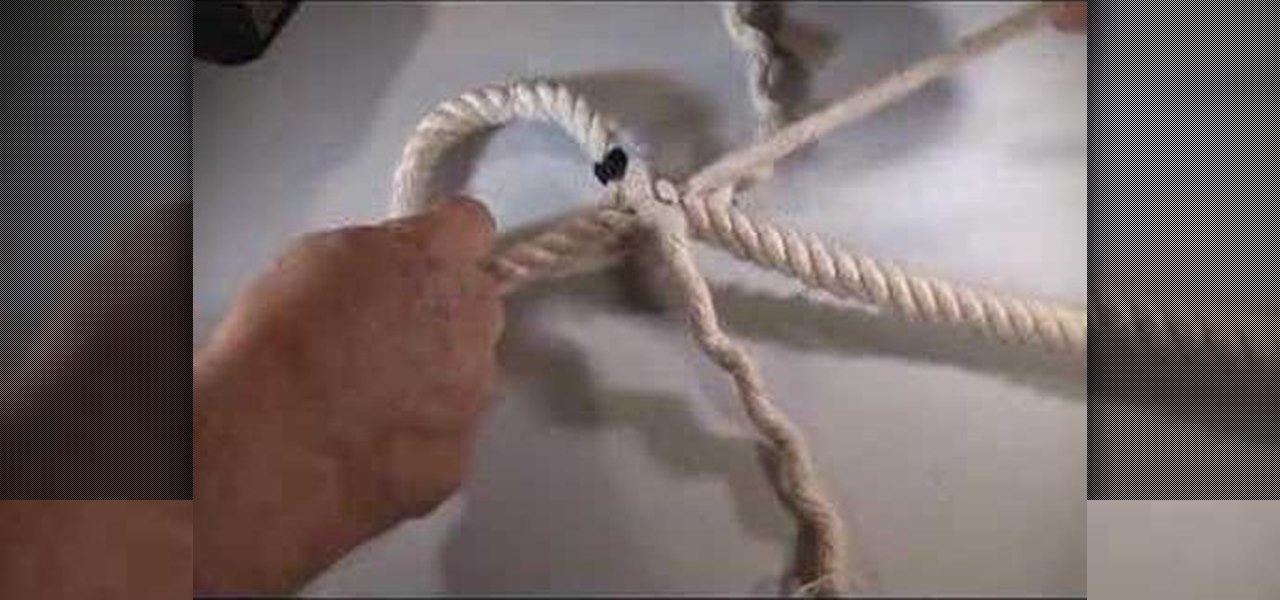
An eye splice is the best way to create a permanent loop on the end of a multi-strand rope. Whether you need an eye splice loop to hold a hammock up in your backyard or need one for your nautical voyages, this survival training video will teach you step by step how to tie one.

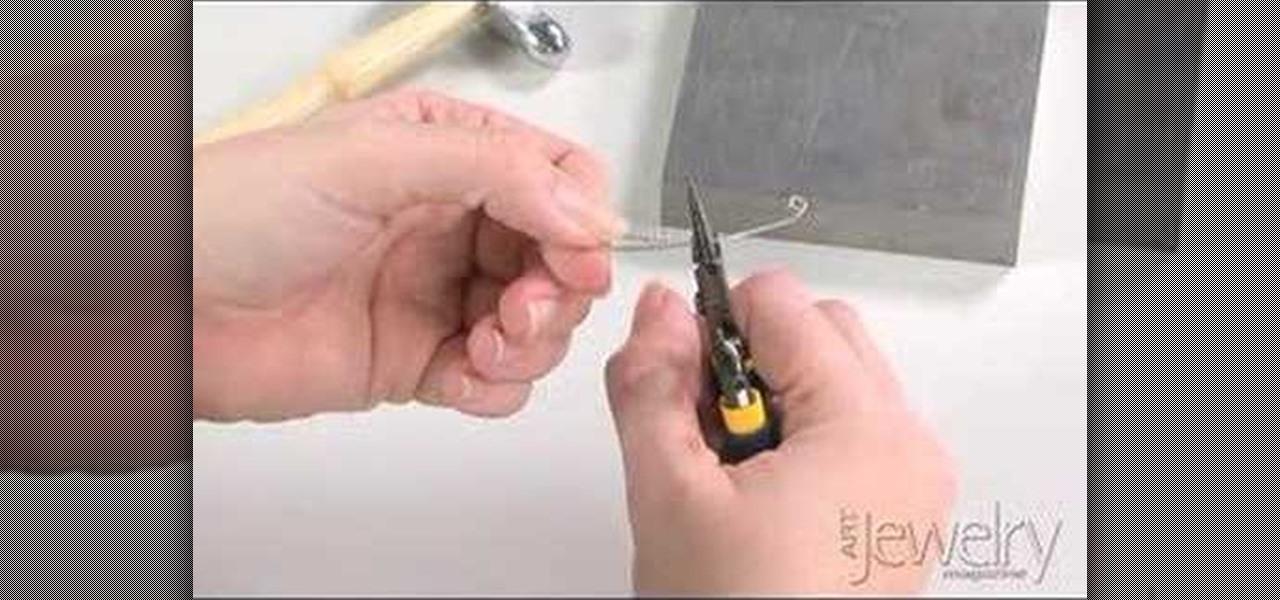
Art Jewelry Magazine associate editor Addie Kidd shows you how to make an S-hook clasp with looped ends. You will need wire, pliers, and a hammer. Learn how to make an s-hook clasp with looped ends for necklaces or bracelets by watching this video jewelry-making tutorial.

Art Jewelry Magazine associate editor Jill Erickson demonstrates how to use a torch to ball up the end of a piece of sterling silver wire. This wire can now be shaped into an earring or whatever jewelry desired. Learn how to ball up the end of sterling silver wire with a torch by watching this video jewelry-making tutorial.

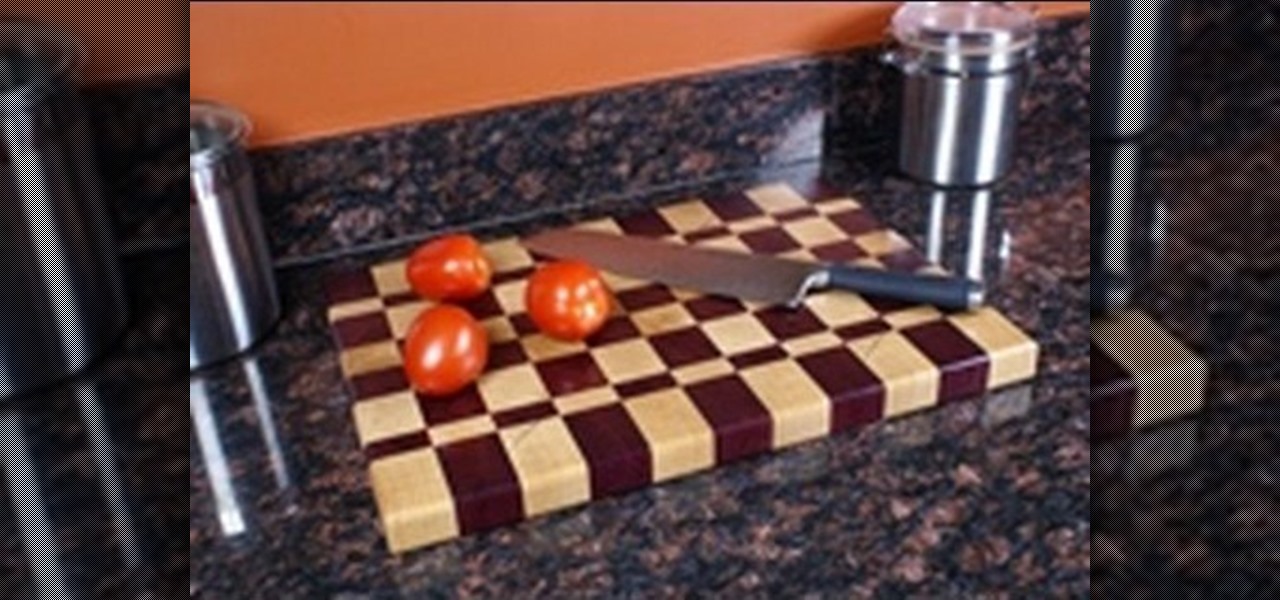
Make your own butcher block end-grain cutting board with this two part video series. Enjoy the "back to basics" simplicity of this useful project. A custom cutting board makes a great gift and many woodworkers make them in batches every holiday season. And if you are relatively new to woodworking, this is a great project to hone your milling, glue-up and tablesaw skills.


