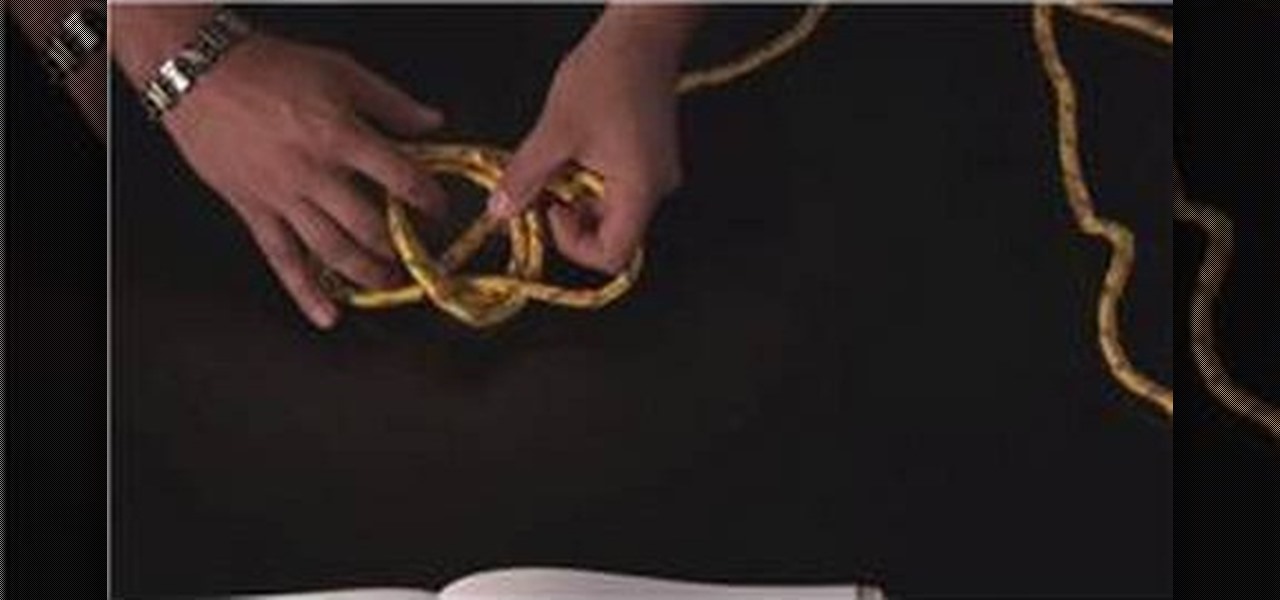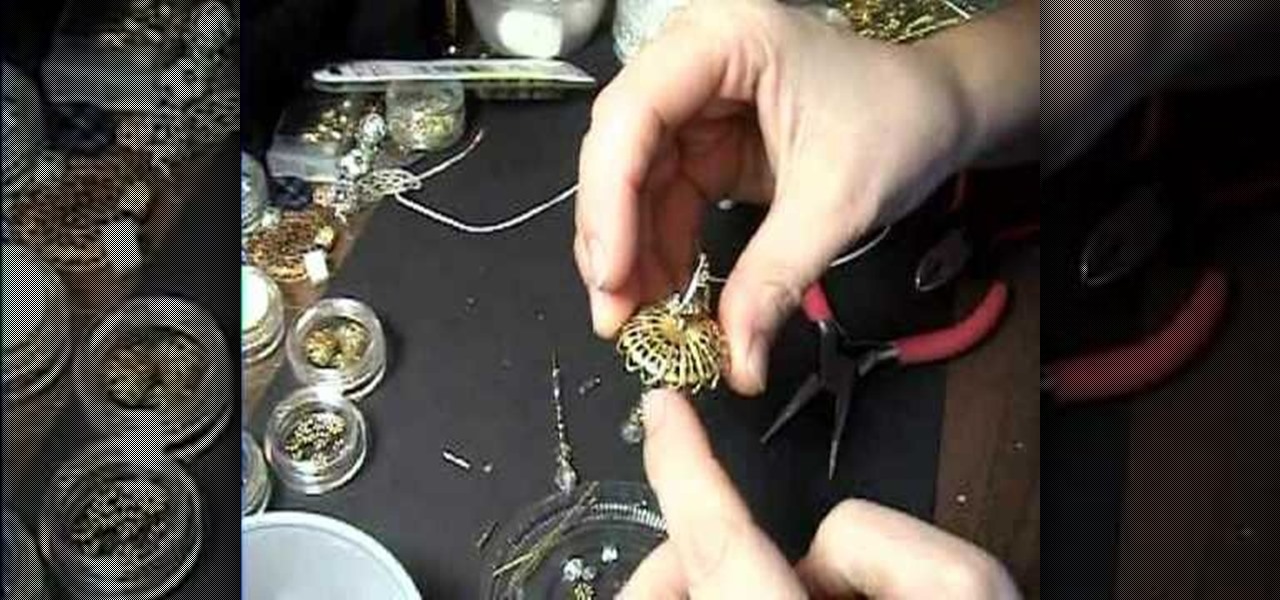
In this video, we learn how to make a twisted necklace. First, you will need to grab the cord you want for your bracelet and cut it double to the length you would normally use. Now, measure the cord in half, then start twisting the two together until you reach the end. You can do this with several cords if you would like a more unique necklace. After this, tie the ends and then loosen them up. Next, start to twist the necklace together again, then you can add your jumper bead into the necklac...
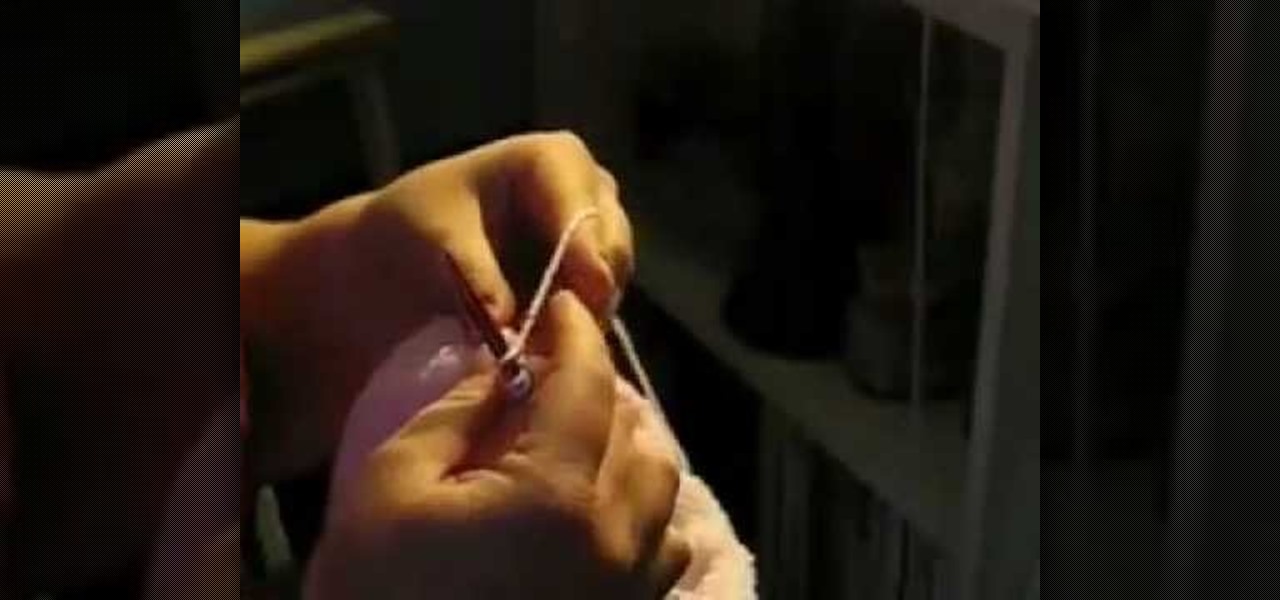
In this video, we learn how to knit a hat on circular needles. First, use a stitch marker to mark the beginning of the round and make sure no stitches are twisted around. Now, join the two ends by knitting your stitch and using both of the loose ends at once. You will now start knitting and going around. You can make as many knits as you want and do any types you would like, making sure you go in the circular motion around the brim of your hat. You can style this as you prefer, then enjoy whe...

In this tutorial, we learn how to pronounce consonants in Brazilian Portuguese. "S" has several pronunciations and sounds the same as English when it's used at the beginning of a word. Using "s" between two vowels makes it sound like a "v". At the very end of a word, it either sounds like an "s" or "sh" sound. Sometimes words with "s" come before other sounds, if the "s" at the end of the word comes before a voiceless consonant, it's going to have an "s" sound. Using these tips and hearing th...
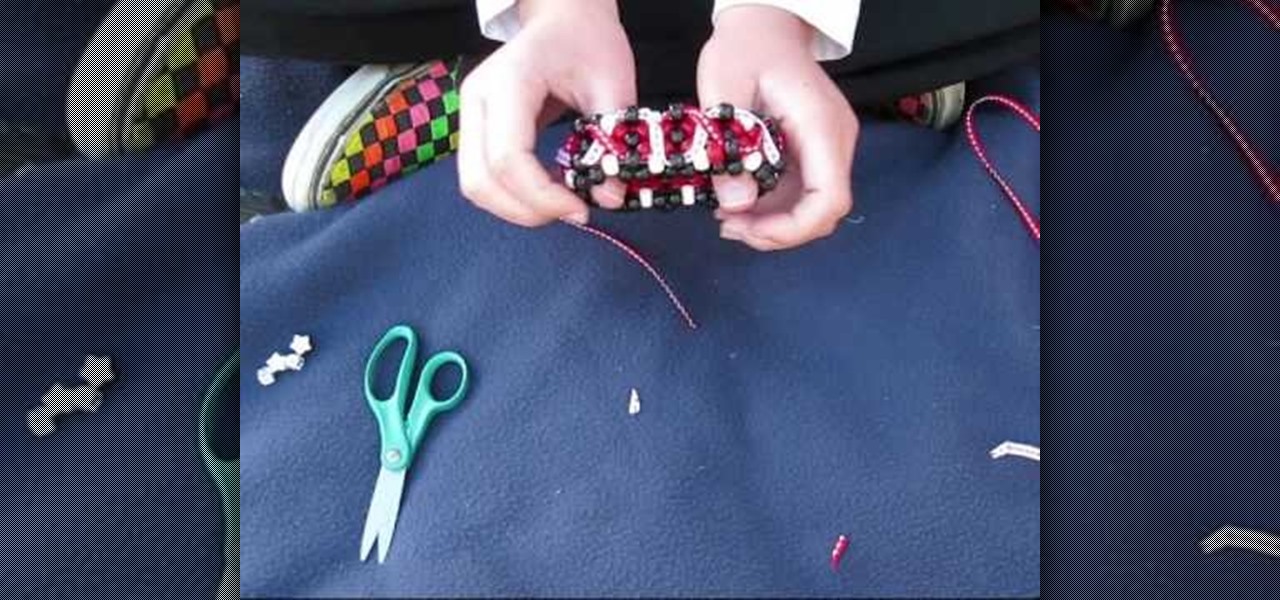
In this tutorial, we learn how to make a 3D ribbon cuff out of beads. First, you will need a cuff that is already made, then use the string that is hanging off the end. Put on one bead, then thread it through the bead next to it. Continue this all the way around the cuff. Now, tie the string off by threading it through the original loop. Now, string a ribbon around the cuff to make an "x" shape, then add in another ribbon around it. You can tie these into a bow at the end so you have a more g...
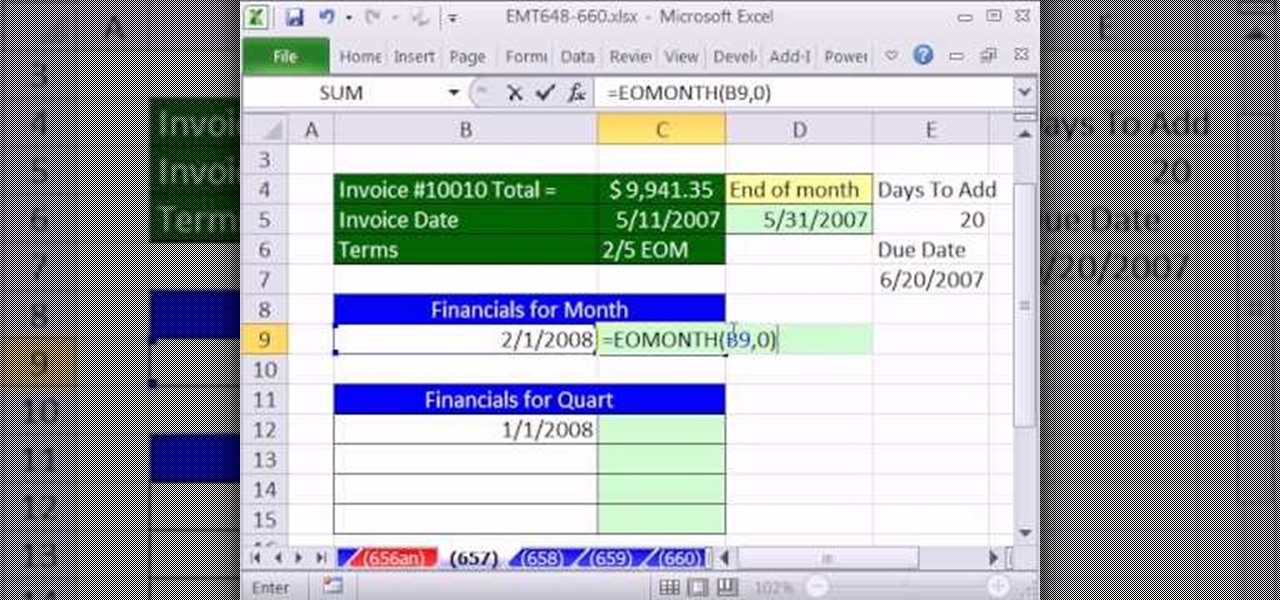
New to Microsoft Excel? Looking for a tip? How about a tip so mind-blowingly useful as to qualify as a magic trick? You're in luck. In this MS Excel tutorial from ExcelIsFun, the 657th installment in their series of digital spreadsheet magic tricks, you'll learn see howto calculate Invoice Due Dates & Financial Statement Dates using the EOMONTH function including end of the month and beginning and ending dates for each quarter.

In order to make a scalloped edged bobby pin accessory, you will need the following: wire, a bobby pin, small beads, a ruler, and scissors. Cut about 2 feet of wire. Fold the wire in half. Lace the wire through the bobby pin. Anchor it by wrapping it around the exterior. Then, repeat with the other end of wire. You will repeat this, in order to secure each bead. Begin sliding the beads on the wire. Group three at a time, remembering to anchor them. When you reach then end, begin scalloping. A...

In this tutorial, we learn how to recycle plastic grocery bags into a dog leash. To begin, you will cut the plastic bags in half, then cut off the handles of the bags. Next, apply glue to the entire bag, then roll up into a straight line. Continue to do this for several different bags, depending on how long you want your dog leash to be. When you finish this and the glue is dried, tie several bags together end to end, and have three rows of these. Now, take the bags and tie them in a knot aro...

This educational safety video is geared toward public and private utility workers and linemen who need to remove pole tops while dealing with high-voltage electrical cables and electrical insulators. It discusses the proper pole topping removal procedure and demonstrates effective procedures for removal.

In this how-to video, you will learn how to create your own tube top dress with lace and tulle. This will be useful if you need a unique dress for prom. You will need a sewing machine, scissors, pins, ruler, measuring tape, thread, a half yard of gray knit, tulle, and a yard of lace. First, cut out a rectangular piece that can fold in half. The lower half is a trapezoidal piece. This will be the jersey skit. The smaller end should fit around your waist. Lay the rectangle first and then put th...

This video demonstrates how to make a christmas tree out of newspaper. The author suggests that you start with 3 full sheets of newspaper and have scissors and scotch tape ready to use. Begin the tree making process by rolling the newspaper tightly and then using the scissors to create multiple cuts on one end of the roll. After doing so the newspaper roll should achieve a frayed look on one end. Pull on the frayed side to elongate the other newspaper that was rolled inside previously and the...

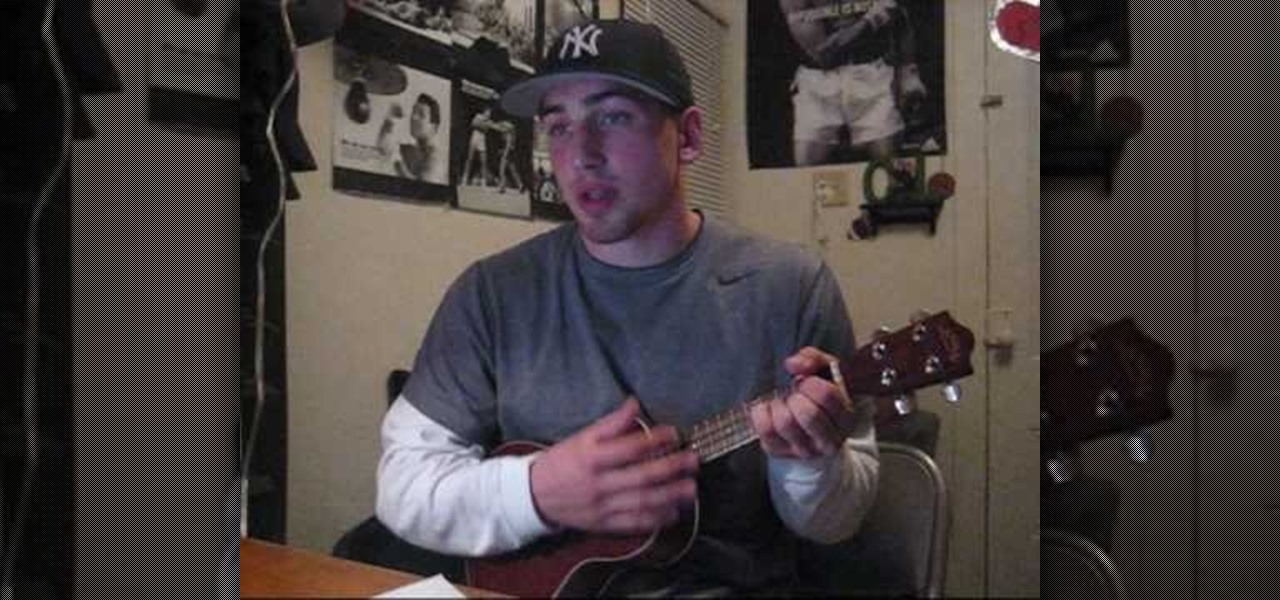
If you want to play 'Love Story' by Taylor Swift on ukulele you should first start with making sure you have your ukulele standard tuned to G, C, E and A top to bottom. You will use the chords C, G, Am and F. These are the chords that are use basically through the entire song. Only at the end is a Bm chord thrown into the song. The strumming patter is Down Down Up, Up Down Up. Play this for each of the chords. You can also pick within the chords if you like this. This is the intro. For the ve...

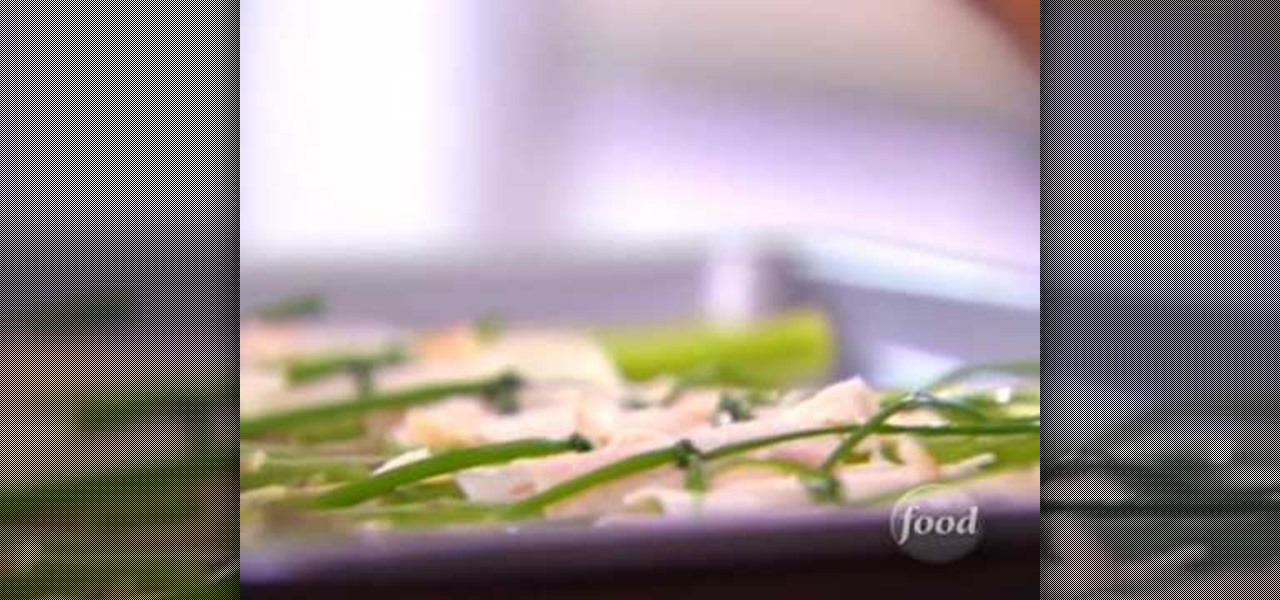
Start with chopping off the woody end of the asparagus and peel them so they will cook evenly. Sprinkle asparagus with a teaspoon of olive oil. Slice smoked turkey into three pieces then wrap the turkey around the asparagus. Then take a chive and tie it around the turkey and snip the ends. Next put on baking sheet and into the oven on 400 degrees for 12 minutes. To go with the asparagus is roasted red peper dip. Start with toasted almonds. Toast in the oven for 1 minutes then chop them up in ...

First of all you need a standard paper of size 8 by 11.5 inches and a scissors. Step1. Take one corner of the paper and then fold it to meet the other side. Now press the diagonal and then crease it.

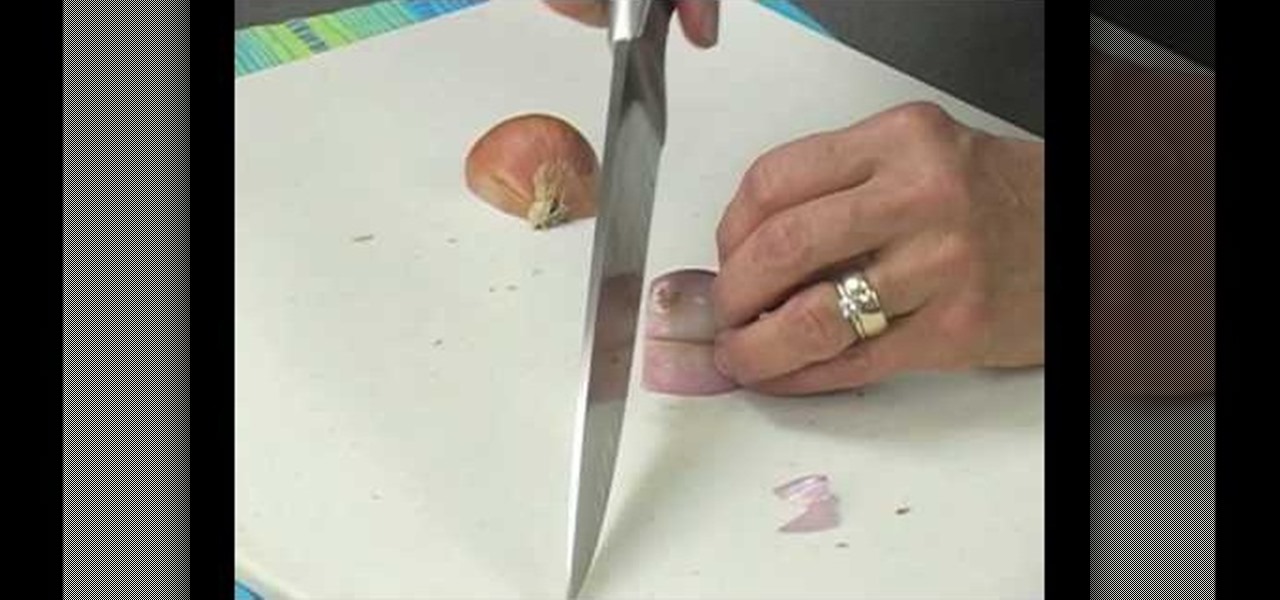
How to buy, store, and chop shallots

In this Disaster Preparation video tutorial you will learn how to tie a double bowline knot step by step. Robert Segundo, knot tying expert, presents this video. This knot is stronger than the regular bowline knot. When you put a knot on a rope, its strength reduces. This knot will retain about 70-75 % of the original strength of the rope. For this knot you will need a piece of rope or twine. Start off by putting a loop on the rope and then put a double loop. Then take the working end of the ...

If you are in the wild and have nothing to do, just to play around with your knife , then you should surely watch this video. First, you have to find a knife. After that you must find a good branch or piece of wood that's the same size as a spear. After that you must take the branch or piece of wood and sharpen one of the ends. Then , you must put the sharpened end in the fire so it begins to turn black. After that cut it again and this time cut it so it will be sharp enough to cut. It can se...

How to identify insects in your gardenCarol Sutherland explains us in this video of how to identify insects in your garden. She is an extension entomologist and she explains her view on the insects here. To be known is that some insects are damaging, some others we want to be aware of and some are necessary in your garden. Here during the garden season you get to see insects on trees as they form a familiar habitat. Mostly on the split ends and the broken ends the insects gets invaded. She sh...

Garden of Imagination demonstrates how to make a real working miniature chandelier light for a doll house. We need some cord wires, beads, an electric bulb of 12 volt and plugs.

This video shows you how to light a bottle with long exposure in photography. The end result is to have a picture of a bottle with glowing edges with a black background. For starters you set your SLR camera settings to a 30 second manual shutter speed and a f5. 6 set aperture. Put the camera on a tripod for steadiness and set up your subject. For the subject, on a table, place your bottle in front of your chosen drop cloth. It is best to choose a color similar to the bottle. Then you use a li...

This is a video from Derrick Schommer of Everyday Drinkers: Common Man Cocktails. He describes how to make a "Sunday Snuggie," which has 2 oz Jagermeister and 2 oz Bourbon whiskey. This also contains cranberry juice, grenadine, and a mix of 1 oz of lime, 1 oz of lemon, and 1 oz of simple syrup which makes a sour mix. Use 2 oz of that. Once he explains all of the ingredients he goes on to a demonstration of how to make the drink. After he makes the drink he goes on to sip and describe it. He s...

Your quick and easy guide to styling side swept bangs within 2 minutes. After blow drying your hair, take a round brush and roll your bangs up, under and to the side that you want your bangs to sit. Comb your bangs down over your forehead, then comb your bangs to the side. Using some styling product, such as molding gunk, paste or wax, take a small amount of product and rub between your hands to ensure even distribution. Using your fingers, work the product through your bangs, starting at the...

Cooking With Dog shows you how to make hamburg steak that's delicious. - Finely dice an onion

This video tutorial shows you how to cook braised beef shanks. Ingredients:

Developed by the same team of engineers responsible for LightWave 3D, modo, lowercase, delivers the next evolution of 3D modeling, painting and rendering in a single integrated and accelerated package for the Mac and PC. And now, modo is a true end-to-end solution that includes true 3D sculpting tools, animation and network rendering! More than just features, modo is a truly elegant integration of technology, raw horsepower and refined workflow. With such a wealth of inbuilt features, however...

Devolped by the same team of engineers responsible for LightWave 3D, modo, lowercase, delivers the next evolution of 3D modeling, painting and rendering in a single integrated and accelerated package for the Mac and PC. And now, modo is a true end-to-end solution that includes true 3D sculpting tools, animation and network rendering! More than just features, modo is a truly elegant integration of technology, raw horsepower and refined workflow. With such a wealth of inbuilt features, however,...

Devolped by the same team of engineers responsible for LightWave 3D, modo, lowercase, delivers the next evolution of 3D modeling, painting and rendering in a single integrated and accelerated package for the Mac and PC. And now, modo is a true end-to-end solution that includes true 3D sculpting tools, animation and network rendering! More than just features, modo is a truly elegant integration of technology, raw horsepower and refined workflow. With such a wealth of inbuilt features, however,...

Developed by the same team of engineers responsible for LightWave 3D, modo, lowercase, delivers the next evolution of 3D modeling, painting and rendering in a single integrated and accelerated package for the Mac and PC. And now, modo is a true end-to-end solution that includes true 3D sculpting tools, animation and network rendering! More than just features, modo is a truly elegant integration of technology, raw horsepower and refined workflow. With such a wealth of inbuilt features, however...

Modo delivers the next evolution of 3D modeling, painting and rendering in a single integrated and accelerated package for the Mac and PC. And now, modo is a true end-to-end solution that includes true 3D sculpting tools, animation and network rendering! More than just features, modo is a truly elegant integration of technology, raw horsepower and refined workflow. With such a wealth of inbuilt features, however, things can get confusing, which is where this tutorial comes in. In this modo vi...

Devolped by the same team of engineers responsible for LightWave 3D, modo, lowercase, delivers the next evolution of 3D modeling, painting and rendering in a single integrated and accelerated package for the Mac and PC. And now, modo is a true end-to-end solution that includes true 3D sculpting tools, animation and network rendering! More than just features, modo is a truly elegant integration of technology, raw horsepower and refined workflow. With such a wealth of inbuilt features, however,...

Devolped by the same team of engineers responsible for LightWave 3D, modo, lowercase, delivers the next evolution of 3D modeling, painting and rendering in a single integrated and accelerated package for the Mac and PC. And now, modo is a true end-to-end solution that includes true 3D sculpting tools, animation and network rendering! More than just features, modo is a truly elegant integration of technology, raw horsepower and refined workflow. With such a wealth of inbuilt features, however,...

This video knitting tutorial demonstrates making a 3-stitch I-cord, so cast on 3 stitches. Use 2 double-pointed needles to make an I-cord. After casting on, instead of turning the work, slide it down such that the first stitch you will knit is at the opposite end of the stitches from the working yarn. Pull the working yarn across the back and knit three stitches. Now slide the work again, give the cord end a tug, pull the yarn across the back and knit three stitches. You need to add some tens...

This automotive installation tutorial shows you how to install cruise control in a Toyota pickup. For many vehicles cruise control is something that's just there, but if you don't have it in your pickup and want to install cruise control check out this tutorial.

The Professor of Silliness returns with some paper. Watch this instructional video to make a tall tree out of newspaper. You need an old newspaper, masking tape, and scissors. Simply lay out the newspaper pages from end to end and tape them together. Then roll it up at a diagonal, starting from one corner, and pack i it into a compact tube. Use tape to keep the tub intact Use the scissors to cut vertical lines half way down the newspaper tube. Pull out the inner most layer and turn your recyc...

This software tutorial shows you how you can blend three differently exposed images using Photomatix, and then demonstrate how to use some basic Photoshop techniques to touch-up the resulting image. [Note: the Flash overlay in this video doesn't sync completely with the audio; pausing for a second and then resuming it fixes the problem.]

This video tutorial is for educational purposes only. See how to pick a normal lock with a tension allen wrench and a small screwdriver.

If your health is high enough, the zombies will never be able to defeat you! This tutorial shows you how you can use Cheat Engine to reprogram your avatar's health score. It's easy, and you can do it as often as you need.

Got too many Christian Louboutin shoes to count? Then, first of all, you are damned lucky and we hate you. Secondly, if all your high heels are beginning to look the same, then personalize them by adding a bow in the front.

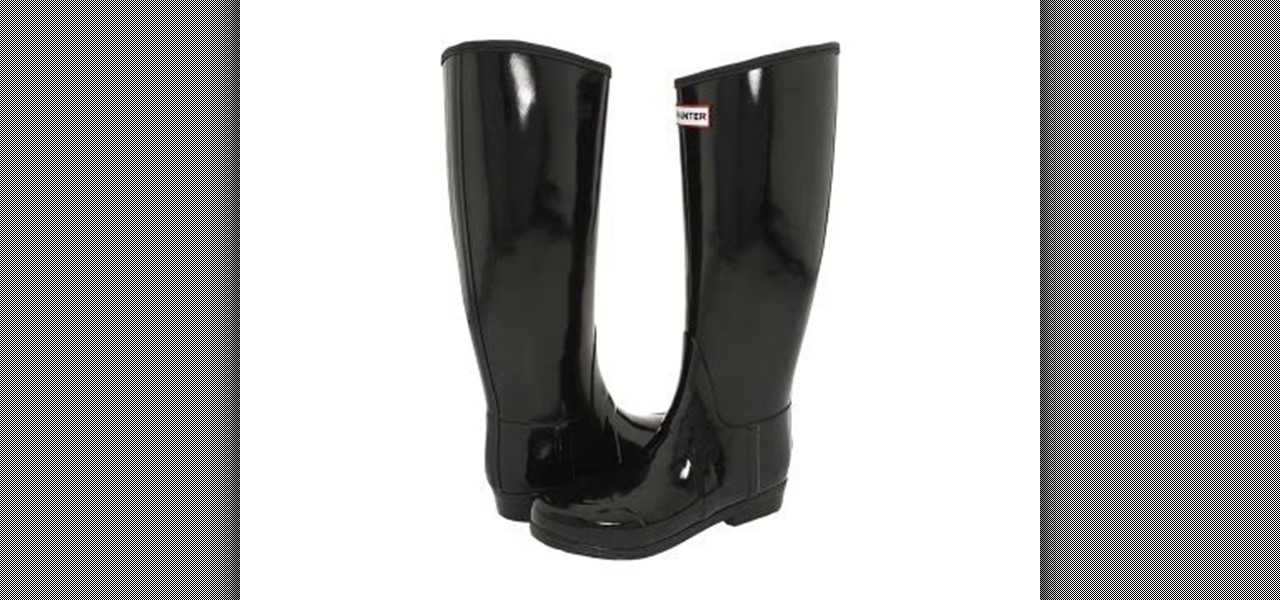
Hunter boots, also called Wellingtons, are super comfortable almost knee-high boots that are fully waterproof for those rainy fall or snowy winter days. If you happen to have a pair, check out this fashion vid to see what clothes and accessories to pair with these babies.

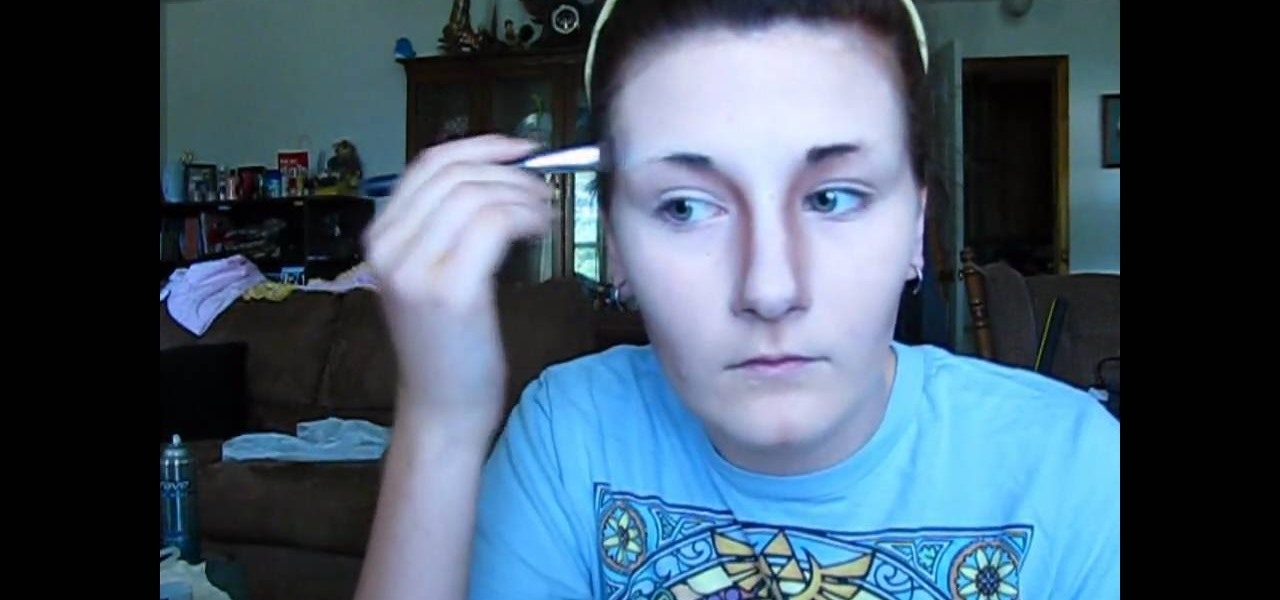
Ever wanted to look like your favorite video game or computer game character? Then venture into the fun and strange world of cosplay by checking out this makeup tutorial.

Raise the Jolly Roger and set sail on the high seas! Seafight is a free to play, browser based game in which you assume the role of a pirate and sail about the world, killing monsters and collecting plunder. This video shows you how to start playing!


