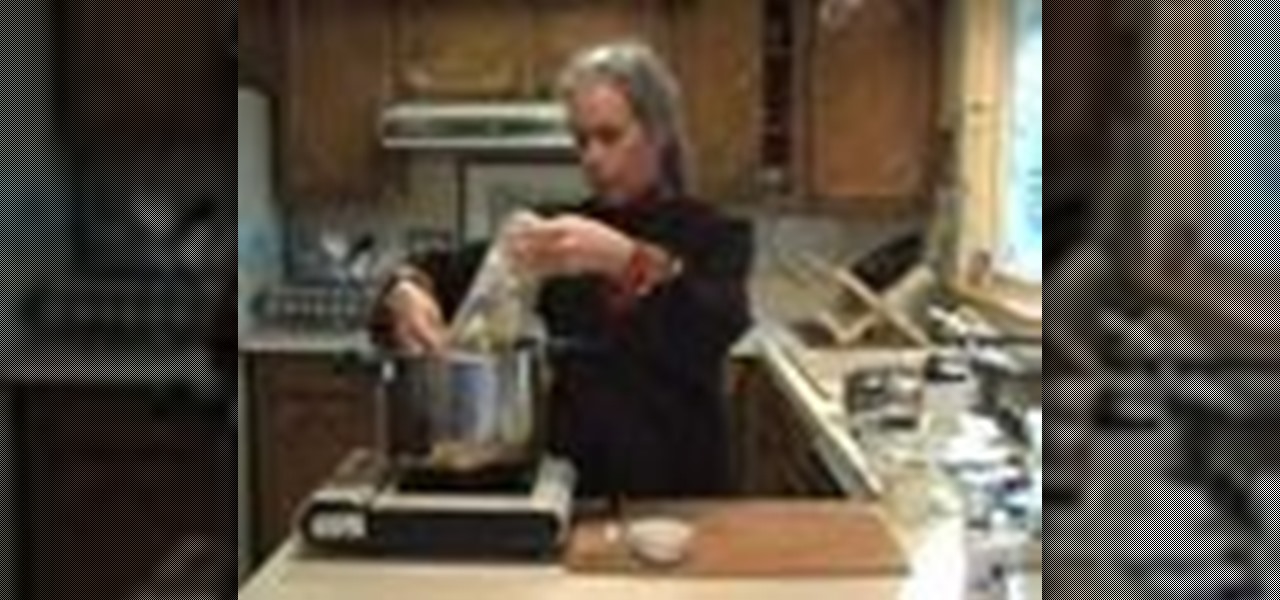
In this video, we learn how to tie the qianjing on a erhu. First, measure and cut 60 inches of Qian Jin string, then place one end on the neck and make a downward loop. After this, loop the rest of the Qian Jin over the neck, across the loop which you just made. Then, loop five times around the neck going down. Loop over the strings then use the thumb to space the strings between the neck. Next, move another five strings around the poll in the same direction. To finish, tie the end of the loo...
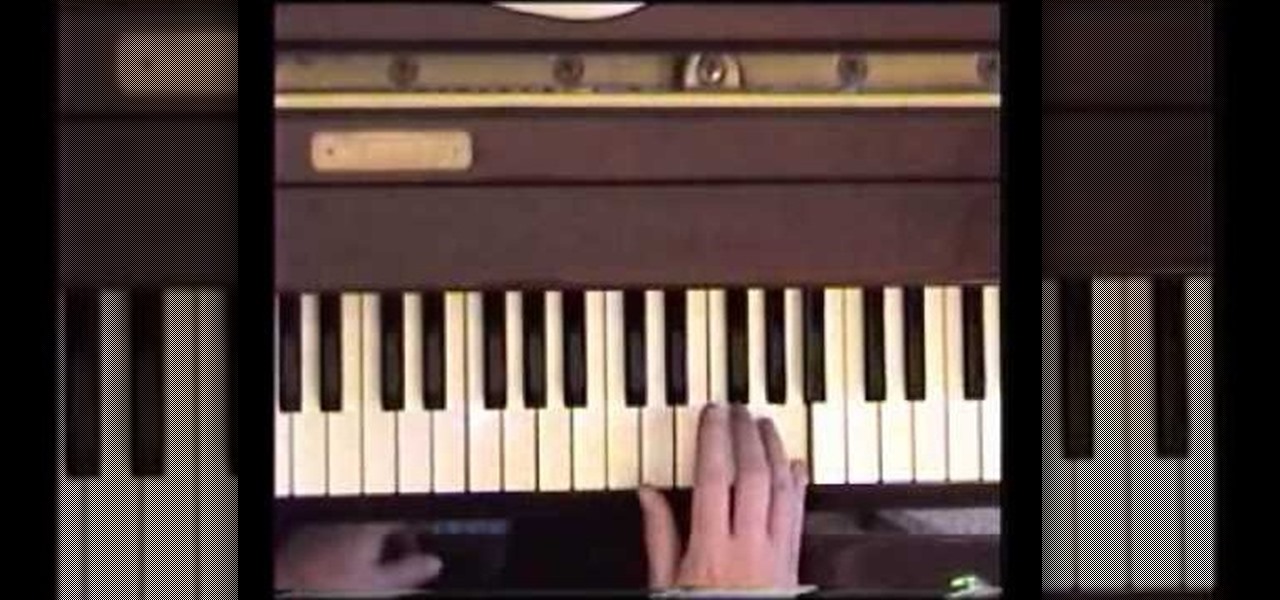
In this video, we learn how to play "Bennie and the Jets" by Elton John. Start out with A, E, C. Next, go to the G and then to the A. After this, go to B, A, A, sharp, and D. After this, you will have started to do the intro to the song. You will be playing with your right hand during this. Next, you will trip again and go to A, A sharp, B, A sharp, G, E, then finally to the G in the new measure. Continue to play until you reach the end of the song. You will go through all the different keys ...

In this video, we learn how to write numbers in calligraphy copperplate. To write the number five, you will simply make the shape of the number, but add in a thick edge to the bump and curved edges to the end. To write the six, use a thick line on the side of the number and a thin line for the circle in the middle. To make the seven, the top should be curved and thick, and the lower line should be very thick with a straight edge. To make the eight, draw the number so that the left edge is thi...
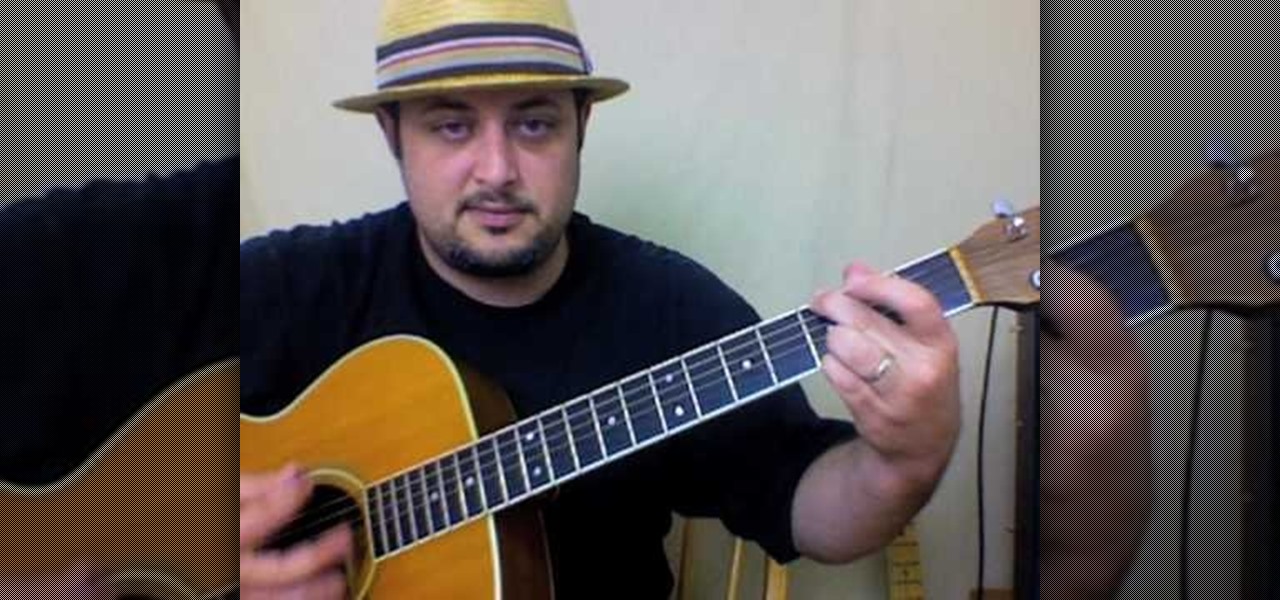
In this video, we learn how to play "...September Ends" by Green Day on guitar. Start off by placing your ring finger on the fifth fret of the D string, using the very tip of the finger. Place the first finger on the third fret of the B string. When you have these placed, you will start the intro and continue to play. As you move along the song, the chords will stay around the same range but you will need to change the pattern to go slower or faster. When you get to the chorus, change the fin...
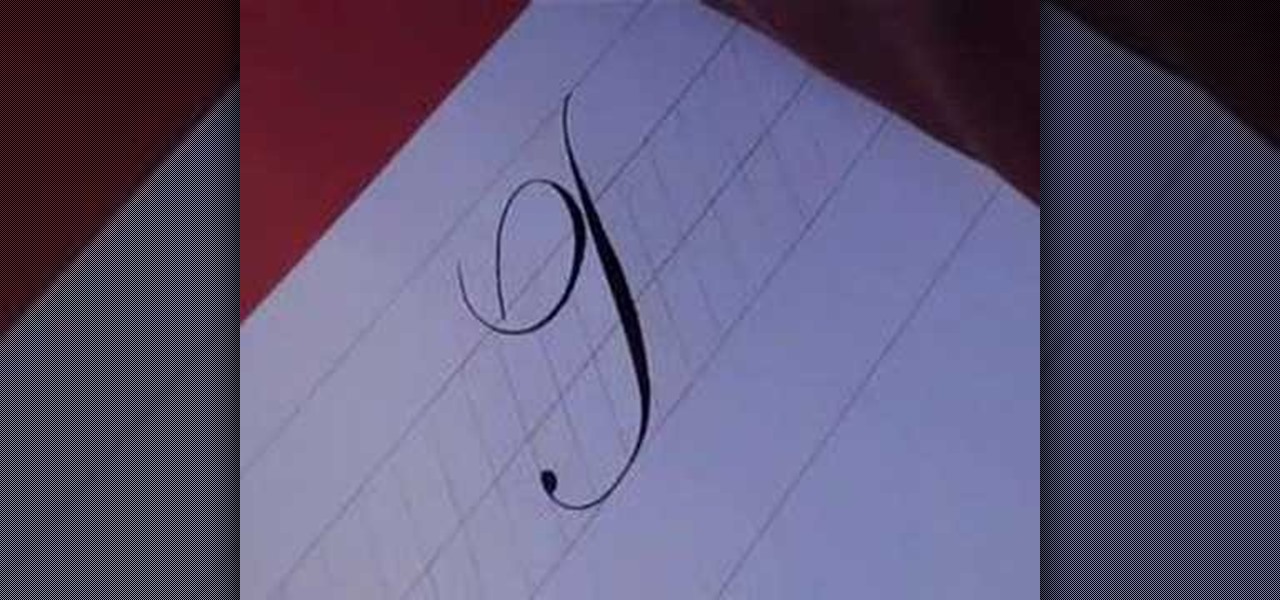
In this video, we learn how to write the letter T in calligraphy copperplate. Start by drawing a thick line that follows out a loop that curves to the left hand side. After this, create a loop at the top of the line, on the left hand side. Draw this out and cross the line over the top to make the T shape, ending with a slight curve at the end. To make the lower cased letter, draw a thin line, then draw a thick line over it, then cross a thin line across the top middle of the letter. Now you w...
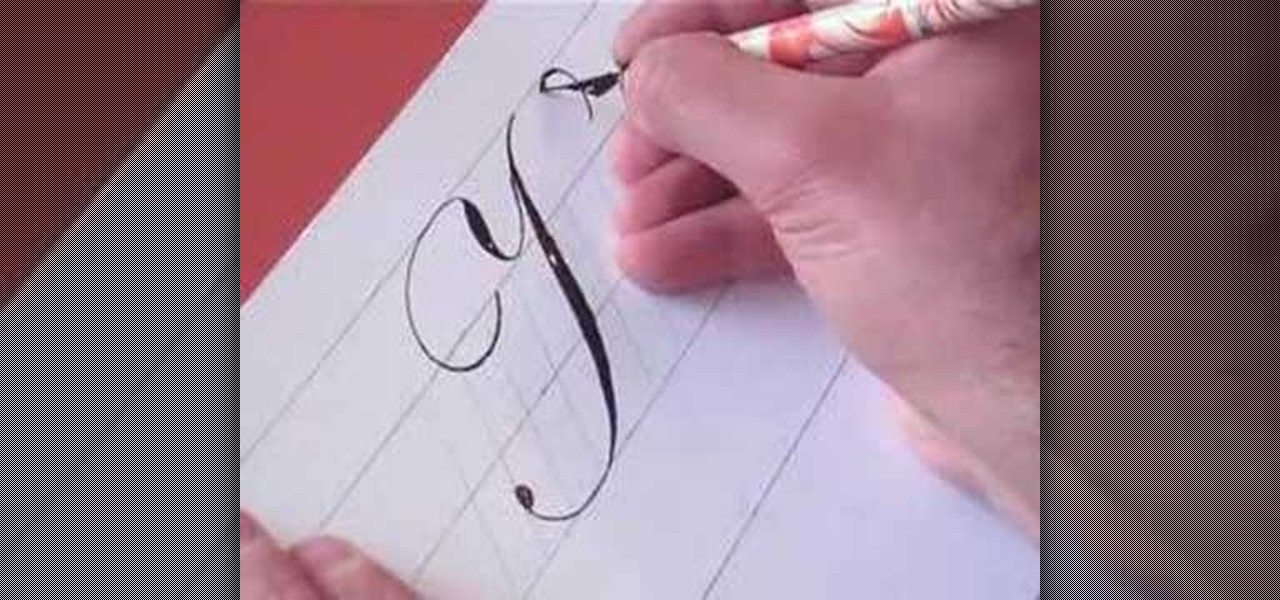
In this video, we learn how to write the letter K in calligraphy copperplate. Start by running your calligraphy pen on the paper going from a thin line to a thick, making a line curved to the left ending with a dot at the end of a small loop. Next, make a loop to drag out across the top on the right hand side and curve it down to make the K letter. Do the same to make the lower case letter, except making a loop for the top of the letter instead. When finished, let the ink dry and you've got y...

In this video, we learn how to carve in snowboarding. While you are riding the snowboard, you will want to move your body weight so you are making a carving motion with your board along the side of the mountain and down the slope. Make sure you pay attention to where your legs are placed so you are properly pushing your weight on the ends of the board. If you fall, make sure you try to fall with your rear end so you don't break your knees or hands when you go down. With practice, this will ge...

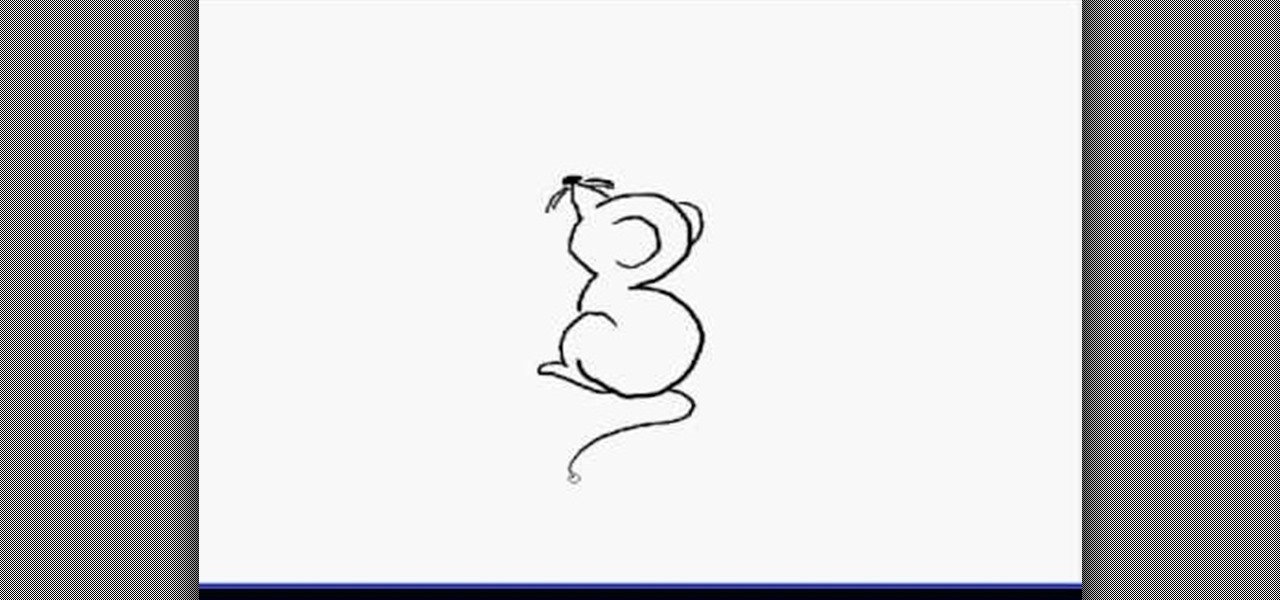
In this video, we learn how to draw a cartoon mouse from the number three. First, draw out your number three. Now, create a triangle shape on the end of the top of the three, then add in a circle and whiskers. Next, add in a half circle on the first hump of the three, then connect the body of the mouse going down the end of the three. Add in a tail at the bottom of the number, then add in a foot next to the bottom of the three. You can adjust this drawing how you prefer and add in any other d...

In this video, we learn how to write the letter "r" in calligraphy copperplate. Start out by dipping your calligraphy pen into ink, then creating a curved line with a dot at the end of it. Next, fill in the line so it is smooth and there are not ragged edges. Next, draw a large swirl on the left side next to the curved line, then draw it over to make the initial loop on the "r". After this, create a loop in the middle, then draw it back down to make the end hump of the "r". After this, draw i...

In this video tutorial, viewers learn how to jump start a car. When purchasing a jumper cable, don't purchase the cheapest set. It is also not necessary to purchase the most expensive. Begin by connecting the black cable on the negative terminal of the healthy car. Then connect the positive side of the red cable to the positive terminal of the healthy car. On the dead car, connect end of the cable to the positive side of the battery again, except this time you connect the negative end to a so...

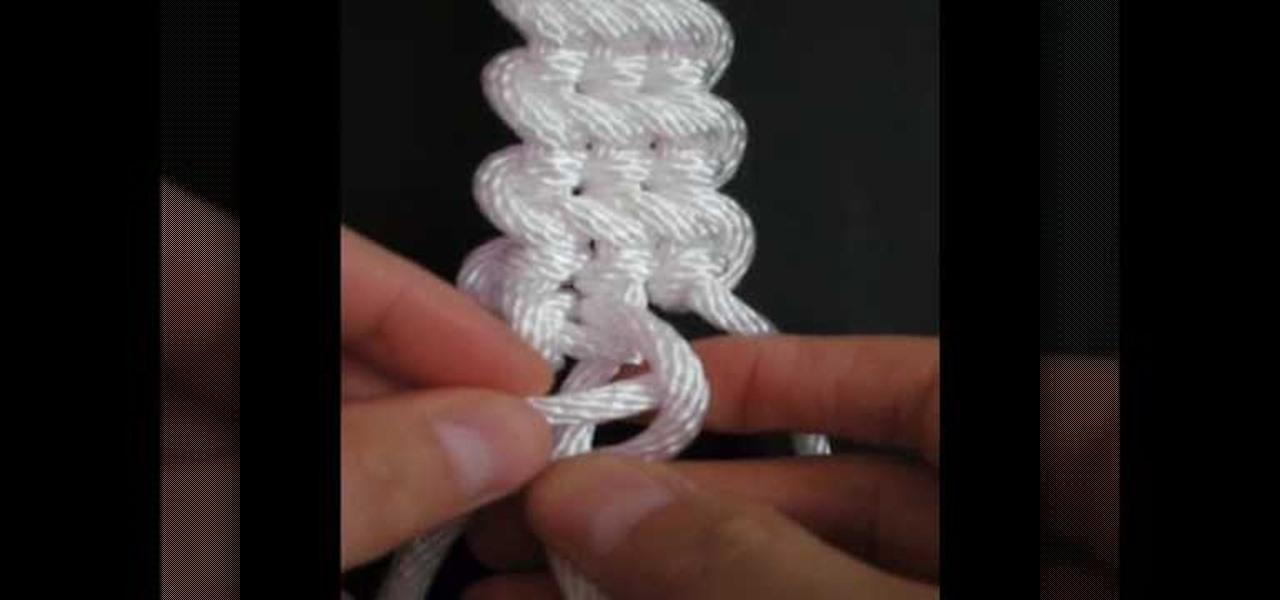
In this video, we learn how to make the guitar bar decorative knot. First, set up the bard then cow hitch two strips of rope side by side. Next, measure each bar to 12 inches long and make sure you have 12 feet of rope. After this, build the frets of the bar, and while you are doing this you will flip the bar over and start to half hitch. Continue to do this, tying all of the ropes together into the knot. Next, turn the knot over and continue on the other side. When you are near the end of yo...

In this tutorial, we learn how to set up the calendar in MS Project 2007. First, open up your calendar and then click on the "work week" tab. Now, set your working times into the slots for each different day. Make sure you set your start and end times correctly. Now, go to options and change the default start and end times so they match your working calendar. When finished, save this and then start to enter your task information to each different slot. When you enter this, the start and finis...

In this tutorial, we learn how to properly tape a hockey stick. Start at the base of the stick and start to tape down the blade. Try not to have too much tape overlap. Keep taping until you reach the end of the blade, taping over the toe if you prefer. If you have a rounded toe, you will have to use scissors to cut the tape, then fold it tightly at the end so no tape is hanging loose. Now, flatten the tape out with something hard and flat. To finish, store this in a cool and dry place and enj...

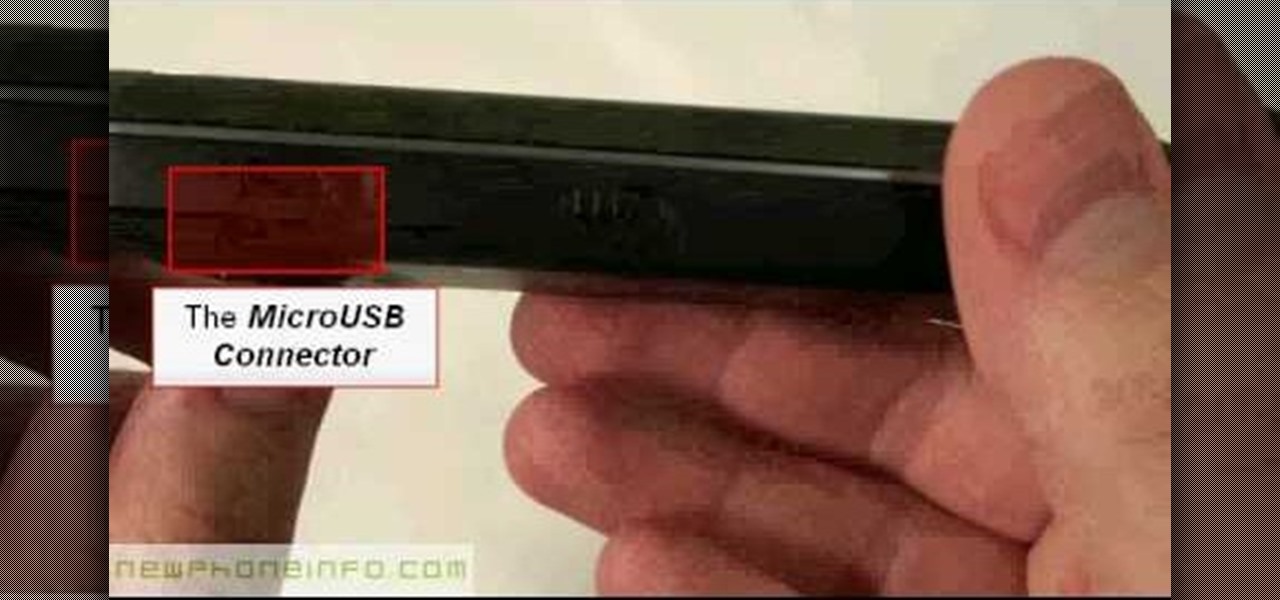
In this video tutorial, viewers learn how to use the Nokia N97 phone. The power button is located on the top of the phone to turn on/off the device. The menu key will open a list of applications for use. The call key will allow the users to make a phone call. The end key will bring the user to a previous screen or end a call. There is a headphone jack at the top of the device. One the side there is a Micro connector, and lock key. This video will benefit those viewers who are just using the N...

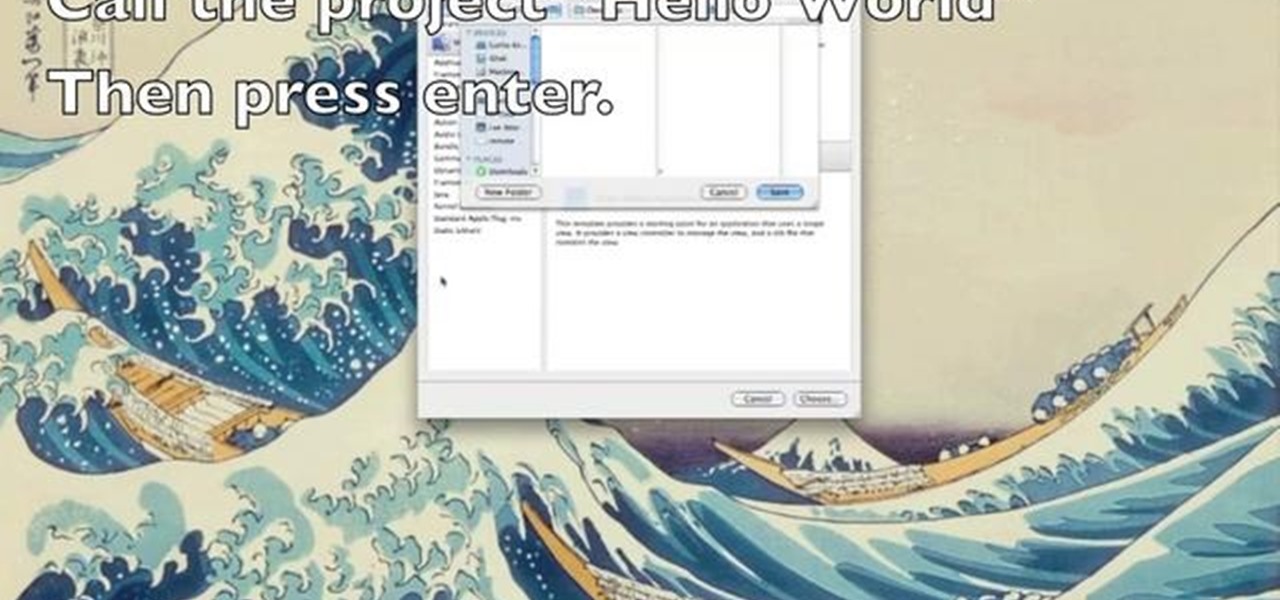
This programmer's guide provides an introduction to Xcode, Interface Builder and the iPhone simulator. Specifically, you'll learn how to write, build and test a simple "Hello World" application. For more information, including a complete overview of the process, take a look.

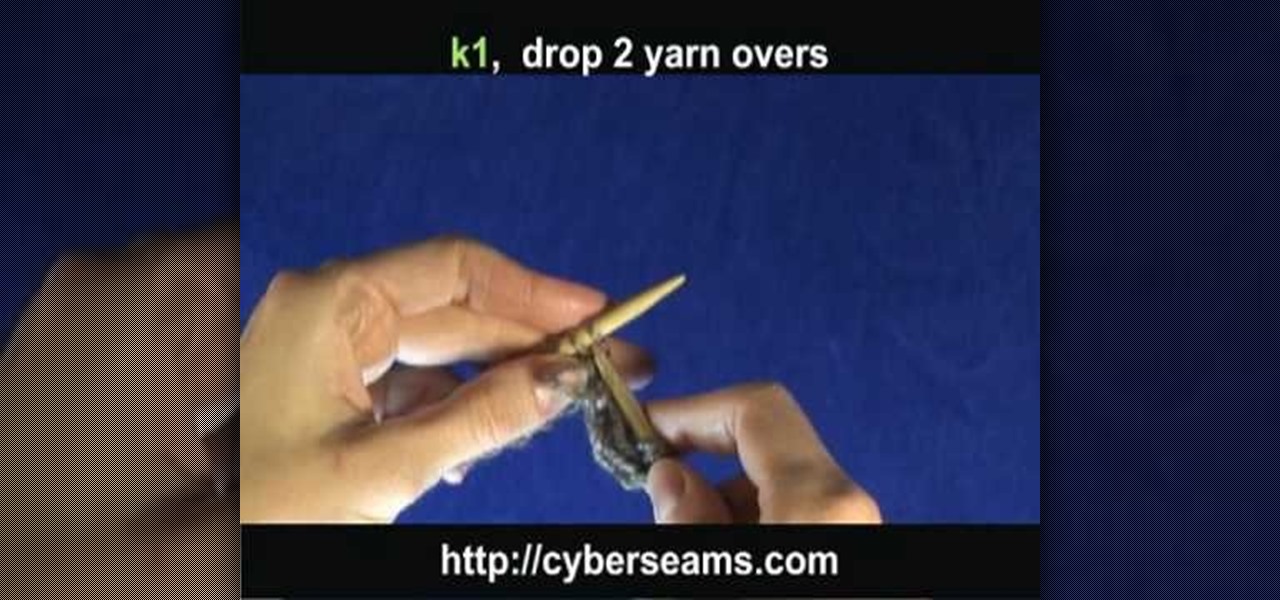
In this tutorial, we learn how to knit a scarf pattern. To do this, you will first start by casting on the first 20 rows. After this, you will knit for 2 rows, then you will do a k1 knit followed by a k1 at the end. Repeat this until your scarf is the desired length. Bind the knit off at the end and cut off any additional string that is left over. When finished, you will have a beautiful scarf that will keep you warm and was made by you! If you aren't familiar with knitting, you will have to ...

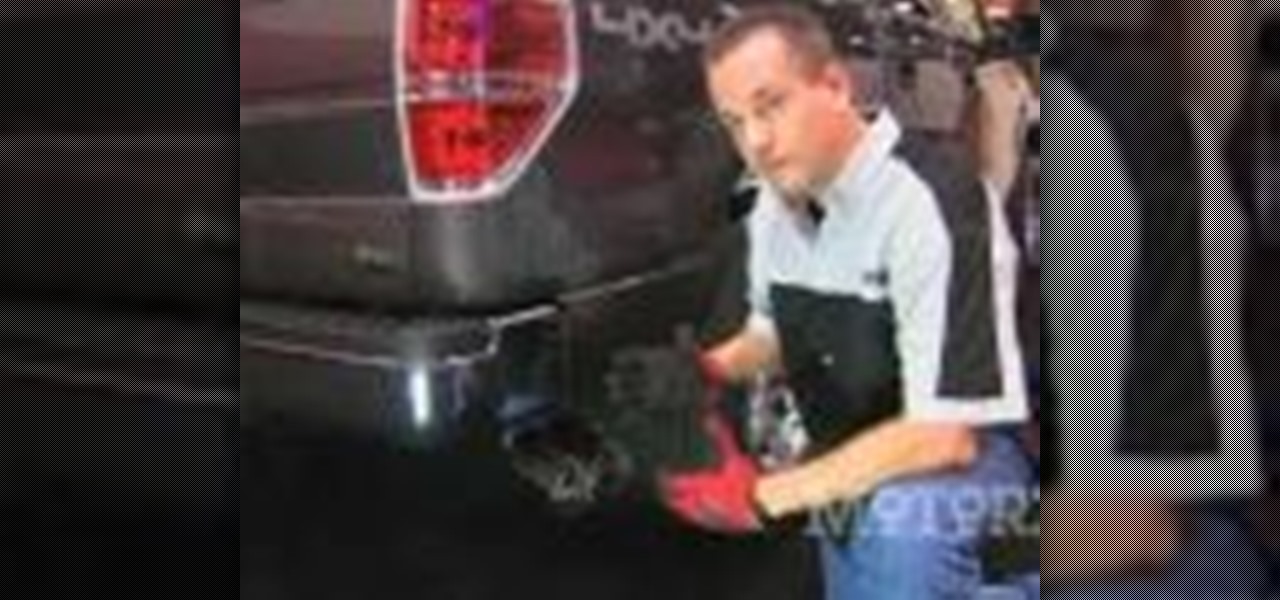
In this Autos, Motorcycles & Planes video tutorial you will learn how to install a Borla exhaust on a Ford F150. For this you will need a 15mm and a 10mm wrench, a 15mm deep socket, a 10mm standard socket, a ratchet, safety goggles and work gloves. First remove the spare tire and the heat shield. Using the 15mm wrench loosen the nut on the clamp on the muffler. Unbolt the hangers from the vehicle and remove the kit by turning it counterclockwise. Next put the new exhaust in place, take the sh...

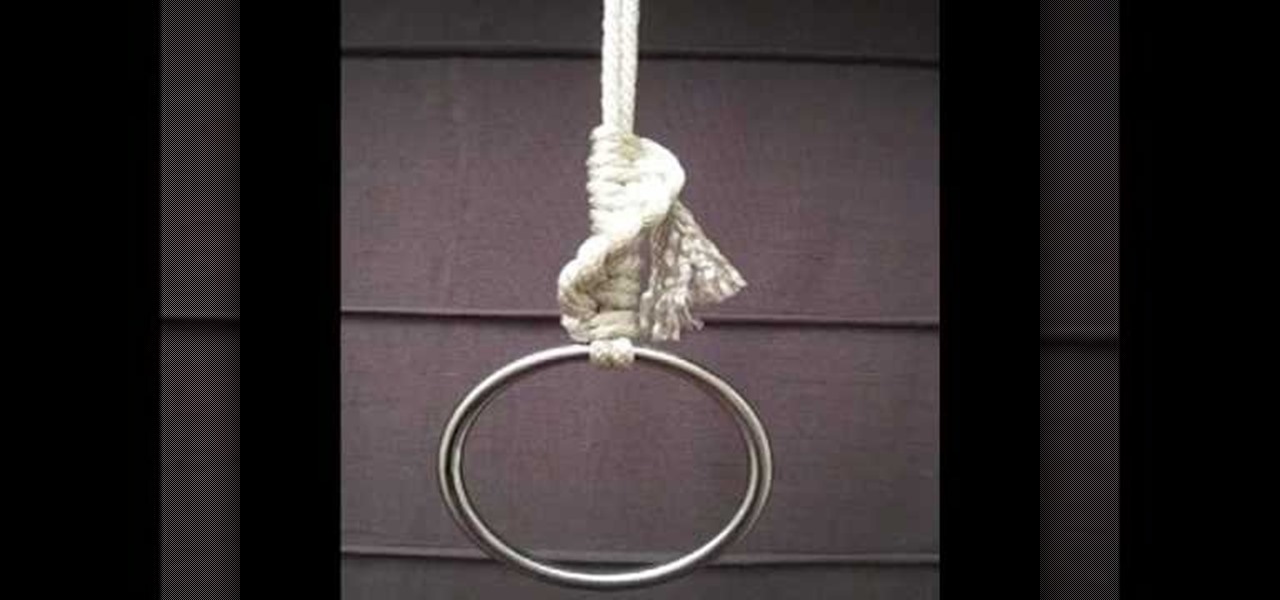
This video tutorial is in the Outdoor Recreation category which will show you how to tie off a suspension ring with a basic knot. Weld less rings are used as connection points for a variety of purposes. However, riggers quite often make tying a ring unnecessarily complicated. All that is required is a basic knot and a few hitches. For this you will need to tie the running overhand knot. Take a rope, bend it in half and tie it to a suspension point. Now pass both ends of the rope through the r...

New to Microsoft Excel? Looking for a tip? How about a tip so mind-blowingly useful as to qualify as a magic trick? You're in luck. In this MS Excel tutorial from ExcelIsFun and Mr. Excel, the 43rd installment in their joint series of digital spreadsheet magic tricks, you'll learn how to calculate weighted average cost ending inventory value from transactional records on 2 different sheets using the COUNTIF, SUMIF and SUMPRODUCT functions.

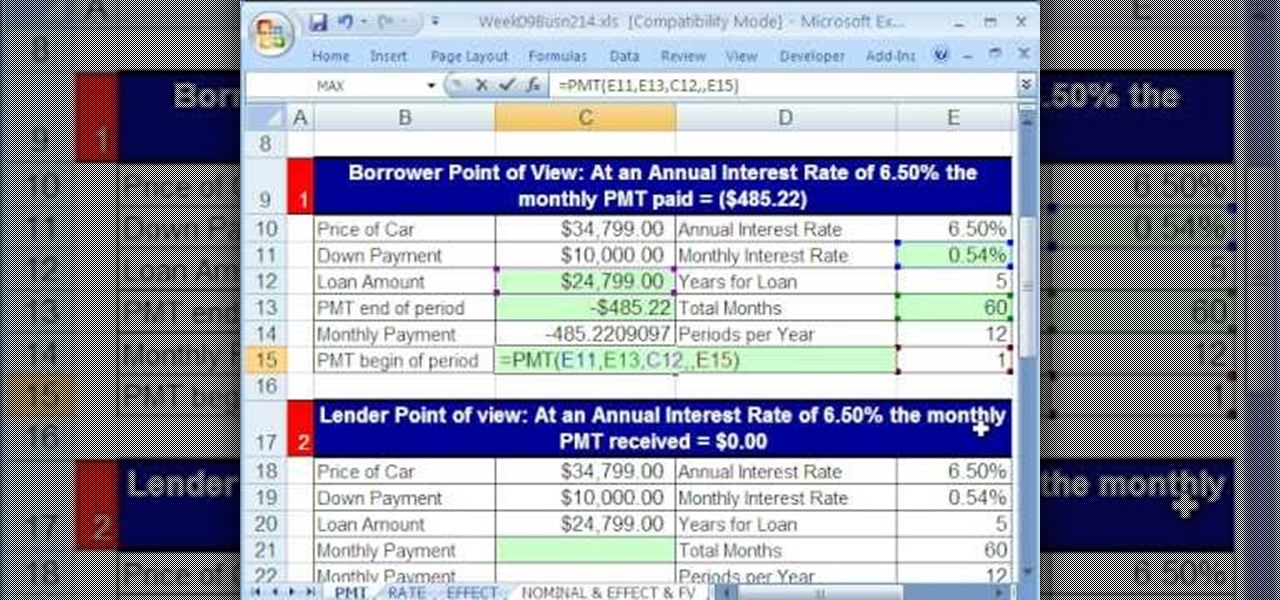
Whether you're interested in learning Microsoft Excel from the bottom up or just looking to pick up a few tips and tricks, you've come to the right place. In this tutorial from everyone's favorite digital spreadsheet guru, ExcelIsFun, the 47th installment in his "Highline Excel Class" series of free video Excel lessons, you'll learn how to use the PMT function to calculate payments. Specifically, this video addresses the following topics:

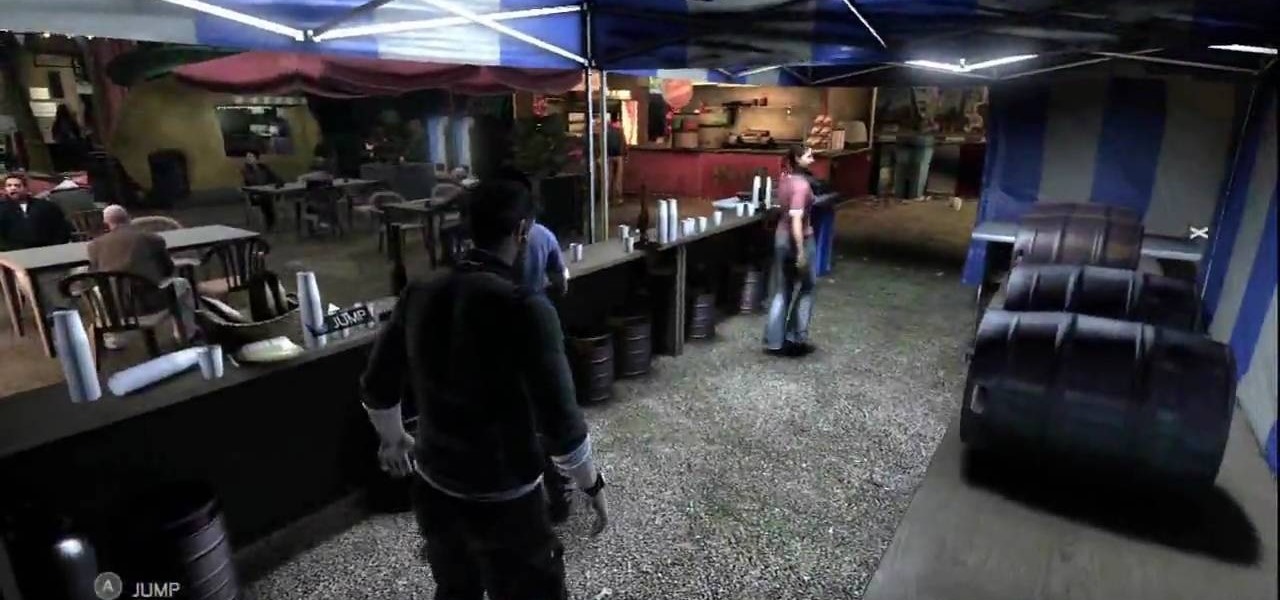
The one man Sam Fisher trusts, Victor Coste, has some information for him. To find out the intelligence, Sam has agreed to meet in person. Find out what the important intel is in this walkthrough for the Washington Monument (Mission 5), and where that lead Sam next.

Take a trip into the past as Sam Fisher gets captured by terrorists in the Iraq War. Instead of playing as Sam, you'll be playing the part of Victor Coste — the only man Sam trusts. Find out how Coste saved Fisher's life in this walkthrough for the Diwaniya, Iraq (Mission 4). What happens that day in Diwaniyah? Find out.

In this how to video, you will learn how to make a hair bow. You will need a ribbon and a bobby pin. First, make a knot in the center of the ribbon. Next, pull it tight and make a bow shape in the ribbon. Make sure that it comes out evenly. if your ribbon is not double sided, one end may have no pattern. This means you have to twist it so that the printed side appears in the front. Next, take the bobby pin and slide one end through the loop in the middle. Make sure it is in the bottom area of...

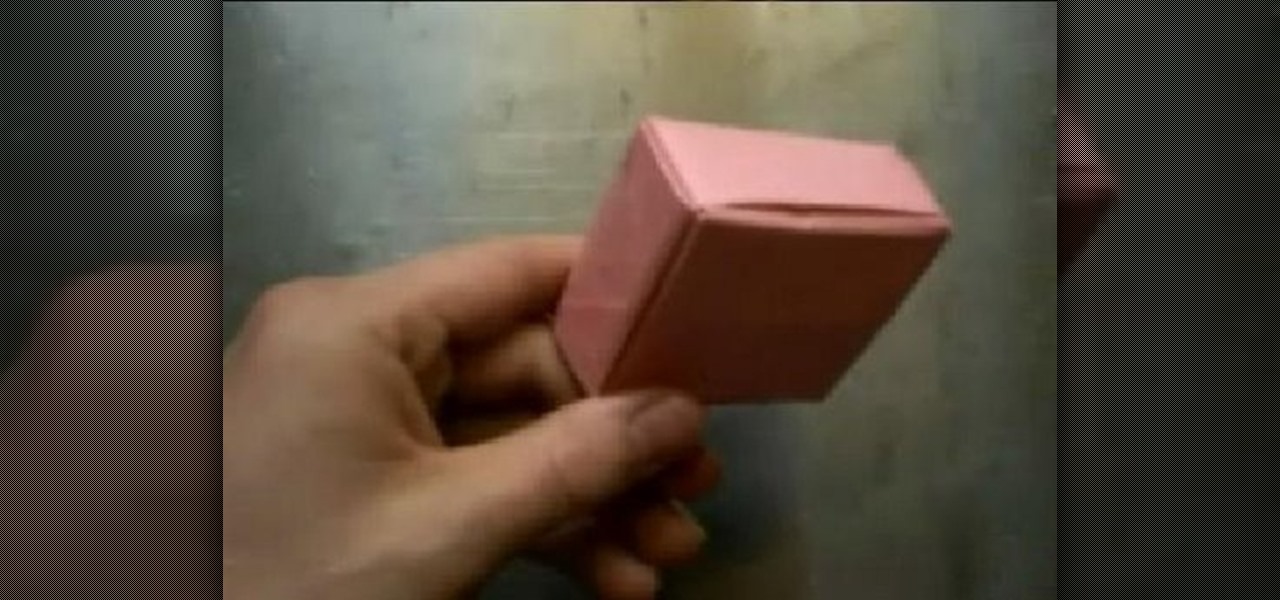
Watch a person fold an origami box. This is an open box, like a drawer, but not like a cube. First step is typical, just make creases between the opposite corners. next step is to fold all four corners to the center point where the first two creases cross. next two opposite flat sides are folded over to the center so the fold is parallel to the sides. then unfold these last two folds, and redo it with the other two perpendicular sides. then unfold everything but two of the corner-to-center fo...

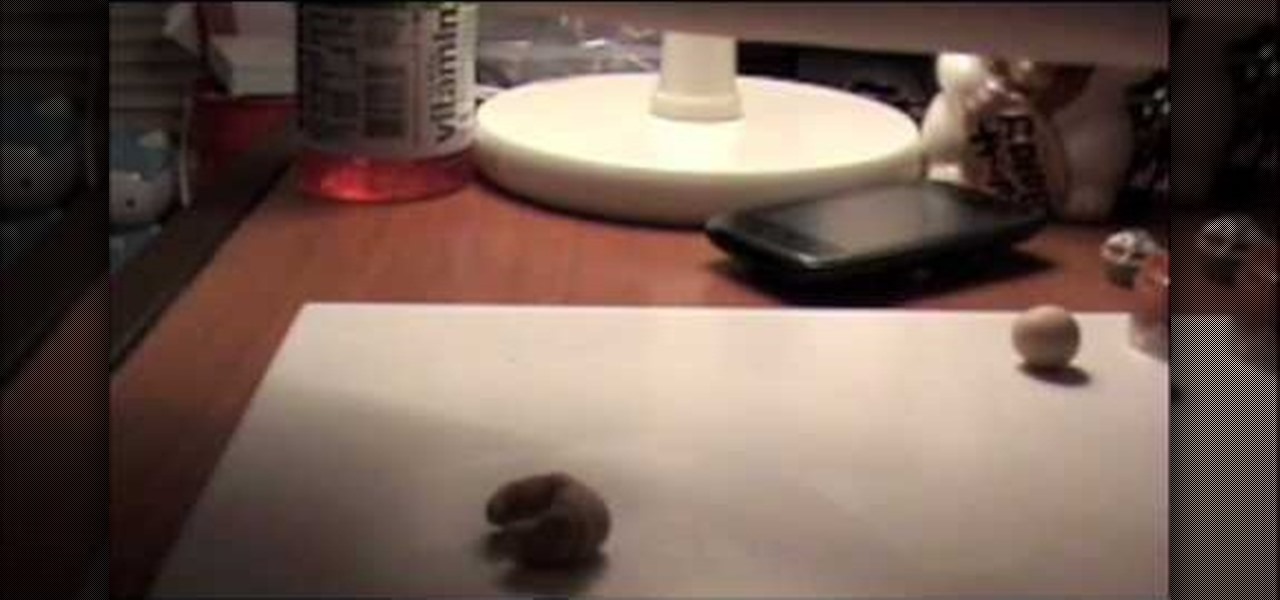
To make a mini croissant out of polymer clay, you will need the following: polymer clay (tan), pastels, a paintbrush, and oil paint. Roll the clay into a ball. Next, roll it out into a log. Twist the ends. Next, shape the clay into a crescent moon shape. Use a paintbrush to dust yellow pastel onto your croissant. Start with a muddy yellow color pastels. You may need to layer the colors to get the best shade.

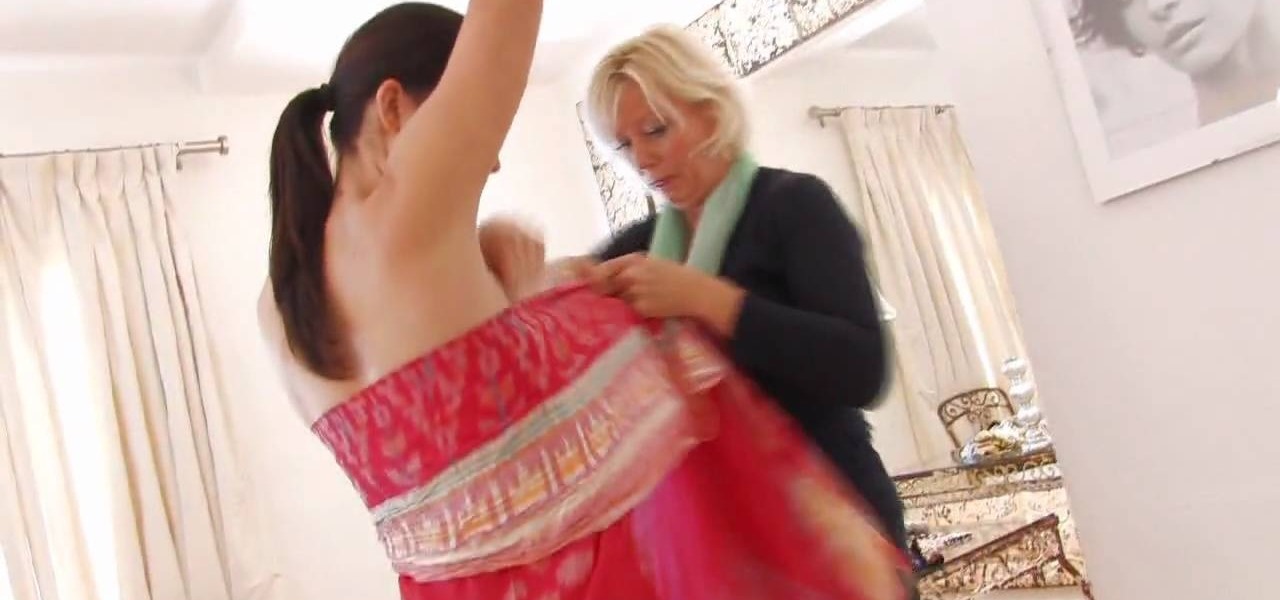
Fashion designer Cate Adair demonstrates dressing with a sarong for Modern Mom. She also discusses how to buy or extend a sarong when the one you find isn’t long enough. One important consideration for beginners is finding a sarong that can wrap around the body twice for security. One way she wraps is to simply wrap under the armpits twice and tie a flower or ornament with the corner. Another way is to put the full sarong on from the front, wrap each end backward and then over the shoulders...

Prepare a chocolate cream roll. And into your whip topping, put in one teaspoon of vanilla extract, about a cap full. Stir the whip, the vanilla removes the packaging taste. Spread the whip all over the cake, nice and thick. Clean out the edges and round it out. With a fork, drag the prongs across the top of the log. And all around the surfaces. With a knife, spiral out the ends of the log. Start in the center and slowly spiral out. Dust the top of the cake with cocoa powder, then do the ends...

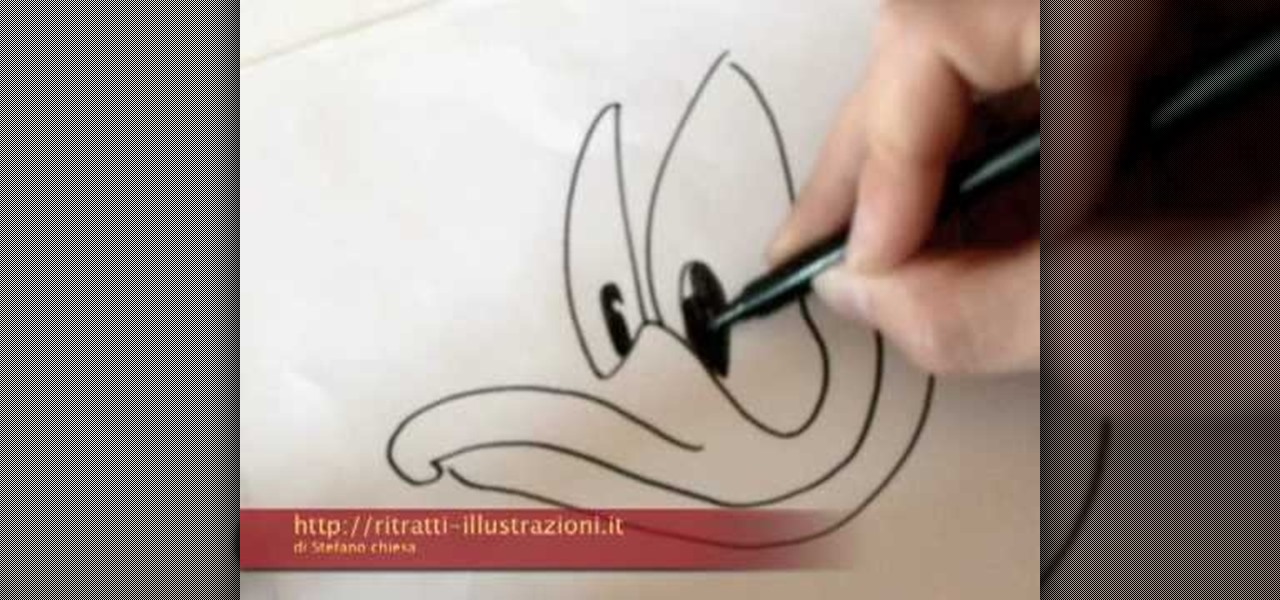
This video illustrate us how to draw Donald Duck. Here are the following steps: Step 1: First of all take sheet of paper, pencil and colors.

You can use the ingredients of items that are leftovers and not usually eaten. You can use a bunch of parsley stems, the insides of the onions, ends of mushrooms, a leftover piece of escarole, ends of potato, ends of carrots, pieces of celery and some parsnip. You can store these leftovers in a plastic bag and refrigerate it. However you have to use this in for days. Use a large pot and fill it with one third of this stuff. You can add all kinds of leftover pieces except Cruciferous vegetable...

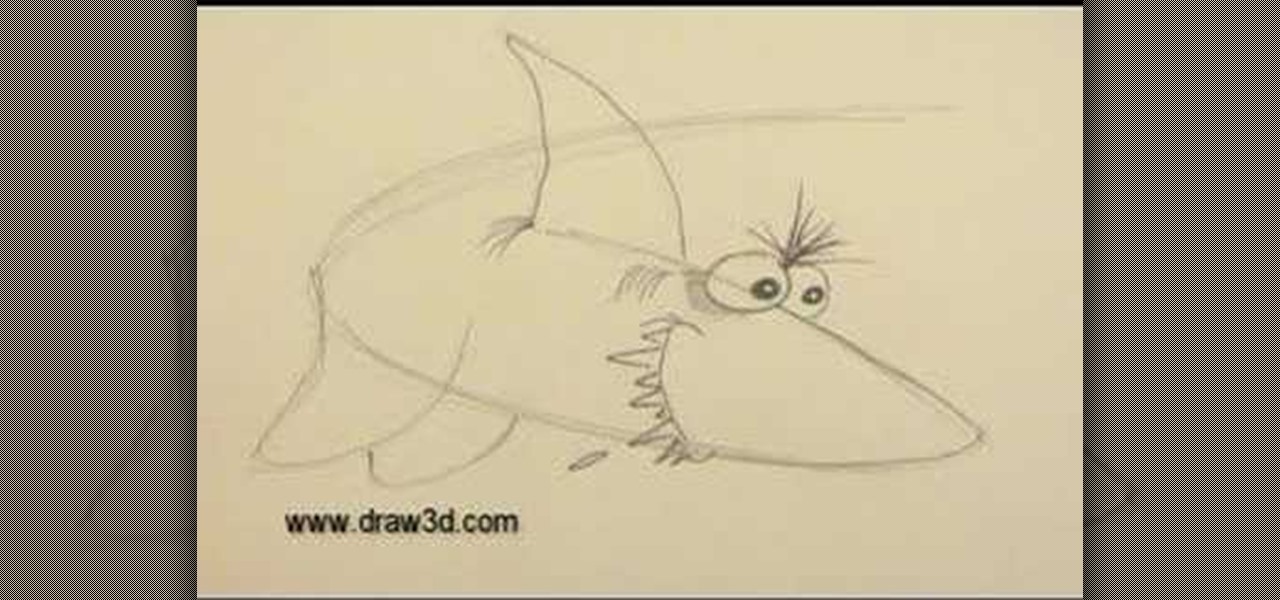
This video illustrate us how to draw 3D cartoon shark. Here are the following steps.step 1: First of all take a sheet of paper and pencil.Step 2: draw a U shape structure and again draw a U shape structure above the previous on representing the body of the shark.Step 2: Now from one end of the double U draw a V shape representing the front body of the shark, within the face draw two eyes and jaws of the shark.Step 3: Now at other end draw a tail and from the side of the body draw a triangle a...

We are taught in this video how to play "Somewhere Over the Rainbow" on the ukulele. Its explained to be a popular song and one most people associate with The Wizard of Oz. First he plays the song through. Then we're shown how. There are five different chords that are used through the entire song. First we're shown the intro, then we're taken through the verse. The verse uses the five chords given eight times. Then we're shown the chorus, which uses the five chords another eight times. The ch...

In this video tutorial, viewers learn how to make a plain paper clip into a spinner. The materials required for this spinner are a paper clip and a pair of pliers. Take the paper clip and straighten it. Now use the pliers to bend the tip of the clip at 90 degrees. Then bend it 90 degrees to left side and start bending the wire into a circular shape. The shape will look like a pretzel. Now bend the end tip of the wire 90 degrees to the opposite direction of the first bend. You should end up wi...

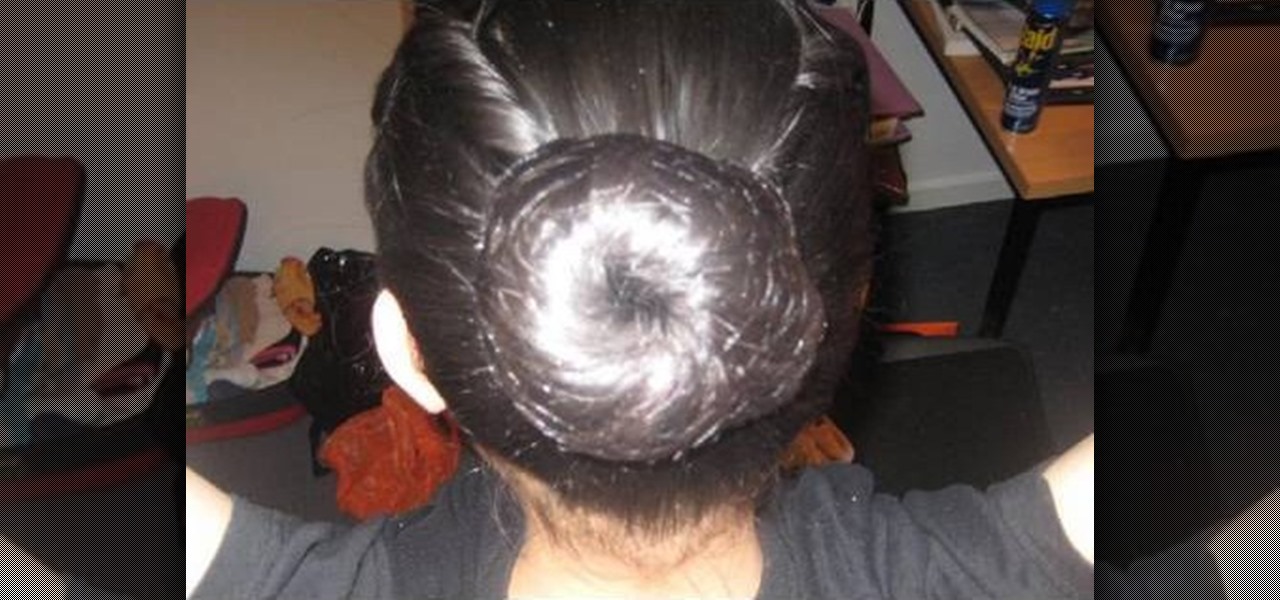
In order to begin, you will need the following: Three hair tiesBobby pinsHair spray or spray gelRat tail combHair net

SCRABBLE. To some it's just a game, but to me it's life or death. Well, not really, but it feels that way anyway. On a normal weekend, a game becomes much like Jon Thomas' "friendly game of death Scrabble."

Learn how to wrap a textblock in this video tutorial. Wrapping the block allows you to protect the book's inner pages while you are working on the outside of the book. All you need to do is use some butcher paper, or any other kind of heavy duty paper you may have on hand. Lay the spine flush against one side of the paper. Open the front cover and fold the bottom sides into the book. Tape these ends together. Then, with the excess paper on the non-spine portion of the book, fold those ends in...

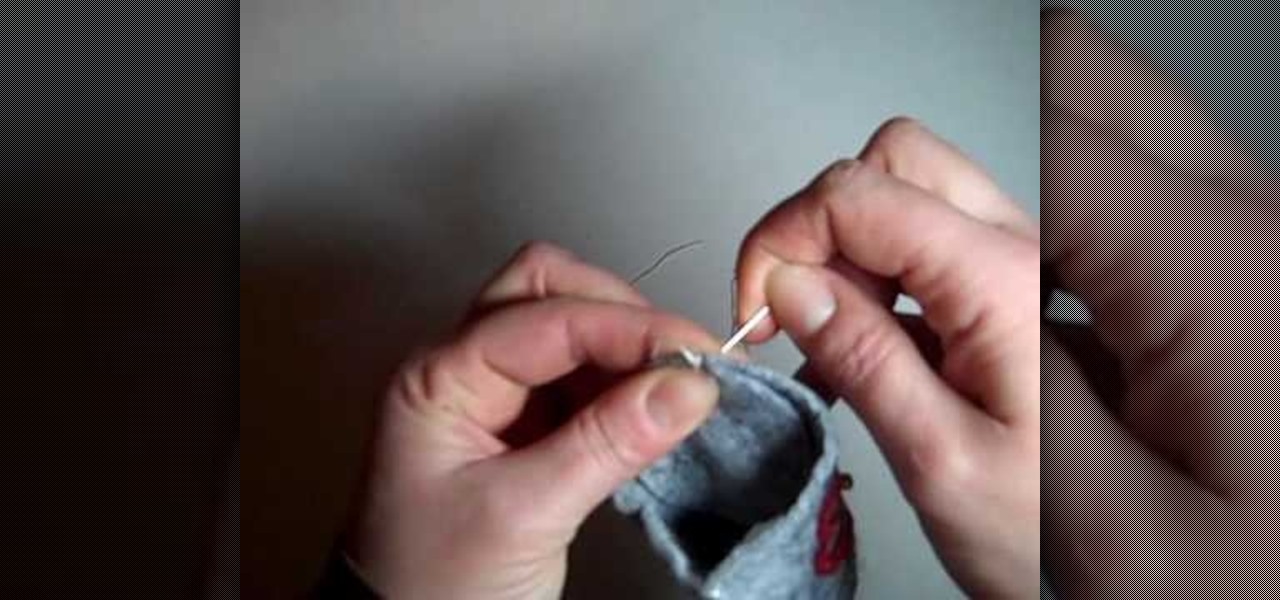
In this Arts & Crafts video tutorial you will learn how to do Whipstitching. The video demonstrates how to stitch the bottom of a cloth basket to the sides of the basket. A whipstitch is a very basic stitch. Start at one end of the basket; attach the bottom to the sides with a pin. Pass the needle from the inside so that the knot is hidden. All you have to do is taking the thread and whipping it around the edge. At the beginning, give it a bit of binding stitch before stitching the rest of th...

This video instructs the viewer on how to do a powerful Driven Free kick for soccer. First, you will need to come on to the ball and strike it with your in-step. Your in step is the inner part of your foot that is right next to the laces. The most important tip is that when you do strike the ball, come through the ball and not around it! Finish with a hop at the end which will create more power! You'll want to kick the ball just under the center for proper height and maximum power. Kick the b...

Here is another video by a woman named Angela on how to make a miniature Christmas log cake for a dollhouse. The first thing she does is roll out a sheet of brown clay with a pasta maker on a setting of 4. Then she rolls out a white sheet with smaller setting of 6. Use a razor blade and cut some straight edges. She layers the brown and white layer and rolls them together. Cutting off the ends she has now created a log cake. Use these ends for slices of the cake for dolls. She then uses a pepp...

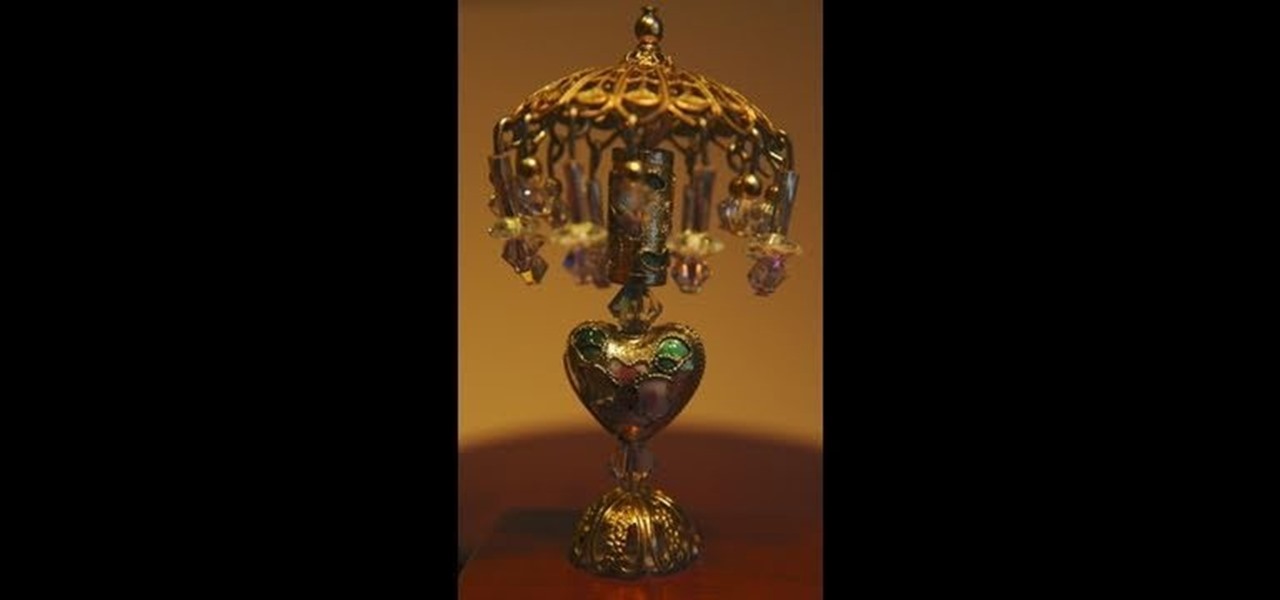
Start with an eye pin. Place a gold bead and end cap on it. Now put on a piece called a stamp, or stamping. You want to find one that is curved like a lamp. Next put on a large crystal (8mm). In this video she uses a Swarovski crystal. Find some beads you like and place them on the pin. At the end, place on a large plastic back of an earring to secure the beads and hold the "lamp" upright. Now to make the little beaded fringe at the edge of the lamp, you take another eye pin and thread on som...

This video shows you how to create a continuous, daisy-chain necklace. The materials used include: size 11 rock eyes in yellow, red and purple, a toggle clasp , 9mm thread and a size 10 beading needle. Start by sewing on one half of the clasp, tying a knot to hold it in place. Be sure to leave the tail ends long enough to be able to re-thread it later with a needle to sew the tail ends. The video then shows the precise order in which the various beads are threaded through to produce a chain i...


