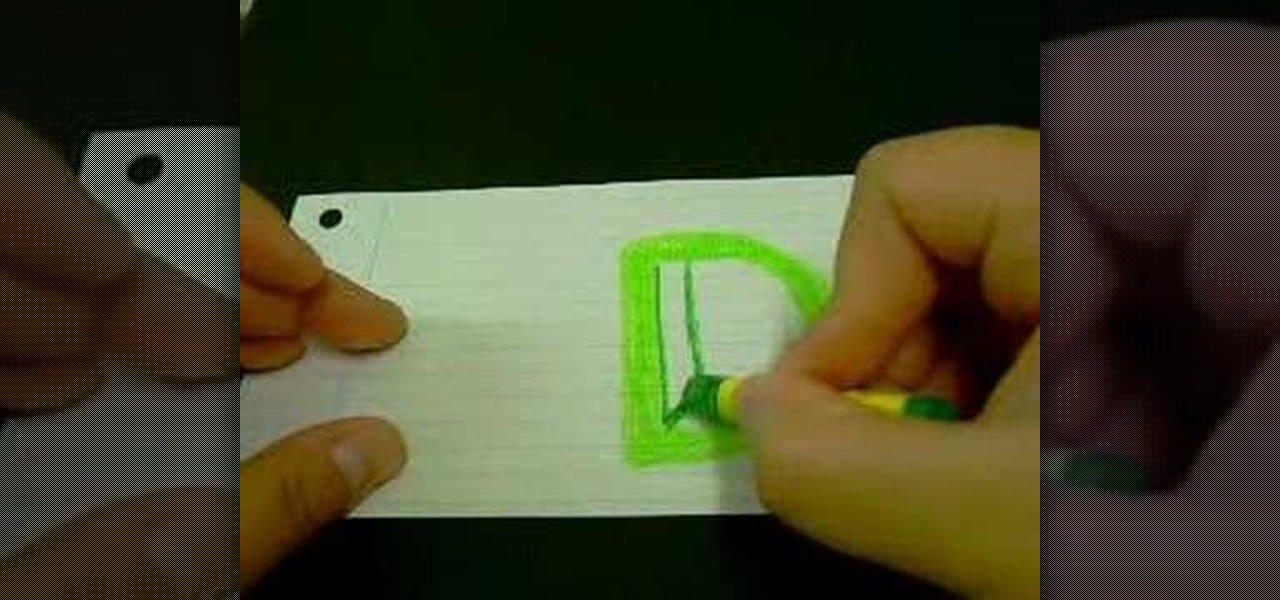
Drawing the letter D as a 3D block letter is easy and fun. To start simply draw the D like you normally would. Next, you need to draw another smaller D inside the first D. From there, draw another D on the outside of the first D. Color in the 3 stacked Ds with your first color. To continue, choose a darker version of your original color. In the bottom left hand internal corner of the D draw a short line that extends at about a 30 degree angle in reference to the bottom of the D. From the end ...

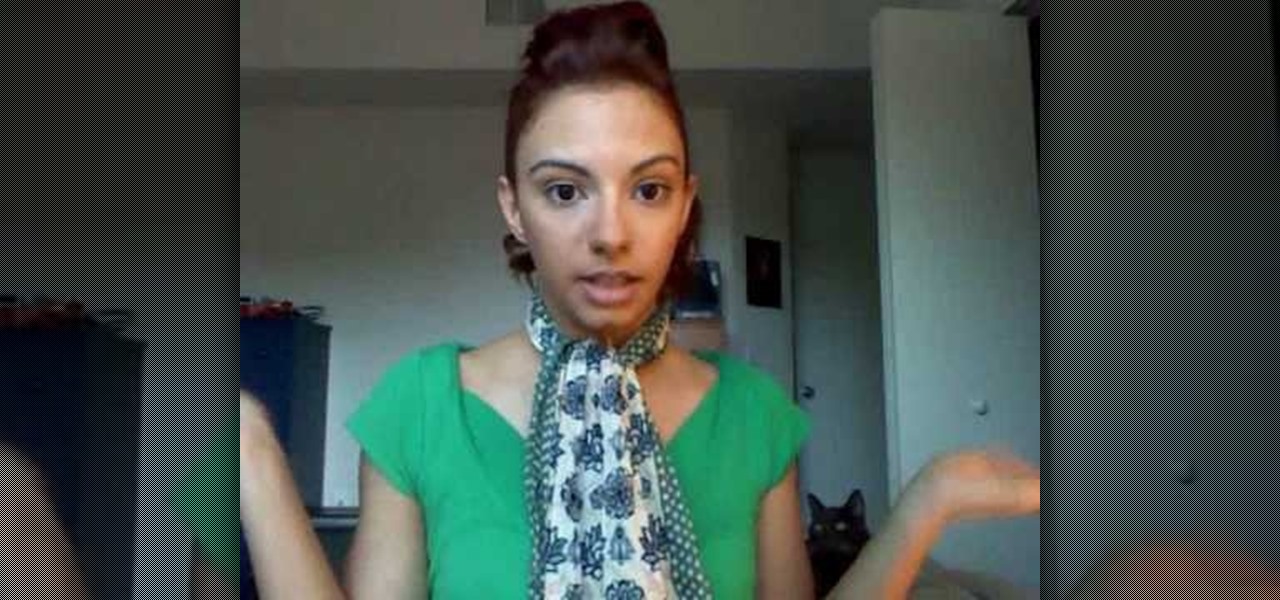
Olivia will be showing you a few different styles you can wear your Pashmina scarf. One way you can wear it is by just grabbing one corner and throw it around your neck it may be a bit longer but you wont end up with a big bunch of tassels on one end. Another way you can wear it is to simply loop it around your neck, it makes it a bit shorter if that's what you're comfortable with. Then another way you can wear it is by doubling it then sort of knotting it around your neck, but don't not it t...
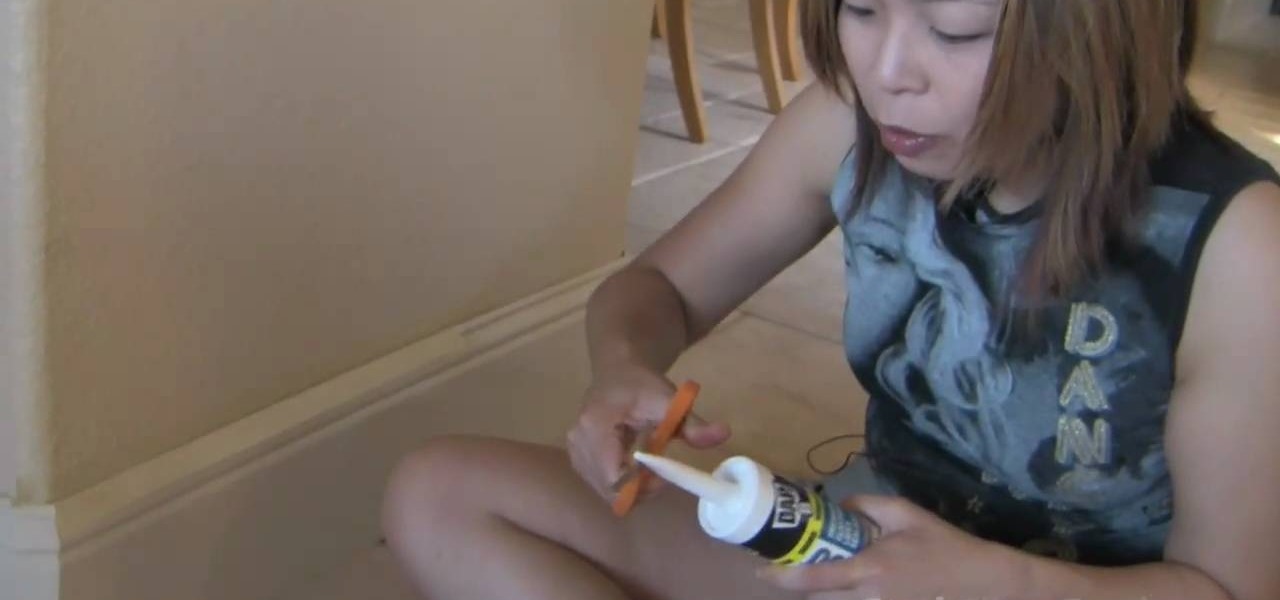
How to caulk the baseboards in your home

To put music on your iPod from your computer starting with the iPod shuffle you will need to start by having your USB connector plugged into your both iPod and computer. Then once its plugged in you will need to open up iTunes and you can access your iPod from the button on the left that shows your iPod on it. Now if you want to put music on it you simply drag the music from your iTunes and place it into iPod. If you have any other kind of iPod you can do the same steps except for the connect...
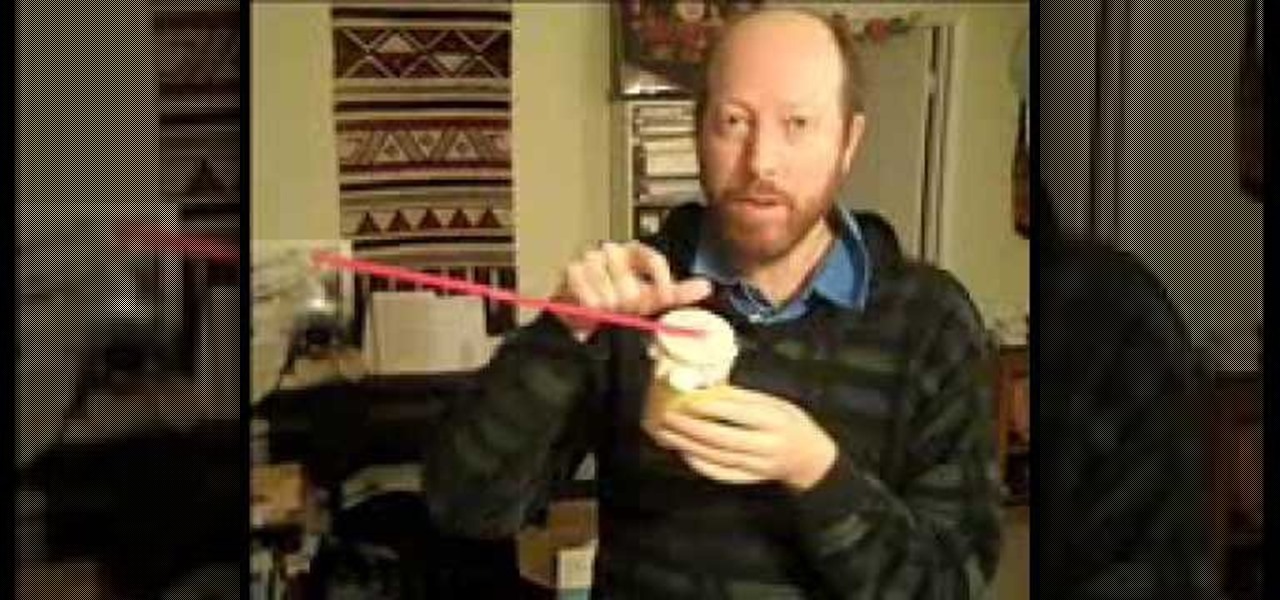
ARHSphysics shows viewers how they can build a simple barometer using household items! First, you need to get a container that is the height of an index card. Your best bet is to get an empty soup can of food can. Make sure you wash the can. Now, you will need a latex glove, cut a semi circle from the glove and attach this to the top of the can using a rubber band. Get two straws and attach them together at the ends. Cut a slit in each one and attach the straws. Attach the straw to the top of...
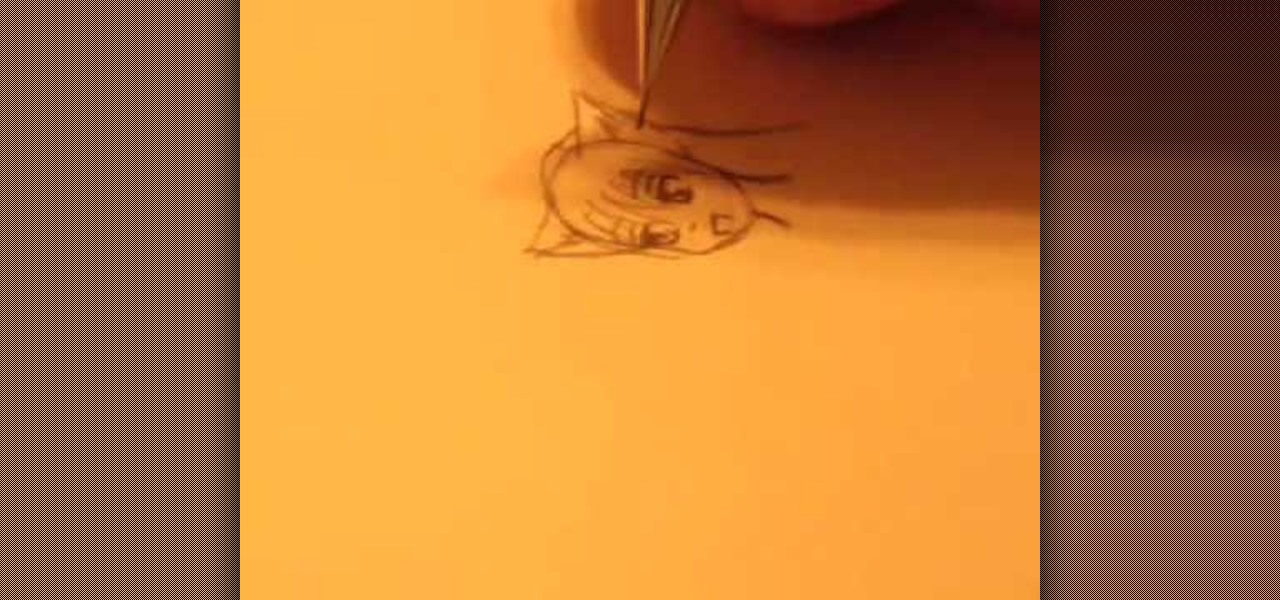
This video shows how to draw an anime Fox Furry. First, draw the outline of the face, neck and straight-up ears. Then draw the eyes with eyebrows and make them prominent, to look nice and real. Then draw the nose and mouth. Then give borders and shades to ears to look prominent. Then outline and draw the hairs over the head, a little on the face and also side hairs. Then for finalizing the eye part, adding pupils to the eyes to look a little real, and more bordering the eyebrows. Then, draw t...

This video illustrate how to knit a thumb onto a mitten. Here are the following steps.Step 1:Take the mitten on knitting has to be done.Step 2:Now at the center take out the contrasting thread and then pass the knitting sticks through the leftover stitches .Step 3: Now similarly pass the other knitting sticks through the other half leftover sticks.Now take two more sticks and pass them in horizontal direction to that of the previous sticks so that the previous leftover stitches overlaps the n...

In this video arsbeadsvideos instructs you on the use of crimping pliers, crimp tubes and how to use crimp covers. Make sure you use jewelry wire that is fine enough to fit through the holes in your jewelry. On your crimping pliers you'll notice there are two notches, also called stations. The first notch is furthest from tip of the pliers and has a raised bump or dimple in the middle. This helps to created figure-eight crimps. The second notch is used to form the crimp into a tube shape. To ...

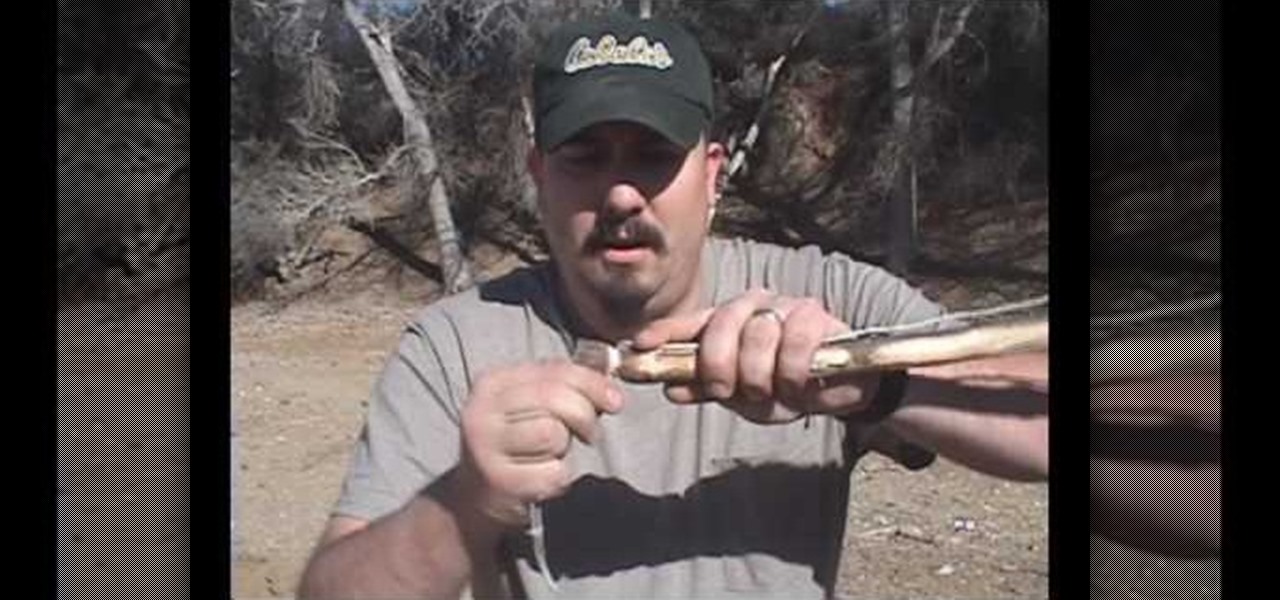
There are various tools to be made and a number of items to be used during a disaster. One can utilize the wood logs for firewood. A bow drill can be made by just crafting the ends of a long wooden stick into necks so that plastic wires can be notched and it can be used made into a bow. Any stone with holes can be used as a notch. This notch holds the end of the bow drill. The wire of the bow drill can be wrapped in a stick and then vigorous forward and backward movement of the bow drill arou...

Before beginning you should start to focus on shampooing your roots and scalp and conditioning your hair and ends of hair. This will help by saving the ends of the hair and the main body of your hair from unnecessary damage. Shampoo is a very strong product and as you work it into your scalp and roots it will naturally move down your hair grabbing dirt and old product from your hair. So, focusing on shampooing the ends of your hair and the main body of your hair is not needed and it can be da...

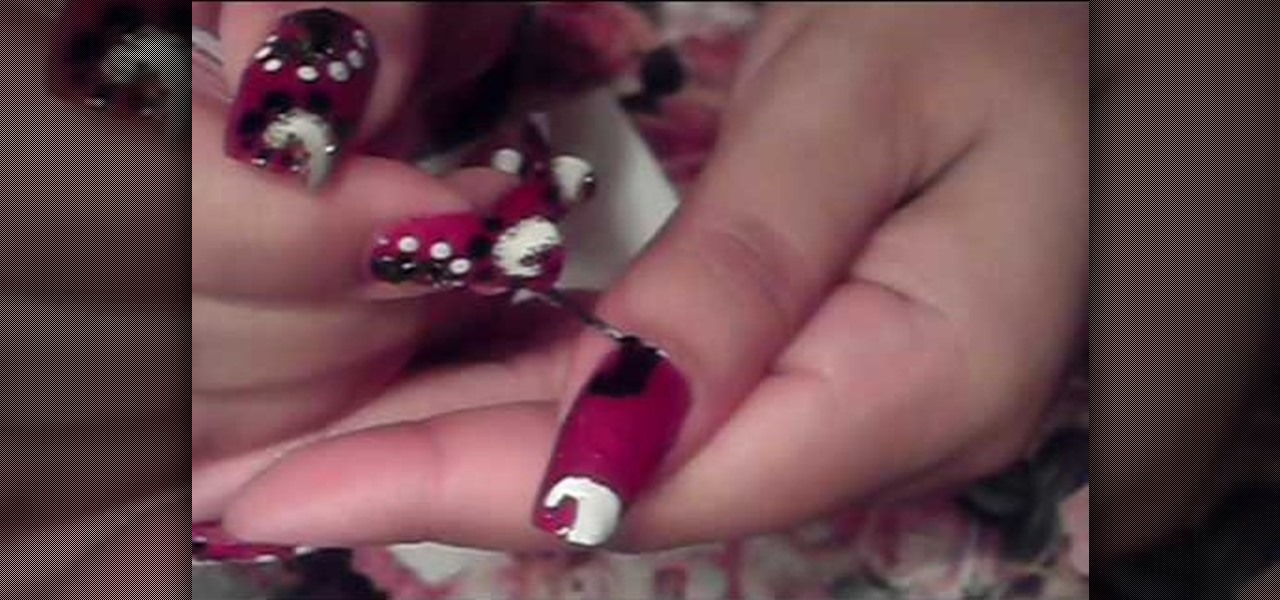
Love4Nails demonstrates a nail design consisting of black and white swirls and dots on a red background. She has already applied a base coat and two coats of red polish. The first step in making the design is the white swirl on the tip. Using the pointed end of a nail dotter, she dips it in the white polish and draws the outline of the swirl, and then fills it in. Next she does the black swirl at the bottom in the same manner.

Setting up a chroma key backdrop contains various steps/ the support system and muslin consists of various parts like the support stands, shrink lamps and the muslin. Place the two stands 12 feet apart and attach 4 clamps to vertical section of each stand. Snap the crossbars together in a proper way and insert the muslin into the respective end of the crossbar and put the crossbar on the stands with the green end of the muslin facing out. The muslin should be attached using the clamp. And ens...

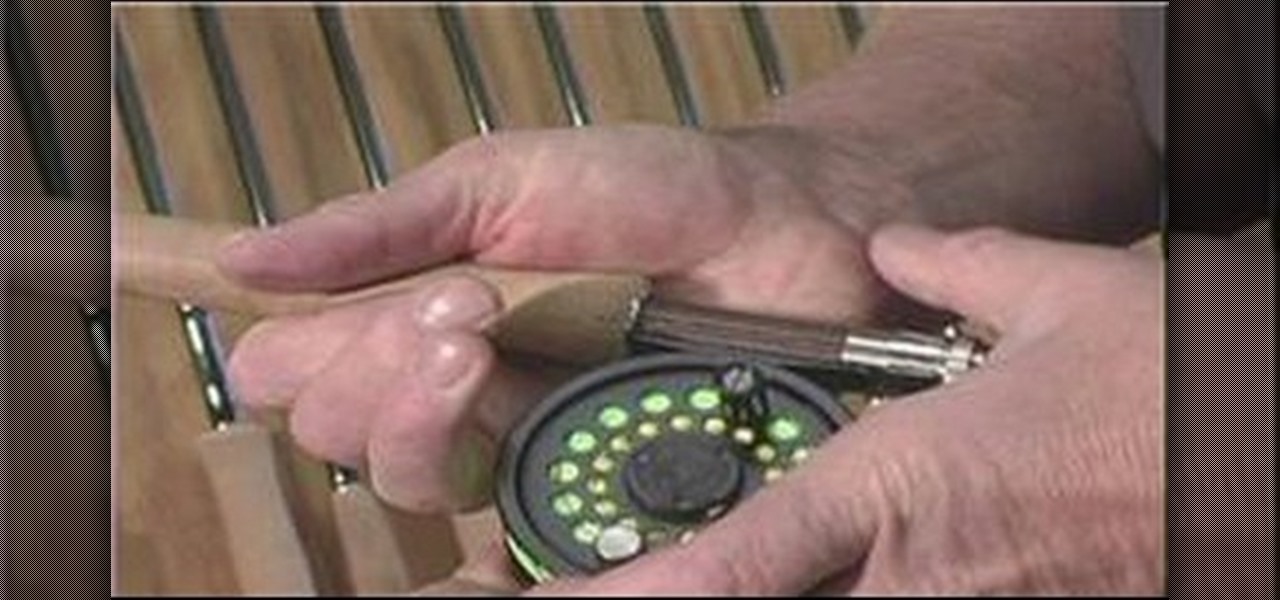
In this Outdoor Recreation video tutorial you will learn how to put a fly fishing rod and reel together. Steve shows you how to do this. Every reel has a reel seat and most fly rods have a slot under the grip into which one end of the reel seat slides in. At the lower end of the rod, push the ring over the reel seat and tighten he screw on the rod. This should be nice and tight. Before your fishing, make sure it is tight. To put the rod together, take the next segment of the rod and push it i...

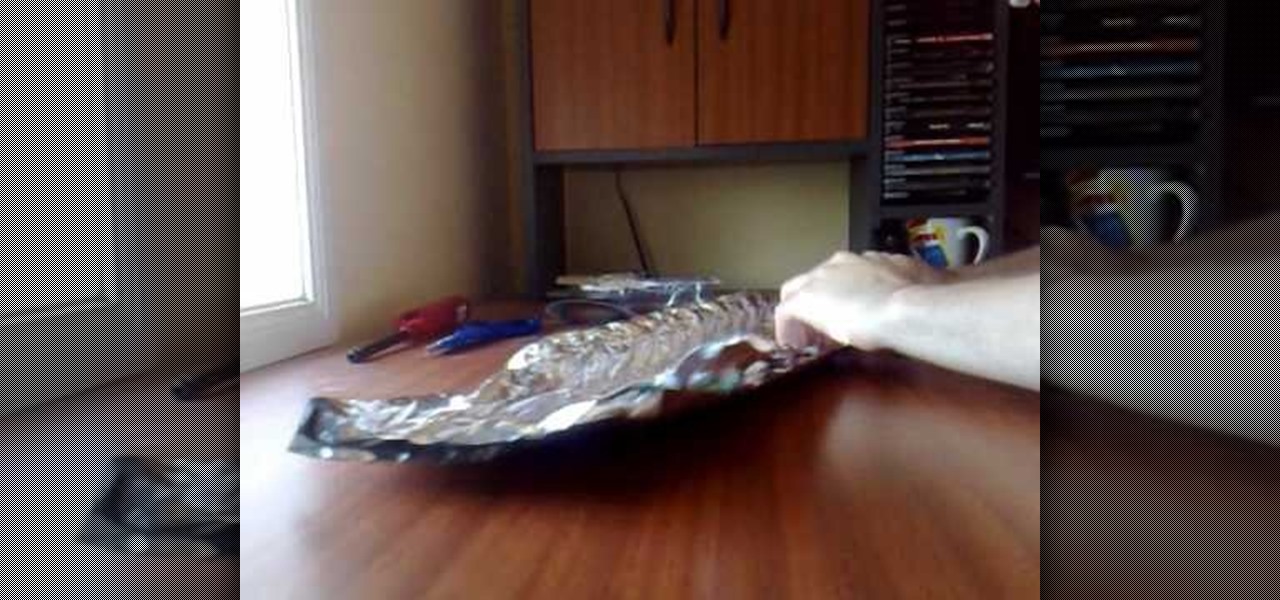
The video shows how to make an extra long ping pong smoke bomb. For this we need a long sheet of aluminum foil (length of the foil depends on the number of ping pong balls we use), 12 ping pong balls is used in the video (any number of balls can be used), a pair of scissors and a lighter.

Learn how to make a River Bar bracelet, which is also known as a Paracord bracelet, by following the steps outlined in this video tutorial. To start your bracelet, you will need to tie a reef knot. This is done by taking two loops (in two different color strings) and then placing one loop within the other, pulling this through the first loop to secure the two loops together. This knot creates the end of your bracelet. To actually make the River Bar design, bend the two colors of string so tha...

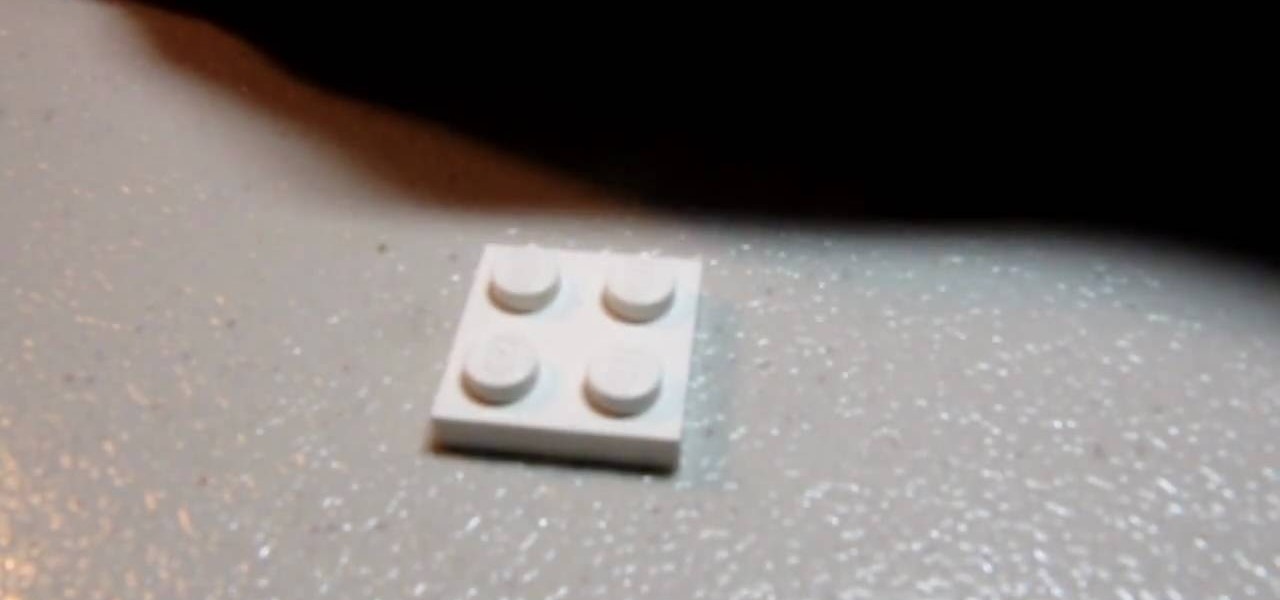
In this tutorial from brickboy518, viewers are shown how to construct a table out of fourteen LEGO bricks. The following bricks are required: 4 1x1 spokes, two 4x1 strips, a 4x6 thin, a 2x4 thin, two 4x1 thins from the LEGO Racing Legacy sets, and 4 1x1 spokes. First, the builder must apply the 2x4 thin to the center of the of the 4x6 then. Next, they must attach one of the spokes on each corner of the 4x6. Then, the car strips must be applied face-inwards to the sides of the 4x6. Thus, this ...

In this demonstration, we learn how to make a phone call on the iPhone. 1. Tap the phone icon. 2. Tap the keypad icon. 3. Tap the number you wish to dial. 4. Tap "Call. "5. To end the call, tap "End Call. "6. If you wish to call one of your contacts, tap the "Contacts" icon, tap the contact and the number you wish to dial. 7. To call one of your favorites, tap the "Favorites" icon, and tap the contact you wish to dial.

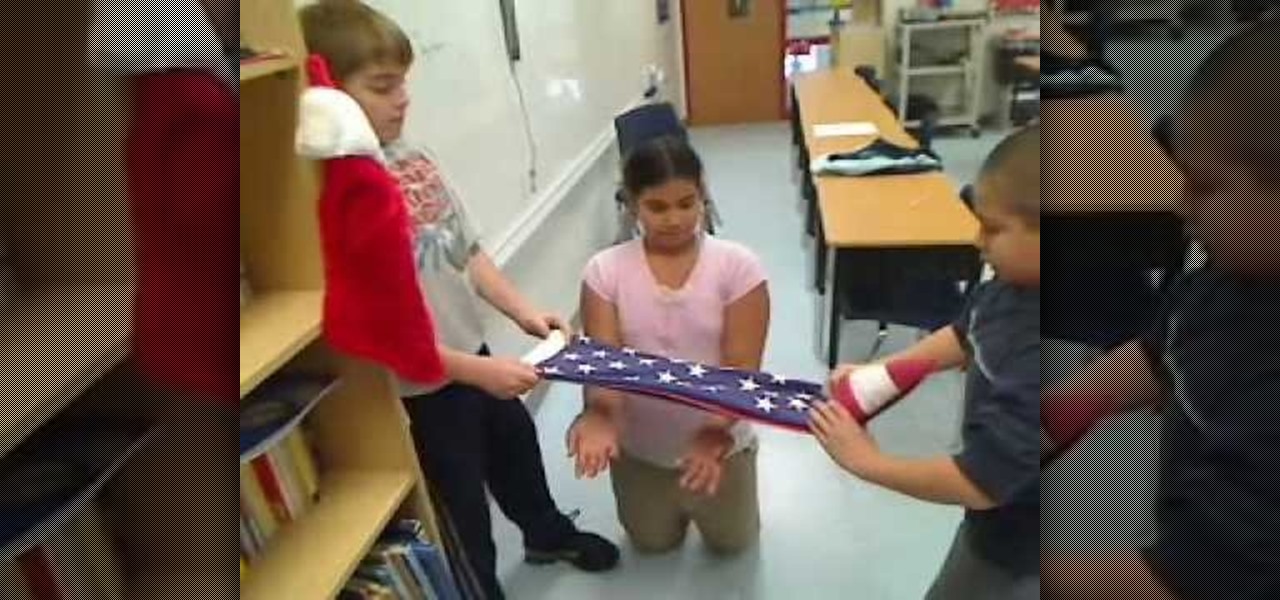
Three students demonstrate how to fold an American flag. Two students hold the flag lengthwise, flat. They fold the flag in half with the stars on the bottom of the fold. Then they fold the flag a second time, gently pulling it taut. A third student keeps her arms under the flag as one of the students begin to fold small triangles down the length of the flag towards the student at the other end. The purpose of the third student is to keep the flag from falling. When the flag has been folded i...

You will need a penny, a roll of caps, and a seloptape to make an impact cracker with a penny. First take the roll of caps and rip off of the beginning and end parts that are without caps. Then divide the roll of caps in half and take one half of the roll and start folding it in half all of the way from the beginning to the end. Then take your penny and wrap the caps around the penny, the penny should be off center. Then wrap your wrapped penny in seloptape to finish. Make sure that all of th...

In this Beauty and Style video tutorial you will learn how to iron a men’s dress shirt. Make sure the shirt you are going to iron is a clean one. Place it on the iron board with the shoulder towards the narrow end of the board. Switch on and allow the iron to heat up. Then take a spray bottle and spray some water on that part of the shirt which is on the iron board. Now you take the iron and apply it over the shirt while holding the shirt with your other hand to keep it in place. For the part...

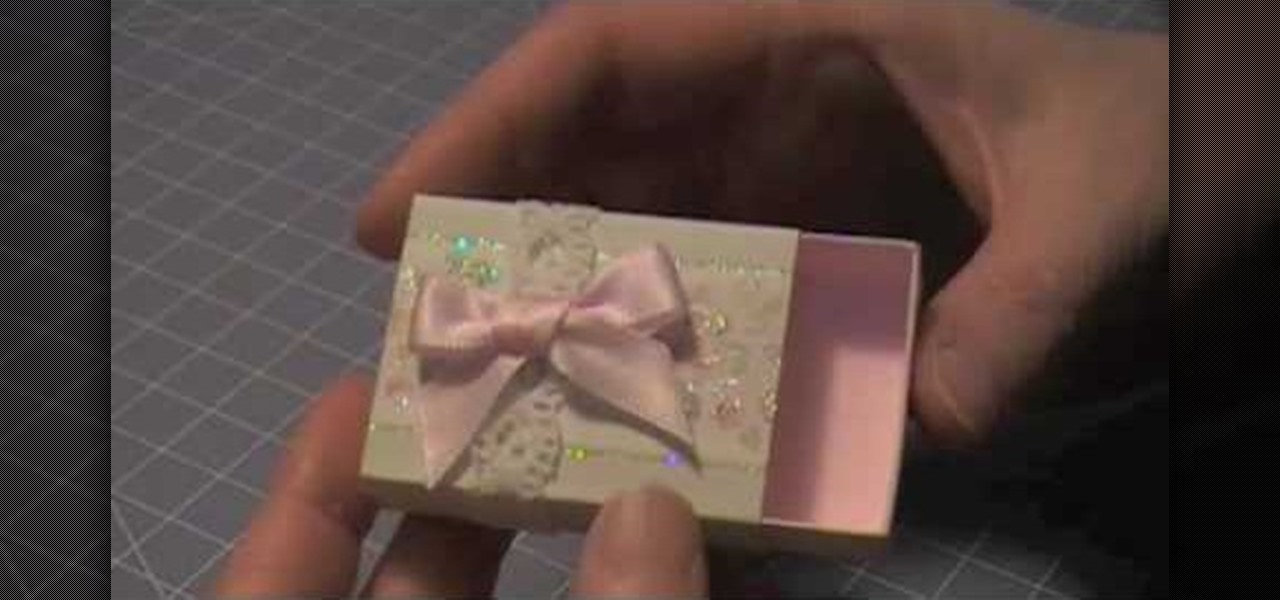
The Artful Paper Doll demonstrates how to make a Marie Antoinette inspired matchbox. Trace the matchbox template onto a piece of decorative paper. Score the template on the creases and then cut the template out of the decorative paper. Fold the creases up. Affix the creases into a square basket shape with dabs of glue to hold the flaps closed. Fold and glue the ends of the box sleeve together. Slide the basket into the sleeve to form the matchbox. Embellish the box as desired. The box can be ...

This tutorial video demonstrates a very simple method of how to curl hair. A very small sections of hair are taken and one end is held using a flat iron. Now this hair is curled using the same iron by twisting the hair to the iron. The hair is held in this position for a few seconds. Some hair spray is applied so that the curl remains for longer. After removing the iron, some more hair spray is applied. The same process is continued for the whole of the hair by holding the end of the small se...

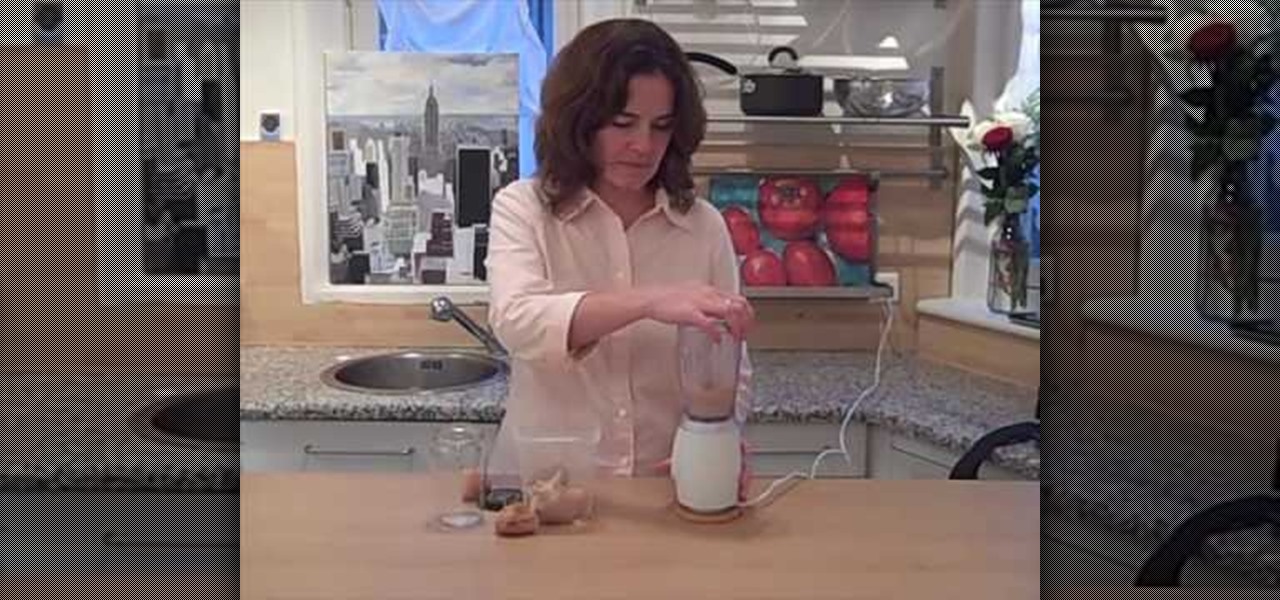
This video shows the viewer how to make homemade breadcrumbs. The method used is relatively simple and the only equipment used is a blender and container. The bread that is used can be stale, toasted; essentially as long as the bread is not moldy it can be used. In the video baguette ends are used. These ends are placed in an open container and allowed to air dry for up to a week. It is suggested that you cut the pieces of bread into relatively small chunks before allowing them to harden. The...

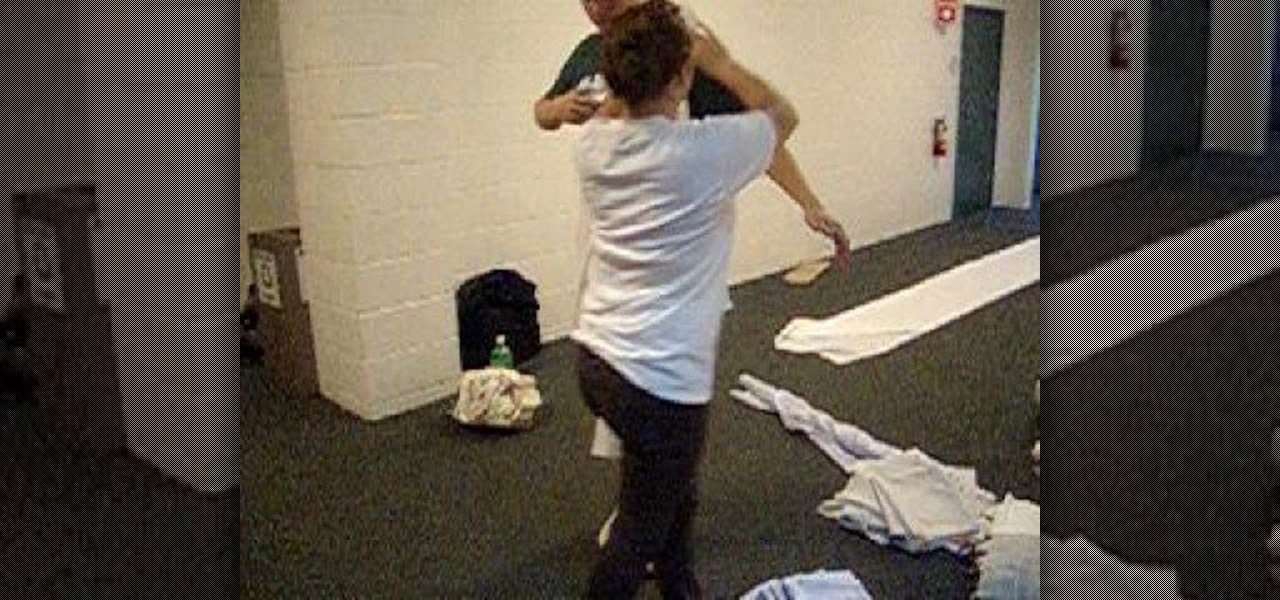
This video is a must-see for all those freshman pledges headed to toga parties down on fraternity row. Or better yet, the girlfriends that are dressing those guys! She begins by wrapping the sheet around the back of the male model. One end is at the chest while the other end is wrapped over the opposing shoulder after making the entire loop around his body. She pins one corner at the left shoulder blade, pulling the loose excess to the back. She pulls the other corner underneath his arm and t...

In this video we learn to make a zigzag Chinese staircase friendship bracelet. You can go wild and make it all different colors or all one color. You start off with 5 strings about a yard long and fold then in half. Then you make a knot creating a loop for the end and to hold to a nail or clip while you make it. Take a strand and make 5 forward knots. With the same strand you then do 5 backward knots. Repeat this one time, so in all are 20 knots and then switch color, or to another strand. Do...

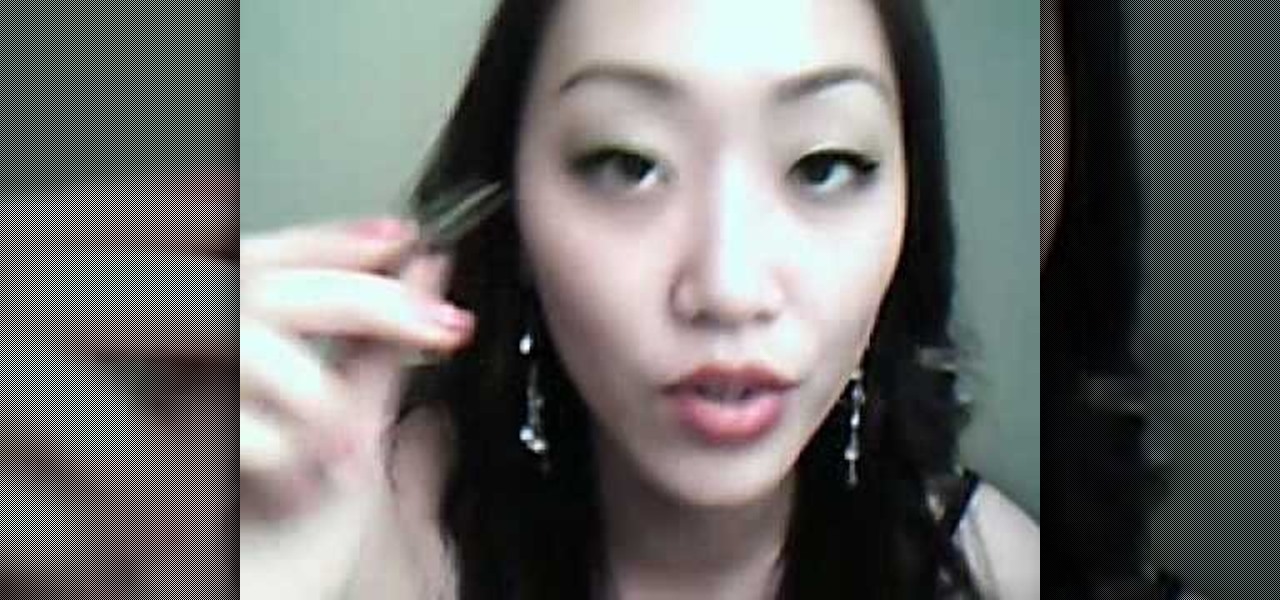
For a complete look, eyebrows can really add to your face. Learn how to properly shape and fill your eyebrows for a complete look that frames your face and presents a done look regardless of whether you are wearing makeup or not. To figure out how you want to shape your brows, line up the inner corner of your brow and the outer edge of your nose. Use a pen or anything straight to create this alignment. Where the tip of this tool ends is where your brow will start (from the inner corner). The ...

Vanessa is teaching you how to make arm and leg warmers for babies or toddlers. She is simply using some socks that she got by going to the dollar store and buying them. They only need one seam. You need to cut off the top of the sock first. Then you cut the heel and toe off the remaining sock piece. You need to fold the bottom part of the sock in half and make it into a loop. Put the loop over the raw end of the top of the sock. This will make it so all of the round edges are together. Stitc...

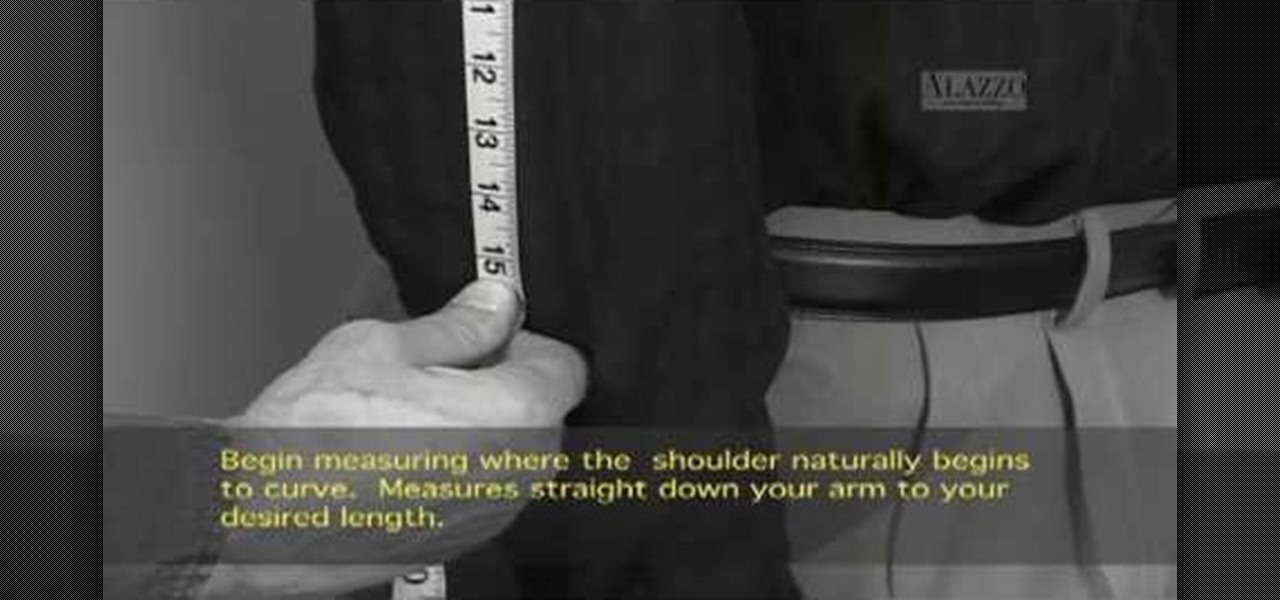
This video shows you how to measure the length of someone's sleeves precisely. For it, you will need a meter, and to keep your arm straight, near your body. Begin measuring from where the arm starts, where the shoulder naturally begins to curve. Measure straight down the arm until you reach the desired length, where you want the sleeve to end. Be careful to stop at the elbow and position the meter exactly where the curve hits its peek, so that you measure will be precise, and not come shorter...

In this video the viewer will learn how to draw a Hawaiian flower. In the first step you will draw the first petal. After viewing placement of the first petal, you will then draw three more like the first petal. You will connect the petals at the center of the flower, where the pollen would be. Make sure when drawing the petals you place them evenly around the center. Next add some shading to the center of the flower where the petals connect. The next step is to add three curved lines coming ...

In this video, Meg will show you how to make your own wreaths. You’ll be creating two scenes on your wreaths : a woodland and an aromatic one. You’ll need 2 cardboard rings (one slightly smaller) cut in wreath forms, green moss, a hot glue gun, a knife, some pretty fabric, and a handful of old corks.

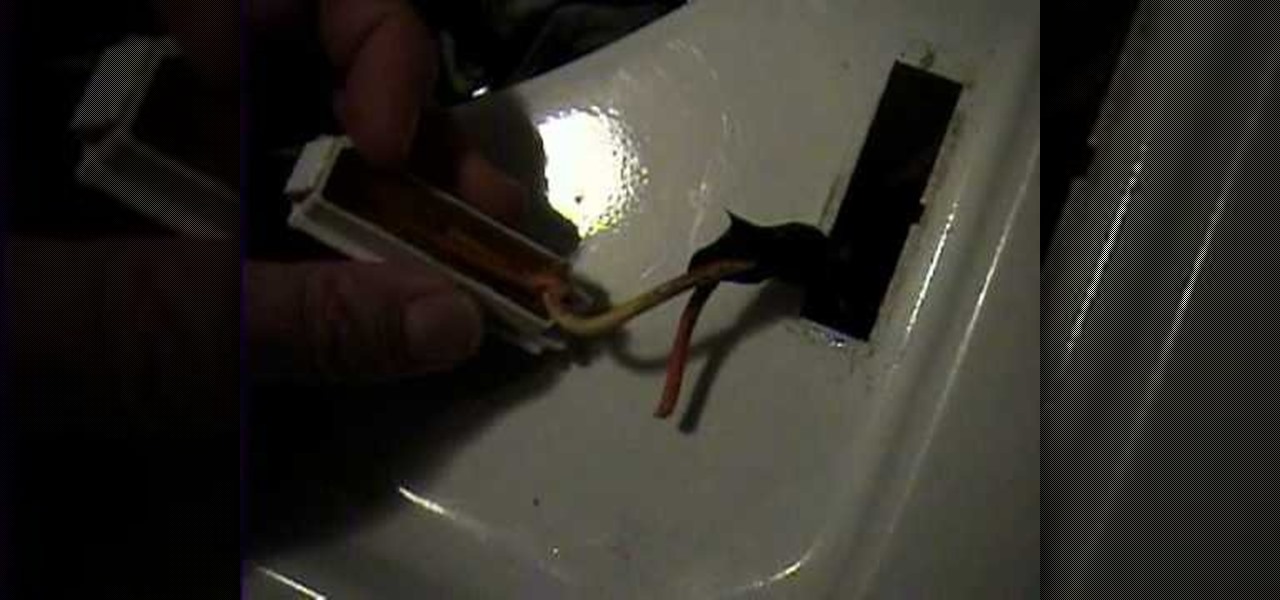
This Home and Garden video tutorial shows how to repair a wash machine lid switch. This video is on a GE Prodigy machine. Looking inside the machine under the switch, she finds that two wires are broken. Take a screwdriver and press down the clip of the switch from underneath. One end will come out. Then, pull out the switch. After that it is very simple. Cut off a bit of the plastic coating from the ends of the wires, connect them to the switch and put some electrical tape around them. Now y...

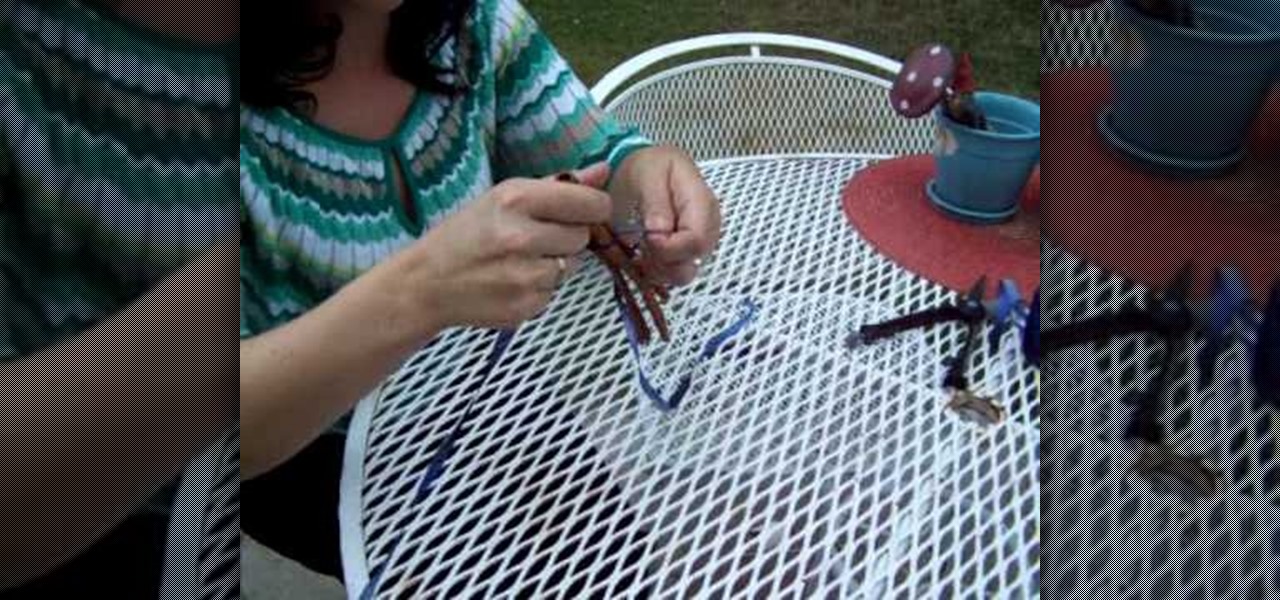
This Spirituality video clip will show you how to wrap a Wiccan cinnamon stick bundle for protection. You need some cinnamon sticks, scissors and ribbon. Cut a very long piece of ribbon, lay it down on a table, place the cinnamon sticks on the ribbon, tie a basic knot flip it over and tie another knot. With one end of the ribbon, go over and in between the sticks and with the other end, go under and in between the sticks. Now put one more knot in between the sticks. One more time go under or ...

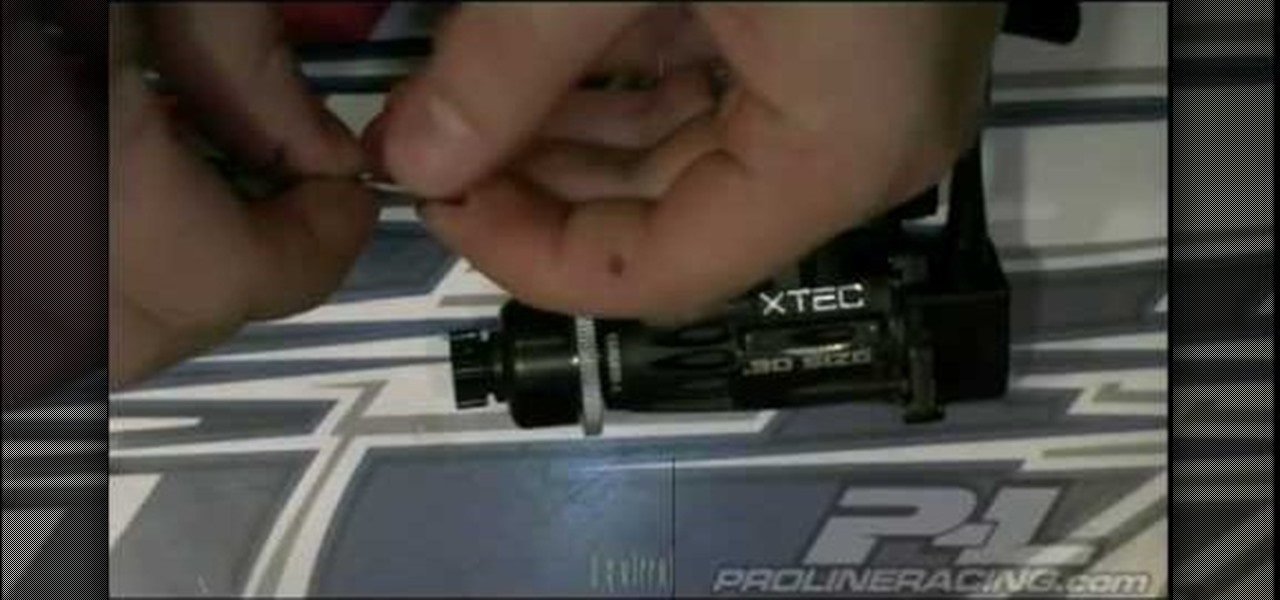
In this Hobbies & Toys video you will see how to remove the clutch bell and shoes from an RC vehicle. You will need a 2. 0 wrench, a 3. 0 flat end screw driver, a clutch shoe tool, T wrench, the fly wheel tool and a battery termination puller. The first step is to remove the clutch bell by unscrewing at the very end and it will come off. Now pull the clutch bell out slowly and it will come out. Next you got to remove the clutch shoe using the clutch shoe tool. You can watch the video for the ...

In this video tutorial, viewers learn how to tie a fly fishing line to the backing. Users will need a nail knot tool. Put the backing into the tool, leaving about 6 inches sticking out. The wrap the line around the tool 5 times, pushing the loops together. Take the end of the line and run it through the groove of the tool. Put the fly line through the other end about 2-3 inches. Then hold the loops in your hand, remove the tool and pull on the backing to tie it. This video will benefit those ...

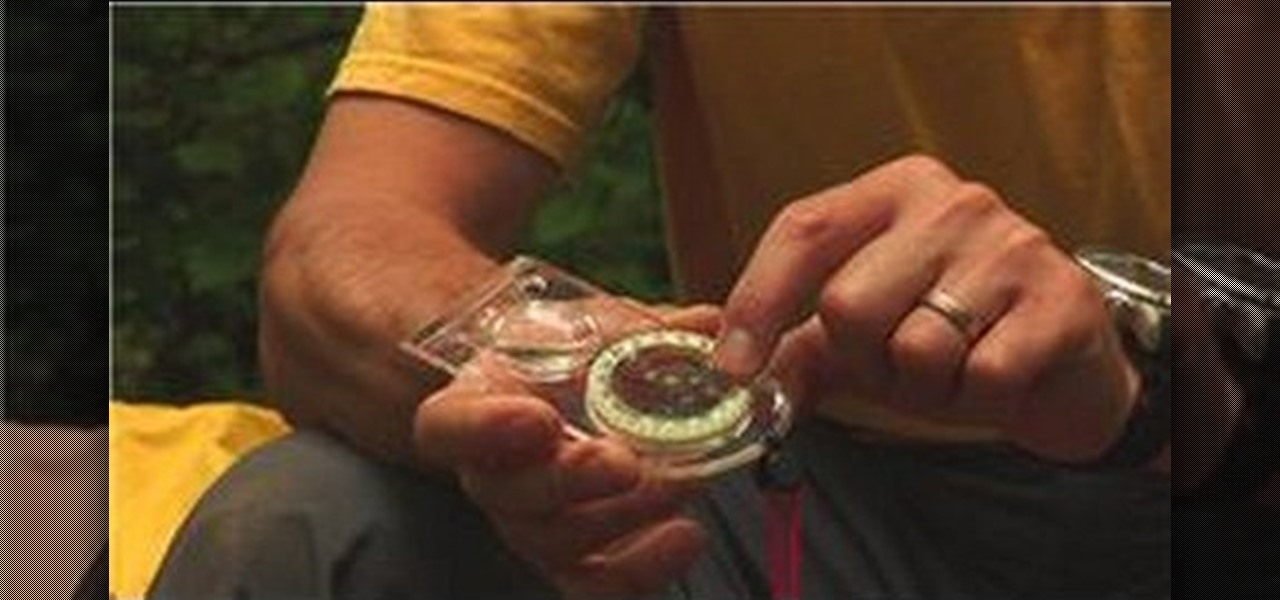
The parts of the compass are a base plate with different measurements for calculating mileage and distance. The magnifying glass is used to magnify things on your map. The arrow at the top of the compass is called the direction of travel arrow. To find the degrees on your compass, use the rotating bezel ring, with North being "0", East being "90", South being "180", and west being "270". The magnetic needle inside has a red magnetic north end, which is used to locate "North", and the black en...

Teresa demonstrates how left-handed people can complete a crochet project. The project is a round cap for a toy Ogeechee bear. Using her left hand to hold the crochet needle, she starts with a circle of crochet stitches to form the crown of the cap, and counts out the number of stitches needed for each row. A yarn marker is used to keep the rows organized, and Theresa shows how to utilize a slip stitch to make turns in the crochet to complete partial-rows that form a brim to the cap. She ends...

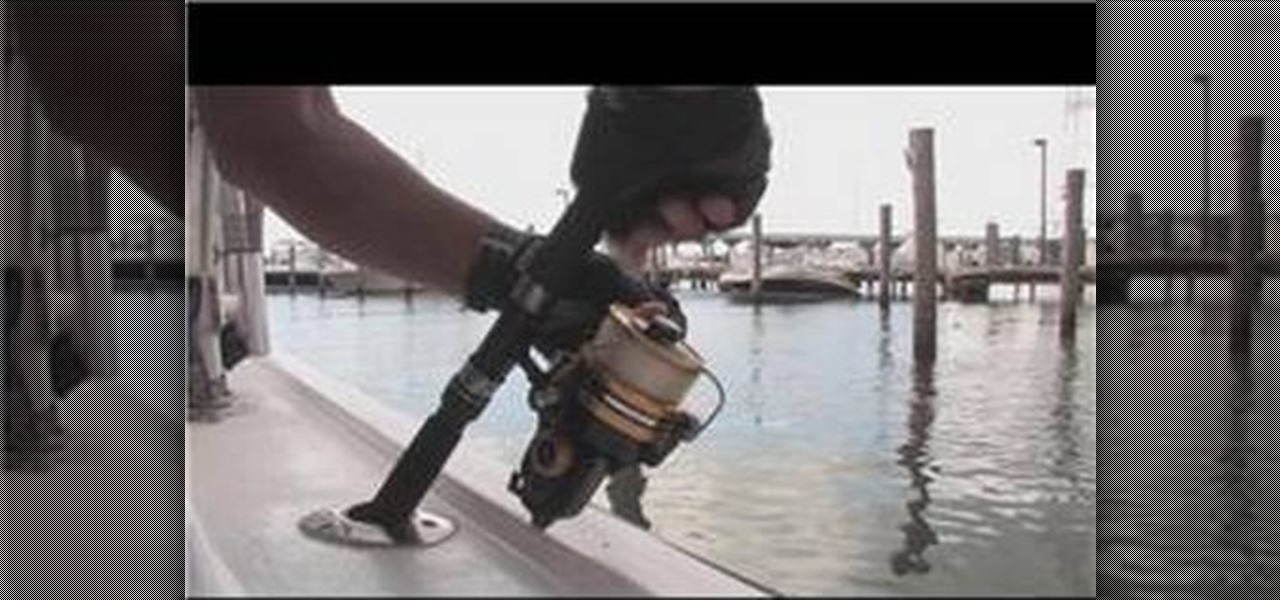
This Outdoor Recreation video tutorial shows how to spool a line on a deep sea spinning reel. This video is from marktheshark. First get the end of the line, put it through the guide at the top end of the rod, and then pass the line through all the guides making sure that you don’t miss a guide. Open the bell, go around the spool twice, twist the line six times, put a knot and tighten the knot fully. Cut off the excess. Close the bell and now add line to the spinning reel by rotating the spoo...

This video shows the viewer how to tie a scarf in an ‘Ascot’. Allegedly this is a preppy look and should appeal to young people. The knot is tied by placing the scarf around your neck, one of the lengths should be slightly longer than the other. Wrap the longer length three times around the shorter one before taking it behind the shorter length and pulling it over the ‘knot’. This end is usually the spread out to display the pattern of the scarf. It is suggested that this look is unisex and t...

Building a LEGO sink is not difficult at all. You will need only 6 simple parts: 2 1x2 thins, 1 2x2 thin, one sink element (this is kind of rare so if you're not able to find it, you may have some trouble making the sink), and 2 1x1 right-angle elevated bricks. Starting with the 2x4 thin, stack the 2x1s on top of each other and place them on the end of the 2x4. Now take the elevated bricks and snap them on the other end. Finally, attach the sink element so it is facing the elevated bricks. Th...

To repair damaged hair. Cut off the dead ends. When shopping, remember that you get what you pay for in hair care products. Use a shampoo and conditioner that says "Strengthening" or "Repair" to rebuild the bonds in your hair. Use a leave-in conditioner that protects your hair from the heat, and protects from sun and wind. To keep it healthy, do not blow dry your hair. It causes too much damage. When you use a heat iron, use a heat protectant. Don't wash your hair every day. If your hair is f...


