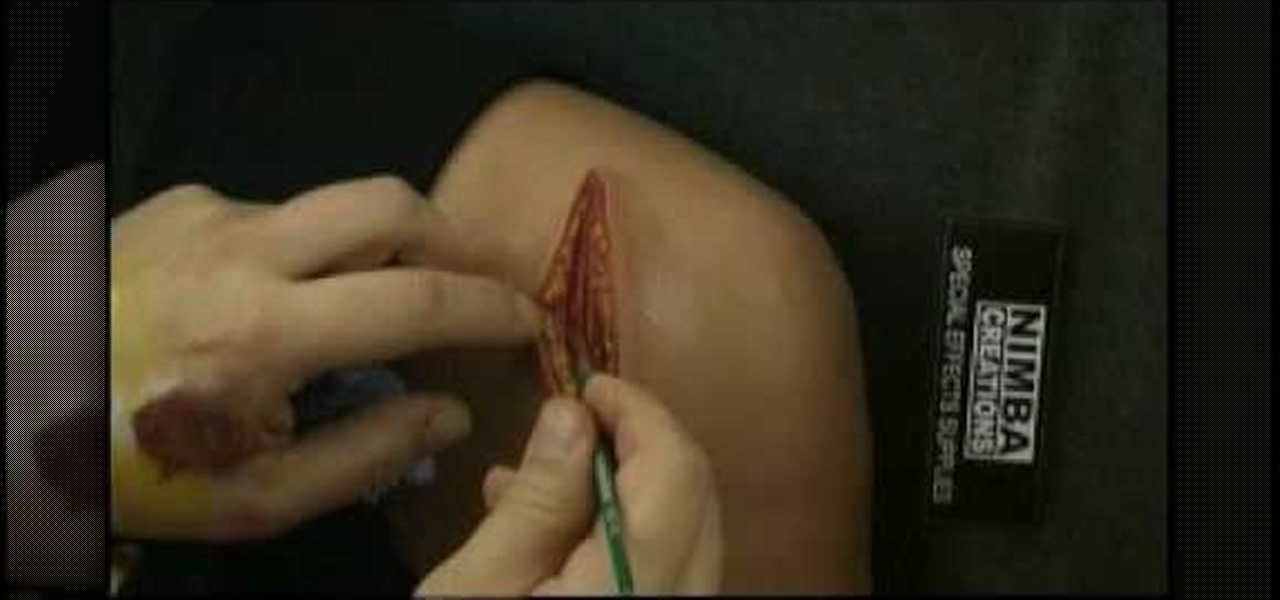
This video describes the coloring techniques to make a realistic gelatine prosthetic wound. The presenter chooses to use grease paint as it applies easily to the rubber gelatine wound mold. First, apply a base color to mimic that flesh tone around the wound and blend it until it matches the skin tone. Next the presenter applies red and pink tones to the wound, the idea is to mimic the color of raw meat. Highlights are then applied inside the wound to simulate fat underneath the top layer of s...

The Video On Demand highlights how amazing backgrounds are inserted behind characters and will show you how to composite video so your characters can seamlessly move in front of these images. Computer generated video objects may be superimposed over a background video image so as to create the illusion of a single composite scene. The leading edge of an object is detected and for a period of time the object and background video signals are mixed. After that period, only the object video is tr...
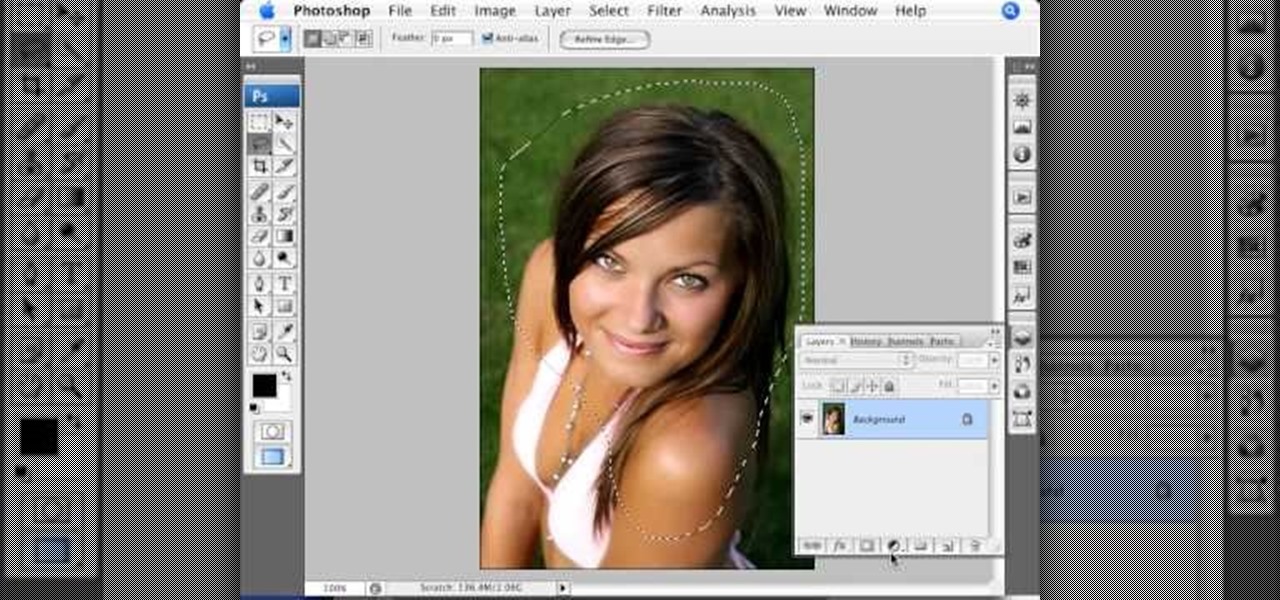
The video is basically about how to modify the focal point of the image. When the image has some stuff on the background and when you want the viewers to focus more on one particular area and making the rest of the image darker, you need to modify the light values of the image, which will be taught in this video. This can be done by just selecting the area, which you need to highlight on the image by giving some border and then add curves. In the curves the area is made darker than the rest b...
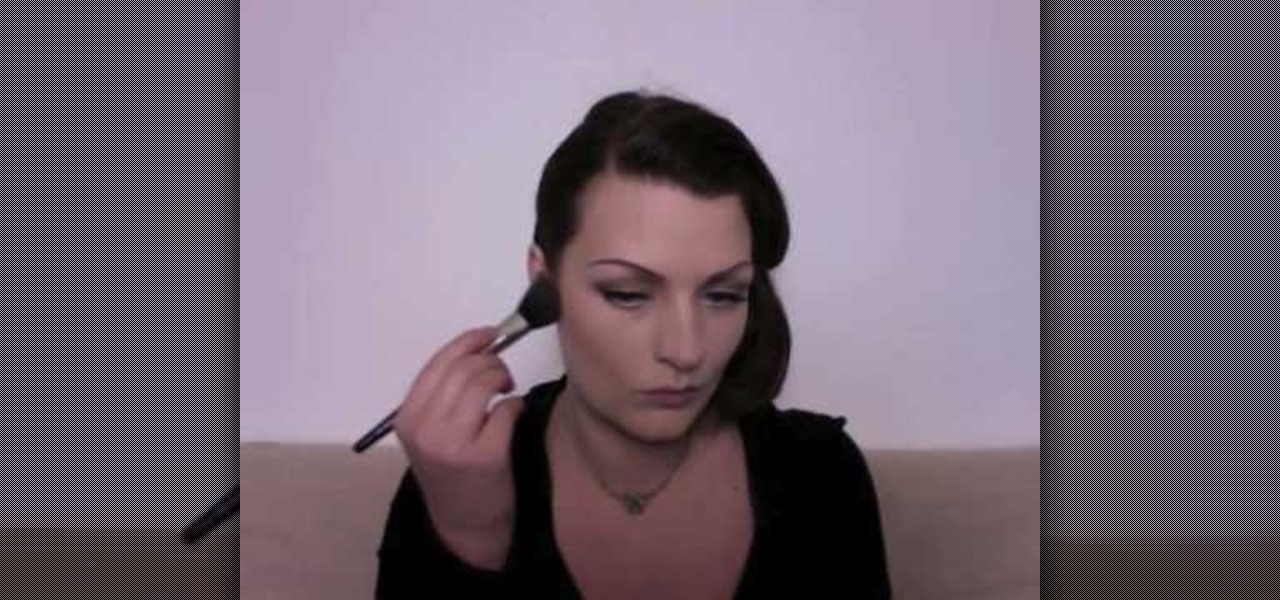
Fashion Face shows us how to create a 30's all over face look inspired by Marlene Dietrich. To create this look you will need full coverage foundation, concealer, a range of matte eyeshadow from taupe to brown, eyeshadow brushes, brow highlighter, mascara, liquid eyeliner, false eyelashes, pressed powder, beige contouring powder, powder and contouring brushes, highlighting powder, red lip liner and red lip cream or gloss. Specific brands are used and suggested, but you could create this look ...
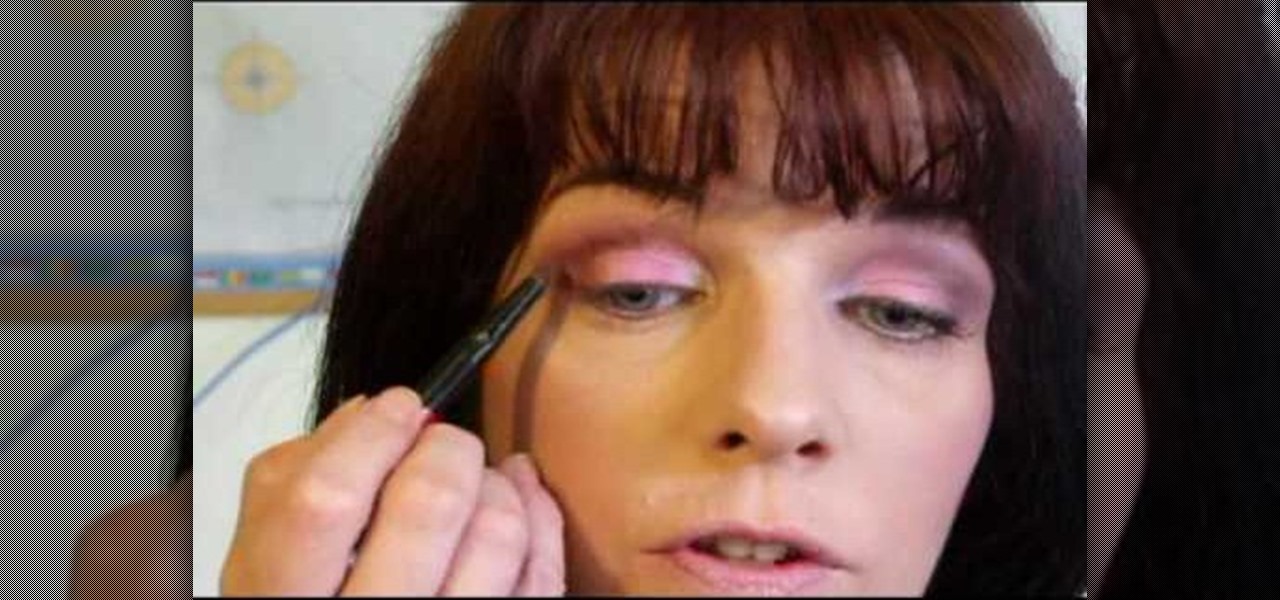
Whether you love Nancy Ann Grace or hate her, you can't deny that her eye makeup is always amazing. Watch Princess Pinkcat in this tutorial video about creating her Nancy Grace makeup look. She didn't curl her hair for this video, just tucked it under to make it look more like Grace's hair length.
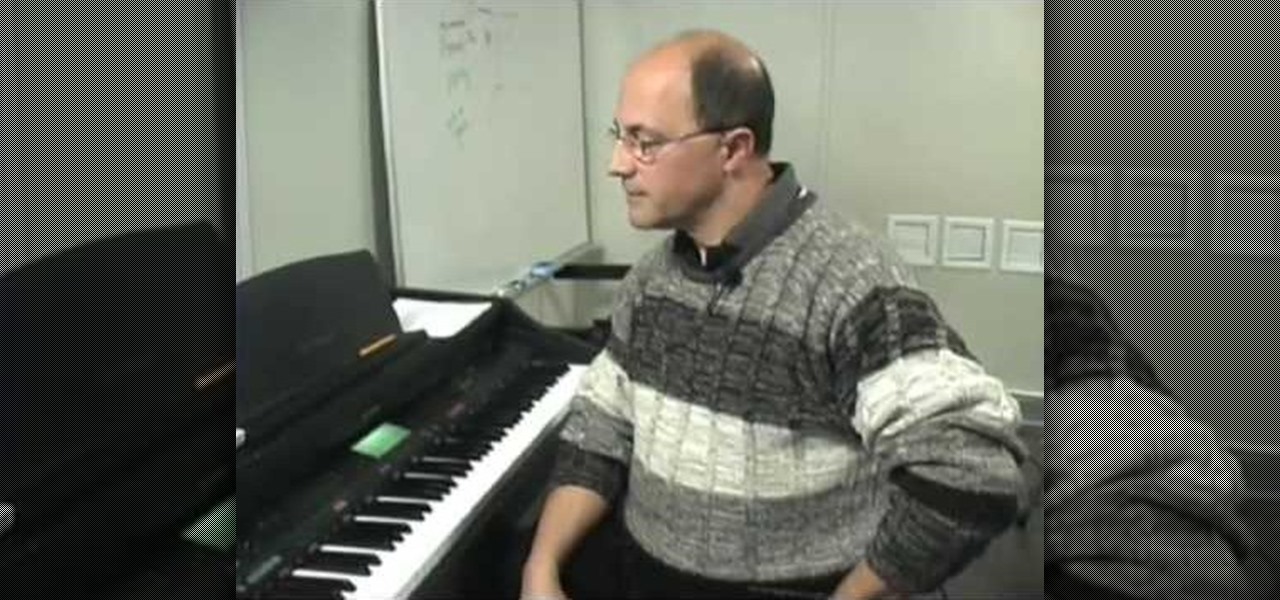
Writing a song? Want your chorus to have a strong impact? Jimmy Kachulis of Berkleemusic gives songwriting tips on how to make the chorus stand out from the verses even when you use the same chord progressions.

Some people are hesitant about changing their resume and editing certain things in or out; they feel it's like cheating. It's not. Changing up your resume is perfectly acceptable as long as you don't lie or make false claims about your history. Tailoring your resume is about putting yourself in a context the company feels will suit them the best.
Learning to highlight transferable skills on your resume is good for recent college graduates or if you are new to a job field because it shows that you have good characteristics that can be applied to your new job. For example, showing your communication skills is very important. Research planning is also critical. Show that you set goals for yourself and that you have clear ideas. Also, giving examples of when you used teamwork in past work experience in your life or in your career is benef...
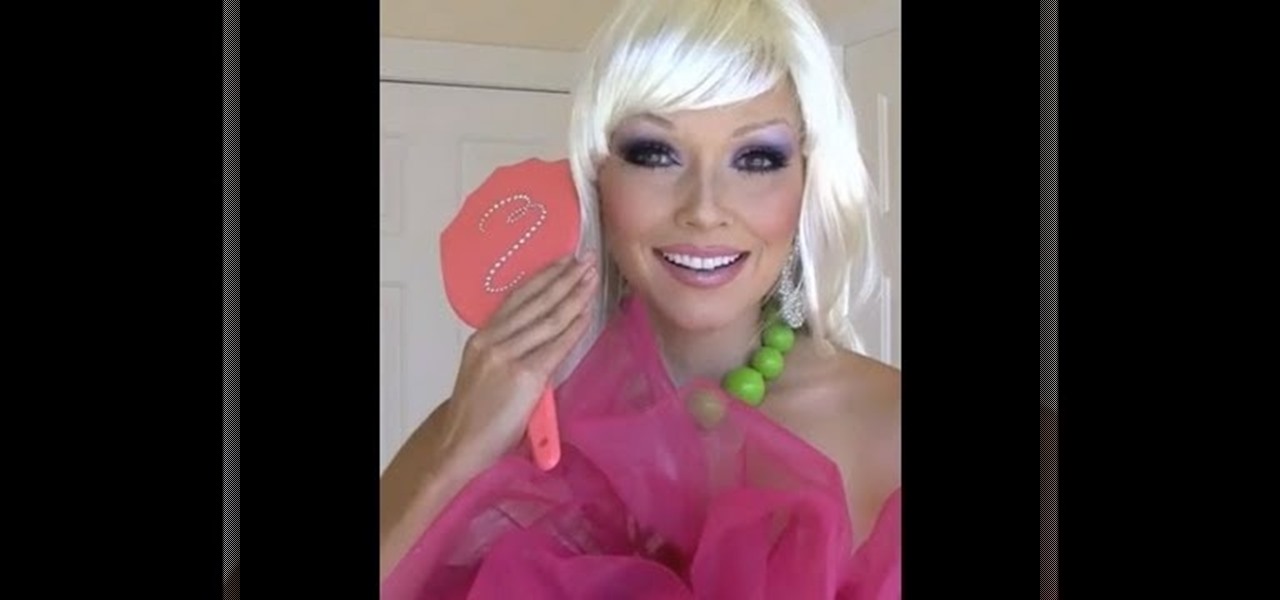
Watch as amazing make-up artist, Kandee Johnson transforms herself into Barbie with this step-by-step tutorial on how to apply the make-up and look of this famous blond bombshell doll! The following eyeshadows were used to achieve this look: MAC in Pen & Ink, Da Blng, Carbon, Vibrant Grape, Indian Ink, Fig 1, and Deep Damson. LARENIM mineral eye shadows in Bedazzle & Lust and Urban Decay's eyeshadow in Grifter were also used. Additionally used: Hot pink blush as eye shadow, Make-Up Forever ho...
The application the makes Apple's Final Cut Studio is the film editing app Final Cut Pro. With its ability to log and capture video onto your hard drive for editing, you can easily edit and process your indie film, or maybe even a professional movie. Final Cut Pro is a non-linear editing program that even the best editors use.
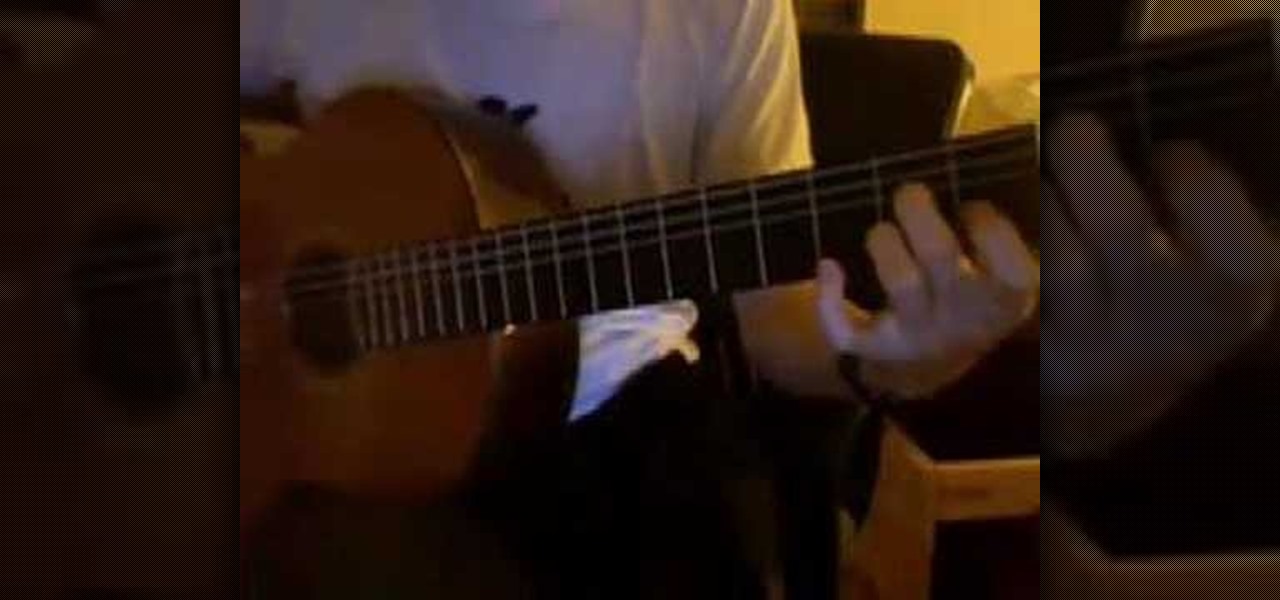
Elliott Smith was more than a great songwriter; he was a great guitar player. This video tutorial demonstrates a small chord progression highlighting the Milonga style of picking. It was a strong influence on the development of Elliott Smith's fingerpicking style and a lot of modern rhythmic guitar styles. While this tutorial is geared toward intermediate and advanced players, even beginners will find much to take away. For more information, and to get started using a Milonga flamenco picking...
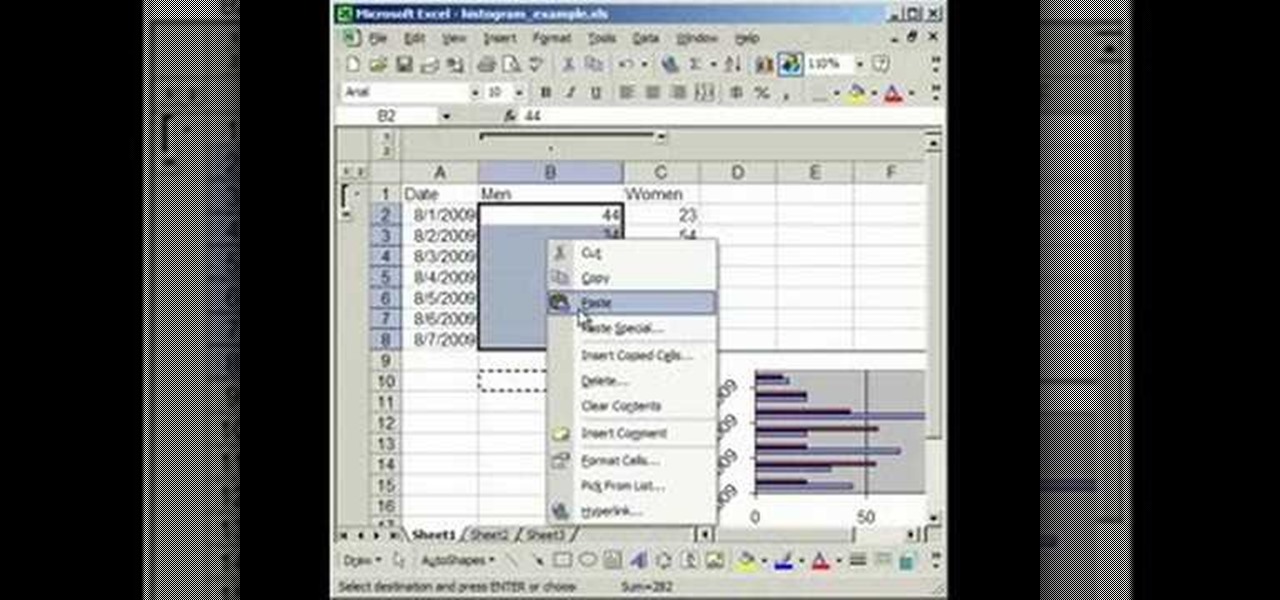
In this tutorial, we learn how to make a histogram chart in Excel. To create a vertical histogram, you will enter in data to the chart. Then, highlight all of the data and go to "insert", "chart", then choose a regular column chart. Grab a regular 2D column and then make sure your values are correct. Then, right click and go to "chart options", then take the legend off. Now, make these columns all touch each other by right clicking over the columns and formatting them. Go to "options" then ch...
In this video tutorial, viewers learn how to use the noise removal tool in Camtasia Studio. Begin by uploading the audio track into the time line. Then select and highlight the region that contains the noise. Now click on Edit and select Audio Enhancements. Under Background noise removal, users are able to select to automatically or manually remove the noise. Once selected, simply click on the Remove Noise button. Users also have the option to adjust the sensitivity. This video will benefit t...
In this video, we learn how to use the polygonal lasso tool in Photoshop. This will allow you to create a selection on your photo in a freehand style. First, select the tool from your toolbar, it's the third selection down. Once you select this, go to your picture and find the piece you want to cut out or copy. Press and hold the control and space bar, then highlight the area you want to. This is great to make a selection that has a straight edge. If you just click with it, it will have a dia...
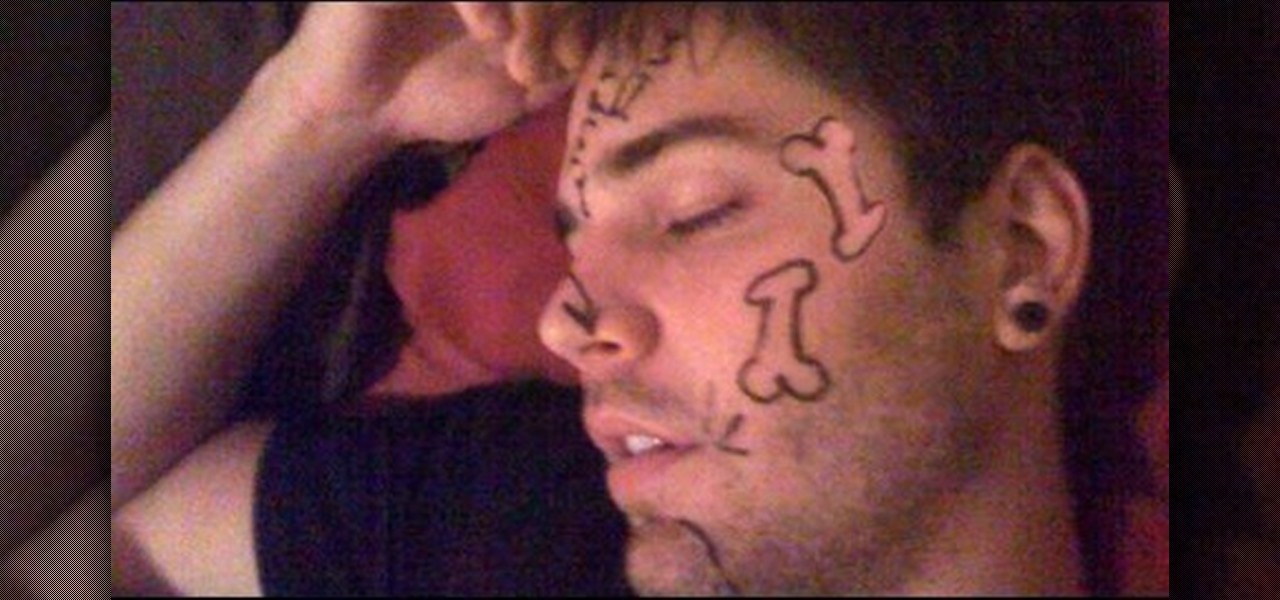
A sleeping prank victim is much easier to deal with than an awake one. They can't prevent the prank, and afterwards are usually too disoriented to respond violently with any effectiveness. This video will show you several pranks to play on sleeping victims, some of which you've probably seen before and a couple we're betting you haven't.
It's true that some supermodels have cheekbones so sharp they could grate cheese (think Gisele and Karlie Kloss). These girls were born pretty, but that doesn't mean they don't need a little help in the makeup department to look their modeling best.
In this video, we learn how to use a text box in Excel 2007. To do this, you will go to the insert tab and then go to the text box and select text box. Now, draw yourself a text box then highlight and copy the text you want, then paste it in. now you will have a paragraph of text written on top of your cells. You don't have to copy and paste, you can type it in as well. If you want to format the text, right click in the box and then change the preferences you want to change to format the text...
In this video, we learn how to quickly copy and paste data in Microsoft Excel. First, if you have two columns that you want to add up, you will highlight the columns and then copy and paste them into the other cells. Another way is to select the cell and go to the bottom right hand corner, then drag it down. This will fill your formula in to every cell below it! This will save you a lot of time instead of having to type in formulas for the columns that you are trying to do equations with! Thi...
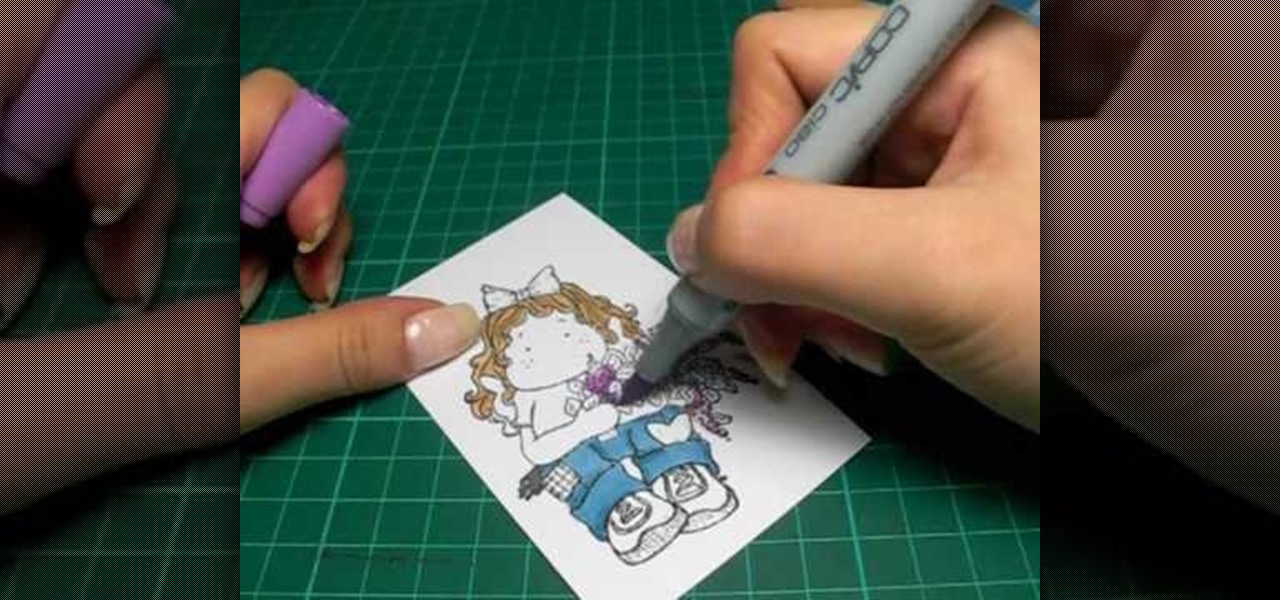
In this tutorial, we learn how to color with Copic pens. First, grab a picture that you want to color with your pens. After this, start to color in the picture with your different colored pens. After you fill in the colors, use a darker colored pen to add in shading and make the lines darker along the sides. Continue to color in your picture, adding shading where you prefer. Add in different colors and make the lines darker when you want them to look more bold. Make sure to add in highlights ...
In this video tutorial, viewers learn how to create drop down menus in Microsoft Excel. This task is very easy, fast and easy to do. Begin by highlighting a desired cell. Then click on the Data tab and click on Data Validation under Data Tools. When the Data Validates window opens, click on the Error tab and deselect "Show error alert after invalid data is entered". Then click on OK. Now simply type in the data into the selected cell. This video will benefit those viewers who use Microsoft Ex...
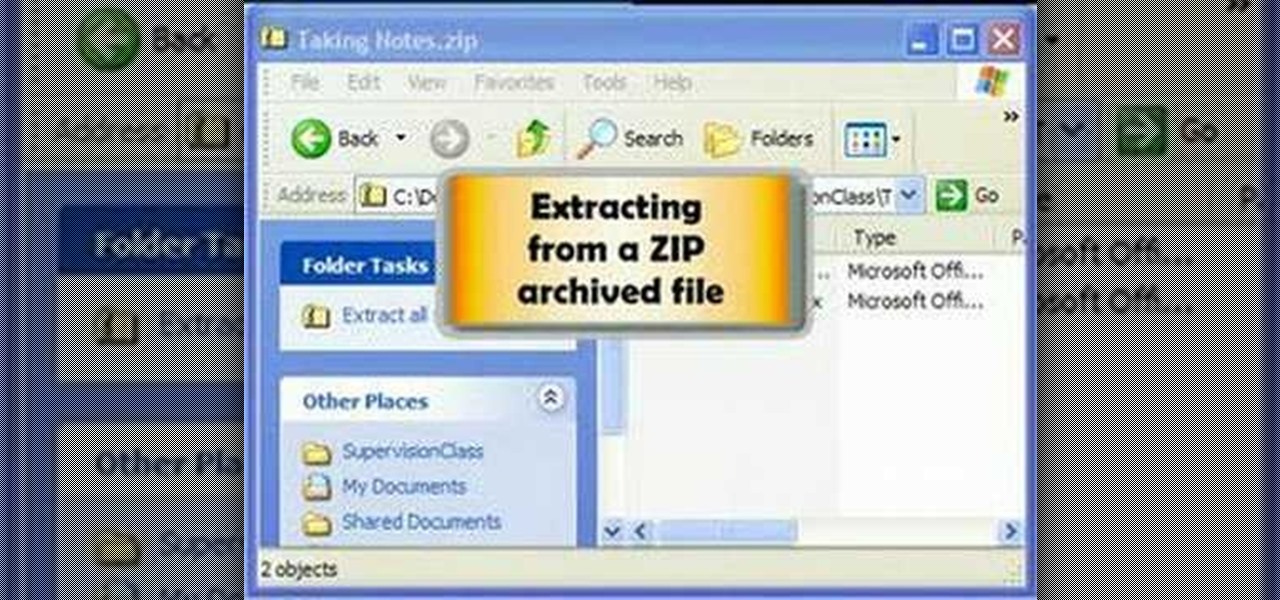
In this tutorial, we learn how to zip and unzip files in Windows XP. First, find the files you want to compress, then highlight them by dragging the mouse. Next, go into the file menu and click "send to", then "compress zip folder". Now, your folder will be created and you can double click it to see the folder viewer of the compressed folder. To open these up from the zip archive, first find the file folder that has been zipped. After this, go to the file menu, then click "extract all" and yo...
In order to clear the cell content in Excel, using a macro, you will first need to have a table. If you don't already have a spreadsheet, you will need to create one with random numbers. Next, highlight some numbers, by clicking one box and dragging in order to select a number of boxes. Click Alt + F11.
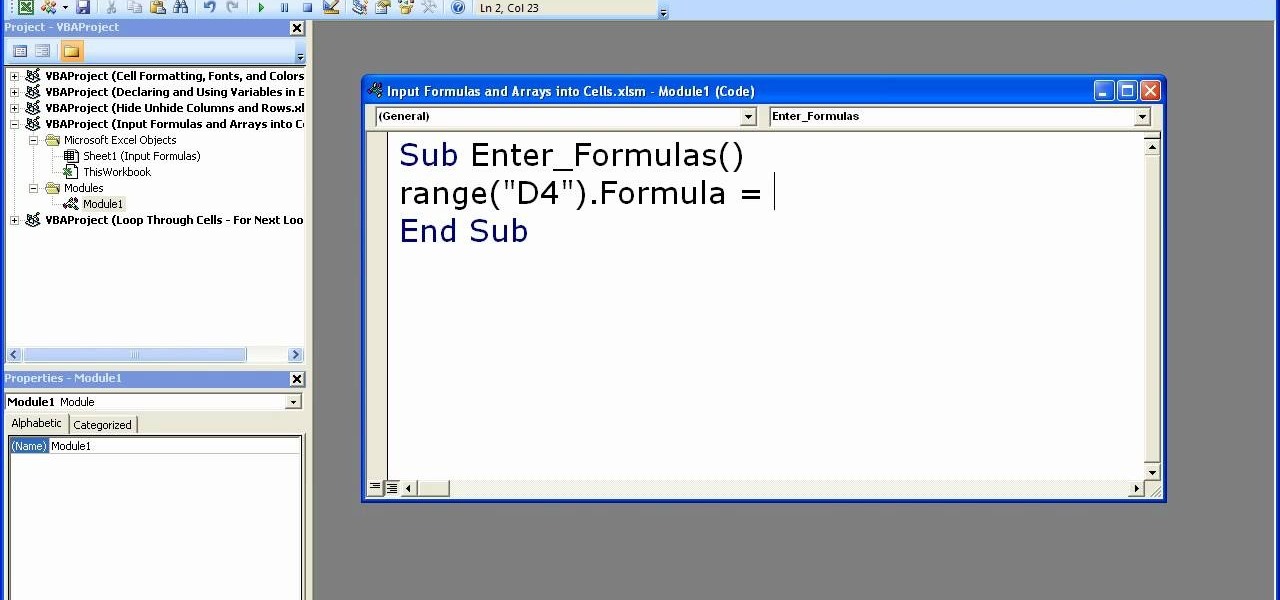
In order to enter formulas in Excels with a macro, you will need to open your spreadsheet. Formulas are used to do calculations. Go to the field, where you want to enter a formula. Type in the formula. Then, highlight the formula. Press Control + C to copy the formula. Next, delete the contents of the cell. Press Alt + F11.
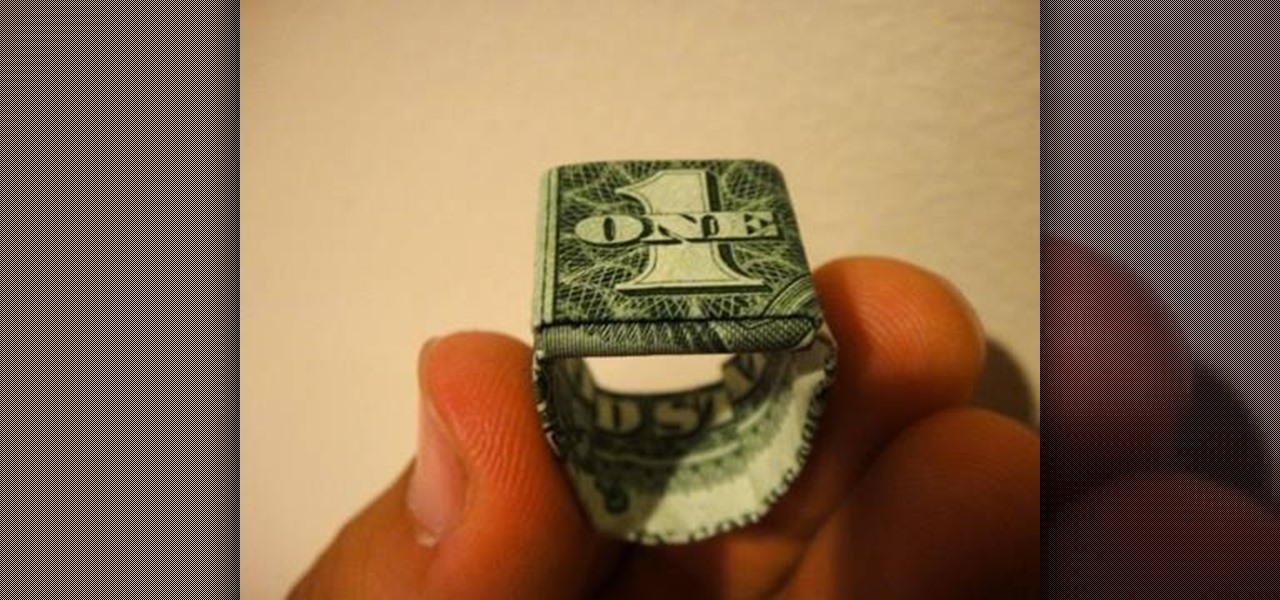
Moneygami is exactly what you think it is - a hybrid of money and origami. Rather than folding origami with your typical origami tissue papers, you can craft yourself something truly special by using money instead.
This video tutorial is in the Software category which will show you how to insert or delete a comment in MS Word 2007. This video shows how to insert both text and audio comments in to your word document. Click on the 'review' tab on top, highlight a part of the text that you want add comment to and click on 'new comment' tab. Then you can insert the comment in the comment box. You can continue adding comments throughout the document in the same way. You can view the comments by selecting 'ne...
In this video tutorial, viewers learn how to insert or delete footnotes or end-notes in Microsoft Word 2007. A footnote is a little reference which will place a small number in subscript and link it to a comment. A end-note is similar except it links the comment to the end of the document, rather than the end of the page. Begin by highlighting the text. Then click on the Reference tab and select Insert Footnote/End-note. Then just add a comment to the subscript. This video will benefit those ...
In this how-to video, you will learn how to change the font size with Microsoft Word 2007. First, open the program and type in a sentence or two. Now, move your cursor to where the font name is. To the right of this should be a drop down menu with numbers. These are the sizes of the font. Highlight the text. Now, click and change the number to change the size of the text. The larger the number, the bigger the font will become. This video shows you just how easy it is to change the font with t...
Mike Callahan with Butterscotch demonstrates how to work with tables in MS Word 2007. Tables are useful for creating information charts and address lists. First, open up Microsoft Word. To create a table, click on the insert tab on the top tool bar. Highlight the elements that you would like to appear in the table by selecting the desired number of columns and rows. Pressing enter inside of a table, it will increase the side of the cell all the way across the table. It will not just increase ...
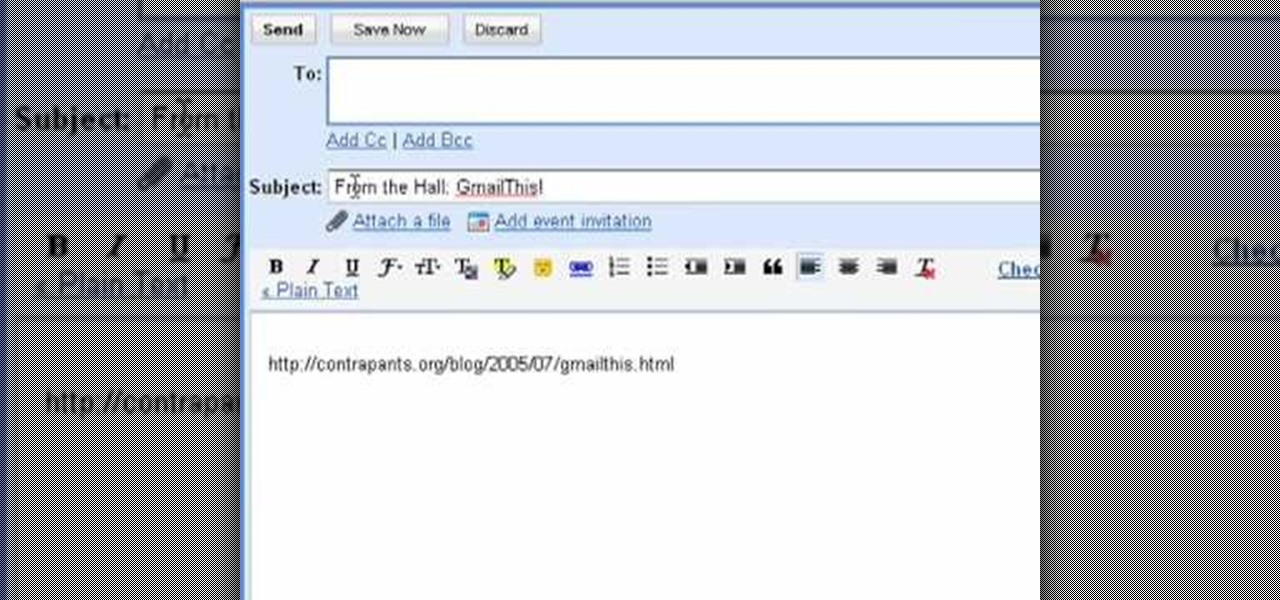
The bookmarklet tool lets you send Gmail messages with the click of a button so you don't have to visit your Gmail account. It's an application called GmailThis! From the developer's website, drag the GmailThis! link to the browser's toolbar. Then, if you are already logged into Gmail, just click on the bookmark and a Gmail applet will pop up with a link to the website you were visiting, along with any text you may have been highlighting. You may notice that the subject line is already filled...
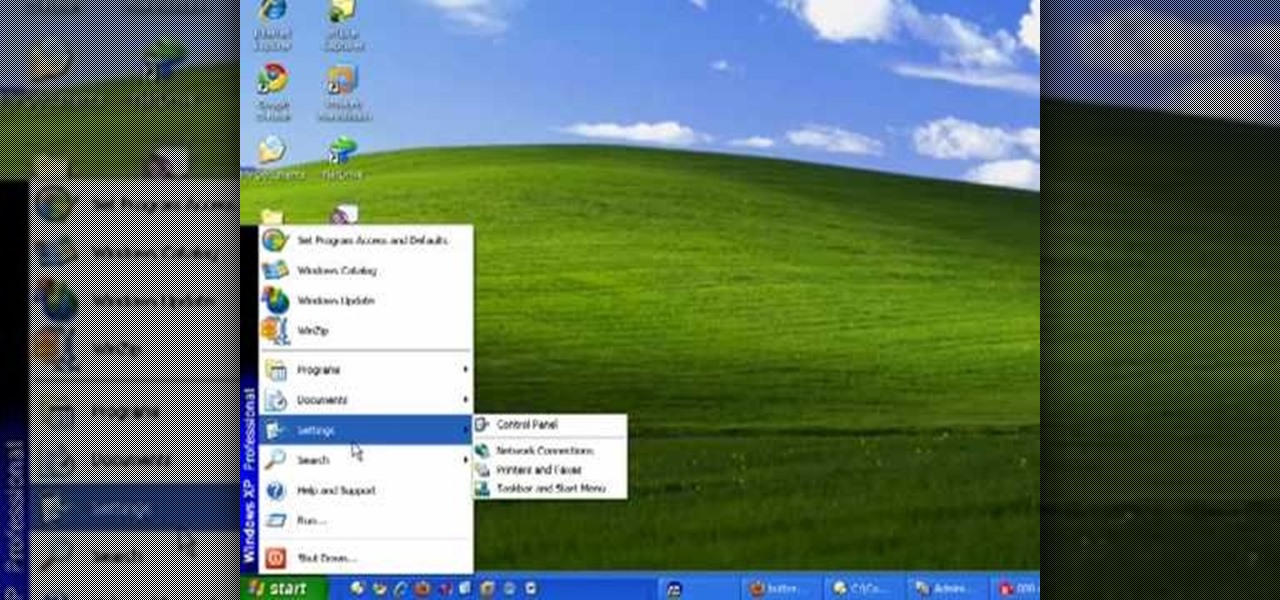
The speaker in this video will show you how to find basic computer information of your computer. In this video, he is using a computer with Windows XP. You begin by clicking on the "start" button located at the bottom left corner of the screen, then highlight "settings", and then click on "control panel". A window will then pop up. Double click on the icon labeled "system". Under the general tab, the basic computer information for your computer will show up. You will see various information s...
Open Microsoft Office Excel. Across the top notice letters (columns), along the sides are numbers (rows). The columns and rows can be extended by highlighting sections and right clicking and choosing the high of the row. You can also select to add a border, and change the orientation of your cells.
In this video tutorial, viewers will learn how to change text alignment and formatting in Microsoft Word 2007. To format or align the text, you must high light it first. Once highlighted, users are able format the text in many ways. The formatting options are: font type, font size, bold, italics, underline, strike-through, subscript, superscript and change case. The alignment options are: right align, center, left align and line spacing. Users also learn how to add pictures and position the t...
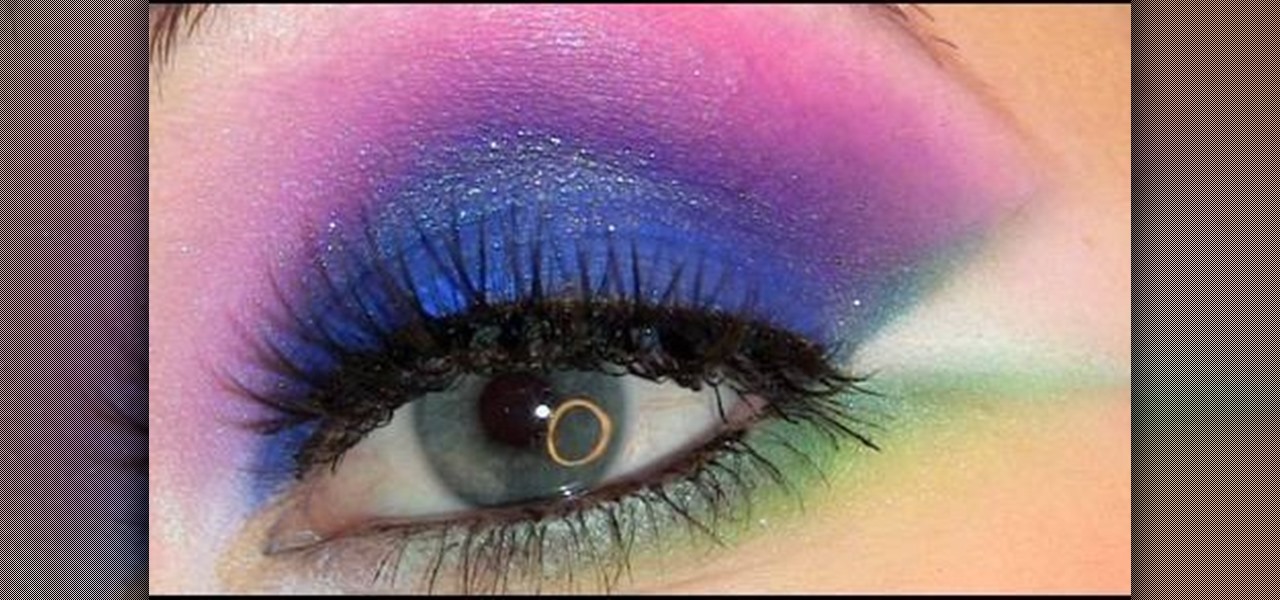
This video teaches the secrets of creating an Electro pop makeup style in simple steps. First wet a dark blue eyeshadow powder and apply to your eyelids. Now apply a pink eyeshadow using 222 brush and apply it over the blue. Now use white color and highlight under your eyebrows. Apply a green color using a flat brush under your lower lash and apply a brighter green over it. Apply a white eyeliner to the inner corner and make a triangle shape at the outer corner. Now apply some eyeliner, lashe...
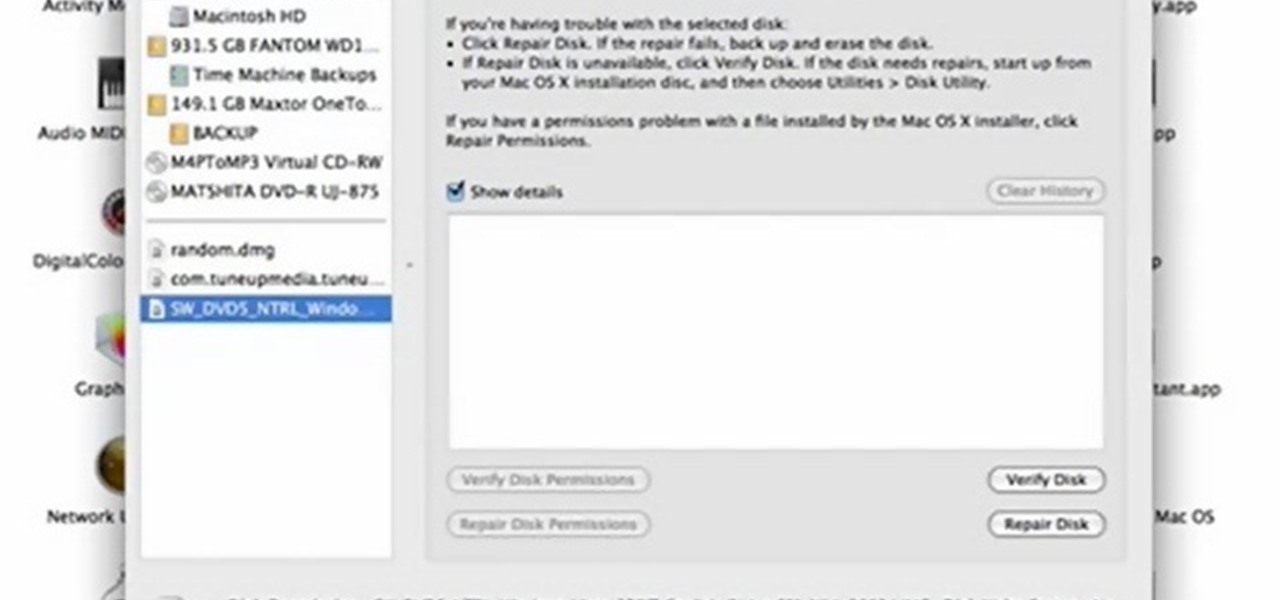
In this quick video tutorial Mike will show you how to burn an IMG file to DVD on the Mac. Follow these steps to burn an IMG file to DVD on the Mac: Click on Finder Applications Utilities Disk Utility. Highlight the file, click Burn. You will be asked if you want to burn it to the superdrive. Click Burn. It may take a while, but when you are done you will have a CD or DVD that is ready to use.
Do you want to add some 3D effects in your 2D designs? Open illustrator and draw an oval tool holding shift key. Then draw an ellipse with a different color and place it on the oval. Take blend tool,then click on ellipse shape and then oval one for a gradient effect. Draw another oval with a gradient and give it screen. Your glossy sphere is ready. Adding gloss, specular highlights as well as shadows adds some realism to one's art work.
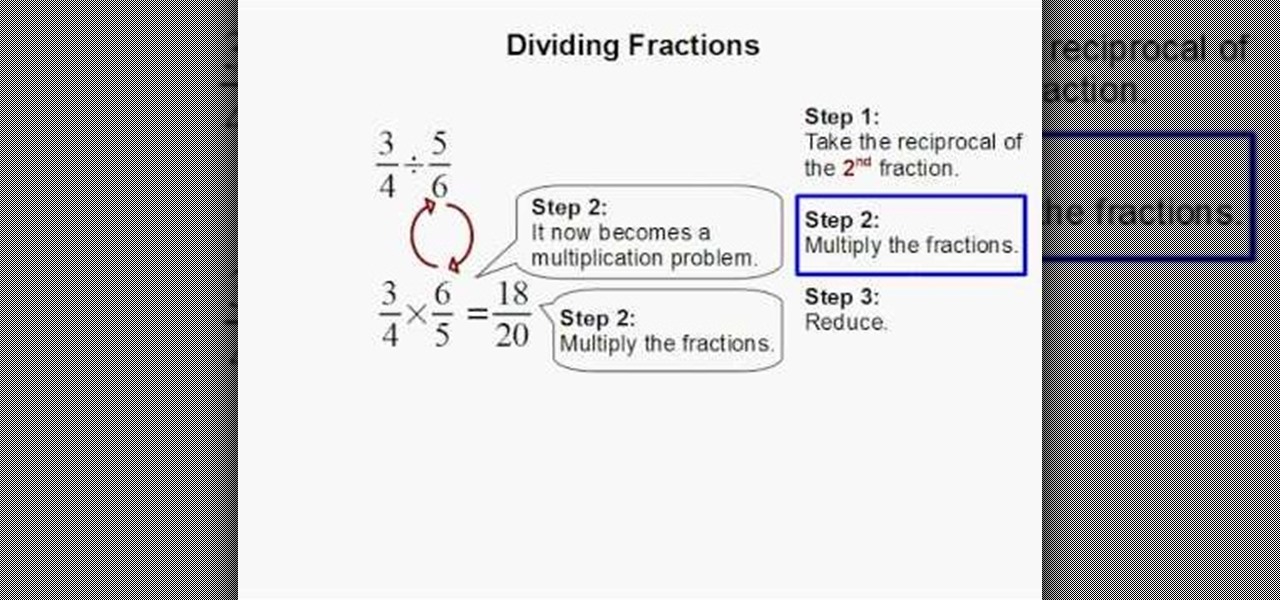
Need to learn how to divide two fractions? This one minute instructional video will teach you the steps to teach you how to divide. It will take you through the simple process and will make it much clearer. With notes on the side of each step learning to divide will become a breeze. Highlighted notes and numbered steps will make it possible for you to learn the simple process of dividing two fraction and that will later on help you tackle bigger division problems.
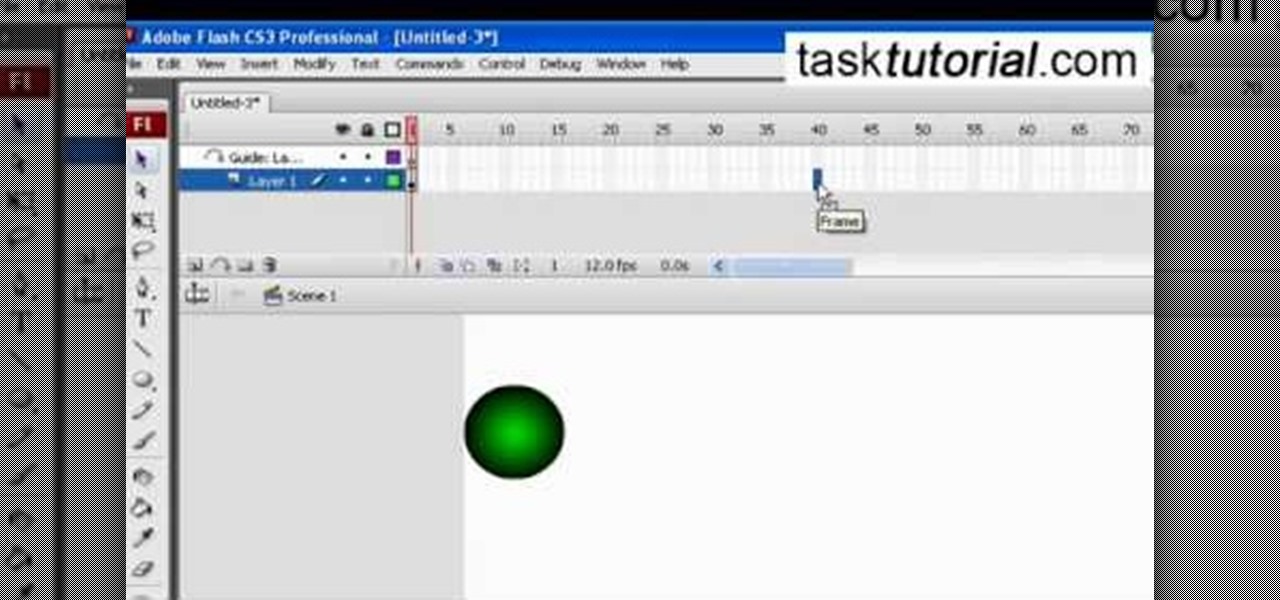
This tutorial video, from tasktutorial demonstrates how to create animation using the motion guide function in Flash. You will learn how to create an object, in this case, a ball, and create an animation that makes it appear to bounce. The guide shows you, how to add a motion guide by selecting a key frame and drawing it in. Then you will learn how to snap the object to your guide line, and add motion to it by selecting another key frame between the first and last frames, and snapping the obj...
This tutorial is a great one to watch if you are looking for an elegant but still natural smoky eye look. Start off by taking the eye shadow Grey Stone and applying it all over the lid. Then take the MAC eye shadow called Omega right over the crease, rounding it off at the end. Use the MAC Charcoal Brown eye shadow right on the outer corner of the eye. Then put the NYX dark brown eye shadow on the outer corner, as well brushing it into the outer bottom of the eye. The next step is to take a s...
Pixie Lott is an English music artist whose song "Boys and Girls" topped the UK charts in September of 2009. If you want to look like her from the music video, just watch as Princess Pinkcat shows you how to create a Pixie Lott "Boys and Girls" makeup look.
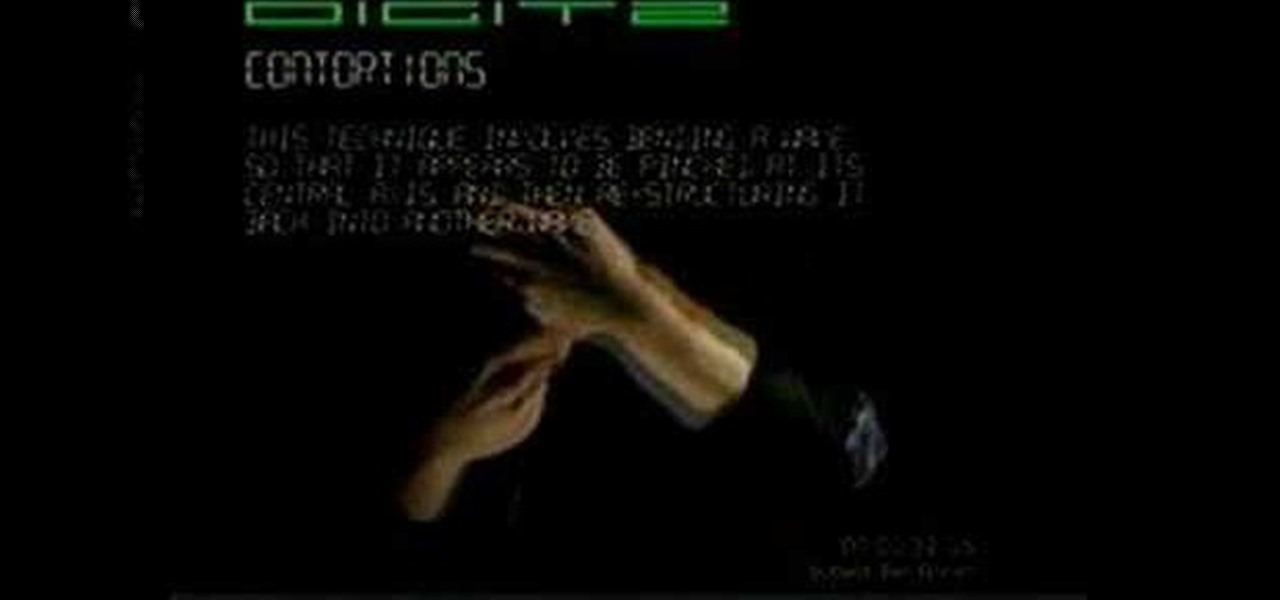
Liquid Pop Collective put this video out some years ago; adding digits to your Liquid makes it far more stylish and sophisticated than just relying on the old hand-chasing alone. This is an advanced hand-chasing technique.