The narrator starts by explaining what a squash book is. A squash is designed to keep photos, journalling or what ever you like. To start we require a 4x4 pattern paper and 3x3 chipboard. We then glue the chipboard onto the pattern paper. We then cut the corners of the pattern paper. We then fold the flap in and glue down. We repeat this to form another cover. Next we grab a 6x6 pattern paper, we then complete a series of folds. One diagonal, half horizontal and half vertical folds. We repeat...
You can make beautifully decorated cookies with just powdered sugar, water, and food coloring. Before you start decorating cookies, it is important to understand color theory. Primary colors are blue, red, and yellow. When you mix those colors you get secondary colors. Blue and red make violet. Red and yellow make orange, and blue and yellow make green. If you mix all three primary colors together, you get brown. To make black color, mix together green and red and a few drops of blue. Also, p...

In this how to video, you will learn how to airbrush your Xbox with a Halo 3 design. First, take apart your console. Next, wrap the bottom half with paper to mask it. Next, spray the exposed are with white. Mask the bottom half area again, leaving more unpainted areas exposed. Spray paint and repeat one more time. Next, go over the console with yellow paint. Next, print out an image of Master Chief. Cut it out and then take the outside area to use as a mask on the console. Spray paint accordi...
The girl in the video desribes how to cut up a shirt to make it look like an Ed Hardy shirt. This idea was inspired by Adam Saaks, who she saw do this in Vegas. First, she cuts out the neck of the shirt, and then matches up the side seams of the shirt and cuts slits halfway up the shirt about an inch apart. Now there are slit down the back of the shirt. After, each slit should be pulled taut separately. Start at the top of the shirt and pull the second string under the first string and contin...
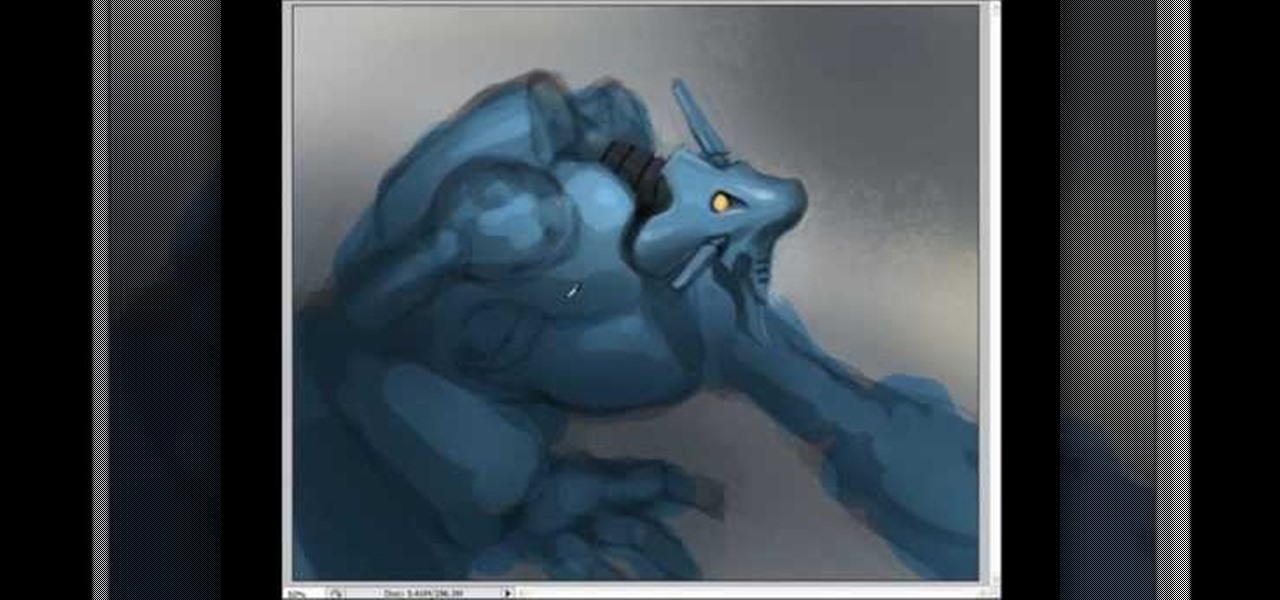
If you want to draw and paint a robot Mecha style you should first make a square and color this in a dark gray. Draw a silhouette in a darker gray color. You should draw basic body parts such as the head, arms and limbs and shoulder. You should draw this with simple dark layers. In the face, you can draw a different or cool complex design. You can also make the background darker and make shadows. To distinguish the figure from the background color the figure a dark dull blue. Now you need to ...
Open up dreamveiwer and click HTML on creat new. If the new page opens then go to design view and then go to insert and then layout object and then diff tag in that then click ok for that. There we have to create a scrollbar content. Then we have to right click there and go to css styles and then go to new. There go for selector type and click class and then name it as you want. Here he just named it as scrolldivstyle then go to go define in and take this document only and then click. Next yo...

The video presents "How to start your own Clothing Line Business". The steps include getting the financing, designing the prototype outfit/s, producing the line of clothing, promotion and sales. A good way of financing for a small business such as this is to sell your idea to family, friends and even colleagues. Research and prepare the business plan for your clothing line and be passionate about it in your presentation to convince them to fund your business. The next step is to get the produ...

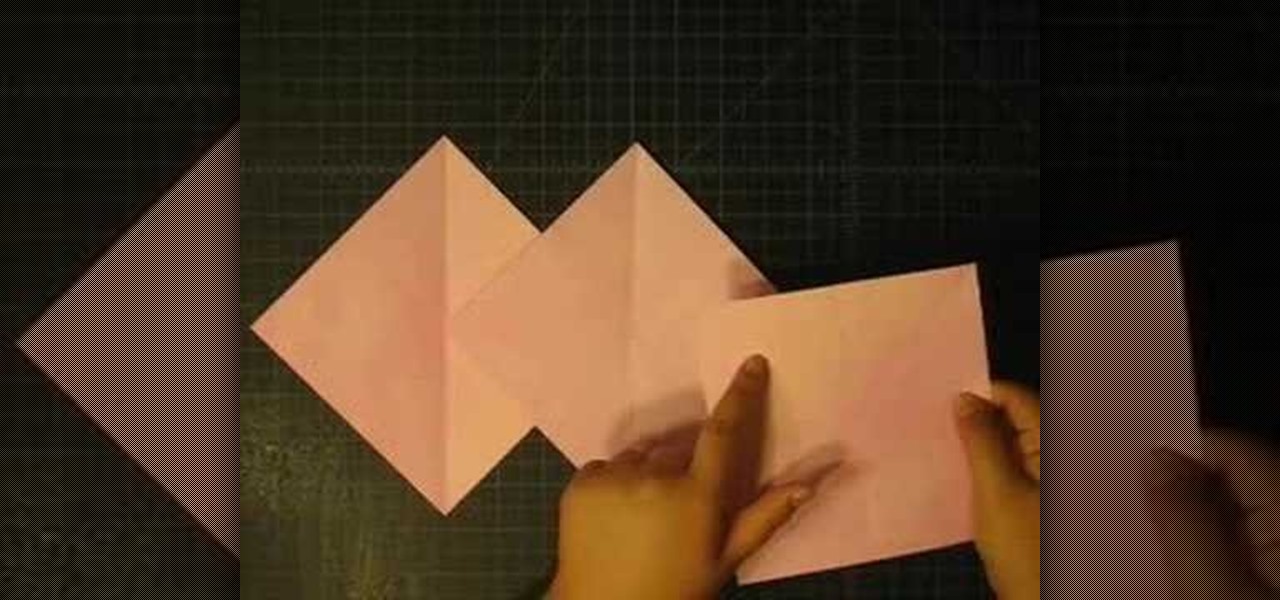
This video is a demonstration of how to make a winged heart design with folded paper. Start with a square piece of paper and fold it in half. Unfold it and fold it in half again, and unfold it. Using the creases as a guide, fold one edge up to the crease. Turn it over and fold the corners of the folded edge down toward the middle crease. Turn it over and fold the large edges inward toward the crease and unfold them. Lift that side up, forming a pocket underneath. Fold the sides inward inside ...

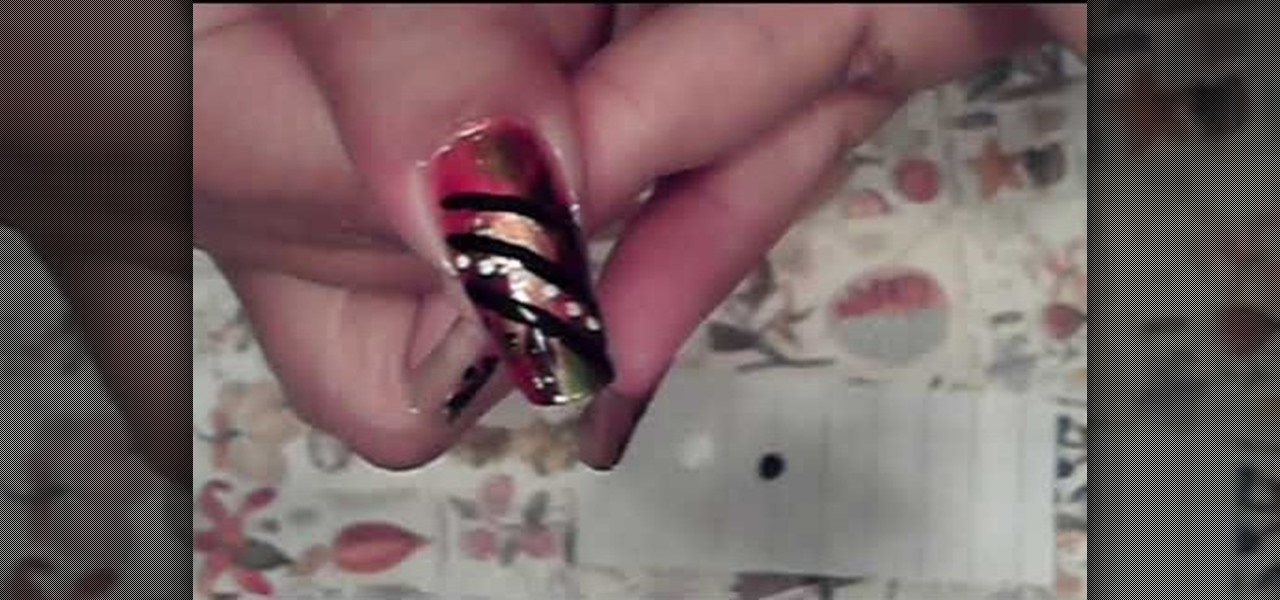
In this video you will learn how to do an autumn nail design. To start out, you will need 5 nail colors of your choice. First, you paint your nails in a background color. In this video the woman chooses Mandarin by Icing, a pretty peach color. The next color she uses is a vibrant green called Money Tree, also by Icing. Do 5 slashes with the green or other color of your choice, anywhere on the nail you want. Next she uses a gold color to paint one slash in the middle. With a dark brown color, ...

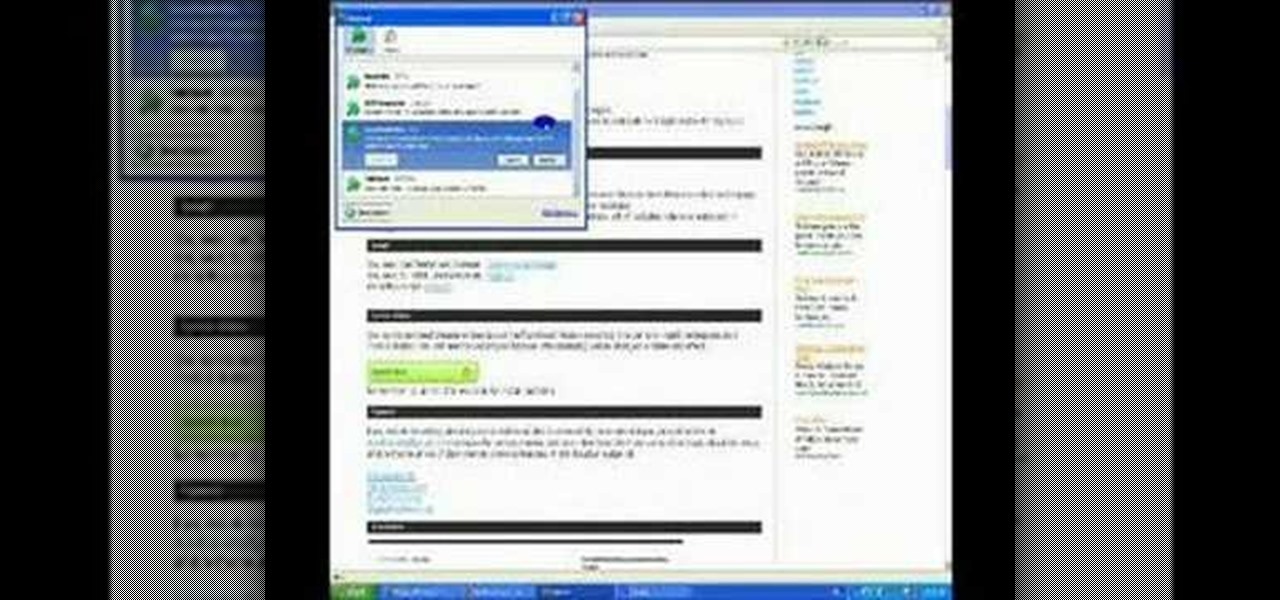
This tutorial describes the procedure to download Facebook videos with Mozilla Firefox. This procedure works only on the web browser "Mozilla Firefox". Firefox can be downloaded from this link and installed.

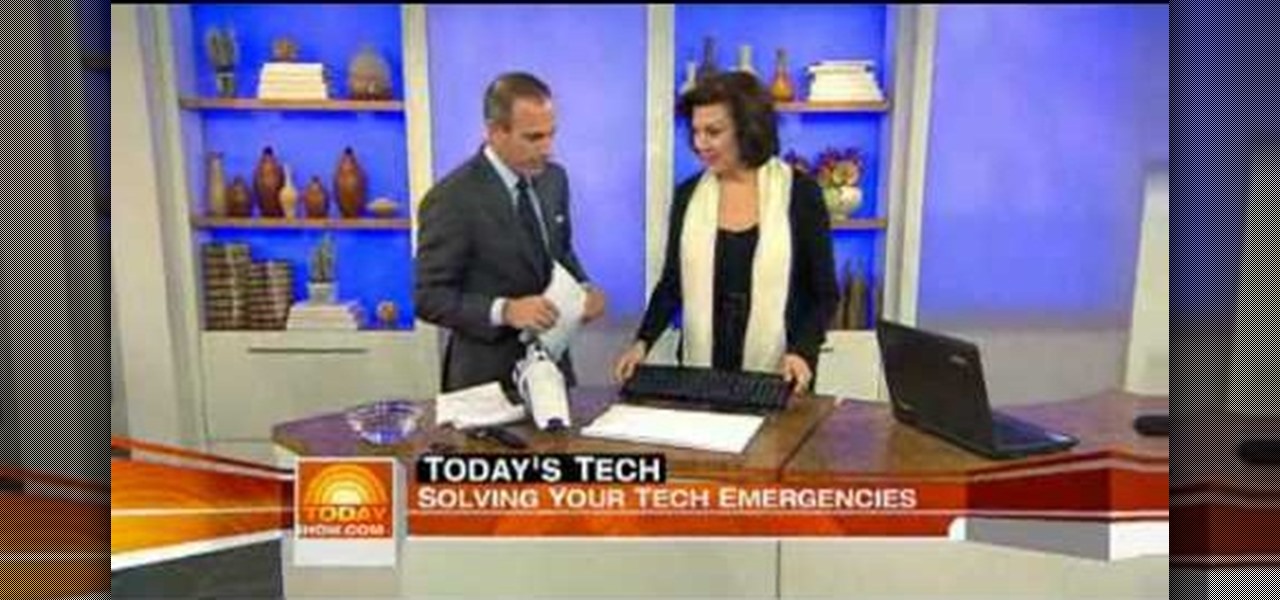
Today's Tech shows you how to fix a cell phone or computer that has gotten wet or jammed. With a wet cell phone, you must act quickly or it may be permanently damaged. The first thing you should do after pulling it out of the water is to take the battery and SIM card out. Dry both of them off. If you drop it in a liquid that is not water, rinse them off quickly. If you have a vacuum cleaner handy, you can use it to suck the water off. You can also place the phone on top of your cable box. Wai...

John Campbell shows you how to make an all natural bowl with spout using hot coals to burn the desired shape into a block of wood. First you'll need to make a straw from a cattail stock by burning through the center with a hot coat hanger. John next demonstrates how to use this straw and some hot coals placed on the wood to burn the shape of a bowl and spout into the block. Finally, John uses a stone to sand the bowl down and remove the charcoal leaving a clean wooden container. The final res...

This video from Educational Art Institute shows us how to repurpose old CDs for use as Christmas ornaments. There are many different ways to do this. One idea is to use glue applied onto the CD in any pattern or design and add one or more colors of glitter. If you don't like the mess of glitter, then glitter glue is a great alternative. They come in many different colors and are easy to apply. In both of the above cases you can also add sequins for more decoration. If you are going to decorat...

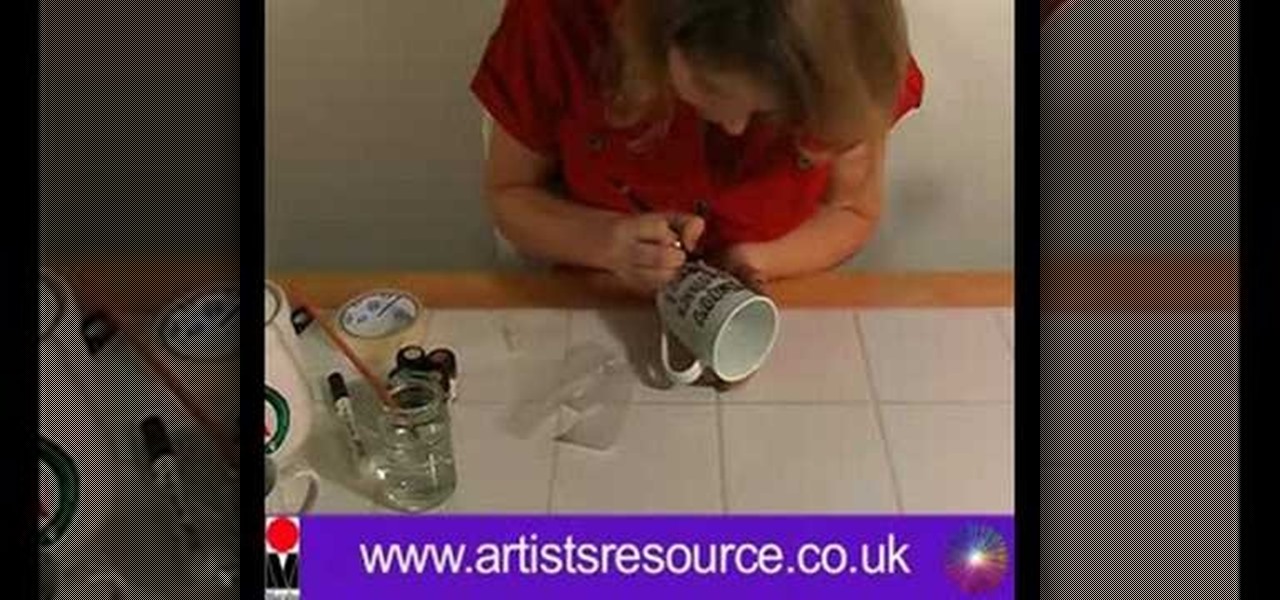
In this how-to video, you will learn how to paint on your ceramic dinner plates. You will need a ceramic paint kit, a soft pencil, masking tape, a porcelain painter pen, scrap paper, scissors, scrap paper, tracing paper, Celtic patterns, and a jar of water. Place the tracing paper over the copy of the Celtic patterns. Tape both down to the surface with the tape. Trace the pattern onto the tracing paper using the pencil. Clean the plate and stick tracing paper over the plate. Trace over the pa...

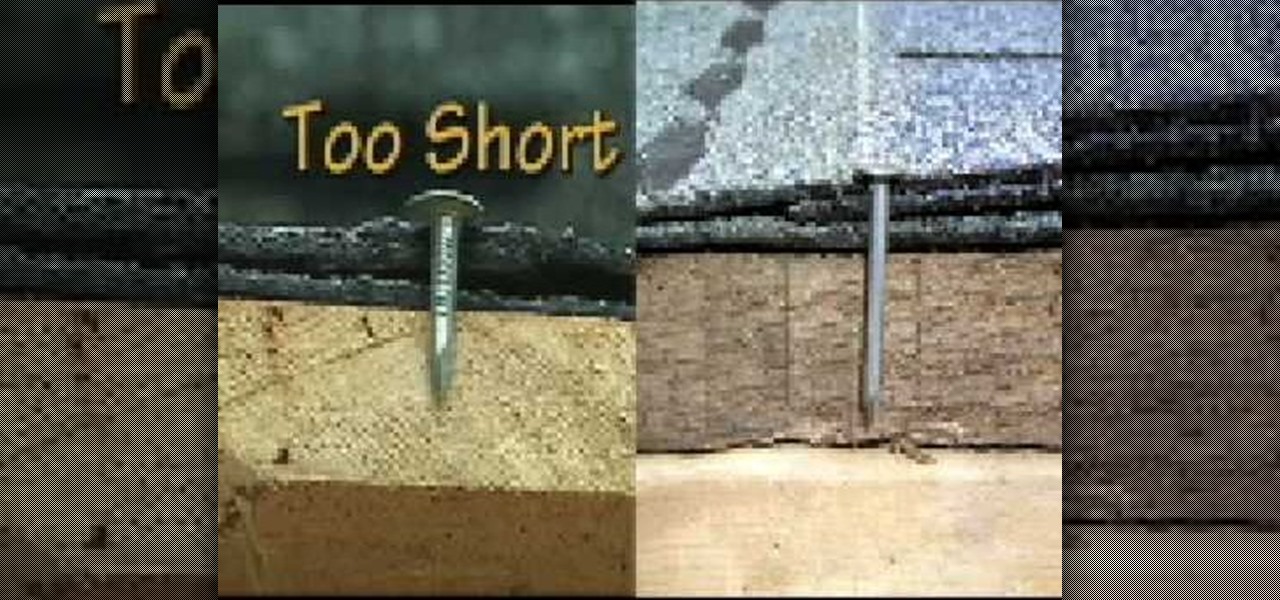
How to properly nail shingles on a roof

This video demonstrates how to paint Mother’s and Father’s Day mugs. This is a ceramic painting project. For this project, you will need the following supplies: 2 mugs, a Marabu ceramic kit, a paintbrush, a soft pencil, tissue, masking tape, a marabu porcelain paint pen, a jar of water, paper, scissors, tracing paper, and a sheet of paper with the lettering that you want to use on the cup. On your PC, use any decorative font that you like.

First of all you have to prepare the basic chain as shown. Now yarn over and the first three chains of the crotchet are always considered as the double crotchet. So you have to go to the fourth chain from the hook and then insert the hook. Now you have to drop the loop. So now you have three loops on the hook. Now yarn over and go through the first two loops and then again yarn over again and go through the last two loops. This is the double crotchet. Now finish this rope by using the same pr...

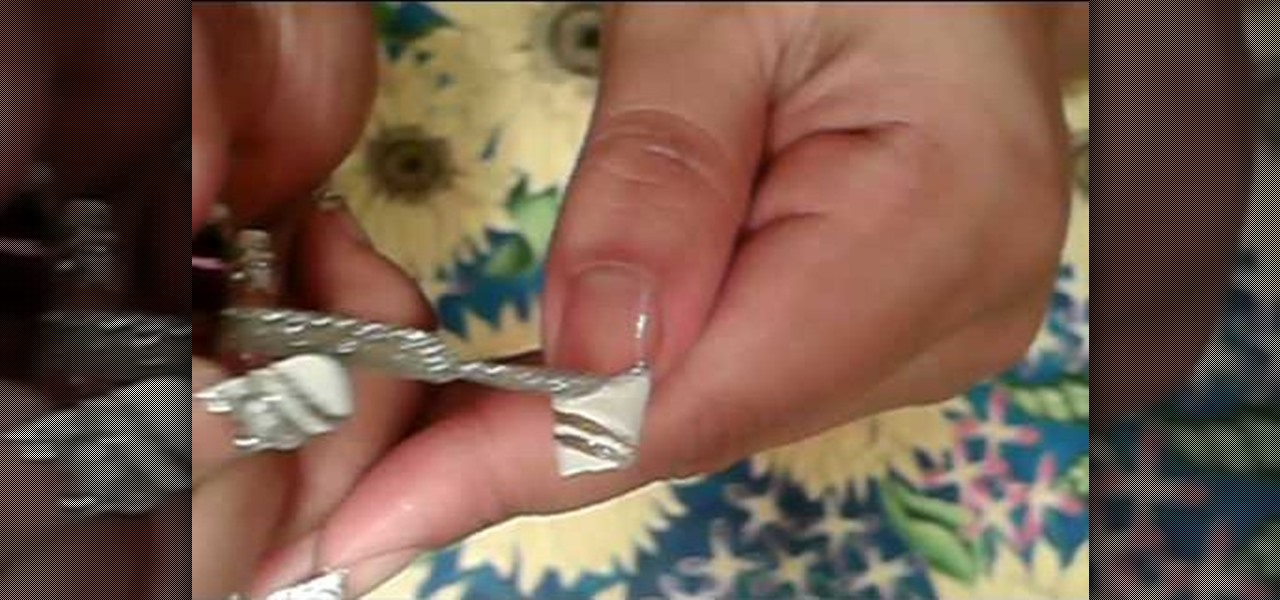
The process of painting your fingernails, with a French manicure with silver accents, is a multi-stepped process. Before you begin, put a hydrating base-coat on your bare nail, and let it dry. Then take white nail art polish, and draw three parallel diagonal lines across the nail, starting from the top of the nail (where the white meets the skin" to the bottom. Once you have completed the three lines, take white nail polish and create a French manicure, filling in the nail from the skin line ...

Sugar skulls, or "calaveras de azucar," are used to celebrate El dia de los Muertos, in honor of deceased friends and family. This video tutorial shows how to make sugar skulls with basic household ingredients. Once you've shaped the mixture into a skull shape, decorate and design with food coloring to suit your personal taste.

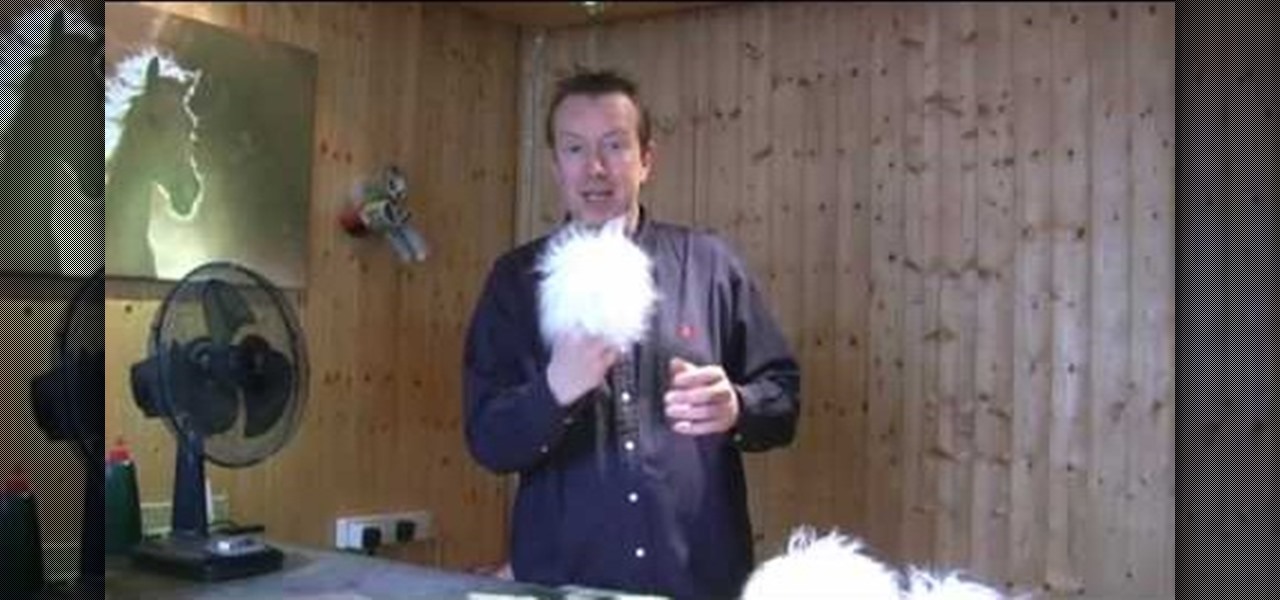
For anyone who has ever used a microphone, trying to record something during a windy day can be a bit of a pain. Of course we can eliminate most of the interference with a simple wind screen that can be purchased at the store, but many times they can be a bit pricey. Well, in this tutorial find out how to make your own wind screener for a Zoom H2 mic. Enjoy!

The video tells about the exercise that should be done after pregnancy, mainly the methods, procedure etc. It is narrated by Kathy Kaehler, who is a personal trainer. For more information go to kathykaehlerfitness.com.

Get to design your own watermark for your documents. Here's a video showing these easy steps to watermarking your documents. 1. Go to the "Page Layout" tab in Word 2007 and look for the "Page Background" section of the toolbar and select the "Watermark" button. 2. Click on the "Custom Watermark". 3. Click on either picture or text watermark, whichever you prefer. 4. If you select the Picture Watermark, you need to insert a picture by clicking the select picture. You can also customize the sca...

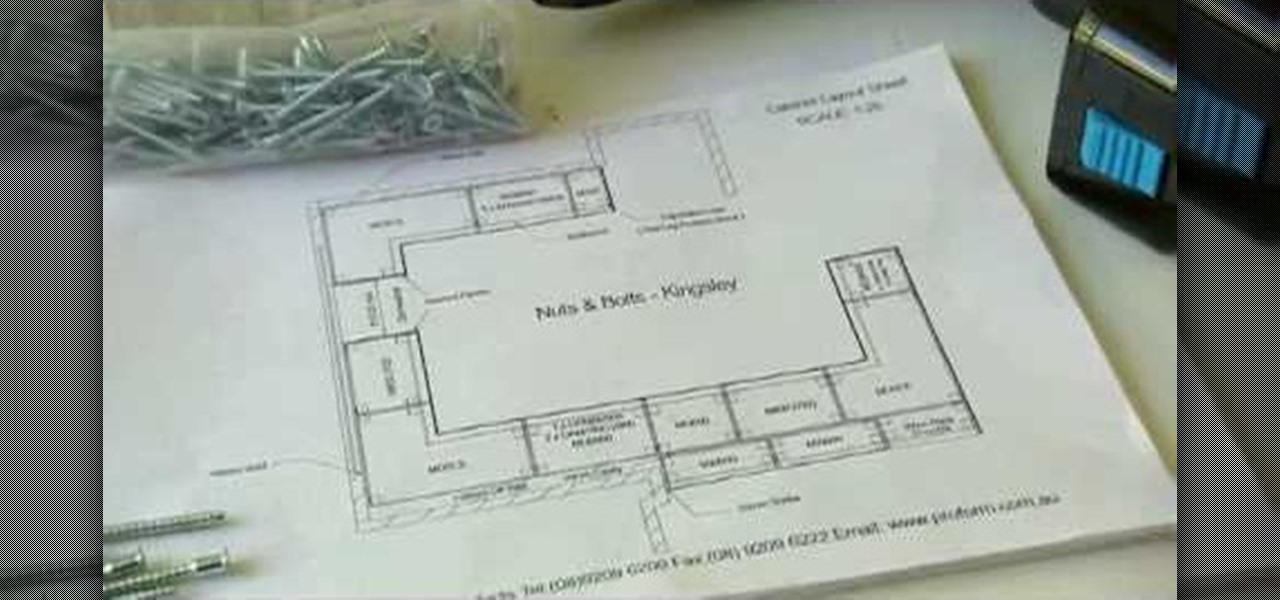
This video demonstrates how to assemble a kitchen flat pack. Everything needed comes packed flat, plus cupboard doors and bench tops are included. The flat pack is a pre-cut custom designed kitchen that can be assembled by yourself. First assemble the cabinets according to the instructions that are provided. The holes are pre-drilled making assembly quick and easy. After you have completed the assembly of your cabinets, attach the adjustable feet to the base so you can level the cabinets with...

Anna Saccone, from The Style Diet, teaches you how to wear a boyfriend cardigan. Since the boyfriend cardigan is loose and big, you should wear them in a casual or slouchy style. You can also pair a boyfriend cardigan with boyfriend jeans that fit loose too for the full effect. Also, rolling the jeans or wearing ripped worn jeans will add to the full effect. You can wear a simple plain white tank top under the cardigan for simplicity and for a relaxed look. You can also accessorize with brace...

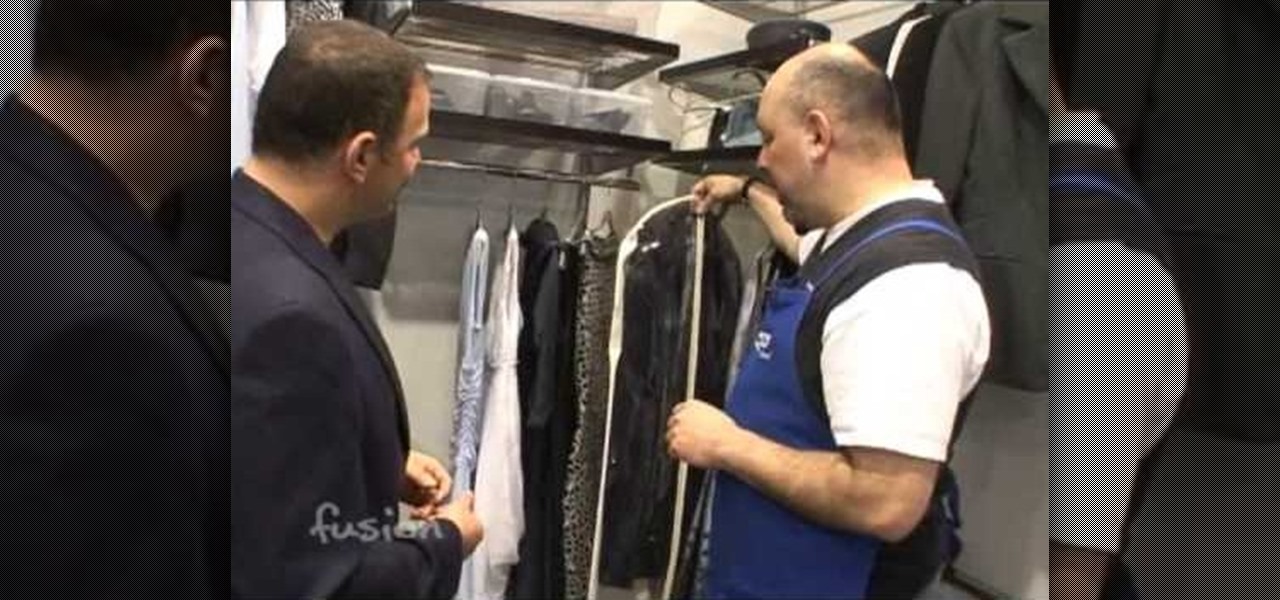
To organize the closet you have to start with the donate or keep principle. Start your piles and get rid of the stuff that you no longer need. You can also have a "can't decide" pile that you put somewhere until you decide but the general rule is, if you haven't used it in a year you probably never will. There are six areas in a closet. First is short hang. It is the most common and includes shirts, blouses, and folded pants. Short hang can be hung in one level or double hang levels. Hangers ...

Lifestyle expert Clinton Kelly takes the hassle out of centerpiece designing.

Materials you need to make a nut cup: 1) A thick sheet of paper; 2) a mat; 3) a Cricut Machine.

If you are going to a toga party or just want to be prepared in case you need to improvise some clothing you will want to know how to tie a toga around yourself. This video will instruct on two ways you can tie a toga for men or for women.

In this arts and crafts video tutorial learn how to make a paper piercing using a paper piercing template with June Campbell. The template comes with pre-made holes in varying designs that you will poke through. You will also need a paper piercing tool to create your holes as well as a craft knife to cut out larger holes. In addition, you will also need a piece of paper. Use a hard surface, such as a plastic tray to protect your table and then place a styrofoam sheet on top of that for furthe...

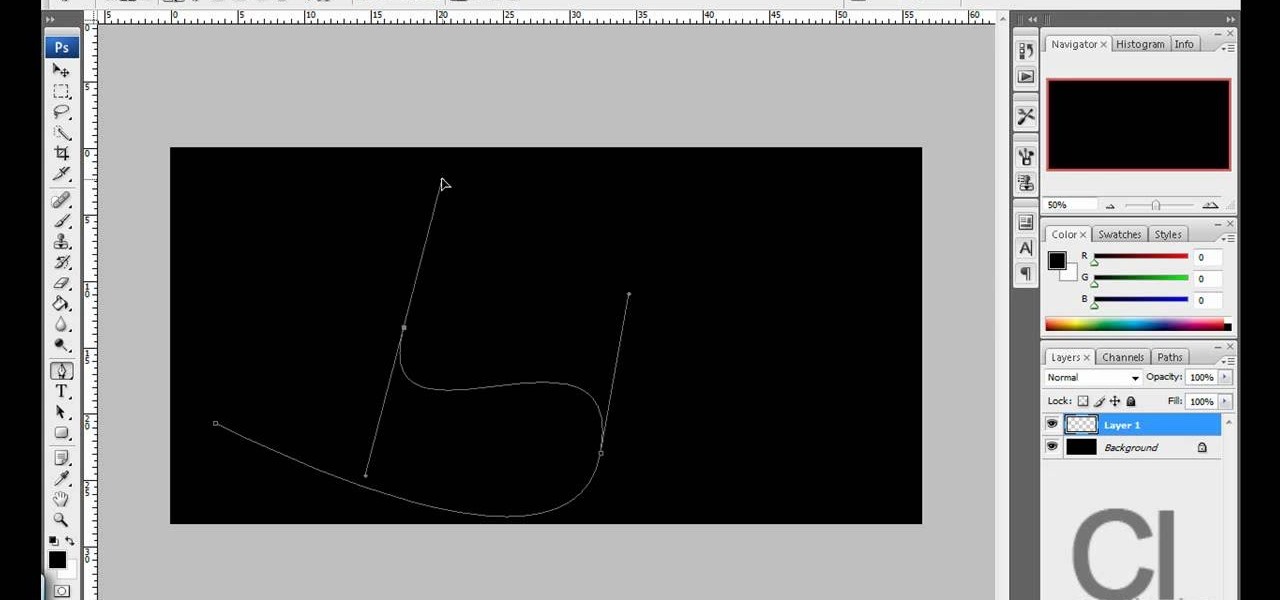
This is really cool, you can make these awesome neon glowing lines using your Adobe Photoshop. This is a fun way to make creative and colorful designs and it looks really neat without spending time working on detailed shapes.

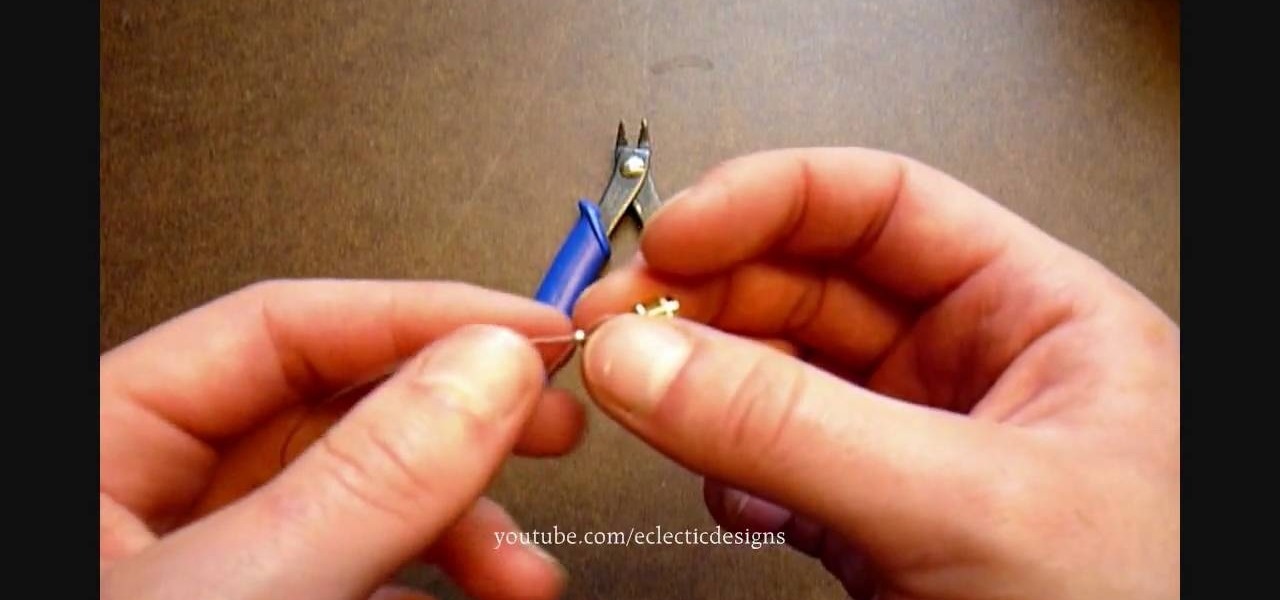
Crimp can be made easily and covered to the jewelry by using the following instructions. First purchase the proper supplies of crimping tool. This tool acts like pliers and is used by placing the bead in the appropriate slot at the tip and then squeeze the handle together. The multiple slotted tips are the key to the tool, and are needed to create a proper crimp. Then, select the proper crimp bead. The thin metal crimp beads come in a variety of materials and sizes. This will be used to secur...

To make a pop-up card follow the instructions below. First fold two pieces of the same size heavy card stock or construction paper in half. Use the first one for your outer card, and the other for your inner cutout card. Cut a 1-1/2 inch strip in the inner card's center and make two slits down from the fold to make the strip. Then, fold the strip inward so that the fold is inside the card and the card has a rectangular hole in the middle of the fold when closed. This will be the base to use w...

In this how-to video, you will learn how to properly study for a test or for homework. The author offers a few great tips. You should avoid cramming and study well before the test date. Make a list of everything that is going to be on the test. Memorize facts and formulas. Make up questions that you think are going to be on the test. Take all the school tools you need in order to complete the test. Lastly, if you prepare well, you will have a great chance of doing well. You should try to stud...

To make a Paper Orchid you need to know the steps as follows: First fold a square sheet of origami stock paper into a triangle, bringing both points together. Use this as your flower base. Fold the paper again bringing both corners together. Rub your finger along the crease of the fold to make sure that it stays put. This step completes the triangle base. Begin making the flower base by taking the triangle base folded over twice and adding a third piece, folding it over as well to meet with t...

This video shows the secret of painting beach nails and light pink color with white nail. First apply the base coat, then a light purple color on it and let it dry. Now use white color and make some design by drawing small stripes criss-cross as shown. Use a glitter polish and apply it in the space between the lines. For the beach nails apply pink color polish to the bottom half of the nail. Now make a thick horizontal stripe next to the pink color using a dark blue color polish. Use a black ...

Brenda shows us how to use a jump ring tool as a part of beading techniques. The jump ring tool can be used in place of two pairs of pliers to easily open and close the jump rings. First place the jump ring tool on the index finger of your non-dominant hand. You will notice that there will be more slots and you need to choose the best one that fits the jump ring that you are using. Use a pair of pliers to position the jump ring on the slot on the tool with the opening of the jump ring just ou...

Look at the money you are receiving. Carefully inspect it for any strange colors, marks, or texture. Do not assume that a different color, texture, or design is simply a mistake made at the treasury. The bills there are all made the same based on the denomination.

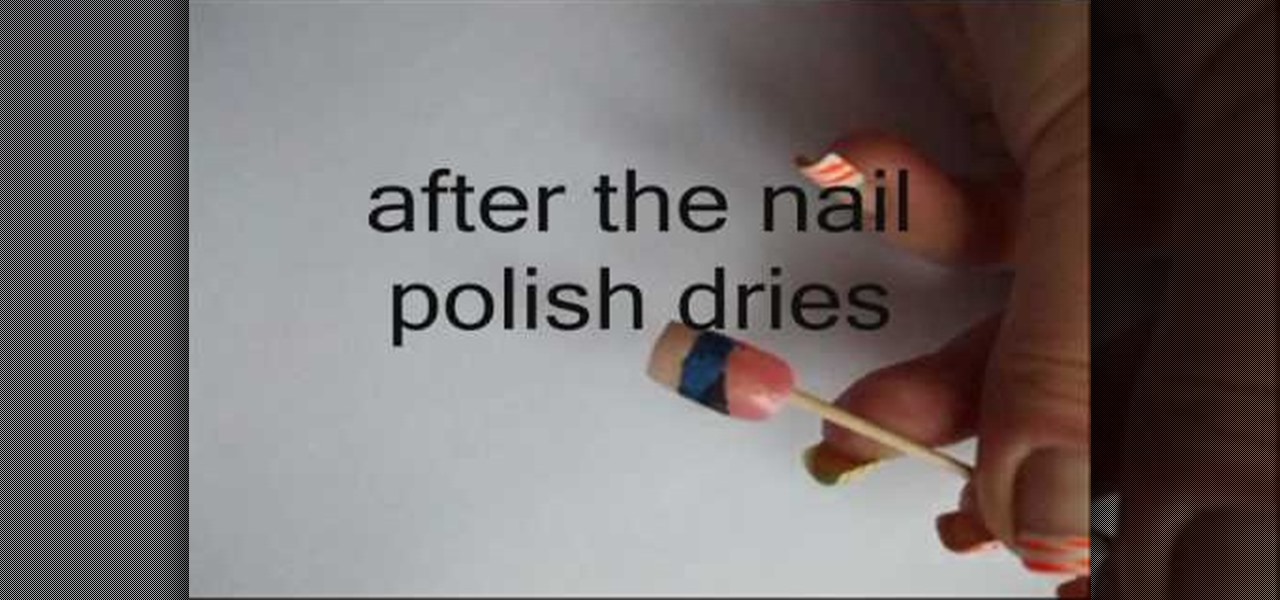
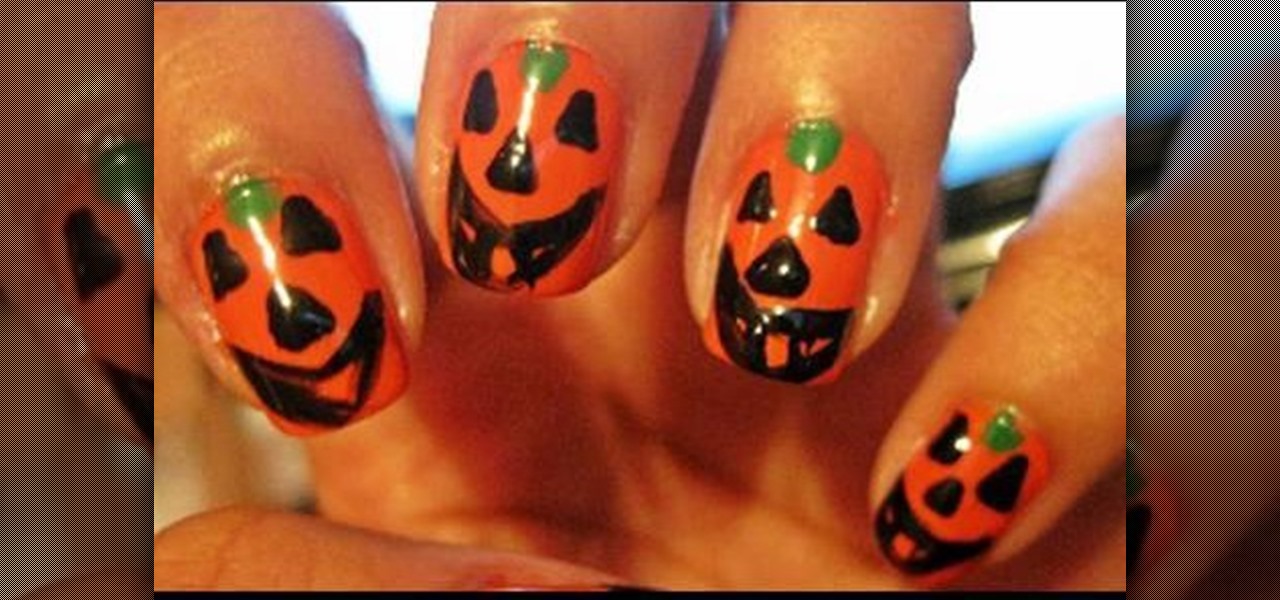
Begin by painting your full nails orange. Any orange will work for this design; just keep in mind that more than one coat of nail polish may be needed to get a bold and opaque shade. I did two coats of orange to get the coverage shown in the photograph.

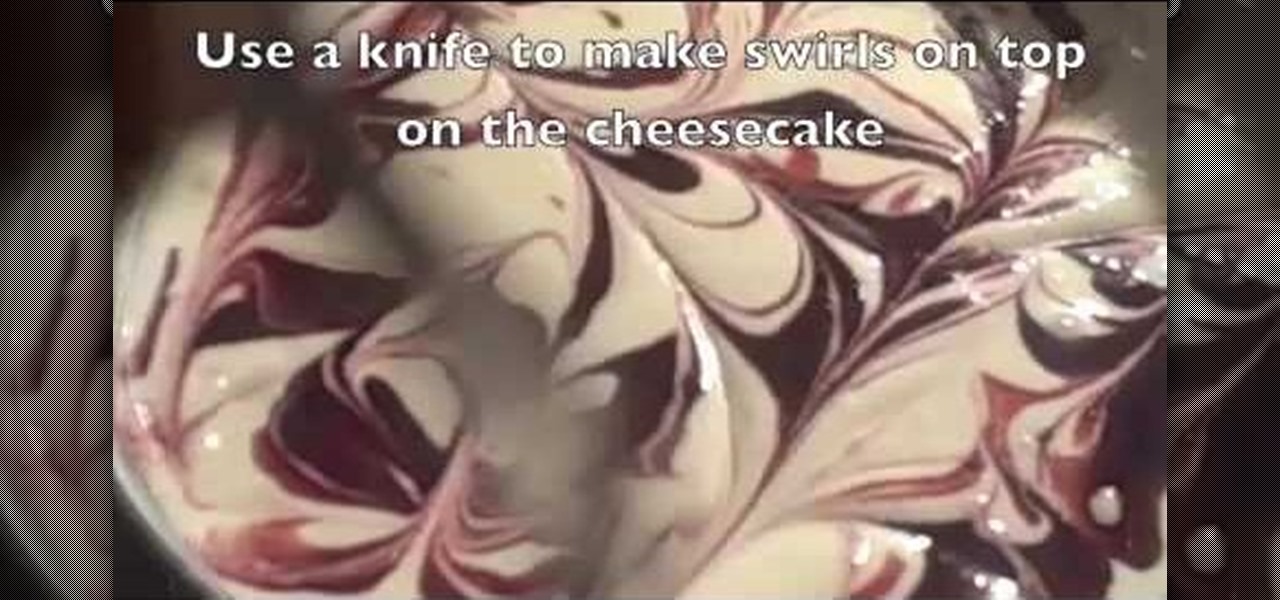
The recipe can be found on www.yesdivascancook.com. An eBook containing this and other cheesecake recipes is also offered.

In this video the author gives an HTML Website Design tutorial showing how to make a side menu bar. He goes on to show how to write the HTML page, explaining about the different HTML tags like <html>, <head>, <title>, <table> etc., He shows how to set page color and add styling to the page. He shows how to align the page elements and does the font settings. He goes on and makes a HTML table. Next he shows how to make a menu bar using the table element and shows how to do the various settings ...


