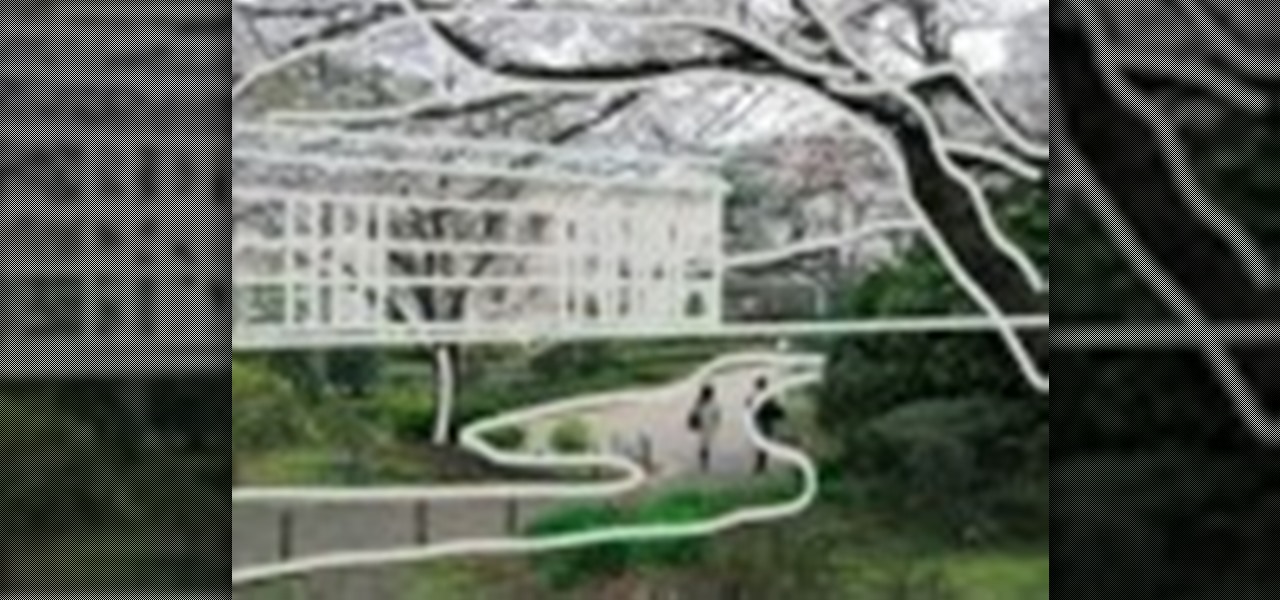
In this video, we learn how to measure your space when drawing a landscape. First you want to draw a line in the middle and measure out the line to the top of the building, and create another line there. Measure the length and then measure the edge of the outside of the building. After this, find the end point for the building and measure from the top down or from the second line to the roof, then draw the line across. Measure in from the end to get the angle, then find the layout for the tre...

In this video, we learn how to make a "puppy love" box for Valentine's Day. To key to creating this box is a thin strip of paper that has teeth (pointy spikes) at the end of this. Turn this into a heart shape, then tape it around the heart to make a perfect box. It will be easier to find your center and cold it in half, then place it on the box. Glue the heart onto a black card stock to situate it, then tie a cute ribbon along the edge of the heart. This is very cute and a great idea for Vale...
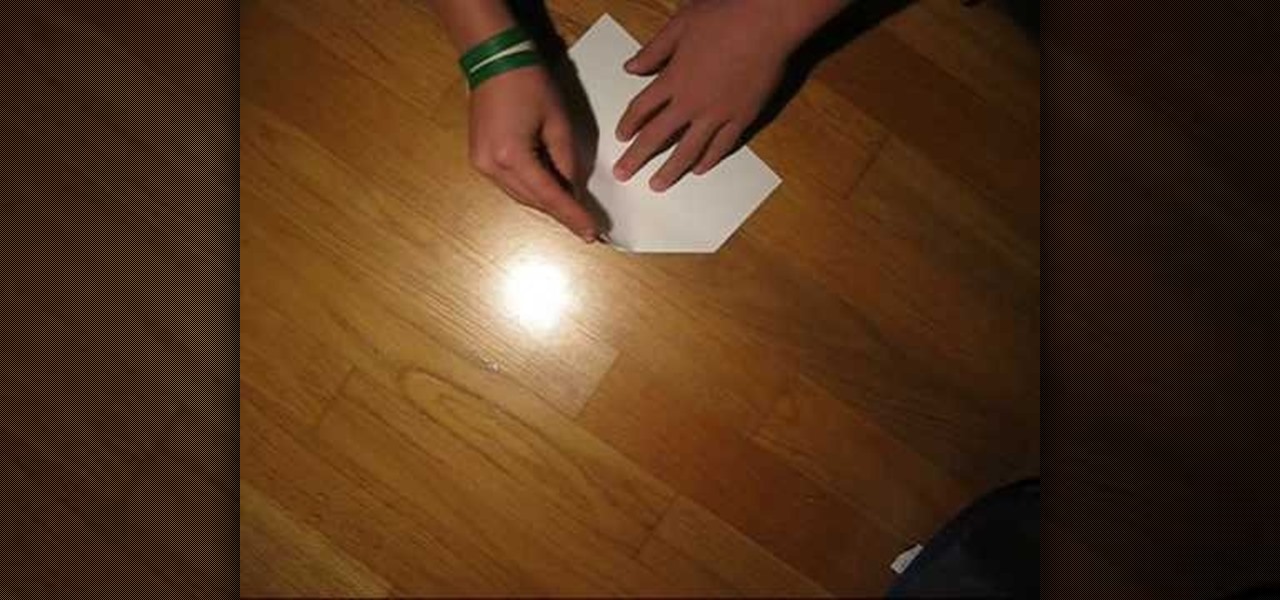
This video shows viewers how to make a paper airplane. You should begin with an 8.5 x 11 piece of paper and fold one corner to the opposite side, making a triangle. This should be repeated on the other side, so that a cross is formed on your paper. Folding down opposite sides of the creases, you should have a triangular flap on your paper. Fold both sides of the flap upwards and then flip the paper over. You should then take the tip of the paper and fold backwards. Fold the paper in half so t...

In order to make your own envelopes, you will need a piece of paper, glue, scissors, and optional decorating tools/stickers.

Drawing cylinders, like drawing circles, is easy stuff. But drawing perfect cylinders, minutely calibrated edges and angles and all, is often impossible unless you have the right method and the right tools. Rather than lazily sketching your way to a mediocre cylinder, why not improve your drawing and drafting ability by crafting a perfect one?
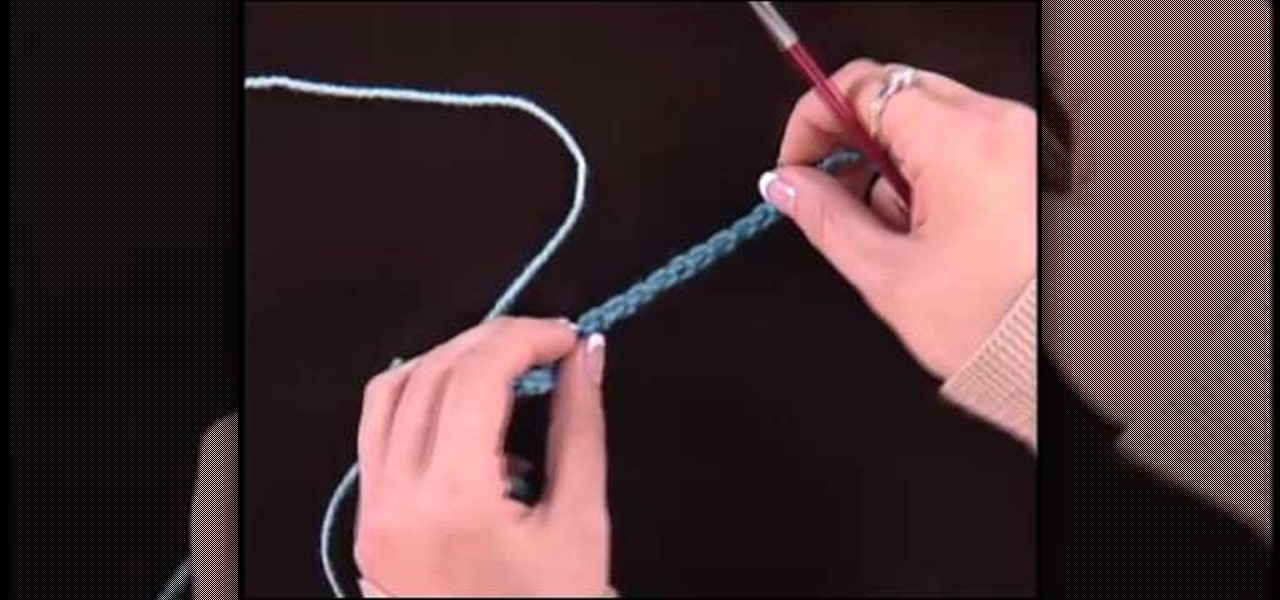
Hard edged cast-ons in knitting are difficult to remove, so it's important to also know how to complete loose cast-ons that easily remove themselves from your knitting project. Loose cast-ons allow you to hold a knit in place so you can return to it later (so, for instance, you want to knit the sleeve of a sweater first and want the chest area, which you are currently knitting, to stay in place).

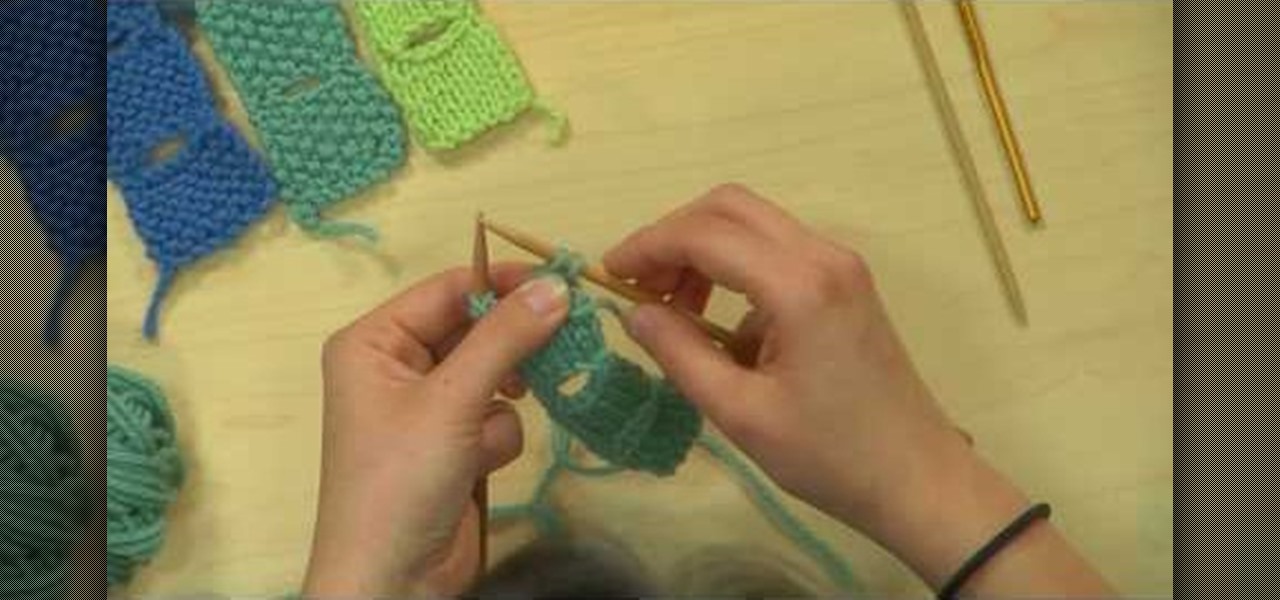
These tulip buttonholes are both pretty and all-purpose, usable for just about any knitting project that requires buttonholes. Composed of a petal-shaped hole rimmed at the edges with a briaded knit, this tulip buttonhold project is simple and great for knitting beginners.

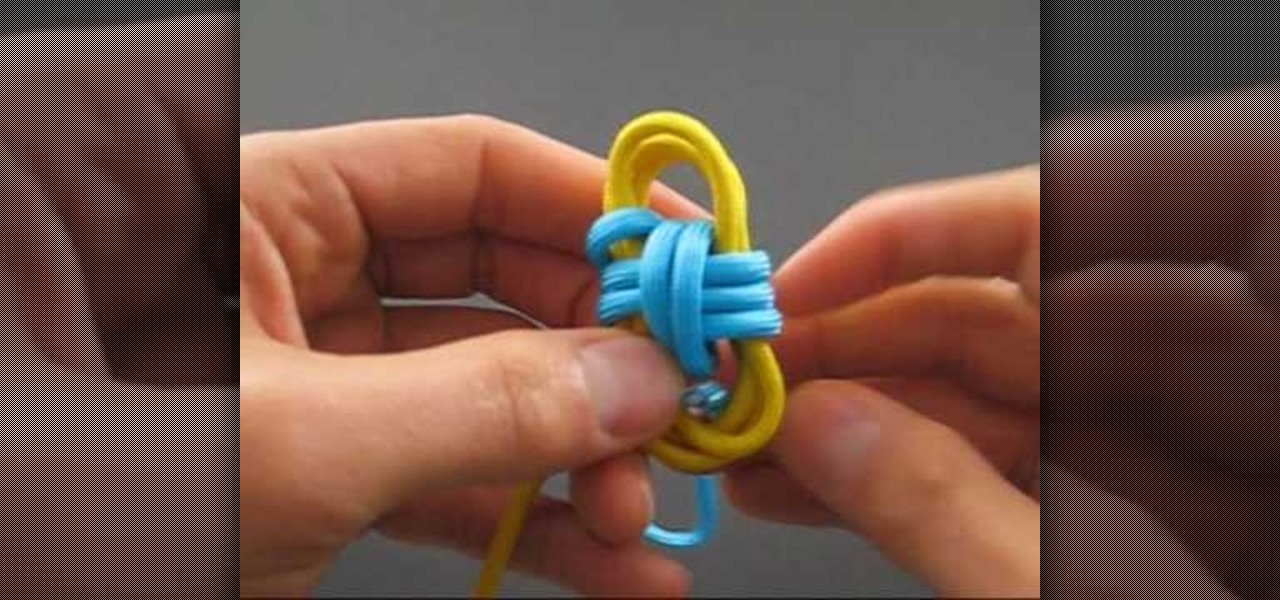
In this tutorial, we learn how to tie the two color monkey's fist knot. First, make a double overhand knot, and snip the edges off. Next, create the monkey's fist by taking one of the ropes and looping it around the fingers several times. After you do this, push the knot through the fingers and tie the other string around the entire loop several times. Push the string through the loop, then continue to tie on the opposite side around itself. To finish this up, Pull the two outside strings tog...

In this tutorial, we learn how to remove a scar in Photoshop. First, select the magnifying glass to zoom in on the area you are working on. Next, select the paperclip icon, the select the second brush. Now, come to the edge of the scar and drag across the around the entire scar. Come back around, then the scar will be highlighted. Now click down and hold the image highlighted, and you can smooth out the skin and it will disappear. Next, do this on the other side of the face to remove the rest...

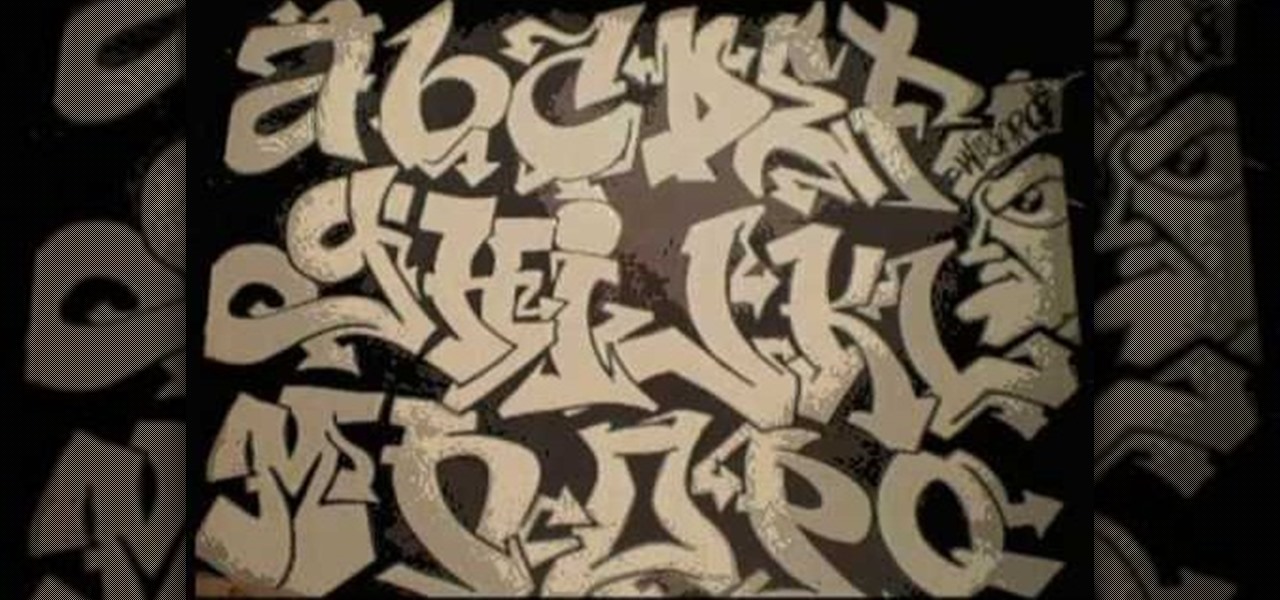
In this tutorial we learn how to draw a graffiti alphabet for beginners. To draw the graffiti letters, you will first need to have a visual to look at while you are drawing them. Each of the different letters have a different look to them. They may be hard to read at first, but they each have a unique look. You will make the letters bubble letters, but have an edge to the bottom and top of each of them. To practice this further, you can trace along different letters to get a feel for how the ...

In this tutorial, we learn how to make a lily out of paper and pipe cleaner. First, lay your hand flat on a piece of copy paper. Next, trace your hand with a pen or pencil, then cut it out with scissors. Now use a pencil or pen to curl the ends of the fingers you just cut out. After this, combine two pieces of gold pipe cleaner together and bend in half. Then, place a green pipe cleaner in the middle and make a twist to keep in place. To finish, wrap your paper hand cut out around the gold pi...

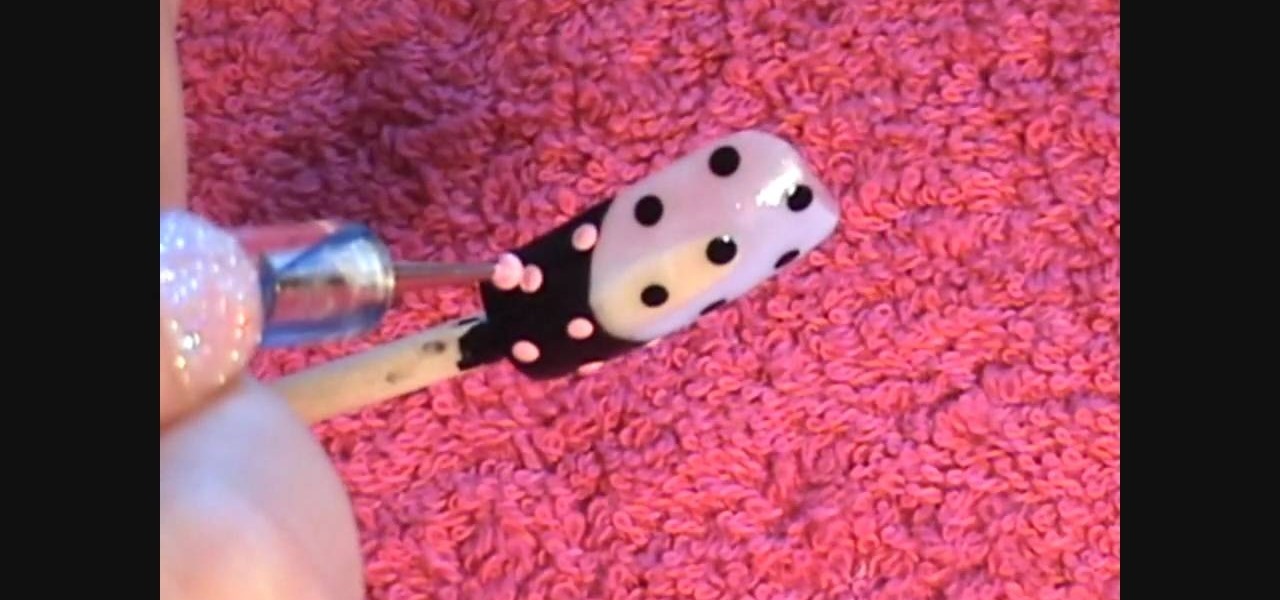
In this Beauty & Style video tutorial you will learn how to create cute polka dot acrylic nails. For this you will need acrylic paint and acrylic nails. First paint the lower part of the nail with black paint in a curved manner. Then you put three black polka dots in the unpainted area along the centerline of the nail. Now put two more black dots on either edges of the nail. Then you put light pink dots over the painted area in line with the black dots. Paint the smile line and the bow with l...

In this tutorial, we learn how to make a left-hand crochet Valentine's puffy heart. You will need: a size G crochet hook and yarn. Start by working a chain of three then forming a loop and doing a chain one. After this, work 9 single crochets through the center of the ring. Next, do 18 single crochets making the first stitch on a single crochet. Keep doing 18 single crochets around the circle you have created. After this, make one single crochet for a total of 18. The edges will start to curl...

Kandee shows us how to apply a glamorous makeup look for your wedding in this video tutorial. To begin, apply foundation to your entire face, followed by a blush on the apples of the cheeks. After this, fill in your eyebrows to the appropriate color that matches your hair. Next, you will want to apply a silver eyeshadow along the brow bone and on the entire eyelid. Next, apply eyeliner to your top and bottom lashes. Now you will apply a black eyeshadow to the outer edge of your eye and into t...

In this video tutorial, viewers learn how to perform an Ollie on a skateboard. An Ollie is a basic trick for getting off the ground and allows users to perform other tricks once learned. Place your back foot on the edge of the board's tail and front foot placed behind the front board bolts. Then pop down the tail with the back foot, bend the front foot, flick the board in midair and land on the board with both feet. This video will benefit those viewers who are interested in skateboarding, an...

This video tutorial is in the Arts & Crafts category which will show you how to fold a circular teabag paper. This is a simple process and doesn't take much time to do. First fold the circular paper in half to get a semi-circle and then fold it in half again in to a quarter. Unfold the last fold and fold one quarter back to the halfway mark. Then turn the paper over and fold the bigger side of the paper along the fold line exactly matching the edge as shown in the video. Now you get a little ...

In this tutorial, we learn how to cheat on a test with a small paper. To make this, you will need printer paper, scissors, and a stapler. To start, cut a strip of paper out of the sheet, then fold it up into a small booklet and staple it together at the top. Cut off any edges to make it fit into the palm of your hand. After this, you will have a booklet that pulls apart and you can write inside of. Write answers to tests in this, then to hide it, place it in the palm of your hand between your...

In this video tutorial, viewers learn how to make paper footballs. Begin by cutting a straight strip of paper. The wider the width, the larger the football will be. Then fold the edge into a right triangle shape and continue folding the strip in the right triangle pattern. Once you have reached the end of the strip, tear off the end at an angle and tuck it in the side of the football. This video also shows viewers how to play a game with the paper football. This video will benefit those viewe...

In this tutorial, we learn how to do hair and makeup for going out. Begin by applying your favorite foundation, along with bronzer and blush. Next, apply eyeliner to both the top and bottom lashes. After this, brush on a layer of dark eyeshadow onto your eyelid, going up to the crease. Next, use a white eyeshadow to brush on the inside crease of the eyelid. When finished with this, use a black eyeshadow on the outer edge of the eye, then blend all the colors together. To finish the makeup, ap...

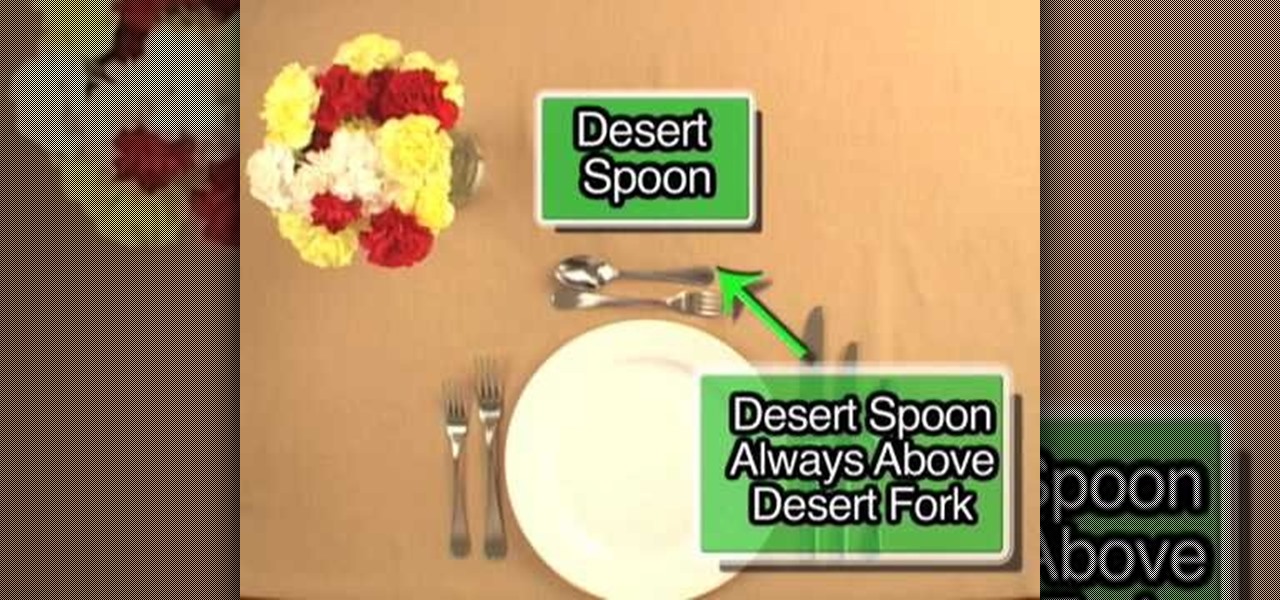
A great dinner party is great because of presentation, and you know that everything has its place on the table, but where exactly does everything go? Learn about the placement of everything, from silverware to glassware.

In this tutorial, we learn how to make a paper flower using paper scraps. To make this, you will need: 3 pieces of small pink scrap paper, 1 piece of small green scrap paper, 1/16" brad, adhesive, hole punch, ink, and a sponge. First, you will draw one different size circle on the 3 sheets of pink paper. Next, draw leaves onto the green scrap paper. Now, start tearing the shapes out of the paper leaving no pencil showing. Crumple the paper up several times, then get your ink and put it on you...

This tutorial teaches us how to touch up eyes while using Photoshop. First, open up Photoshop and zoom into the eyes on a picture you want to touch up the eyes on. First, select the adjustment layer icon and brighten the image. Next, invert the mass and select the "v" key, then pain the eyes on both sides. Next, click "filter" and then click "blur" so you will soften the edges so the picture doesn't look fake. Now, you can click on "before and after" to see what the picture results look like....

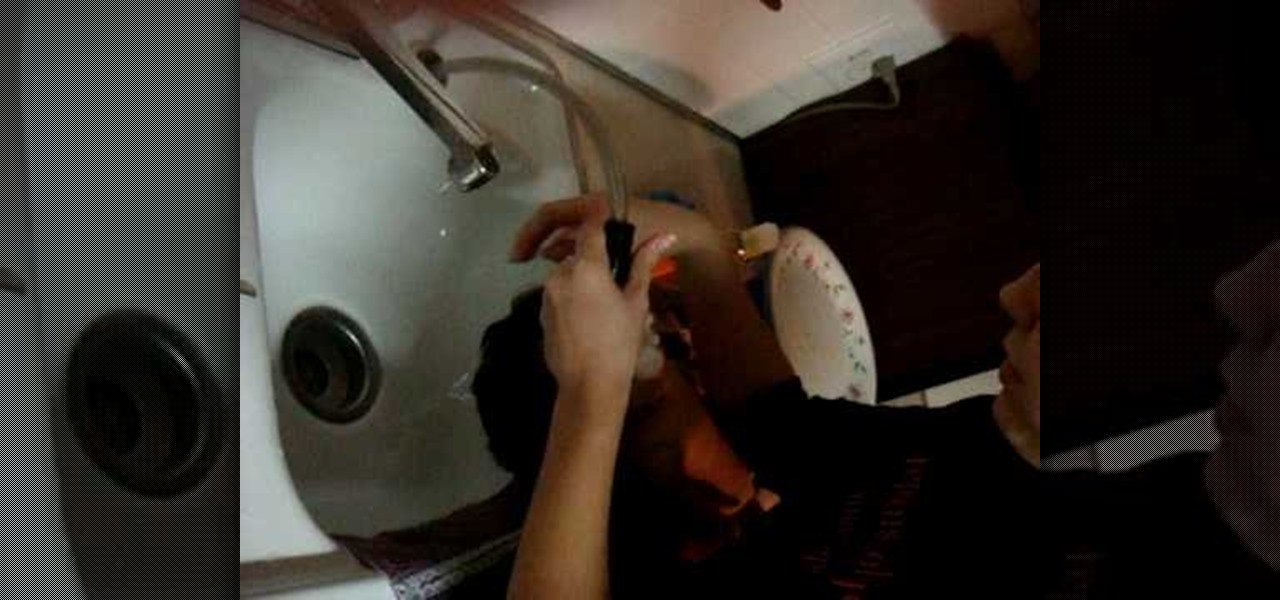
In order to wash your American Girl Doll's hair, if she has short hair, you will need the following: Scotch tape, cotton balls, a towel, and Johnson and Johnson baby shampoo or wig shampoo.

This video tutorial is in the Arts & Crafts category which will show you how to make a paper football that flies well. For this you will need a piece of paper. Fold it half way along the longer side. Open it up, flip it over and fold it again. Now tear it along the fold. Now fold it again in half along the longer side. Then take a corner that is away from the seam and fold it back along the other edge of the fold to make a triangle. Now fold the triangle back over the sheet. Keep repeating th...

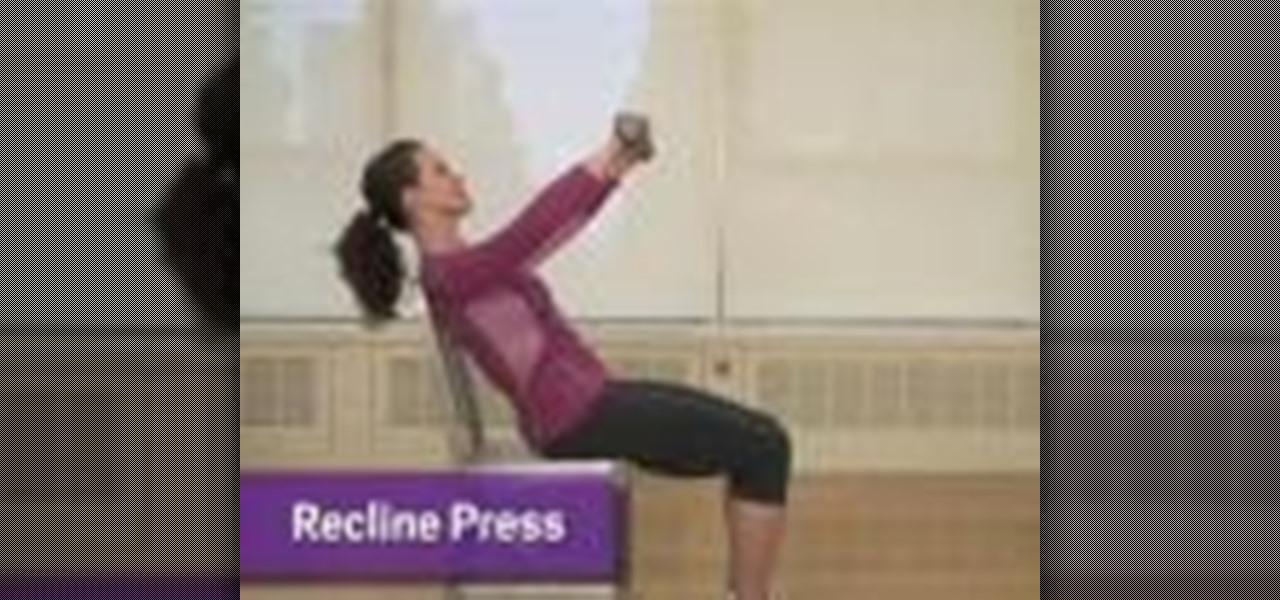
In this video, we learn how to firm your upper body while sitting down. This will tone your chest shoulders and arms. Sit on the edge of the chair with your shoulders resting against the chair back. Now, grab your weights and bend both arms pushing the elbows back. Next, straighten your arms, pushing the weights up and forward on a diagonal. Slowly, lower your arms back to the starting position and continue to do this for as many counts as you can. To do the raised blank, place your forearms ...

In this video tutorial, viewers learn how to make a sawed0off shotgun. The materials required for this project are: hot glue gun, duct tape, cardboard, utility knife, black marker, spray paint and 2 paper towel rolls. Begin by tracing a shotgun outline onto the cardboard. Make 6 layers and glue all the layers together. Then smooth the edges with sandpaper and tape the outside with some duct tape. Now tape the 2 paper towel rolls together and tape it on top of the shotgun. Finish by painting t...

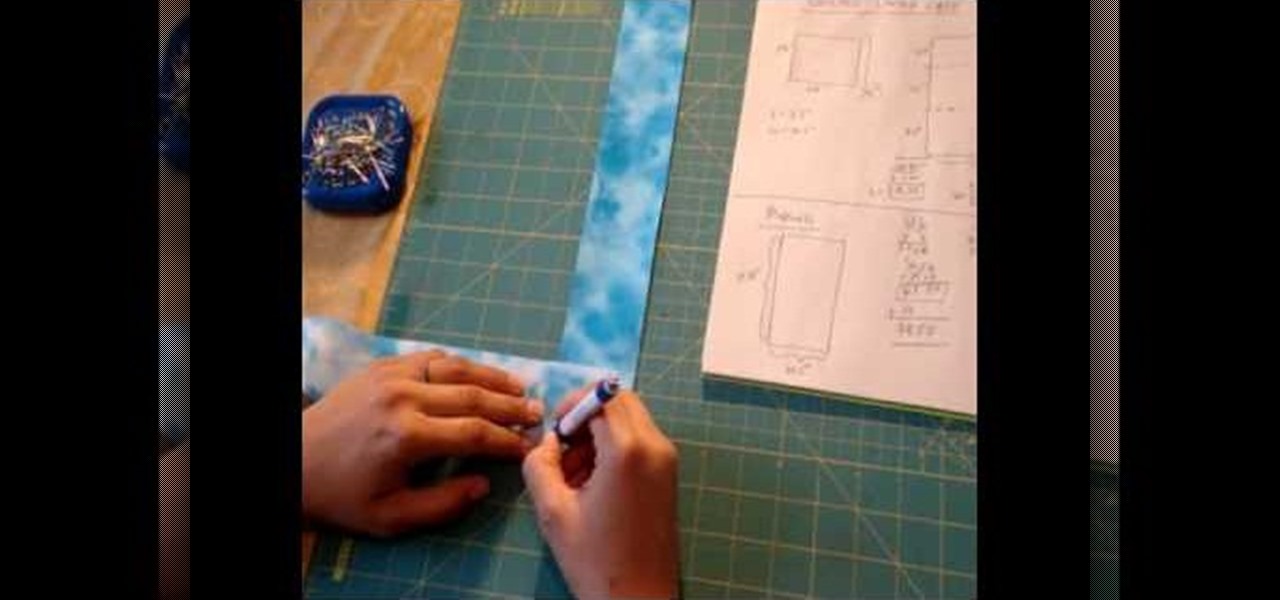
Are you completely done with your first quilt except for the raw hems on the sides? You could just sew the hems shut with a whipstitch, but if you want to add a little more ornateness and decadence to your quilt then you should watch this video to see how to add binding.

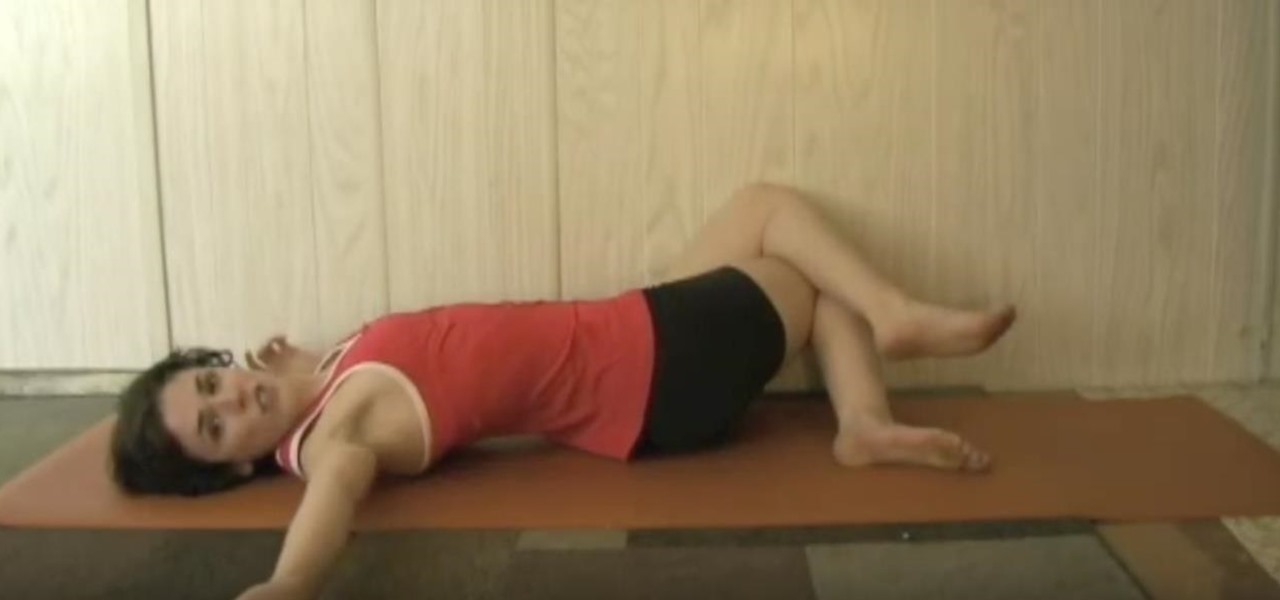
Doing a low back relief exercise can make your body feel more relaxed, and stretch out your muscles. First, lay down on your back with your arms at a T, and cross your right leg over your left. Deep inhale and when you exhale, let your knees drop to your right. As you are doing this, turn your left pinky finger to the wall behind you. When you inhale, go back to your regular position. The left shoulder should stay down and the outer edge of the left foot should go up to the ceiling. Keep repe...

In this tutorial, we learn how to make tough meat tender. To do this, you will need: a frying pan, salt, pepper, soy sauce, pork, and a slow cooker. You will want to first season your pork with the salt, pepper, and soy sauce. Next, brown your meat on all sides in the pan until it has a crispy brown edge and then place the pork into a slow cooker with no water and leave on high. Leave the pork in the slow cooker for 4 hours, then when it's finished, the pork will be fall of the bone tender, a...

In this video, we learn how to cut a piece of glass with scissors, water, and a lighter. First, you will need to grab a lighter and place it under the piece of glass that you want to cut to heat it up. Next, you will place your piece of glass into a sink full of water and cut your desired piece. Make sure to cut carefully, as you can get hurt very easily when dealing with sharp edges of glass. Make sure you are keeping the piece of glass you are using completely submerged in the water, along ...

In this video tutorial, viewers learn how to paint sand. Users will need a palette knife and paint brush. The colors needed for the sand are: iron oxide, pure white, burnt umber and burnt salmon. Collect all 4 colors on the palette knife and apply it lightly onto the canvas. If it is too dark, add some more white paint. Then use a paint brush to smooth out the edges and blend the sand together. This video will benefit those viewers who are interested in art and painting, and would like to lea...

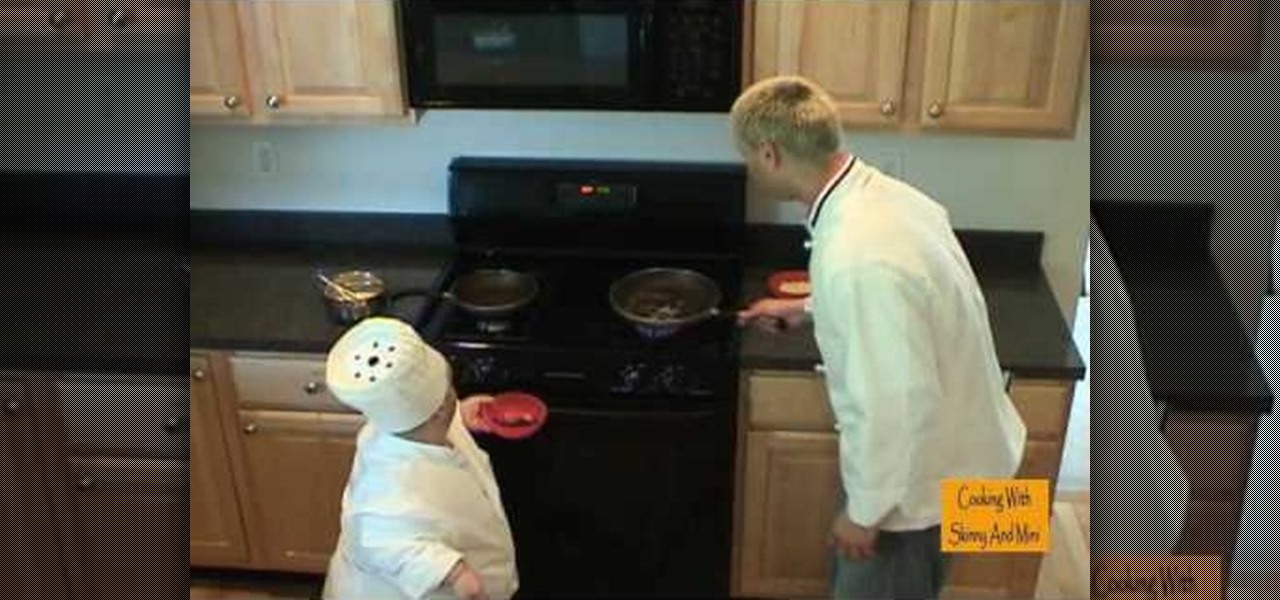
In this tutorial, Skinny and Mini teach us how to make beef jerky omelettes. The ingredients you will need are: 2 tablespoon finely chopped beef jerky, 3 eggs, 1 tablespoon butter, and 1 handful of shredded mozzarella. First, you will heat up your pan over medium heat and let the butter melt inside the pan. Next, sautŽ your finely chopped beef jerky inside of the butter until it's hot. After this, add in your eggs and cook on high until you can scrape the edges and the egg, then add in your m...

Secure a square-shaped piece of paper preferably six inches long on both sides. Cut the square paper into two equal halves. Fold one piece longitudinally right at the middle. Open the fold and refold it horizontally, on the shorter side. Refold the longitudinal crease you made earlier. Then, fold both sides diagonally but facing opposite each other.

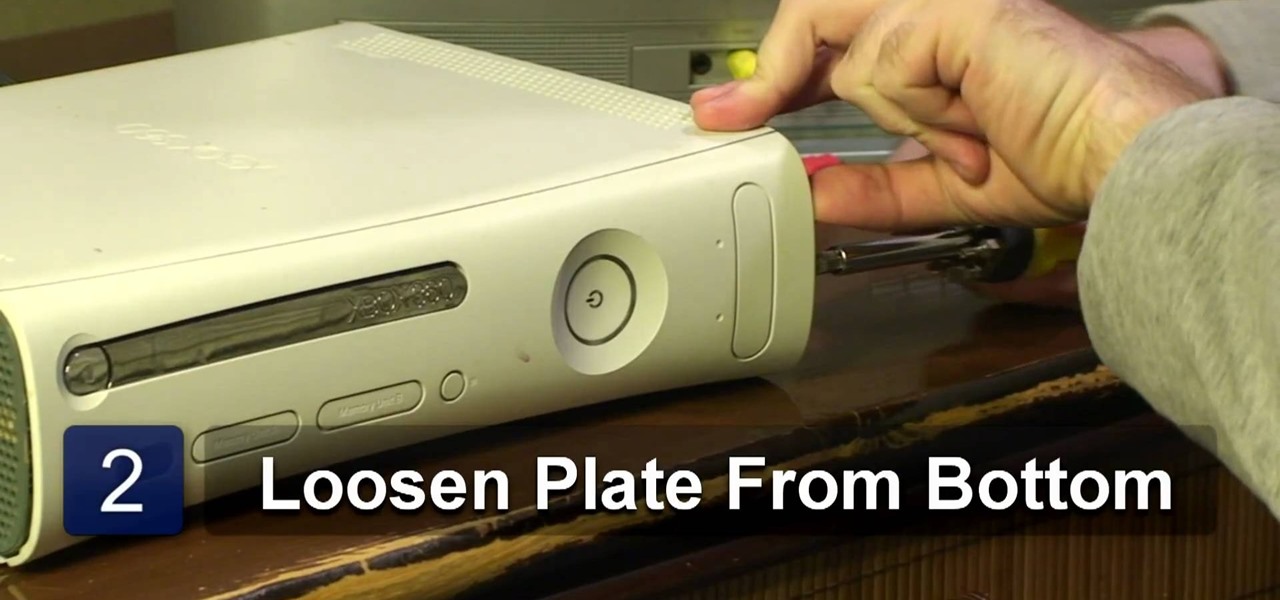
In this video tutorial, viewers learn how to remove an X-Box 360 faceplate. Users will need a screwdriver for this process. Begin by laying the system down to ensure that the console will be balanced, and not fall when removing the faceplate. Then loosen the bottom of the plate with the screwdriver. Once the plate is loosened, grab the edges of the plate and pull it off. Now carefully align the replacement faceplate to the console, and press it on until you here a snap. This video will benefi...

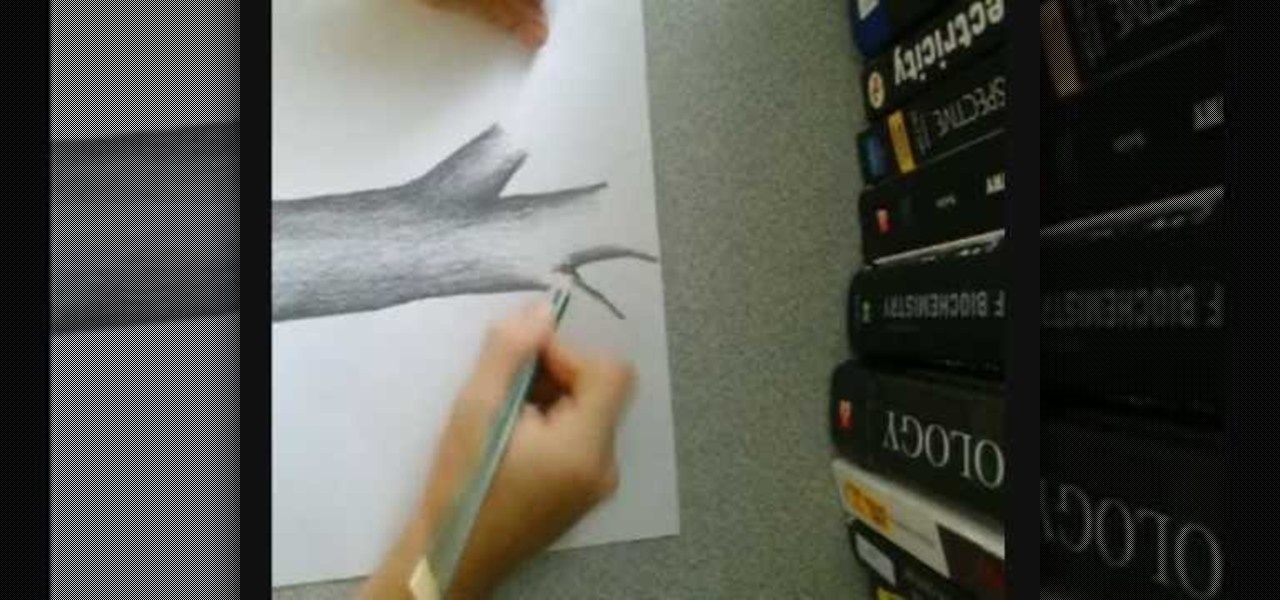
This video demonstrates how this artist draws a tree using a pencil and paper. After creating the outline of your tree trunk, darken the line and add shading as necessary throughout the tree to add dimension to your drawing. The darker shading is focused on the outside edges of the trunk, lightening as you go towards the center of the trunk. Sharpen your pencil as necessary, since it is easier to add detail to your tree with a sharp pencil. Add further branches to your initial trunk and creat...

In this video tutorial, viewers learn how to fold a pocket square into the winged puff and rolled puff. For the winged puff, begin by folding the pocket square diagonally in half to form a isosceles triangle. Then fold the two edges towards the middle to form a diamond shape. Now fold the two outer points into the center and fold the bottom flap up, creating a pentagon shape. For the rolled puff, cup the pocket square in one hand, then roll the top of the pocket square downwards with the othe...

In this tutorial, we learn how to do a firefly yoga pose with Dina Priost. Place a folded up blanket under your hands to provide support if you have tight wrists. Begin with arm pressure pose, squat on your blanket so it's behind your feet. Take your arms through your legs and place the hands down on the blanket so they are on the edge. Move your thighs up as high as you can and lean back while bringing the fee forward. Now, pick your feet up off the floor while deep breathing. Now, bring the...

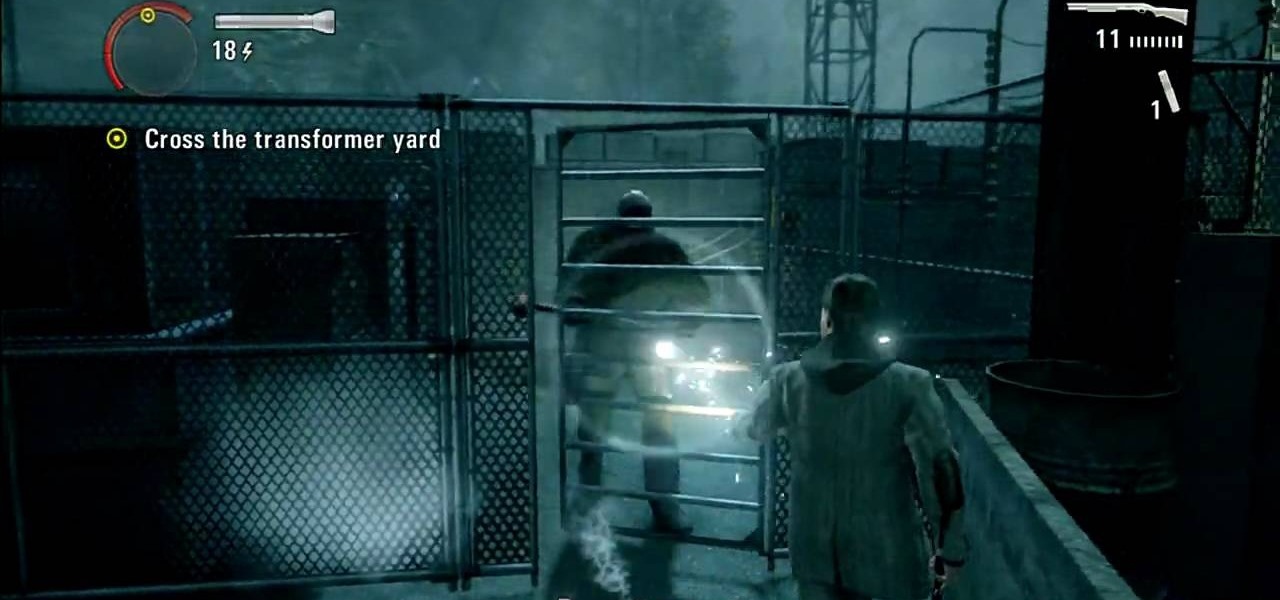
With the release of Alan Wake, gamers were introduced to something they may have never seen before. This game is considered a full blown thriller that is sure to keep anyone on the edge of their seat. In this helpful tutorial from the awesome people at IGN, you'll find out how to fight the baddies in the game using some helpful tips. These tips and tricks will help boost your flashlight, flare placement, and dodging techniques. So check it out if you value your fictional life. Enjoy!

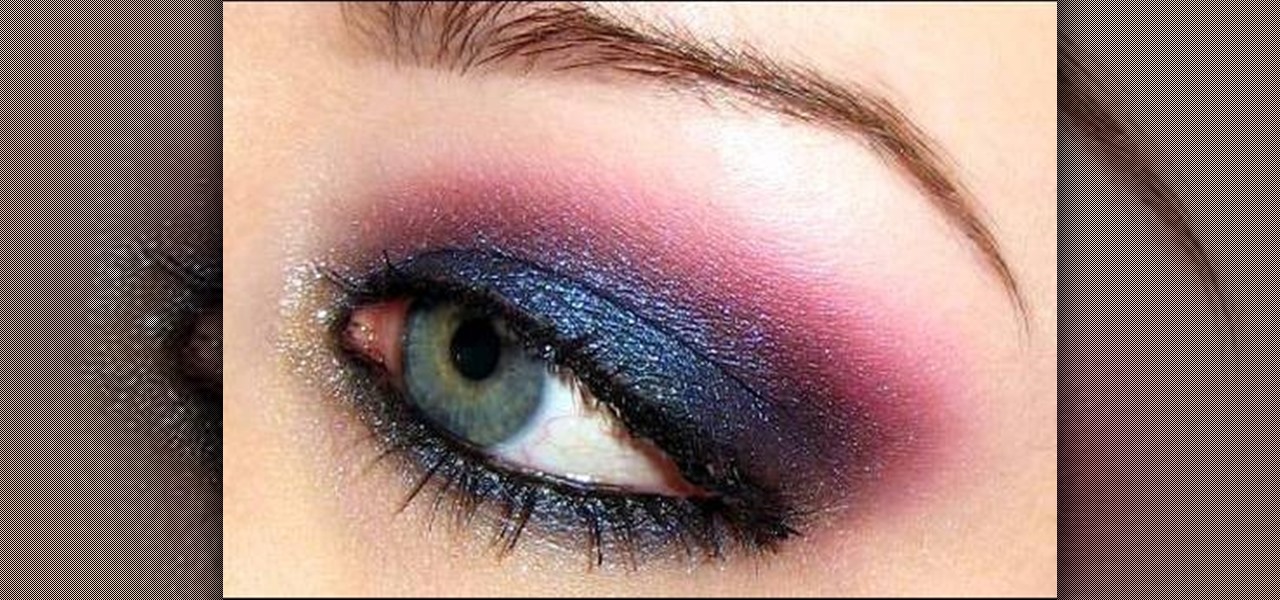
Live on the edge and kick up your beauty routine a notch to create a look that will drive your parents crazy! Create an edgy, rock 'n' roll makeup look with help from this makeup tutorial hosted by Goldie Starling. Stop hiding behind a boring and safe makeup routine and take your face to a brand new level! Products used to complete this look include the following:

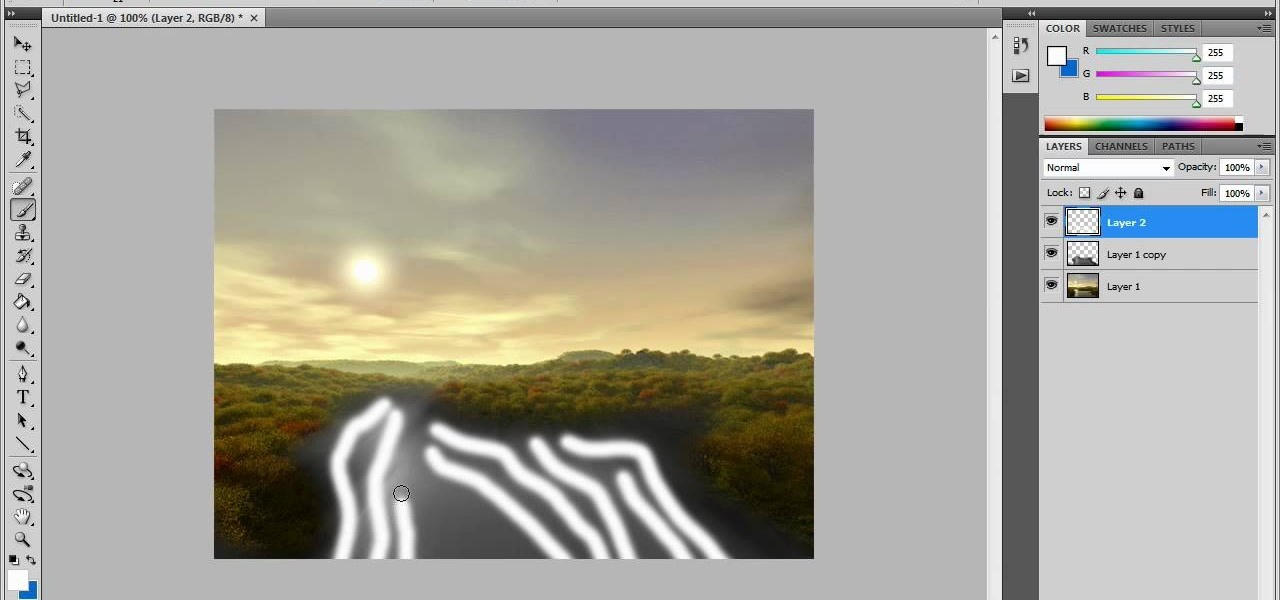
In this video tutorial, viewers learn how to create fog using Adobe Photoshop. Begin by importing the image into the program and duplicate the image. Now go to Filter, select Blur and select Radial Blur. Set the amount to 100, Blur Method to Zoom and Quality to Best. Now select the rectangular marking tool and select the sky. Then open the Hue/Saturation menu and set the Saturation to -100. Use the eraser tool to remove the gray from the edges. Now use the paint tool and paint white streaks o...


