Want to make your digital footage look a little less ... well, digital? Color grade it for a classic film look. Whether you're new to Apple's Final Cut Pro non-linear video editor or just want to better acquaint yourself with the Final Cut Pro 6 workflow, you're sure to benefit from this free video tutorial. For specifics, including a step-by-step overview of the grading process, watch this Final Cut Pro lesson.
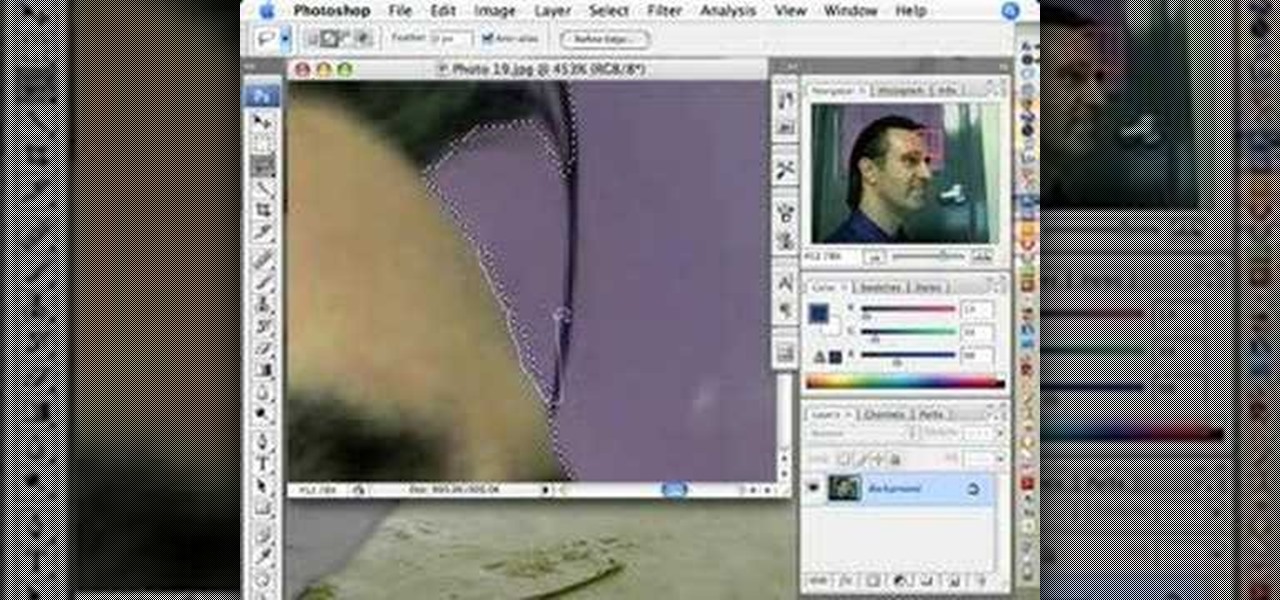
Getting the perfect shot is difficult, so when you finally get that perfect picture of yourself, you want to enhance it as much as possible. But if this perfect picture took place in a humdrum location like the bathroom or your living room and you want to glorify your face even more by surrounding it with, say, an island paradise, you can transplant your head (and body) using Photoshop.

The Fennec Fox is a beautiful animal native to Northern Africa. This video art tutorial from Drawing Now demonstrates how draw a cartoony, adorable little example of on yourself. Here are the artist's instructions:

Warrior Cats is a series of children's novels featuring, you guessed it, warrior cats. This art tutorial from Drawing Now teaches you how to draw one of the cats from the stories. Here are some instructions from the artist:

Drawing Japanese schoolgirls is one of the staples of manga-style art. Here, the drawing instructors at Drawing Now demonstrate how to draw Konata, one such character from teh manga series Lucky Star. Here are step-by-step instructions from the artist:
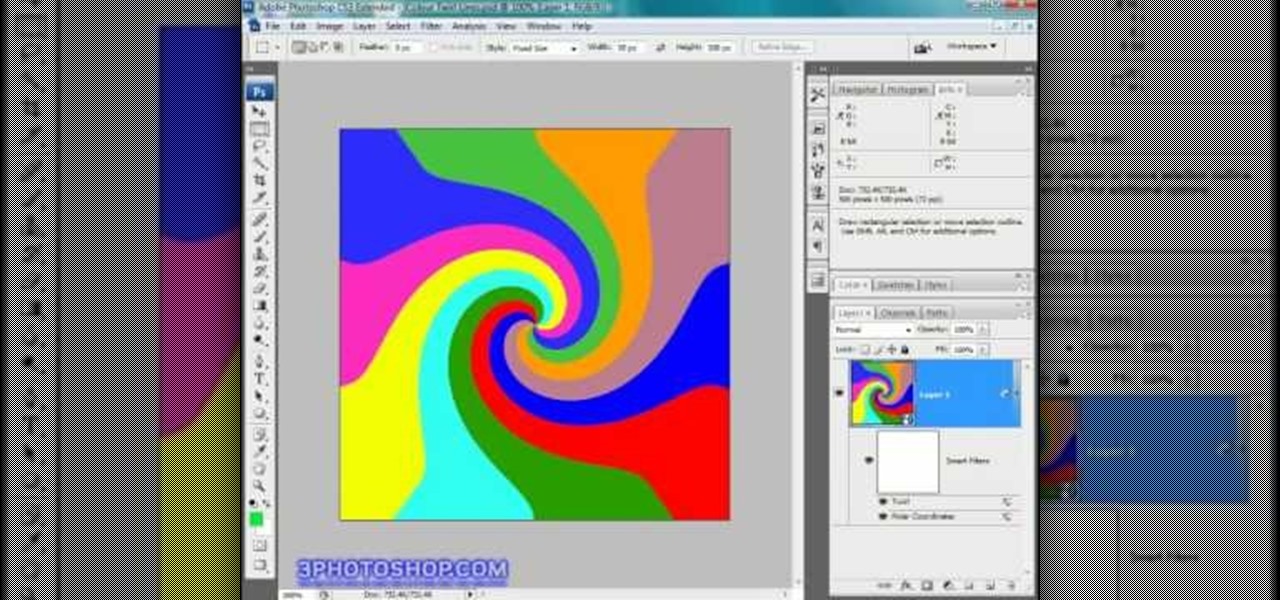
You can create such beautiful, creative pieces of work using Photoshop the only way to do so is by using your imagination. With it, you can use various tips and tricks to create pieces that would make most people go, "wow." This is one of those tutorials. In this video, you'll find out how to create a cool color twirl effect using this excellent piece of software. It's easy to do and once mastered can be used to make all sorts of designs. Enjoy!

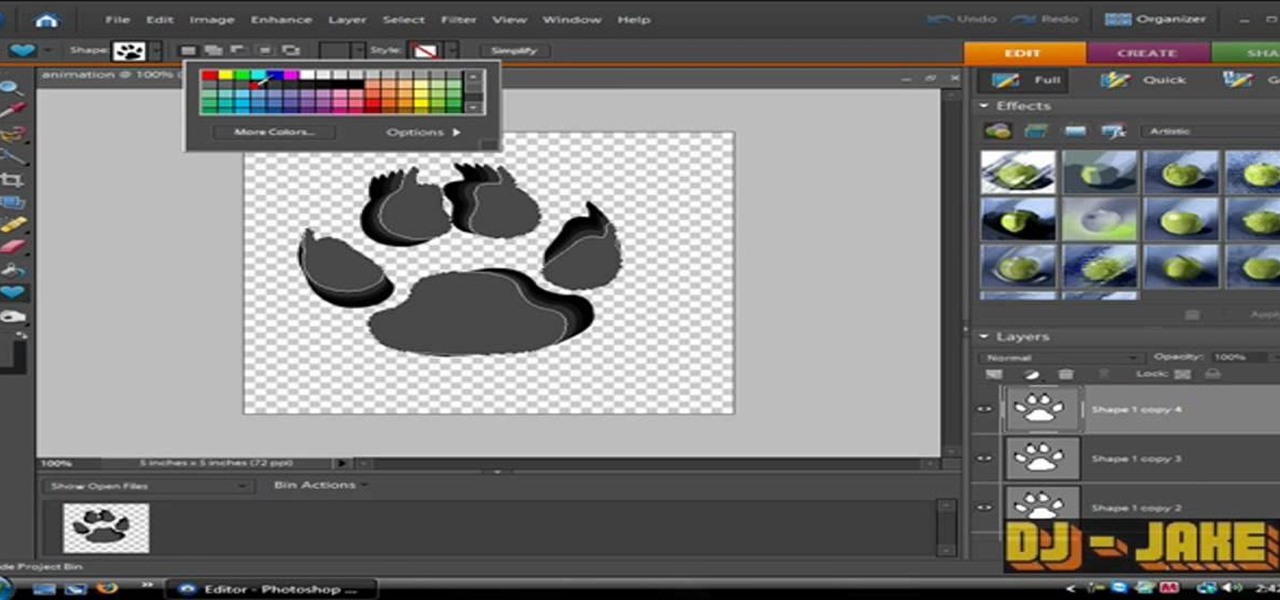
An animated GIF is a great addition to any website. By animating your image, you will draw someone's eye to it almost immediately. This is especially useful if you are creating an advertisement or a logo.
They say blondes have more fun, so why not go as blonde as possible? In this tutorial, learn how to use bleach to create a white blonde look, no matter what color your original hair is. If you are ready for this dramatic change, this tutorial is here to show you how to use the bleach, step by step, so that you safely dye your hair without burning yourself or ruining your locks. This process will strip all of the color from your tresses, so make sure you are ready for it before you start.
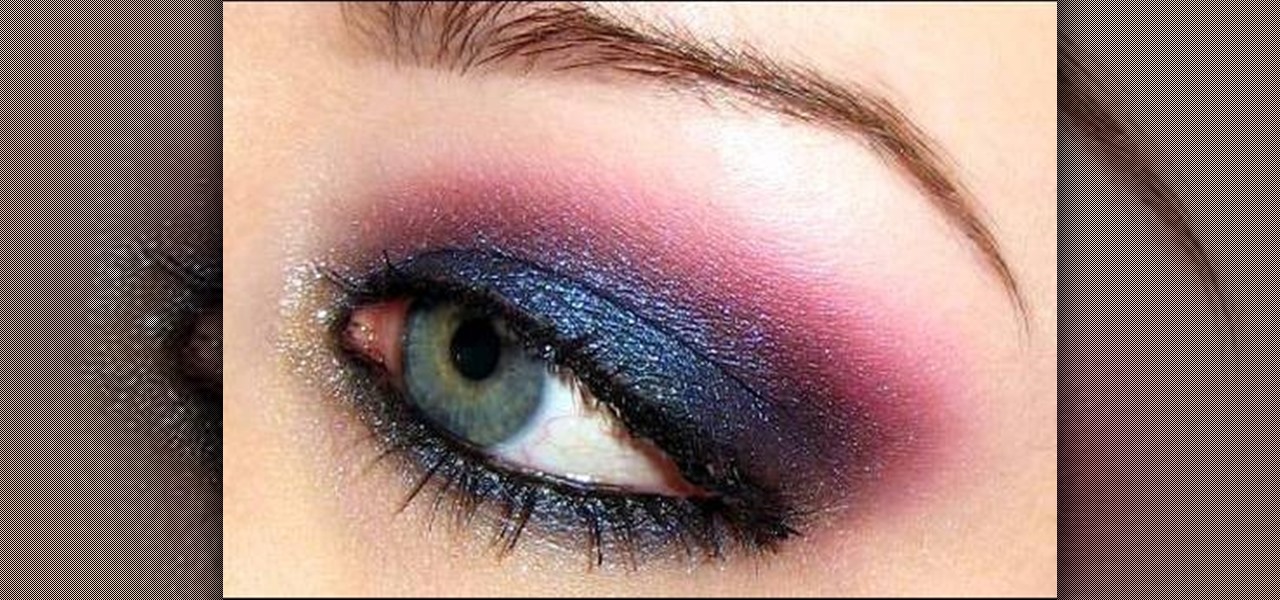
Live on the edge and kick up your beauty routine a notch to create a look that will drive your parents crazy! Create an edgy, rock 'n' roll makeup look with help from this makeup tutorial hosted by Goldie Starling. Stop hiding behind a boring and safe makeup routine and take your face to a brand new level! Products used to complete this look include the following:
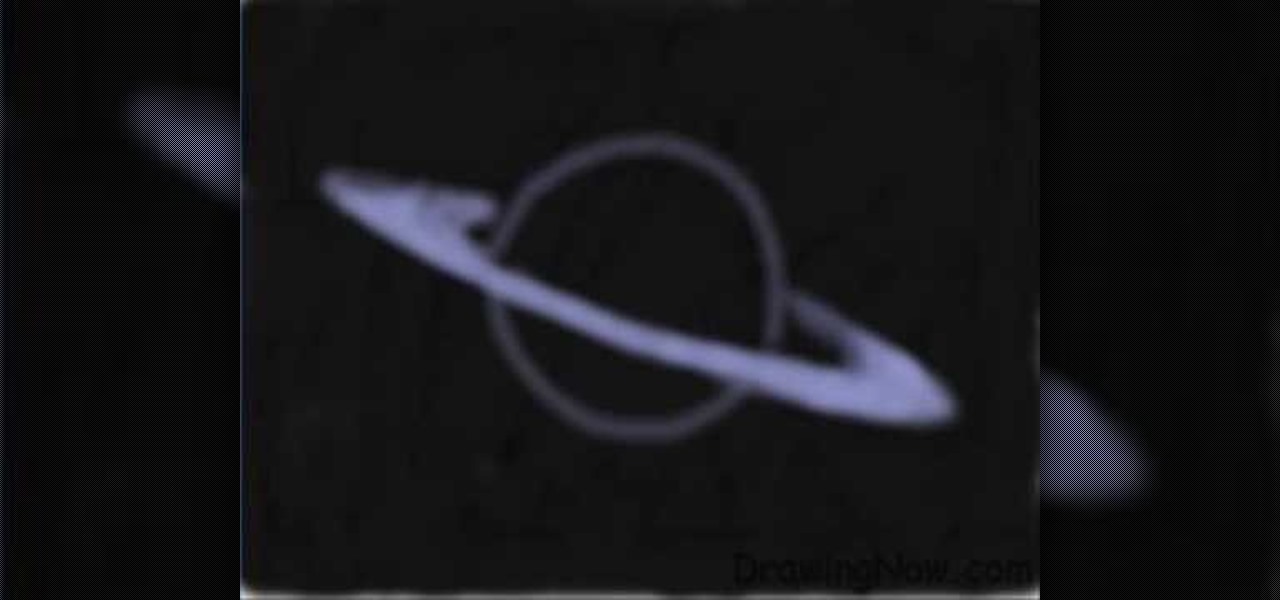
In this how-to video, you will learn how to create a drawing of Saturn. First, fill in the area with black to create space. Next, create a circle and a ring around it. This will be the basis of the planet. Go into the ring by filling it in with more color. Now, fill in the planet with the darker shades. Once this is complete, you can fill in the planet with the striped colors. You must do the same with the ring. Finally, go back into the planet and do some fine tuning. Once this is done, the ...
Dressing a plus-sized shape can seem difficult. However, if you dress correctly for your body type, you can easily look stunning! Make sure that you determine your body type, which is all about the proportions of your body.
In this how-to video, you will learn how to draw a human skull. First, start off with the main outline of the skull. From here, add the eye and nose sockets. Next, redo the outline of the skull to give it more texture. You can do the same for the holes. From here, add the teeth and the jaw lines of the skull. You can start adding in details such as the shading of the sockets and the jaw. Erase the old outlines to fine tune the skull. You can also add details such as cracks and texture marks. ...
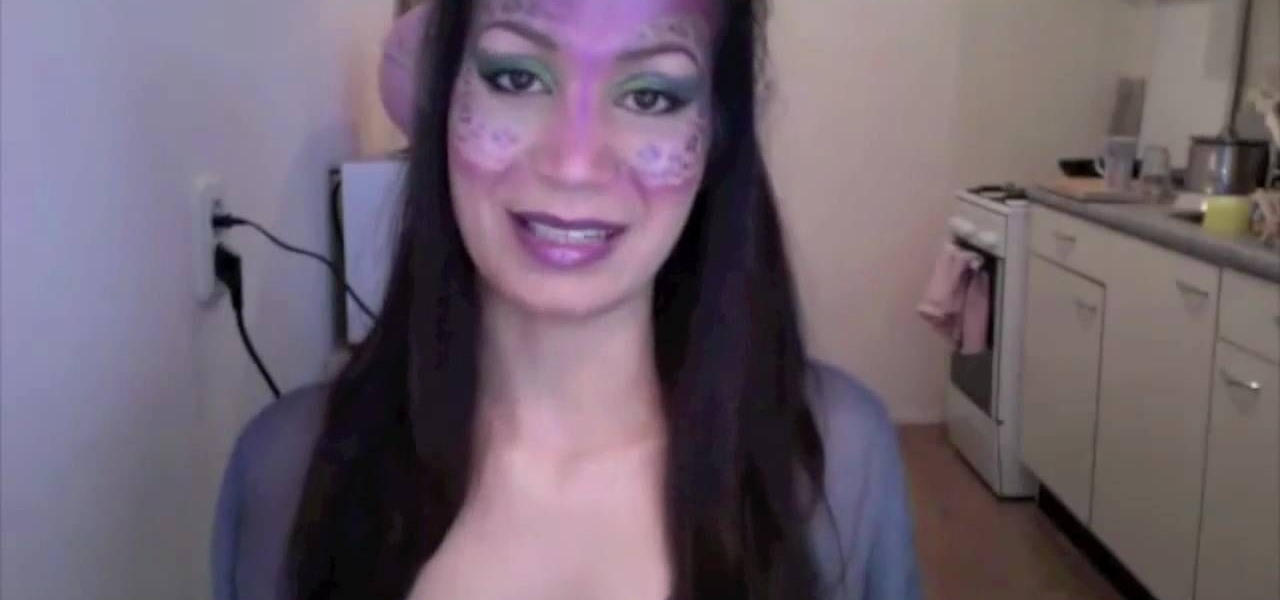
This video demonstrates how to create a fancy elf look using simple makeup techniques. This look is complimented by a pair of elf ears that can be purchased on the web. To get this look you should colors that are inspired by nature such as deep purples and greens. To create the design, use paper coasters that will provide the stencil for your look. First, lightly apply moss green eyeshadow pencil as a base on the cheek bone, on the temple, and above the eyebrow. Use your finger to blend the p...
Open the picture you want to edit. Right-click on the main picture layer in the box and then select "Duplicate Layer". Then, in the same box, go to the drop-down menu that says normal, and change it to "Overlay". Then, select Filter>Other>High Pass. In the box that comes up, set the radius to 7.4 pixels. Next, go to Layer>New Adjustment Layer>Gradient Map. Then, when the box comes up, click OK. Then click on the main gradient in the Gradient Map. In the new box, there is a bar that goes from ...
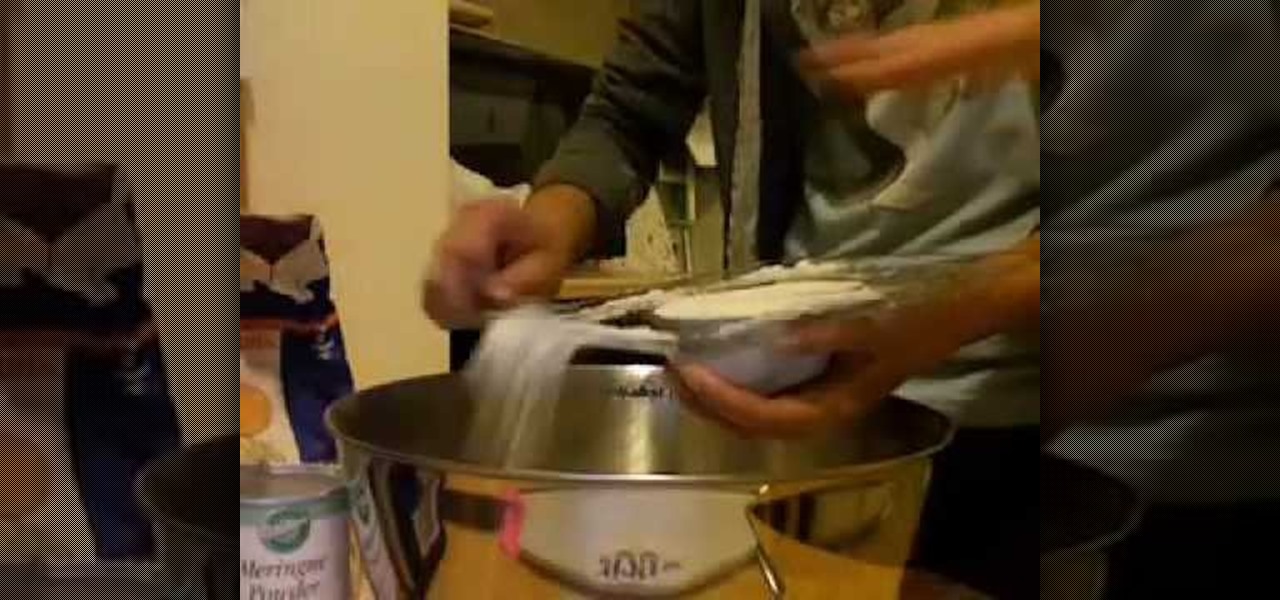
Michelina shows how to make Mexican Skulls with Sugar. You'll need a plastic skull mold, sugar, Meringue Powder, water, paste or powder food coloring, and powdered sugar. Add ingredients which would be 3 teaspoons meringur powder and r teaspoons water. Step Two: Mix ingredients. using your hands, make sure ingredients are well blended. Step Three: Fill your molds. Step Four: You'll need to wipe off the excess sugar. Make sure the top is smooth. Step Five: Flip your skulls over on a cut out pa...
In this video, we learn how to cover up dark circles and blemishes using foundation. Start off by applying an eye cream underneath your eyes, which will make a base and remove puffy-ness. Next, you will need to apply your favorite concealer in your color over where you applied your eye cream. Go ahead and apply this foundation wherever you have blemishes, using a makeup tool. Now grab your favorite foundation and brush, and brush the foundation on your face making an even coat to cover and re...
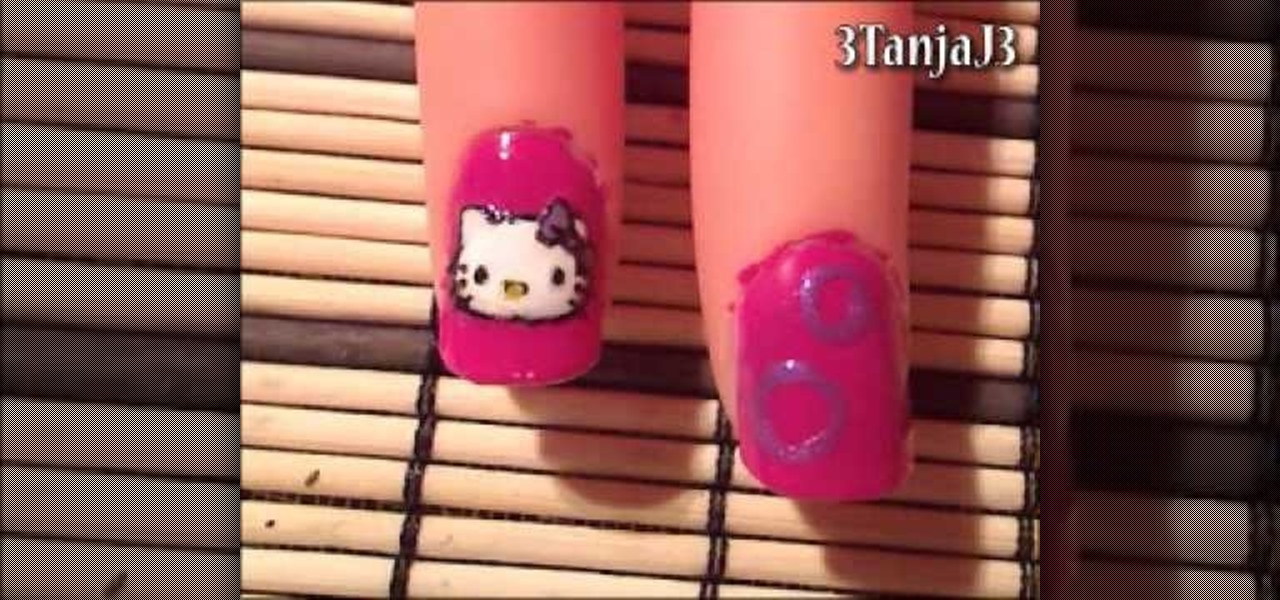
This video illustrates us how to paint Hello Kitty on your nails. here are the following steps: Step 1: First of all collect all your requirements in one place that is nail paint in various colors ,nail art pen, primer, and toothpick.
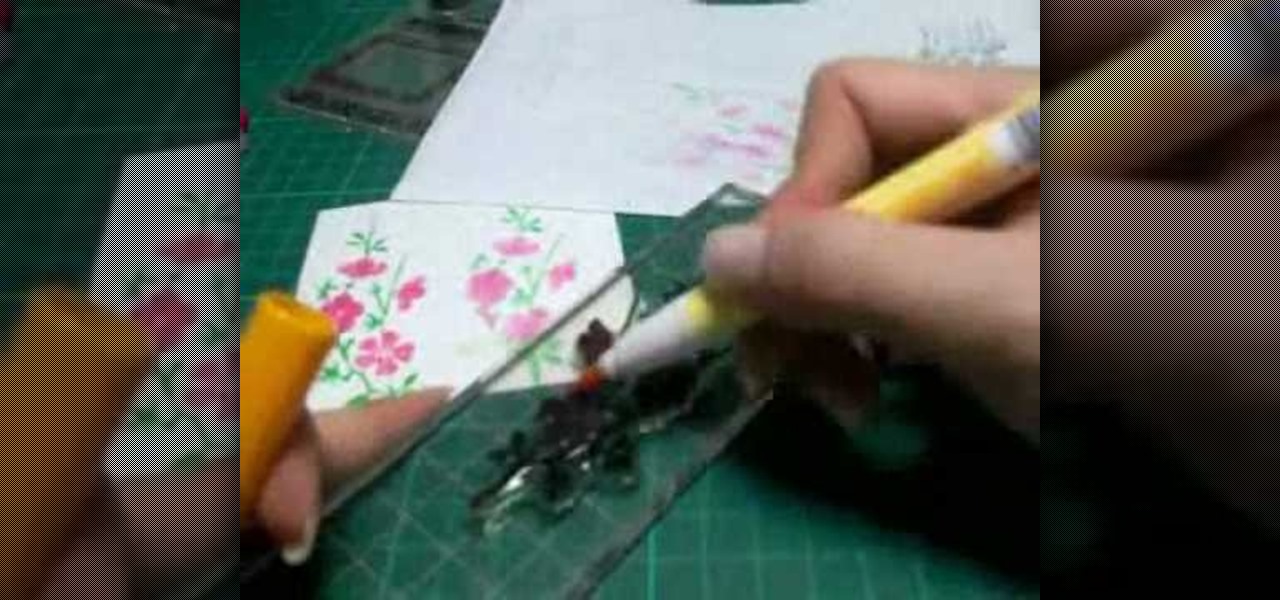
In this Arts & Crafts video tutorial you will learn how to use markers & water to create a watercolor stamp look. You can use rubber and acrylic stamp for this. You will need water based markers, minimister and card stock. Select you stamp and color it with markers as you would do in a painting. For example, you can color the leaves green and flowers red. You can also apply different shades. Then spray water with the minimister and stamp the image. Just stamp and lift, don't keep it too long ...
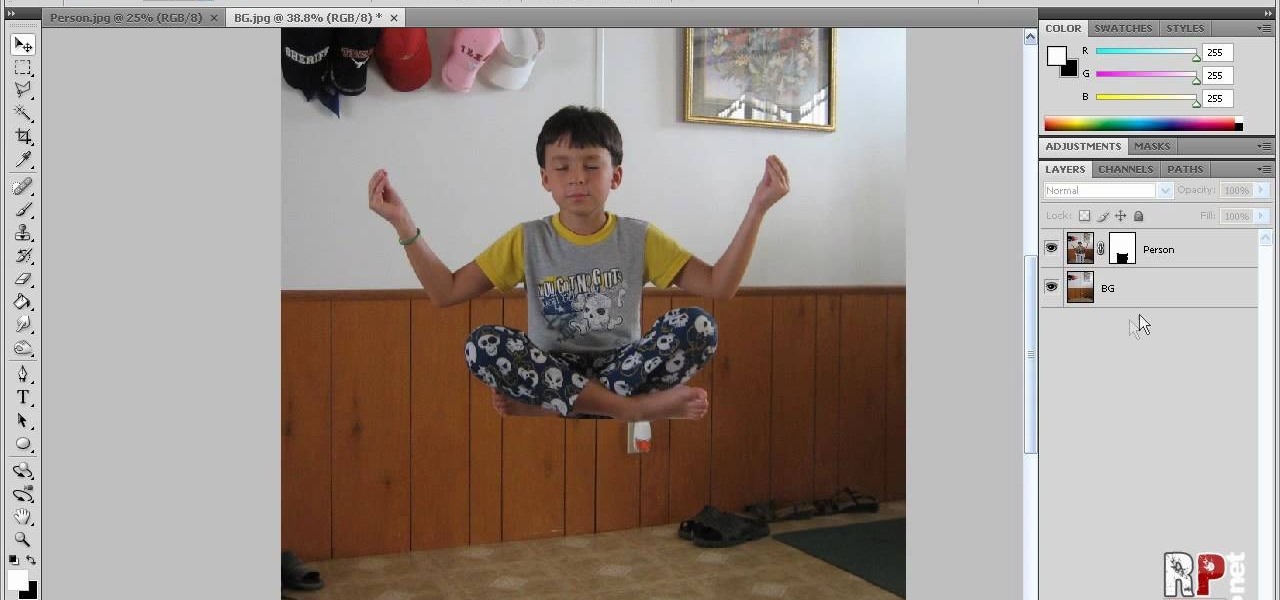
This video tells us the method to perform a simple levitation trick using Photoshop. Take the photo of the background and the person sitting on some object posing as if he or she is levitating. Select the 'Move Tool' and hold the 'Shift' key down. Drag the picture on to the background and release the shift key. Select the layer containing the person and go to the mask tool. Select the foreground color to black. Go to brush tool and set the 'Master Diameter' to 70 pixels and the 'Hardness' to ...
In this recipe, we learn how to make red velvet cake at home. YOu will need: 2 1/2 c flour, 2 pans (coated with Crisco, flour and wax paper), 1 1/2 c sugar, 1 tsp baking soda, 1 tsp falt, 3 tsp cocoa powder, 1 1/2 c vegetable oil, 1 c buttermilk, 2 large eggs, 2 tbsp red food coloring, 1 tsp white vinegar, 1 tsp vanilla and cream cheese frosting. First, preheat your oven to 350 degrees and prepare your pans. Next, in a mixing bowl add together flour, sugar, salt, baking soda and cocoa powder....
In this video Dr. Carlson demonstrates the properties of light. Light is like a wave and it is also like a particle, which means that it comes in small packets. To demonstrate how we know that light behaves like packets of energy, he uses LED’s in different colors and a sheet of phosphorescent paper. When light with a high enough energy shines on the paper it will cause the paper to glow.
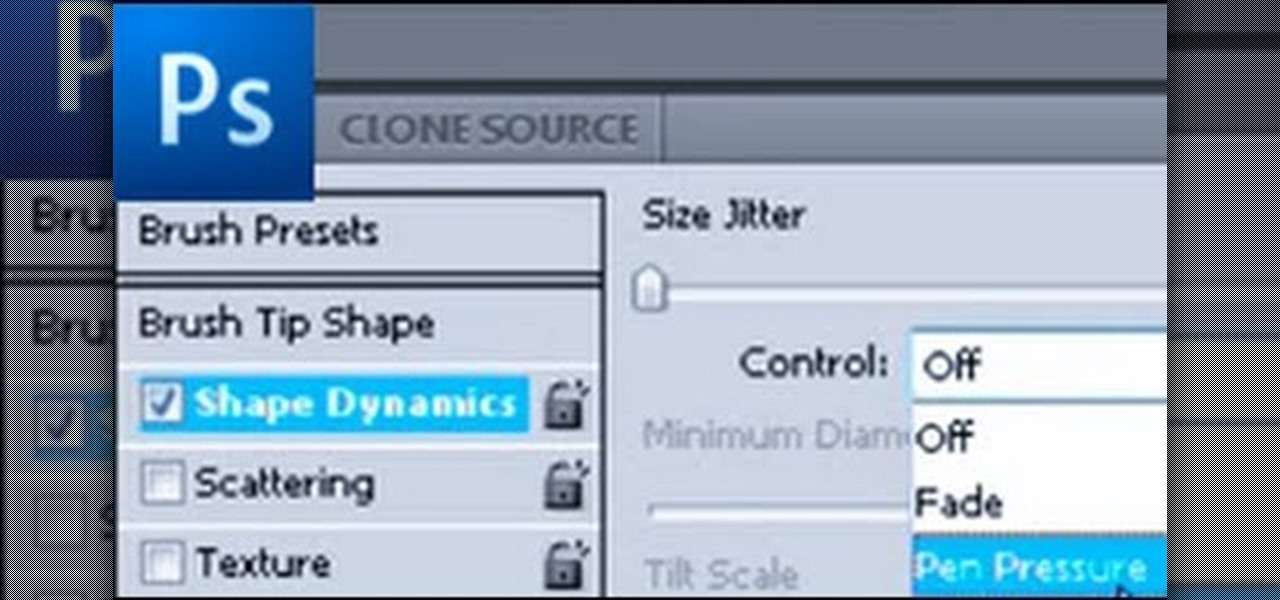
In this brief instructional video sponsored by River City Graphics, the host teaches you how to use the Whack-em Bamboo drawing tablet with Adobe Photoshop software. He begins by showing you how to change your pen's pressure, allowing you to get a thicker or thinner line depending on how how you push down on your pen. He also shows you how to change the color and make your pen give your project a beautiful color gradation, also depending on the pressure you apply to your pen. This video is ve...
In this how to video, you will learn how draw a '56 Chevy truck with flames. First, draw the outline of the car. Next, go into it with the windshield and driver side window. Next, draw the two wheels on the side. Also draw the lines for the fenders of the car. Add in the grill and head lights of the car in the front. Finish the basic outline with the vents on the hood of the car and the details of the back of the truck. Next, draw the flames in with a red marker. Outline the flames with a yel...
This video is a tutorial on creating an Icon Logo in Photoshop Cs4. Go to File and open a new document. In the Layer option, set up a new layer and give it a name. Using the pen tool, create a shape for your logo, it can be anything you like. When you have the shape you want, right click and select Make Selection. Now you can fill the shape with a color. Press ctrl+U for the Hue/Saturation option to get the exact color that you want.
First, open the Excel worksheet you have previously created that you would like to create a table for. Click on any of the cell that contains data for your table. On the menu found on the upper portion of the application, go to the Insert Tab. Find and click Table. Your entire worksheet will now be selected. When a prompt window appears, click OK. Your table should now be created automatically.
First of all you have to arrange for materials like ink blending tool, ink blending foam, some tags to be used as practice surface and a distress ink pad. The tutor advises that you must not use a blending tool like a stamp and never make a lot of impressions using it on any surface. Instead of stamping the ink on the surface like a stamp you have to be careful while using it. Use a blending tool in such a way that the whole ink goes slowly onto the tag. Start by working the blending tool on ...
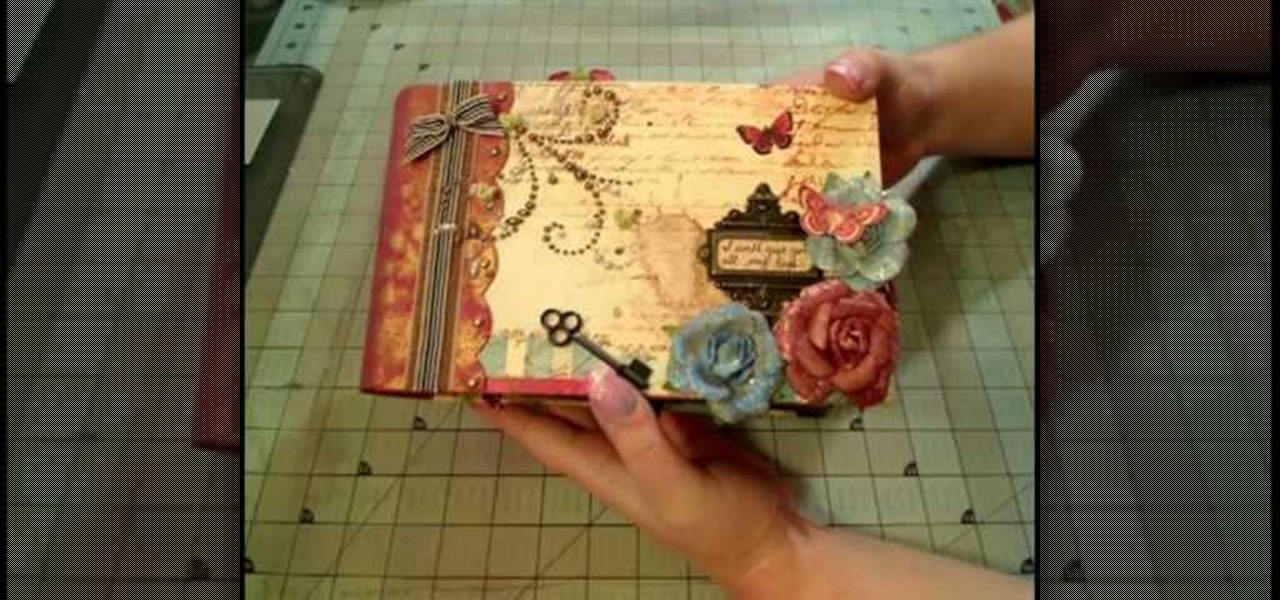
How to make a Prima "Pastiche" Paperbag Album. The demostrator shows us how to make a Prima "Pastiche" Paperbag album. Take a french paper, apply fix some pearls, old keys, artificial flowers, key mantle, all this for the back cover of the album.
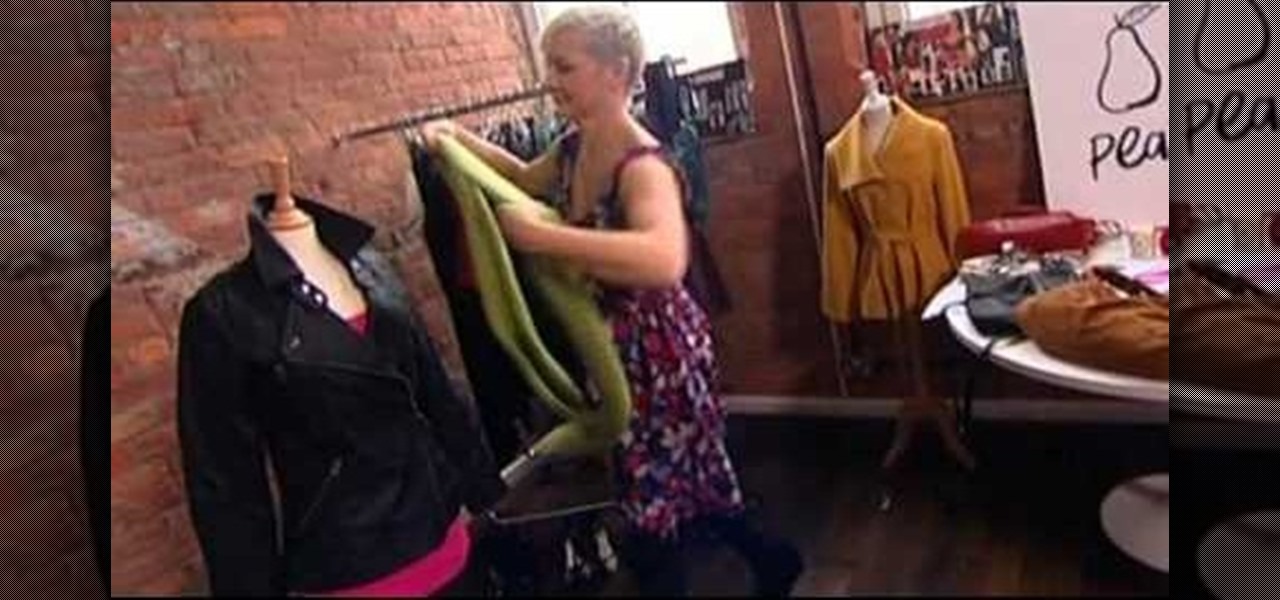
Being pear shaped means your body is smaller on top and bigger around the hips. While this can seem like a difficult body type to dress, a few tips can make a pear-shaped woman look amazing. For example, start with a bright top that calls attention to your bust. Add more volume on top with layers, such as a leather jacket. Add another brightly colored scarf to draw the eye towards your face. You've created a tough chic look very quickly!
This is a video about creating a logo using adobe illustrator. First go to adobe illustrator and open the new document. Next if you want to make a logo in rectangular shape take the rectangular and drag it over in the new document. Next choose a color and fill it in the rectangular. Next go for new layer and click the button. Next insert the text what you want in that rectangular. Next increase the text size how much you want. Next if you want to change the color in between the text select th...
Janice Cox shows how to make fizzing bath bombs like the ones you see in bath and beauty boutiques or department stores. These bath bombs can be very relaxing when dropped into a warm bath and can be given as gifts. She starts with about a cup of citric acid crystals which is also called powdered vitamin C or ascorbic acid. Citric acid can be purchased in places that sell wine and beer making equipment and online. The next ingredients come from right out of the kitchen cupboard: a cup of baki...
In this how to video, you will learn how to airbrush your Xbox with a Halo 3 design. First, take apart your console. Next, wrap the bottom half with paper to mask it. Next, spray the exposed are with white. Mask the bottom half area again, leaving more unpainted areas exposed. Spray paint and repeat one more time. Next, go over the console with yellow paint. Next, print out an image of Master Chief. Cut it out and then take the outside area to use as a mask on the console. Spray paint accordi...
Make your video look like a Hollywood film in 3 simple steps
In this how to video, you will learn how to work with standard materials in 3D Studio Max. The material editor is found by clicking the multicolored button to the right. You can see sample spheres where you can see examples of materials. Below, you can see surface properties such as shaders and ambient colors. You can select the type of material to be applied here. You can select the standard material to get familiar with it. First, decide the shaders. Blend is the default shader, although th...
She shows us how to apply the rainbow brite french tip by first applying a white tip. You should let the paint dry. Next you should do you first thin stripe in pink. After you finish pink you should do orange and then yellow. The last thin lines of color to apply is green, blue, and purple. She recomends doing two coats of paint for brighter result. After all the polish has dried you should apply a top coat. When it has dried get your silver polish and draw a thin line under the color lines. ...
This video describes how to illistrate simple reflection and shadow tutorial using Adobe. The first thing you want to do is to get the image you are going to be working with, touch up the colors. Make sure the logo is cleaned up, and ready to use. Make it more useable by making it 140x25 cm. Make a copy of your imag, flip it upside down, make sure it is pretty close to the base of the other one. This will look like the first one has a reflection right under it. Next make a 142x 27 box, put it...
ShowMeAcademy.com shows how to sort data in Excel 2007. Excel has many options for sorting data according to any given column. To sort your data, right click on a cell in the column that you want to sort by. A menu comes up where you will see the “Sort” option. Hold your mouse over “Sort” and another menu comes up showing the different ways to sort. For example, if you select “Sort Smallest to Largest” it will take all the data and sort it from the row that has the lowest figure u...
Mac OSX offers an easy solution to increasing the contrast of your display, and switching the screen from black on white to white on black. In the Universal Access section of System Preferences, under the large "Display" label, you will find a set of controls. Switching from black on white to white on black will invert the colors on the screen, making it easier to read for some people. There is a toggle to the right of that control which switches your display from color to grayscale. Below th...
This is a video tutorial showing its audience how to draw an anime mermaid. The first step in drawing an anime mermaid is to gather your supplies. For this drawing you will need a photoshop type of program. Next you can open up the program. First you will need to open a new window and color it white. Then you can begin drawing. Then you can draw the head and the eyes and mouth first. Next you should draw the body. Next you should draw the mermaid's fin with your drawing tool. When you are fin...
In this tutorial, Rachel Ray shows us how to make coconut cupcakes. First, grab pre-made cupcake mix and add in shredded coconut into the mixture. Place this batter into the fridge overnight. To make the frosting, add confectioners sugar, milk, vanilla and butter together until it makes a fluffy texture. You can place the frosting into small bowls and add food coloring in any colors that you like. Put these onto your baked cupcakes and add toppings and sprinkles as you wish! You can also use ...
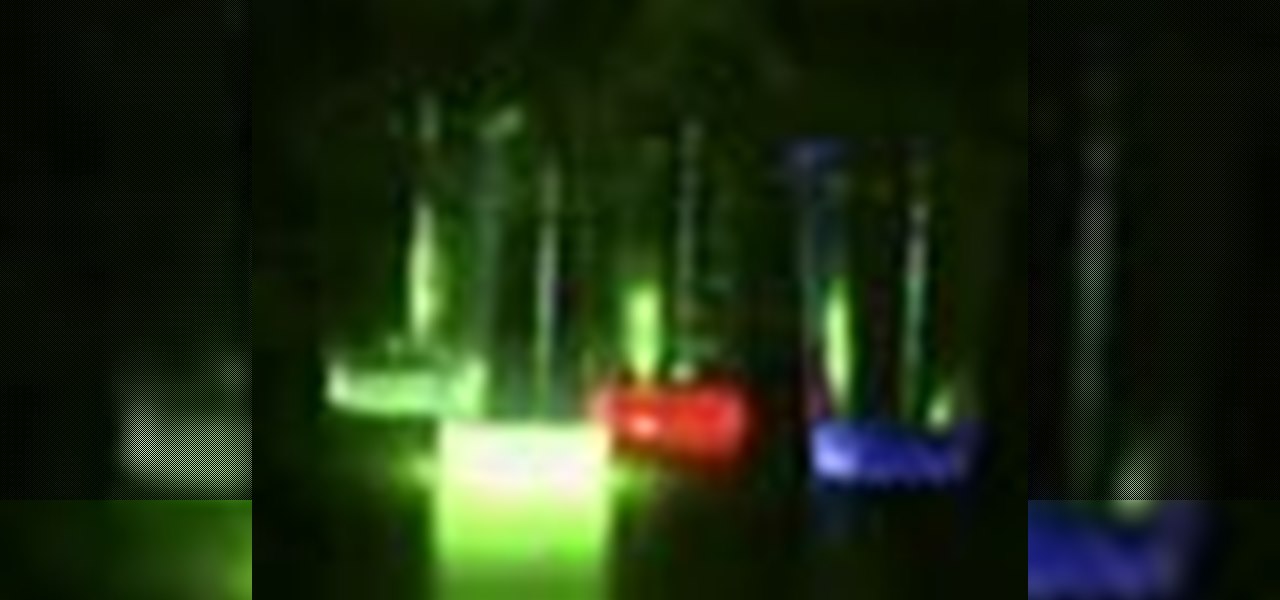
This a video tutorial that is showing its audience how to mix liquid glow stick colors in order to make a white light. The first step is to gather your supplies. To complete this scientific experiment you will need to get a few different glow sticks, preferably red, blue, and green. The next step is to turn all of your glow sticks on. The third step is to cut open the glow sticks and add them to separate cups. Next you can mix the green and the blue light together. Then finally add the red li...