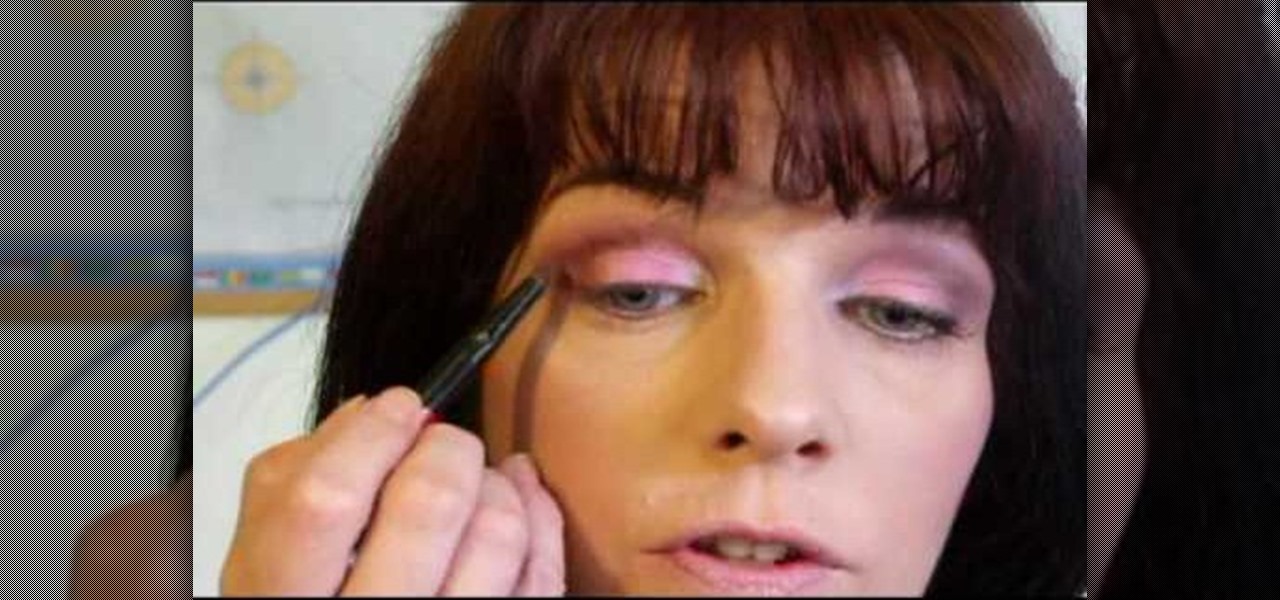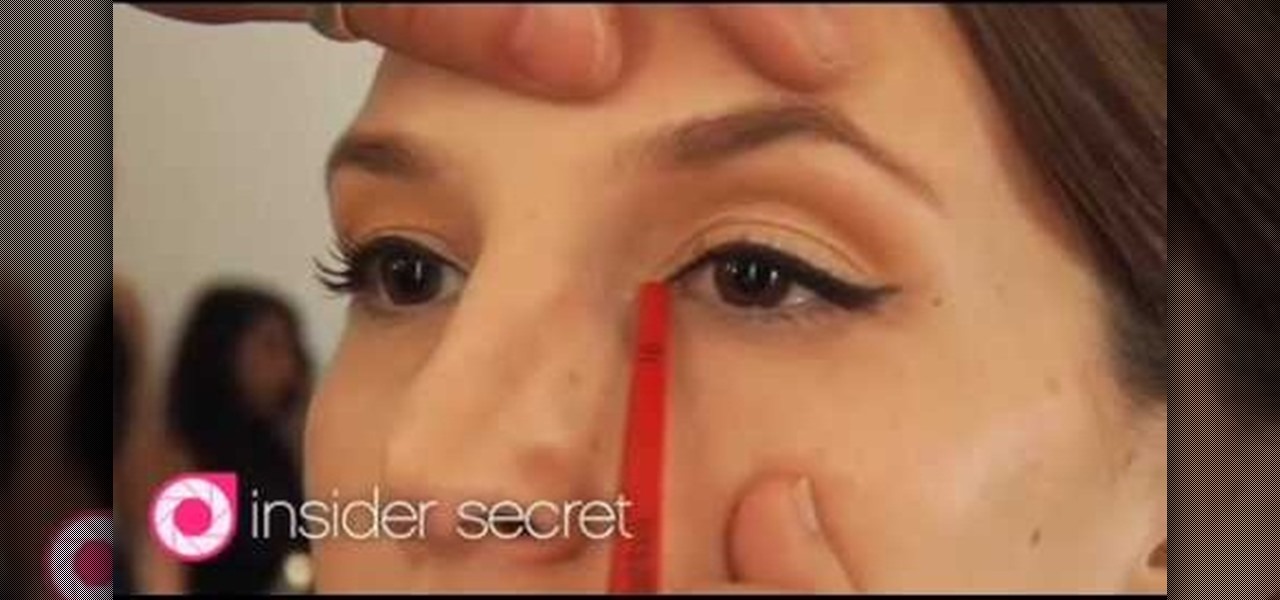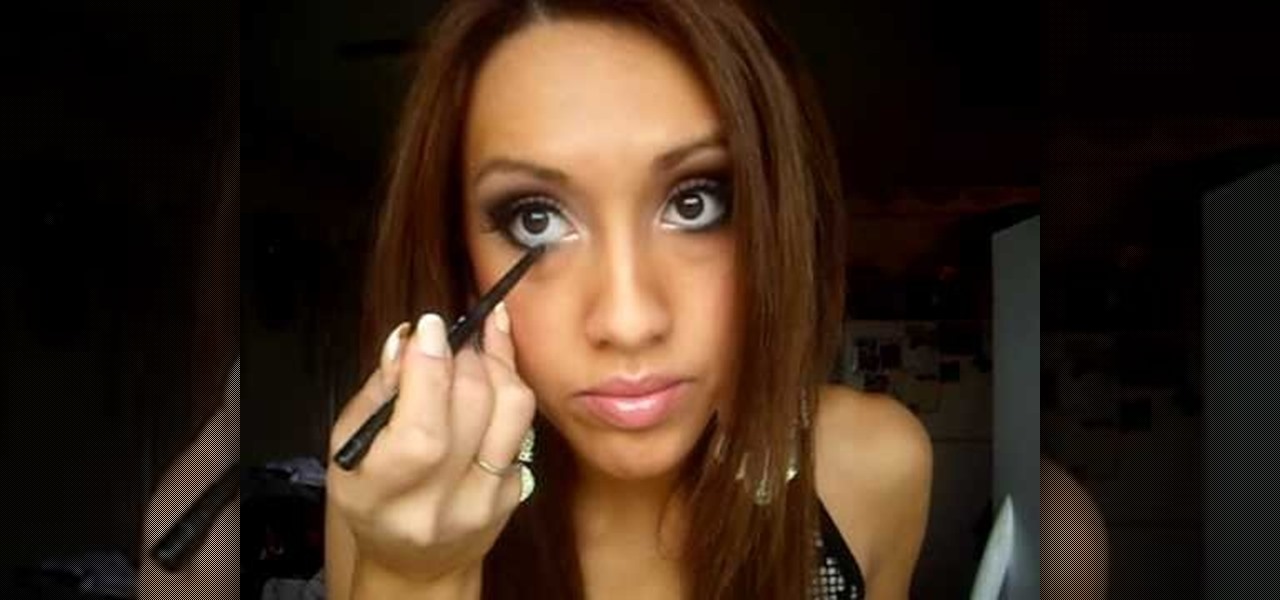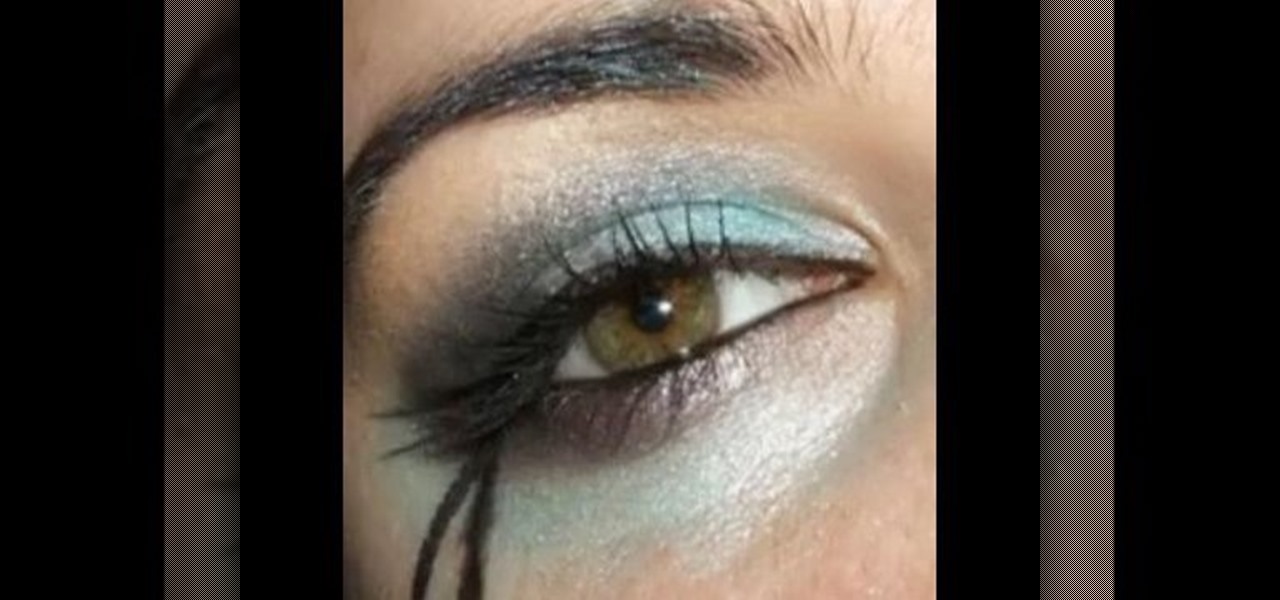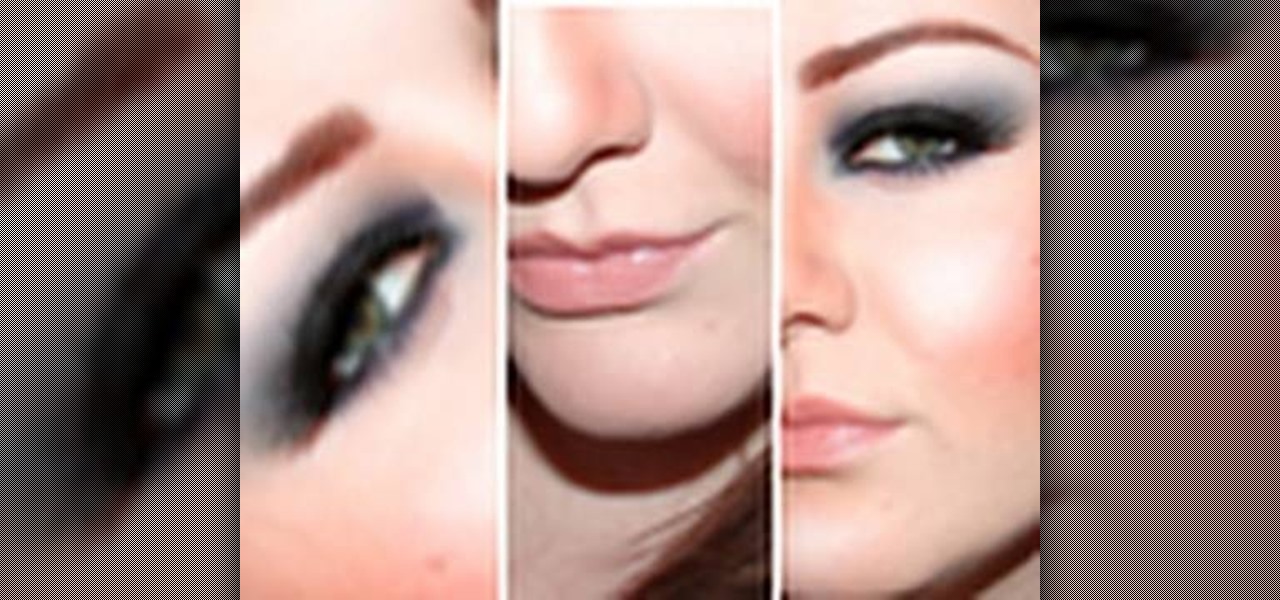
We've always been advised to apply eyeshadow shades that complement our individual eye colors. So for sisters with brown eyes, a deep royal purple or metallic silver will bring out the richness and golden undertones of our eyes, while blue eyed gals look great with sunset tones.
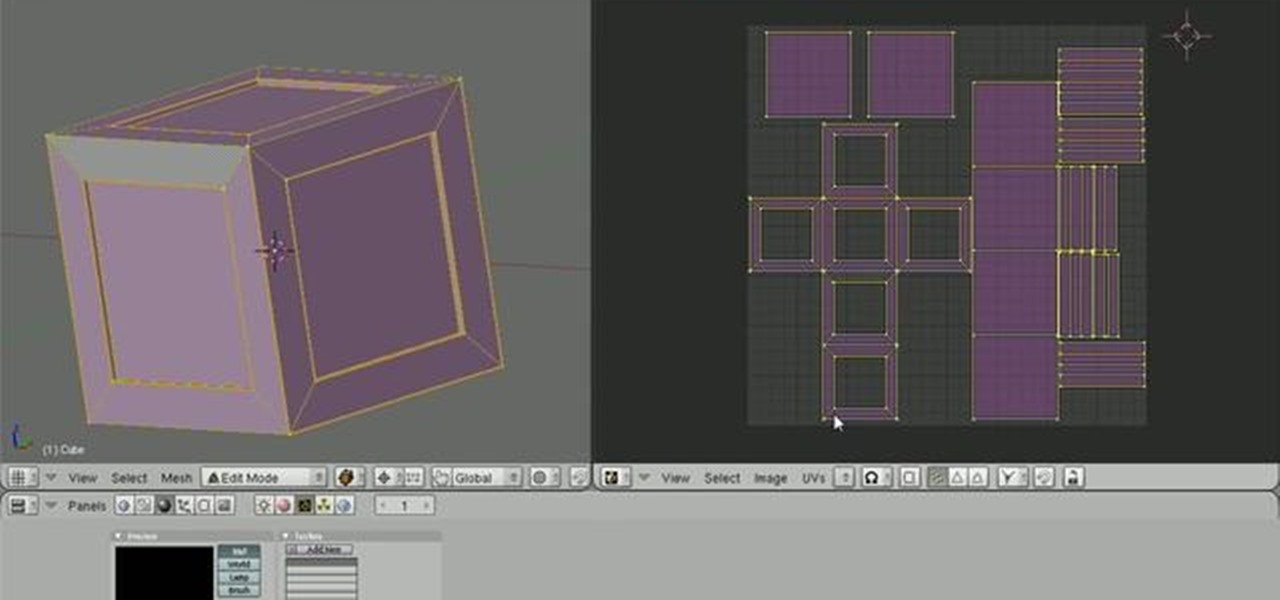
This clip offers instruction on how to export a model from Blender to Unity 3D and import it into a game. The tutorial also demonstrates how to bake a normal map and a color map from a highpoly model to the lowpoly counterpart, real-time display of the color/normal maps in the Blender viewport with GLSL shading, and real-time updating of assets in Unity. Whether you're new to the Blender Foundation's popular open-source 3D computer graphics application or are a seasoned digital artist merely ...

It's one of life's little ironies that achieving beachy, messy hair requires not just riding a wave at the beach but rather staying in the shade, as it were, at home and spraying on zillions of gallons of hair products and using various curling irons and flat irons.

This video shows you how to grow a beard or mustache, even if you're a lady...sort of. Using a Jack Sparrow makeup kit and some clever tapering of the fake beards contained in the kit with scissors, you'll be able to finish your Jack Sparrow makeup look authentically.
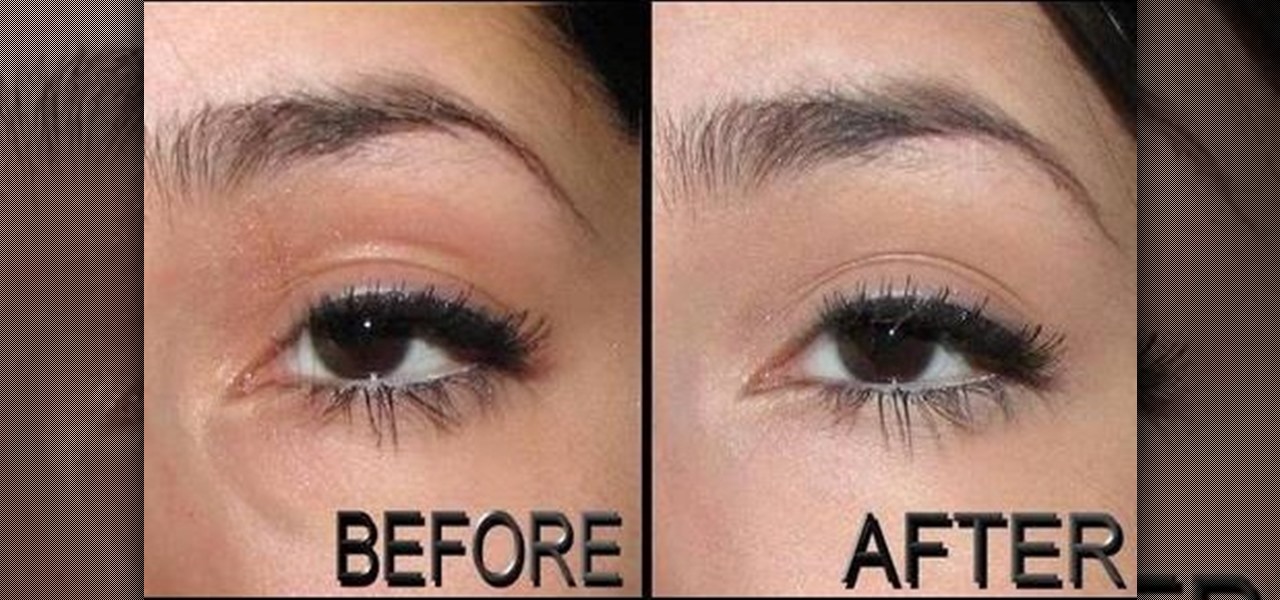
This video illustrate us how to conceal under eye puffiness and bags. Here are the following steps:
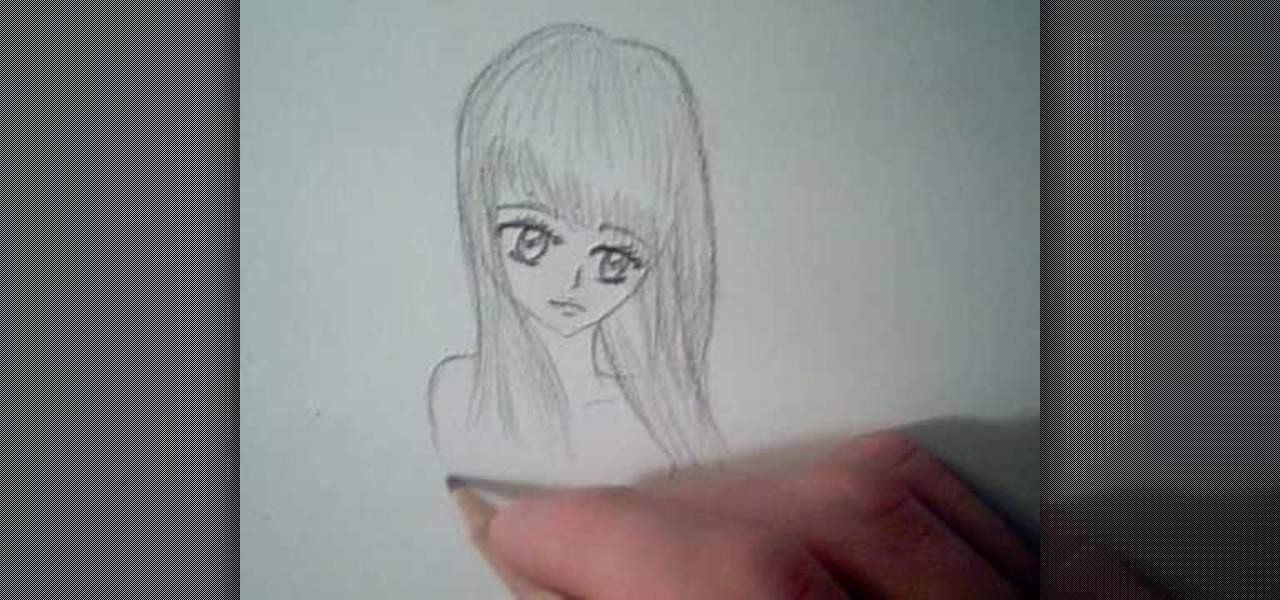
This video illustrate us how to draw a manga animated angel. Here are the following steps: Step 1:First of all take a sheet of paper and pencil and start drawing the character.

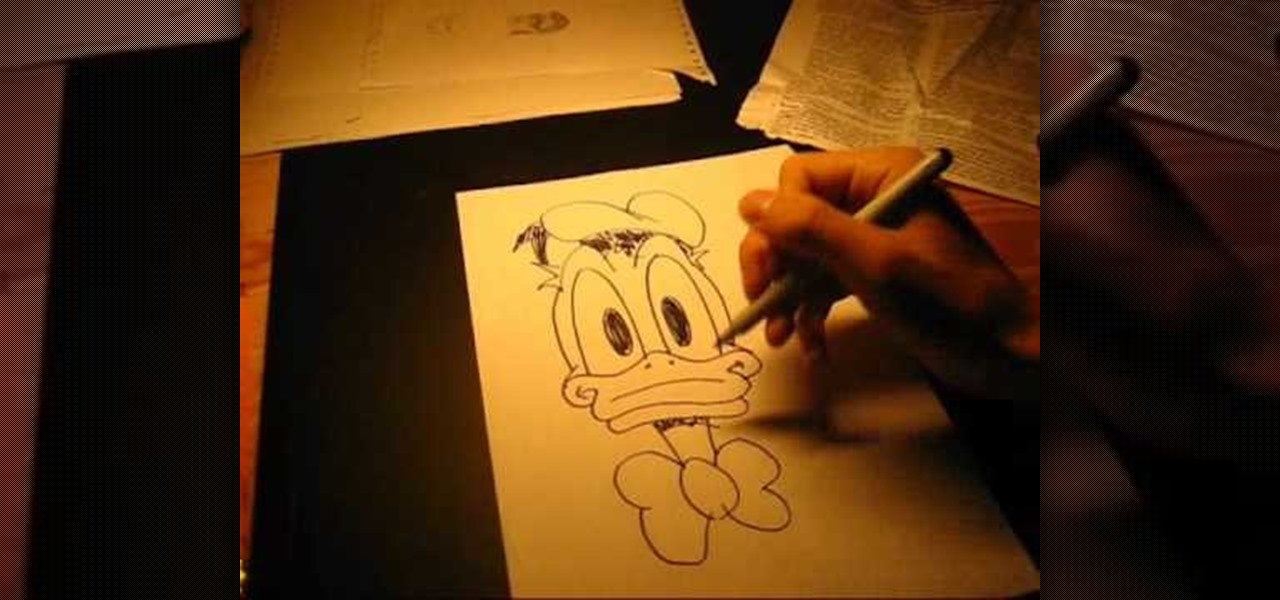
This video illustrates the quick and easy method to Draw Donald Duck on your own . The process is comprised of the following steps:Step 1: Take a blank sheet of paper and a HB Bonded lead pencil.Step 2: Draw a face that resembles a duck's face. Make sure you don't make the ears too large as Donald Duck has got small ears.Step 3: Another point to consider is the length of the beak. Make sure it is elongated and oval shaped.Step 4: Now , make a oval shaped figure and shade it's outline to form ...

Illustrator Michael Weisner takes us through the steps on how to draw realistic people. Needed:PaperDrawing Utensils

Pergolas make a lovely addition to any home. They offer shade and interesting shape to where you live. In this two part tutorial, learn how to build your own pergola for your home. Follow this step by step video and soon you'll be on your way to relaxing in one of your very own!

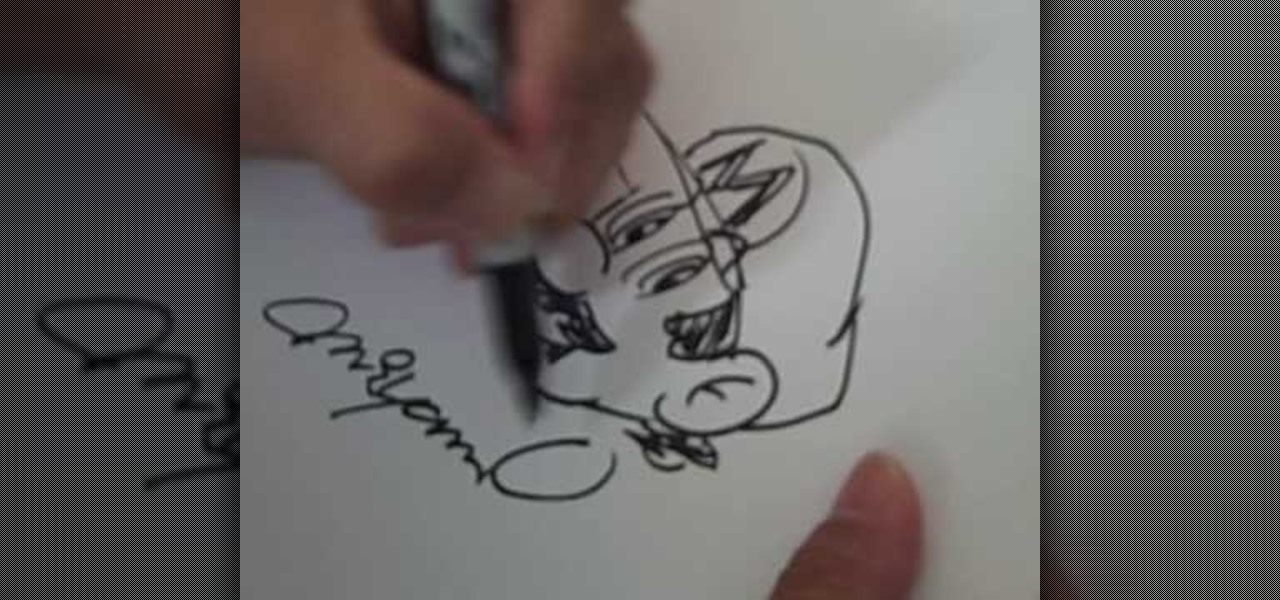
YOUTUBE Shigeru Miyamoto demonstrates using simplistic shapes and lines, how to draw his freehand creation of Mario. Shigeru, without speaking, begins by drawing two ovals for the eyes, and then adds a third oval for the nose, sticking to a very simplistic, shape-oriented method. He works outward from the details of the face, to the surrounding details, such as the facial structure and then finishes by adding the hat with the characteristic capital "M". A few minimal additions, such as shadin...

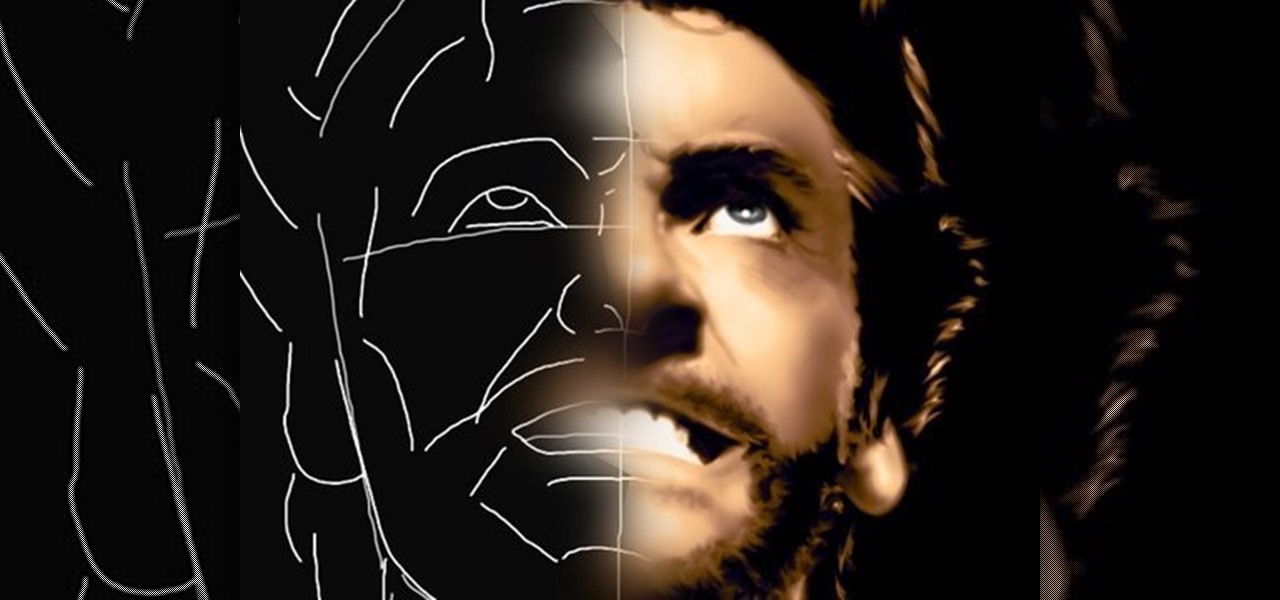
Artist Stephanie Valentin takes us through the steps of how to draw the X-Men character Wolverine in Photoshop. She outlines the necessary tools to be able to make the drawing and provides detailed information on width, shading, and opacity to make sure the colors are all accurate. After creating a series of layers, gradients and various sketches, she shows us how to create the character. In just five hours with this tutorial, you can learn how to create Wolverine using Photoshop.

In this video Neil Young provides his viewers with some tips on how to correctly apply foundation on the face of a girl. Moreover, he gives advice to the girls out there on how to pick the correct shade of foundation that will be perfect for her; a foundation that will unify the tone of their face and body. Neil also gives tips on which kinds of foundation should be used during different seasons of the year and what one should do on the few months in between.

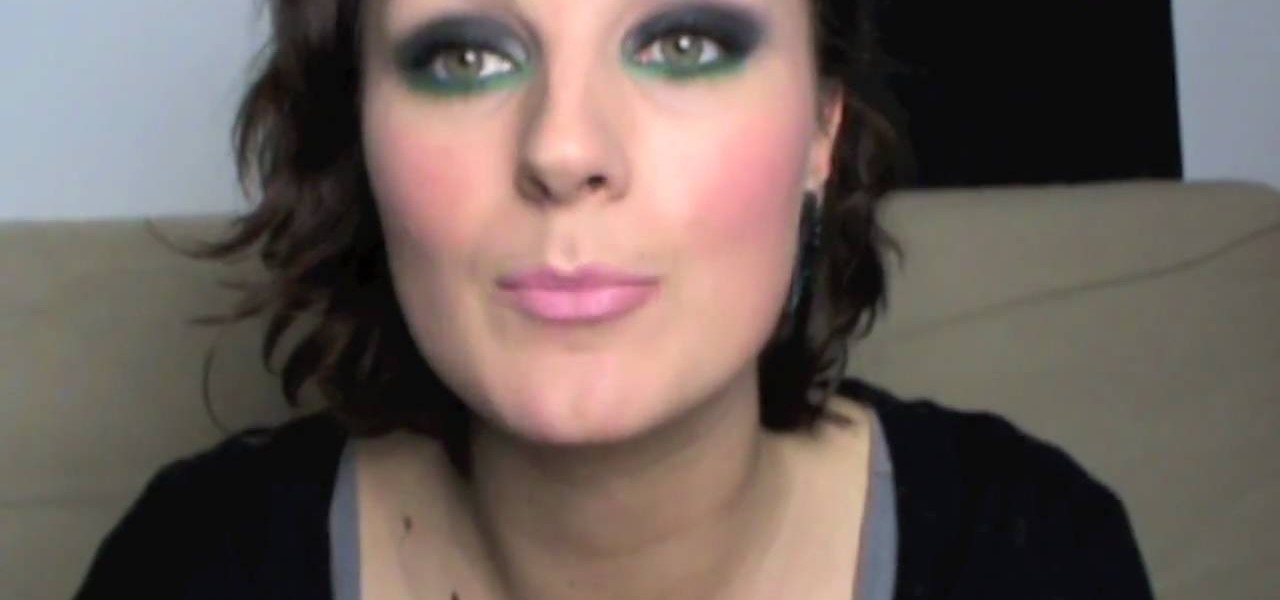
Fashion Face brings you a video that teaches how to create smoky eyes with a twist of green, and then shows you how to finish up your whole face.

Whether you love Nancy Ann Grace or hate her, you can't deny that her eye makeup is always amazing. Watch Princess Pinkcat in this tutorial video about creating her Nancy Grace makeup look. She didn't curl her hair for this video, just tucked it under to make it look more like Grace's hair length.

Looking to emulate the vixens of the 20's and 30's? In this makeup tutorial hosted by Smashbox Cosmetics, embrace your inner vixen with these tips and tricks on how to steal this look with your makeup. With a clean face, a natural matted eye with nude shades, and a dark winged out liner, you'll be channeling Betty Page in no time!

In this video, we learn how to draw children's heads. For the front view, first draw an oval with a slight point for the chin. Then, draw in the features of the face lightly with the side of the pencil. After this, start to shade the side of the eye in. The child's eye has a large eyelid, larger than an adult's eyelid. The pupil should also be large. For a side view, make sure to show the curves of the chin, nose, and lips. The eye should be soft and the ear should be soft as well. Fill in th...

In this tutorial, we learn how to properly apply blush. You will need a medium angled brush to help apply your blush before you begin. Then, make a fish face and apply a darker blush along the side to make your cheekbones show more. Use blushes that work for your skin, play around with different colors. Find a plum color or pink colors and mix them together as well. You only want to go a couple shades darker than your skin tone. Your cheekbones may have a flesh color, so bring the contour col...

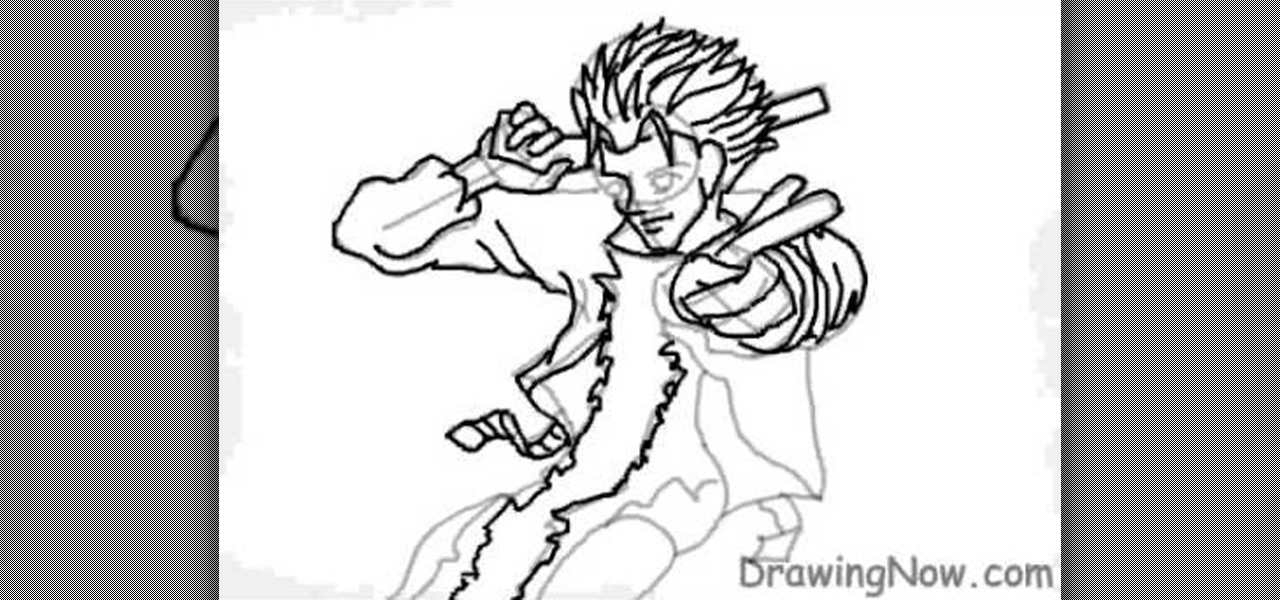
In this video, we learn how to draw the manga character Vash. Start by drawing the outline of the character from the head to the toe. After this, draw in the details of the body and the face. Next, use a paintbrush in black to start to draw over the outline to make a 3D version of it. From here, draw on the details of the body as well as the colors for the skin. After this, draw in the details for the hair and then color in the clothing. Add in shading and lines on the clothing to make it loo...

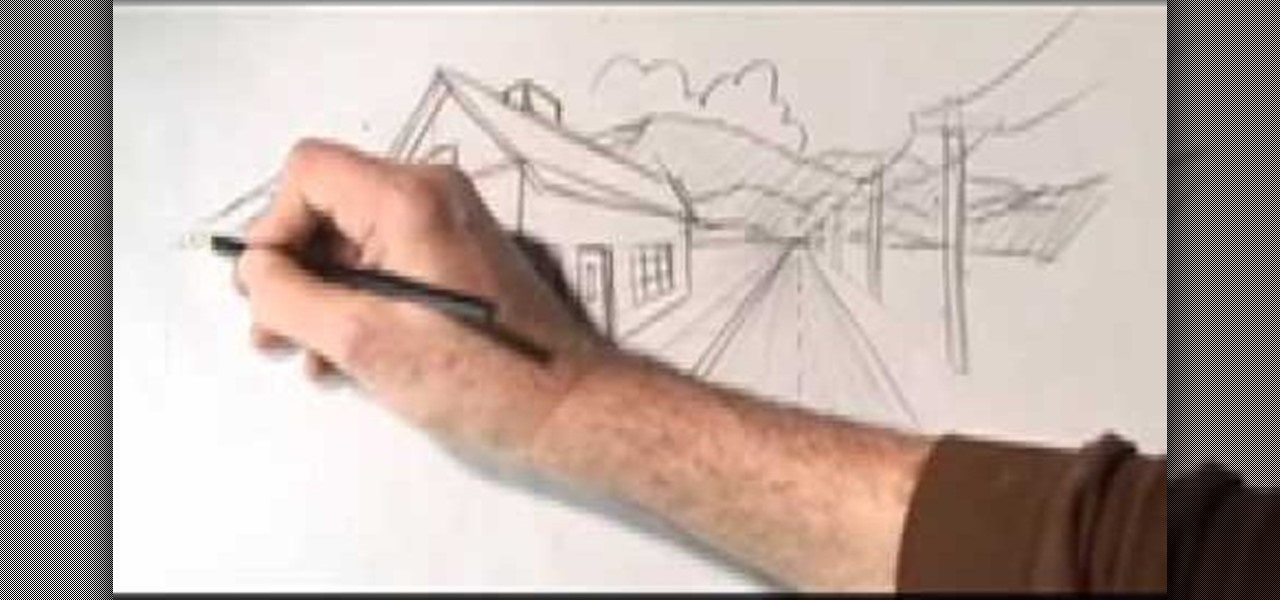
In this video, we learn how to draw two point perspective. Start off with a horizontal line on your paper. After this, draw a small point on the line where your drawing will focus to. From here, you will start to draw lines coming out of this. Next, you will design the rest of the picture around the main focal point you started out with. Add in lines to create lots of detail and make sure to use shading to show depth. Erase any background lines you don't need. Then when you are finished, you ...

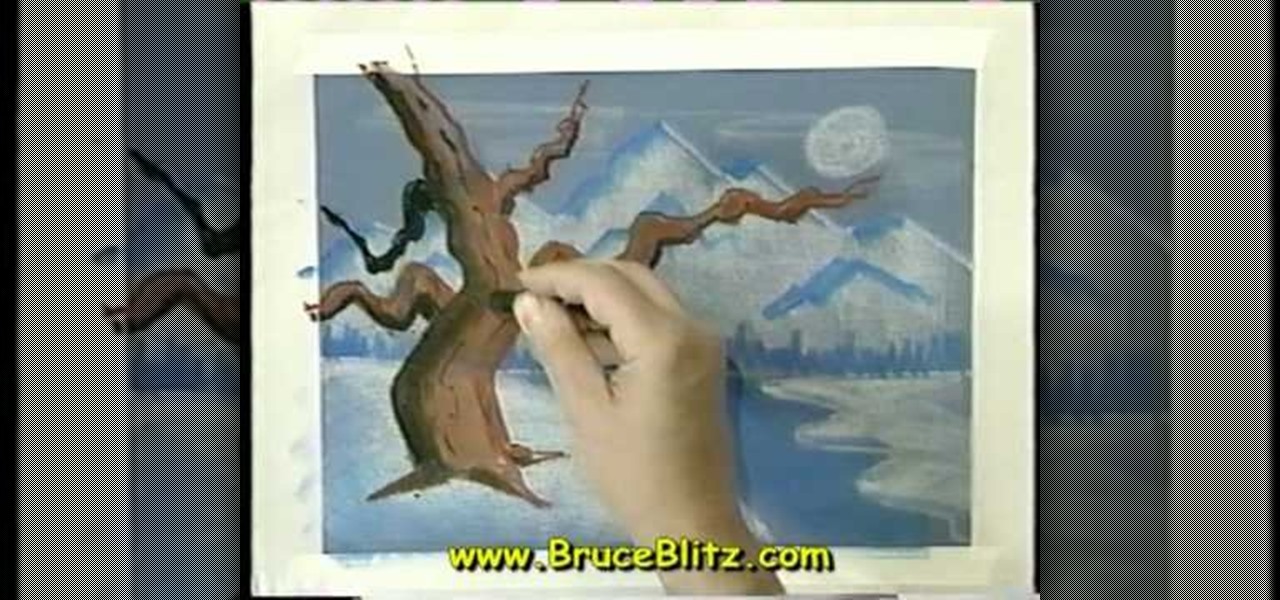
In this tutorial, we learn how to draw a tree in moonlight with Bruce Blitz. Start out by using a gray piece of paper. Then, draw arrows on the page towards the top that will act as your mountain peaks. Draw in additional lines to show that the mountains are towards the top. Shade in the tops of them and then draw a river with water at the bottom of the page. After this, draw in trees at the bottom of the mountain and a moon in the upper right hand corner. Use white chalk to create the effect...

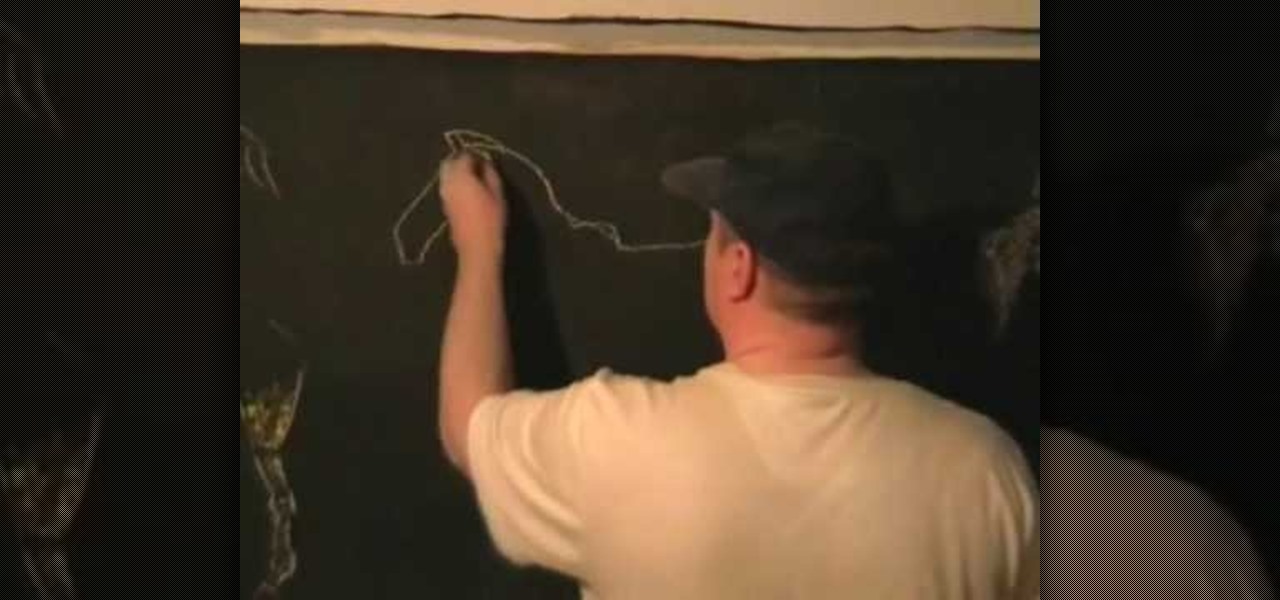
In this tutorial, we learn how to draw a horse step-by-step. First, you will want to draw the face of the horse. You can use intersecting lines in the face so you place the features of the face equally apart. After this, draw the outline for the body of the horse. Once you have this perfected, you can start to add in the hair for the horse. Next, draw in the details of the body and draw the shoes on the bottom of the horses feet. Draw in the tail, then add in shading and other lines to make i...

In this tutorial, we learn how to gel your flash to blend it with ambient light. First, you will need to be indoors with lights on and grab your camera. Make sure you have a separate flash on the camera, then take an amber colored film strip and place it over the flash. Next have your subject sit down and start taking pictures. Use different shades of amber and when you see the pictures it will have the background light more dim than the subject in the picture. When finished, you will have a ...

T.I. is finally out of the joint and back on the hip-hop scene. What better way to celebrate in your own home for free than making an XBox 360 Avatar in his likeness? This video will show you how to use one set of clothing pieces to make a pretty spitting image of the rap star.

In this video, we learn how to draw a basic human figure. Start with a circle first as the head, then draw cross hairs over the circle to indicate the tilt and direction the head is facing. Then, add in the chin, shoulders, then circles where the joints are. Draw in the rib cage and spine, then the hip bones. After this, draw the legs and continue down until you reach the feet. When you finished with this outline, use a darker line to draw more details and shading in on the face and body. Whe...

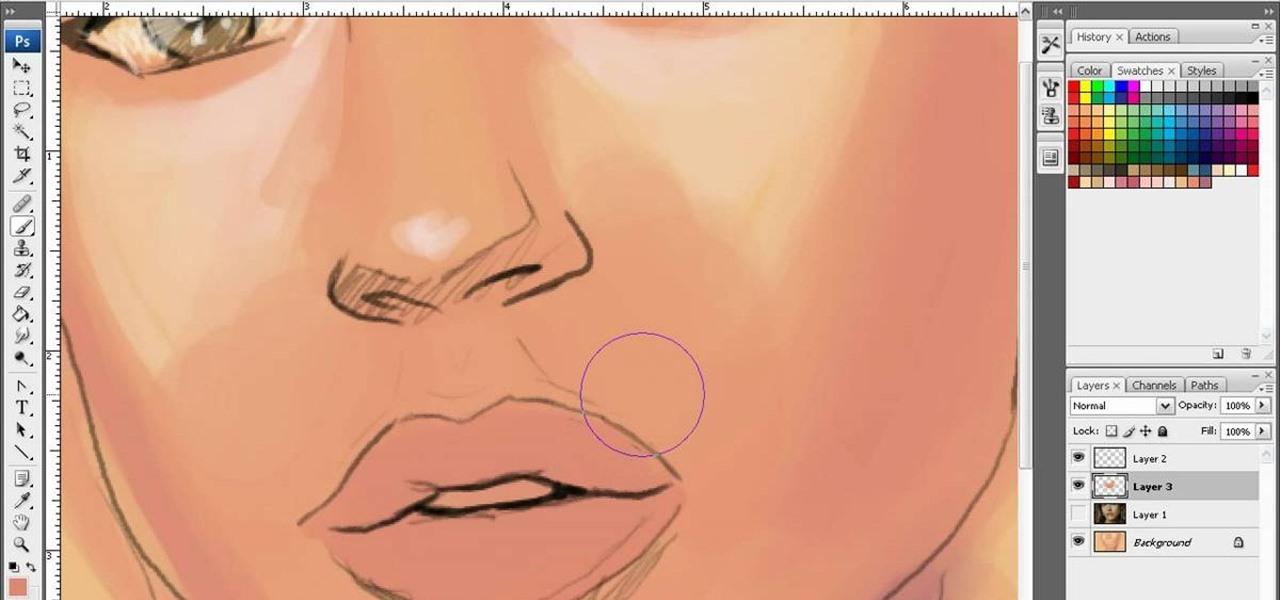
If you are a seasoned veteran or a newcomer to digital painting in Adobe Photoshop CS3, making lips look great can be tough. In this great three-part video series, Neil Fontaine goes into great detail in each video, showing the amount of detail required to create great looking lips including different lighting and shading required to get the right amount of sheen off the lips.

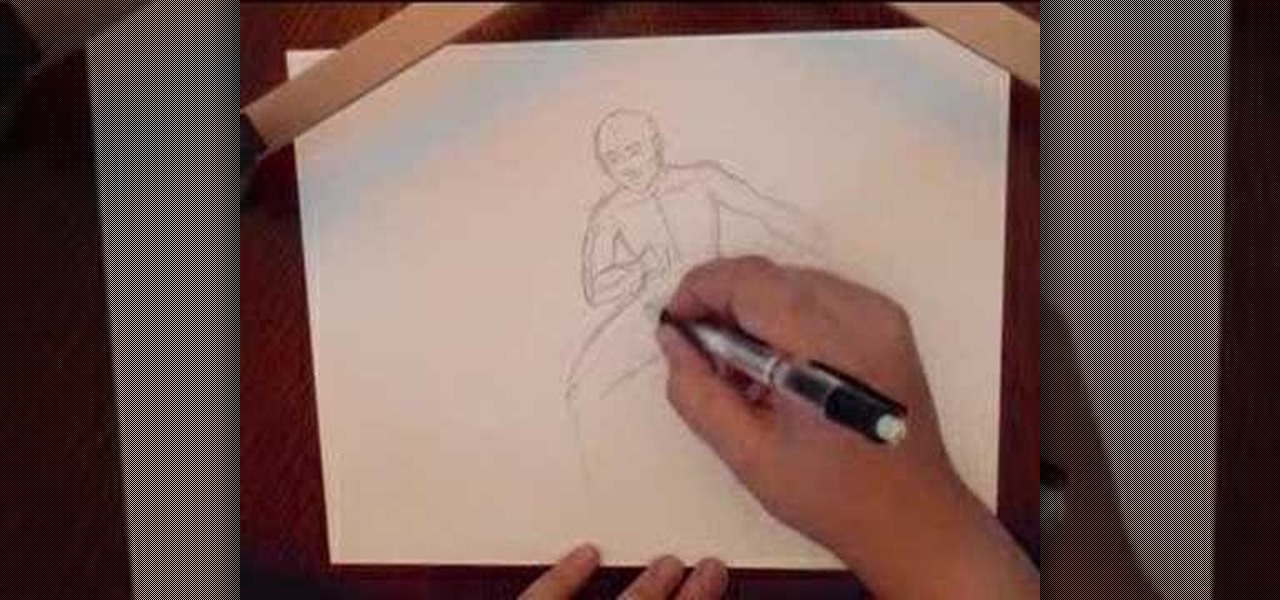
In this video, we learn how to draw a game character in motion. First draw the outline of the game character and make the body more prominent with details. After this, start to add in darker lines around the outside, then start to shade in the drawing and make the different parts pop out of the page. Next, add in colors throughout the sketch and add in white marks to show the glare on the picture. You will want to keep adding in all the small details to make this picture look even better. Whe...

In this video, we learn how to apply and blend eyeshadow. First, you want to start by adding a primer to your eyelids. Now, use a large brush to brush a light shadow onto your entire eyelid. After this, use a smaller brush to brush a lighter shadow onto the inner crease of your eye and underneath the eyebrow. After this, use a brush to apply a dark shadow to the outer crease of the eye, then blend with the lighter shade. Next, paint a darker color on the outer v of the eye and continue to ble...

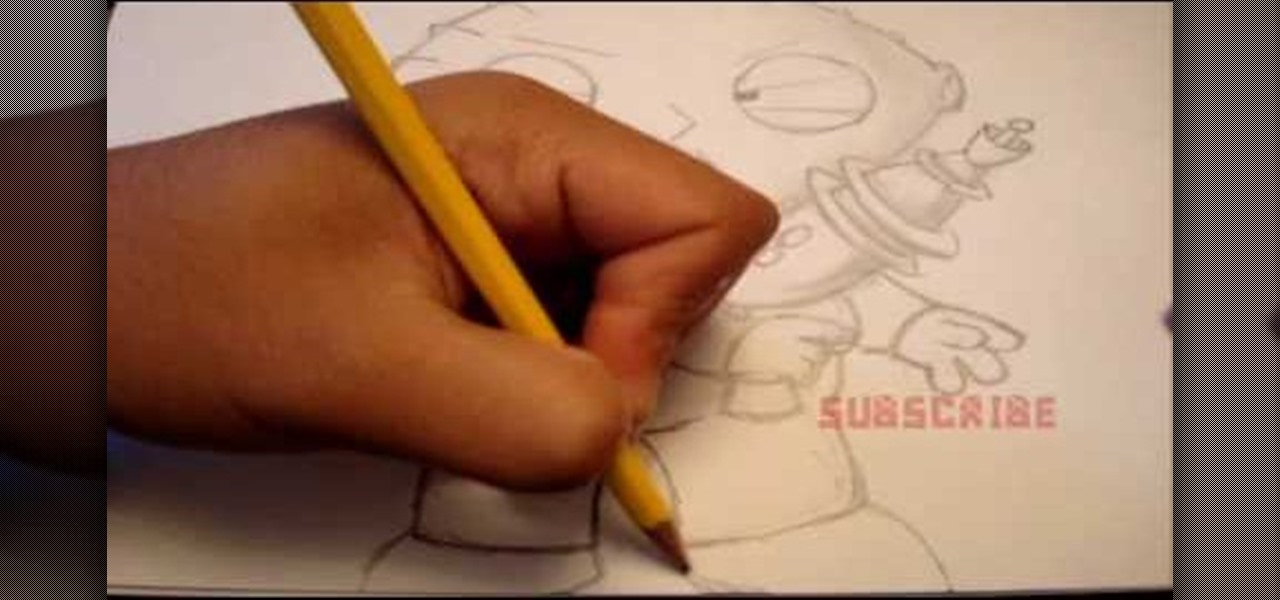
In this tutorial, we learn how to draw Stewie Griffin from Family Guy with a pencil. Start off by drawing the ears, then the football shaped head around the ears. next, draw the arms with the shirt on it, and make the hands. Also, draw a rocket with Stewie holding it. Keep drawing downwards, making the arms around the rocket and the body with pants and a bib on top. Draw in the details of the face, giving the character large eyes and a triangle shaped nose. Give the character narrow eyebrows ...

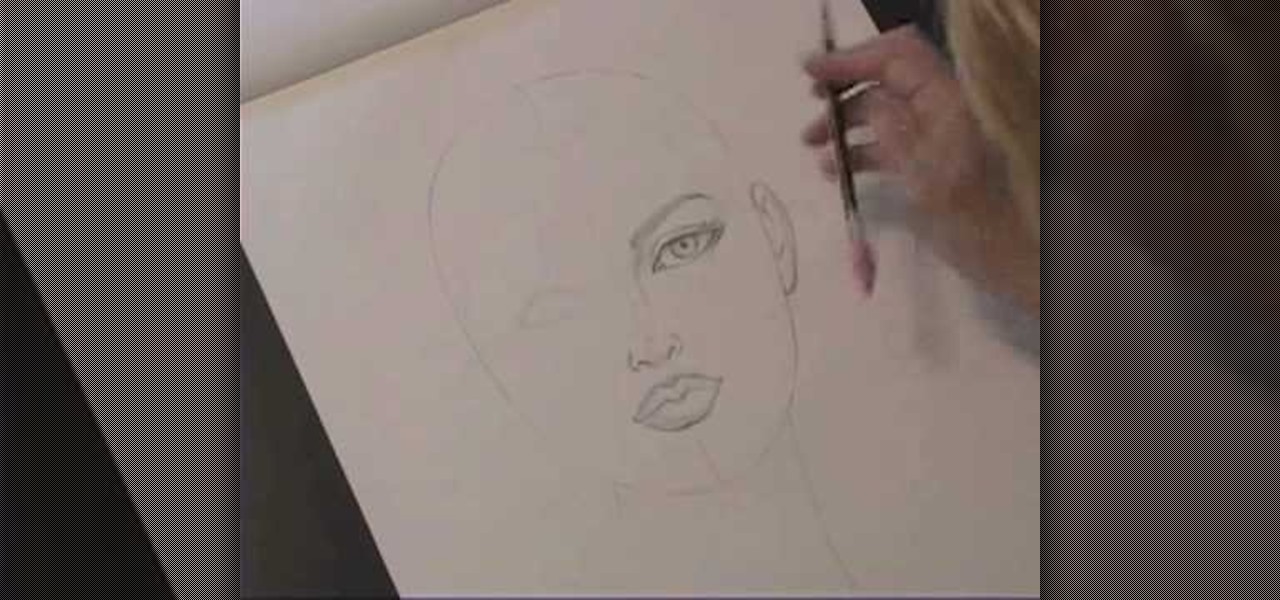
Kathryn Hagen teaches us how to draw female heads in this tutorial. Start with an oval and dissect it horizontally and vertically. Draw in the hairline, as well as the eyes, nose, and mouth. You can measure out where everything should go by using the lines as a reference point. Add details into the eye, then continue on to add more details to the nose, showing the nostrils. Draw more details on the mouth, then define the center of the lip and shape. Draw on the ears, and add a line where the ...

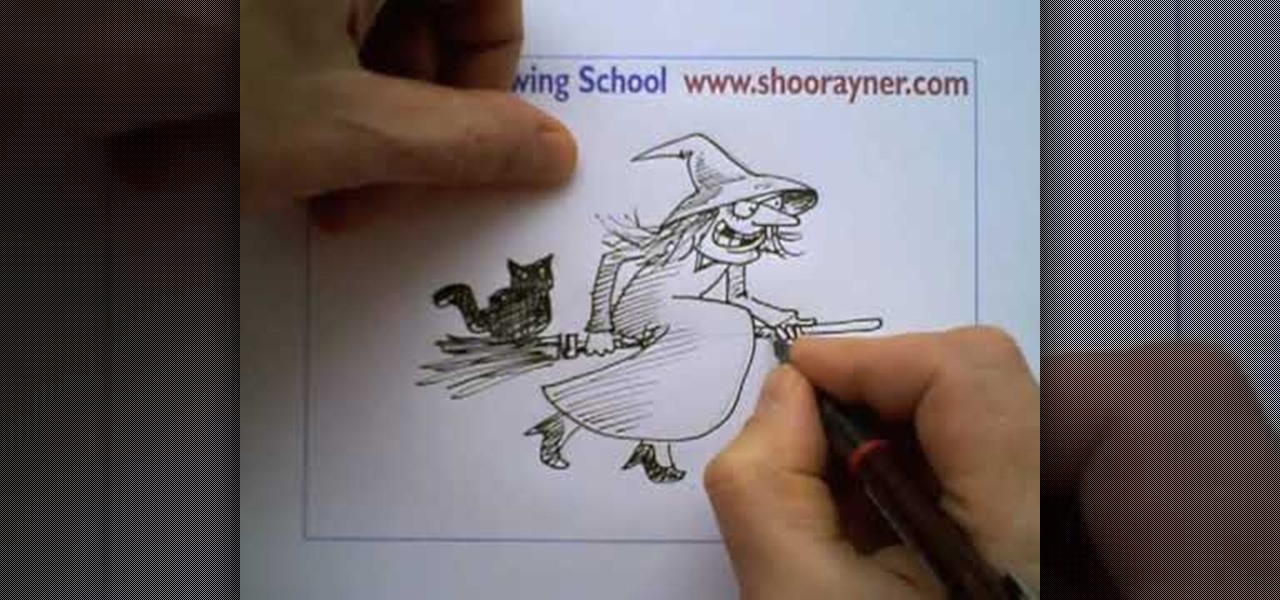
In this video, we learn how to draw a Halloween witch. There are a ton of different styles of witches you can draw, you just have to choose that one that you like best! No matter which one you choose, you will first start out by drawing the outline of the witch, using a light pencil marking. Draw the head and body, followed by the witch with the broomstick. After this, start to add in more details, such as the face and clothing. Make sure to draw in the hat and add in lines on the clothing to...

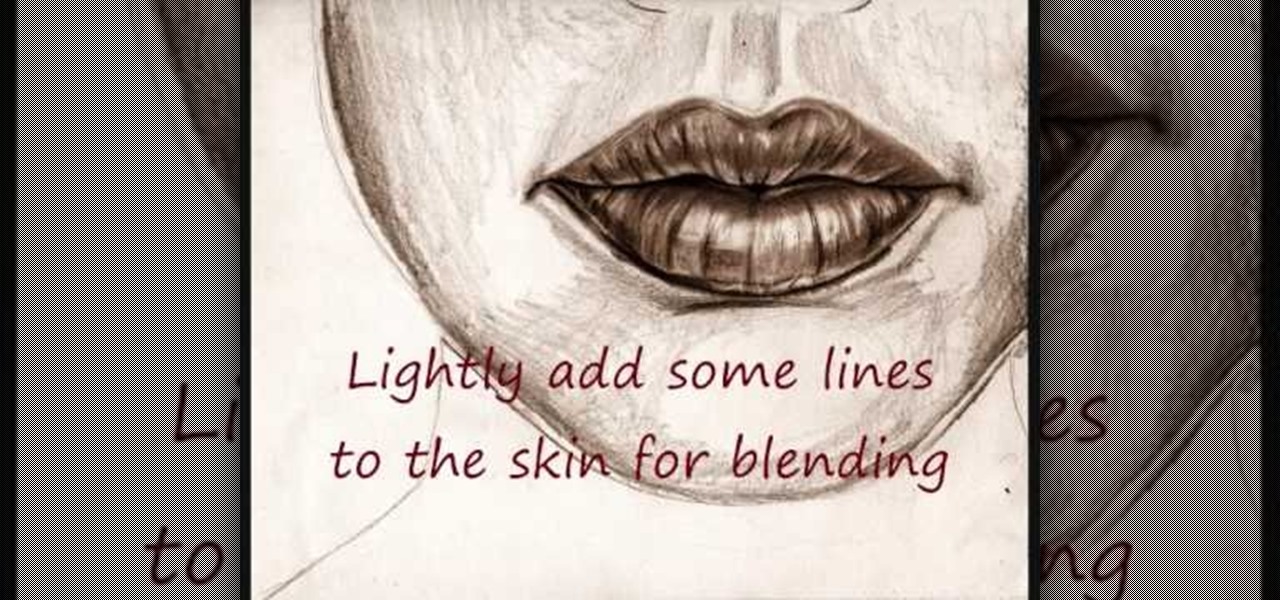
In this video tutorial, viewers learn how to draw lips. Begin by drawing a horizontal line for the mouth and draw a Mickey Mouse shape in between the line. Then sketch the upper lip with the 2 smaller circles on top and draw the lower lip with the large circle as guidelines. Now users may draw the rest of the face. Then darken and define the upper and lower lips. Now lightly sketch some lines on the lips to show depth. Then darken and shade the lips. This video will benefit those viewers who ...

In this Fine Art video tutorial you will learn how to draw with basic shapes and apply them. The four basic shapes are spheres, cubes, cylinders and cones. A sphere is a three dimensional circle. On paper it will look flat without shading. Make sure you practice all kinds of circles. A cube is a three dimensional square. You can make a basic cube by drawing two squares and then join the corners. Cylinders are tubes or pipes. Draw two ellipses and join them by lines. If you are just starting o...

In this tutorial, we learn how to photograph with a point and shoot camera. If you have dark light on the face, make sure you turn flash on your light and make sure it turns on to even out the lighting that's on the face. One of the easiest ways to shoot outside without using flash is to put someone in the shade. If the light source is coming from straight ahead, you will have the best lighting available. This will isolate where your light is coming from, and will work out better if it's not ...

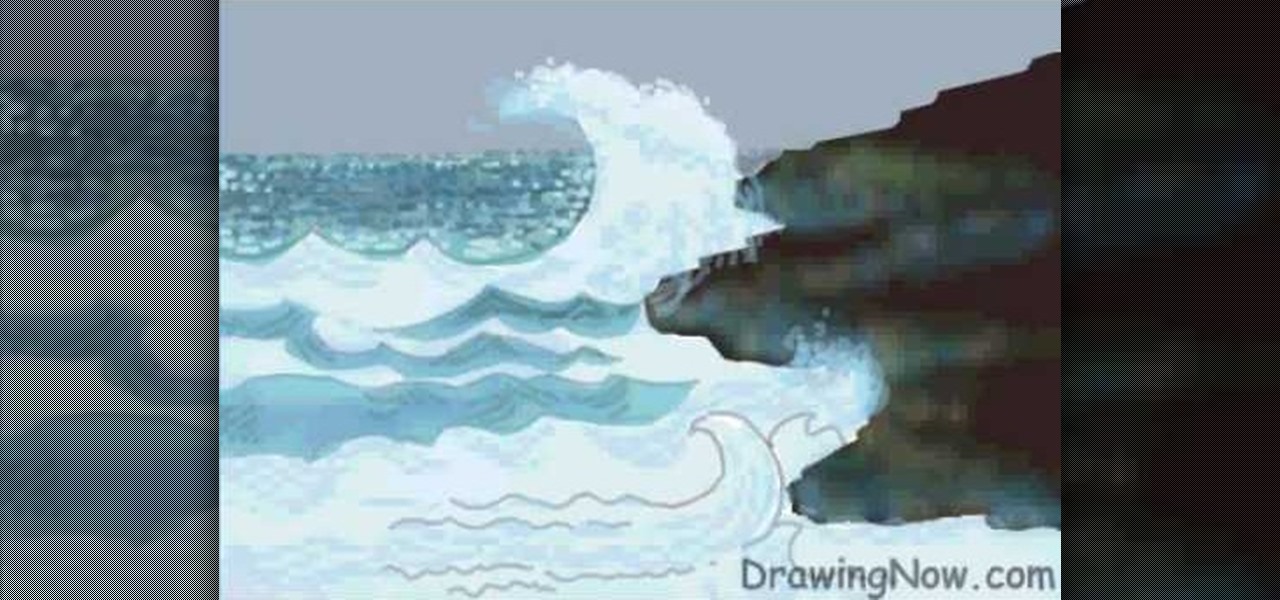
In this video tutorial, viewers learn how to draw ocean waves. The image drawn in this video has water waves clashing into some rocks on shore. Begin by drawing the outline of the rocks on the right side. The horizon line of the image is about 3/4 above the rocks. Then draw a large wave that passes the horizon line. Now paint the sky in gray and paint the rock in shades of black and gray. Paint the waves and slowly build the colors. Use the pencil tool with transparent color to fill in the wa...

In this Arts & Crafts video tutorial you will learn how to sew a blind hem. Use a blind hem stitch when sewing the bottom hem of your Roman shade. It is very easy to do. For this you will need a sewing machine that has blind hem stitch already programmed in to it and a blind hem foot. Hem your fabric and pin it. Make sure the pointed ends of the pins are pointing outwards. Lay your fabric with the hemmed side facing up and the hemmed side towards the pressure foot. Then flip the hem upside so...

The inspiration behind Gwen Stefani's Harajuku Girls fragrance, real Harajuku girls are gals from the Harajuku region of Japan who dress up all crazy like in the Lolita, Ganguro, or Cosplay styles.

To make a mini croissant out of polymer clay, you will need the following: polymer clay (tan), pastels, a paintbrush, and oil paint. Roll the clay into a ball. Next, roll it out into a log. Twist the ends. Next, shape the clay into a crescent moon shape. Use a paintbrush to dust yellow pastel onto your croissant. Start with a muddy yellow color pastels. You may need to layer the colors to get the best shade.

in this video Evan Burse teaches us an easy way to draw Toothless from the 3D cartoon how to train your dragon.

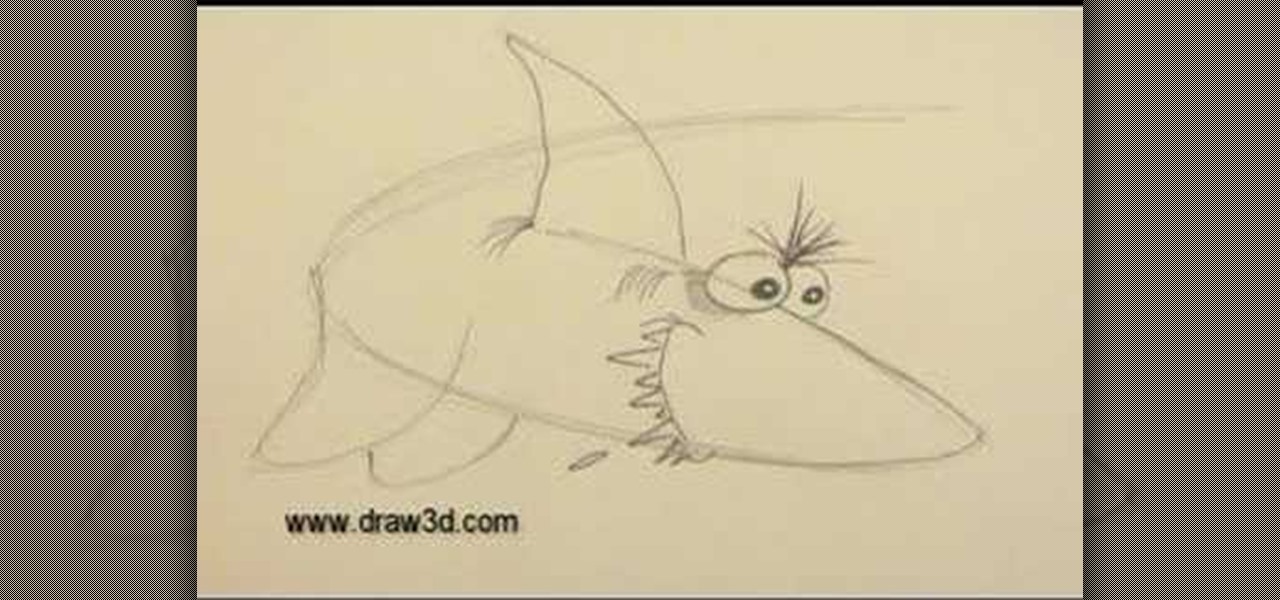
This video illustrate us how to draw 3D cartoon shark. Here are the following steps.step 1: First of all take a sheet of paper and pencil.Step 2: draw a U shape structure and again draw a U shape structure above the previous on representing the body of the shark.Step 2: Now from one end of the double U draw a V shape representing the front body of the shark, within the face draw two eyes and jaws of the shark.Step 3: Now at other end draw a tail and from the side of the body draw a triangle a...

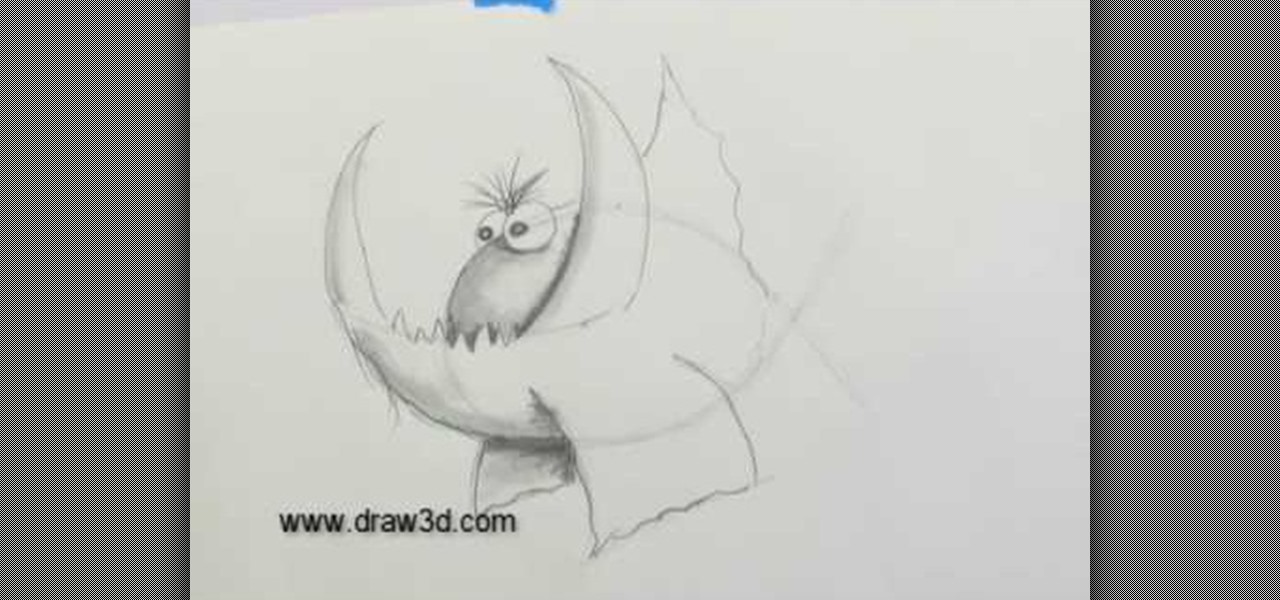
This video illustrate how to draw a 3D fanged fish. Here are the following steps.Step 1: Take a sheet of paper and pencil and start drawing a circle forming the face of the fish.Step 2: Now in the middle of the circle draw an wavy line showing the jaws of the fish.Step 3:Now draw two small circle on the boundary of the circle forming the eyes of the fish.Step 4: Now from the jaws draw two fins in opposite direction to each other.Step 5: Now draw Two fans beneath the face showing the back fins...


