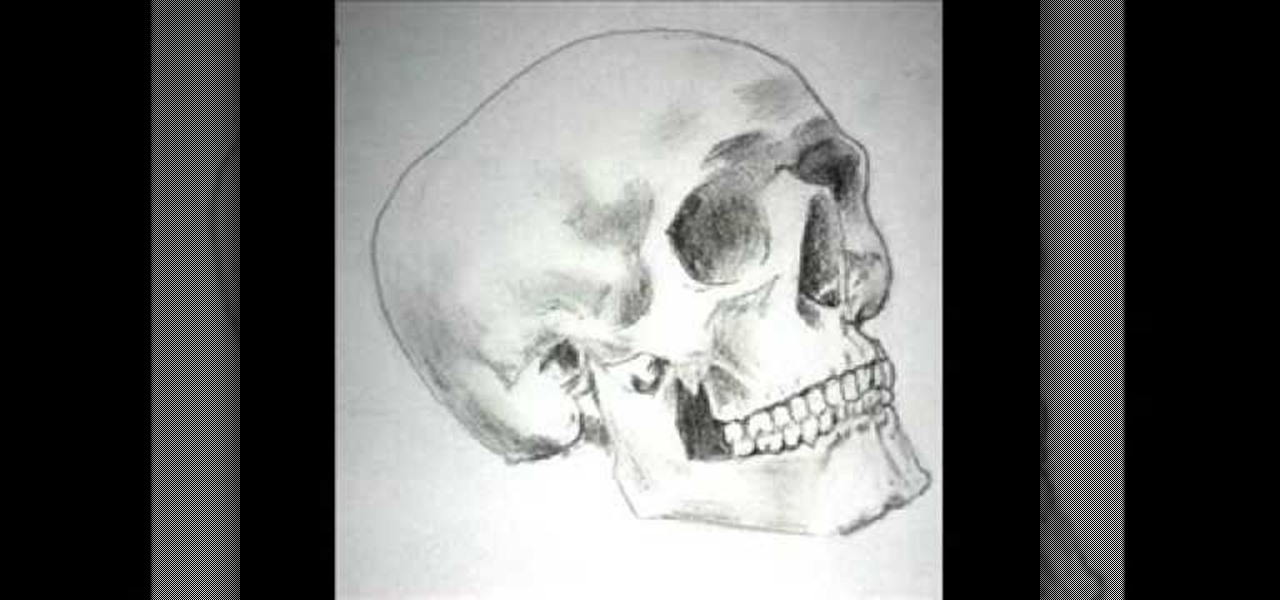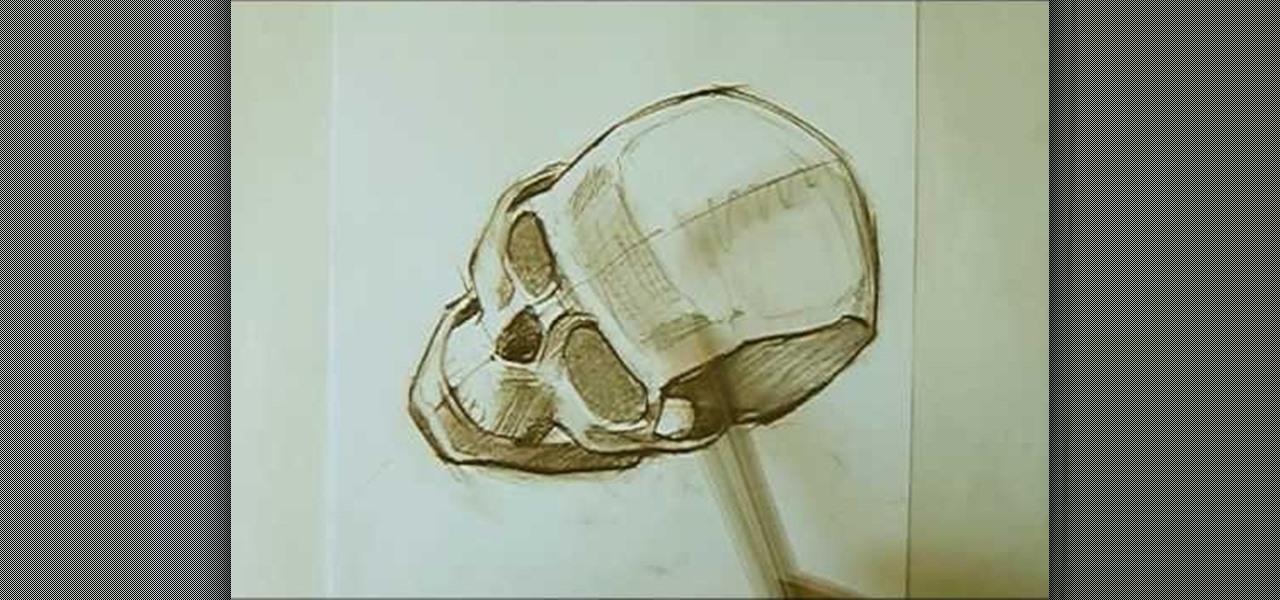
In this tutorial, we learn how to draw a skull with proper proportions. First, draw the outline of the skull with the light touch of a pencil. After this, use the pencil to draw two crossing lines that are the same length. Next, draw in the features of the face and head using the lines on the drawing. From here, you will start to add in the details to the features of the face and erase any background lines. Use the side of your pencil and the top of it to shade in the sockets and lines. To fi...
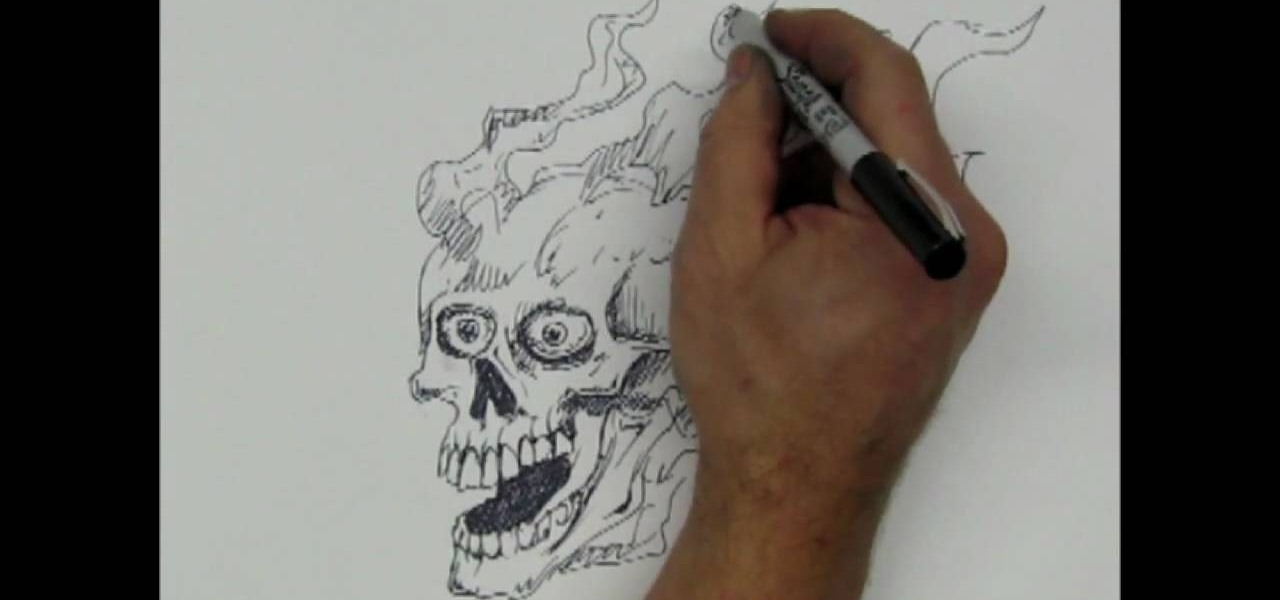
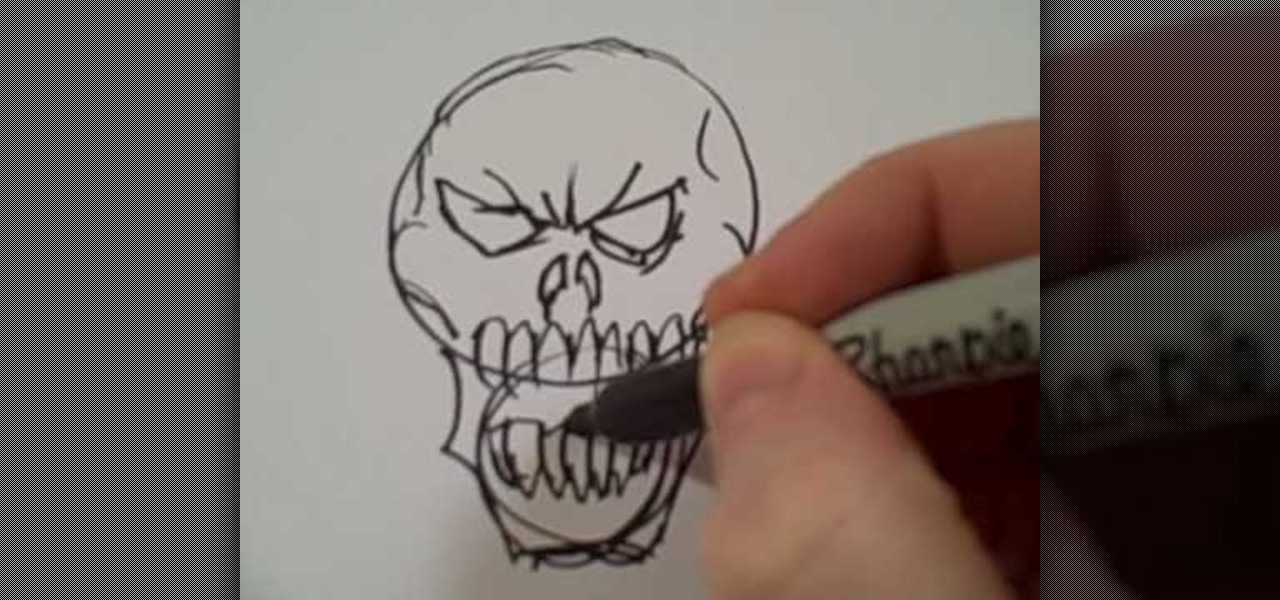
In this tutorial, we learn how to draw a skull with a Sharpie. First you will draw the eyes, make sure to draw lots of little lines around them then cross them to create depth. From here, draw the outline to the head and then the nose and the teeth. Make sure to add lines in around the head to show cracking and marks around the head. Use shading to create darker lines along the head and then add in additional details. Make this unique to you, it doesn't have to look one certain way. When fini...
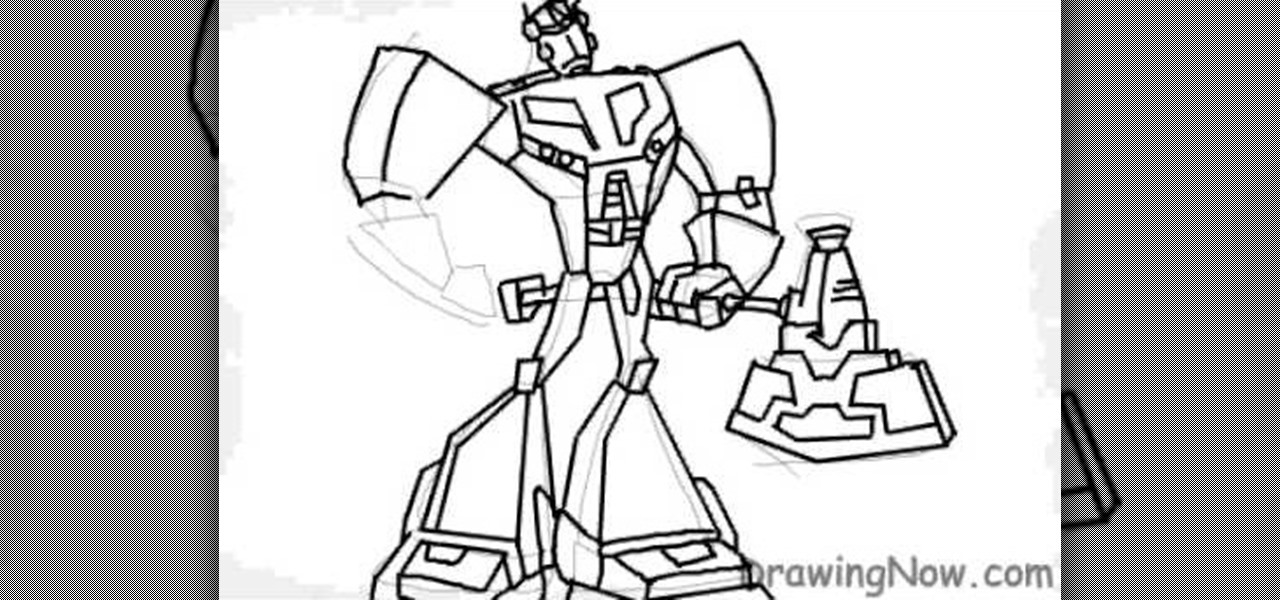
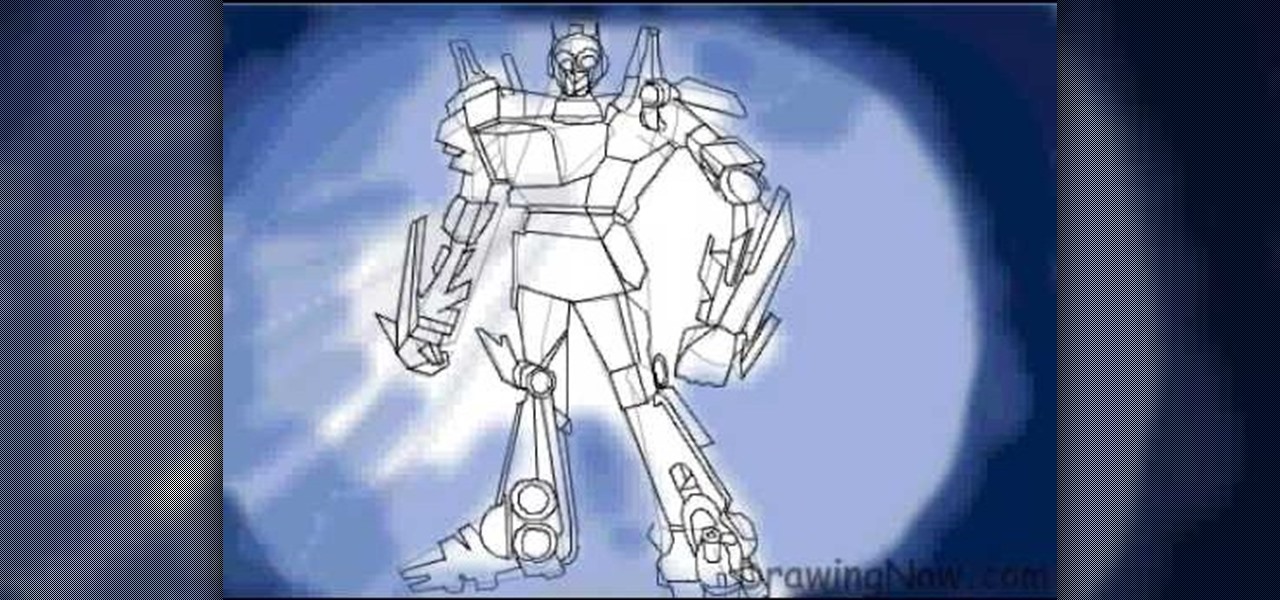
In this tutorial, we learn how to draw Optimus Prime of Transformers. Start off by drawing the outline of the entire body of the character. Make sure to add in the large arms and feet as well. Next, draw over this to make a more elaborate outline including the details for Optimus Prime. Once you have all the details draw, erase the background lines. Ten, color in the character and add in lines and shading to make it look more realistic. Once you have done this, then you will finish off with a...

In this tutorial, we learn how to create a nice drawing composition. First, use your pencil to sketch a light outline of the still life objects that you're drawing. After this, you will add in lines on the side of them for their shadows, then shade the area in between the lines in. Next, you will darken up the sides of the shapes to make them appear more in-depth and make them look more real. Use your pencil to blur the pencil markings and make everything look more realistic. When finished, y...

In this tutorial we learn how to draw a cartoon skull. To start, you will draw the eyes of the skull using two triangles that are facing each other. Next, draw the nose of the skull and shade it in with black. Then, draw in the teeth and color in the inside of the mouth. From here, you will draw a hate on top of the skull and then draw in a body from the bottom of it. Add on baggy pants and large feet. Then, draw in hands and a large cape to finish up this cartoon skull drawing!

In this tutorial, we learn how to draw Kazekage Gaara. First, draw the outline of the character using a pencil. Then, draw in the features of the face and the hair as well. From here, draw in lines on the clothing to create the folds and make it look more realistic. After this, continue to add in details on the clothing to show the arm and the backpack on the character. Start to add shading to the character and the clothing until you finish the drawing. Clean up any stray or background lines,...

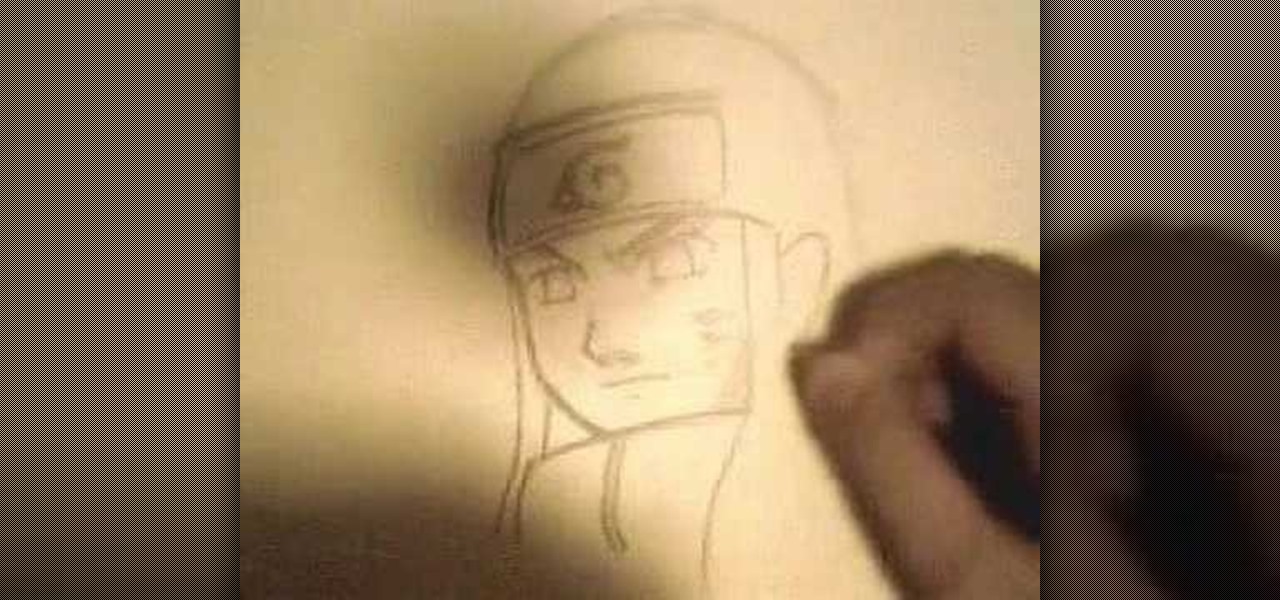
In this tutorial, we learn how to draw manga Neji. Start off by drawing the outline of the character. Don't forget to include the parts where the facial features, limbs, and hair are at. From here, you will use a darker pen to draw in the rest of the character. Next, you will start to draw in the additional lines and shading to make the character look more realistic. Once you do this, you can start adding some color! Use any colors that you would like or use the normal colors that are on Neji...

In this video we learn how to draw hands without references. First, draw the basic structure of the hand using a photo to make sure it's true to size. After this, draw on boxes and circles to create the wrist, hand, and the knuckles. Then, you will draw on straight lines for the bones in the thumb. After this, start to add details of the fingers and make out their basic shape. As you continue with details, erase any background lines and start to add lines in for wrinkles on the skin. Finish t...

In this video, we're shown how to draw Fred Flintstone from "The Flintstones". Start off by drawing the outline for Fred's body, drawing in his limbs and his upper/lower body. After this, use a darker pen to draw in the full outline and create a more 3D type of image. Next, you can draw in the clothing for the character, drawing in lines to show creases in the clothing as well. Then, you will need to color the skin and the outfit as well and add in the facial features. After this, draw in the...

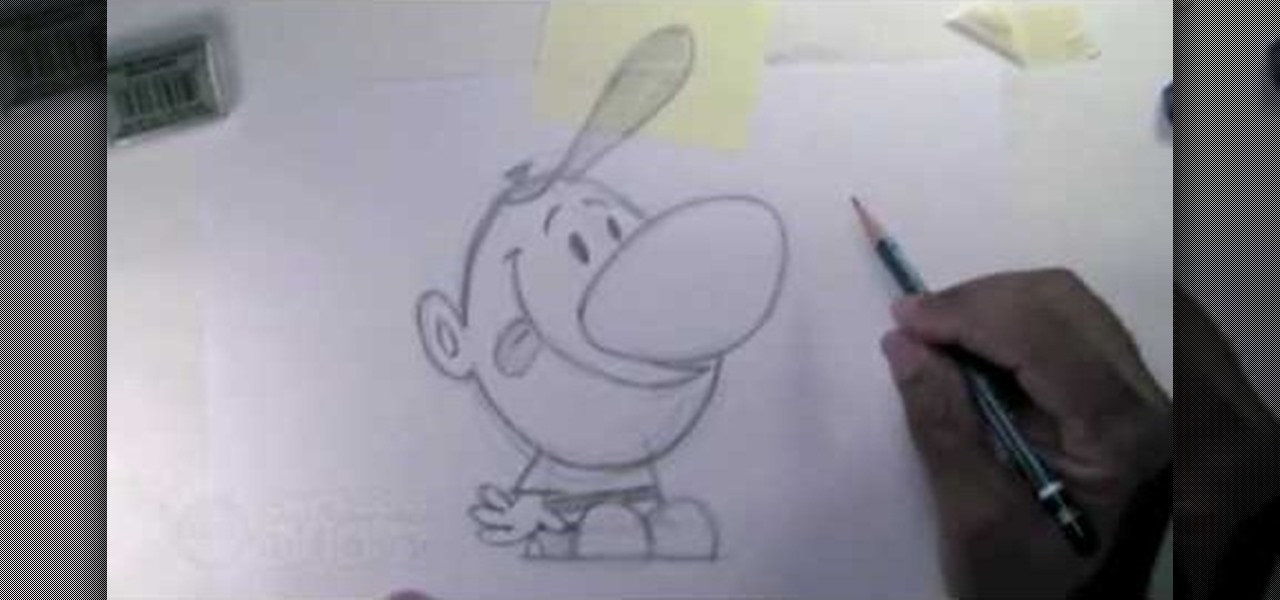
In this video, we learn how to draw Billy from The Grim Adventures of Billy & Mandy. Start out by drawing the egg shaped head with a pencil. From here, sketch on the body by using a block shape then draw the shoes as simple half circles. The arms and hands will be hanging to the sides. Now, draw on the huge nose in the middle of the circle. Attach the mouth to this and draw it all the way up near the eyes, which are simple dots. The brows are simple slashes. After this, add in the minor detai...

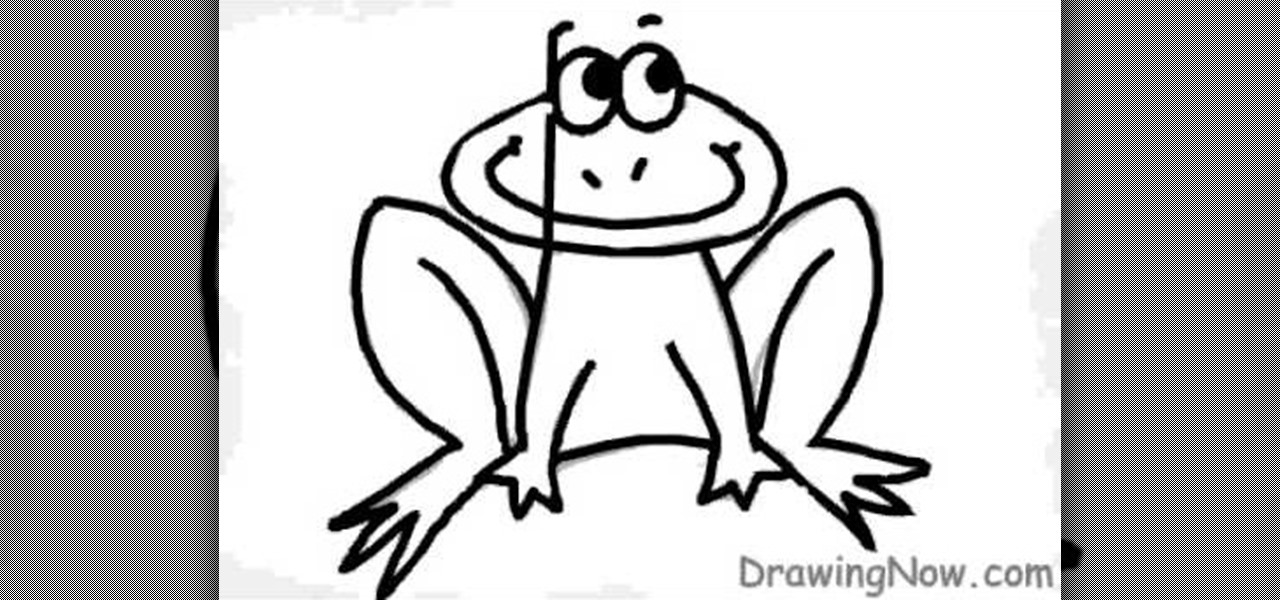
In this tutorial, we learn how to draw a cartoon frog. First, draw an oval fro the face with two small circles sticking up. After this, draw the outline for the legs, arms, and body. Then, draw on the eyes, nose, and a big smile. Make sure to make the toes on the bottom of the feet. After this, erase any background lines and start to add in some color. Use green and dark greens to shade the sides and middle areas on the frog. Then, add dots to the legs to give it some character. After this, c...

In this tutorial, we learn how to draw Dora from "Dora the Explorer: Pirate Adventure". Start out by drawing the outline for the character. Then, add in the details for the body, including the hand holding an eyepiece. From here, you will start to add in color to the hands and the clothing on the body for the outline. Add in the facial features and the features of the clothing as well. Then, you will draw in the hair and the hat, along with any other details you left out. Color anything you w...

In this tutorial, we learn how to make a slit flower frame card. First, gather all your cardstock together in the colors that you would like. Then, take the first one and cut a circle window in it using a blade and a template. Then, punch slits on the outer frame of the window. From here, shade the petals and pull them out from the card to stick out. Then, place a rubber stamp with hearts on the other place of card stock. Then, turn the flower frame over and apply foam tape to the back. From ...

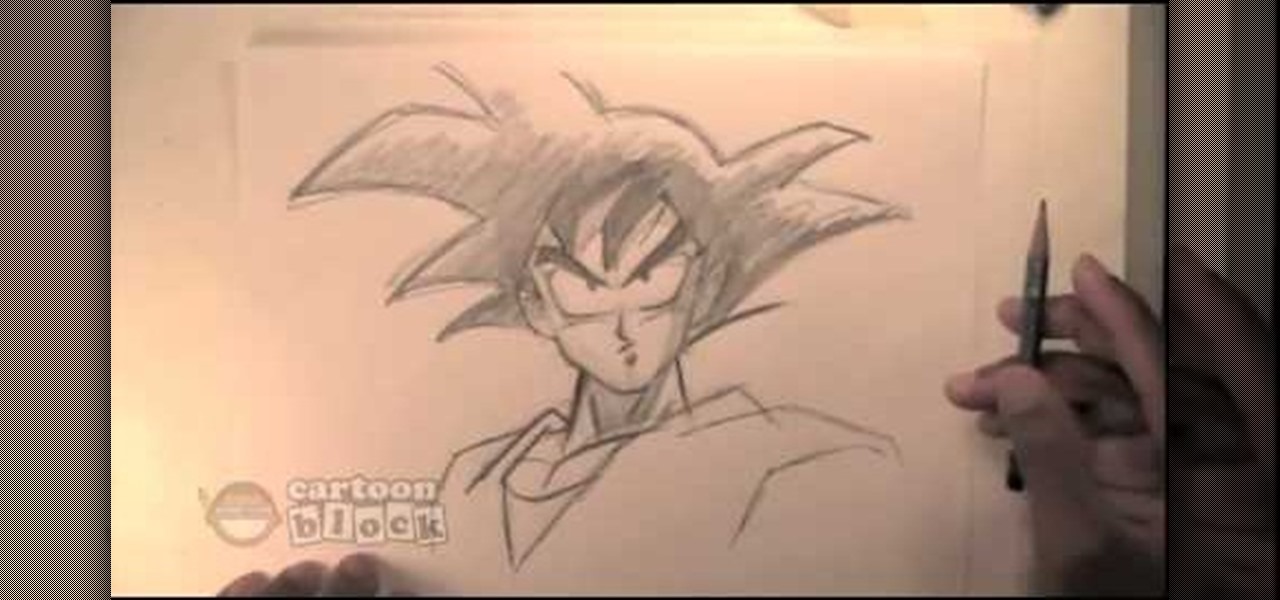
In this tutorial, we learn how to draw Goku. First, you will start drawing the outline of the face, including the features of the face. After this, darken around them by drawing with the pencil. From here, draw in the hair on the top of the head and the ears on the side of the head. Next, you will draw in the neck and the rest of the body as well. Add in lines on the body to show the contours and the muscle on the body as well. Finish this off by adding in shading and erasing any background l...

In this video, we learn how to draw Naruto Fuuton Rasen-Shuriken. To start, you will first draw the outline with a light pencil. Then draw it darker over the outline with more details to make the final outline. From here, start to add details into the middle and then draw on the entire body. From here, draw on the clothes and make sure to put the lines on to show the folds and creases of them. Draw on the details of the face and finish off cleaning up any lines that aren't needed. Shade in wh...

In this tutorial, we learn how to draw skulls the easy way. First, draw a round circle on the page followed by a smaller one connected at the bottom. From here, draw in two sideways triangles on the middle of the large circle. Then, draw in lines on the face and create the section of the nose. After this, draw in large teeth on the skull and then connect lines around the circles to make the jaw line. After this, draw on lines around the skull to make it look like it has depth. Then, shade in ...

In this tutorial, we learn how to draw a skull. First, select a picture of a skull that you want to draw. Then, sketch a few lines so you know where you are going to position the sockets in the eyes. Also do this for where you're going to position the nose and mouth cavities. Then, erase any unwanted background lines. From here, you will draw over your original sketch and then tone the eyes and the sockets. From here, you will tone and add shading to the rest of the skull and the areas behind...

In this tutorial, we learn how to draw Naruto 4-tails. First, draw the outline of the characters and the four tails. After this, draw in the rest of the outline in the final stages using a darker stroke of the pencil. Start to add in the details of the figure of the body and then add in the shading around the sides. Make sure you draw in the hands and the fingers as well as the facial features to make it look more realistic. Add in any more details that you would like to make it unique, then ...

In this tutorial, we learn how to draw a skull. First, draw the letter c with flames inside of it. After this, draw a lightning shape next to that and then draw teeth on the bottom of it. From here, you will draw in the rest of the head to the left of the side. Add in details and lines to show the bones curving and the jaw bone. After this, draw in the teeth on the bottom of the mouth on the jaw line. To finish this up, you will use your pencil side to shade in the side of the skull and add i...

If you're a fan of Tinkerbell, then this video is for you! We learn how to draw Disney's magical fairy, Tinkerbell. Start off by drawing the outline of her body and wings. Then, draw over this to make a 3D version of her. From here, you will start to draw in the details of the face and the body as well as the clothes. Once finished, you will color in the skin, wings, and clothing. Use shading and lines to make the character appear more realistic. To finish this up, add a colored background an...

In this tutorial, we learn how to draw portraits. First, you will use a light touch of the pencil to draw the outline of the face and hair. Make sure to include the jaw bone and create a line for the chin. Next, use the side of the pencil to draw on the shading underneath the features of the face, which you will gently outline with the pencil as well. As you add more detail, you will increase the color with the pencil to create a bolder image. After this you will draw in the ears and the hair...

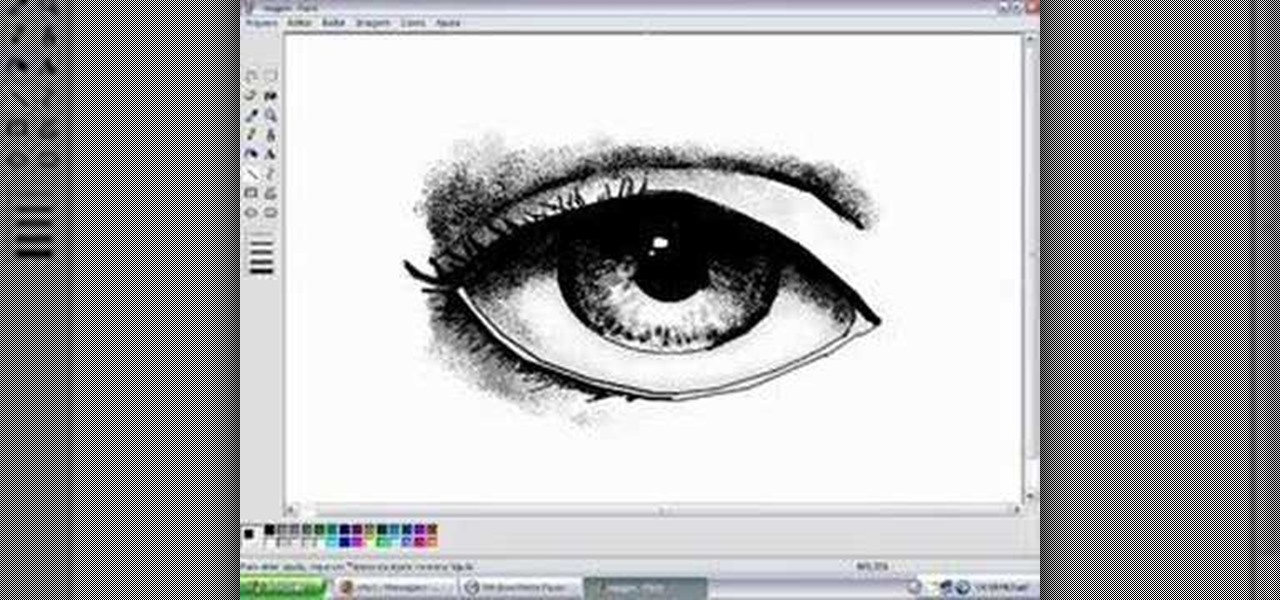
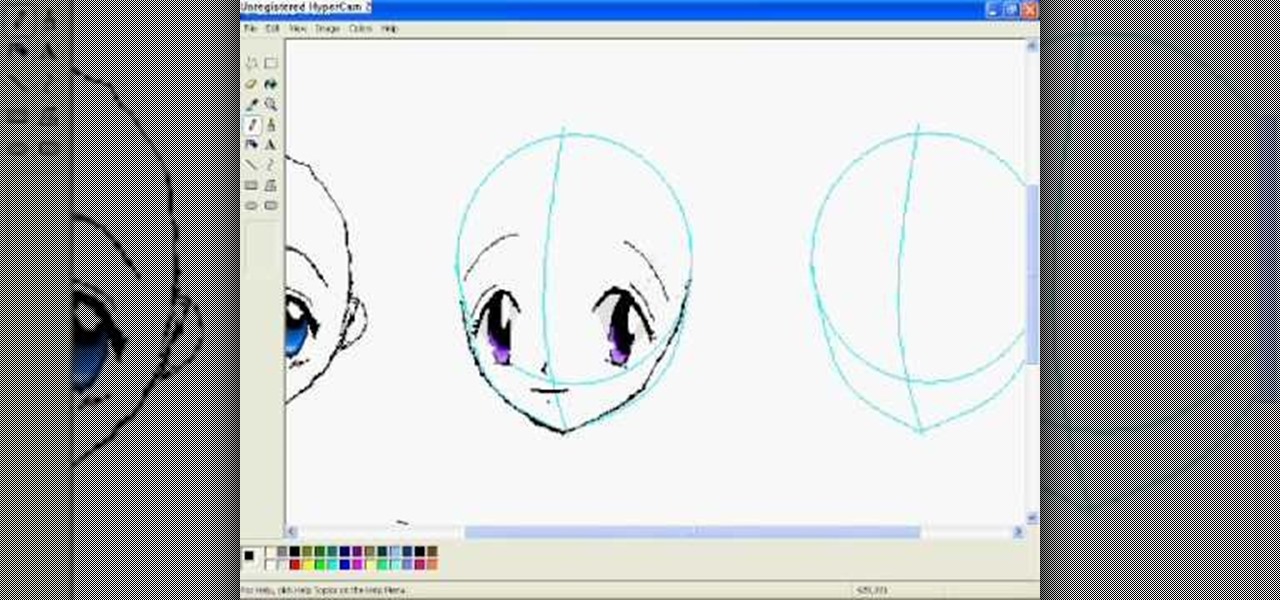
In this tutorial, we learn how to draw eyes in MS Paint. Start out by drawing the outline for the eye using a thin marker. After this, draw on a thicker line at the top of the eye and then draw on the crease of the eye above this. Now, draw in the details of the middle of the eye and start to shade in around the crease of the eye and the middle of the eye. From here, draw in the eyelashes on the top and the bottom of the eye, making them longer if they are for a woman. When finished, save thi...

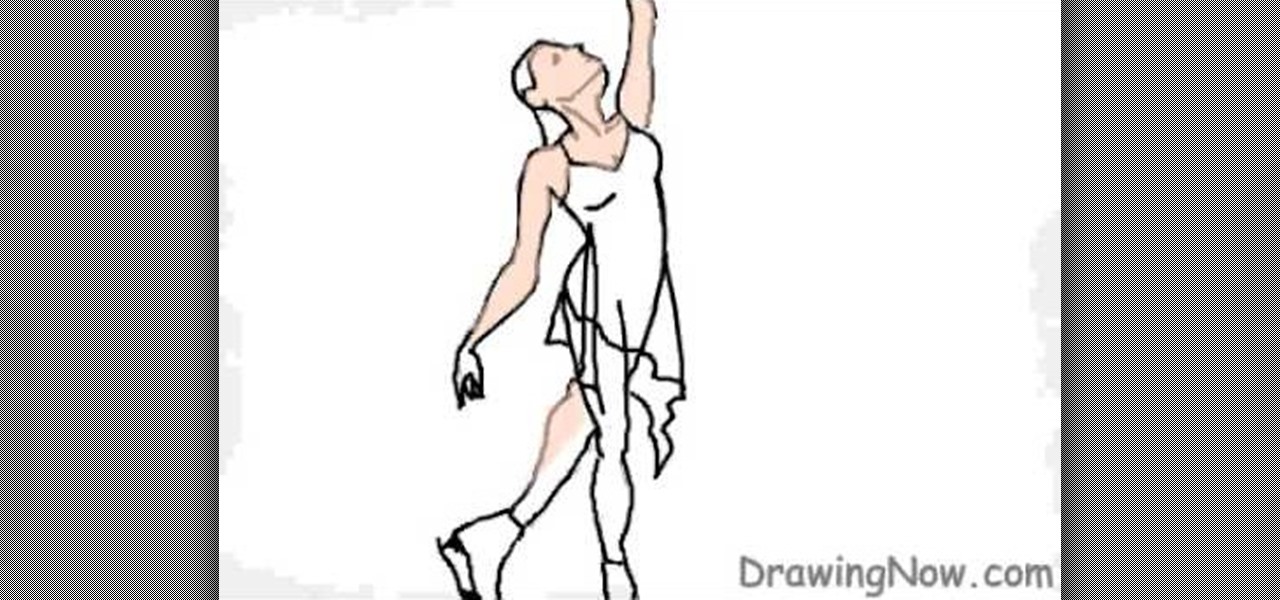
In this tutorial, we learn how to draw an ice skater. Draw the outline of the entire body of the skater first. Draw one of her hands high in the air and her legs crossed on the ground. From here, draw in the details of the face and clothing, as well as the legs. Next, color in the skin of the ice skater and shade in the sides of the limbs. Draw in the ice skates on the feet, then color in the dress over her body. Create lines on the clothing to show the folds and make it look more realistic t...

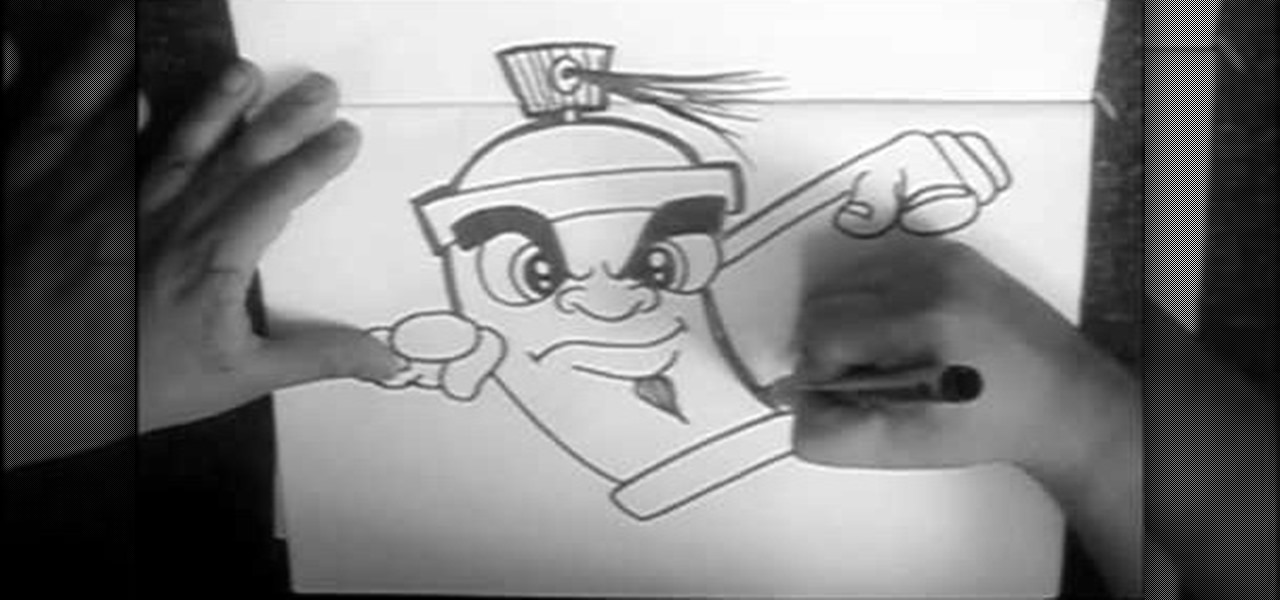
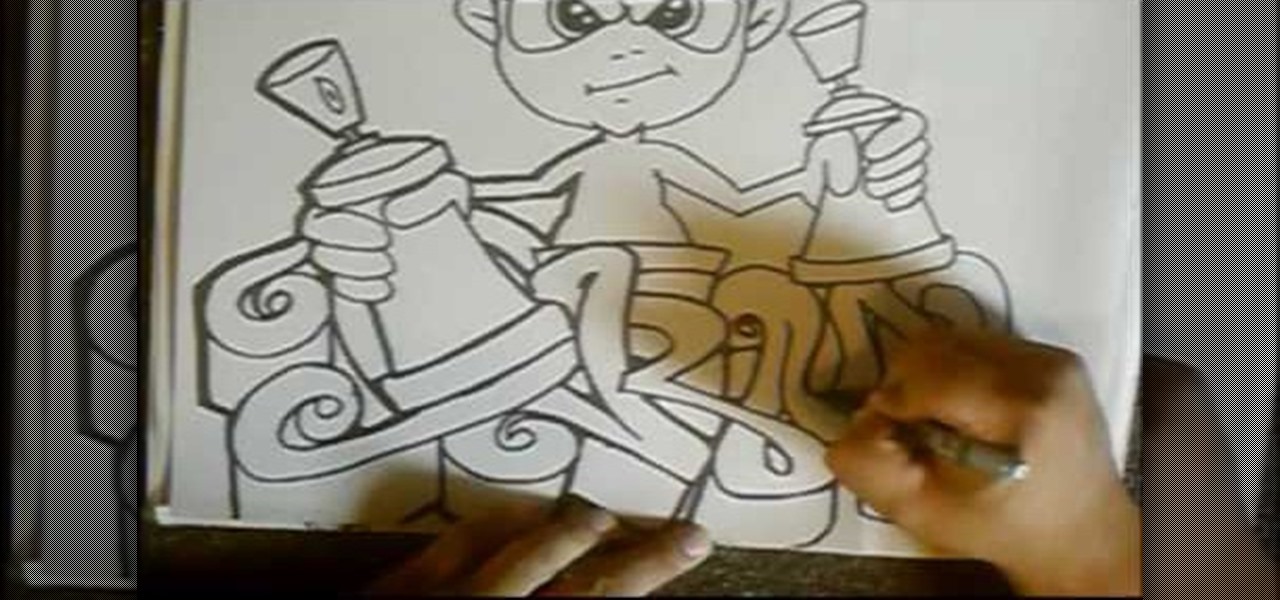
In this tutorial, we learn how to draw a cartoon spray can. Start off by drawing a round circle for the eyes, then fill in the pupil and draw the eyebrow above it. After this, draw in the nose and then draw the other eye opposite to the first. From here, draw in the mouth and the goatee on the face. Then, draw in the top, which will be a rectangle with a half circle on top of it. From here, draw a hand on the right side pointing straight out, then draw a top to the spray can showing the spray...

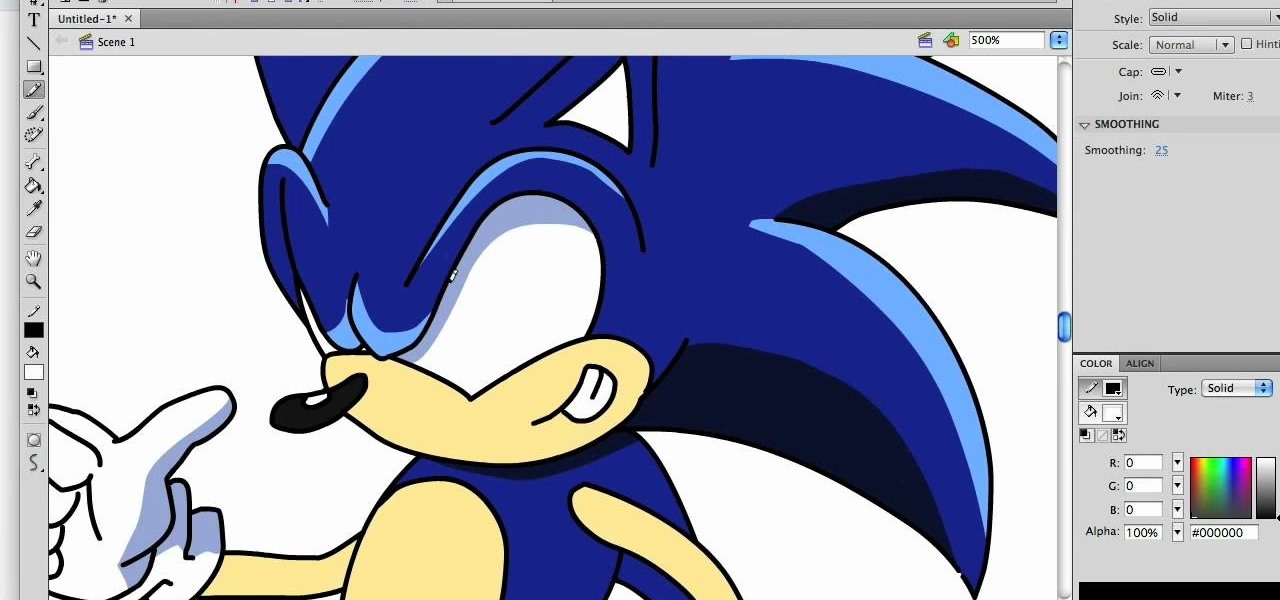
In this tutorial, we learn how to draw a hyper-stylized Sonic the Hedgehog. To start, you will draw the outline of the entire body of Sonic. Make sure you draw in the huge spikes for the hair as well. Next, you will draw in the eyes, muzzle, and nose on the face. Then, you will draw in the stomach area, the feet, and the hands. After this, clean up any background lines and color the character in completely. Next, shade in darker colors on the sides of the body to give Sonic more depth and mak...

In this tutorial, we learn how to draw the 8-Tails Jinchuuriki, Killerbee. Start out by drawing the outline of the character. You want to make sure you draw reference lines on the head so you know where to place the eyes, nose, and lips. Next, you will start to draw in lines to show wrinkles on the face and then the headband on the top of the head. After this, add some shading into the face to add some depth. From here, you will draw in the hair and the band around the head, giving it more de...

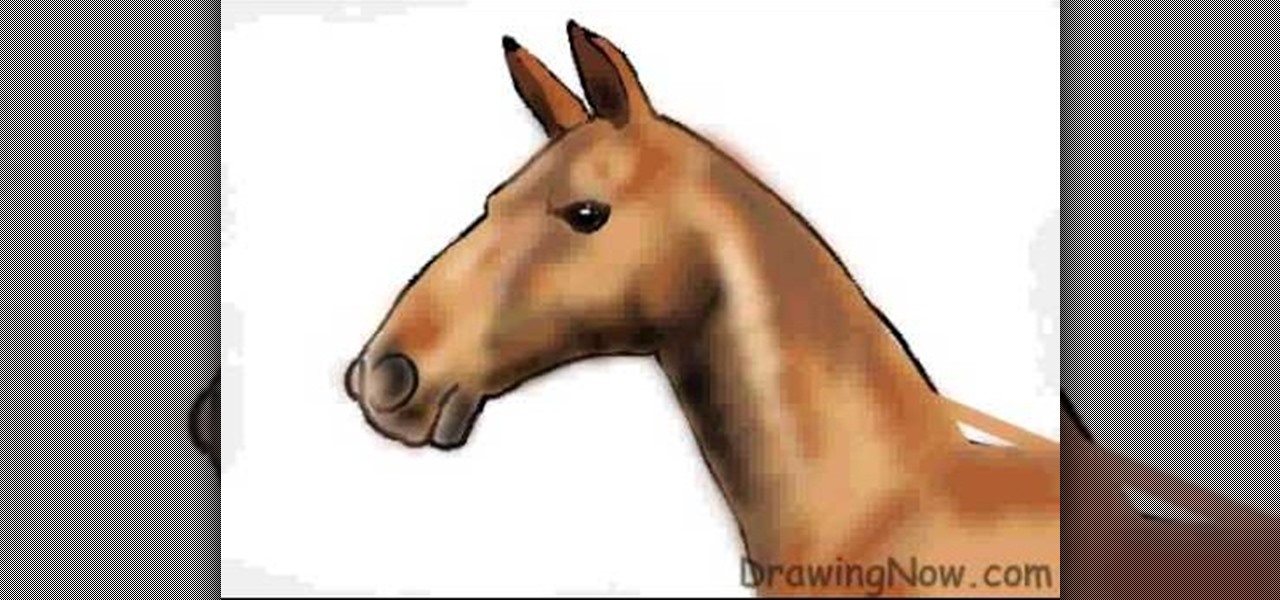
In this tutorial, we learn how to draw the head of a horse. Start out by drawing the outline of the horse's head and the neck. Then, draw in the ears and the details for the nose and the face. Next, color in the horse and then add shading along the sides of the horse and fill in the features with black. Use different colors of brown to show a contrast between the colors on the horse. After this, you will use small lines to create hair on the horse, then add in additional features. Clean up an...

In this tutorial, we learn how to draw Optimus Prime, leader of the Transformers. First, draw the outline of Optimus Prime, use basic lines and circles to show where the joints are going to go. After this, draw the full outline around the character, using a dark line to make it look 3D. Then, draw in the rest of the details for the character, giving him a look like a machine or a bunch of metal. Next, you will start to shade in the different parts and add colors that were used in the movie. W...

In this tutorial, we learn how to draw The Incredibles. Start out by coloring the background orange, yellow, and white. Then, draw the outlines of the bodies for all of the characters in the family. After this, draw in the details, giving them a 3D type of image. Next, you will color in the clothing and add in the fine details for the hair and the face as well. Erase any background lines from the drawing to clean it up, then add in some shading to make it look more realistic. To finish this, ...

In this tutorial, we learn how to draw curvy steps using pencil. To start, you will draw a thin horizontal line with a small point on it. After this, you will draw lines out from this, using a ruler to keep them straight. From here, draw your steps on the bottom of the page using the lines to keep them proportioned and in place. Draw them in a triangle wedge shape and then color them in. Shade the bottom and the sides to give them depth and dimension. After this, draw in the area around the s...

In this video, we learn how to draw Sonic the Hedgehog in his soap shoes. First, draw his muzzle and nose. After this, draw in angry teeth in the mouth and then draw in the eyes and the ears. From here, you will draw in the rest of the spiky hair around the head. After this, draw on the arms and legs, as well as the feet and shoes. The shoes should be larger than the entire body and have lots of details on them. When finished, add in shading around Sonic with the side of the pencil to give hi...

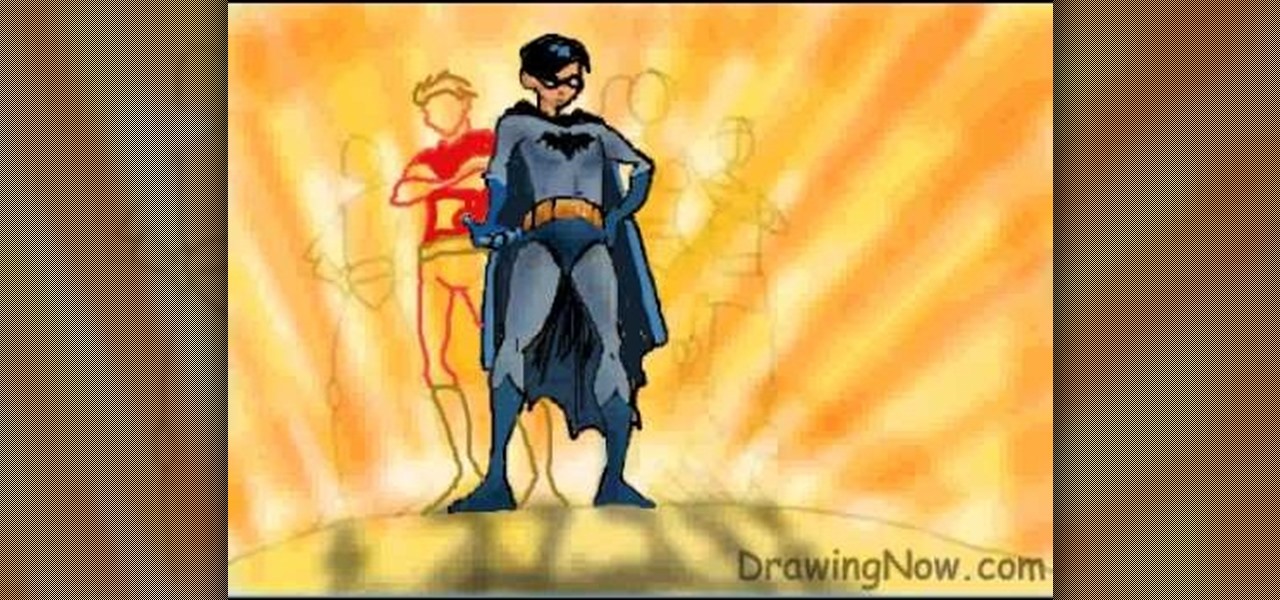
In this tutorial, we learn how to draw the cartoon Teen Titans. Start off by drawing the basic outlines of all the characters. Use circles and basic lines to draw out the outlines of them all standing together. From here, draw in the color for the background behind them, then start adding in details for each of the characters. Draw in each of their outfits, as well as facial features. Use lines and shading to make the characters look more realistic. Color them with the appropriate colors for ...

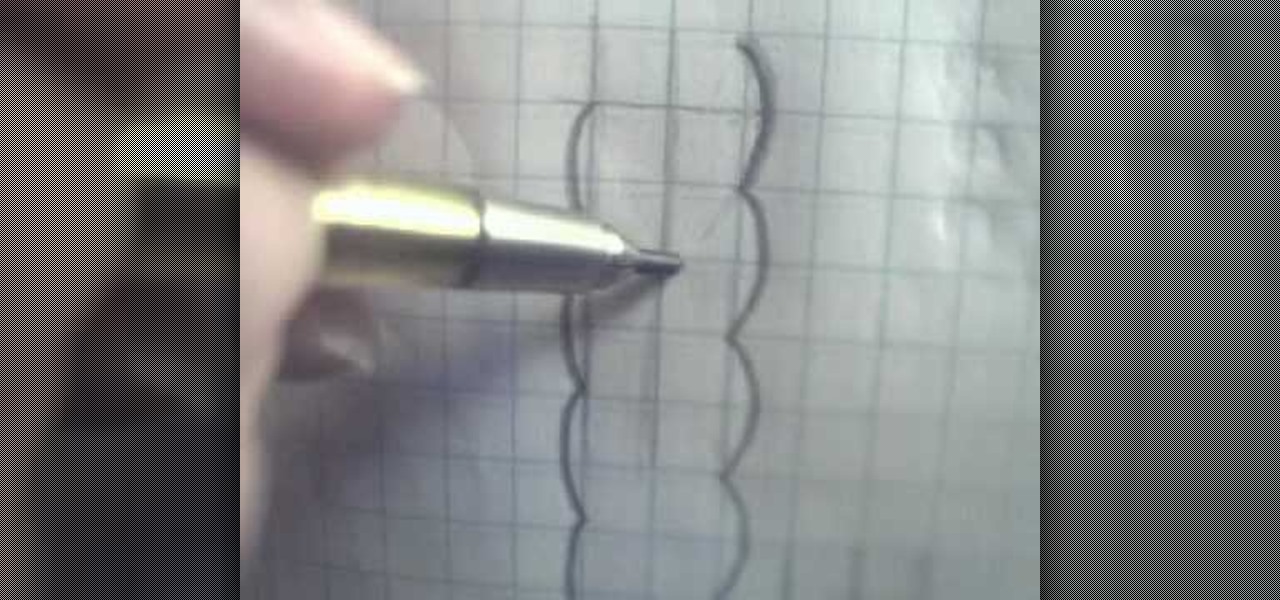
In this tutorial, we learn how to draw braided hair. Start off using grid paper and a pencil to practice. Then, draw two lines parallel together and draw a line in between each of those. From here, draw on a circle around these and continue the pattern all the way down until you reach the end of the lines. Then, draw a line in the center where the circles meet and start to shade in the area to the right, creating a line coming out of it from the left. Practice doing this to get a better idea ...

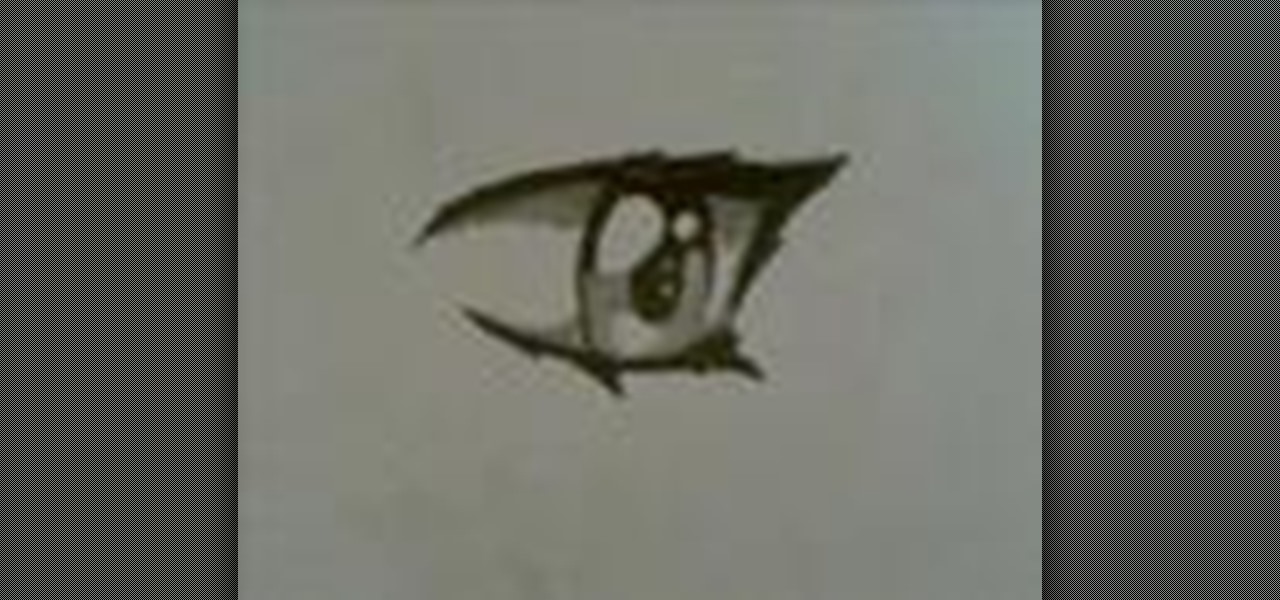
In this video, we learn how to draw an anime eye step by step. Start out by drawing the outline of the eye. Then, fill in the eye with details and create shadows as well. From here, you will add in further details, including the shading and lines that make it look more realistic. Make sure you draw in the creases for the top and the bottom of the eye as well as the lashes on the top and the bottom. Draw in the details on the inner corner of the eye and add a white spot to make the eye appear ...

In this video, we learn how to draw anime eyes in MS Paint. First, draw the round circle for the head and draw a line in the middle for reference of where the eyes will go. To draw large eyes, draw two round circles and then a small pupil at the top. Color the pupils in black and color the rest any color you'd like. For female eyes, make the pupils much larger and add in eyelashes on the eyelids. Shade in underneath the lids and add white to show they are glossy. These are both great looks fo...

In this tutorial we learn how to draw graffiti. Graffiti can be done in hundreds of different ways, depending on your taste and your abilities. Remember when you draw on graph paper that it will help your letters stay to scale so you have a more even looking word or letter. Also, when you draw your characters you want to draw them with large features and exaggerated clothing, so it gives the gangster loose clothing look. Use a brush pen to create a flared effect and shade in around the letter...

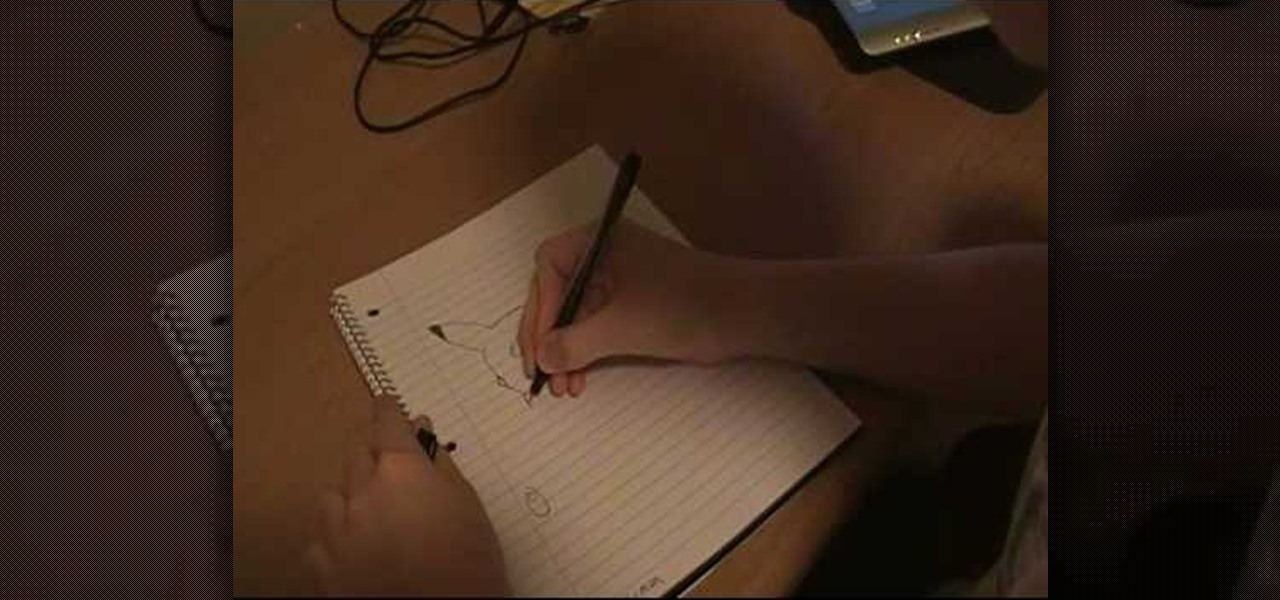
In this video we learn how to draw Pikachu from Pokemon. First, draw the ears and the top of the head. After this, create the sides of the head and color in the tops of the ears. Draw in circles for the eyes and then draw in the nose, cheeks, and smile. Continue on to draw the rest of the body and the details of the chin of the character. Add in the details for the side of the body and then add in shading and body lines wherever possible. When you are finished, share this with others and be a...

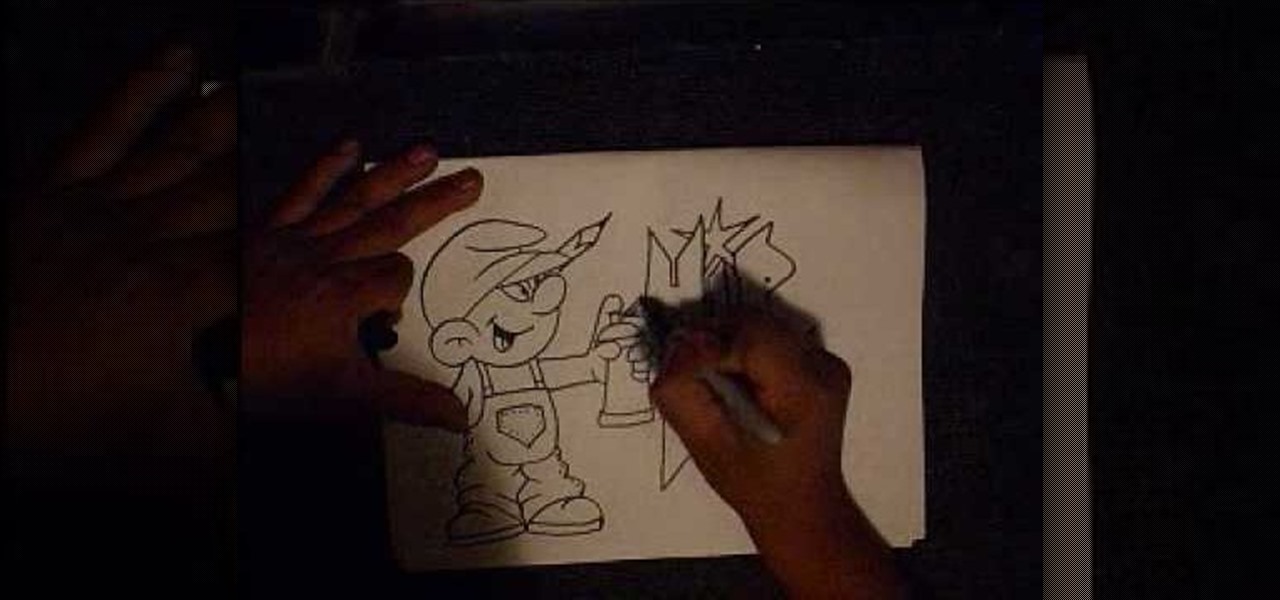
In this tutorial, we learn how to draw a graffiti Smurf character. Start off by drawing the hat for the Smurf, then draw in the ear on the side of the head. Then, draw in the face and start to add in the details. Draw in the mouth, nose, and eyes. After this, draw in the upper body and the clothing that the Smurf is wearing. Add crinkled lines on the edges to make it look like the pants are too big, then draw in the feet, arms, and hands. Draw a spray paint can in the hand of the Smurf, then ...

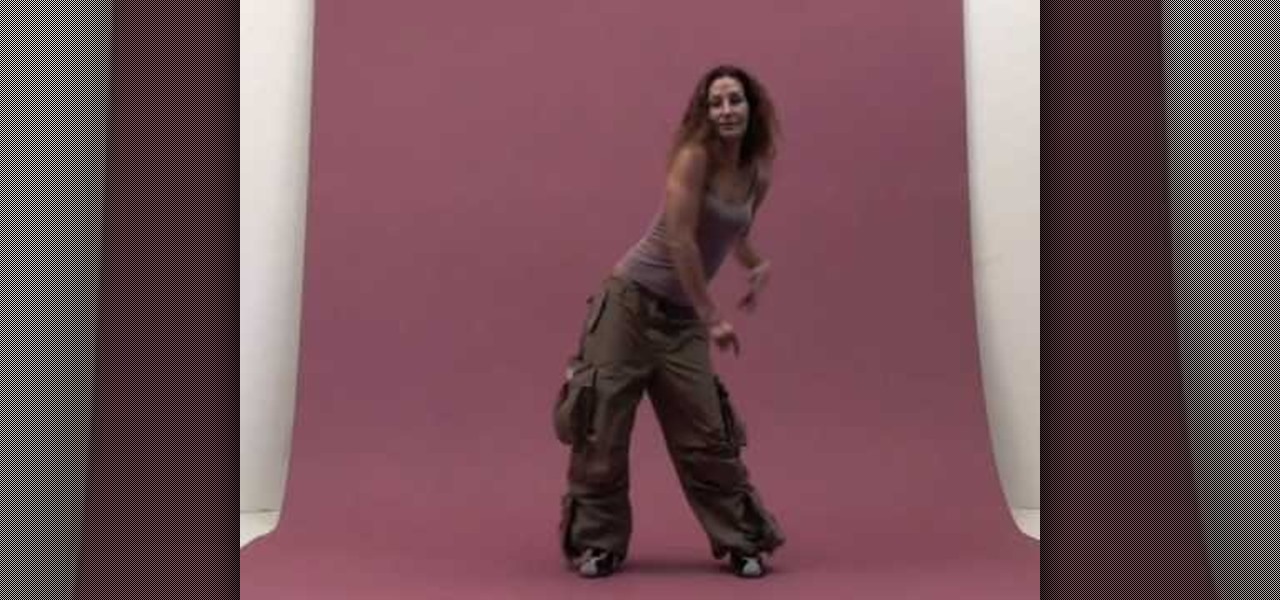
There are few things we'd like to bring back from the '70s: After all, living through super flared bell bottoms, afros bigger than our body, and peace sign shades once was enough. Though we're glad the trendy style of the '70s has faded like yesterday's news, we do love pulling out our Disco Era dance moves.

In this tutorial, we learn how to draw Little Sack Dude. Start out by drawing the outline of the body for the character. After this, draw on the limbs and then add in the details of the face. Once finished, draw in the details of the clothing, then the hands on the character as well. Draw in additional details along the feet and arms, then shade the entire character with the pencil. Once you do this, darken the eyes with the pencils to make them black and then darken the parts of the details ...


