See how to use the contour shading feature in Mental Ray to create basic inking or schematic rendering and how you can mix it with standard shaders, ambient occlusion or ink&paint shader to achieve better results. Whether you're new to Autodesk's popular modeling software or a seasoned 3D artist just looking to better acquaint yourself with the application, you're sure to be well served by this video tutorial. For more information, and to get started using Mental Ray countour shading in your ...
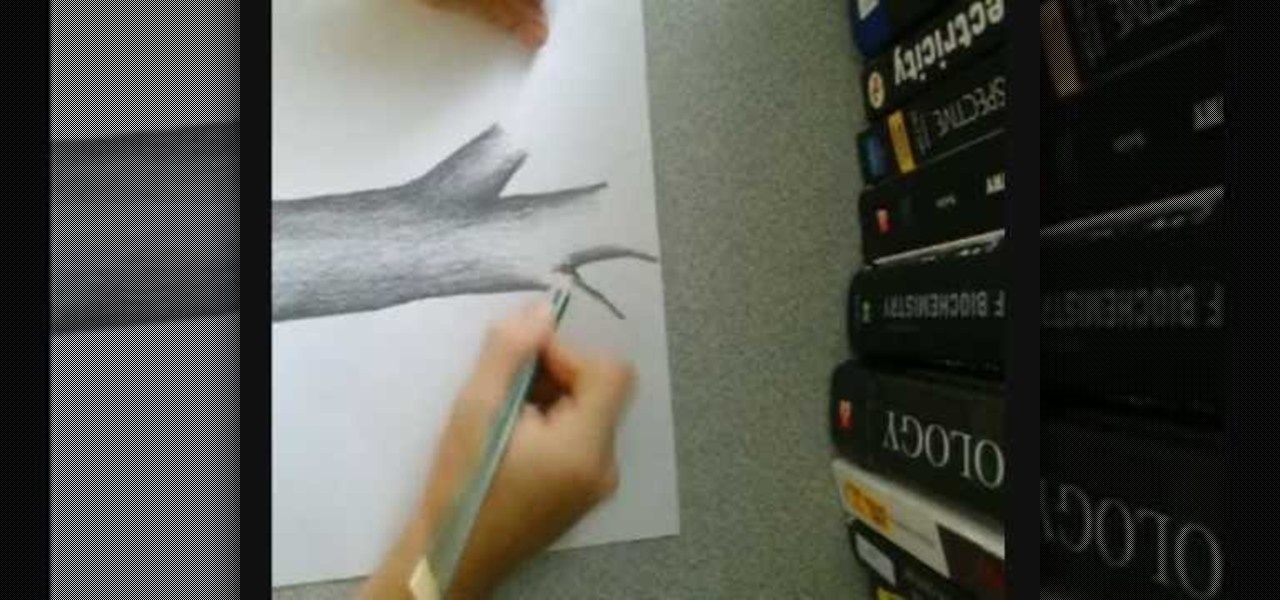
This video demonstrates how this artist draws a tree using a pencil and paper. After creating the outline of your tree trunk, darken the line and add shading as necessary throughout the tree to add dimension to your drawing. The darker shading is focused on the outside edges of the trunk, lightening as you go towards the center of the trunk. Sharpen your pencil as necessary, since it is easier to add detail to your tree with a sharp pencil. Add further branches to your initial trunk and creat...
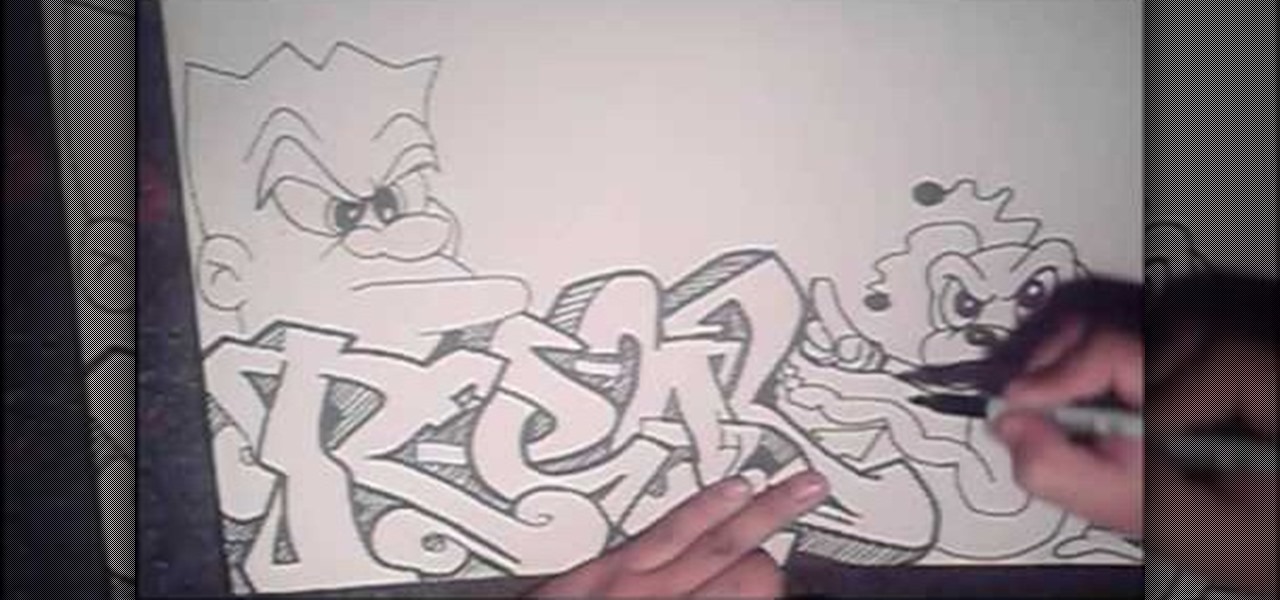
If you're interested in learning how to draw graffiti art, this tutorial can help you out with it. In this video, you'll find out how to draw, shade, and outline graffiti art following this video. It's easy to understand and can be practiced over and over again. So good luck and enjoy!
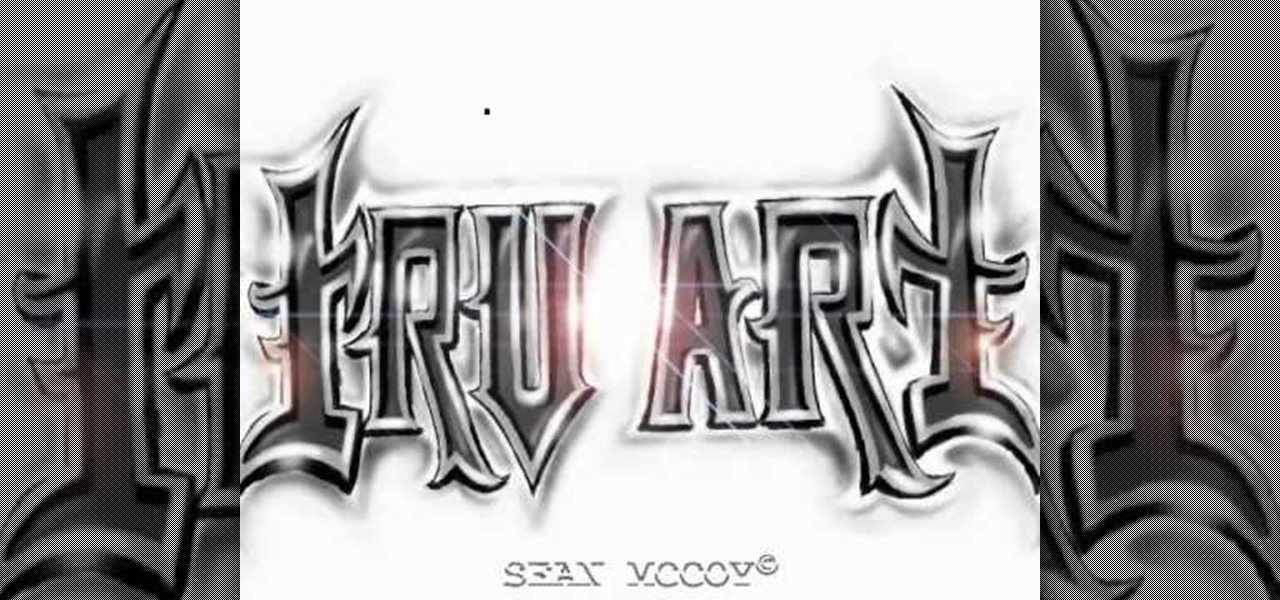
Graffiti is a well known art form that some people really don't consider an art. It can be a very difficult art form to practice that requires time and patience in order to create a great looking piece of work. So in this tutorial, you'll find out how to draw and shade the west-coast style text. So good luck and enjoy!

This how to video shows you how to graph an inequality in slope intercept form. First, graph the line. Depending on the inequality, use a dash or solid line. Use a solid line for less than or equal to or greater than or equal to. Use a dash line for greater than or less than. If y is less than or less than or equal to, shade the bottom area of the line. If it is y is greater than or greater than or equal to, shade the top area of the line. Check your answer by substituting in any point from t...
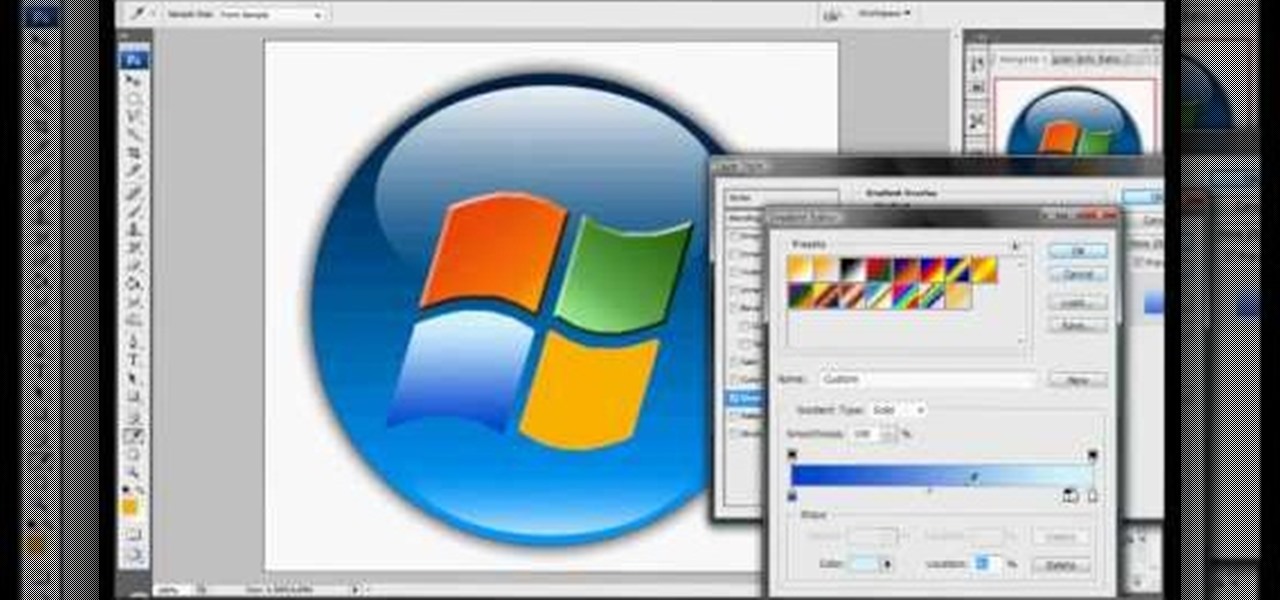
A compelling and quick moving tutorial on making the Windows Vista logo with Adobe Photoshop. The logo can be made quick without going too in depth into some of Photoshop's more advanced features. Starting with a circle a gradient shade is layered over the shape. Two circles are cut out and shaded white to give the circle a 3D feel. Then adding a drop shadow to the entire shape really gives it the logo's appearance. The windows themselves within the logo are cut to shape and copied and moved ...

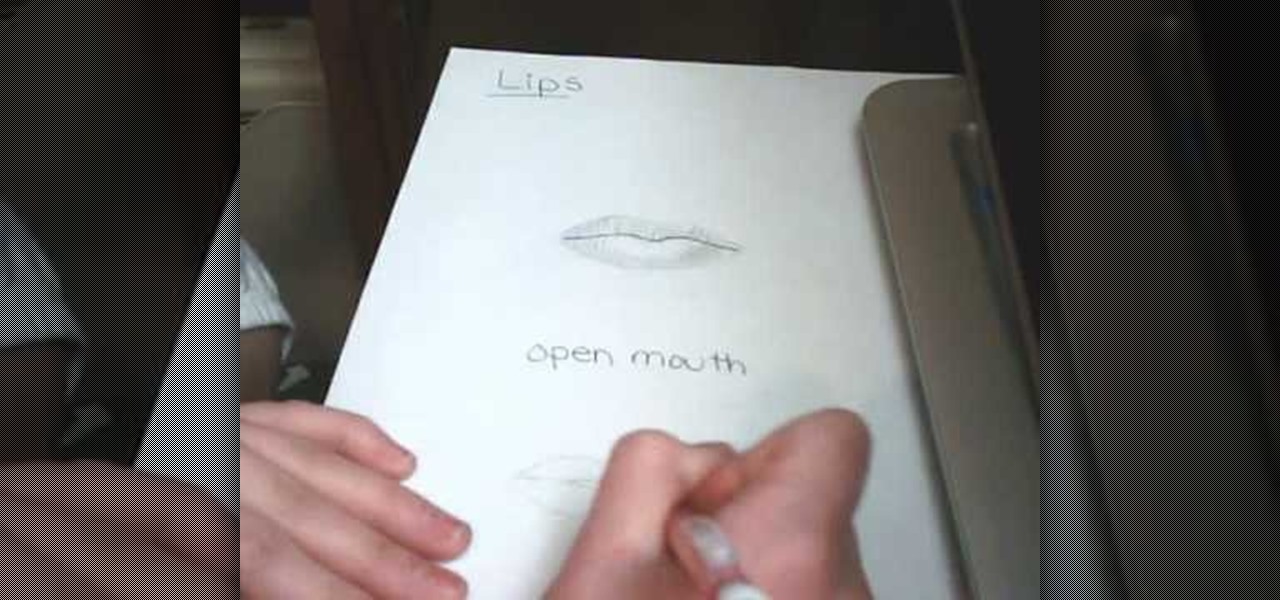
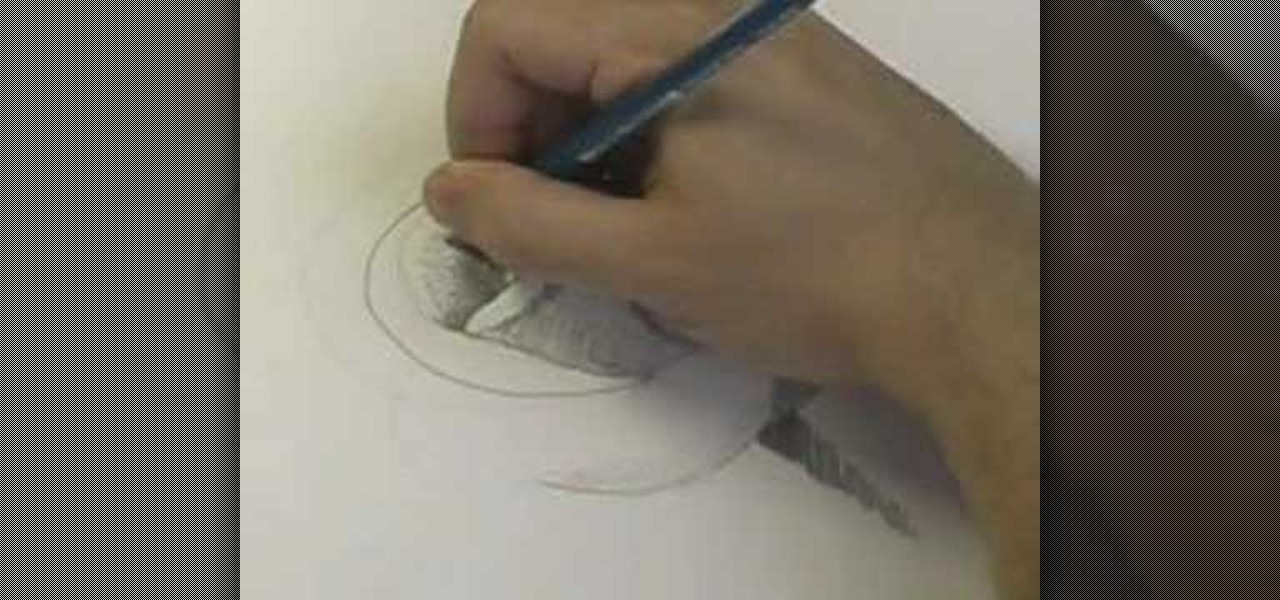
If your drawing a face and get to the mouth region and don’t know where to go from there then watch this video to see how you can shade in lips. Fist you’ll draw the basic lip outline. Depending on who you’re drawing the lips might be fuller or thinner. The tricky part it the shading. The shading is to show depth in the lips. You’ll want to give a shine in the middle to greater depth. Next you’ll want to try drawing a partially open mouth.

Seven easy basic art methods and steps to drawing Anakin Skywalker. The first 1-3 steps illustrates the basic drawing methods for the human head shape, and line placement for a basic human head. The fourth step illustrates basic drawing of the eyes, nose, mouth and ears. Step five illustrates the basic shading around the eyes, nose, ears and mouth. Step six illustrates how to add the shaping and styling of the hair and facial features. The final step illustrates how to shade the hair. It also...

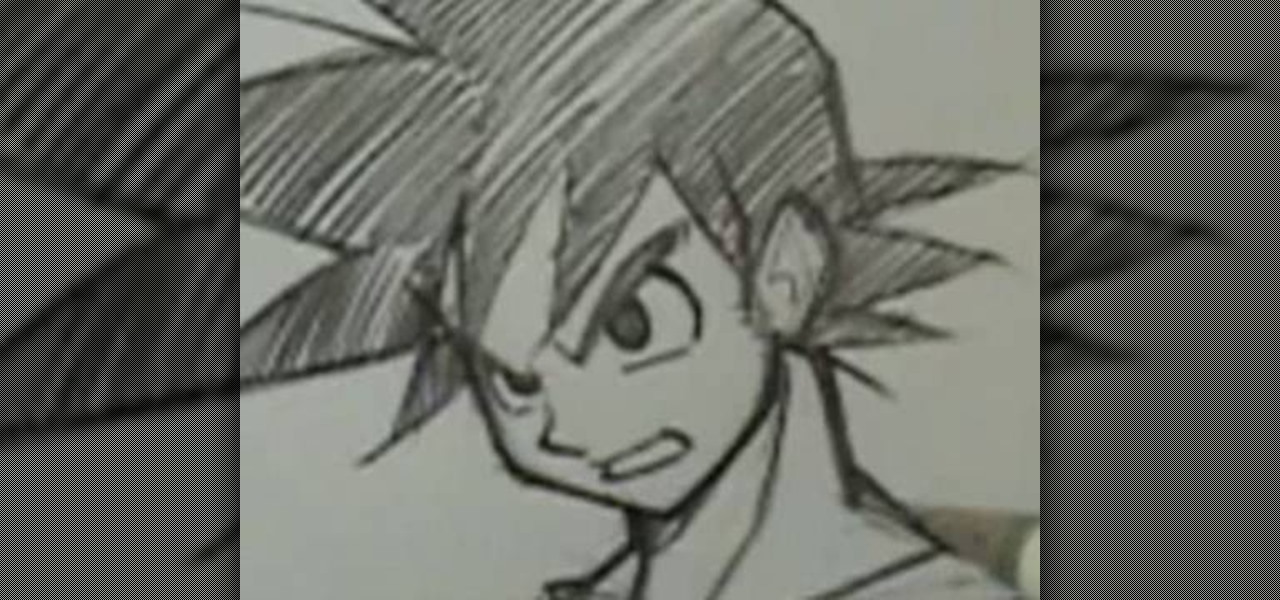
Robert Dejesus demonstrates how to easily draw the picture of Goku in (Dragonball Z) by simply using a pencil This demonstration is created with beginners in mind and also to inspire children to take up drawing. First of all, a thinner, rough profile of the figure is drawn and then followed by thicker shade. The head is drawn from a circle and mended to its real profile as the face begin to appear and the hair is drawn and followed by the neck and torso and the shading is given to highlight t...

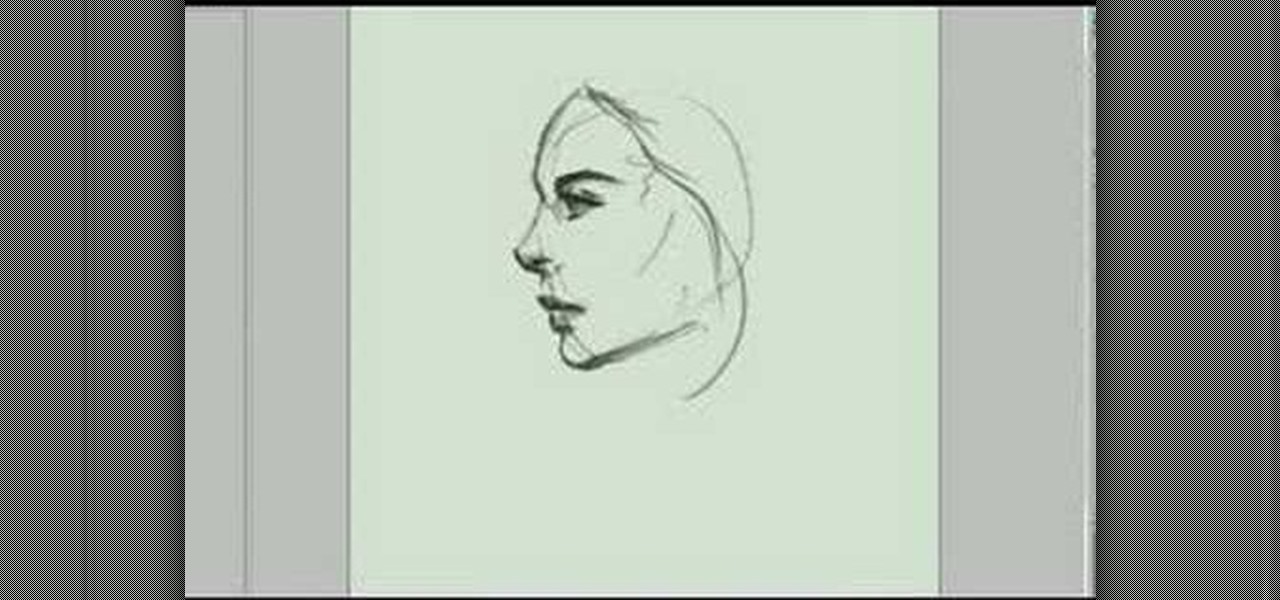
Idrawgirls demonstrates how to draw side view of a woman or a girl. This is a very quick sketch done in Photoshop. First ¾ of a round is made. Then a pointed jaw and a very rough sketch of hair one or two hair, eyes and nose are drawn. Next a thick and dark eyebrow is drawn, darken the eye lashes, and give shade to the eyes. The borders of the face are darkened. Now required shades are given to the face. Now a long slightly bended hair is drawn and given shades. There is a beautiful girl's si...

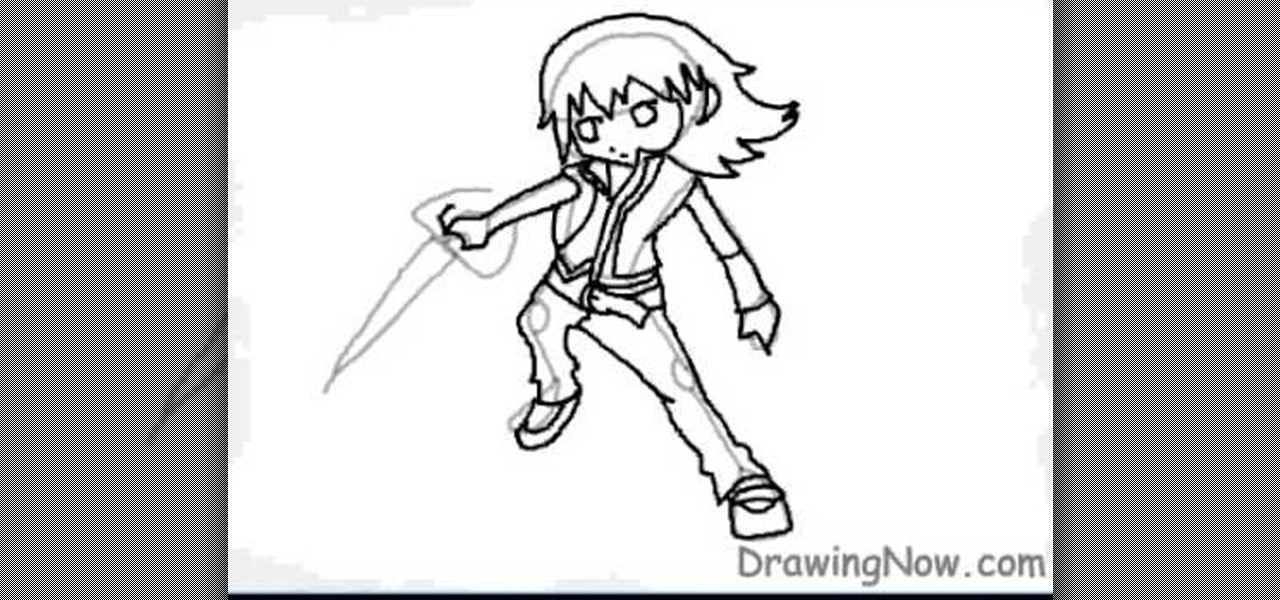
The video shows us how to draw Riku from Kingdom Hearts. Firstly draw a rough circle and then draw a center line to it. Then draw the rest of the body parts along with the sword aligned to it along the way down. Draw all this using a lighter shades and once you are done creating the body line roughly, use the darker shades to highlight that and also start drawing the other important parts like parts of the mouth, costume, limbs and the shoes. Then erase the parts which were in lighter shades ...

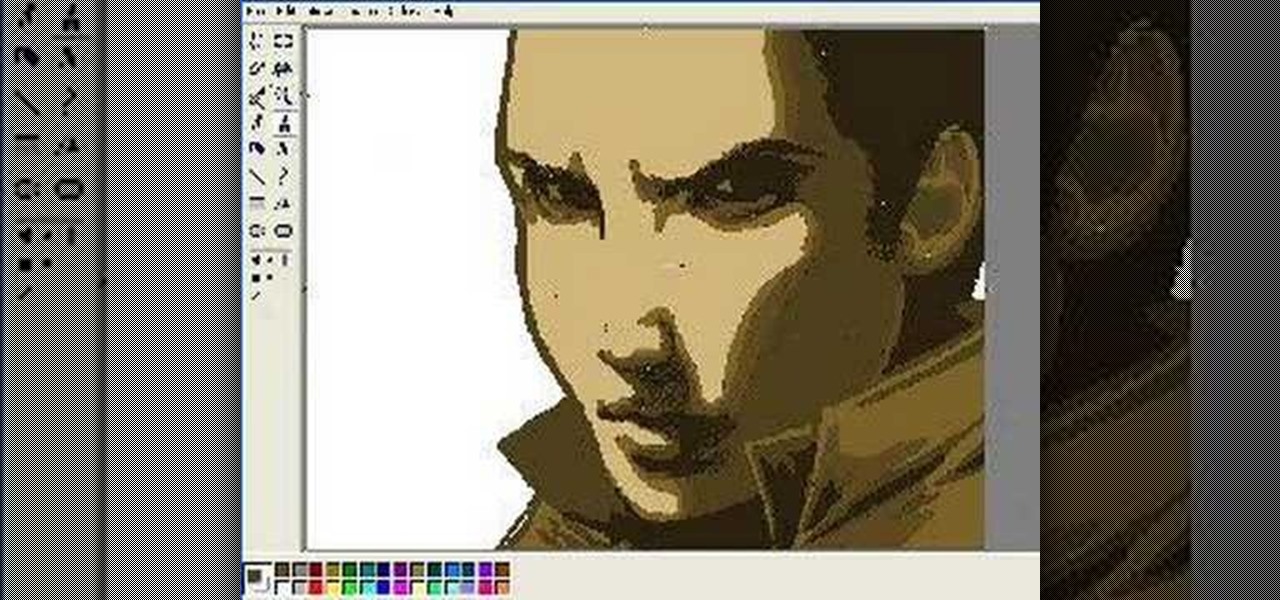
How to draw a face in MS Paint. The video is obviously made by a professional, it shows a sped up replay of a man using MS Paint to draw a very well done face. He starts with the basic outlines, then moves into coloration and shading. Notice all of the shading is done in unison and correlates with a particular direction that remains the same with all shading properties. Also take note of the fact, that the colors and lines are blending together, that the detail isn't as sharp as a high resolu...

Want to look like Courtney Cox Arquette from her hit series Cougar Town? Courtney Cox is absolutely beautiful in her show, so why not steal some of her looks for personal use? Princess Pinkcat shows you how she creates her Courtney Cox makeup look from Cougar Town.

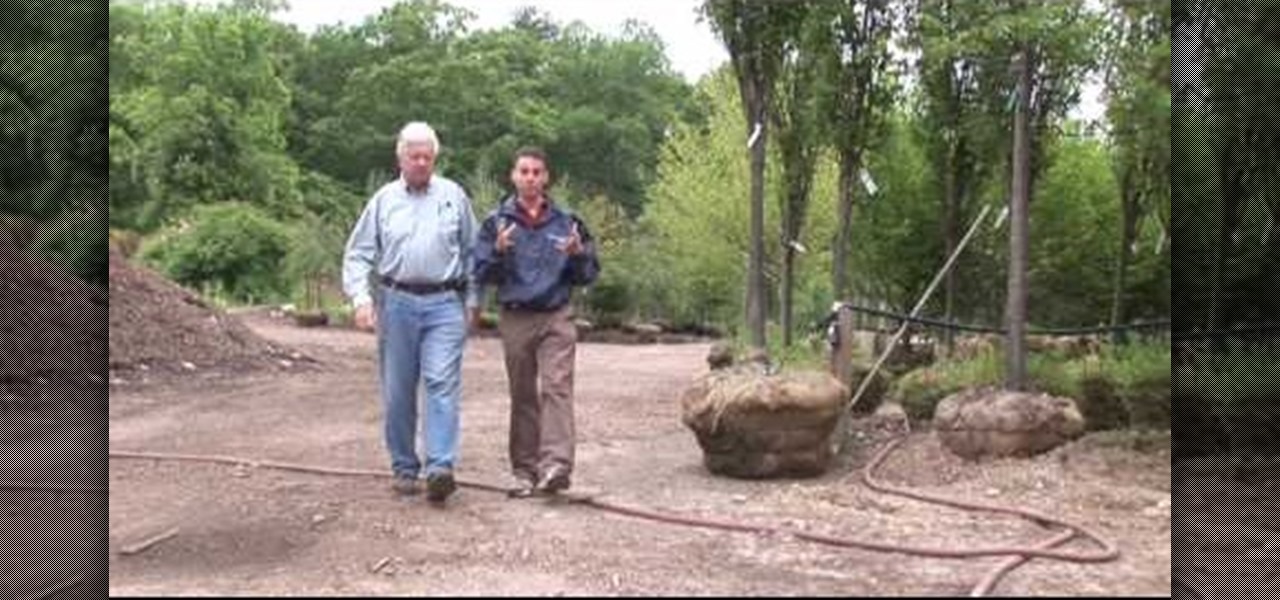
When you head to your neighborhood gardening center to find a shade tree for your garden, the variety of choices can be pretty overwhelming. There are so many kinds of trees, and each of those trees has its own varieties. In this clip, Dave Epstein from Growing Wisdom will help find the best shade tree for you.

"Miki Falls" manga creator Mark Crilley demonstrates his drawing techniques by filming as he shades part of an actual final page from the 3rd book in his manga series, "Miki Falls: Autumn"

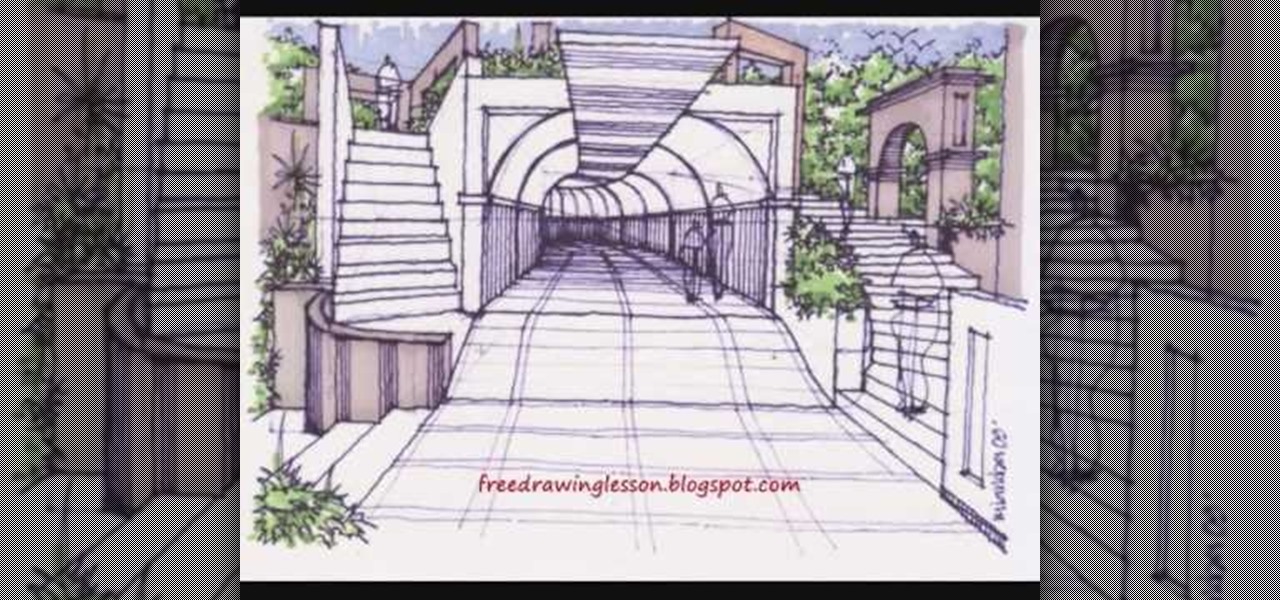
This video is a drawing lesson on how to draw and color a tunnel. It starts with rectangles and an arch, and more lines are added to show the perspective of the tunnel. Stairs, structures, and more architectural detail is added all around the tunnel and then inside. Next the coloring is demonstrated. First the bushes are colored green, and the different architectural elements made of cement or stone are colored in shades of brown and beige. The inside the tunnel is done in shades of blue, and...

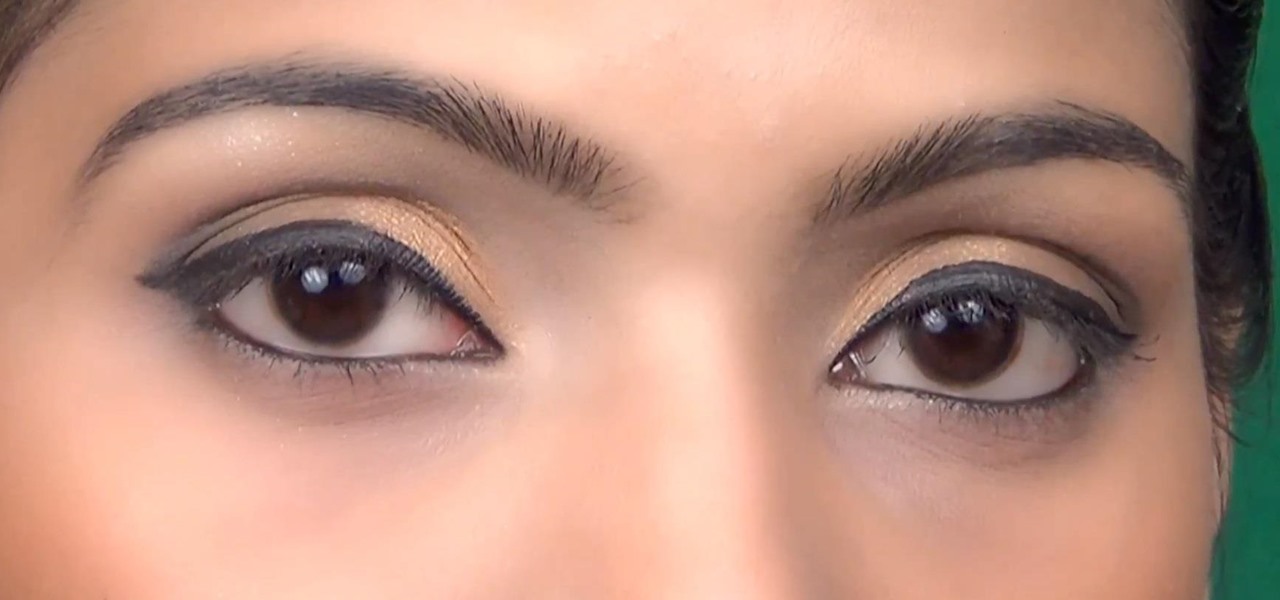
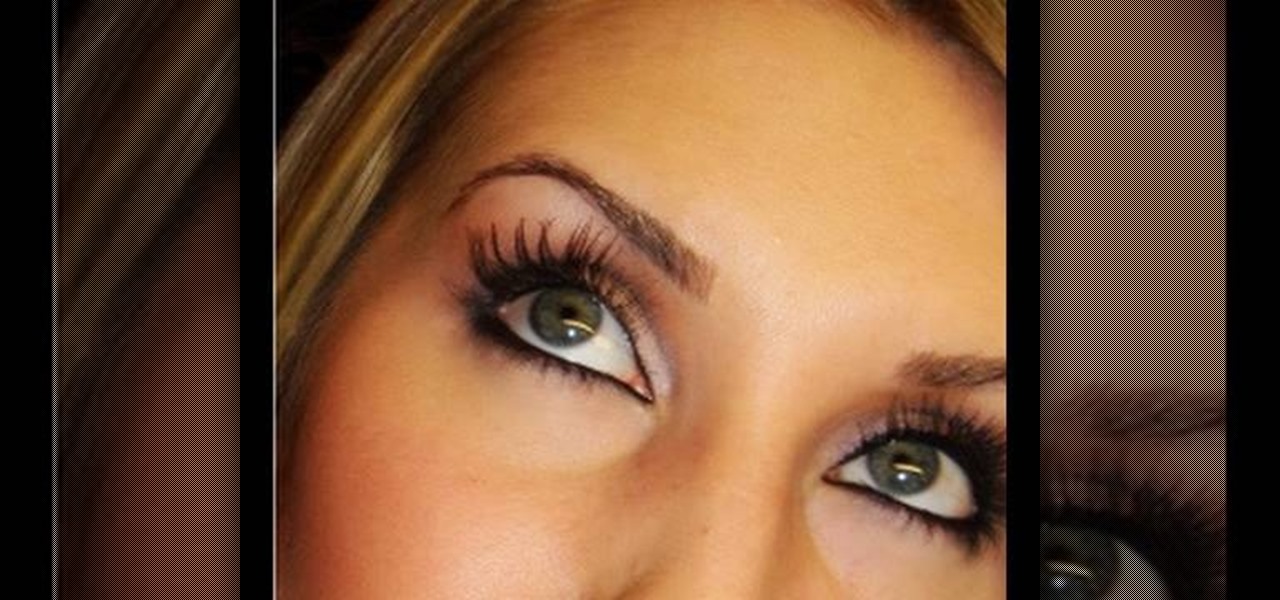
If you're going out in the evening, your makeup is incomplete without enhancing your eyes. Just because you're not sure of the colors that will suite your brown skin tone doesn't mean you won't beautify those eyes. Follow along with this eye makeup tutorial for beginners to see how to get evening eye makeup for dark skin.

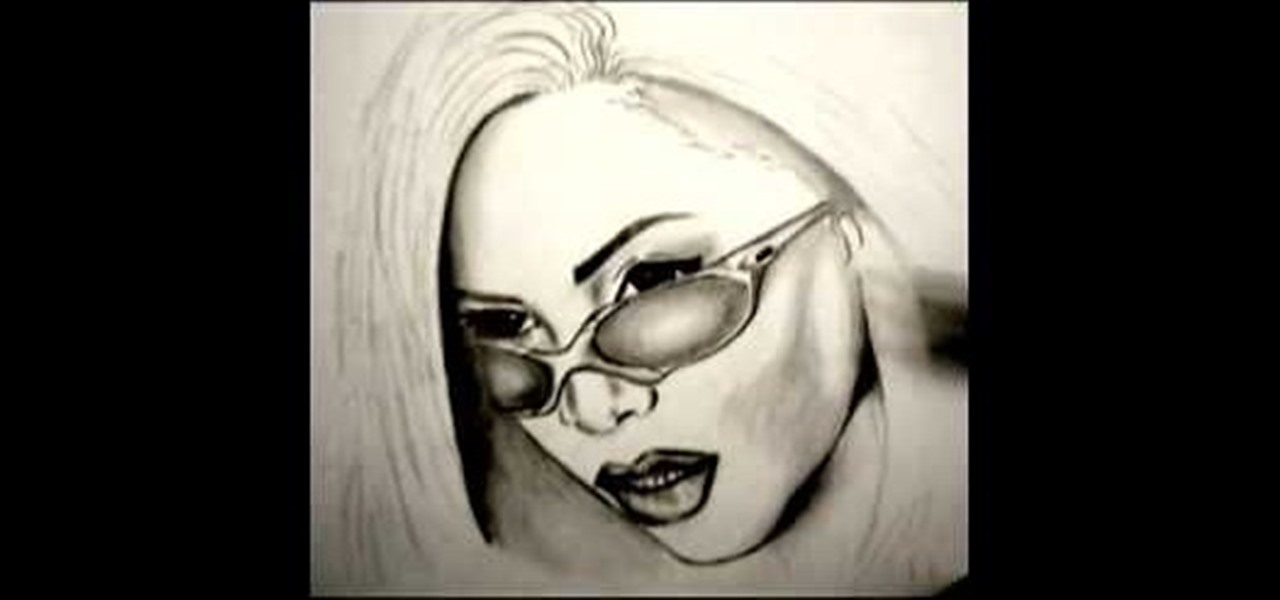
First of all you need to draw the complete outline sketch by drawing very light color rough lines. Now you have to take your pen to start sketching the outline. First you have to start by drawing the sun glasses. Now draw the left eye. Now you have to draw the right eye, nose, the lips and the teeth. Now you have to draw the hair. Make the hair long. Then you have to darken the eyes and the eye lines. Now darken the eyebrows. Then draw the screws of the sunglasses at the side and then shade t...

Basic bust drawing : Starting with the standard ball and crossed lines for the face. The artist fleshes out the chin before moving onto the eyes, giving them the general feel of the face. The nose and mouth follow suite. The tribal marking on the characters face are added next and shaded darkly.

This video shows us how to draw a Pegasus, a fantasy horse with wings. Firstly draw the parts of the Pegasus roughly using light shades starting of with head, body, limbs, tail and wings. Then darken the parts previously drawn using darker shades and then add the feathers to the wings using the darker shades. Then after that erase the parts which were in lighter shade as it is considered as unwanted now. Then set the background by coloring it with blue color as the Pegasus will be usually see...

Drawing Roses that look great isn't difficult, but it will take a little attention to detail. Apart from that it's as simple as putting your pencil to the page.

The low system requirements of Minecraft make it ideal for playing on an Android smartphone. If you're looking to find out how to download, install, and play Minedroid, a version of Minecraft designed for your Android phone, take a look at this walkthrough and check out the download options below.

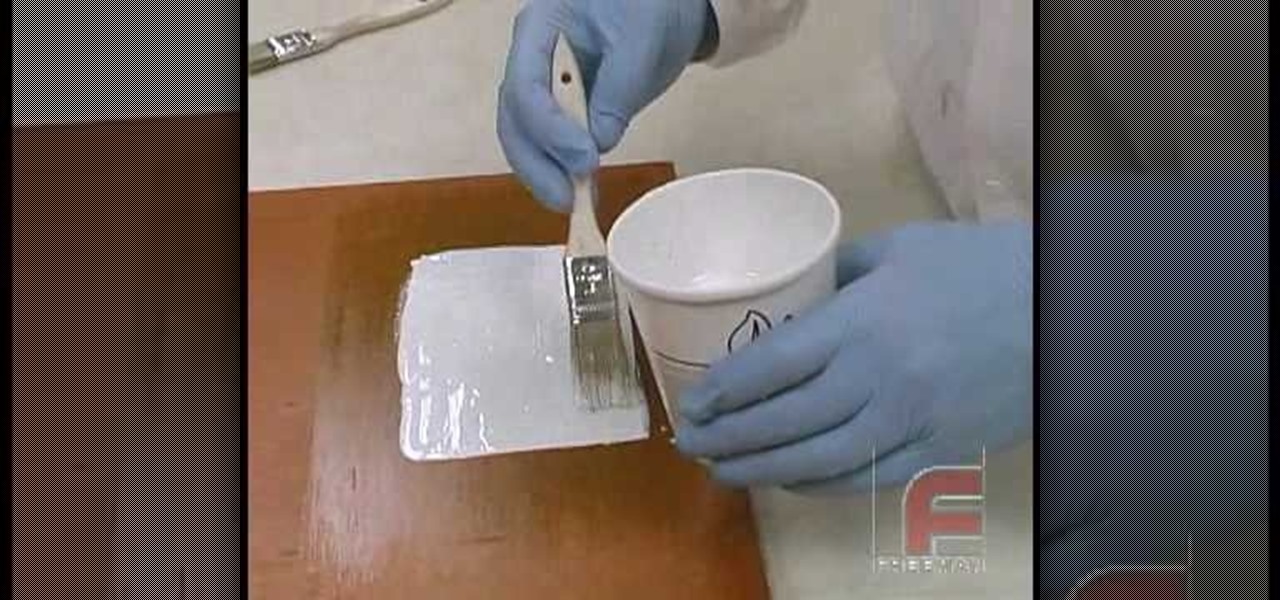
Check out this video for creating a one piece mold using a repro laminating system. This is a professional video not for beginners. The repro laminating system is ideal for working on medium-sized projects, this process is easier, faster, and more economical than the epoxy laminating system. This process can be used in automotive, mechanical, fine art and film special effects uses.

Check out this video to learn how to make a professional epoxy fiberglass layup and epoxy laminating systems. This process is ideal for working on larger projects, a typical 'fiberglass layup' is a popular process for those who need a large, strong, and lightweight tool.This process can be used in automotive, mechanical, fine art and film special effects uses.

Check out this video for how to create simple one piece silicone rubber molds. This technique is ideal for smaller projects (less than 12" x 12"), this is the easiest process for creating parts, patterns, tools, & molds. We demonstrate creating a silicone rubber mold and then the casting of parts with Repro, epoxy casting resins and polyurethane elastomers. This process can be used in automotive, mechanical, fine art and film special effects uses.

Katherine and Kimberly Corp show you how to do a thirty minute (30 min) pilates workout to tone your abs, strengthen your core, and improve spinal flexibility. This is ideal for beginners, and advanced practitioners looking for a challenge.

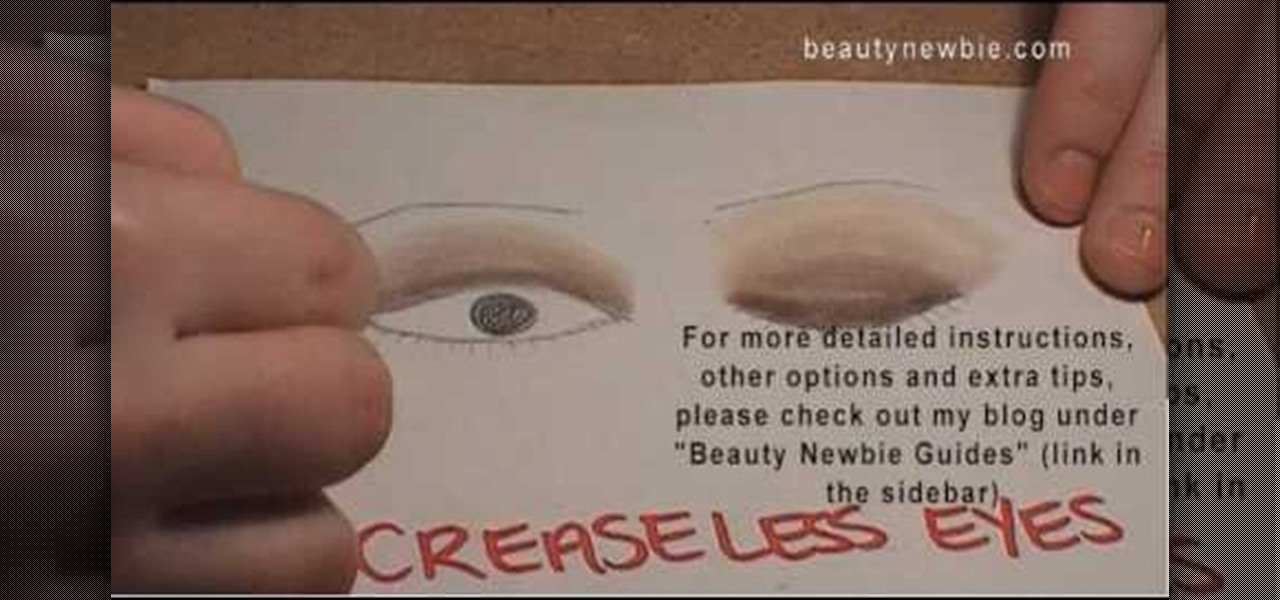
Beauty Newbie suggests determining the shape of your eyes to create dramatic makeup looks using eye shadow. For close set eyes, you'll need to create more space between your eyes. Try applying a light shade on the inner third of your eye. Then, on the outer part of your eye add a darker shade. Its not necessary to always use three shades, although it does enhance the end result. If your eyes are wider set, you'd just do the opposite of the close set eye technique. If your eyes are deep set, A...

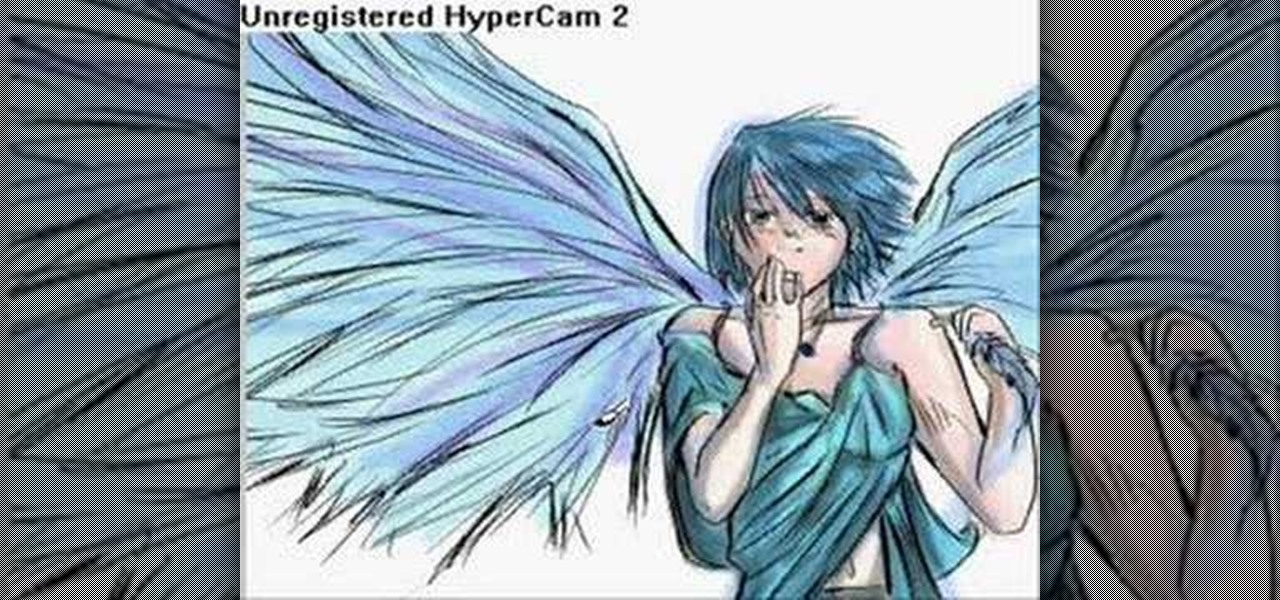
In this how to video, you will learn how to draw an angel. First, start out with the basic sketch of the drawing. Remember, eyes go in the middle of the head. Drawing the head first will help proportion the rest of the body. Use long strokes with the wrist to draw the hair. Try to make the hands the size of the face and try to make the fingers look like fish sticks. It is easier to draw if you study anatomy books. Next, erase the sketch and start going in with further detail. Exaggerate the w...

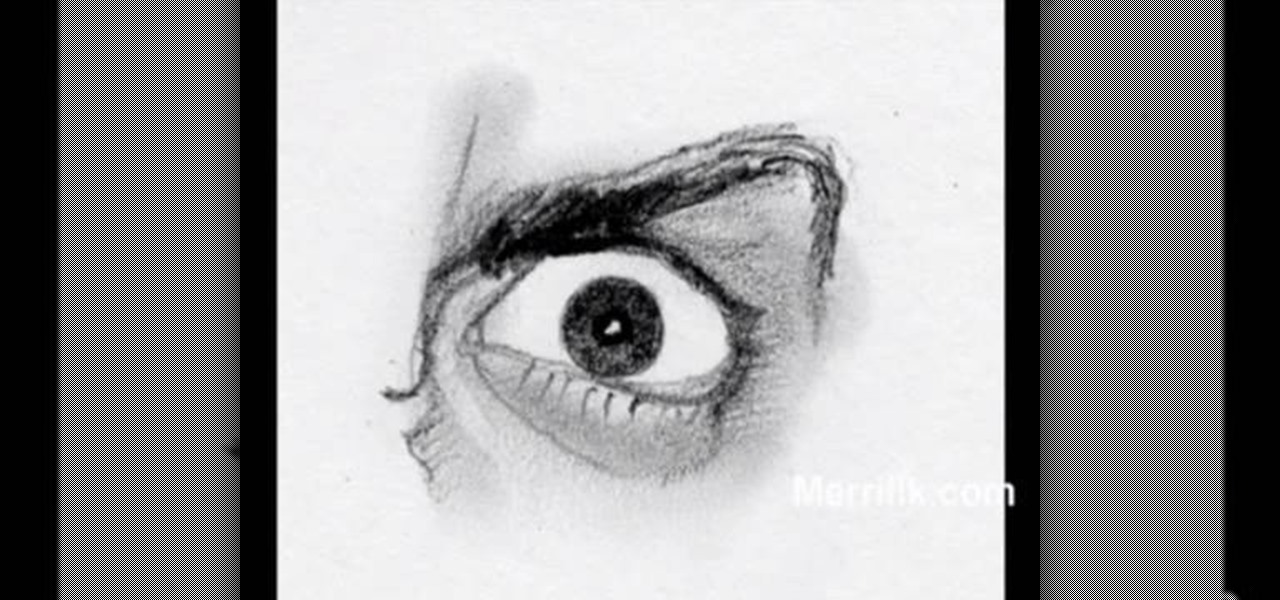
Watch this fine art video tutorial to learn how to master drawing an angry human eye in two minutes.

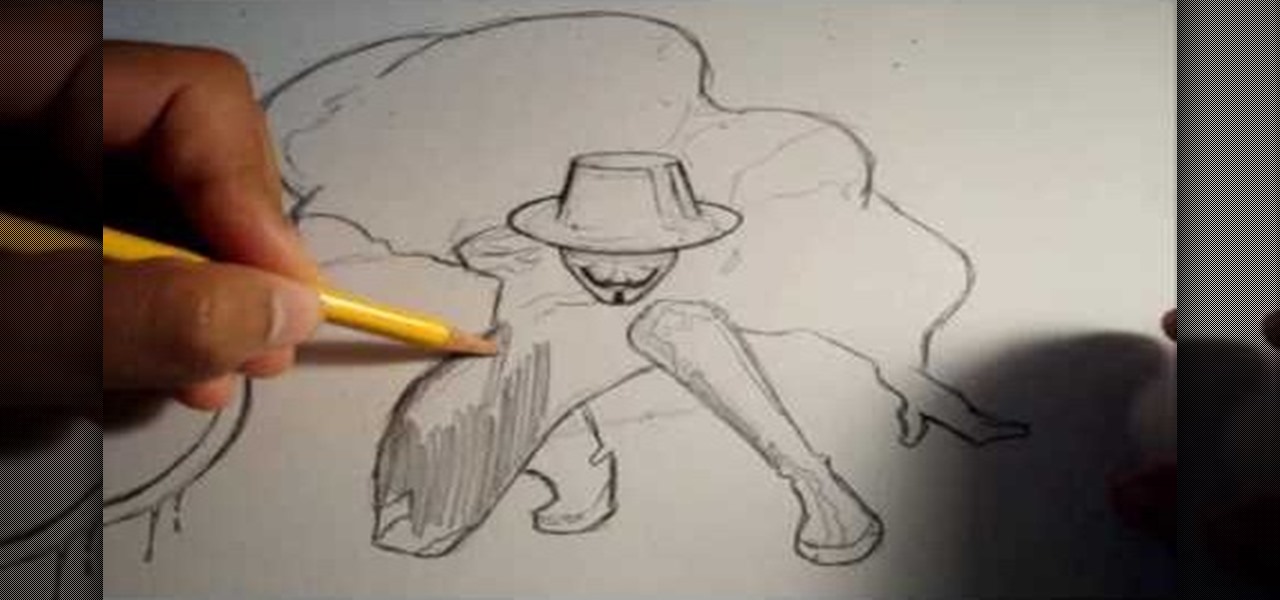
In this how to video, you will learn how to draw V for Vendetta. First, start out with the legs of the character. Draw the outline as if the character is squatting. Next, draw the outline of the cape and the hands. Next, draw the face of the character. Note that he wears a hat. You can also fill in his mask. Note that the mask has a mustache and a grin. Once the outline of the character is complete, add the basic details of his suit. This includes the areas of the highlights and shading. Make...

In this how-to video, you will learn how to draw Madara Uchia. First, start off with an oval shape for the face. Next, draw several spike shapes for the hair and bangs. Now, move on to the armor of the character. From here, draw a circle behind the body. Now you can fill in the details of the character. Move into the face and draw the eyes, nose, and mouth. Outline the armor in more detail so you can see straps and metal folds. Erase any of the previous lines that were used for guides. Once y...

First of all you need a pencil and a sheet of white paper. You have to start with the cap and then the round face. Now draw the eyes and the mouth. Draw the badge over its cap. Now draw the ears. Then you have to draw the two hands. Draw the body and make some pockets as shown. Now draw the boots. Now make the eyebrows. Make the soles of the boots. Shade in the forehead with your pencil and then wipe it with a tissue paper. Then use an eraser to erase it a little. Now darken the eyebrows. Mak...

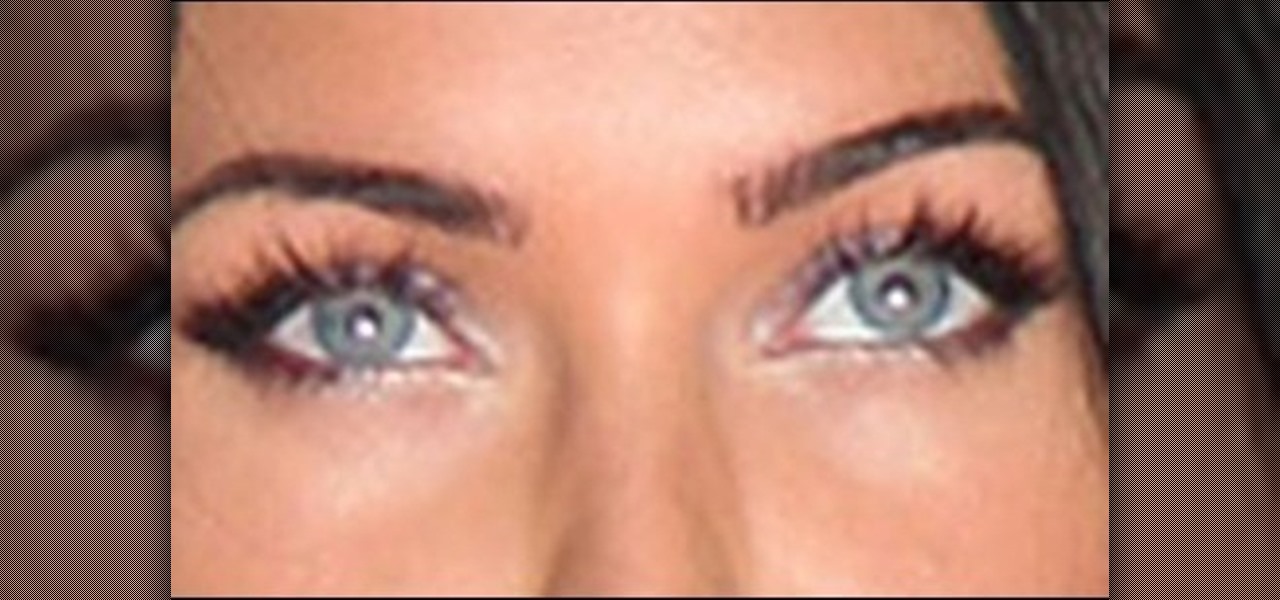
Make up artist Katie teaches viewers easy to follow techniques in achieving a Megan Fox make up look. Using a make up brush, apply concealer below the eyes and areas all over the face. Use a sponge to apply the foundation and gently blend it with the concealer to achieve a flawless look. To achieve a glow in your face, use a blush brush and apply blush on shade with a fine shimmer all over the face with emphasis on the cheeks and forehead. Perfect-shaped eye brows is achieved by applying blac...

This is one of the biggest mistakes women make when it comes to eyebrows. Many women become overly aggressive when it comes to plucking their brows and end up with thin or almost nonexistent brow hairs. Unfortunately, eyebrow hairs can take months to grow back and, in some cases, plucked eyebrow hairs may not grow back at all, particularly after years of over plucking. Stop plucking and give your eyebrows a chance to grow back to their natural state. In the meantime, you can use a soft eyebro...

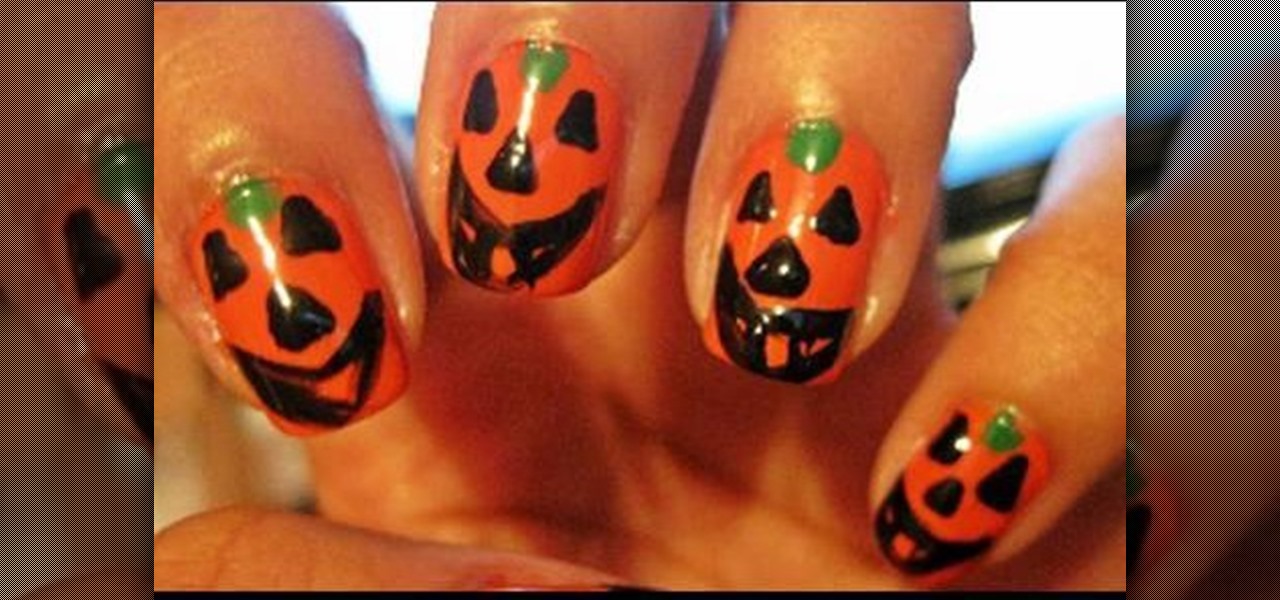
Begin by painting your full nails orange. Any orange will work for this design; just keep in mind that more than one coat of nail polish may be needed to get a bold and opaque shade. I did two coats of orange to get the coverage shown in the photograph.

Are you a novice artist looking to up the ante in your drawings? Introduce depth and realism to your drawings with shadows. It all starts with “seeing the light.”

In this video, we learn how to draw a realistic mouth, nose, and eyes. Start out by drawing the outside shape of the eye, then draw in the details inside the eye. After this, shade in the pupil and add a white circle to make the eye look glossy. From here, add in the eyebrows and add darkness and lines to make it look more realistic. For the mouth, you will first draw the outline of the lips, then draw the teeth on the inside followed by additional details. Make the teeth different shapes and...

In this video, we learn how to draw a skull. Start off by drawing in the eyes and then draw the nose and basic outline of the head. Add in lines on the head to show broken and cracked bones. After this, draw in eye sockets and add details to the nose as well. Shade in the eyes and then start to draw the jawbone and where the teeth are at. Shade between the teeth and then draw the chin in. Add in shading where you feel it's needed, then add in more cracks to make it look more real and you're f...

In this tutorial, we learn how to draw a behatted cartoon skull. Start out by drawing hollowed out eyes , then draw a hollowed out nose underneath. After this, draw a wide open mouth with a goatee on the chin and teeth smiling in the mouth. Next, draw a hat on the top of the head, making a bow on the side of it. Next, draw cracks in the skull and add shading to the inside of the hat and on the entire skull. Draw lines around the mouth and head to show where cracks in the bone are, and when fi...

In this tutorial, we learn how to draw a hand. First, start drawing on a blank canvas and start with the middle finger and knuckle. Shade in the knuckle area, and make the lines that are around the nail of the finger. Then, start drawing the other fingers out, adding lines to make it look more realistic. After this, shade the sides of the fingers to make the hand look like it's bent in some areas, then make sure you have fingernails drawn into the picture. After this, shade the entire hand an...


