In this tutorial, we learn how to draw a sphere in 3D. First, draw a circle and a square around it with a light pencil. From here, you will use the side of the pencil to shade in the sides of the circle. Then, draw a half circle next to the circle to make it look like it's shadow. Shade that in and then add in more dark markings to the circle, leaving a small white area on the top of it. After this, draw in the outline of the circle and erase any stray lines. This will complete your sphere, e...
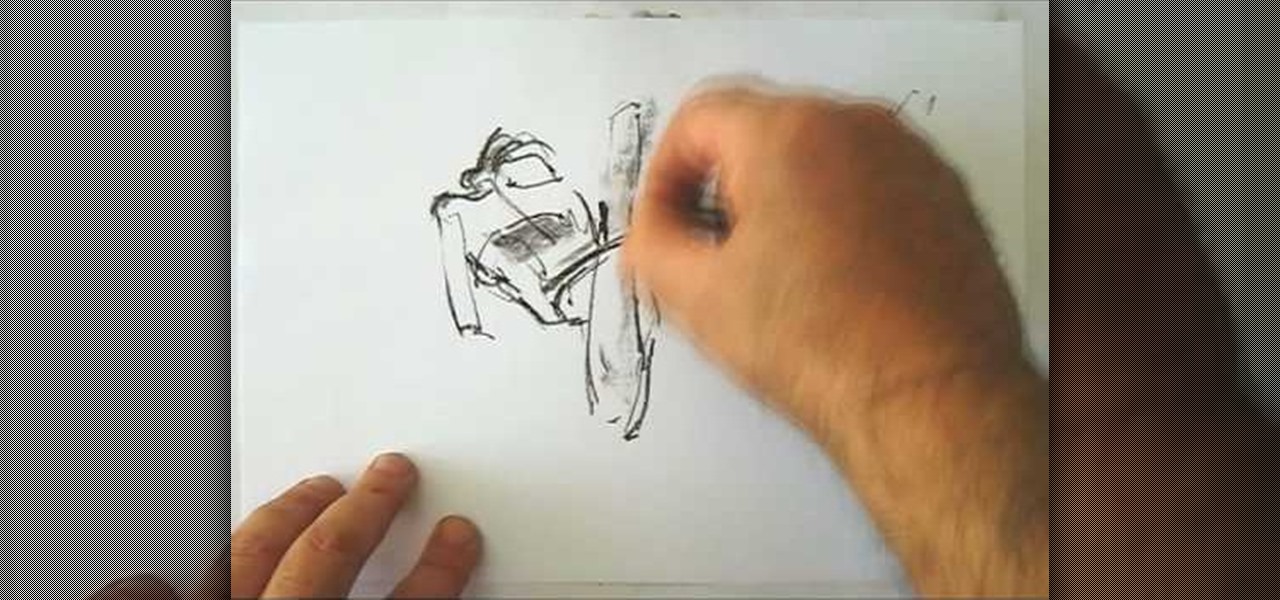
In this tutorial, we learn how to draw the female body. First, you will draw the outline of the body, starting with the basics. Then, start to shade in the different areas of the body and create contours. Make sure to draw longer and leaner lines to create a more feminine figure. Draw in her hips and make her body curvy, not just one straight line. After this, add in lines to the body to make it look more realistic and show the contours. To finish this, add in white for lighting and then cont...

In this tutorial, we learn how to draw a human skull. To start, you will use your pencil to draw a light outline of the skull on your paper. After this, you will start to add in more shading and lines throughout the face to make it look like it has depth and contours. From here, you will draw in the teeth and then create the nose and the pits for the eyes. After this, you will start to shade in the sides of the skull darker and then add in any additional details like small cracks on the face....
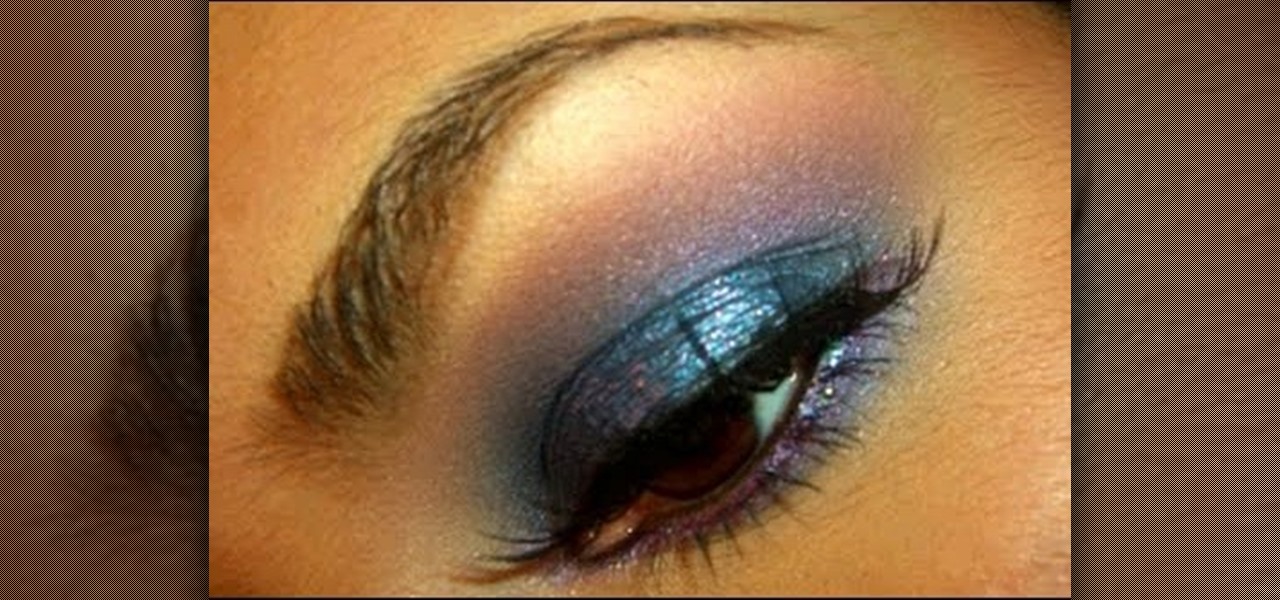
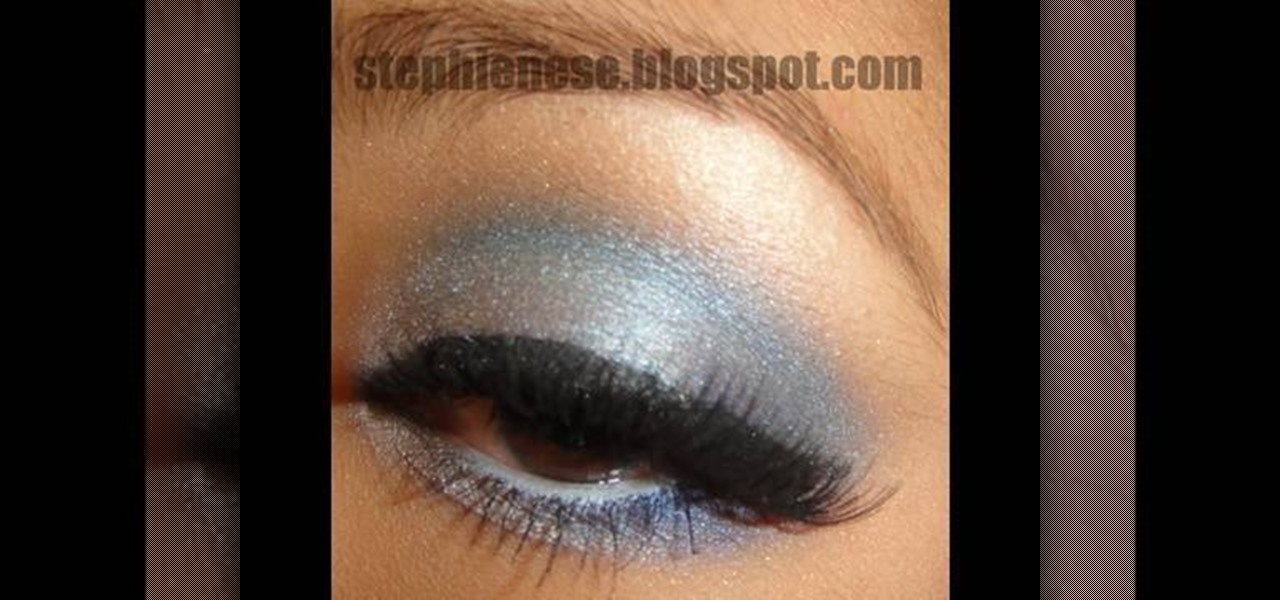
Though it may not seem like it, blue eye makeup is one of the most universally flattering shades out there. We're not talking robin's egg blue or any of the lighter shades of blue; rather, we're thinking a deep, dark navy or an electric, sparkly teal.
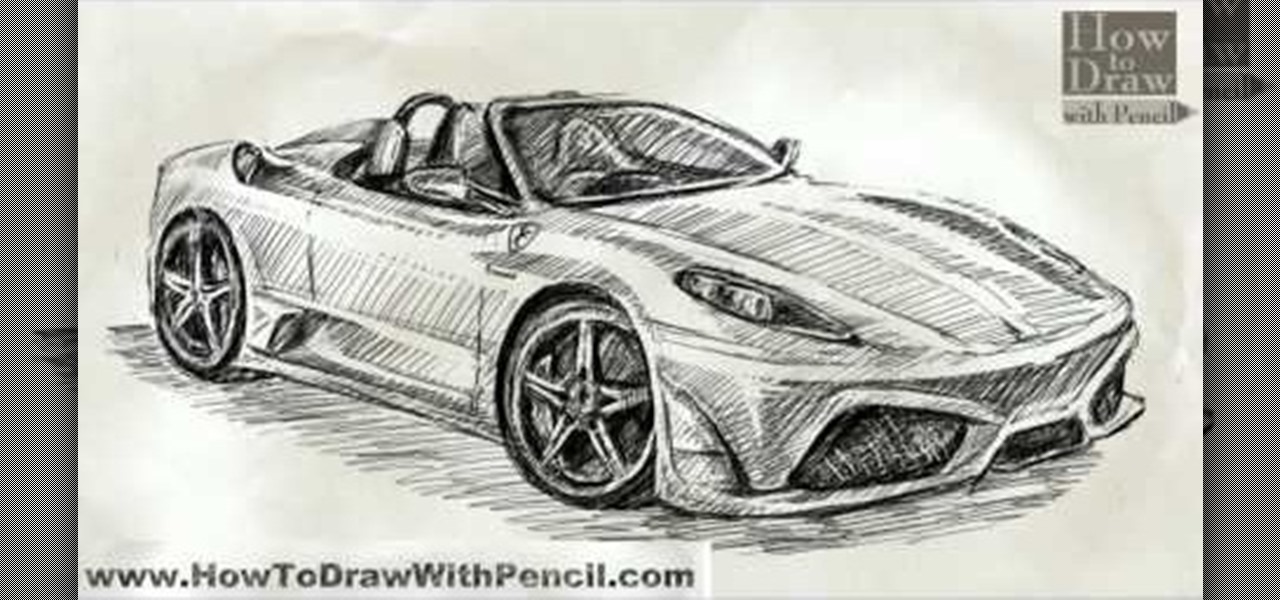
In this tutorial, we learn how to draw a Ferrari Scuderia Spider 16M. Start out by drawing the outline of the vehicle. Make sure you draw in the areas for the tires and the windshield, as well as the other areas of the car. After this, add in shading around the car on all of the sides. Next, start to draw in the details around all of the car. Add in shading and additional lines to make it look more realistic. After this, you will need to use the eraser to erase any unwanted lines that don't b...
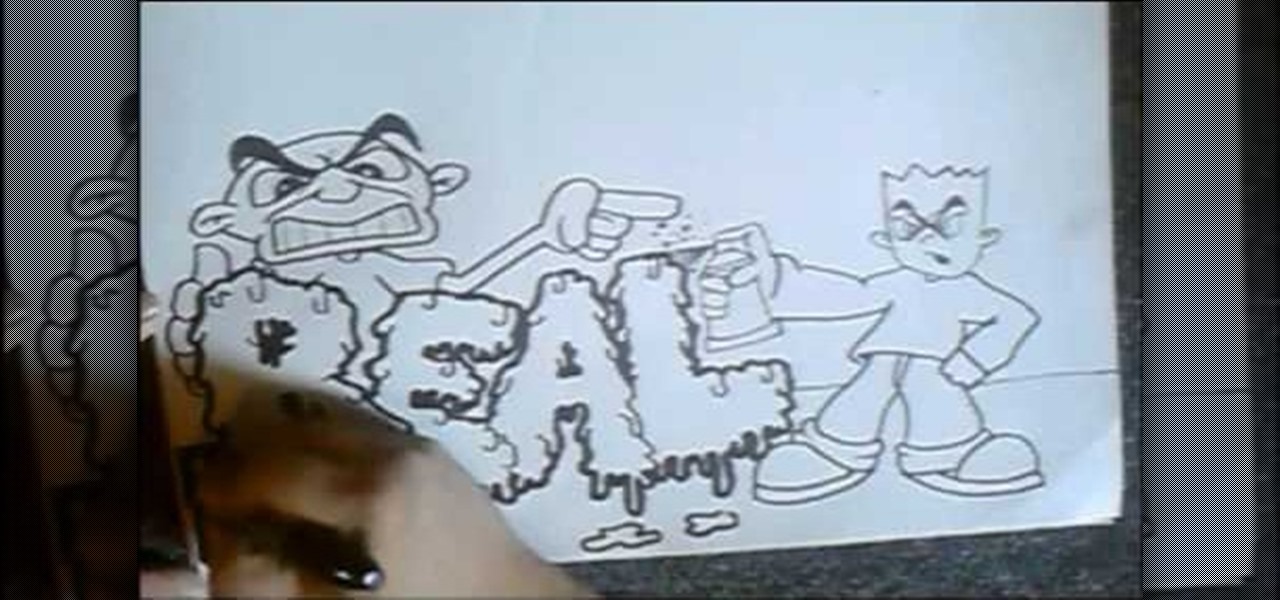
In this tutorial, we learn how to draw graffiti letters. When you are drawing these letters, you will want to use as much imagination as you can. Make sure to add in your own personal flare to give each of the letters a special touch. Now, you will draw the letters making them into a large 3D letter. Add in swirls and lines to the edges of the letters to give them a wet look and then add in shading to the side to make it look darker. Add in more shading and darker outlines, then when you are ...

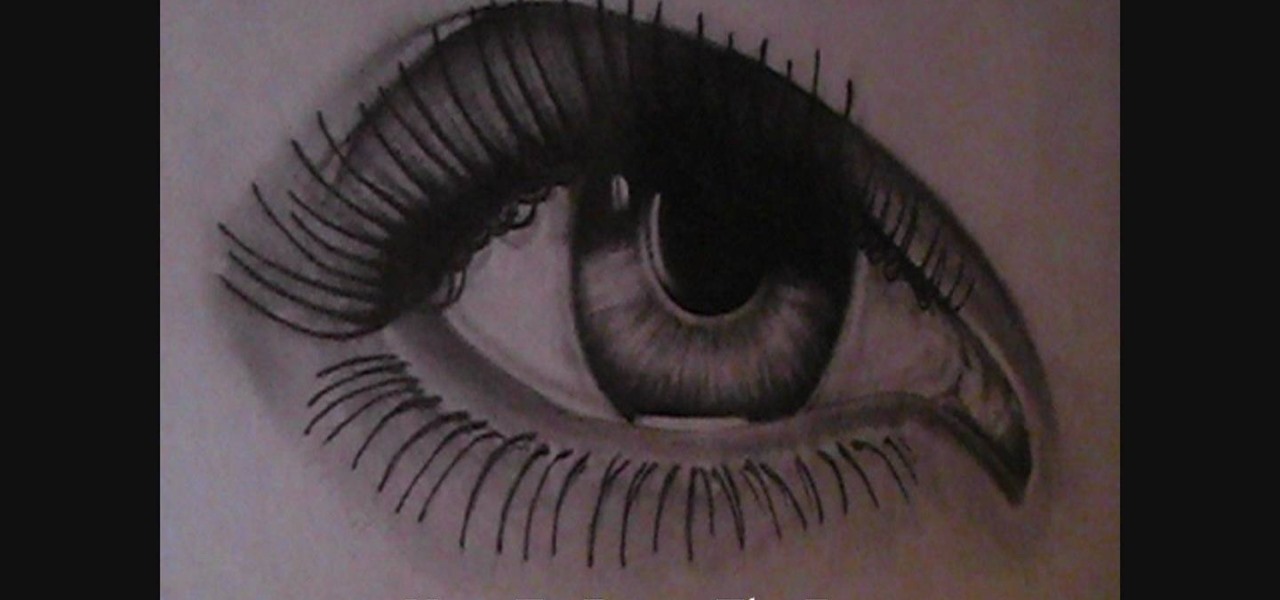
In this tutorial, we learn how to draw an eye. Start out by drawing the outline of the eye, which should be in a football shape. Then, draw the inside of the eye and the outside of it as well. Then, you will start to add in additional details around the eye and the eyelashes. After this, add in the crosshatch inside the eyes and shade in the pupils. Shade around the outside of the eye, then add darker lines for the eyelashes on both the top and the bottom. Add a crease in the eye to make it l...

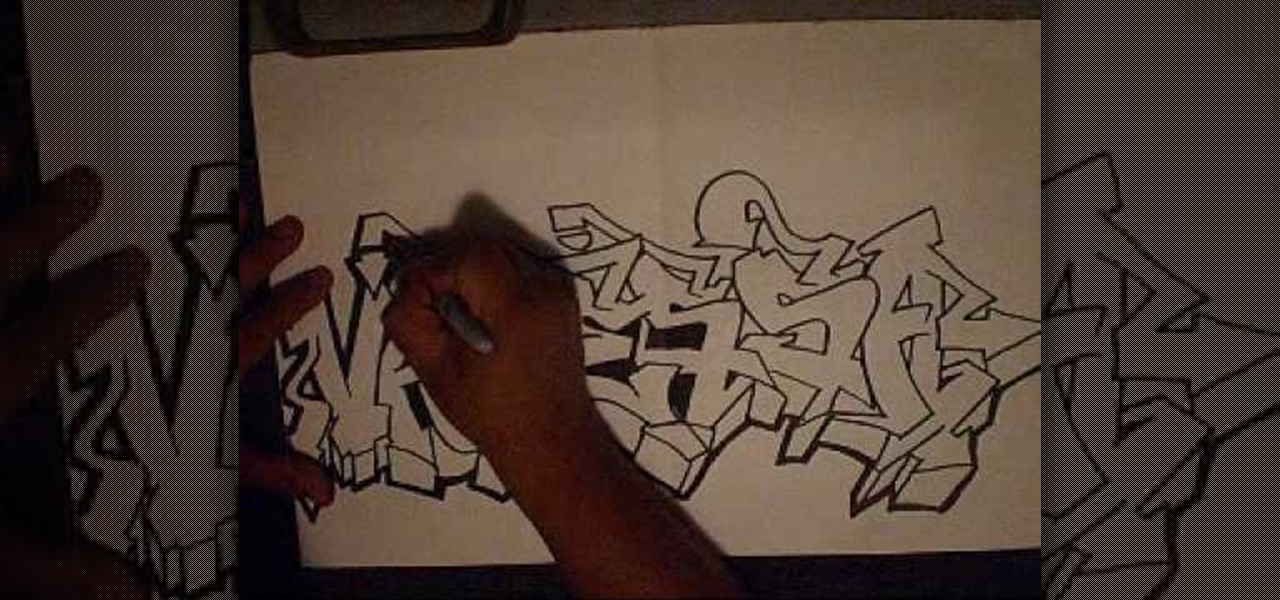
In this video, we learn how to write a name in graffiti letters. Start off by outlining the letters, make sure to draw them thick so they look 3D. Add in different shapes edges to the letters to make them look more like graffiti. Make sure they are all touching and overlapping as well. Then, use the pencil to draw in the areas in between the letters and in the middle of them. Once you do this, you will be able to add in additional lines and shading to each of the individual letters. You can a...

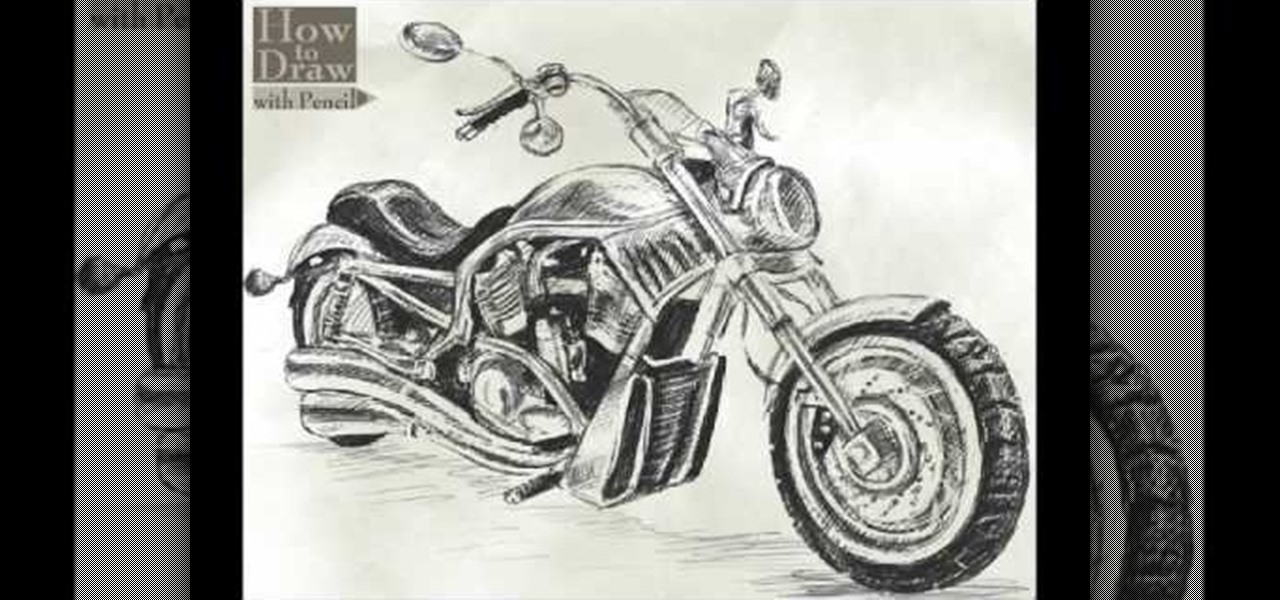
In this video, we learn how to draw a Harley-Davidson V-ROD. First, draw the outline of the vehicle using a light pencil. After this, start to add in the details of the wheel and front of the motorcycle. From here, add in shading and additional details to make it look more realistic. Make sure you draw on the small details of the motorcycle because this will make all the difference. Shade in additional details on the drawing and then erase any lines that you don't need. Use the eraser to crea...

In this video, we learn how to draw an eye step by step. First, draw the curve of the eye on the top and on the bottom. Then, draw in the pupil of the eye and the inner corner of the eye. Use a light touch with the pencil to make the circle in the middle of the eye. Then, draw around it with a bolder line. After this, draw the crease above the eye, then draw shading to show where the crease line is. Next, fill in the pupil and add in a circle to make the eye appear glossy or that light is hit...

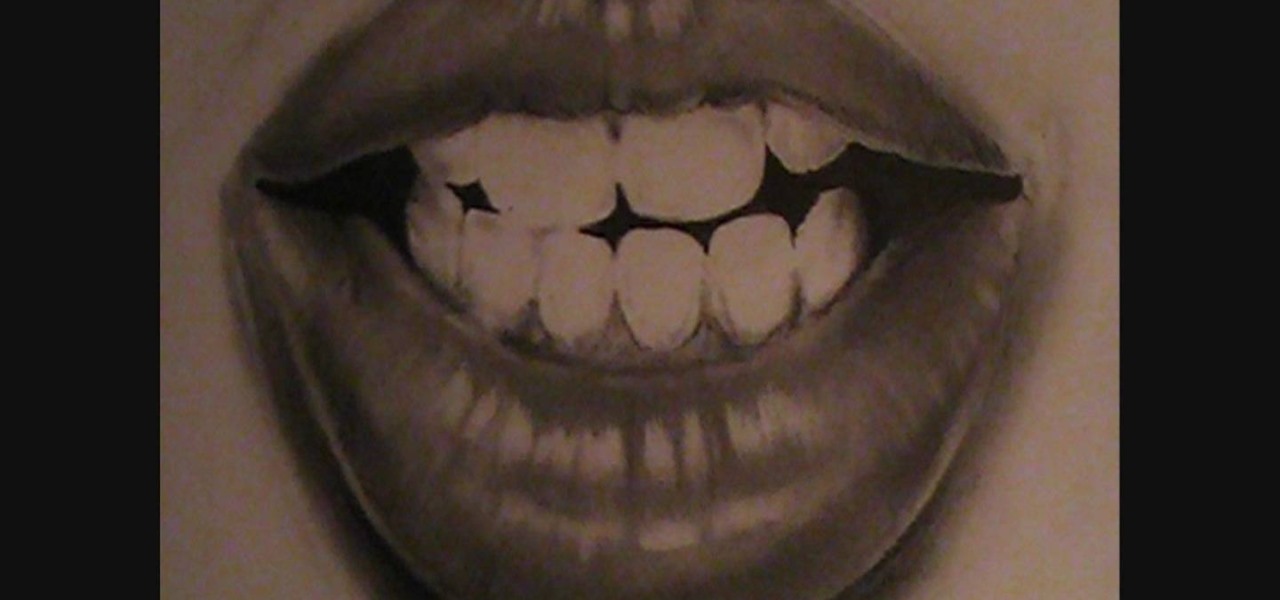
In this tutorial, we learn how to draw lips and teeth. First, you will need to draw the sketch or outline of the picture. You will need to make sure you take your time to create realistic lines for the lips and the teeth as well. From here, you will add in more lines on the lips to make it look more realistic. Then, add in the teeth in the middle of the lips and shade in the areas that are in between them. When you are finished with this you can add in more shading and lines into this and you...

In this tutorial, we learn how to draw eyes with a pencil. First, draw the outline of the eye, giving it an almond type of shape. From here, you will add in the lines to the eyes and shade it in to make it look more realistic. Add in the crease above and below the eye, then draw another line on the bottom for the lash line. Then, darken in the areas around the eyes, then add in the lashes to the top and the bottom of the eyes. Shade in the pupil, then use lines to create a more realistic insi...

In this tutorial, we learn how to draw a fairly realistic eye. Start with a pen and draw a wispy line for the eye, like a football shape. Then, you will draw the pupil inside the eyes and the ring around it. Draw in lines around the pupil and the eye to show where the colors and shades of the eye come into play. Then, shade in the entire eye lightly. From here, darken up the upper lash and create a create on the eye. Then, make the eyelid crease on the bottom of the eye and add in the inner c...

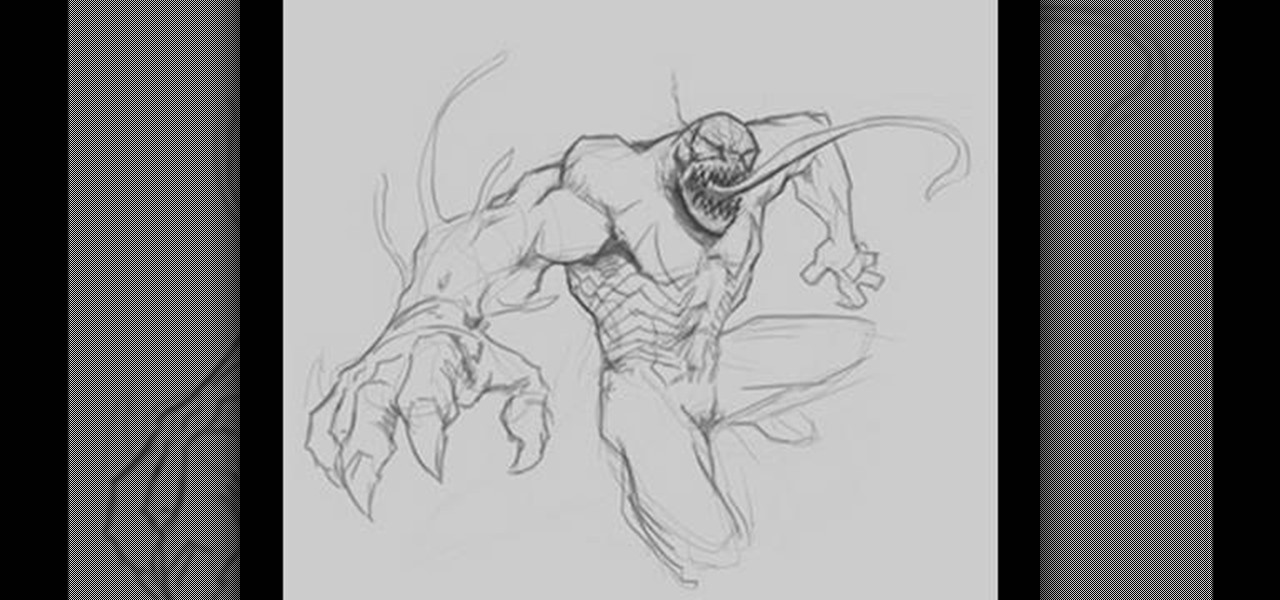
In this video, we learn how to draw Venom. Start out by drawing the outline of the entire body of the character. Use a soft line to create light lines throughout the entire body. After you have completed this, use a more bold line to draw around the body and start filling in details. Add the veins to the arms and then use shading to make them look more realistic. Draw in the details of the face and tongue, then continue on until you reach the torso to the feet. Once finished with the drawing,...

In this video, we learn how to use the PRIME operator in math. The prime operator is the opposite of something in the equation. Take a look at the illustration in the video that is shown. Once you see that, you will be able to tell what A prime and B prime are. A prime is the opposite of "A". If a number is shaded in "A" it should not be shaded in "A Prime". The same goes for the prime of the letter "B". Just pay attention to what the numbers selected for each letter is, then use the opposite...

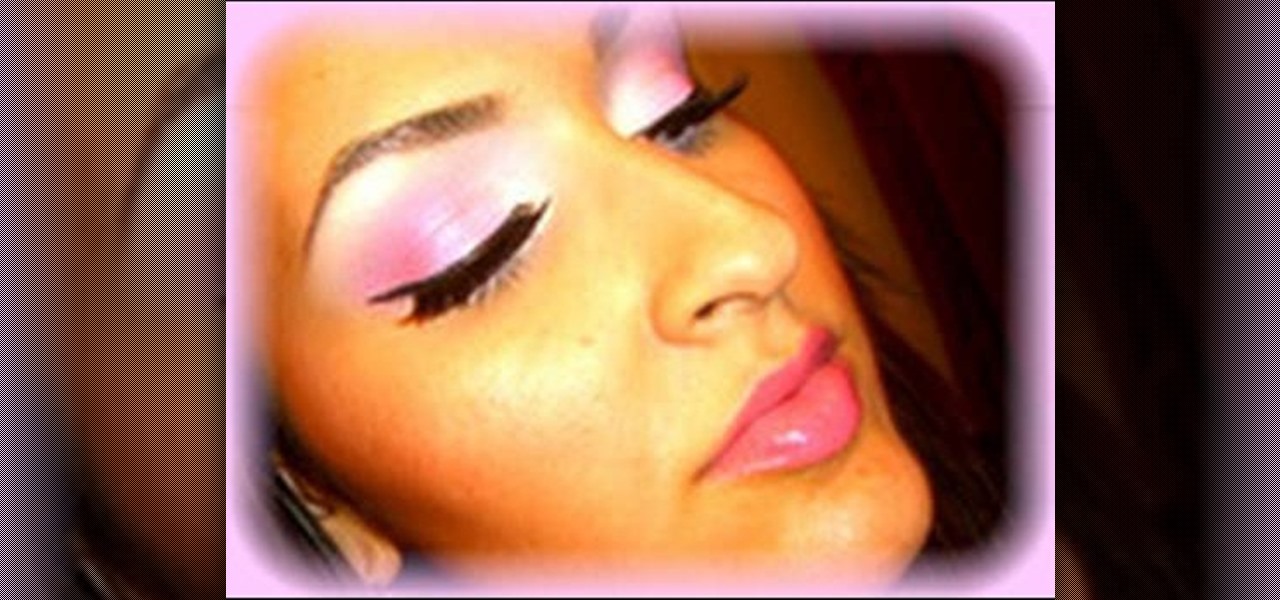
In this video, we learn how to apply ice princess pink shades with your makeup. First, apply a white cream pencil to the inner eyelid and underneath the eyebrow, then blend in. Next, take a white cream color and brush it on the inside of the lid and around the entire eyelid. Now, take a glitter pink shadow and brush it onto the middle of the eyelid. After this, take a bright pink shadow and brush it on the outer corner of the eye, blending it in with the middle pink. Now, take a lavender eyes...

In this video, we learn how to draw Naruto. Start out by drawing a circle as the outline. After this, draw the jawline. Next, draw lines in the middle so you know where you are going to draw the eyes and the rest of the facial features. Next, define the features on all the different parts of the face. Start to add in shading to the face, then draw in the hair. Next draw in a hair band at the top of the head, followed by spiked hair coming out of the top and ears on the side of the face. When ...

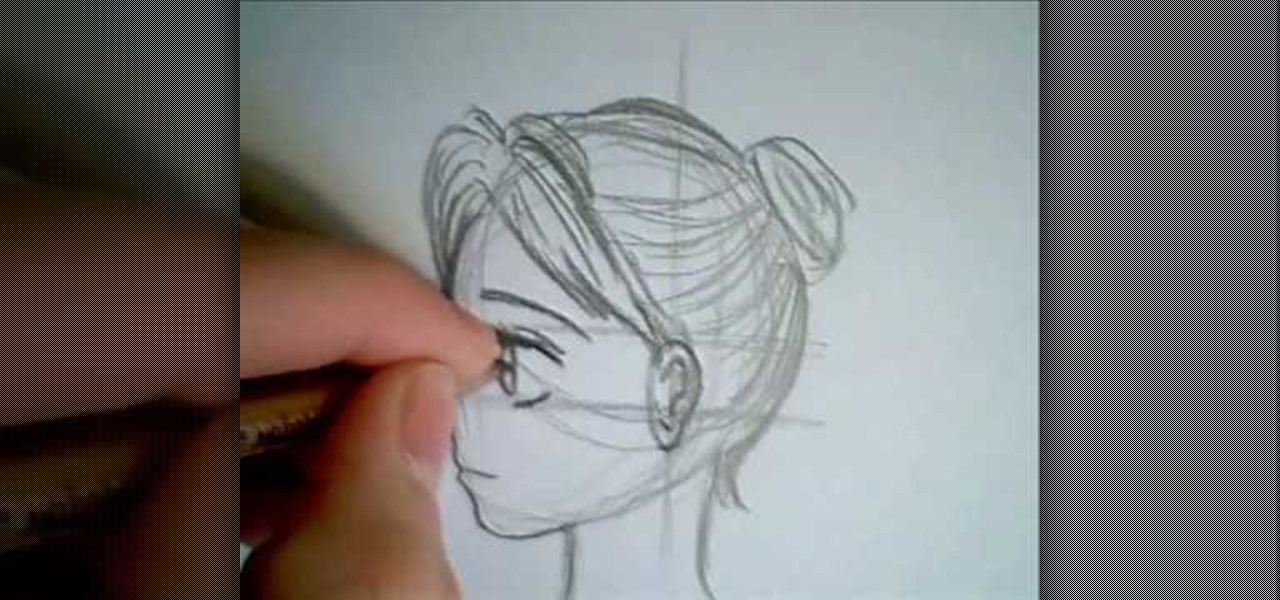
In this video, we learn how to draw a manga face sideways. start by drawing a round circle with a light pencil. After this, draw a chin that is from the side view. Next, add on the nose and make the chin look more prominent, like you are seeing the profile of the face. After this, draw on the ear to the center of the face, then start to add in further details. Make the eye and add shading by the nose to make it appear as though there's another eye. Add in eyelashes, then start to add in hair ...

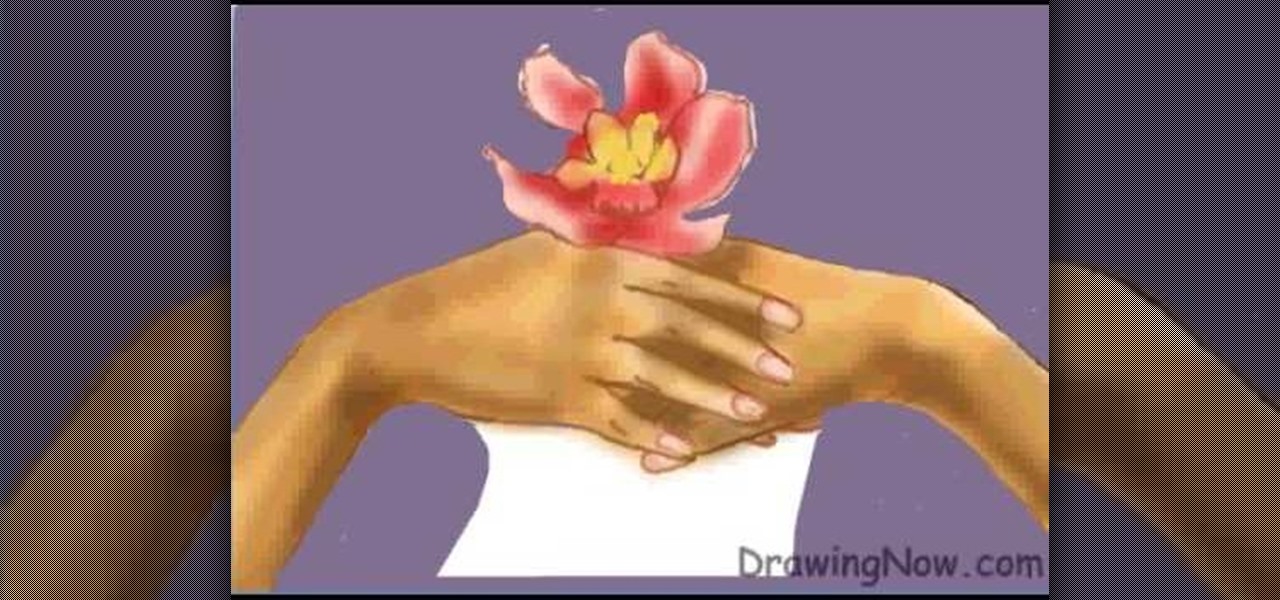
In this video, we learn how to draw two clasping hands. Start off by drawing the two hands holding each others hand. Next, draw a circle above the hands like they are holding something. After this, draw a large flower on the circle and then start to erase the base lines from the drawing. Draw in the fingernails on the picture, then color in the skin color on the nail. Color the flower any color that you would like, then draw in the background to any color you prefer. Shade the wrist of the ar...

In this tutorial, we learn how to properly draw with a pencil. First, start off by drawing squares and see what it looks like when you color them in and shade them all differently. This will help you learn how to control your pencil and see how hard you have to press to make the shades look different. You can also scribble a line going from really dark to light. Make sure you are making a range of different colors so you are learning how the pressure on the pencil effects how the color comes ...

In this video, we learn how to draw a realistic skull. Start off by using a pencil to draw out the basic outline of the skull. After this, add in further details, such as shading on the side of the head to show that it is hollow. Also add in the sockets for the eyes and show where the nose is at. Draw in the jaw bone as well as the teeth and the jaw line around it. Draw on cracks to the face at different places to make it look more realistic. Add in shading and darker lines where you feel nec...

In this tutorial, we learn how to apply ice blue eye shades for the winter. To start, apply concealer underneath your eyes and then apply foundation to the entire face. Next, use an angled brush to apply makeup to your brows and make them more full. Now apply powder underneath your eye to catch any powder that falls while you are applying eyeshadow. After this apply primer to your entire lid and then apply a yellow tone shadow to your entire eye. Now take a blue eyeshadow and brush it on the ...

This video demonstrates how to draw a detailed half face portrait of a person by drawing the eye and hair. Begin by drawing the outline of the eye, adding detail such as the inner fold of the eye where the tear ducts are as well as creases above the eye. Draw the pupil of the eye, adding highlights to the center. Then, continue by drawing highlights and further shading details to the rest of the eye, including eyelashes and then the eyebrow. Continue by drawing the outline of the face near th...

Shading, whether it's for eyeshadow, blush, or bronzer, is one of the indispensible makeup skills you'll be using for the rest of your makeup doing career.

In this how-to video, you will learn how to draw a human skull. First, start off with the main outline of the skull. From here, add the eye and nose sockets. Next, redo the outline of the skull to give it more texture. You can do the same for the holes. From here, add the teeth and the jaw lines of the skull. You can start adding in details such as the shading of the sockets and the jaw. Erase the old outlines to fine tune the skull. You can also add details such as cracks and texture marks. ...

In this how to video, you will learn how to draw a Cookie Monster cupcake. First, draw two circles for the eyes. Follow this with a furry texture oval shape for the face. Add a mouth with a cookie in it and draw the bottom as a cupcake wrapper. Draw the pupils of the eyes. Next, color the face a blue color. You can draw the cookie inside of the mouth a brown color. Use a black color to outline the areas around the mouth. Fill in the chocolate chips of the cookie with a darker brown color, and...

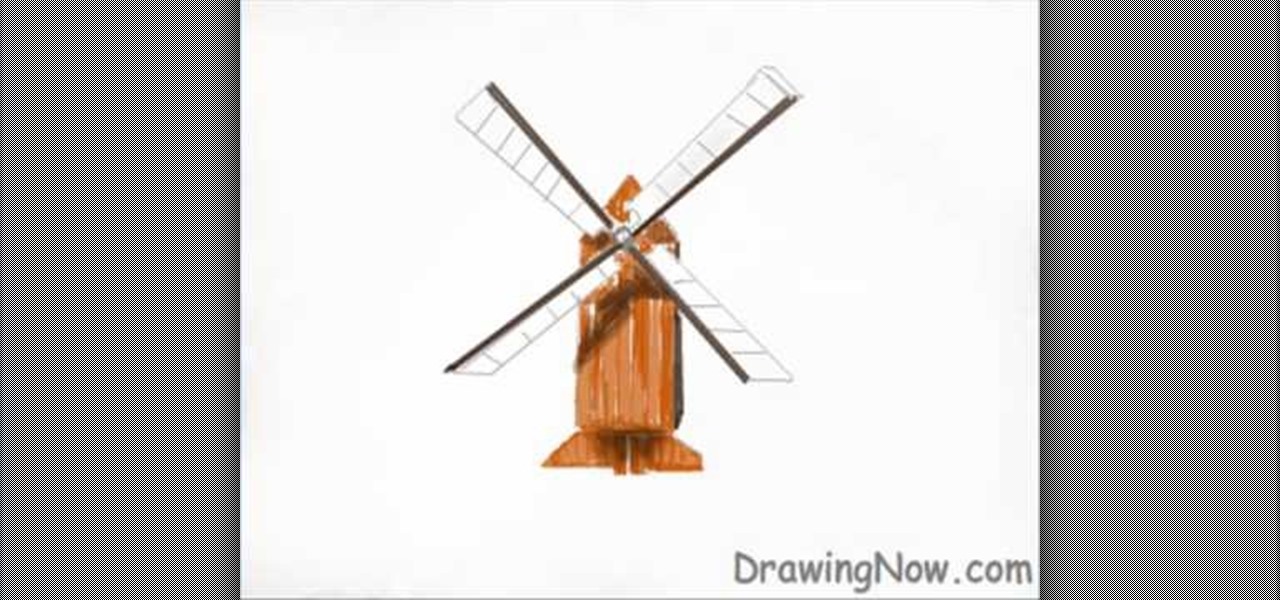
In this how-to video, you will learn how to easily draw a wind mill from scratch. First, start off with the building of the mill. Next, draw the arms of the wind mill. Include the flaps on the arms. Next, fill in the smaller details such as the center of the rotation. Next, you can fill in the color of the building. In this case, brown was used. Next, fill in the arms of the wind mill. Add appropriate shading on top of the building. You can also add shading to the arms. Next, fill in the back...

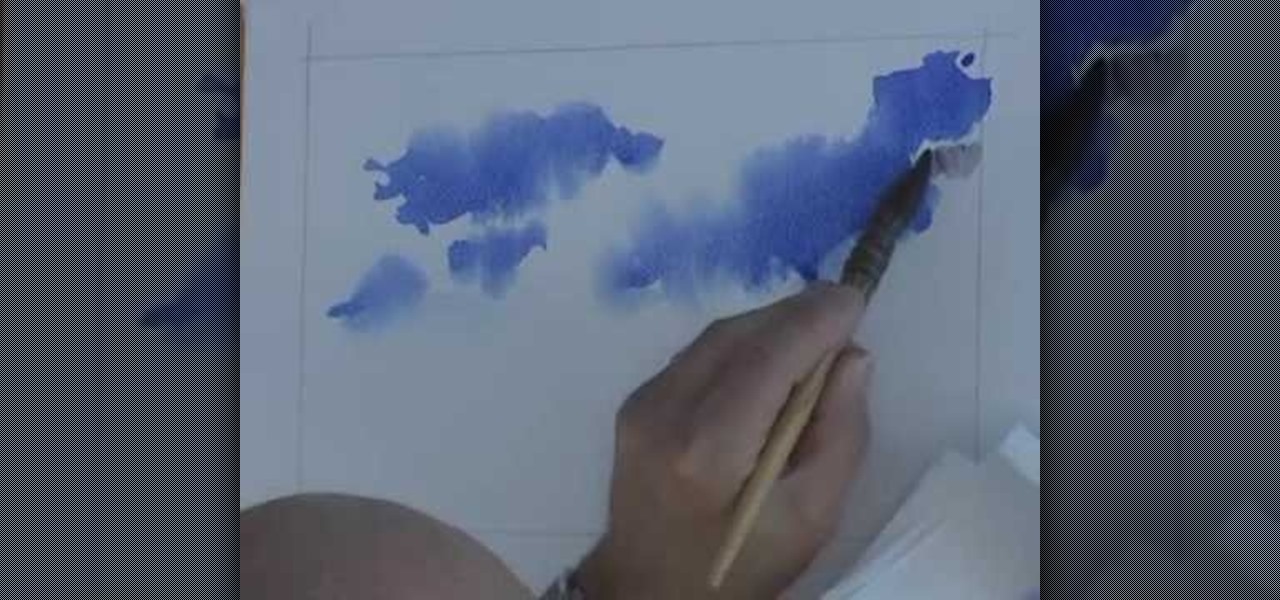
This video illustrate how to paint a breezy sky in watercolors.Here are the following steps: Step 1: First of all take sheet of paper,pencil and watercolors.

This video explains how to convert fractions to decimals by providing a good example. 1. To better explain the notion draw a box divided into sections to represent the 1 whole. 2. In this example the fraction used is 7/10. So, you have to color in 7 out of the 10 sections that make up the box. 3. To make the conversion to a decimal is now even simpler. Since not all the boxes are shaded the number must be less than 1, so start by writing 0. 4. The next step is to check the number of boxes you...

Brittany Black Rainbow demonstrates how to draw an emo boy. Begin with the back ground of hair, draw it like an inverted cone, assuming like one eye is covered by the hair. Draw the second eye and brows, and now draw the nose and mouth. Complete the face. Just draw the neck and the body with a round neck T – shirt with half sleeves and the hands. Now complete the hair. It’s like thorny bush, just draw all these lightly. Give black shade to the hair with pencil itself. Now darken every thing, ...

On yourteachermathhelp teaches you how to use math rotations in pre-algebra. In this example, the shaded object represents the original one, while the empty object is the new, rotated one. Here, the original object has suffered a quarter of a turn, or a 90 degree turn. You can see that the top of the shaded figure or object has been turned to the left. This is in the opposite direction in which the hands of a clock move. This translates to a 90 degree turn in the counter-clockwise direction. ...

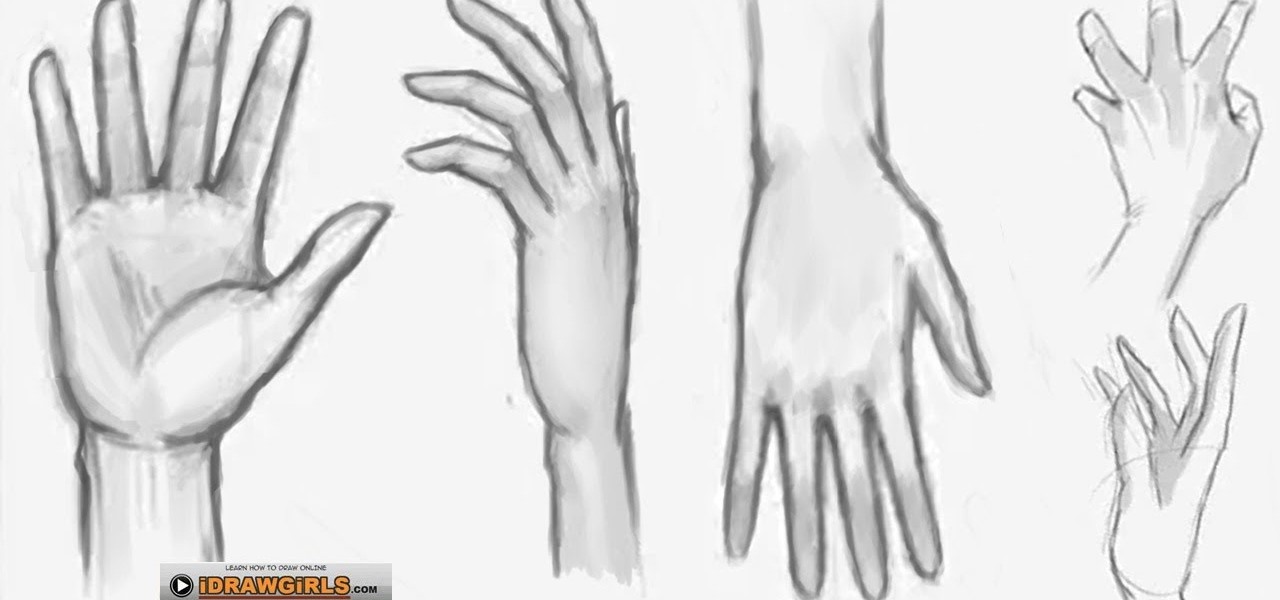
The video demonstrated clearly about how to draw and sketch the hand of a girl in an easy way. First the illustrator drew a rectangular circle in the plain window. Then he drew another rectangular shape close to the first and divided the second shape into two halves so that it will look like fingers.

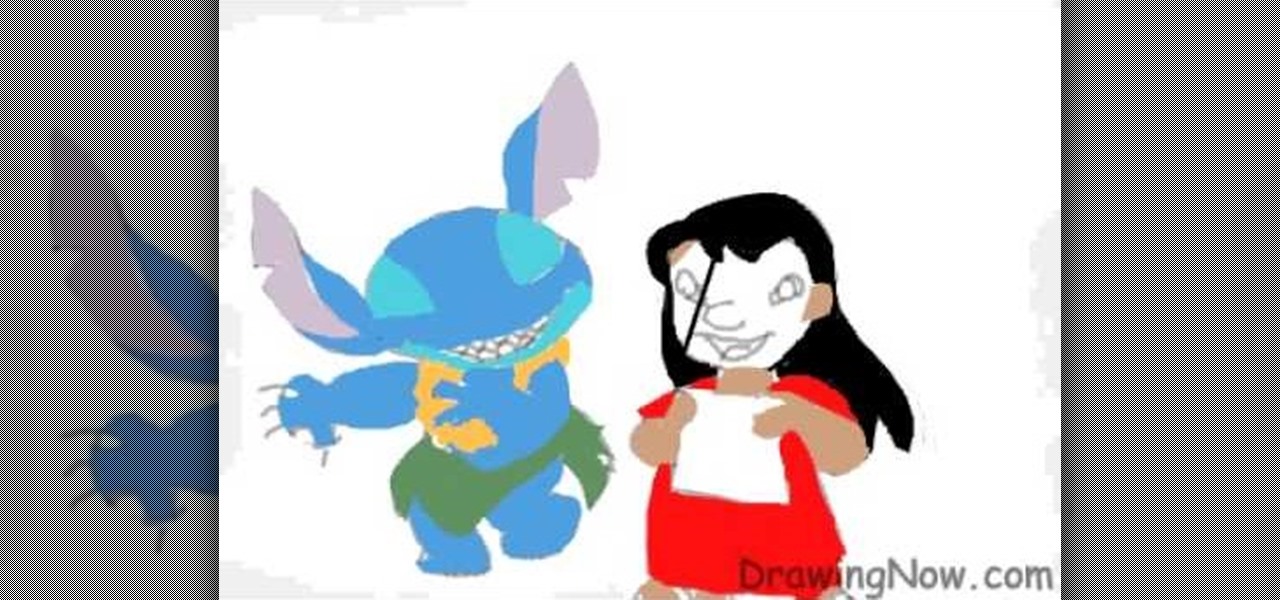
Begin by drawing an oval and attach two feathered shaped ears to head. Draw guidelines for the face. Draw the face and a marshmallow shaped torso. Add the legs and arms. Add the detail and start erasing the guidelines. Repeat the similar steps for Lilo. Once finished both characters, color them. Add a darker shade of the colors for shading. Outline the characters and add all the details. This video will benefit those viewers who enjoy drawing on the computer and would like to learn how to dra...

The video is without voice. It describes abstract art. First a swirl of rings is formed which indicates potter's wheel. Four big pots of different styles are formed of which one has handles. Two earthen small shaped vessels with pointed tip is formed and also there is one very small pot. First the outline of all the images is done which is then continued by shading. However, the entire painting is blurred and is made using shades of orange. The background is in black color. The formation of t...

The video shows us how to draw a manga hair on a computer. Firstly draw a oval shape to represent the face though it is not important, just for the sake of using it as a reference. Then draw the outline of the hair formation using a lighter shade and then start drawing the hairdo in the way it is supposed to be and then darken it using the darker shades. Then erase the outline which you had done previously which is not needed now and then color the hairdo with appropriate colors. This kind of...

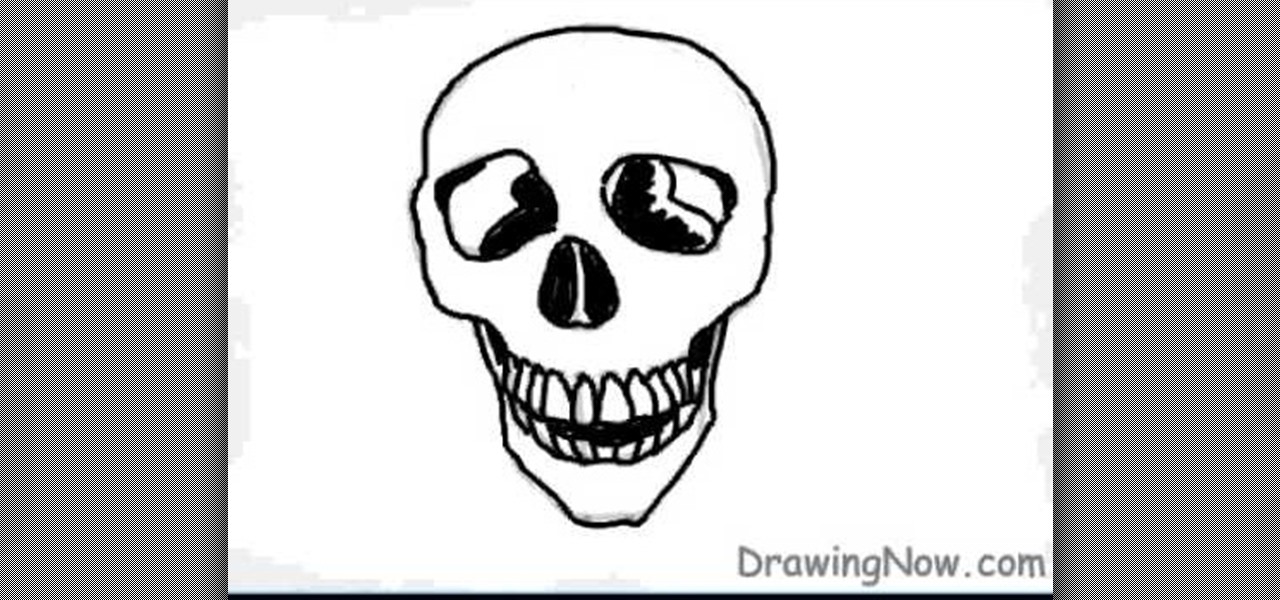
In this video tutorial, viewers will learn how to draw a skull using a computer. Start by drawing a circle for the head and a rectangular shape at the bottom. Draw a line in the center as a guideline. Then draw the eyes, nose and mouth. Now outline the skull and add the details. Shade in the eye sockets, nose and mouth. Now you can erase the guideline. Start coloring the skull to a preferred color. Then add in a darker color around the skull to shade it. Finally, outline the skull and color t...

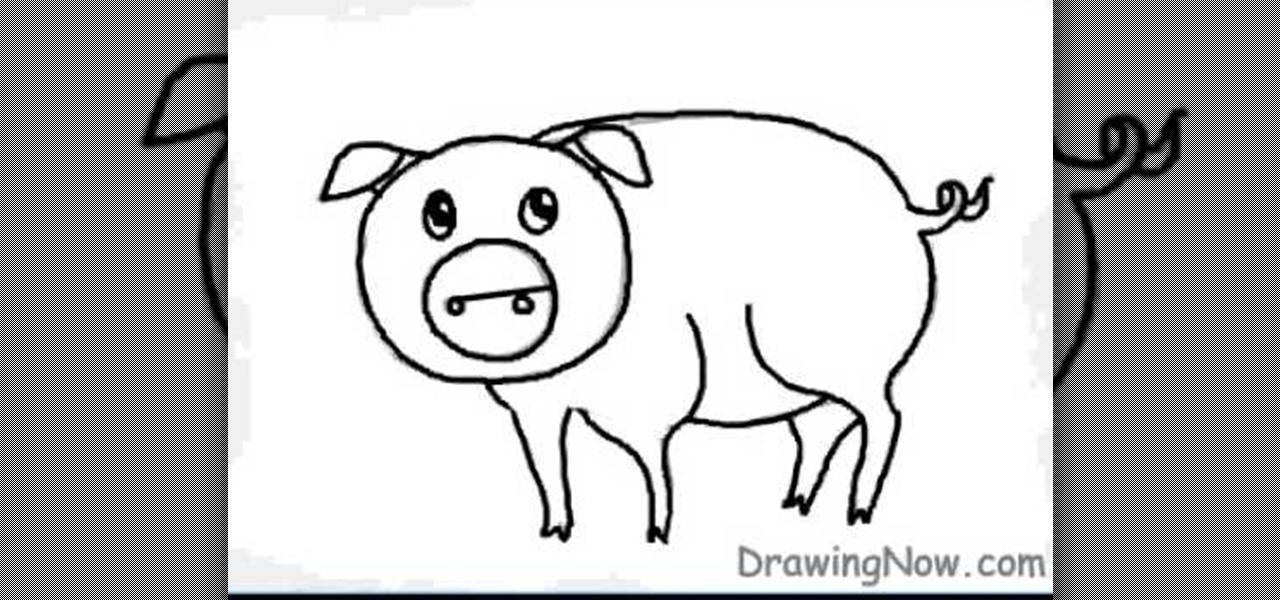
First neatly draw the outline of the pig, then color the outline with a darker shade as this is the base of the character. Next draw the eyes, nose, and the small curly tail which complete the outline of the pig. For the base color a slightly bright pink color should be selected to shade the inner part of the pig i.e. the stomach, legs, and face. A shiny touch should be added to the face to give it a brighter and happier appearance. The background must be colored also with blue and brown. The...

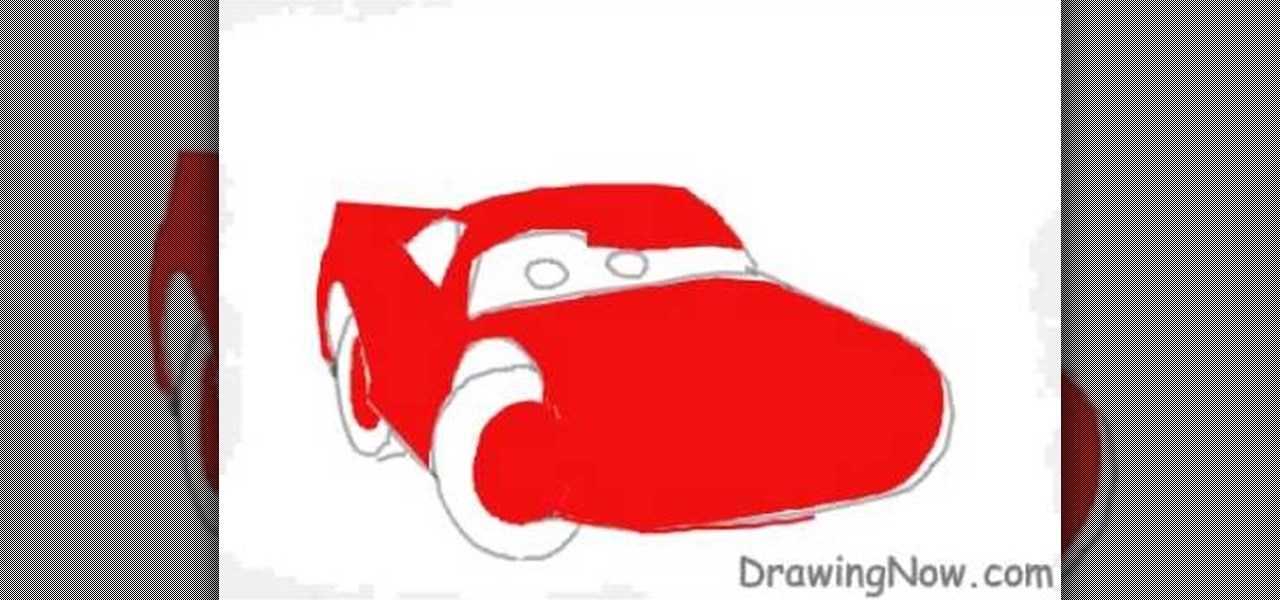
In this video tutorial, viewers will learn how to draw the character Lightning McQueen from the Disney movie Cars. Begin by drawing a 3D rectangle. Make it rounded. Add the wheels and windshield. Draw the mouth on the bumper and the eyes on the windshield. Draw the spoiler and add the details of the car. Then erase the guidelines. Then start adding the colors. Add a darker shade of red for shading. Finish by adding the details on the car. This video will benefit those viewers who enjoy drawin...

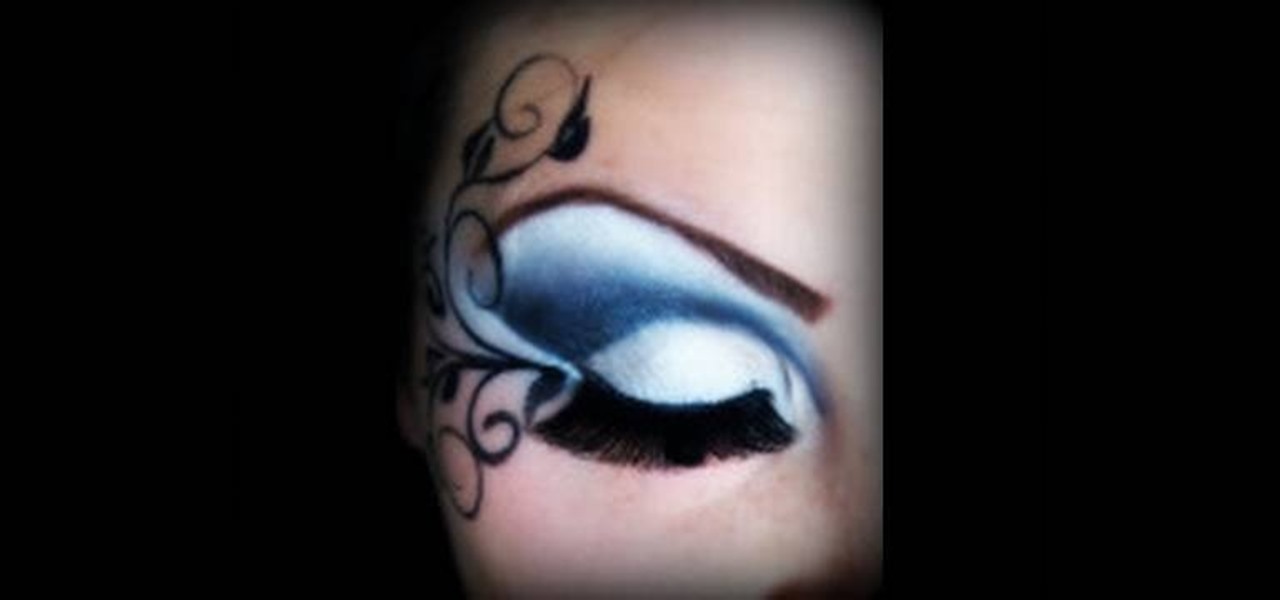
This video is about how to do a black and white floral eye make up. The makeup was done by herself to her in an awesome manner without any flaw. She takes us to the process step by step. She used NYX milk pencil, Mac 226 brush with black, a large blending brush with b slap white and NYC liquid liner.

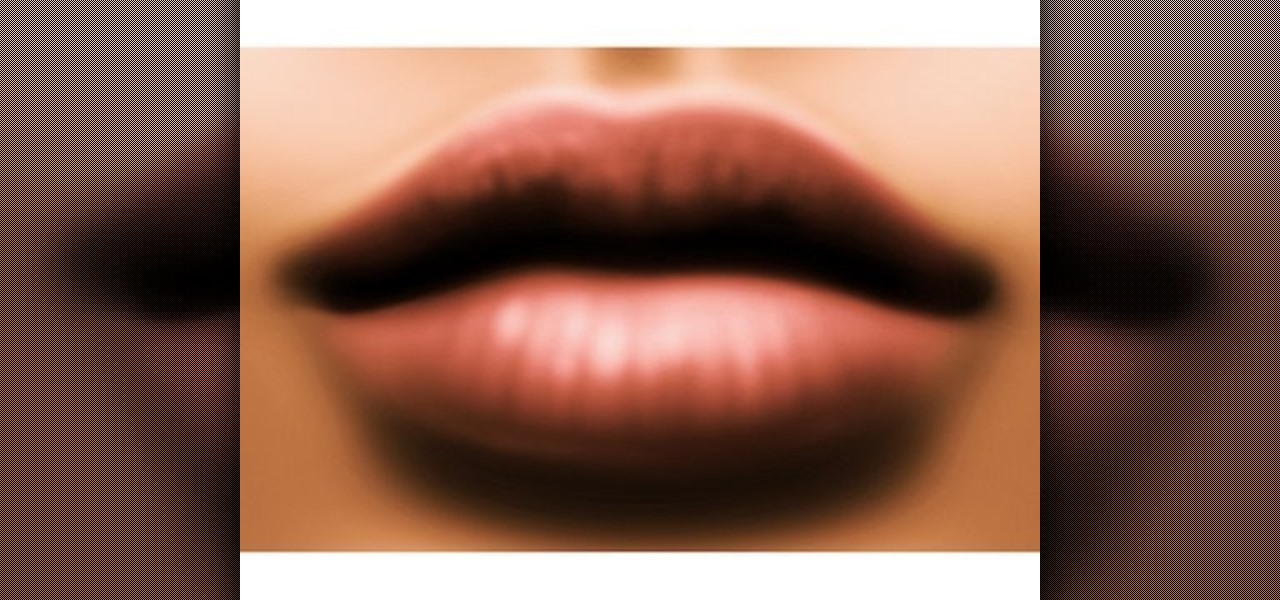
Are you interested painting in 3D mode? Let's try the human mouth first. First, get the basic shade of the lips with a single color. Then, fade out the top side of the upper lip part and give it a less sharp edge. Then paint the depth area above the lips. Edge out the top lip and add more shades on the bottom one. Then add those small vertical lines with low opacity. Add a gradient map over it and another pink layer(color burn).The lips are ready and it will help you in your painting skills.


