In this tutorial, we learn how to draw manga bodies. Start out by drawing circles for the body. These circles will start at the head, then go to the shoulders, arms, stomach, hips, knees, and ankles. After you do this, draw lines to connect them all together and make out the basic shape of the body. Now star to use a bolder line to create the realistic outline of the body. When you're finished with this, you will be able to do the fun part. You can fill in these spaces with color and lines to...

In this tutorial, we learn how to draw Sango and Kilala. Start out by drawing a circle and reference lines for the head, then draw a stick for the body and draw a half circle going off the bottom of the page. Then, draw circles on the upper body to create the hands and draw fingers coming off of those. Now, draw in the neck and the clothing that is on the character. Erase the background lines, then all in the features of the face and the hair around the head. Also make sure to draw on the ear...

In this tutorial, we learn how to optimize a PDF document in Adobe Acrobat 9 Pro. This will adjust the size of the PDF to better adjust your need and work flow. Fire, go to file and then go to properties, then you will be able to see what size the file is. If you would like to change this, go to the PDF Optimizer, which has an "audit space usage" button. From here, you can change the compatibility level and also change the compression and the color bitmap resolution. After you are done editin...

In this tutorial, we learn how to draw Electivire from PokŽmon. Start out with a very sharp pencil and lightly draw the outline of the body of the character. After this, use a firmer hand to draw a darker line on the outline of the body, then start to add in details of the face and the rest of the character. Next, draw the details on the body to give it more of a personality and make it look more realistic. Continue to draw on the rest of the body parts, using lines and shading where appropri...
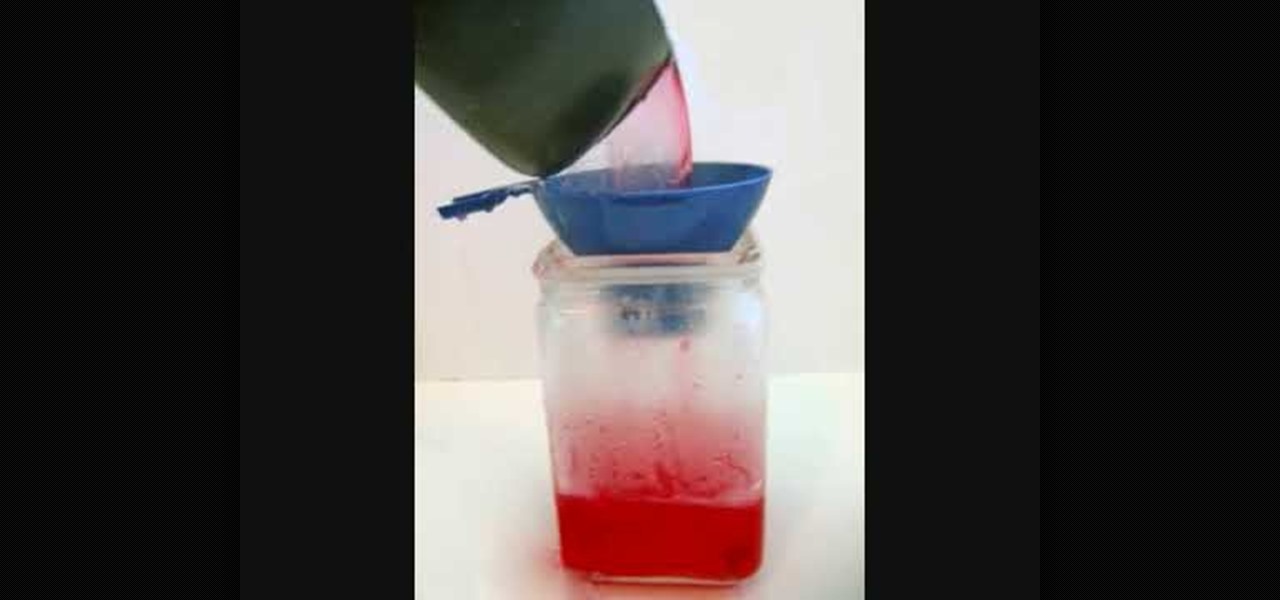
In this tutorial, we learn how to make rock candy with ease. First, add 2 cups of pure sugar to boiling water. After this, stir in flavoring and food coloring then stir the mixture until it's thick. After this, remove from heat and let it cool. Then, pour in cooled water to the mixture and dip a skewer into the mixture, then roll around in sugar and place back into the jar using a paperclip to hold it on the top. You should see rock candy form in around 2-3 hours. Let the skewer sit for longe...
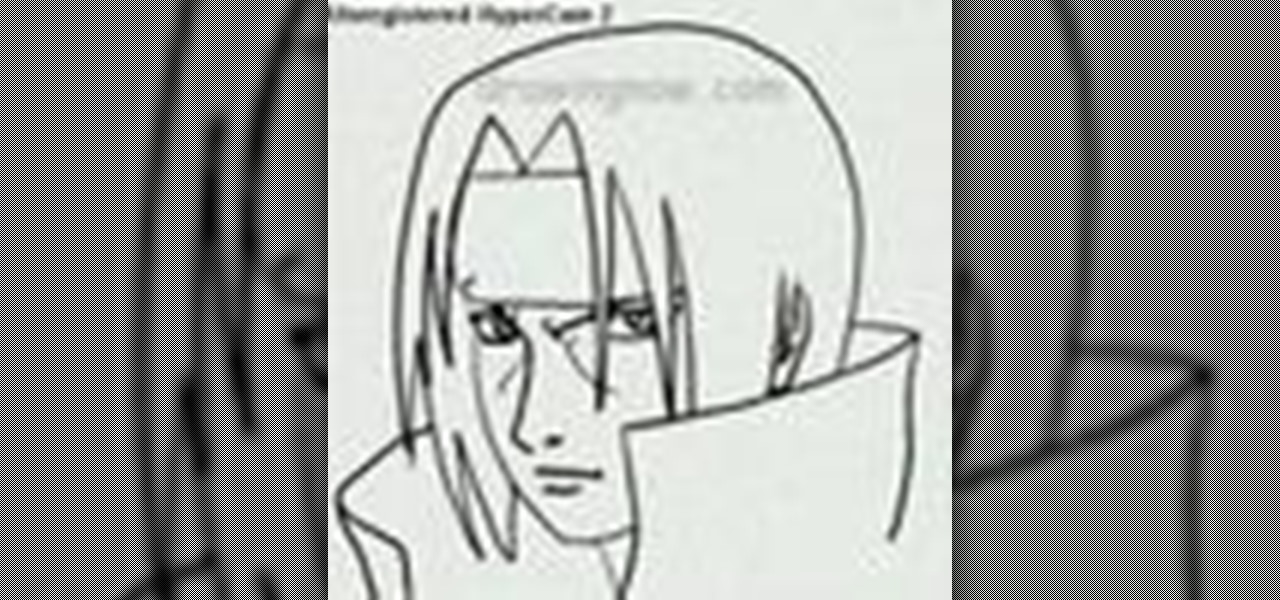
In this tutorial, we learn how to draw Itachi. First, draw your reference lines on the head so you know where to place the features of the face. Draw in the eyes, adjusting them so they are more towards the left of the face than the right. After this, draw in the bridge of the nose and the nose, as well as features of the cheeks. Next, draw in the nostrils and the mouth, as well as eyebrows and creases around the eyes. After this, draw in ears on the side of the head, then start to draw in th...

This video tutorial is in the Fine Art category which will show you how to fashion a wallet from duct tape. For this you will need an X-acto knife, duct tape of any color and a tape measure. Rip off a piece of tape about 10 inches long and place it sticky side up. Rip off another piece of same length and place it on the 1st piece face down but, covering only half of the tape as shown in the video. Fold down the 1st piece on top of the 2nd so that you will have only one half piece of sticky ex...
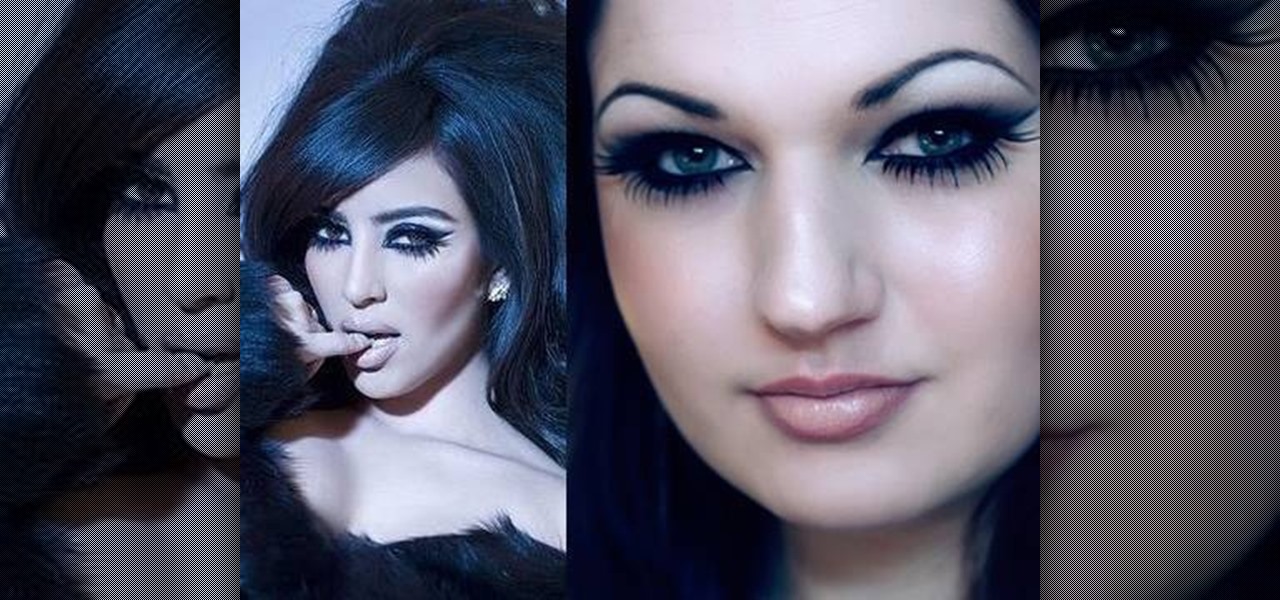
In this tutorial, we learn how to create a Kim Kardashian-inspired cat eye makeup look. Start by using a nude color eyeshadow on the eyes and tape to create an edge on the outer corner of the eye. After you do this, apply a white shadow underneath the eyebrows to create a highlight. Now, take a gray eyeshadow and apply it to the entire eye up until you reach the crease. Blend this out to the corner of the eye. Then, take a thick black eyeliner and apply it to the upper eye, creating a cat eye...
In this tutorial, we learn how to draw a basic dragon. Start off by drawing the head of the dragon, then draw the neck and the rest of the body in a simple outline. Use circles throughout the body of the character to create a large body that looks realistic. Next, draw in details of the body of the character and the fur that is on the outside of it as well. Draw in the claws on the feet and the lines along the body to create a more realistic look. As you continue, erase any background lines a...
In this tutorial, we learn how to draw Ino Yamanaka. Start off by drawing the head, drawing lines in the center to use as reference points. After this, draw the rest of the body, including the hands, torso, and neck. Now start to draw in all of the details. Draw the eyes evenly apart, then add in frown lines, a mouth, eyebrows, and any other details of the face to make it complete. Next, start to erase the reference lines and draw in the hair of the character. Draw around your basic outline t...
In this tutorial, we learn how to draw Johnny. Start off by drawing Johnny's head, then draw a stick for his body, arms, and legs. Once finished, draw an outline over this body to create the shape. Next, draw in the hair for him and then draw his eyes in. Next, draw in the hands and arms, then a knife in his hand as well. Erase any background lines that you have drawn, then shadow and add more lines to the entire drawing. Once you have done this, add in his eyebrows and any other details to f...
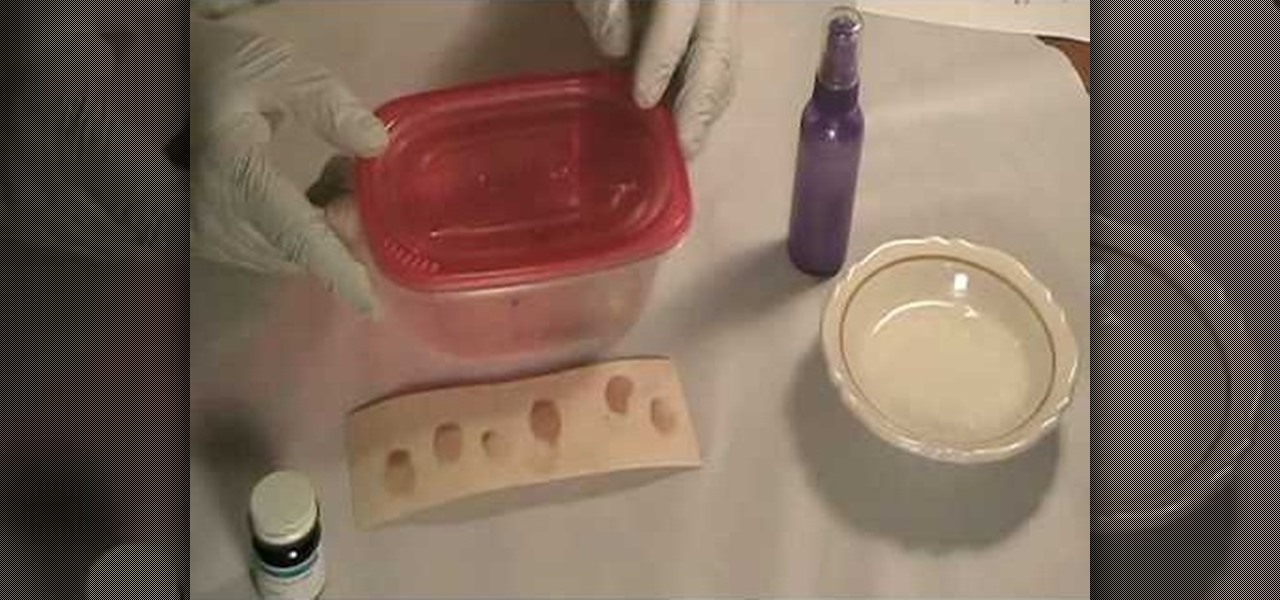
In this tutorial, we learn how to reveal latent fingerprints on paper & other surfaces. The item you will need to do this is crystal iodine and plastic sheeting to protect your work surface. Place your specimen into a plastic container with the iodine, then put the top on and let sit, placing your hand under to warm it up. Within a few minutes you will see a violet color vaporizing in the container. When finished, you will be able to take out your specimen and see the fingerprints that are al...
In this video, we learn how to finish a crochet never ending granny square. There is a spiral effect happening in this, because there is no place that is stopping, it's going in a continual circle. To finish one of these, you will see that the corners should be perfect. But, you will need to choose one corner to finish it off at. Go across, then choose a side to stop at. Then, chain over and double crochet in. When you come across with another color, you can weave in the end so that you can't...
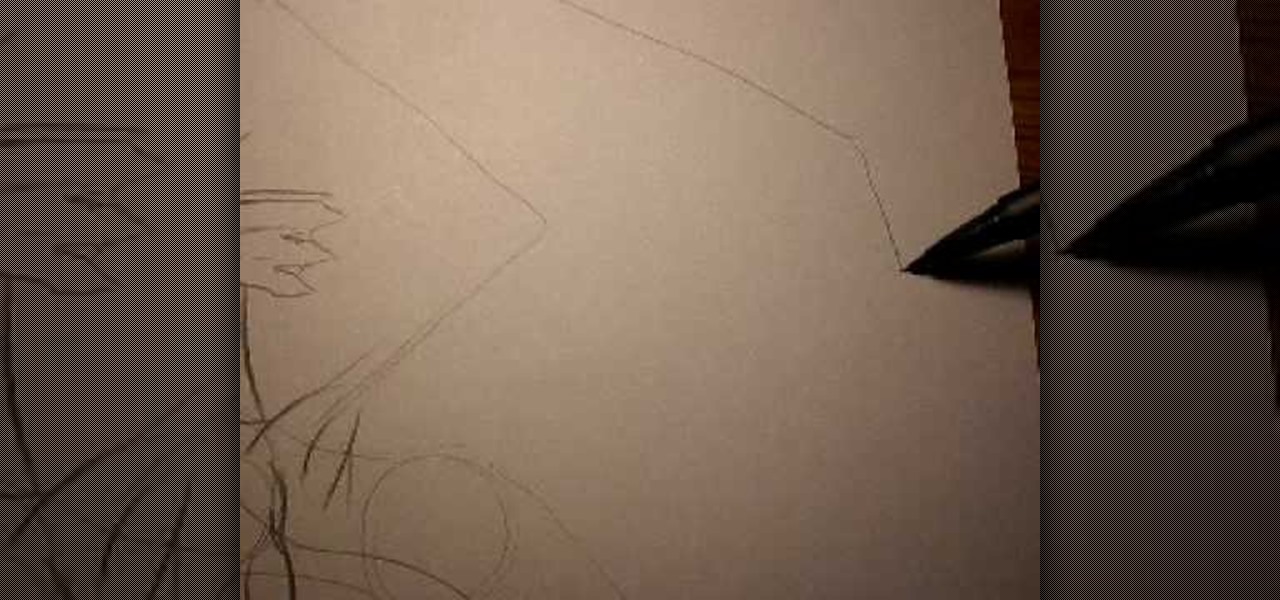
In this tutorial, we learn how to sketch a female face. Start with an upside down egg shape for the face, then draw in the contours of the chin. Use reference lines on the face to help you place where the eyes, nose, and mouth are going to go. After this, start to draw in the additional features, using a lot of lines to contour the face and make it look as realistic as possible. It's very important to use the lines in the background of the face so everything is even and lined up. After this, ...
In this tutorial, we learn how to draw Tohru Honda. Start out by drawing a circle for the head, then lines on the face to reference where the facial features go. After this, draw a stick for the body alone with a neck. Draw in circles where the shoulders go, then start drawing around that to create the body. Draw on the school uniform for her, then draw on the ear and additional details for the uniform. After this, draw on the bangs and the hair, then add on the bows to the hair. Then, draw o...
In this tutorial, we learn how to draw Axel. Start out by drawing the head, then add in the facial features including the eyes, nose, ears, and mouth. After this, draw in the spiky hair that goes around Axel's head. Next, draw the neck and shoulders. Continue to draw down the body until you reach the feet. Add in the details of what the character is wearing, using lines on the clothing to make it look more realistic. After this, you will need to draw in shadowing on the drawing to make it loo...
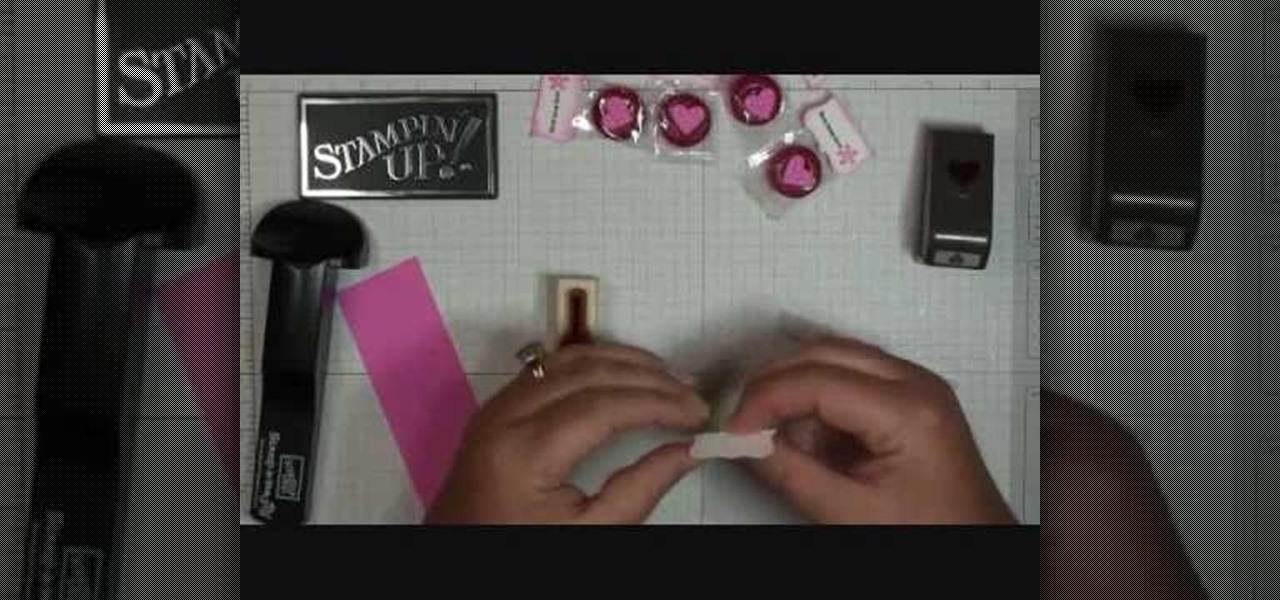
In this video, we learn how to make Life Savers treats. First, use the curly label punch and punch it out of a white paper. Next, fold this in half and then use your stamp-a-ma-Jig on card stock with a love and flower stamp. Use a black and pink marker to fill in the colors of the stamp. Next, stamp this on the piece that was folded in half, then punch out a heart and use sticky strip to adhere the individual life saver to the middle of the sentiment. Once finished, apply the heart and you ar...
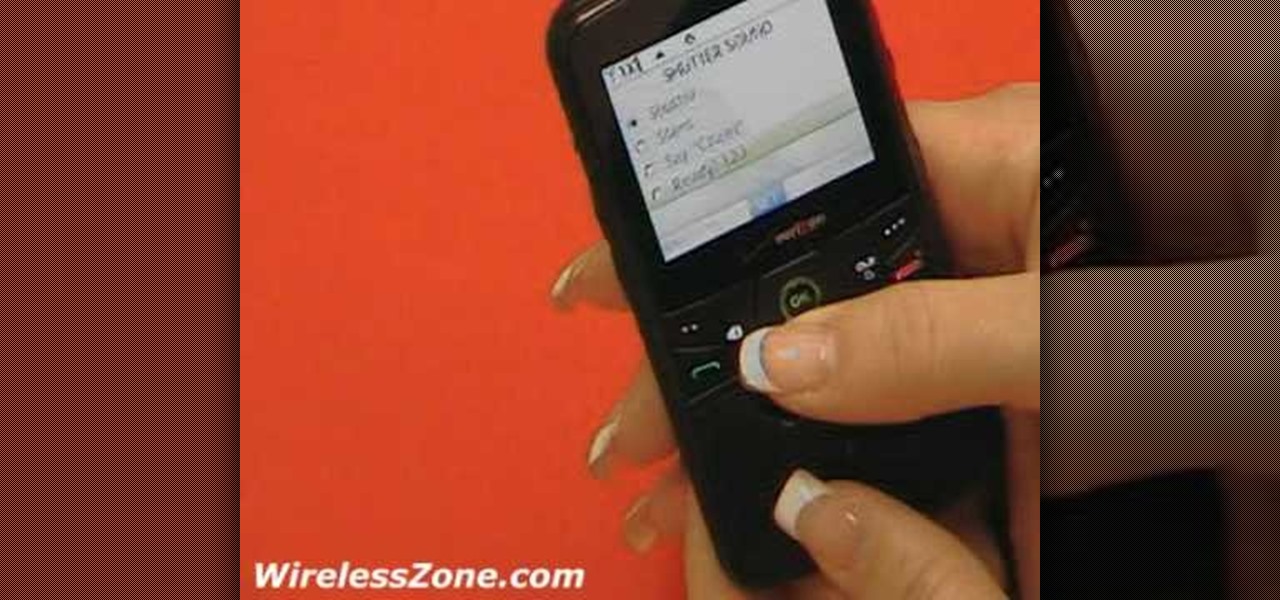
In this tutorial, we learn how to use the Verizon Wireless Razzle TXT8030 camera. This is 1.3 megapixels and has a self-portrait option on it as well. To access the camera, press the camera key on the side of the phone. Now, you will be able to view the gallery, take a picture, or see your options. The options will change the color effects, self timer, and other options for each of your pictures. Once you have chosen all of your options, face the camera at the subject, then press the middle "...
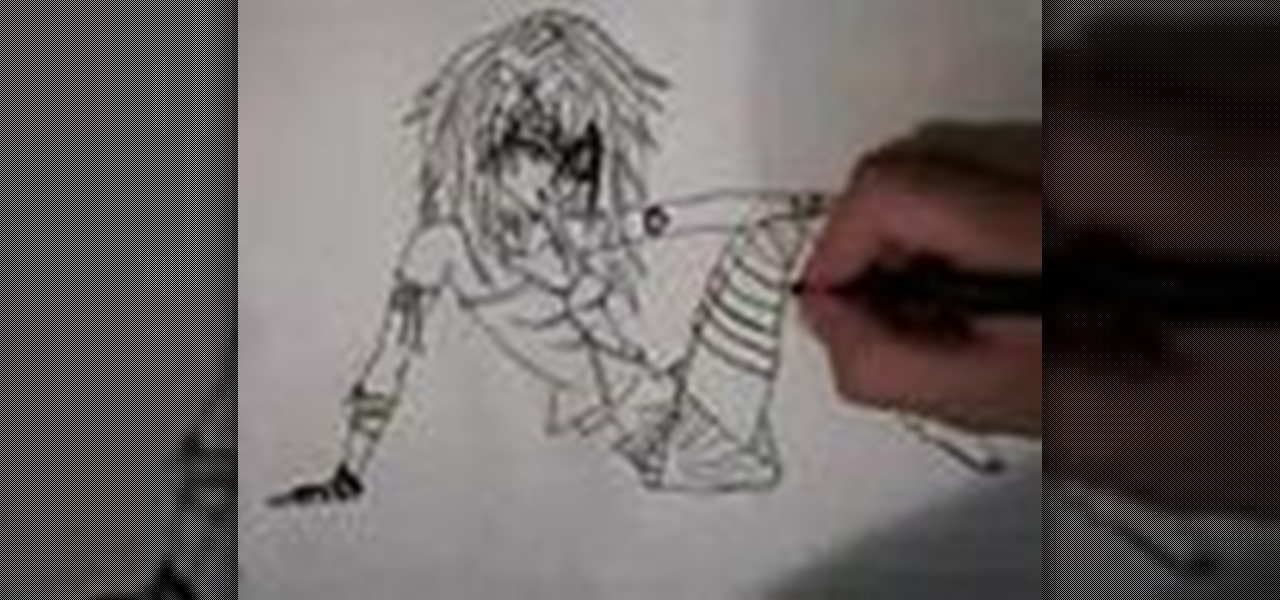
In this tutorial, we learn how to draw a manga cute emo girl. Start out by drawing the outline of the body, then add in the surrounding details. After this, use a darker marker to draw in the outline and the rest of the details inside the character. Make sure to draw in hair and all of the facial features to make her look feminine. Draw down the rest of the body, giving her a woman's shape and cleavage. Also make sure to draw on a pleated skirt and a tank top. Draw on the legs and feet, with ...
In this video, we learn how to draw a Pikachu PokŽmon. First, you should have a picture of the character in front of you so you can better draw it. Start out by drawing the eyes and filling them in with marker. Next, draw in the rest of the face, including the nose and the mouth. After this, draw the ears at the top of the head, then connect in the middle to create the head shape. Draw the sides and bottom of the head, then draw the body. Add in circles for the cheeks, then continue to draw u...
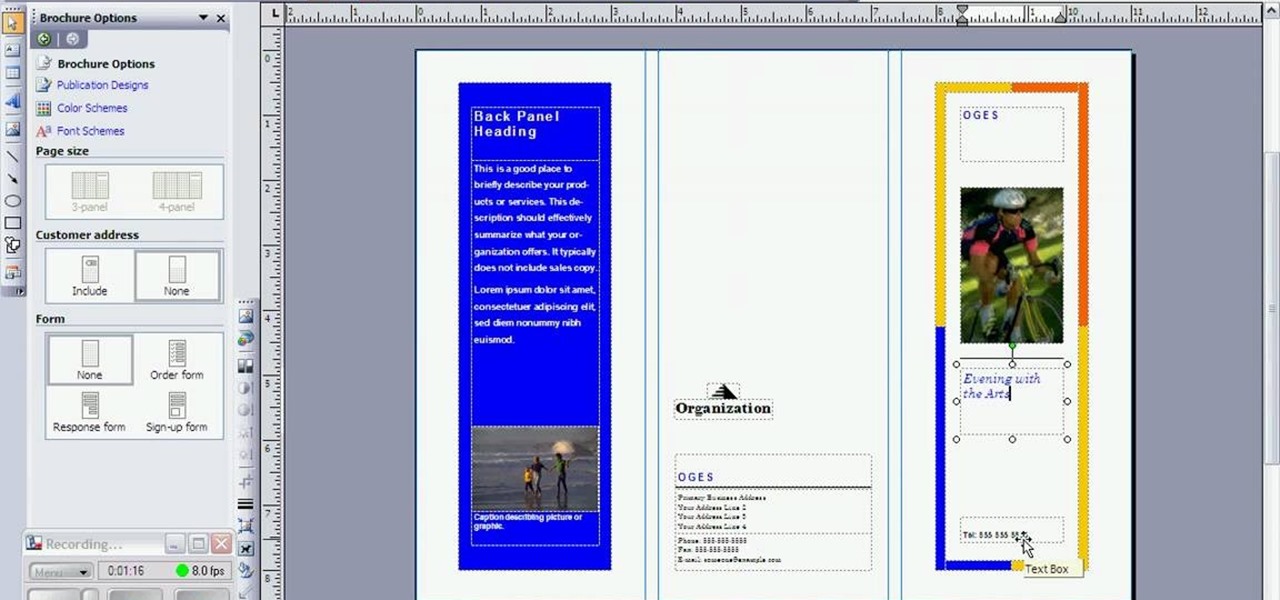
A simple tutorial video that demonstrates the procedure for creating a brochure quickly and easily using the Microsoft Publisher program, which is shipped as a part of the Microsoft Office Suite.
In this tutorial, we learn how to draw Misty from PokŽmon. Start by drawing the basic shape of the head, a circle with lines inside of it to use as reference lines. After this, draw on ears to the side of the face and then draw in the cheeks. Now, draw a stick figure for the body and then draw in circles to create the other lines for the body. Then, draw the back of the neck and start to fill in details. Erase any background lines as you continue to draw. Make sure to add in details and facia...
In this tutorial, we learn how to make an easy hair bow. First, grab some thick ribbon in any color or material that you want to have. Use more ribbon if you want a larger one and less if you want a smaller one. Measure it out or use your eye to measure. After this, heat seal the ends so they don't fray by passing them through a lighter quickly. Now, fold the ribbon in half length wise, then place a crease there. After this, use a hot glue gun to fold down the two sides of the ribbon with a k...
With dim, minimal lighting and lots of naked bodies swarming around, night clubs don't exactly offer the chance to put you in the spotlight. That means that if you want to stand out what you wear - both on your body and on your face - has to stand out as well.
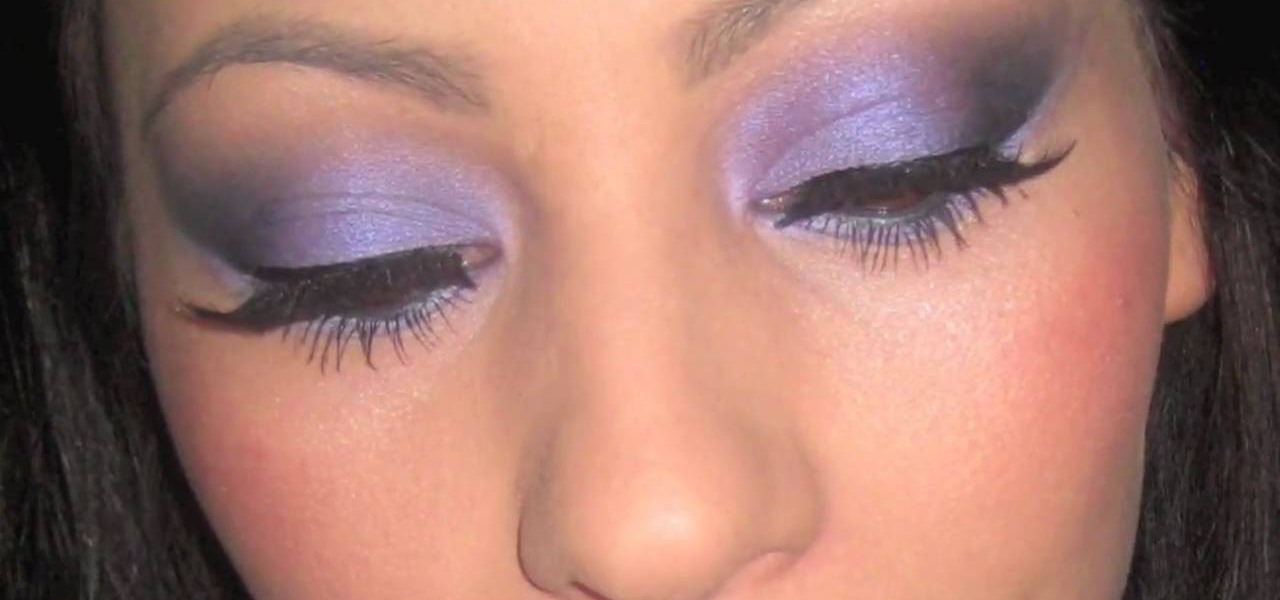
The trick to achieving the perfect smoky eye is glitter. Not too much glitter; rather, a strategic application adds instant pizzazz and liveliness to any matte black and brown shadows.
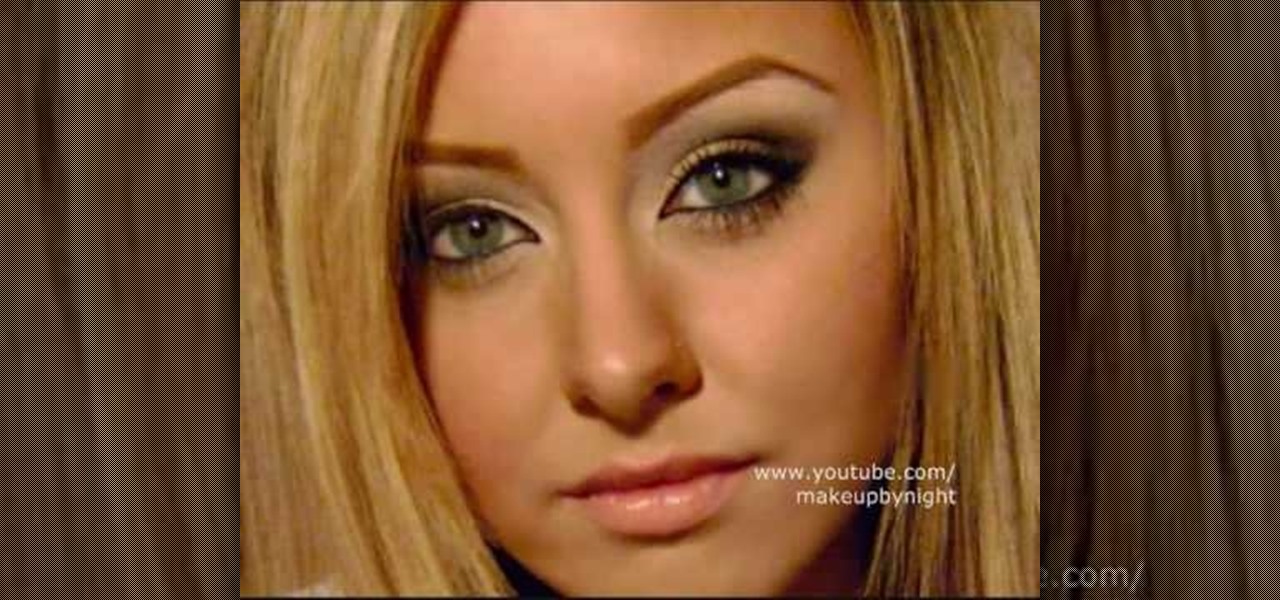
After spending nearly half her life in show business, Miley Cyrus knows a thing or two about what type of makeup - and what colors - look good on her. If you follow her red carpet appearances you'll notice she usually goes with similar eye looks. Specifically, a very smokey cat eye and nude lips. If it ain't broke, don't fix it, right?
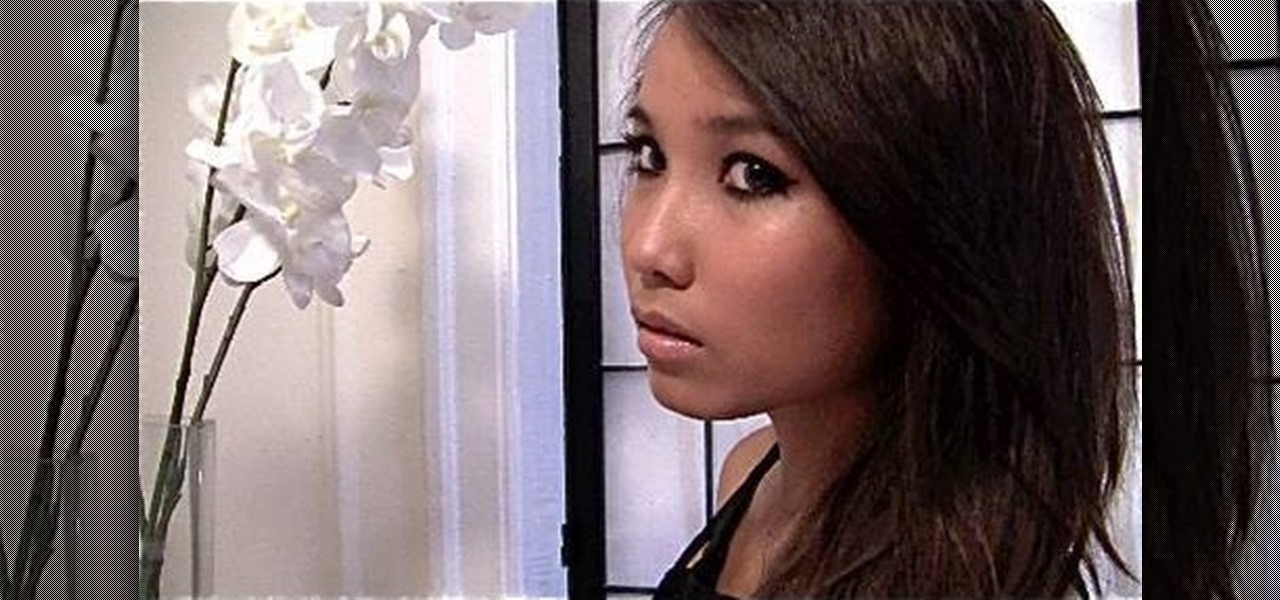
You don't need a ton of makeup to look fresh and sexy. You can tone down your makeup and still look hot! Zhareena shows you how to tone down you look and still appear fabulous, just by using less cosmetics. This makeup look is great for school, running errands, dates, and more! It's really easy to apply and consists of affordable products.
Smokey eyes get a rep for being a nighttime makeup look, the ultimate transformative tool to go from clean and conservative to sultry and sexy. But they don't have to be reserved just for nighttime activities.
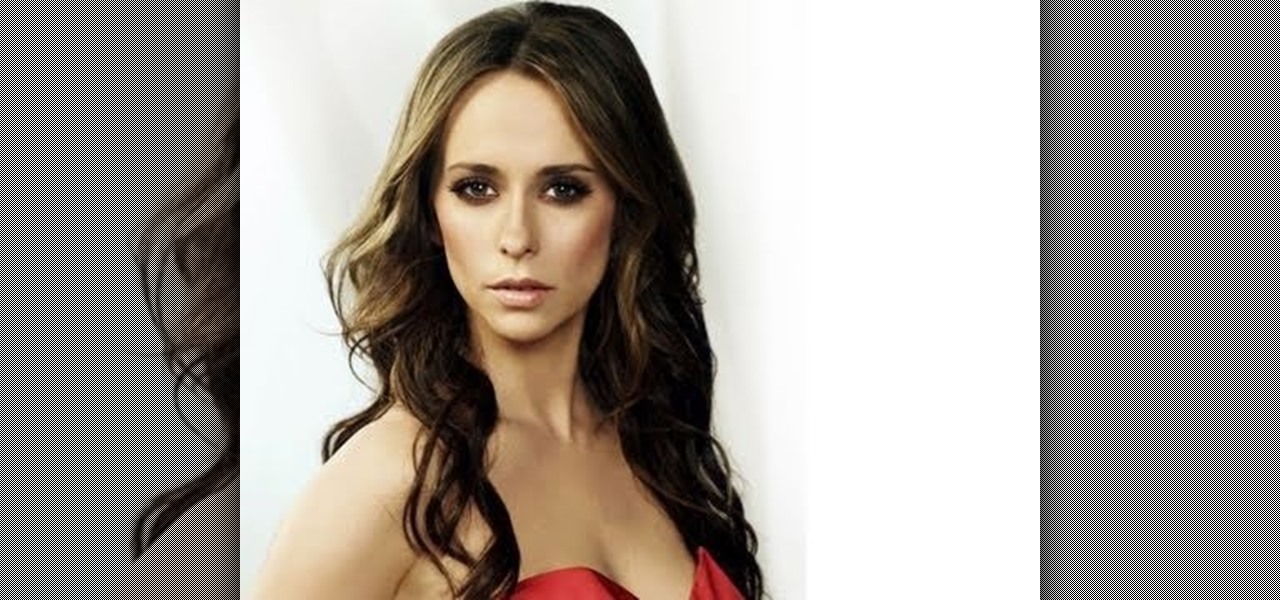
We may not have Brigitte Bardot's perfect plush lips or her French sex appeal so natural she seems to have been born with it, but we can steal her makeup tricks! Bardot was most famous for her bedroom eyes - you know, the half closed, half open wink she would lay upon cinema viewers and men that sent the good kind of chills down their spines.
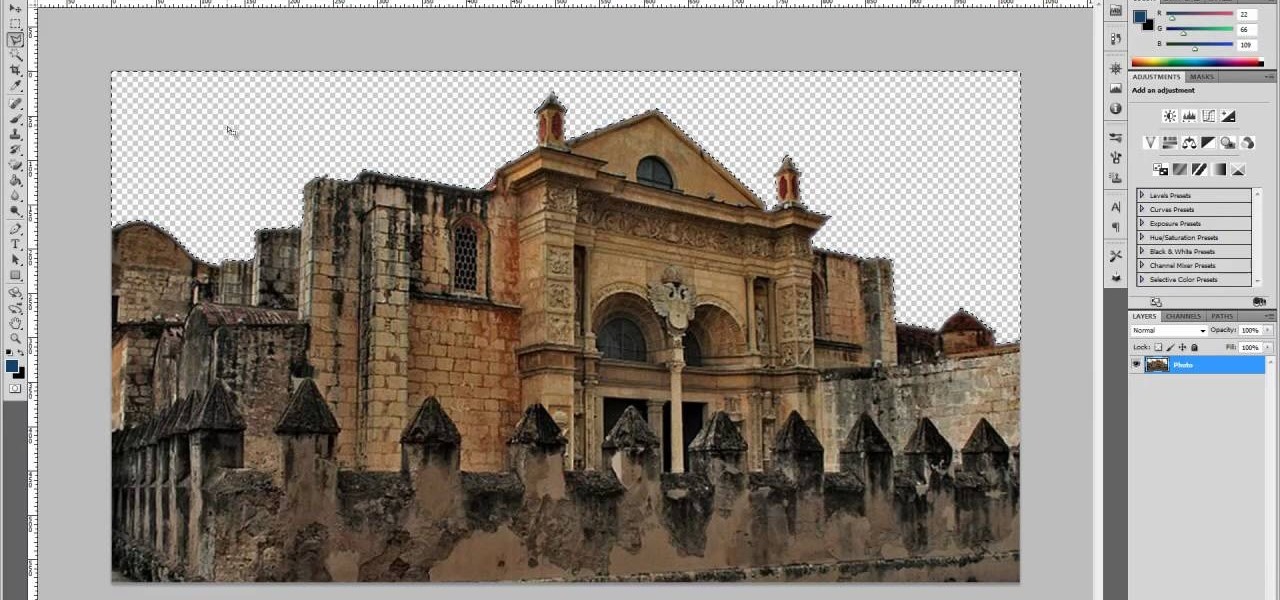
This four-part Adobe After Effects tutorial from Laurence Grayson shows how to take an ordinary photograph of a building (in this case, a cathedral) and turn it into a spooky looking house from hell. The majority of the work done uses the standard toolset in After Effects CS3, CS4, and CS5. Adobe Photoshop is used for the sky replacement section. Create hellish clouds, eery flickering windows, sheet lightning, color correction, 3D motion and depth of field effects for your next Halloween spec...
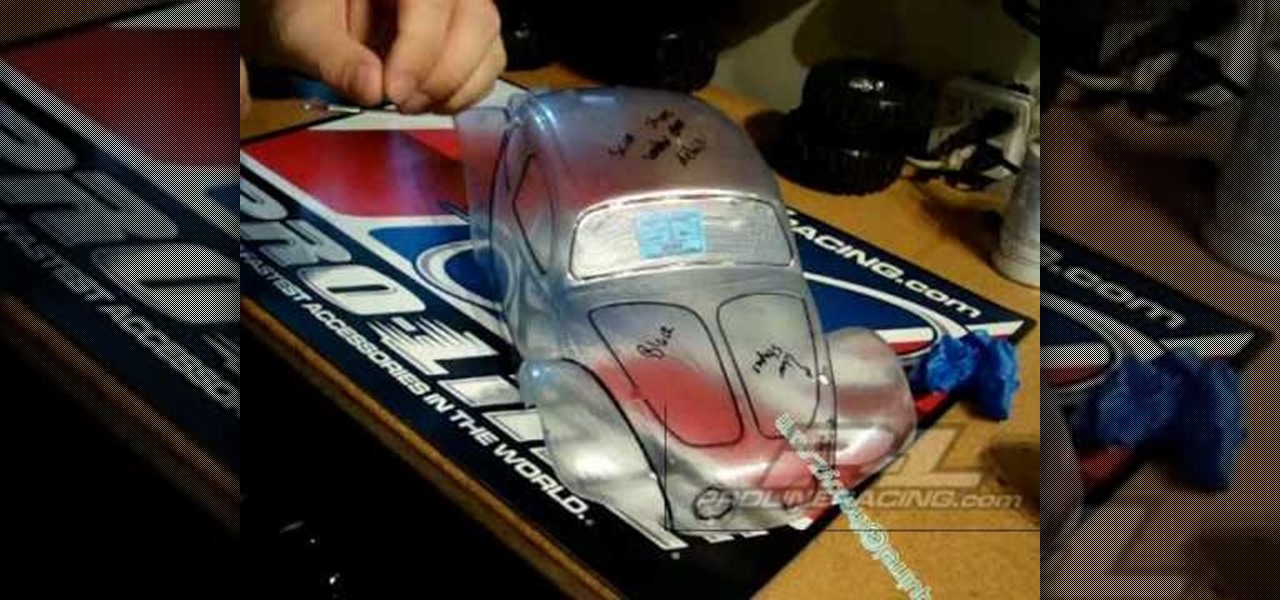
In this video, we learn how to apply stripes and add lines to RV cars. You can do curved lines or straight lines, depending on the look you want. For straight lines, you will take tape and mark from the hood to where you want the tape to end. Use different sizes to create the look you want to achieve. To get the lines straight, place the tape on a straight surface as a guide with the clear top that goes over the vehicle. Once you do this, you can paint around this to form opposite colors. The...
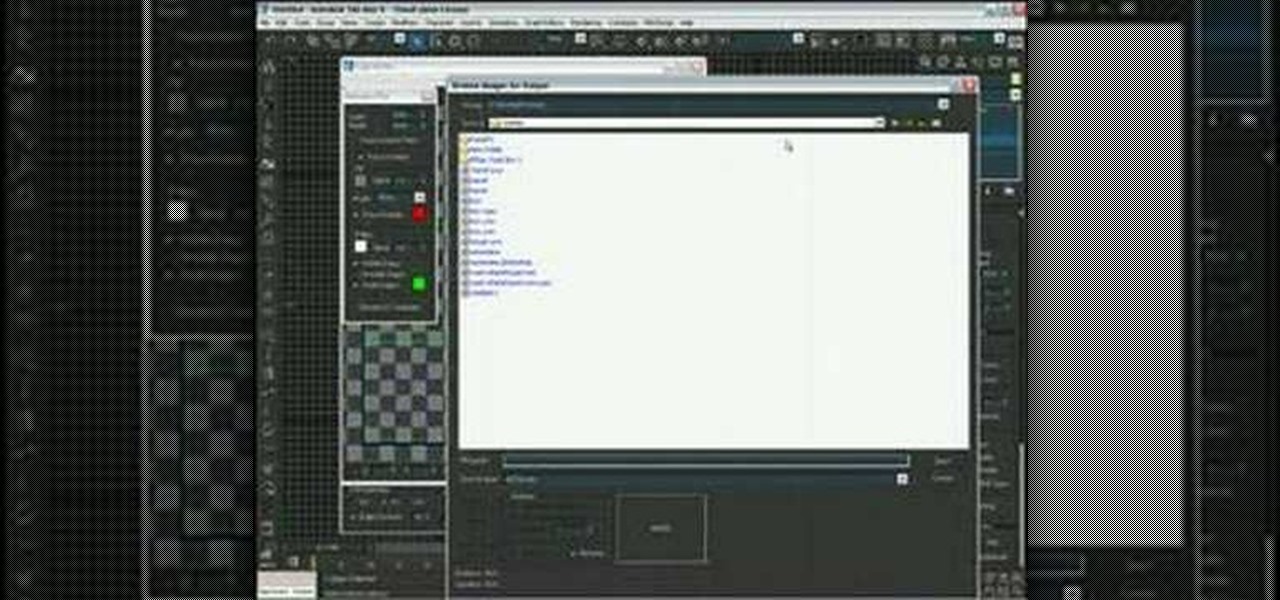
In this video, we learn how to use the UVW unwrap function in 3D Studio Max. First, go to the UV modifier wrap and select all the faces. Once here, edit the parameters and then go to the mapping menu. After this, you will be able to change the object as you would like. After you are finished with this, save your object to your computer in a spot you won't forget it. You can create several different layers and change the colors as you prefer. You can completely customize your experience on thi...
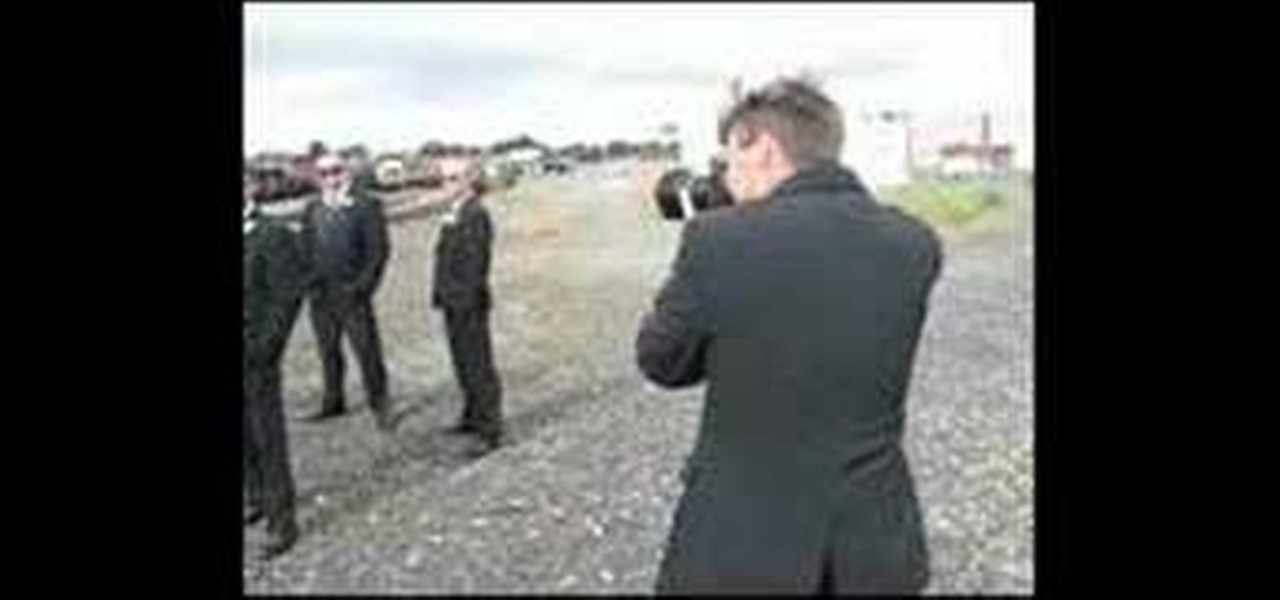
In this video, we learn how to shoot wedding photography like a pro. Start off by having the wedding party in front of a clear background. Try taking their picture outside with trees and a clear sky in the background behind them. Use the surroundings to add a special touch to the pictures and use the correct flash so that the wedding party shows more than the background does. Accentuate the background and use white flash absorbers around the wedding party so their faces have more color that s...
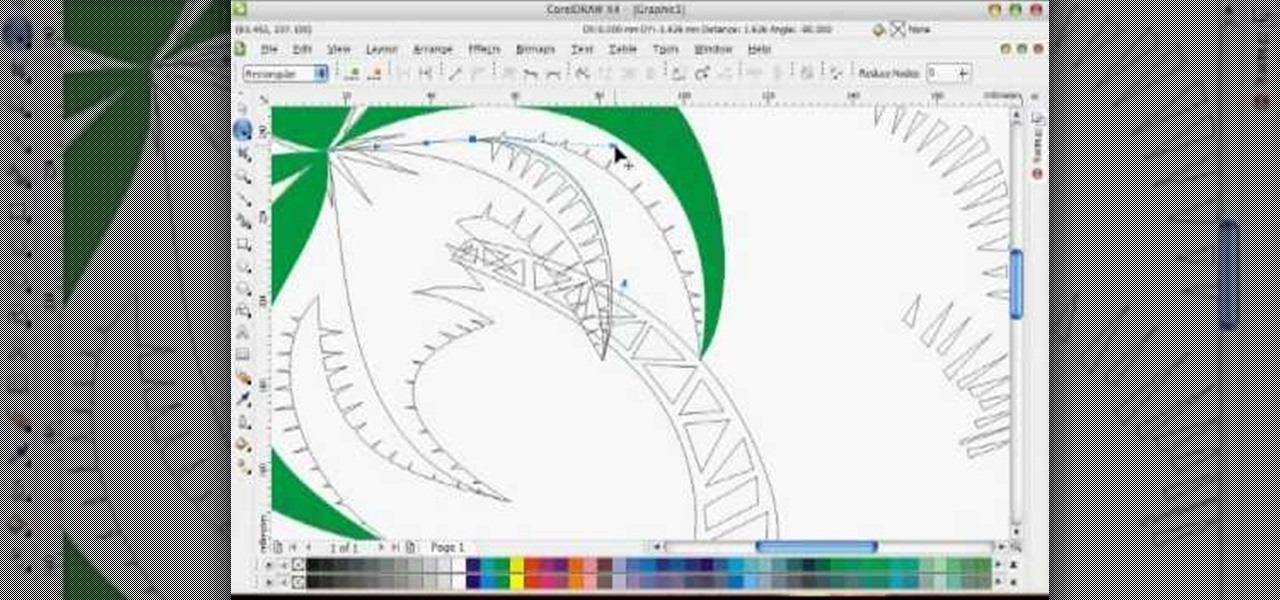
In this tutorial, we learn how to draw a vector art palm tree in CorelDraw X4. Start off in the CorelDraw program and create the base of the tree with a drawing tool in black. After this, draw small triangles inside of the base of the tree and then draw the leaves and branches of the palm tree. Fill this in with small spikes and then erase the middle nodes. From here, use a shaping tool to make the spikes on the palm tree more rounded and lifelike. After you do this, start to color in the ent...
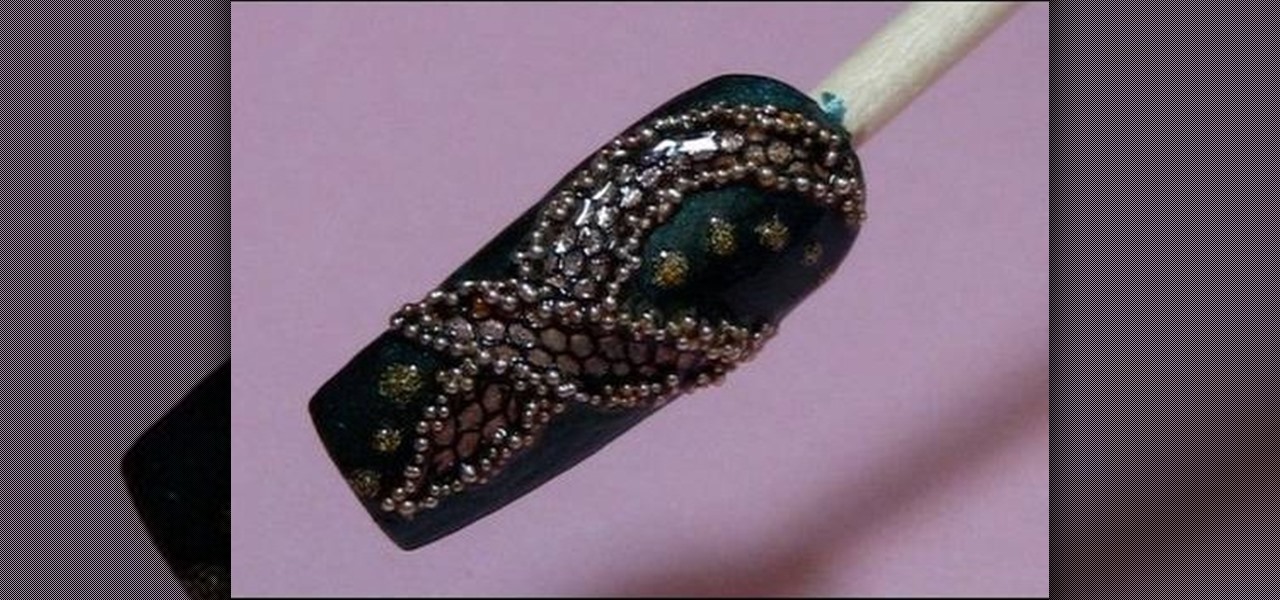
If you've got all day and have a nail obsession, then this is the perfect nail polish and decor experiment for you. Check out this manicure tutorial to learn how to create a rocker chic look with teal nail polish, flecks of gold nail polish, lace, and bullion for a studded opulence.
Let's face it: You're exploding with joy at the fact that your best friend is getting married, but the bridesmaid dress? Sorry, but the last time you pulled off chartreuse was in second grade when your mother dressed you as a duckie for Halloween.
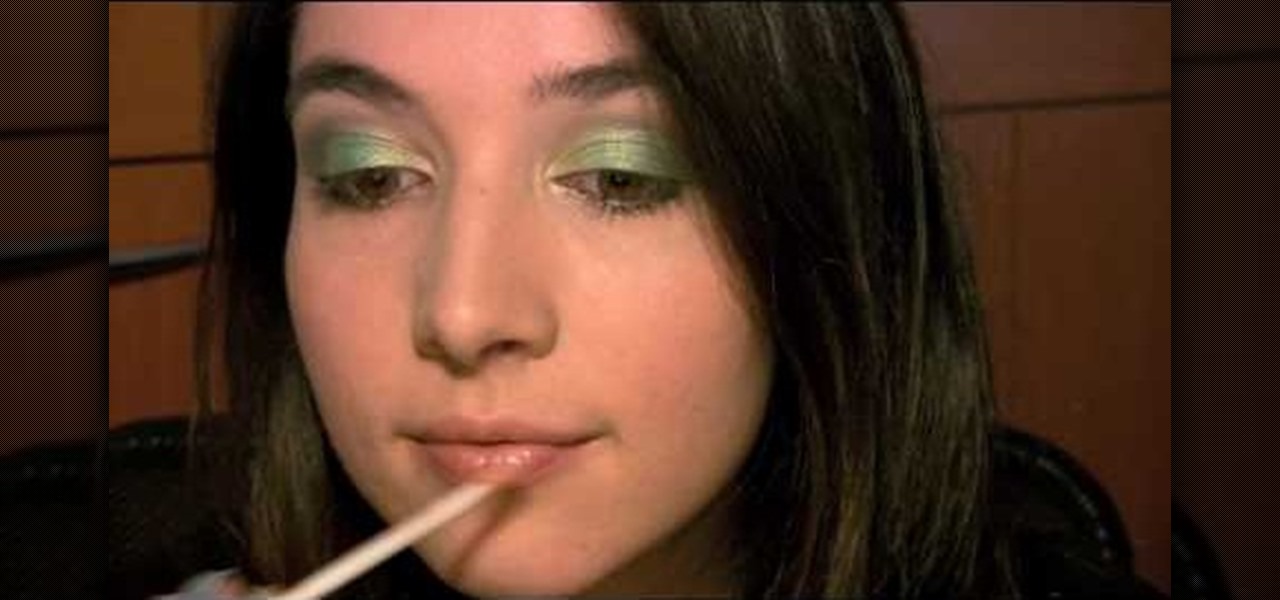
This makeup style was inspired by the Irish folklore creatures called Leprechauns, with their greens and pots of gold. Marinshe shows you this green makeup look that's perfect for Saint Patrick's Day, with a little bit of gold to top it off!
In this tutorial, we learn how to use a yarn bowl when knitting. The side of the bowl will have a slit in it where you can place your yarn while you are working on a project. Use hand wound balls or any other type. First place the yarn in the bowl and then string it through the slit, feeding it through as you do your project. If you have a larger ball, set it on the side and use it the same way. The bowl is glossy and smooth so the ball will roll around and won't get stuck inside. There's als...
In this video, we learn how to paint a black and white French design for short nails. First, paint a diagonal stripe down the nails with white nail polish. You may need to apply two coats of white polish to get a strong color on the nail. Let this dry, then grab a very fine brush and use black nail polish to paint a design onto the white part of the nail. Apply dots and different lines to make the pattern turn out how you want it to be. When finished, you will have a beautiful nail design tha...
In this video, we learn how to convert an image into a sketch in Photoshop. First, open up Photoshop and open the picture you want to convert. Now, click the layer and unlock the background. After this, go to "image", "adjustments", and remove all the saturation from the photo so it's black and white. Then, duplicate this and invert it by going back to the adjustments section. Now, go on the top of the layers tab and select "color dodge" from the drop down menu. Now, go to "filter", "other", ...