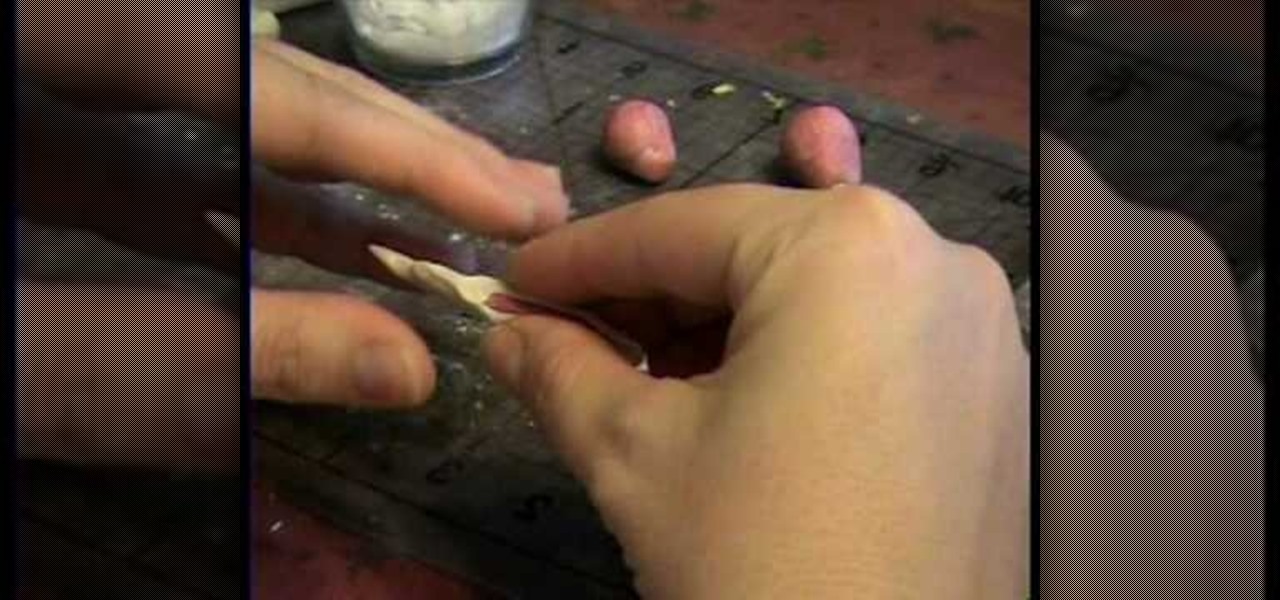
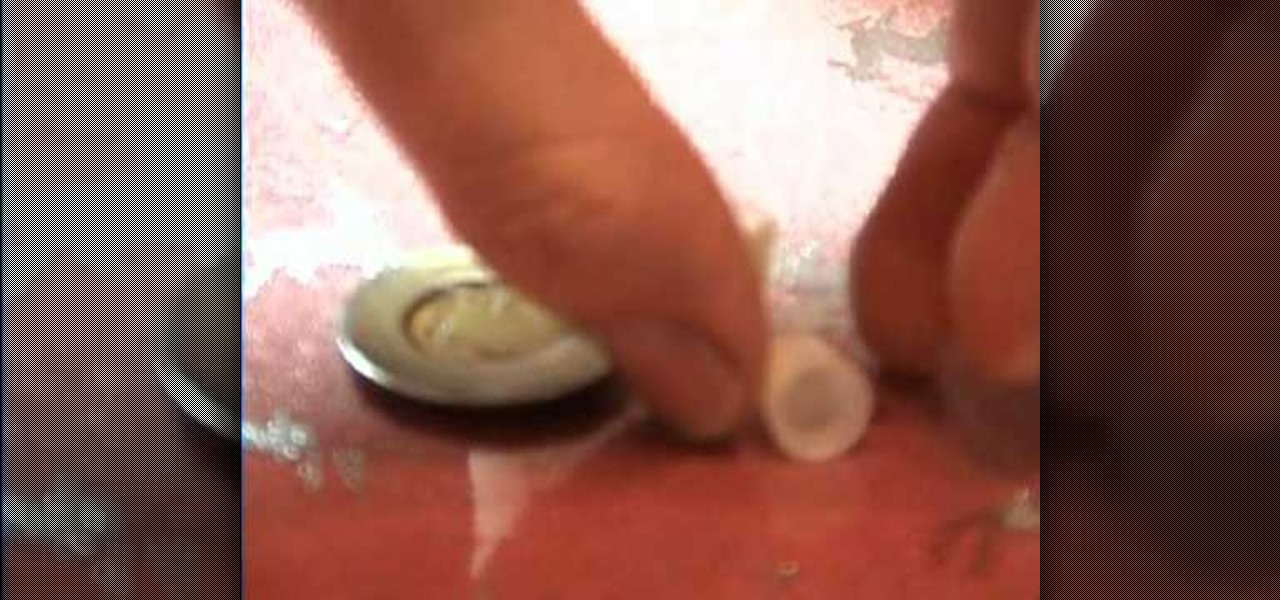
This video shows how to make a miniature ham out of polymer clay, for use in a dollhouse. The instructor begins by taking red and white clay and mixing it to get the color wanted for the meat of the ham. A small, hardened pink piece is then wrapped in a white piece, making the bone with the marrow inside. This is then pressed inside the meat and made to extend out of one end, completing the ham. The process is demonstrated in detail, making it easy to follow along and make your own miniature ...
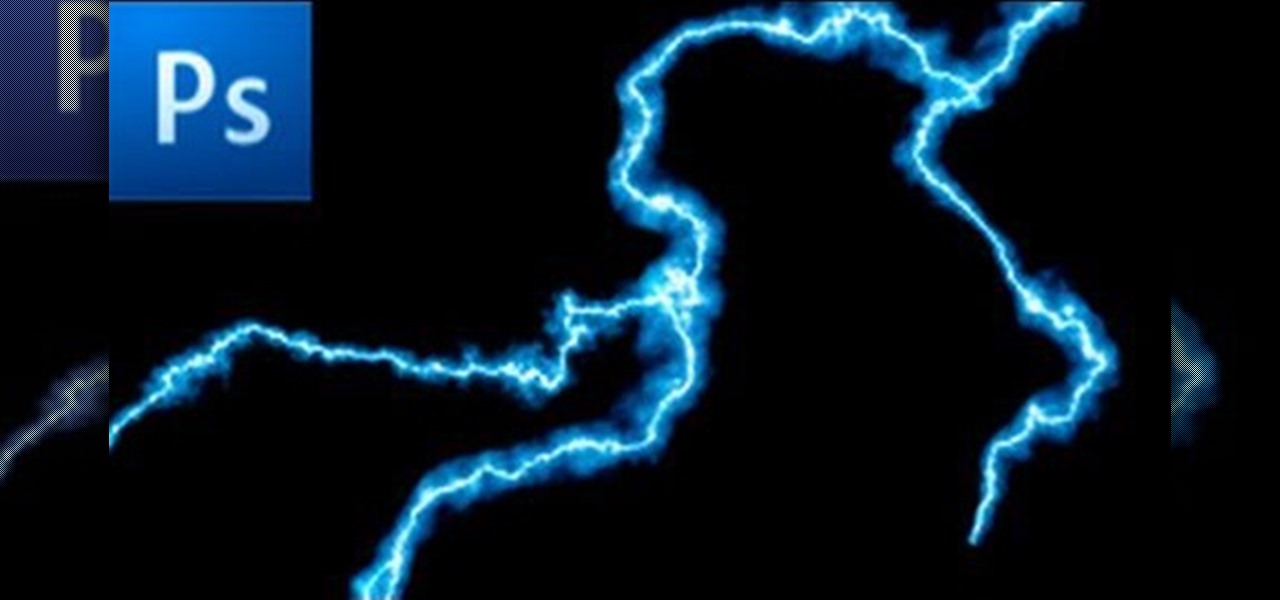
This is a tutorial showing how to make a lightening effect on Photoshop. First click on the gradient tools and then click on the colors. Check to see if there is black on one side and white on the other, if there is then click the ok button. Then hold the shift key while dragging the mouse across the screen. This will make a black to white gradient effect on the screen. After that, click on the filter button at the top of the screen, then click render, and then difference clouds. After the cl...
First of all to make a glass you need to find a bottle, preferably a gallery glass bottle. Take off the top lid from its pointed top. Clean this cap and if you put it inverted it appears just like a miniature glass. The tutor advises to use empty bottles' caps for making the glasses. You can also add a little ice into the glass (for making ice in glass the tutor suggests watching her other video on YouTube site). Now paint yellow color in the inside of the glass. This shall appear like that t...

In this video tutorial, viewers learn how to make a reflective text in Adobe Fireworks CS3/CS4. Adobe Fireworks a bitmap and vector graphics editor. Begin by opening Fireworks and create a new project. Create your text and then duplicate it. Align the duplicated text under the original and flip it vertically. Click on the color and select Fill Options. Select Gradient and keep the second option at Linear. Drag the opacity on the left to zero and the right to 100. This video will benefit those...

This video shows how to make an earring holder. You will need a canvas and some acrylic paint. Paint the entire canvas including the sides. You can paint it a solid color, or paint any design you like. Use glue to attach some glitter, or use puffy paint or glitter glue to decorate the earring holder. When the paint is dry it is ready to use. Simply push your earrings through the canvas. If you have earrings that are delicate, you may want to use a nail to form a hole in the canvas before plac...
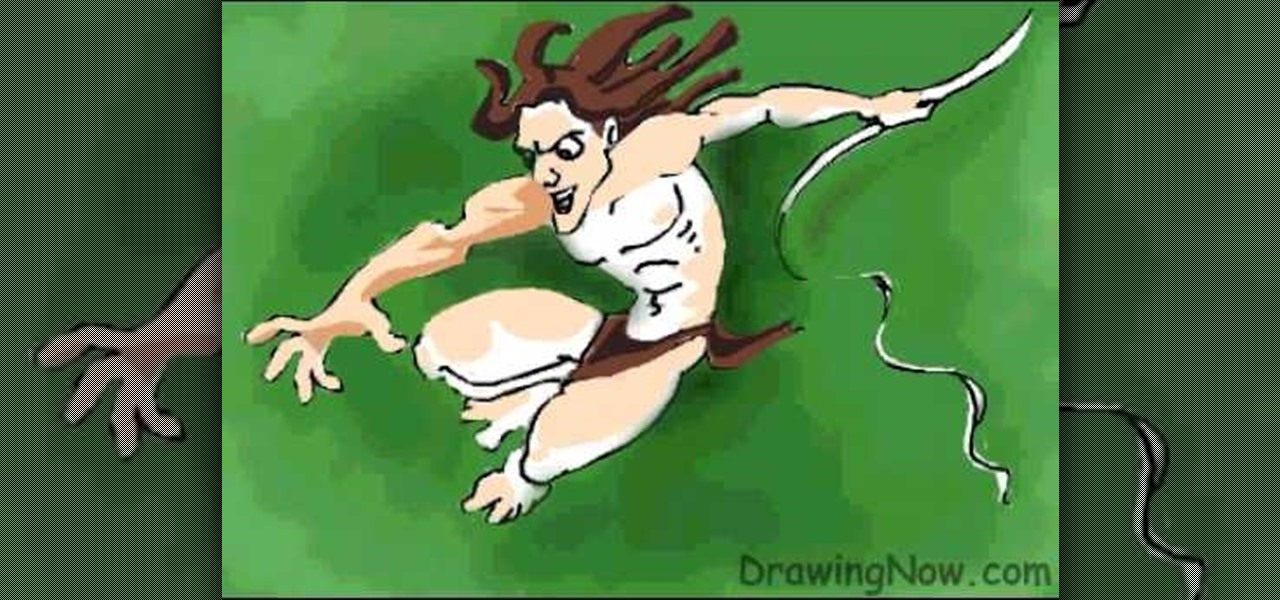
In this video you will learn how to draw Tarzan. The video shows first the outline of Tarzan's body, then it shows the details, followed by the background. This video includes everything from the sketch up until the coloring and detailing. Tarzan is a man who was raised by apes and lives in the jungles. If you're looking to learn how to draw Tarzan this is a good video to learn as it shows how to draw him in a swinging state and the background is a jungle like green, leafy, and vine-like sett...

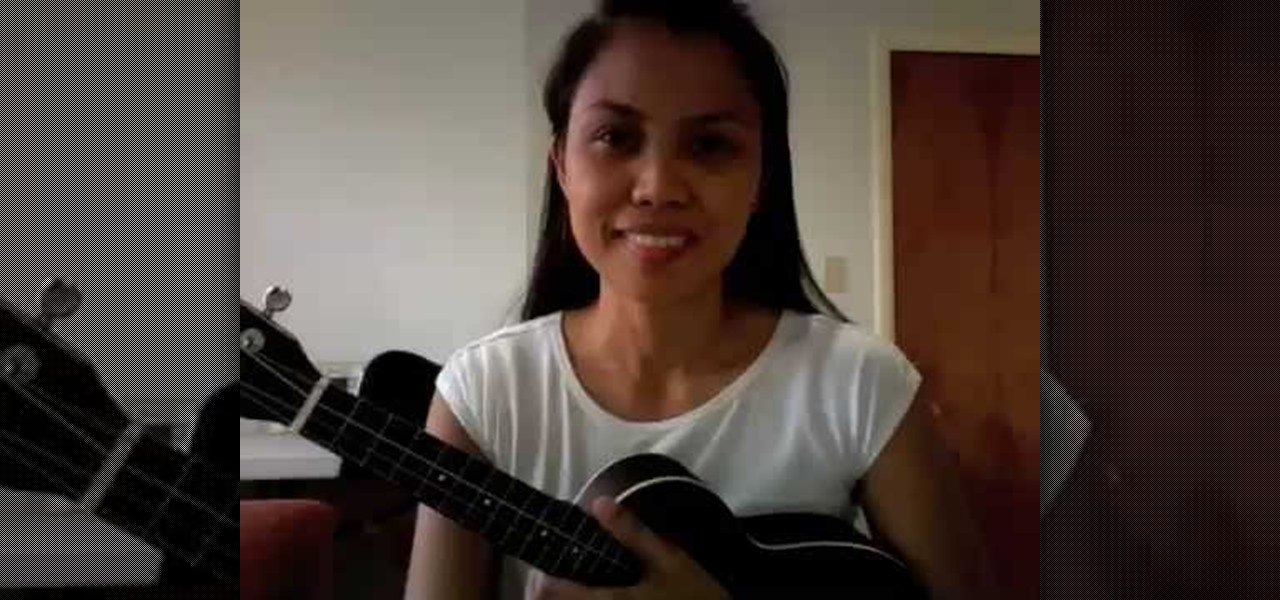
Here is a lady tuning her ukulele with a Korg tuner that she has picked up at her local music shop. Turn on the tuner and you will notice that the lights come on. The green light is going to let you know when the note is in tune and each one of the red colors will let you know which way you are out of tune. The notes on the ukulele are from lowest to highest are, ‘A, E, C, G.’ When the red light shows on the left side of the green then it is flat so you should tune up. If the red light shows ...
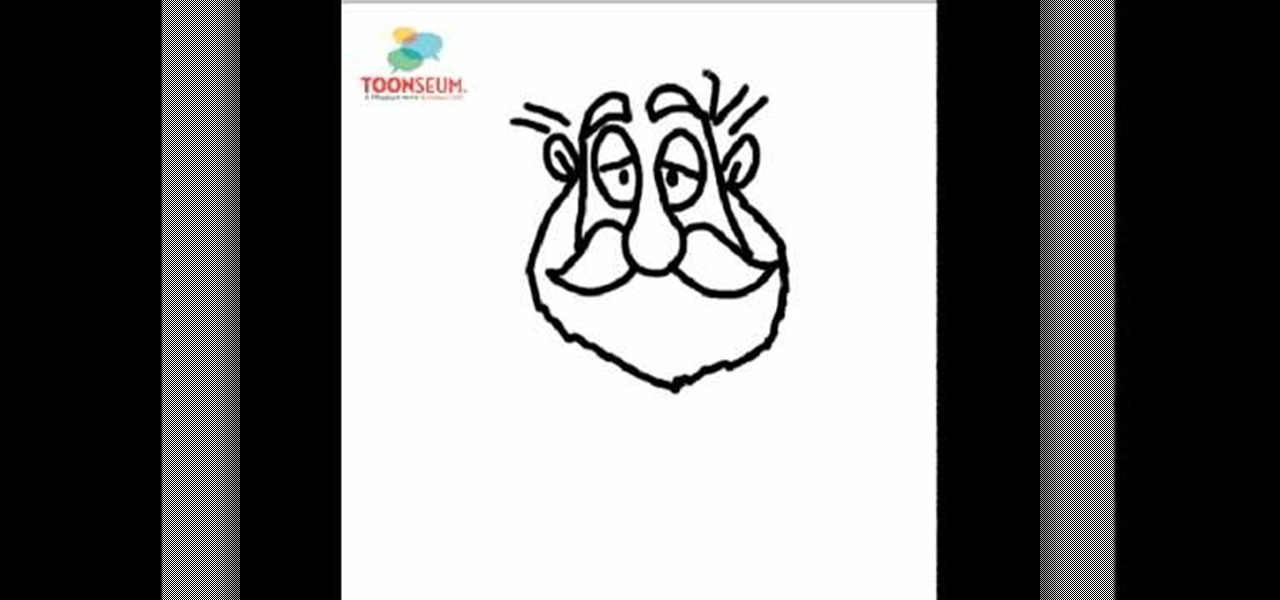
This video shows the viewer an easy way to draw Father Christmas or Santa Claus. The drawing demonstrated is a line drawing but could easily be colored in. The method shows starts by drawing a bulbous nose connected to the eyes. The moustache and the eyelids are then followed by the beard and ears. The hat and eyebrows finish off the top of the face. The mouth is simple and smiling. The body is relatively crude and the legs are very small in comparison to the head. The overall effect is very ...
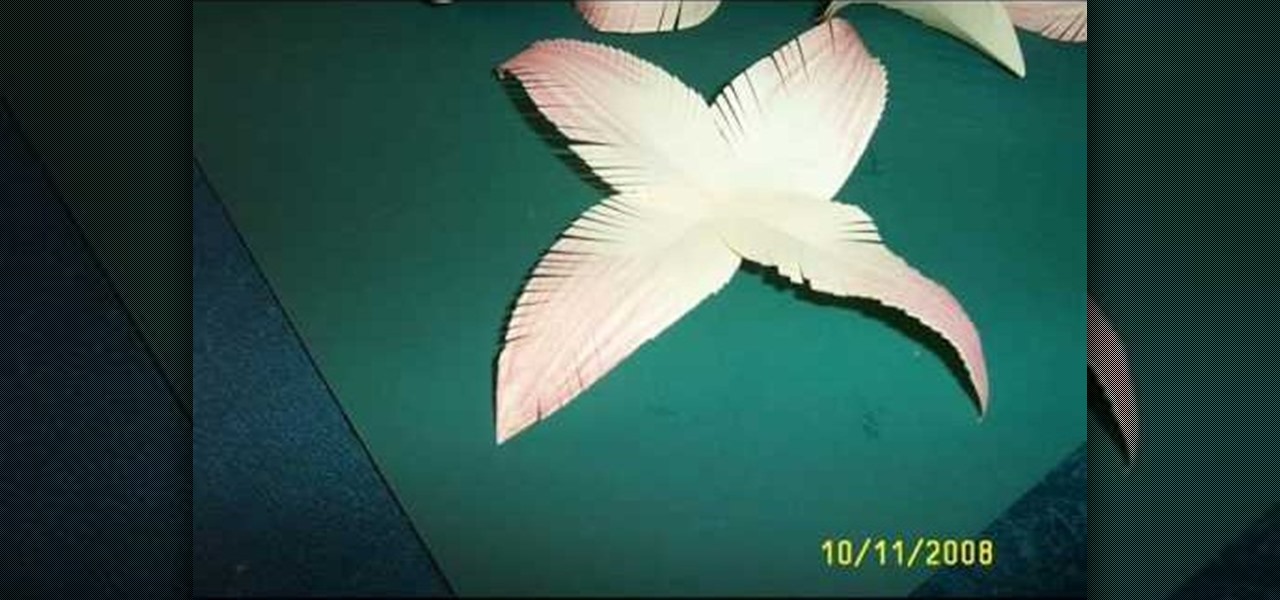
In this video you learn how to make paper flowers with paper, craft glue, crayons, and scissors. First you cut paper into strips and then fold them in half long ways before cutting them into petal shapes. You then color the tips of the petals with the crayons. Next you fold the petals in half again and cut small lines along the unfolded side to make the appearance of more natural petals. Then you layer the petals together with craft glue in a flower shape. When desired shape is reached you th...
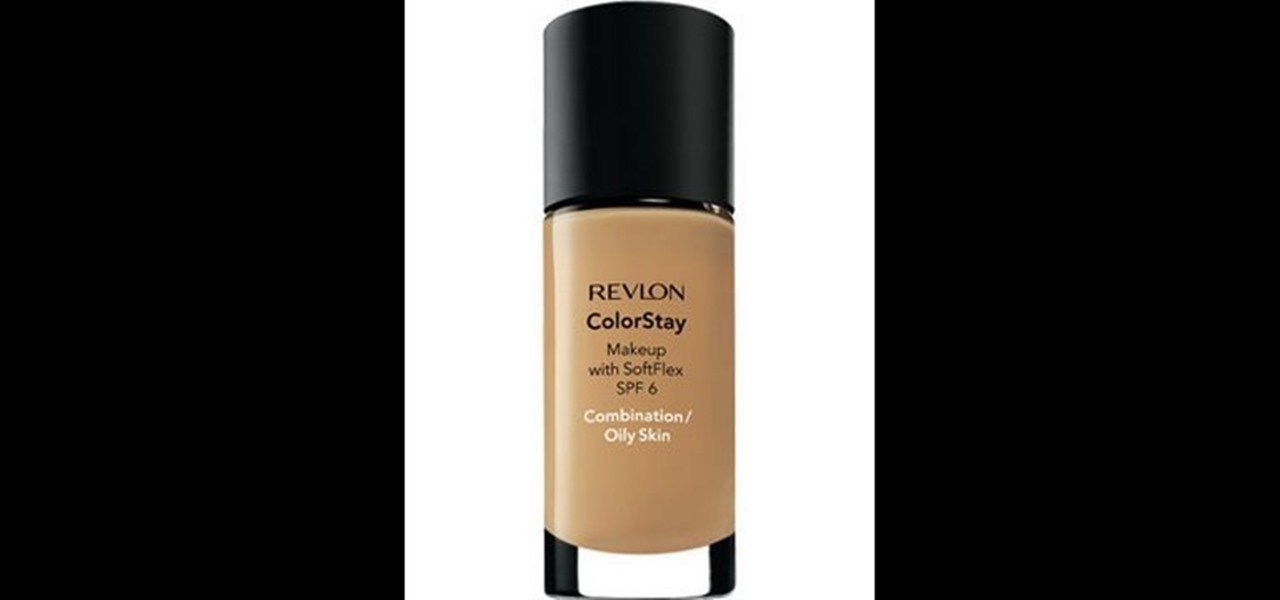
Revlon Color stay foundation is a great makeup that can be applied easily for a flawless look! Follow the instructional tutorial and learn how to apply this makeup evenly for the best results possible. The easiest way to apply this foundation is using a damp sponge. Take the foundation and apply it directly onto the damp sponge. Then apply a light layer all over your face. Make sure that you blend the foundation into your neck as well. The best way to cover acne scars or active breakouts is b...
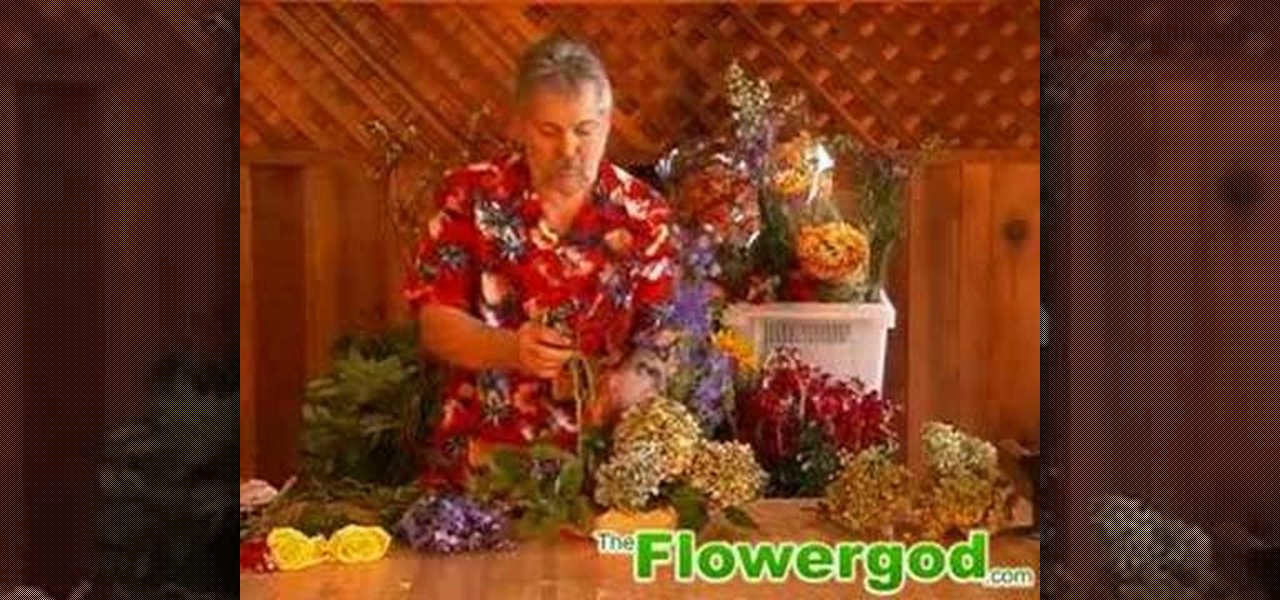
Watch carefully as this florist moves quickly and silently through the process, grabbing a tearing different types of flowers, then putting them together in an ornamental arrangement. He starts first with some somewhat colorless bushy flowers and affixes them low within the container. Thereafter, he takes single stems of purple, yellow, and red flowers arranging them at different heights above the low-lying bushy ones. He keeps the variously colored flowers isolated in their own little area, ...
Adobe Photoshop CS4 is a common and popular tool for logo creation. In this video the finer details of using CS4 to create logos, specifically for use on YouTube, are explained. Lighting effects, glossing, and glowing are covered thoroughly with step by step instructions on using layers and shading are provided, and the video carefully demonstrates each process before moving on. Many options are shown, as well as detailed examples of each technique and even the basic tools inherent to Photosh...
First thing to do is to create a new pic image called matrix. The next thing you want to do is to change the width and the height of your picture, as well as the resolution. Pick any background color you want, take the paint bucket tool and fill the background. To get the matrix code, go to Filter, Texture, and then finally Grain. You want to set the intensity to 90, contrast to 50, and grain type should be vertical. To get the grain to be green, you press Ctrl+U, press colorize and drag the ...
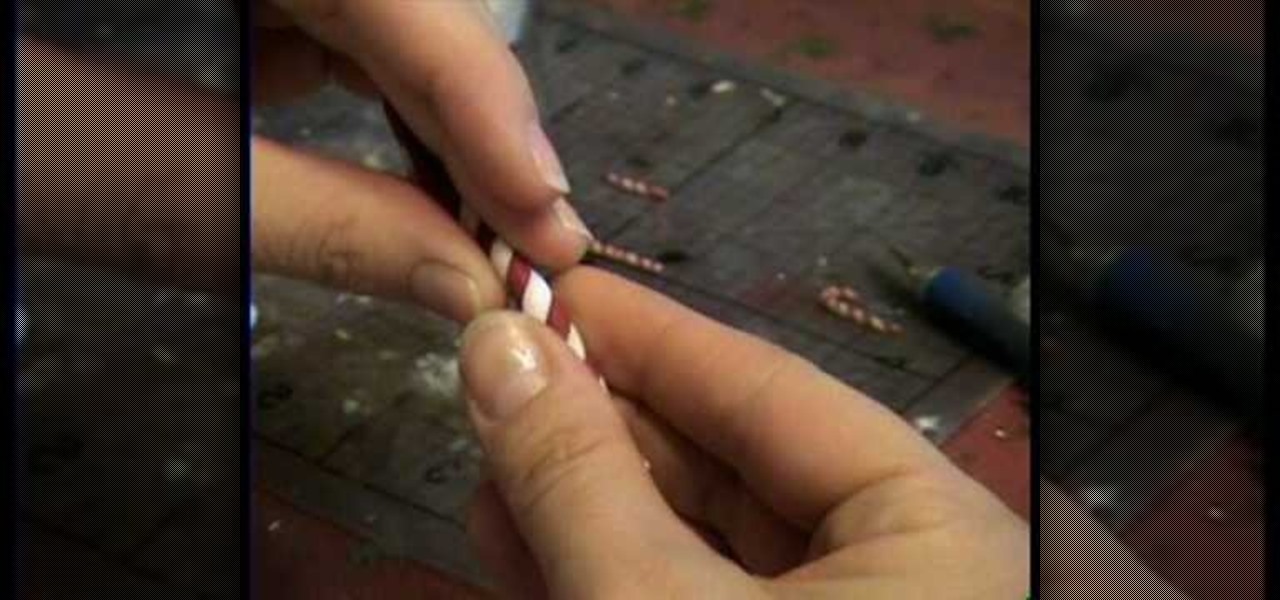
This video shows the method to make a clay candy cane. We require two colors of clay and a knife to cut it. Take some red polymer clay and some white polymer clay. Warm the clay and make tiny snakes out of it. Take a red clay and a white clay snake and put them together. Start twisting them around. Roll it with your palms to make it even. Warm it up occasionally with your hands to prevent it from breaking. Keep twisting and rolling till you get a thin candy cane. Cut a suitable length with th...
The Simple Chef is going to show you a very easy guide to making onion skinned Easter eggs. All you need is: eggs, onion skins, paper towels, and some twine or string. To begin, you want to take an egg and wrap it in onion skins until it's completely covered and then wrap the egg in a paper towel. Next, you want to wrap your twine around the paper towel and tie it so it holds. Next, you want to place the eggs into a boiling pot of water and cook for about 10 minutes so you have a nice hard bo...
AMICLUBWEAR created a tutorial on how to host a tea party based on "Alice in Wonderland". The video begins with a step by step instructional on how to make tissue paper "flowers" as decorations for your tea party. The tissue papers are layered in opposite colors, after which the tissue paper is accordion folded and tied together using a pipe cleaner. Afterwards, the tissue paper is carefully extended layer bay layer and shaped into a flower. Next, there was a tutorial for making the "EAT ME" ...
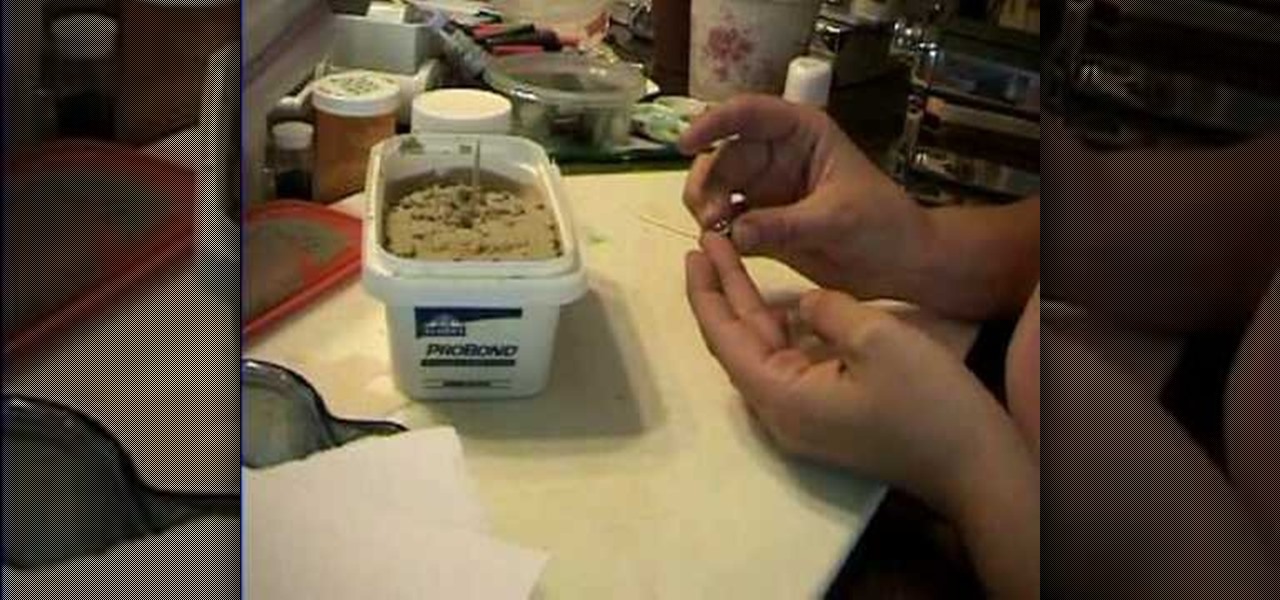
This short video explains how to create a mini milkshake for a doll. Using Elmer's Probond Stainable Wood Filler is preferable because it happens to already be the right color, although using this brand is not absolutely required-any wood filler would do. You can find this at a hardware store. If tiny cups are not at your disposal, don't worry! Our presenter shows us how to use a bead cap in the tiny cup's place. Fill the bead cap with the wood filler, and then using a tiny spoon that can be ...
This video shows you how to easily and properly highlight dark hair with blond highlights at home! First, you need to have your choice of store bought highlights (try Renew highlights!). First, put the gloves on that are provided in the highlighting kit. Get scissors and cut the powder and empty this in the tray. Now add this with the mix given. Stir these together with the applicator brush. Grab a towel, wrap it around yourself to protect your clothes. Select the hair that you wish to highli...
If street art is your thing, maybe you should make and print your own stickers to post around. Well this user shows us a pretty sweet way to do so. This video shows us how to make, import, edit, and then print our own stickers
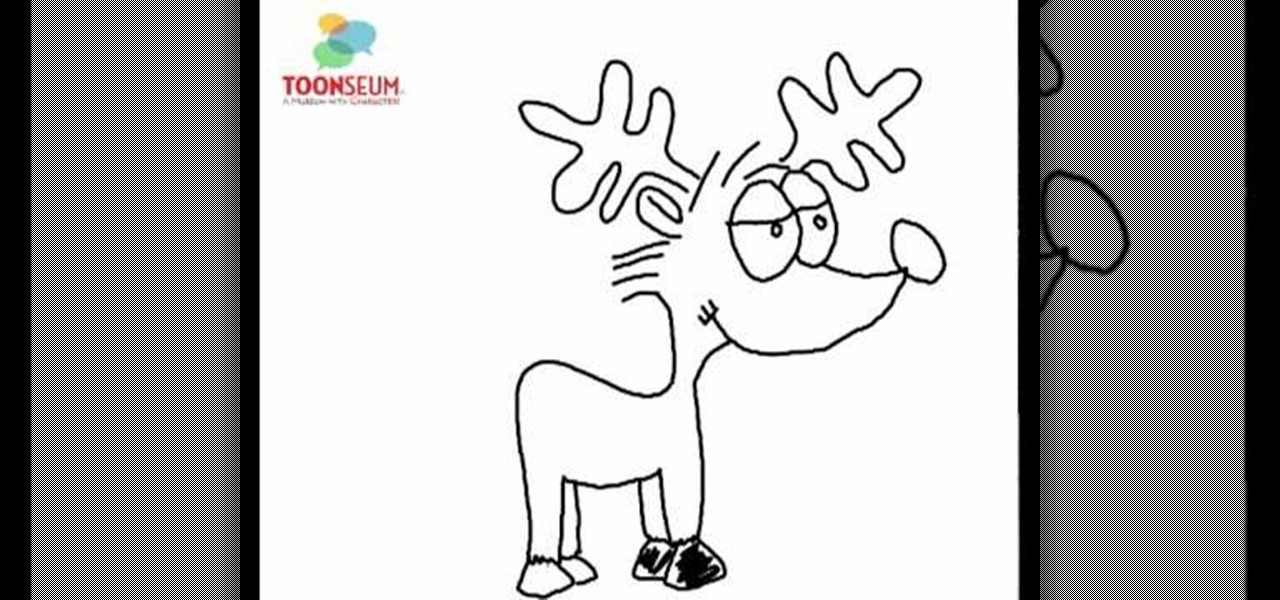
This video shows the viewer how to draw a cartoon reindeer. This is done by building up the character of the reindeer gradually -drawing different features in a set order to create the whole cartoon. The first stage is to draw the eyes and eyelids. The eyelids are crucial as they add character to the drawing. Next is the mouth and the nose, followed by the cheek and the eyes. The antlers complete the reindeers head. The body is very simple and simply compromises of four legs and a tail drawn ...
This video not only gives us a good fashion tip, but it’s just plain fun to watch. The young woman has four small children, all boys and all clamoring for her attention. One of her favorite shirts looks like a maternity top but she’s had enough of that look. Her simple solution is to add a wide belt to the shirt in a coordinating color. The belt can be adjusted up or down according to the look you want. This works especially well with tops that are empire-waisted or even for maternity tops th...
In this video tutorial, viewers learn how to draw the character Sokka, from the show Avatar and the Last Airbender. Begin by drawing a circle for the head and a rectangular torso. Add the arms and a boomerang in one hand. Now add the legs and feet. Draw some guidelines on the face and add the hair. Draw the face and start outlining the whole image. Add the details while you outline. Erase the guidelines and start adding the color. This video will benefit those viewers who enjoy drawing in the...
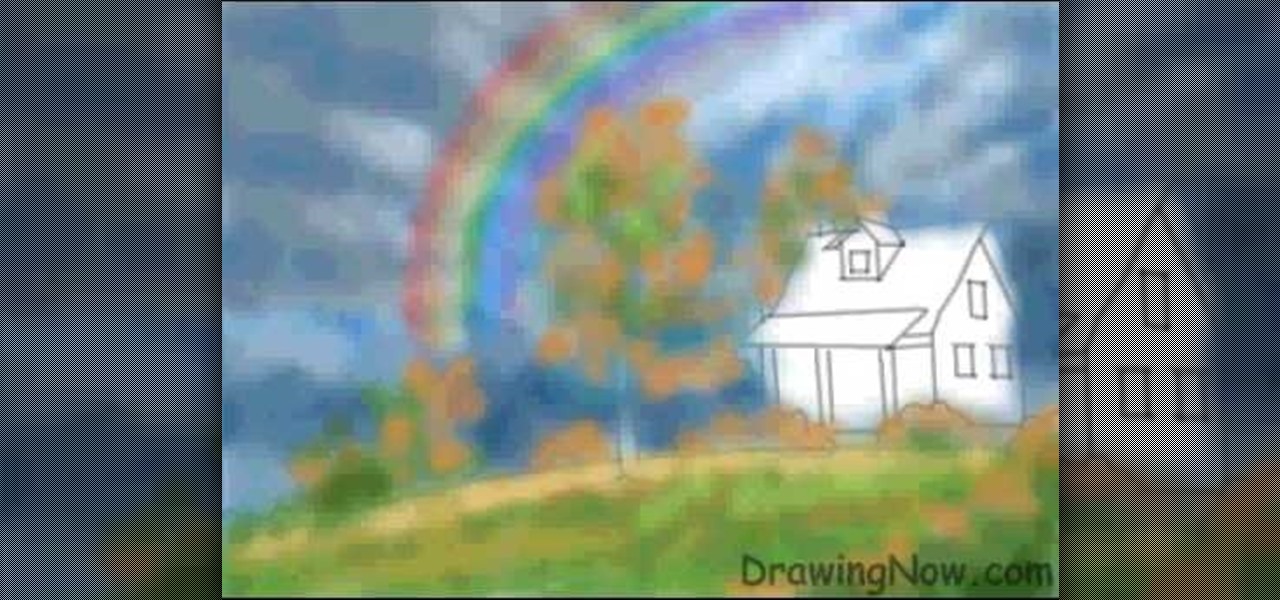
This video is all about how to draw a rainbow. The picture is drawn using a computer paint tool. In a blank white page they started drawing the outline for the trees, shrubs, house.
Backgammon is played on a board with 24 triangles called points, the board it's divided in 4 quadrants and it's separate, 2 for one player and 2 for another player. At the beginning of the game each player have 15 checkers that is placed on the quadrant the player owns, each player have the checkers with different colors. And each player uses two dices to start the game. The objective of the game is to bears all your checkers off before you hold it, you cannot do this until all tour checkers ...
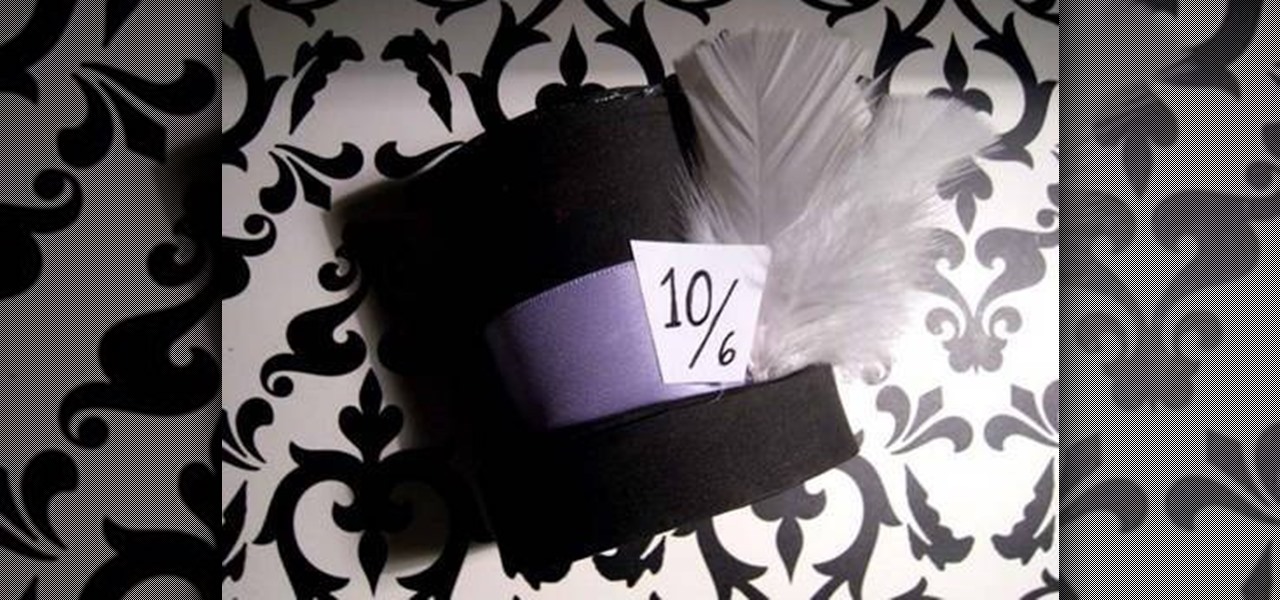
In this video tutorial, viewers learn how to make a mini Halloween top hat. This video provides all the materials required to make the top hat. The materials required include: a Styrofoam cup, X-acto knife, scissors, 2 8x10 sheets of craft foam or felt (choice of color), ribbons, feathers and any other embellishments. This video provides a visual demonstration and step-by-step narration that allows users to easily understand and follow along. This video will benefit those viewers who enjoy do...
The video is without voice. It describes abstract art. First a swirl of rings is formed which indicates potter's wheel. Four big pots of different styles are formed of which one has handles. Two earthen small shaped vessels with pointed tip is formed and also there is one very small pot. First the outline of all the images is done which is then continued by shading. However, the entire painting is blurred and is made using shades of orange. The background is in black color. The formation of t...
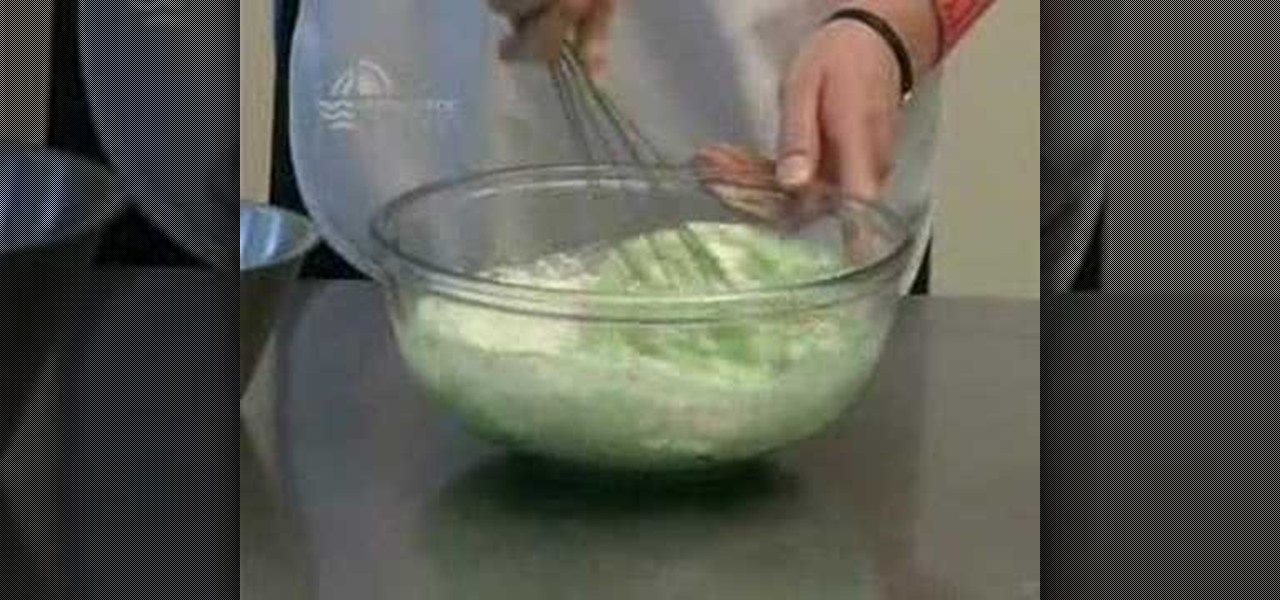
This video demonstrates how to make your own play dough with simple ingredients – flour, salt, cream of tartar, cooking oil, water, and a few drops of food coloring.
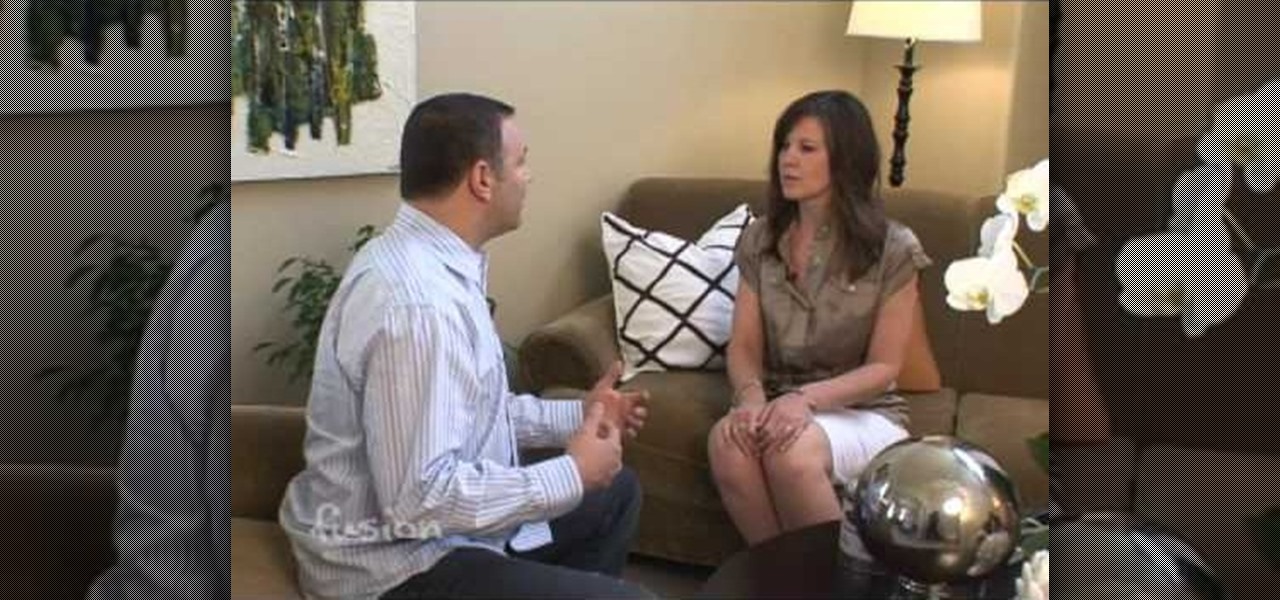
This video is about staging a home for sale. Bridget Kiene, a real estate broker, describes home staging and its significance. Bridget starts with defining home staging and mentions that 92 percent of people advertise their house for sale on the internet. This video also has some tips on home staging, such as, always stage an empty house, create a neutral color palette, eliminate clutter and modernize your decorations. Bridget clearly explains the basic steps we need to follow to sell a house...
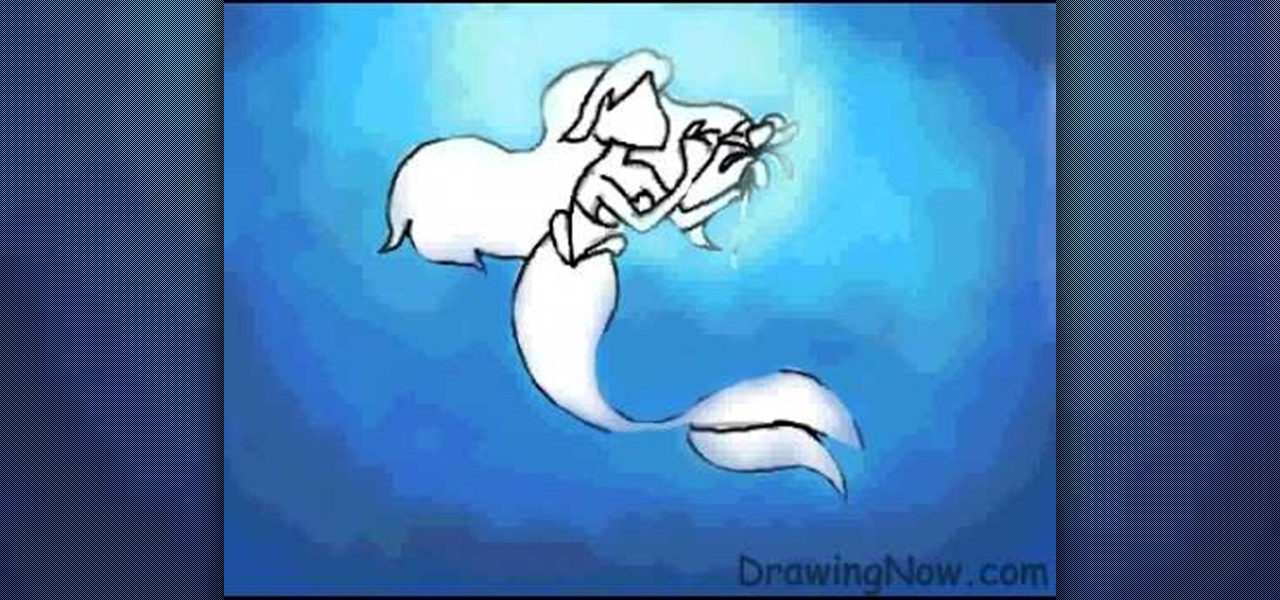
In this video tutorial, viewers will learn how to draw the Disney cartoon character, Ariel from the Little Mermaid. Ariel from the Little Mermaid movie makes a great fantasy art subject, when learning how to draw. You can draw your own mermaid, complete with fins and tail, by watching the free step-by-step animated video tutorial. The final drawing is colored, and has wonderful underwater light and shading. Watch each step as often as you want. This video will benefit those viewers who enjoy ...
A very simple and easy trick is involved in levitating a card. The following are the steps to be followed:
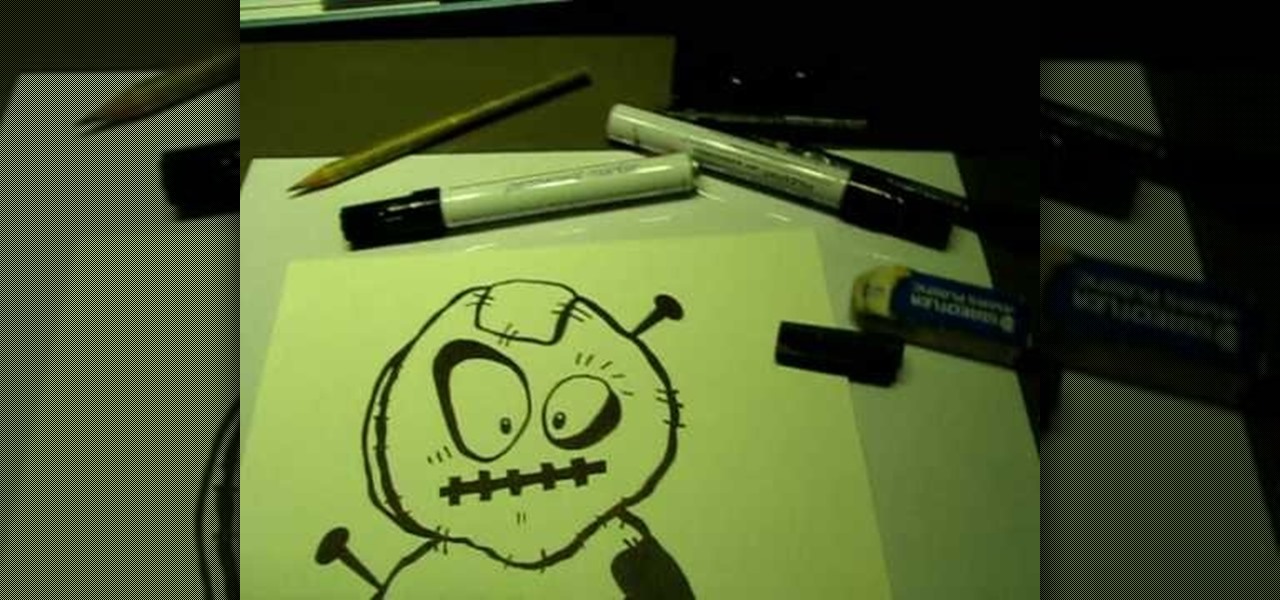
This video tutorial shows how to transform a paper bag to a picnic bag designed with Frankenstein's face on the front. The ending result of the tutorial is shown in the beginning. The materials needed are listed after the example, including the total number and color of each material needed. The tutorial starts by cutting down the paper bag and folding the top of the bag. Handles for the bag are then cut out and stapled onto the top of the bag – one on each side. To prevent the staples from a...
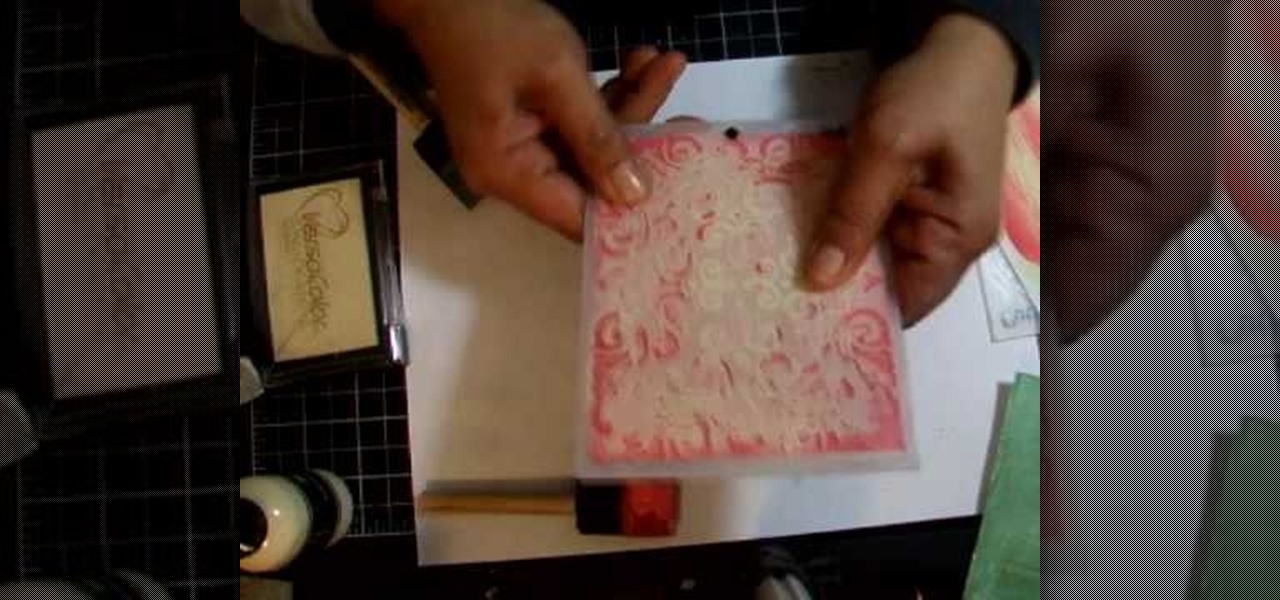
This video discusses how to emboss using acrylic paints, like faux plastic.
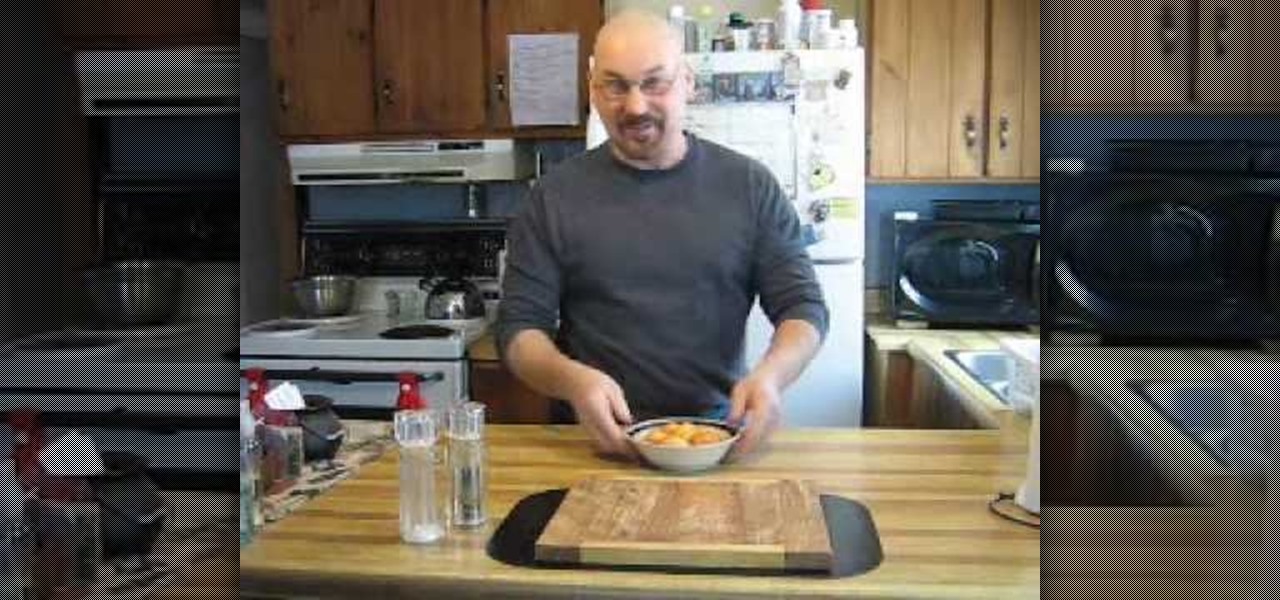
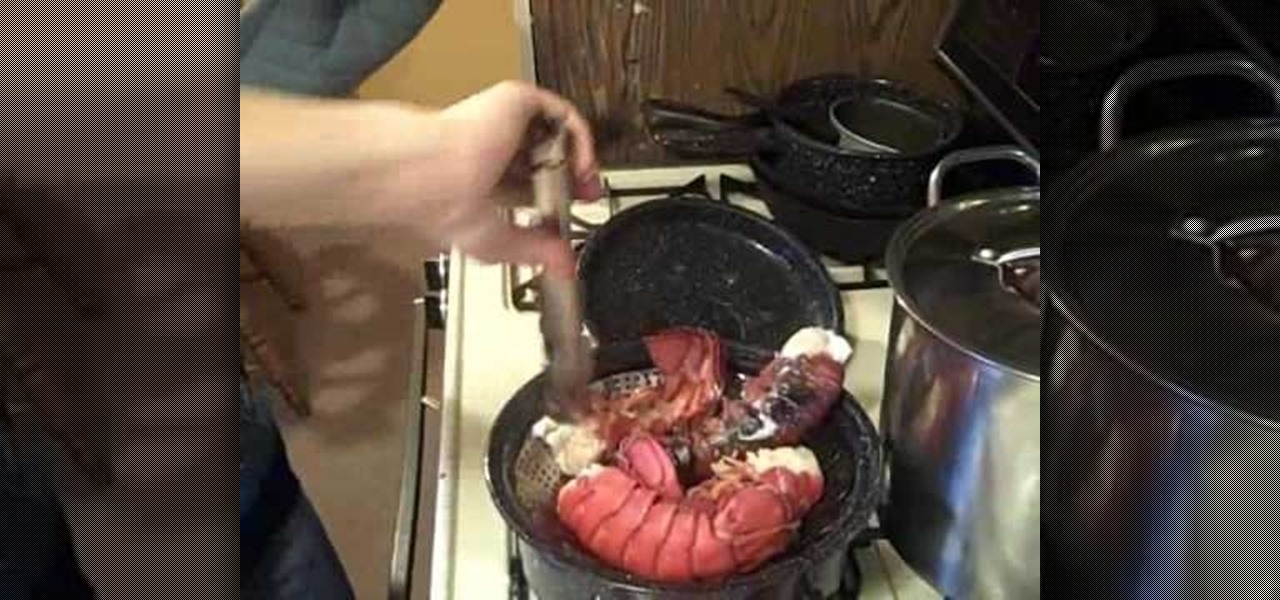
In this video tutorial, viewers learn how to make beer steamed lobster tails. For a meal viewers will need: bread potatoes, bread, beer and lobster tail. Steam up the beer and boil the lobster tail until it has a red colored shell. Once finished, serve the lobster tail with potato bread on each plate. The bread will be in the middle. The beer will be the beverage. Users may choose to add other treats or recipes to this meal. This is a typical dinner meal. This video will benefit those viewers...
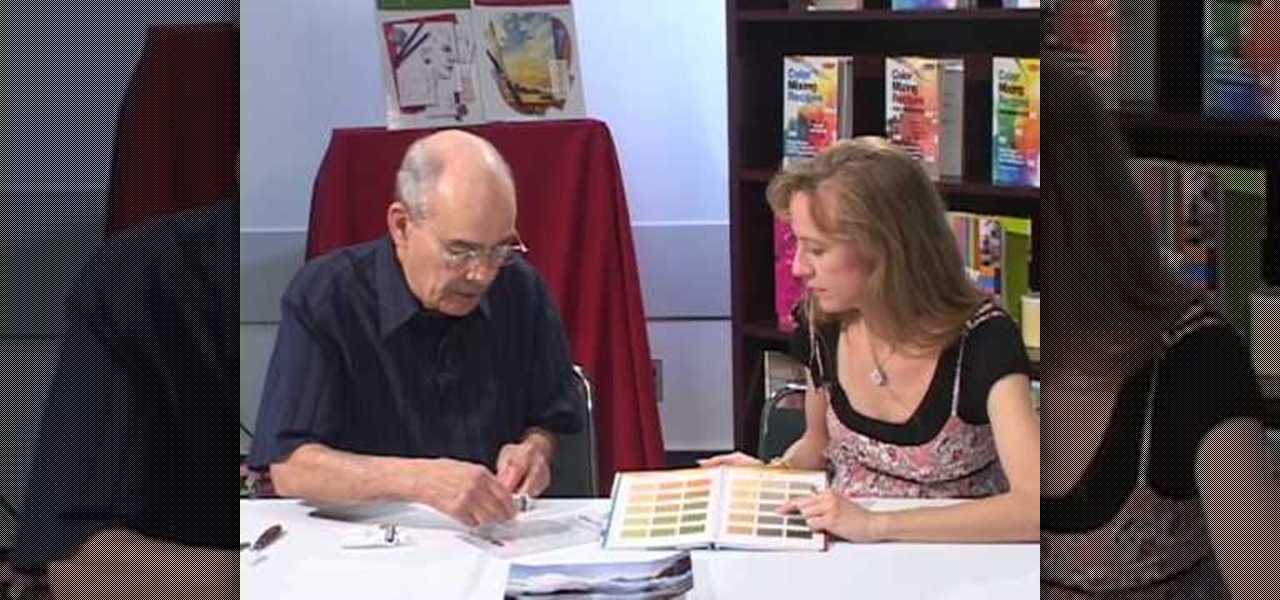
This video was very informative and well planned. However, the video does become boring after the first two minutes. It will become easier for an individual to comprehend with this video if perhaps there are better examples that artists can relate too. Perhaps if the demonstrations would relate to more of a younger audience, more people will be able to be more interested to mix oil and acrylic paints. The video can also be much more interesting if there was also some quiet and peaceful backgr...
Learn how to add special lens flare effects to a logo in Pinnacle Studio with this tutorial. You will select the picture to be edited and drag it to the video screen. Select the lens flare effect from the Studio Plus RTFM which is standard with the program, you don't need to purchase any additional effects to create the lens flare. You can preview the effect and change the direction and color of the flare. Once you are happy with how the flare effect looks on your logo, you can save it to a f...
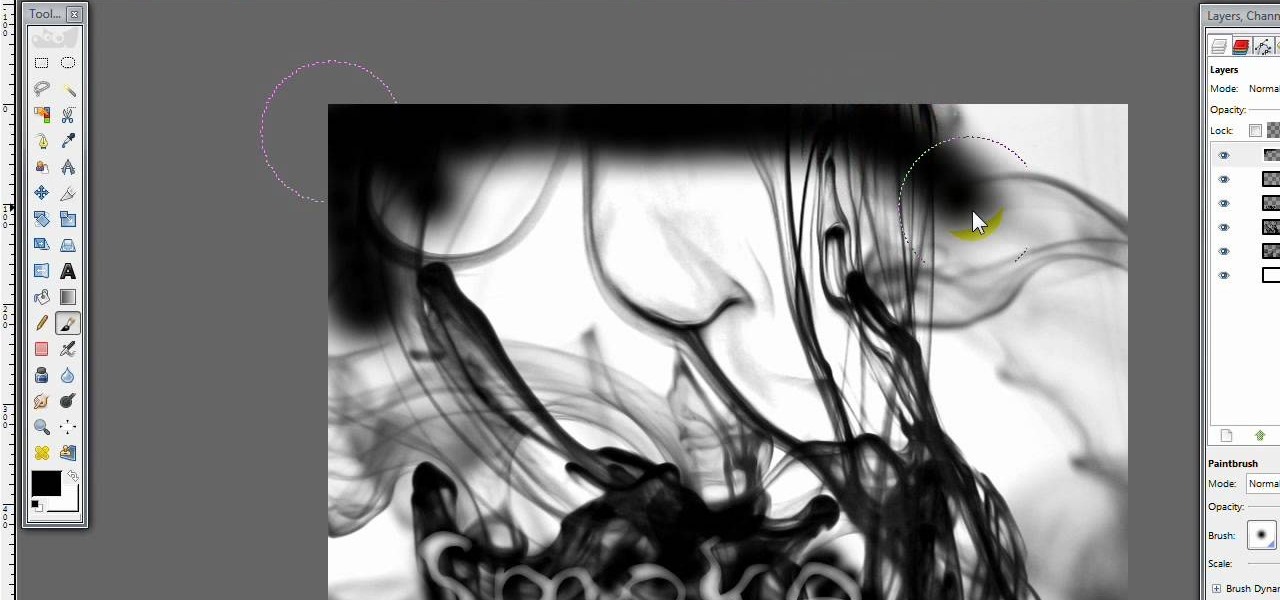
This video opens up with a computer screen displaying the finished product of a smoke design as a wallpaper. Next the video switches to the program used to create the smoke design, using a plain white image. Next the screen is switched to another program with the text smoke displayed. Then he switches back to the program and pastes an image into the window containing smoke. He then pastes the text smoke into the image and distorts it a little, followed by changing the color darker. After that...
HelpTube1 teaches you how to create a watermark for your videos using Adobe Fireworks CS3. Create a new 100x100 pixels file, with a transparent canvas. Create the custom shape that you want. You can add borders and colors, but make sure you don't overcomplicate your design, as people seeing your video will not be able to decipher it. You can also add a short piece of text, preferably in the middle of your watermark. Go to file and save it as Fireworks png. You can then bring up this file in "...
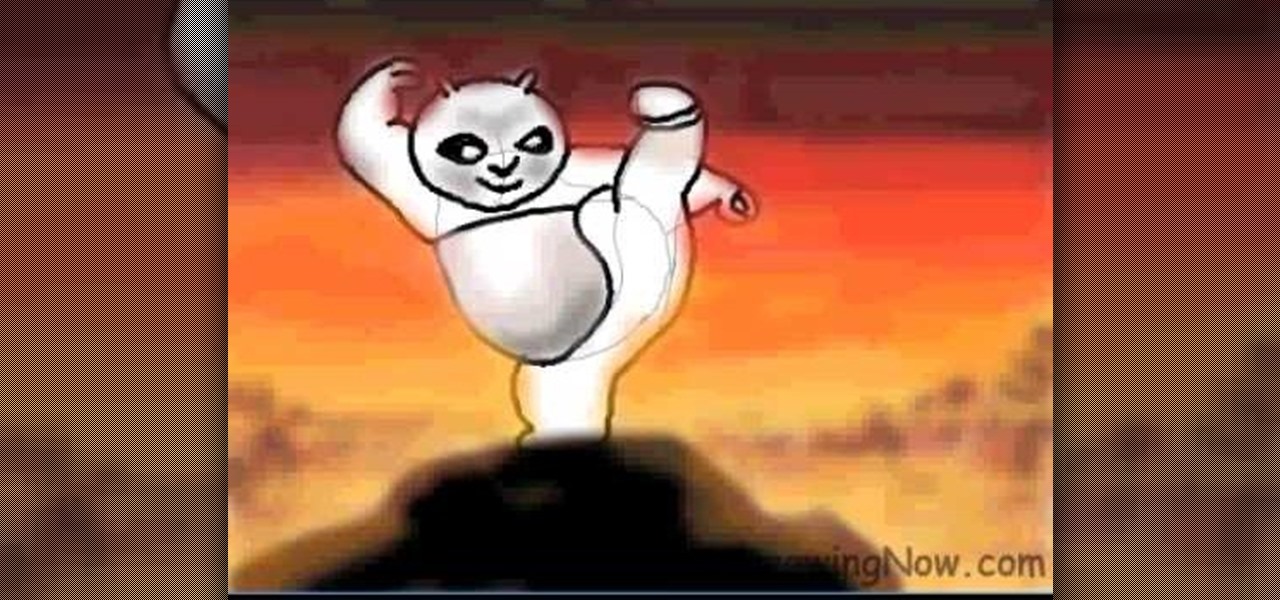
In this video you will learn how to draw a Kung Fu Panda on your computer. The first thing to do is to create the sketch using a crayon tool. After you've done that you need to take a brush tool and draw on the sketch with a black color. The next step is to paint the background using a spray tool or a bigger brush. To paint the Panda you will need a smaller brush and you have to be careful. After that, draw the details and the shadows. In the end, you will know how to create a beautiful maste...
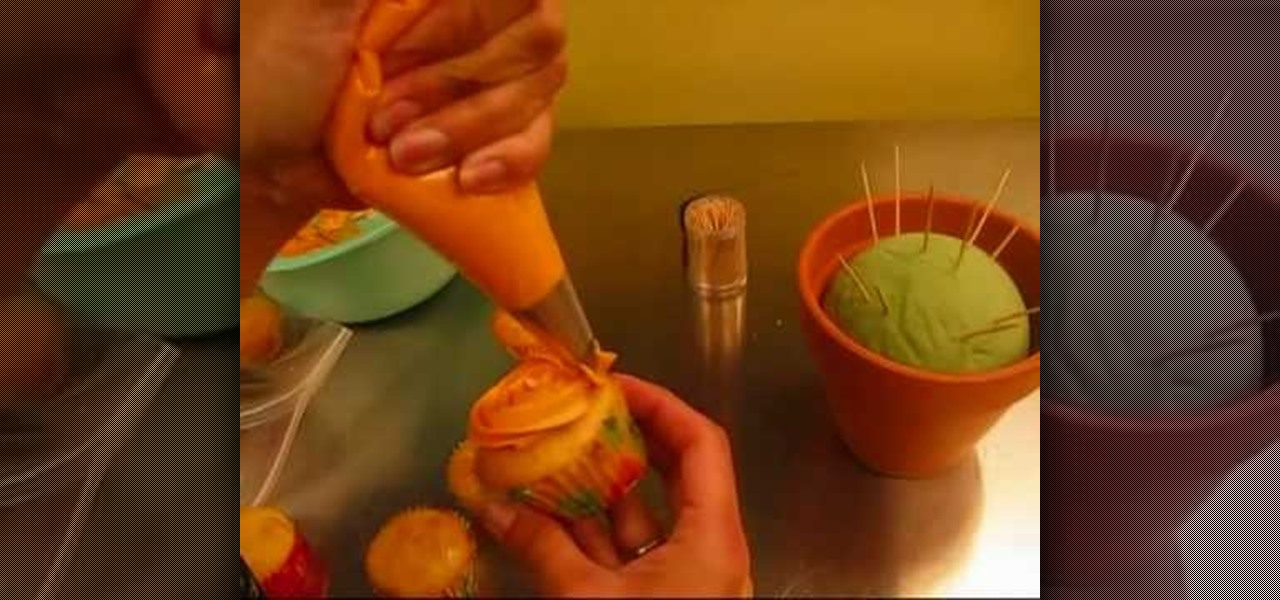
This video shows how easy it is to make a great looking cupcake bouquet. You will need half a Styrofoam ball, a flower pot, some toothpicks, a piping bag with a flower tip, some colored icing and, of course, the cupcakes. Place the piece of Styrofoam in the flower pot and arrange the toothpicks to mark where you will place the cupcakes.
This is another HelpVids video on technology. In this segment we will learn how to set appearances and themes in the Microsoft Windows XP operating system. The videos starts by right-clicking on a blank area of the desktop, then selecting ‘Properties’. The presenter then clicks on the ‘Appearance’ tab. Clicking on ‘Advance’ will open some very detailed options such as changing the font in a title bar window. You can also change the size of the fonts in this window. The options are truly endle...