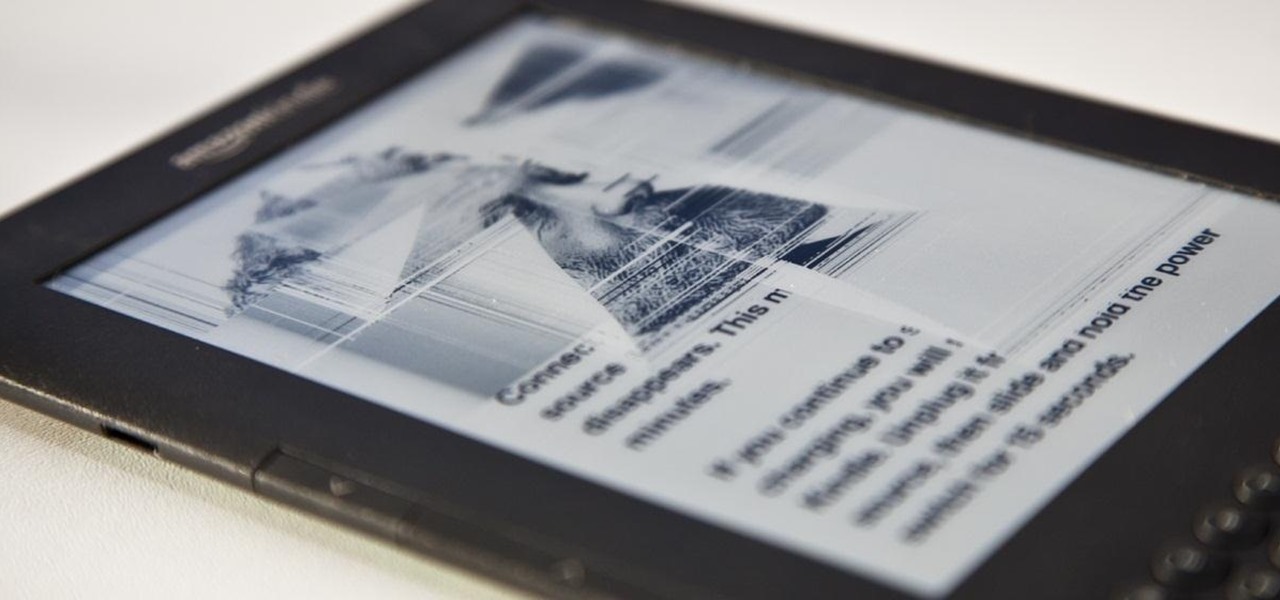
The reason Amazon's Kindle has become so popular over the past several years is due to the amount of digital books one can fit inside—over 1,000 for the smallest Kindle. Gone are the days of lugging around heavy books to school and the airport. Instead we can fit our e-readers snugly inside our bags and never worry about forgetting a book.

Online shopping is way more convenient than brick-and-mortar stores in a number of ways, not the least of which are the discounts. But with so many online stores and sites like Amazon which feature thousands of retailers, how can you know you're getting the best deal?
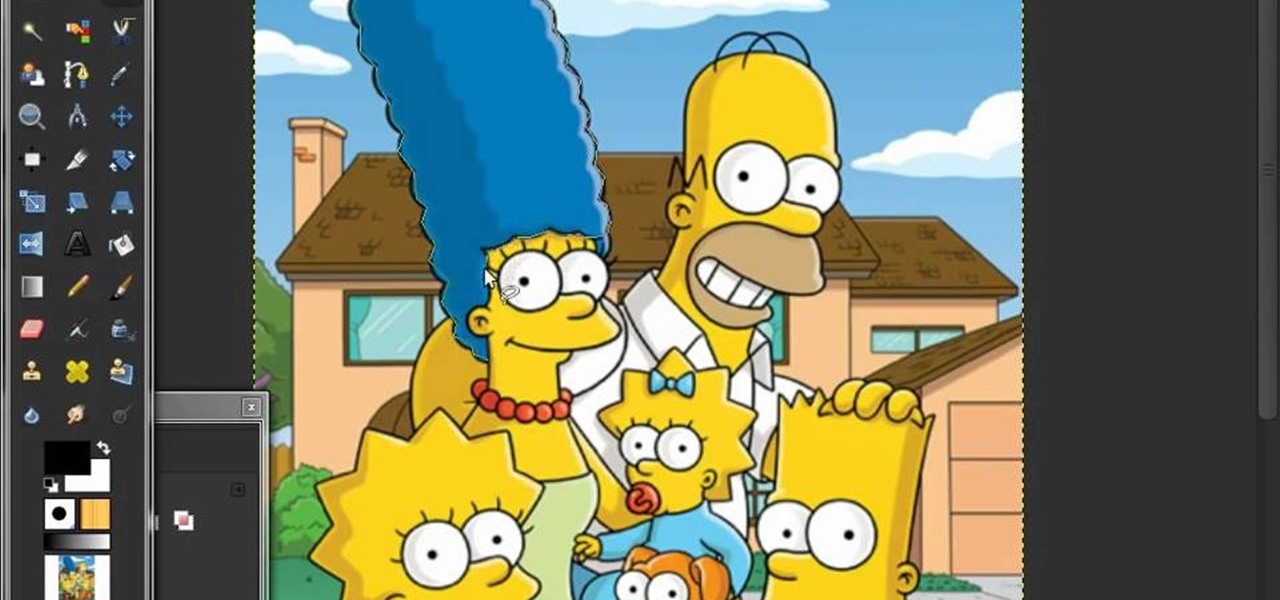
Gimp is an amazing free program that is capable of creating many of the same effects as Adobe Photoshop. In this video, you'll see how Gimp can be used to select one area of an image to be edited. Using a few of the program's many tools, you can transform images however you want.
Want to tranfer a pretty image, logo or design onto some fabric, but can't find the right applique? You can use some wash away foundation paper and a few basic hand stitching techniques instead! Sew any sort of image you want!
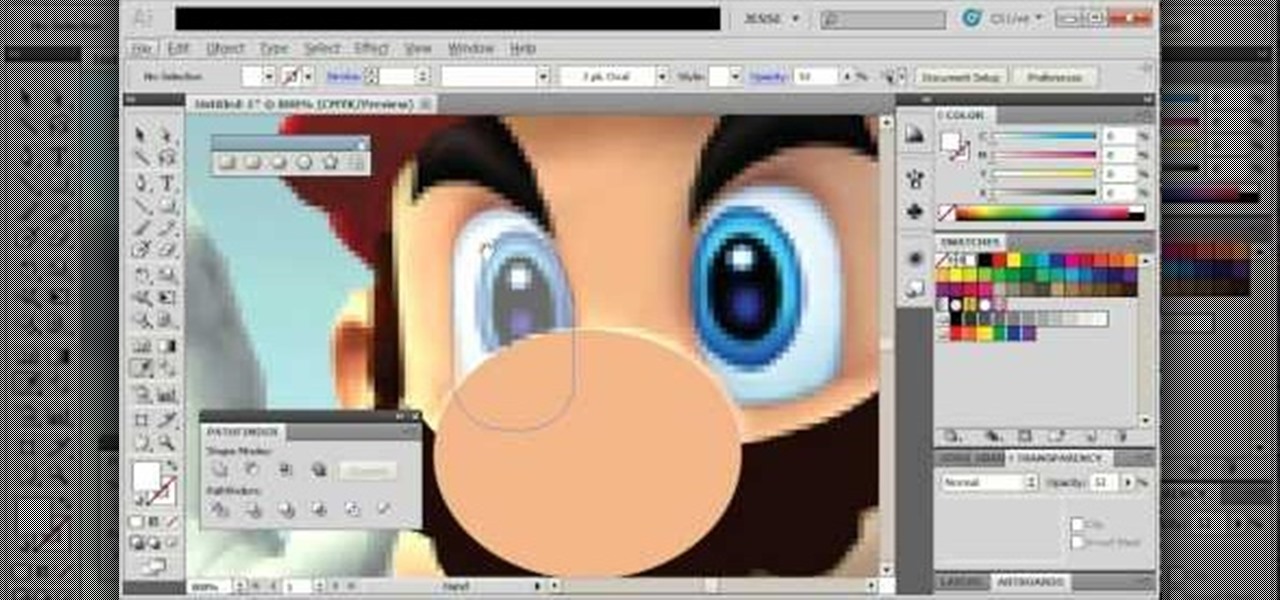
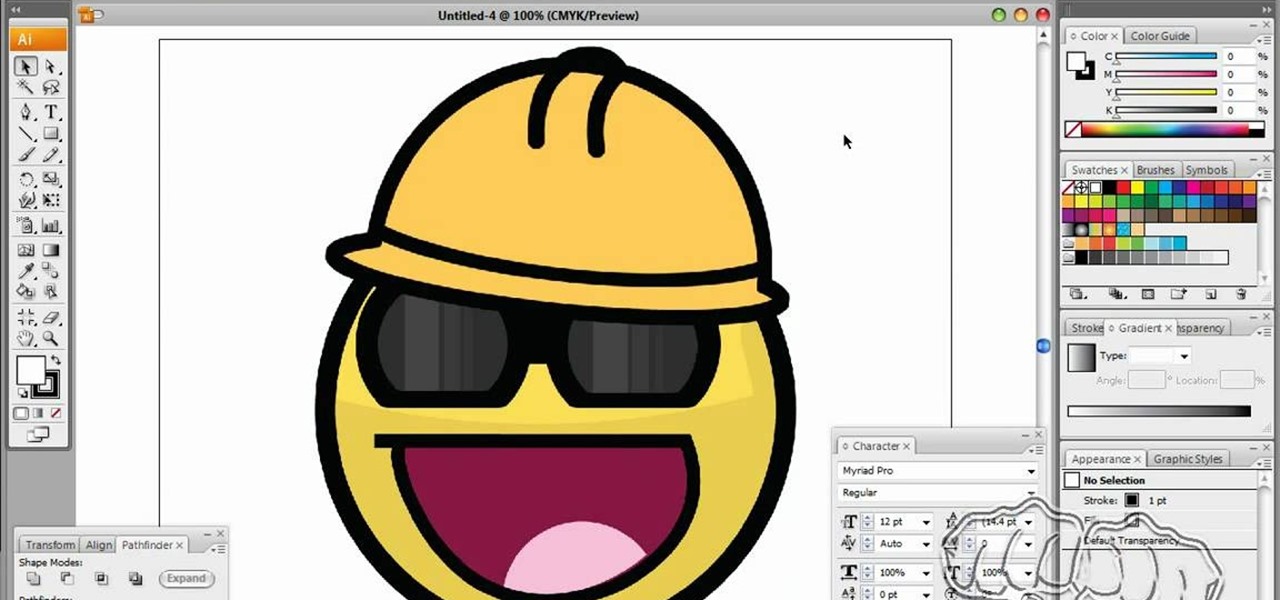
This tutorial shows you how to use vector graphics to trace images in Adobe Illustrator 5 without using live trace. Do a manual trace, which will give you a little more creative control over the image you're working on in Creative Suite 5.

First, make sure that your image is hosted on a secure place online (such as your own Photobucket account). Then go to ImageMaps.com and use this free site to create your own image map that can now be added to your website.

Found a great image you want to use for your website or blog, but don't like the background? this tutorial shows you an easy way for you to take any image in the free photo editing software GIMP and edit away the background.
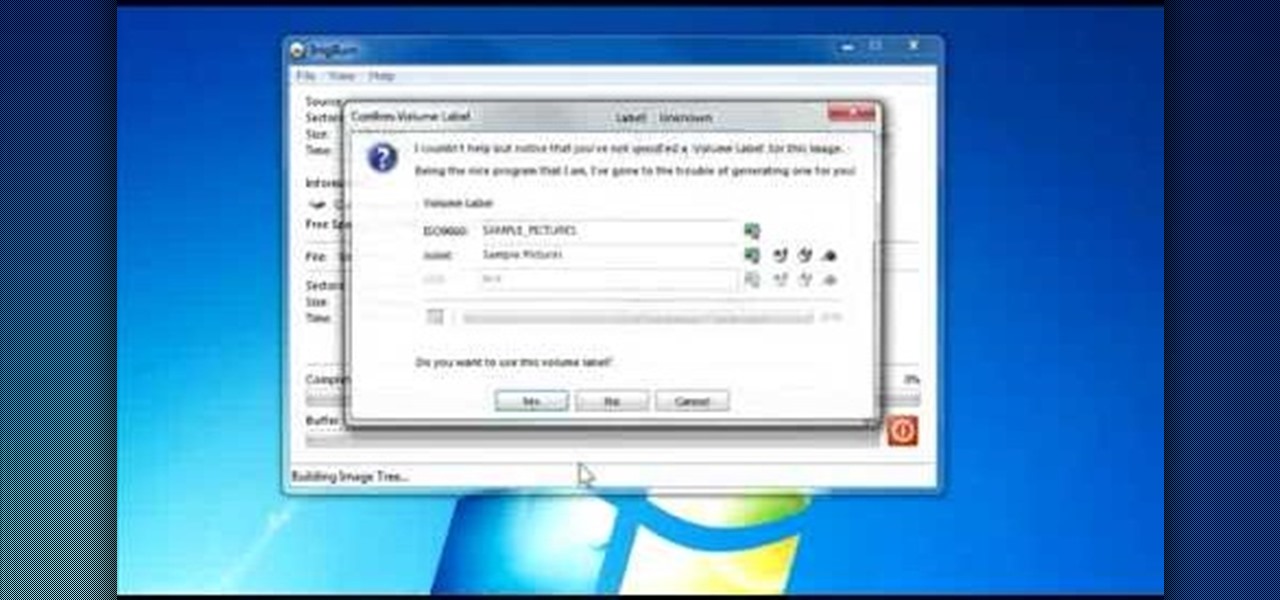
Download the software from Imgburn. Choose mode, build, advanced, bootable disk. Go to allbootdisk to get a bootable image of your operating system. Choose from Windows 95 through Vista. Download the diskette image. Name and save to desktop. Choose volume and label. Click ok. Make the output burn to image file. Name the file and save it to the desktop. Download Sun Virtualbox. Test the image by choosing settings, storage, add device. Choose media manager. Select make primary slave. After test...
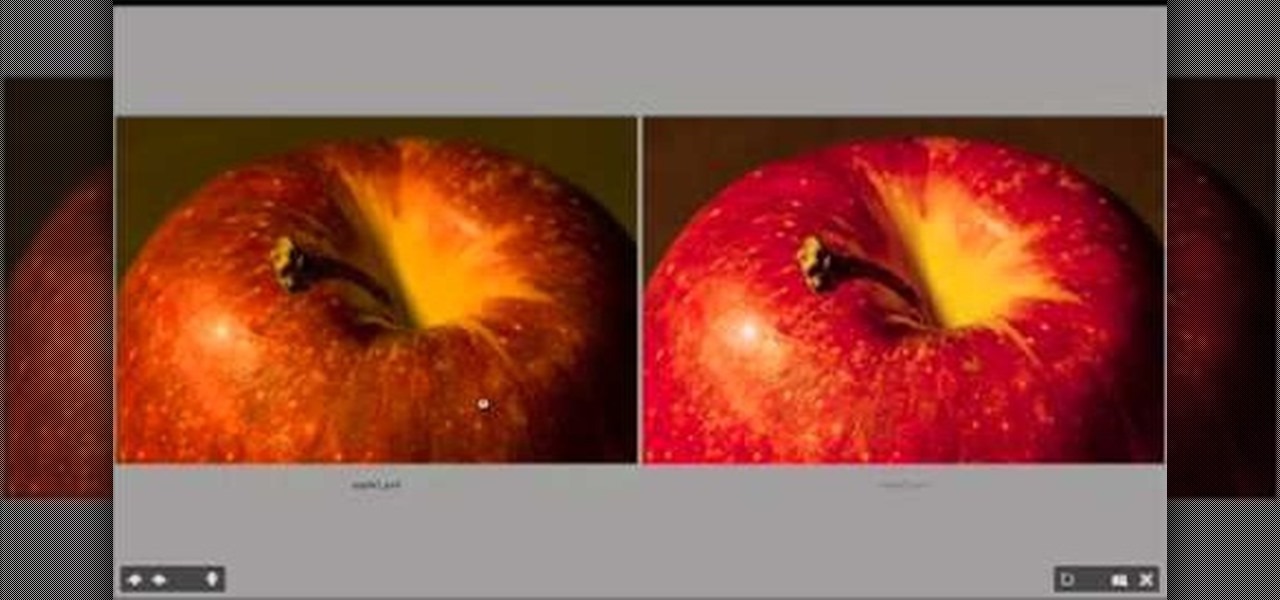
Color correction is a color adjustment you can take advantage of in Adobe Photoshop to alter the balance and contrast of color in a photo or other image. This tutorial shows you how you can take a shaded image and bring out the color and detail in your project.
This tutorial goes over the various methods and techiques you can use to alter images using Adobe Flash CS3, such as extending the edges, trace bitmapping, patterning your images or shapes, and even set your bitmap as it's own fill color.
Photoshop does have a few vector tools which can allow you to scale your images up and down - useful if you want to create things like logos in Adobe Photoshop. Here are a few techniques you can use to create a scalable image.
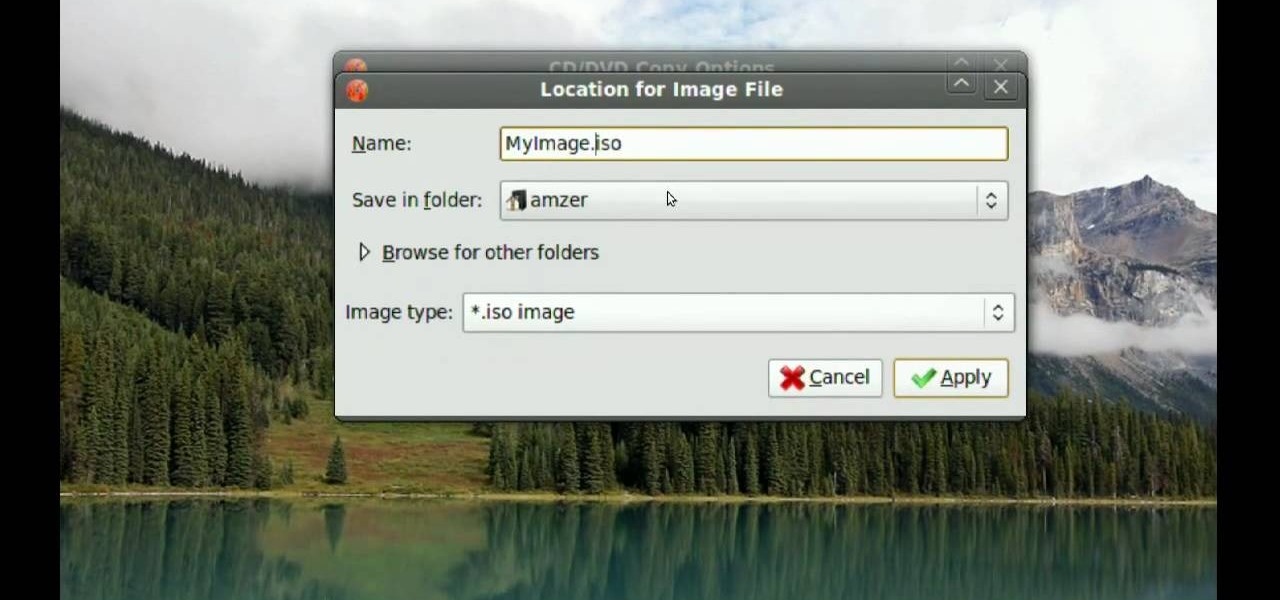
In this video tutorial, viewers learn how to make CD and DVD images in Ubuntu. This task is very easy, fast and simple to do. Begin by right-clicking on the disc icon of the computer and select Copy Disc. When the CD/DVD Options window opens, click on Properties. Now name the disc, select a save folder and choose ISO image for the image type. When finished configuring, click on Apply and wait for the disc to finish copying. This video will benefit those viewers who use a Ubuntu computer, and ...
This clip demonstrates how to get video and images into the node-based compositor in Blender using the RenderLayer and the Image input nodes. Whether you're new to the Blender Foundation's popular 3D modeling program or a seasoned graphic artist just interested in better acquainting yourself with the application, you're sure to be well served by this free video tutorial. For more information, including detailed instructions, take a look!
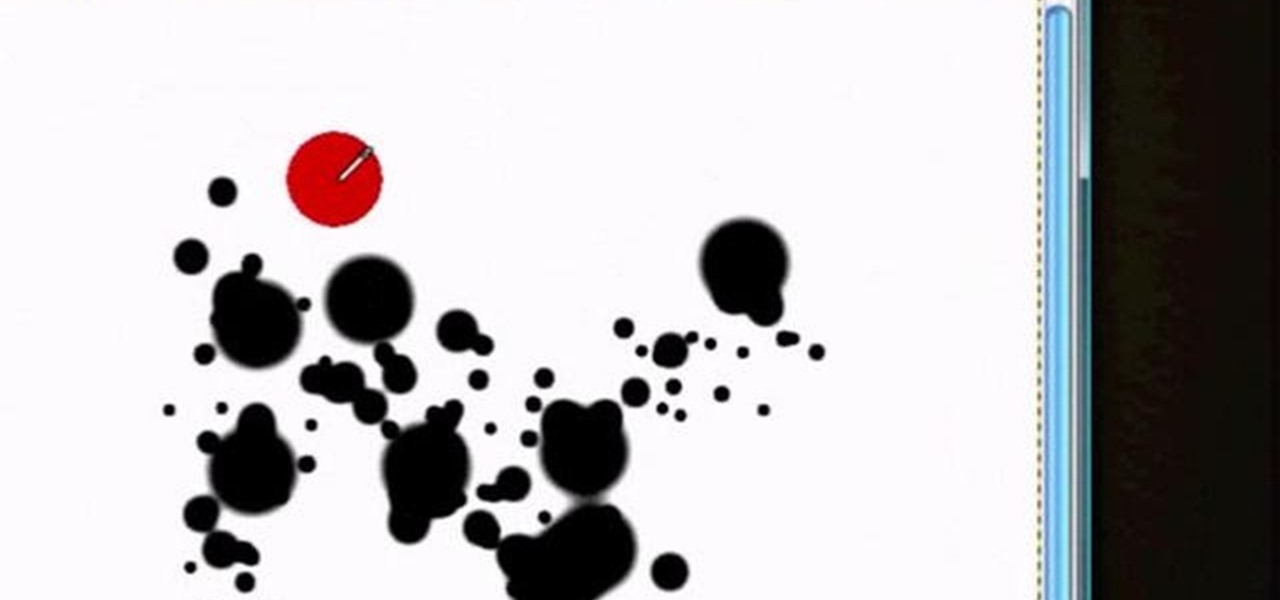
See how to create a splatter brush within the GIMP image editor. Whether you're new to the GNU Image Manipulation Program, GNU's popular free graphics editor, or a seasoned designer just looking to pick up a few new tips and tricks, you're certain to enjoy this free video software tutorial. For more information, including detailed, step-by-step instructions, and to get started making your own custom splatter brushes, take a look.
If you want to take a boring photo and pump it full of life, Photoshop CS5's two methods for making a High Dynamic Range image will do just that. The first is a streamlined and improved merging tool, and the second is a new HDR tool that turns a single image into a trendy HDR masterpiece. Whether you're new to Adobe's popular image editing software or a seasoned graphic design professional just looking to better acquaint yourself with the unique features of Photoshop CS5, you're sure to find ...
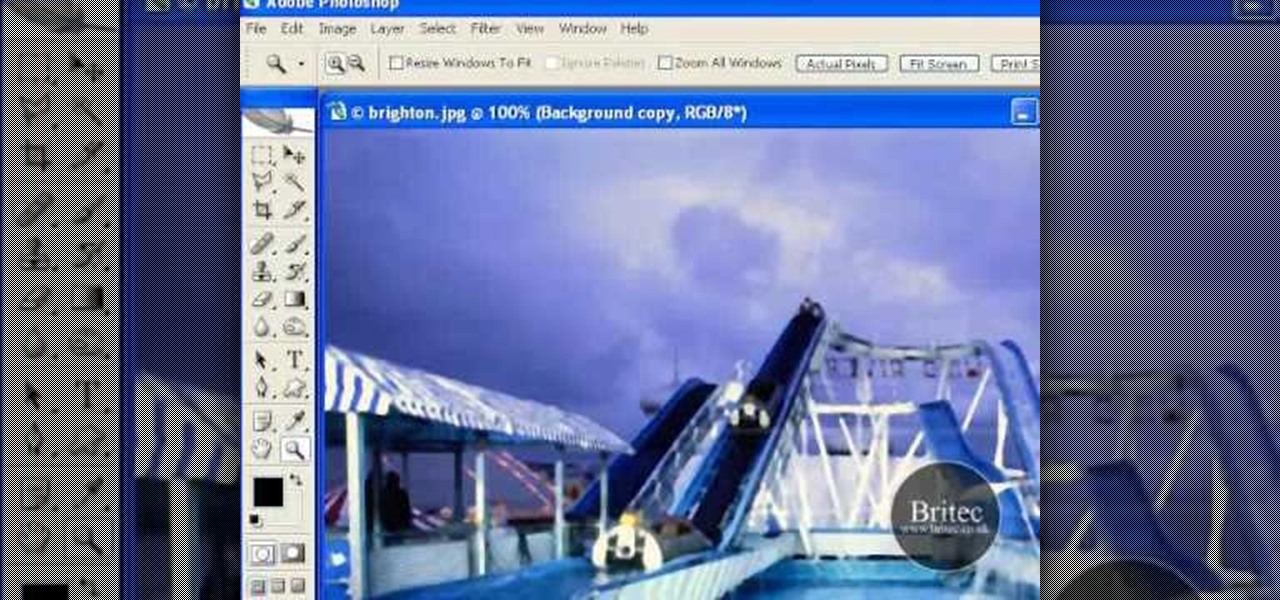
Want to remove dirt, dust and scratches from an old photo? With Adobe Photoshop, it's easy to restore antique or damaged photographs. Whether you're new to Adobe's popular image editing software or simply looking to pick up a few new tips and tricks, you're sure to benefit from this free video tutorial from the folks at Britec Computer Systems. This video offers a step-by-step guide on how to remove dirt and noise from an old image.
There are so many fun things you can do with Photoshop. The possibilities and ways to manipulate seemingly ordinary images are endless. In this particular tutorial, you will learn how to take a 2D photo or image and turn it into a 3D one in Photoshop. You will be shown how to find a texture you like and then cut and alter it into a completely new picture.
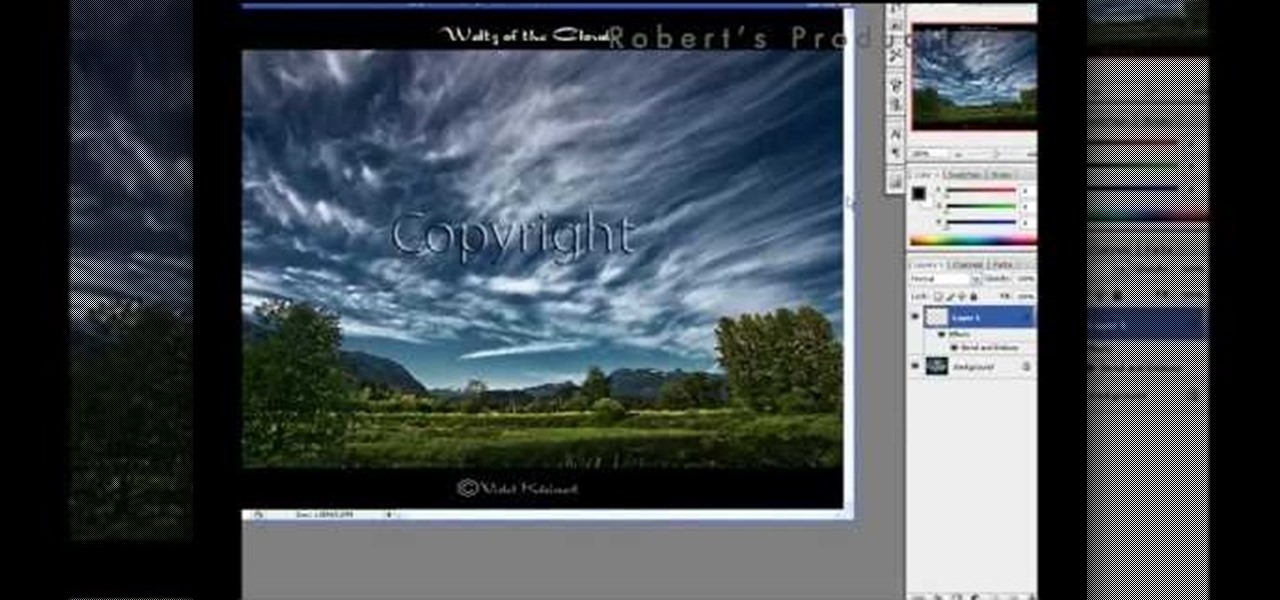
In this video tutorial, viewers learn how to add a watermark to an image using Adobe Photoshop. Begin by importing the image into the program. Select the Horizontal Type Mask Tool under the Text tool. Then select the font color, type and size. Now type in the text and click out of it when finished. Then press the Control and J key to open the text into a layer. Click on the layer and select the style. Now finish by editing and customizing the text. This video will benefit those viewers who ha...
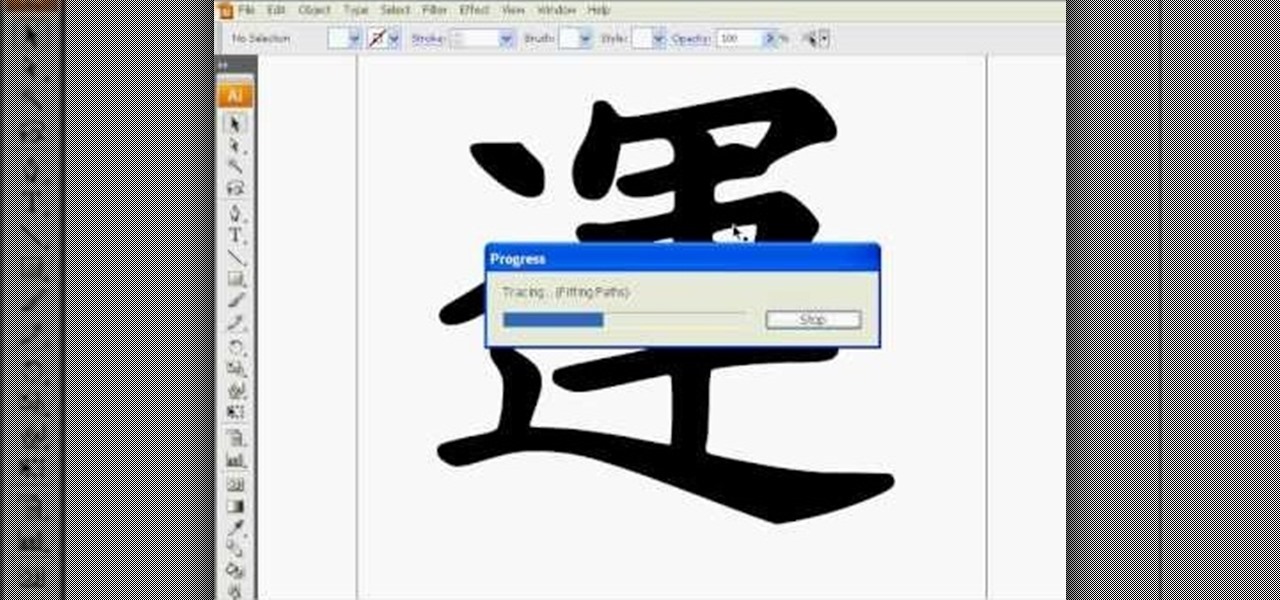
This how to video shows you how to do a live trace in Adobe Illustrator. First, open the image you want to use. From here, zoom out. Go to the corner of the image and hold shift and drag to shrink it. Zoom back in and then click the arrow beside Live Trace. Go to tracing options and click okay. Check ignore white so that you will not get a box. Click trace and then select expand. Click out of the image and click control y on your keyboard to show the outline of your file. If you did not check...
This shows how to use live trace on Adobe Illustrator to make a vector image. First, you need to open up Adobe Illustrator. Then go to file and select New and adjust your size to letter. For orientation you can choose to have it landscape if you want. Once you have your blank work space you will want to get a saved image. Go to File and click on Place and locate your image. Adjust the size of the image if you need to. Click on the image and then go up to the tool bar to click on the live trac...
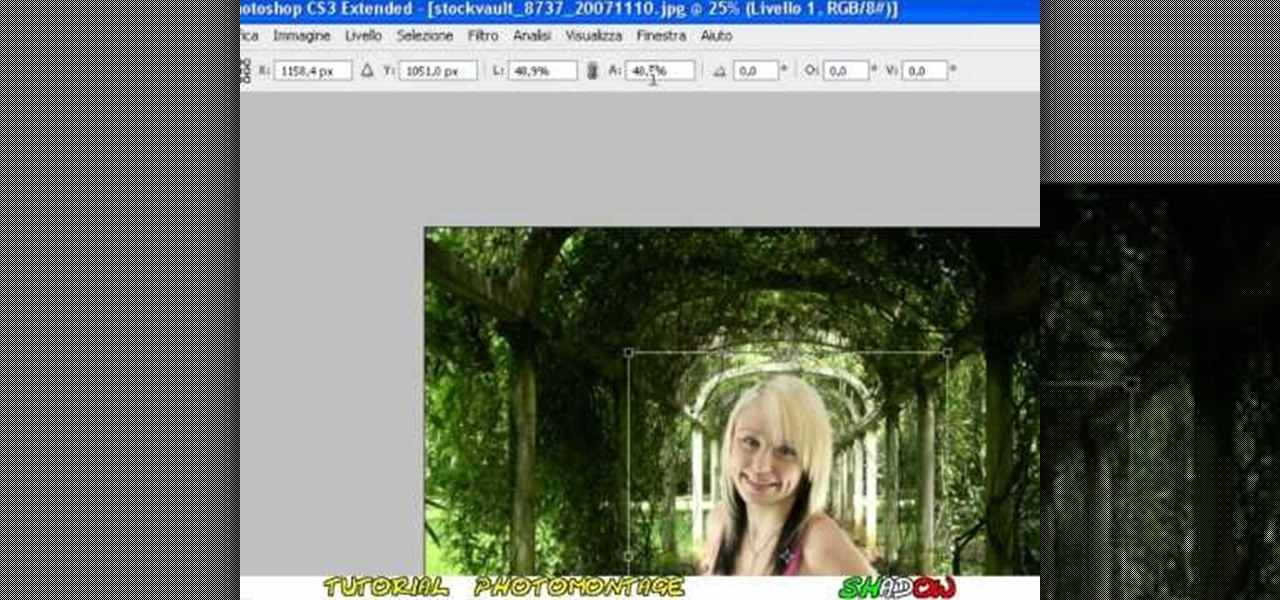
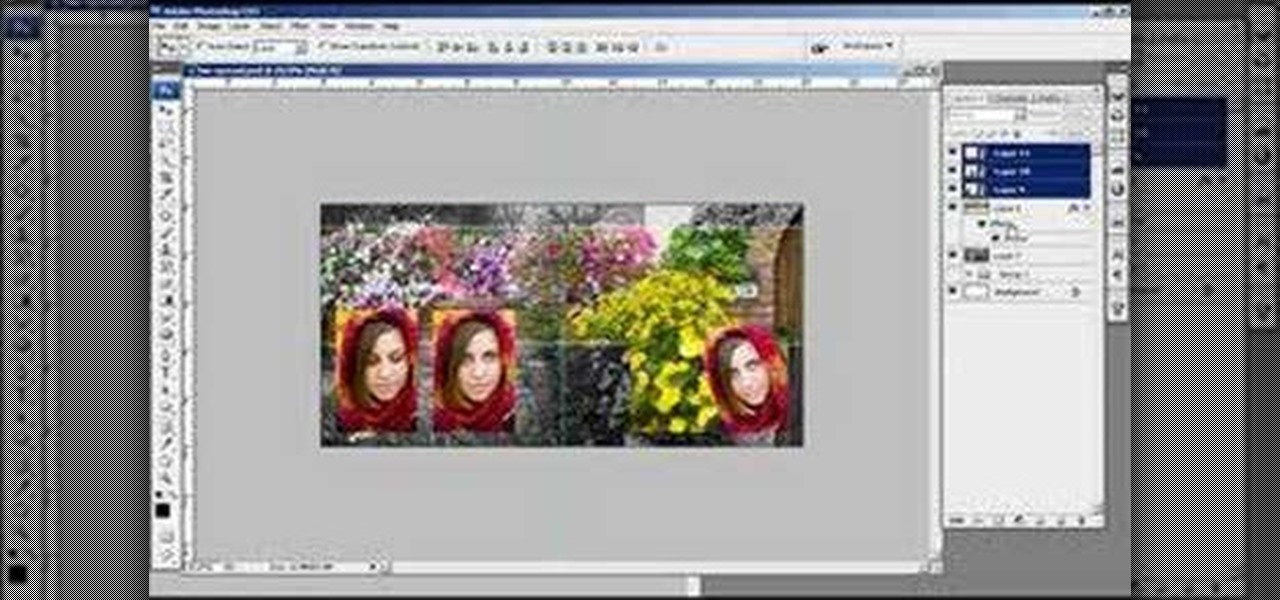
In this video tutorial, viewers learn how to create a photo-montage using Adobe Photoshop. Begin by inserting the images into the program. Then double-click on the montage image to unlock it and select the eraser tool to remove the background. Once the background is removed, select the move tool and move the montage image to the background. To modify the dimensions, go to Edit and select Free Transformation. Hold the Shift key to maintain the proportions. This video will benefit those viewers...
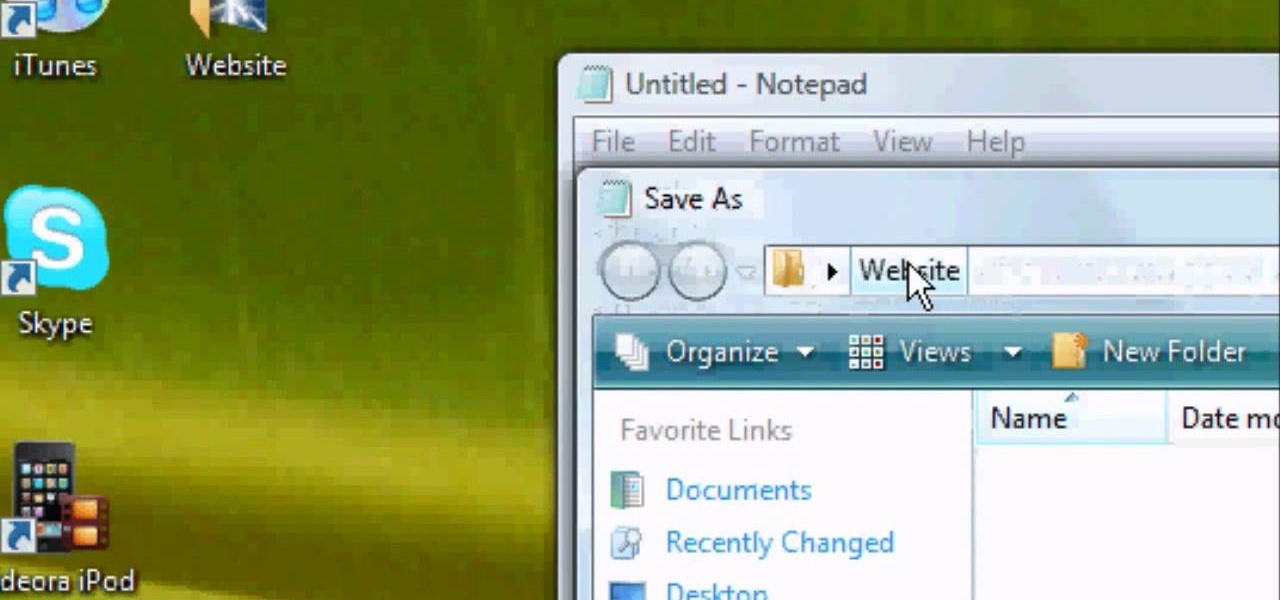
First of all you have to open the 'notepad'. Now you have to type in "<html>" in first line. Write "<head> in second line. Write "<title>this website contains text wrapped around images</title>". In the fourth line you have to type '<body bgcolor="#999999">'. This shall add a light orange color. Now find out the name of the image. Here the name of the file is 'image.png'. Then in the next line you have to type in "<img src="image.png">this text should hopefully wrap around the outside of the ...
Ready to bring your digital photographs into the world of tangible objects? Before you do, you'll need to understand a thing or two about aspect ratios and image cropping within Adobe Photoshop. Fortunately, this guide will tell you everything you need to know. For a complete overview, and to get started cropping your own images for printing, watch this free video guide.
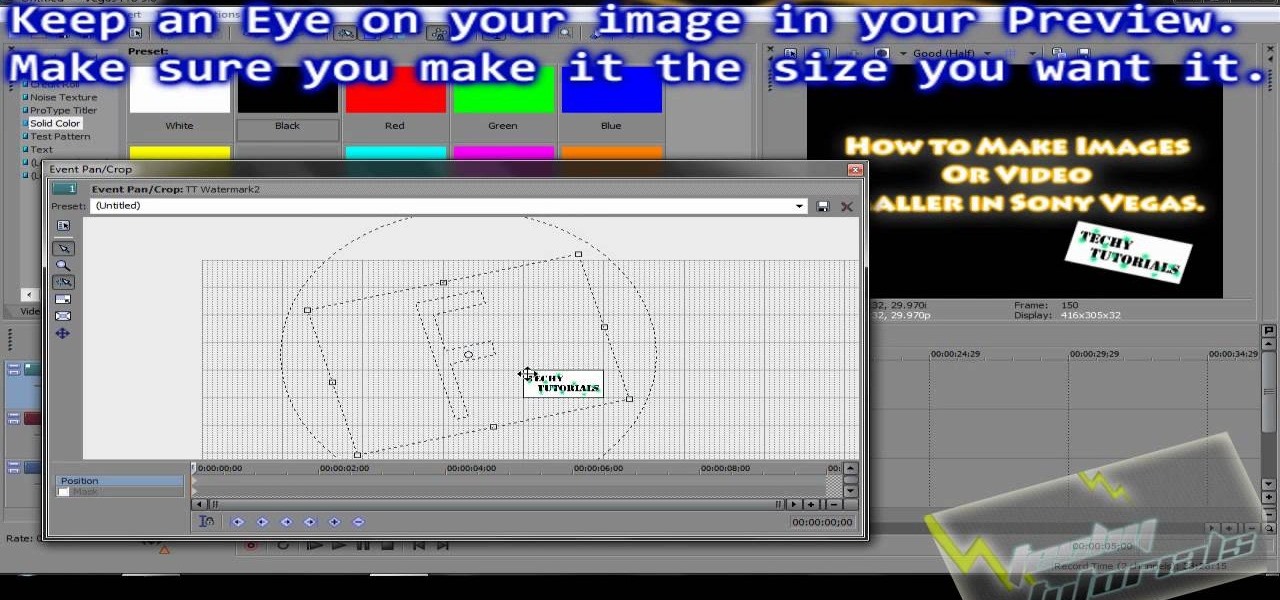
In this video tutorial, viewers learn how to re-size an image or video in Sony Vegas. Begin by opening the image or video that you want to re-size in Sony Vegas and drag it into the time line. Then click on Event/Pan Crop on the right side of the clip in the time line. Now re-size/rotate the video/image by dragging in and out. Finish by simply closing the window. This video will benefit those viewers who create videos using Sony Vegas and would like to learn how to make their video image smal...
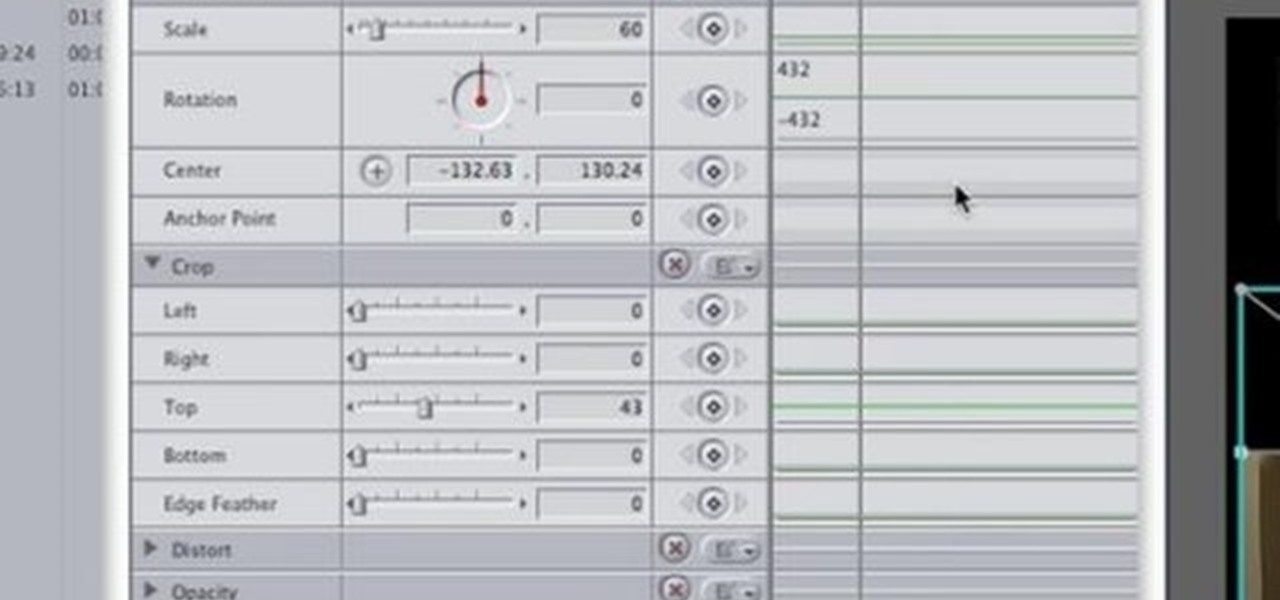
IShowU and Shiny White Box demonstrate how to create still image effects in Final Cut Express. First, place your scroll bar in the front of the timeline and click on the clip so that it is selected. Then, click on the motion tab in the preview window. Hit the keyframe button in the scale option. Create a keyframe also where you'd like the effect to stop on the clip. Adjust the line. When you now play the clip, the image's size will be adjusted as you have designated. You can use the same tech...
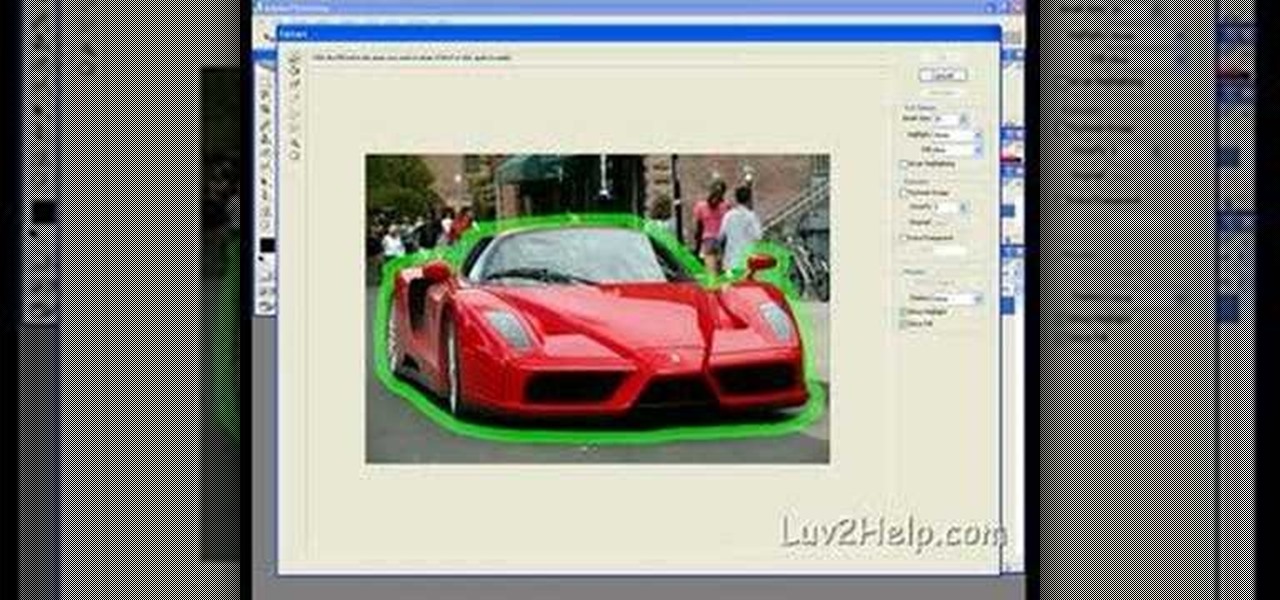
In this how-to video, you will learn how to crop an image using Adobe Photoshop CS4. First, open Photoshop and open the image you want to crop. Next, press filter and select the edge hollow tool. Carefully draw around the image you want to crop. Once this is done, click on the fill tool and left click in the middle of the image. Now, press preview to see if you missed any spots. You can clean these spots up by pressing the clean up tool. This will allow you to erase these particular spots. On...
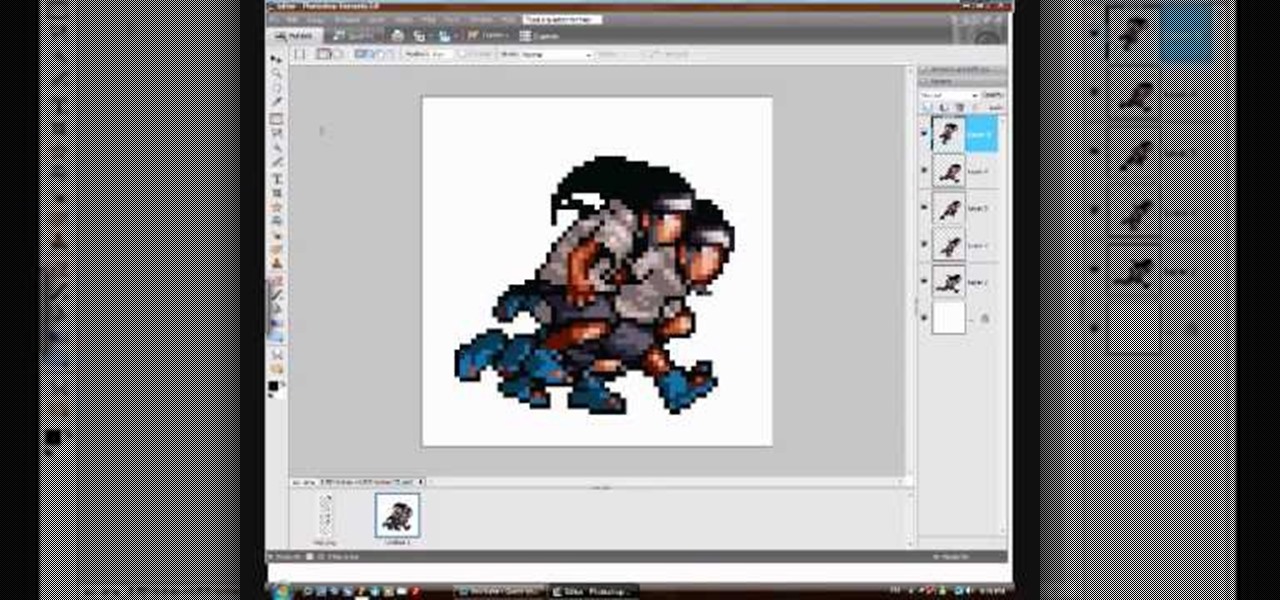
Steps to make Sprite animation in Photoshop are:1. Open a spreadsheet of your own choice; in this case we are going to take running animation.2. Once your spreadsheet is loaded, zoom-in until you get a four page, for ease of use.3. Zoom-in to the required movement, after zoom, select the image and open File and from that click New File and click OK (Dialog Box), and you will get a work space to work on with your selected image. The feature makes it simple for one character animation (work).4....
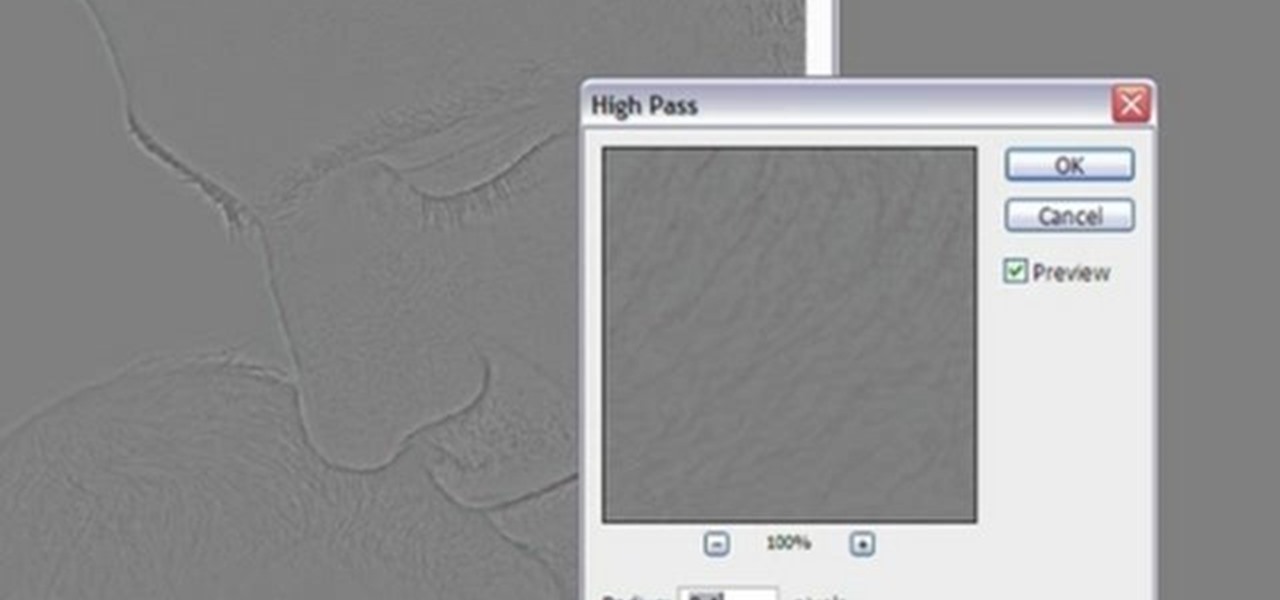
In this video tutorial, viewers learn how to sharpen photos in Adobe Photoshop CS3. Begin by opening the image in the program and duplicate the image layer. To duplicate, press the control and J button. With that images, go to Filter, choose Other and select High Pass. The images will now be covered entirely of gray. It is recommended to set the radius as 5-6 pixels and then press OK. Change the layer blending mode to overlay, soft light, hard light, vivid light or linear light. This video wi...
This Software video tutorial shows how to organize images in Lightroom with multiple cameras. Kerry Garrison will explain how to do this by adjusting the time offset of all of the images from one camera. You can take a shot in the beginning and synchronize the rest of the images. There is a tool in Lightroom to accomplish this. Select the live drawing mode, then go to the grid mode and the meta data bar should be displayed on top. The different cameras used in the shoot are listed there. If y...
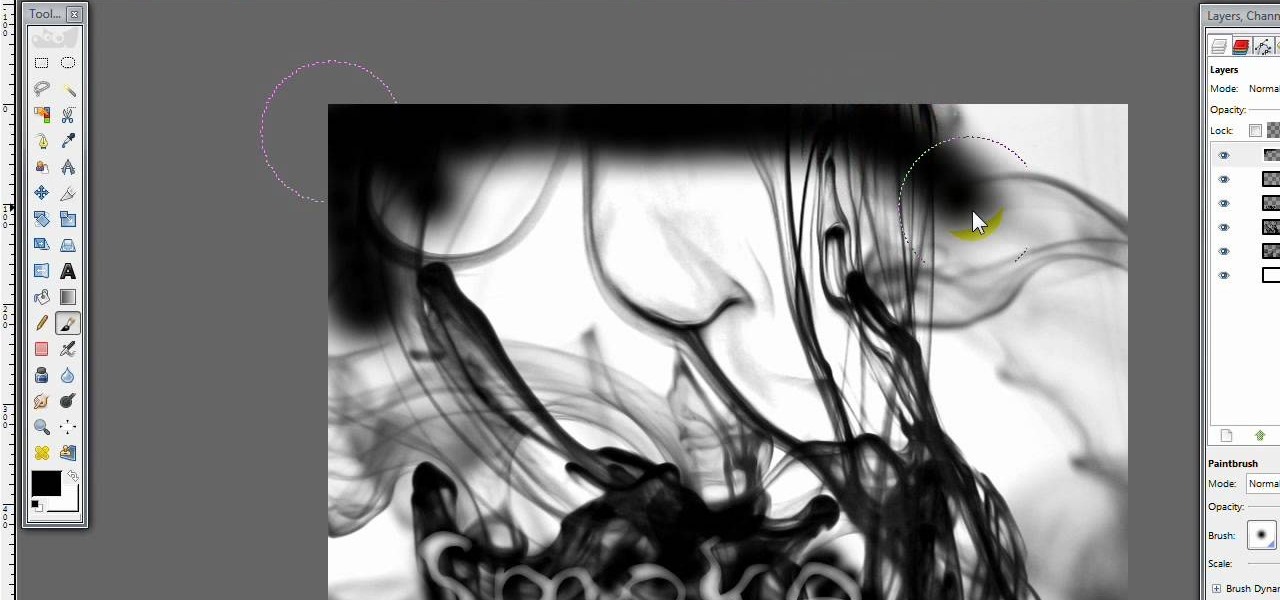
This video opens up with a computer screen displaying the finished product of a smoke design as a wallpaper. Next the video switches to the program used to create the smoke design, using a plain white image. Next the screen is switched to another program with the text smoke displayed. Then he switches back to the program and pastes an image into the window containing smoke. He then pastes the text smoke into the image and distorts it a little, followed by changing the color darker. After that...
In this video the instructor shows you how to mount ISO images. You can use your ISO images of CD or DVD with out burning them on to real disks. Using this you can play a DVD with out a DVD player. Use DVD shrink to extract the copy of ISO image from your DVD. Go to internet and install Daemon tools lite program. After installing you will see an icon in the tray icon which says daemon tools. Right click on it and select the Virtual Devices option for the menu. Inside it select the virtual dri...
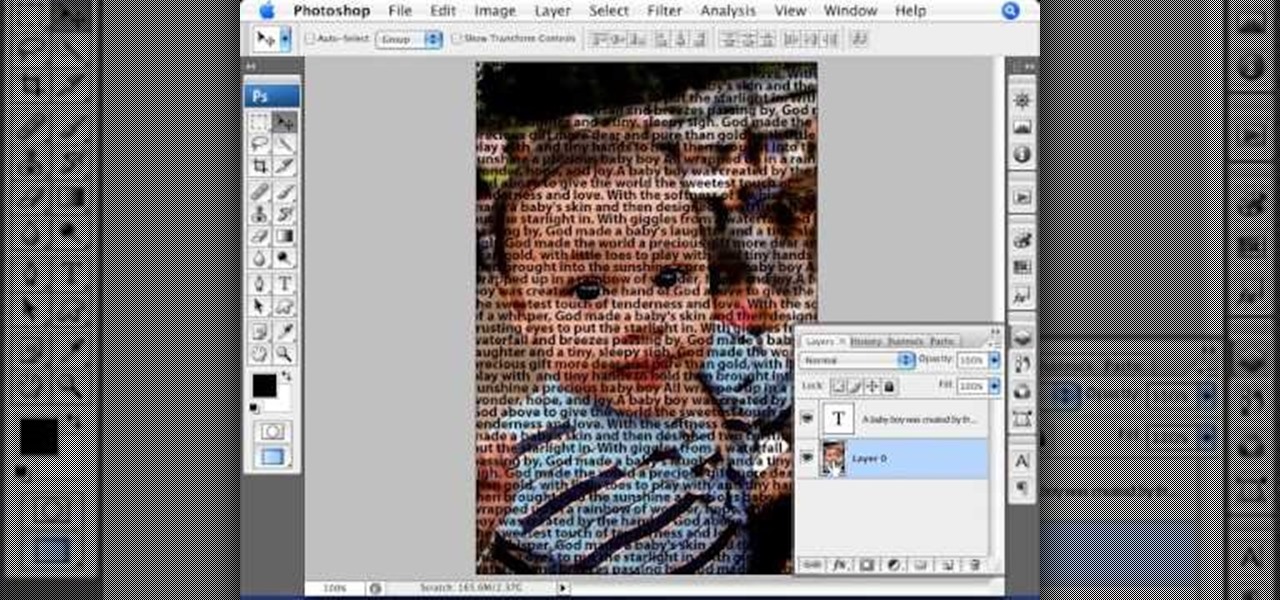
Photoshop Universe presents a step-by-step tutorial on how to mask images over text. First and foremost you'll need to have a poem or some other block of text in mind to use. Once you've selected your text you'll use methods such as copying and pasting, using clipping masks, and mild typeface editing. By the end of this tutorial you will have the abilities you need in Photoshop to make your very own text based image!
If you're designing a website but are uncomfortable slicing your interface up and reassembling it with CSS, or if you'd like to add easter-egg content to your site, then an image map might be a good option. And with Dreamweaver, the process is simple.
In this Adobe Photoshop tutorial the instructor shows how to make a torn image effect. He shows you a sample image of what it is going to look like after producing that effect. It basically looks like as if the photograph was torn to pieces and then put back together with the cracks visible. To do this first open the image in Photoshop. Now make a rough outline of the tear with the polygonal lasso. After generating the tear go to filter and in the distort sub menu choose the ripple. Now it ap...
Photoshop is the perfect program to use when you want to make adjustments to photos you have taken. You can really make a sky pop in any of your pictures by using Photoshop to manipulate the color by following this tutorial.
This video editing software tutorial looks at working with large images, and setting keyframes in Final Cut Pro. The FCP tutorial also goes into working with multiple layers a little bit. Working with large images can get slow and frustrating, so it's worth learning these tricks to make it easier in Final Cut Pro. Crank the volume, the audio on this tutorial is a bit low.
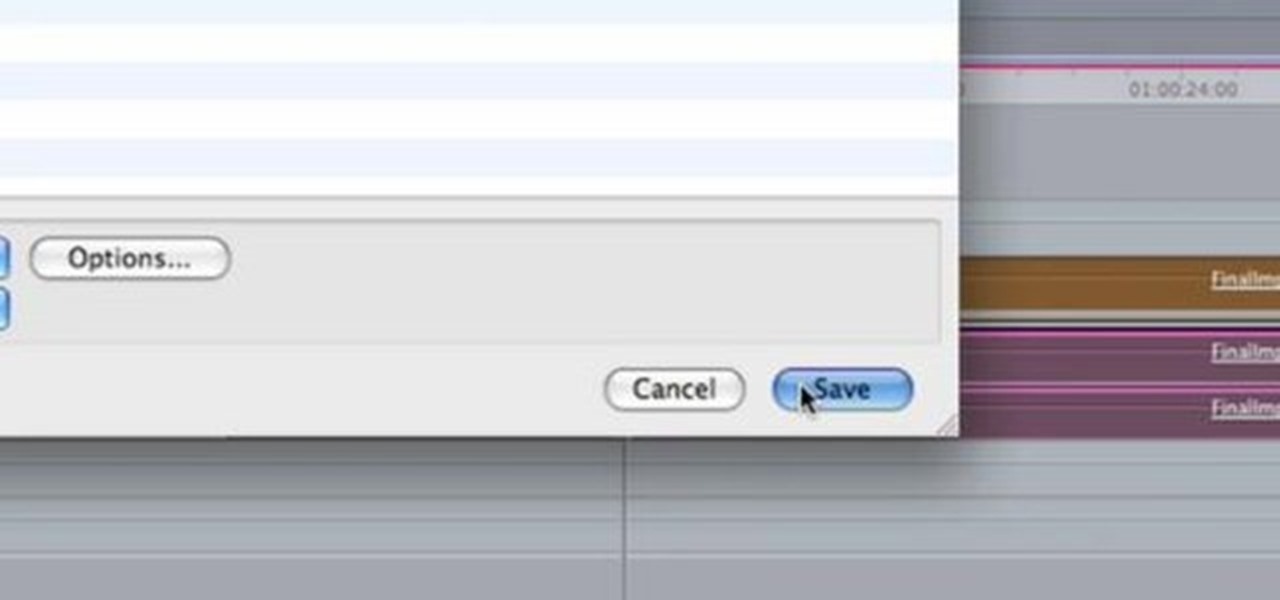
This short Final Cut Pro tutorial shows how to export a still image from Final Cut Pro and then deinterlace it, and alter its aspect ratio in Photoshop. This is a great tutorial for learning how to work with still images from Final Cut Pro.
Learn how to use black and white to separate elements of your designs in Photoshop CS3 in this image editing software tutorial. Using black and white to separate background images from more important foreground images is a great technique for creating dramatic designs. Learn how in this Photoshop tutorial. The tutorial assumes you know how to use Photoshop.
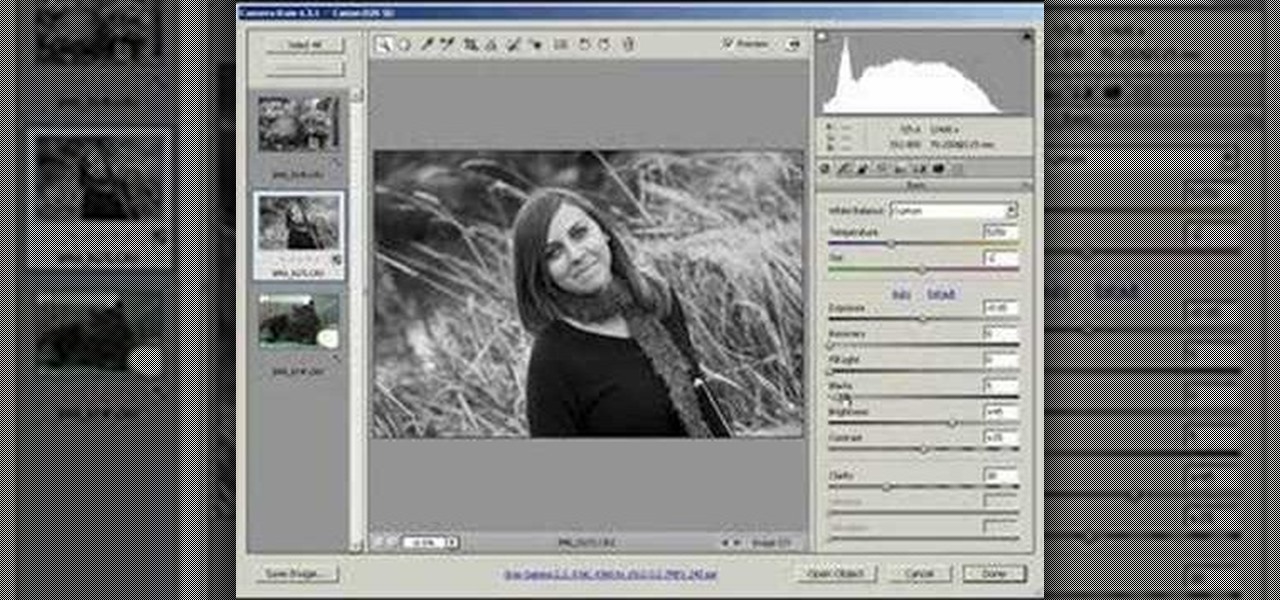
This image editing software tutorial shows you how to use the hsl grayscale tab to remove the color from a photo and turn it into a black and white image in Adobe Camera RAW. Using the Grayscale Mix slider controls inside Adobe Camera RAW, you will see how to achieve some great looking black and white images.
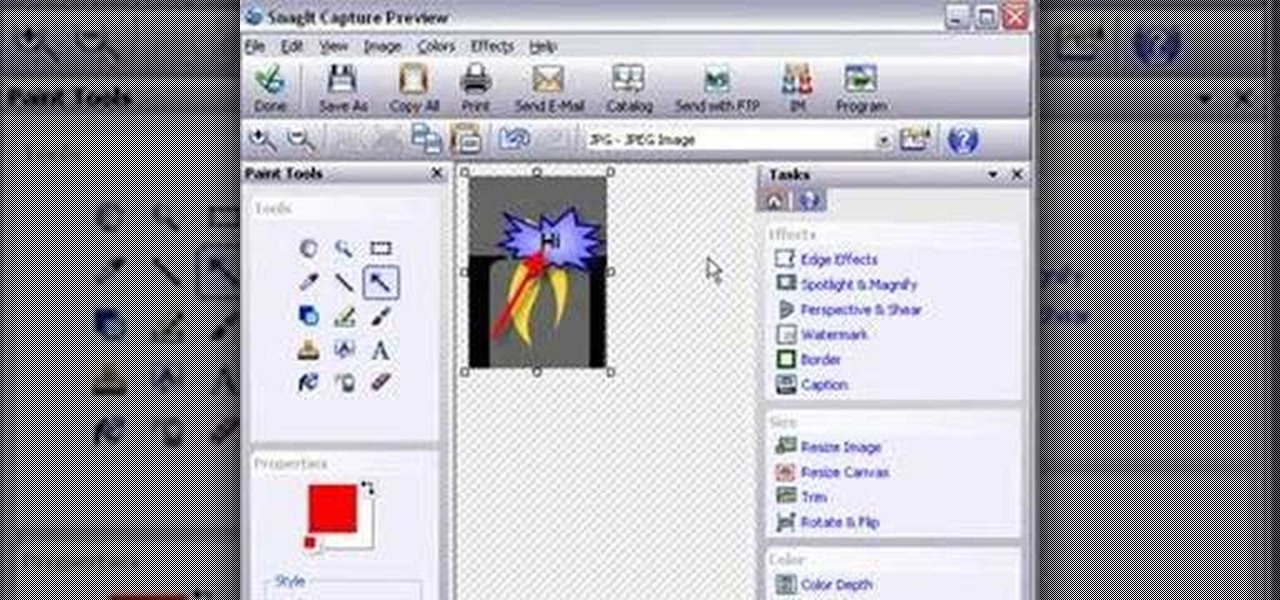
Snagit is a great image capture software package made by TechSmith. It does much more than capture images and has an intuitive image editor. Mike Lively shows you how to use SnagIt in this tutorial.