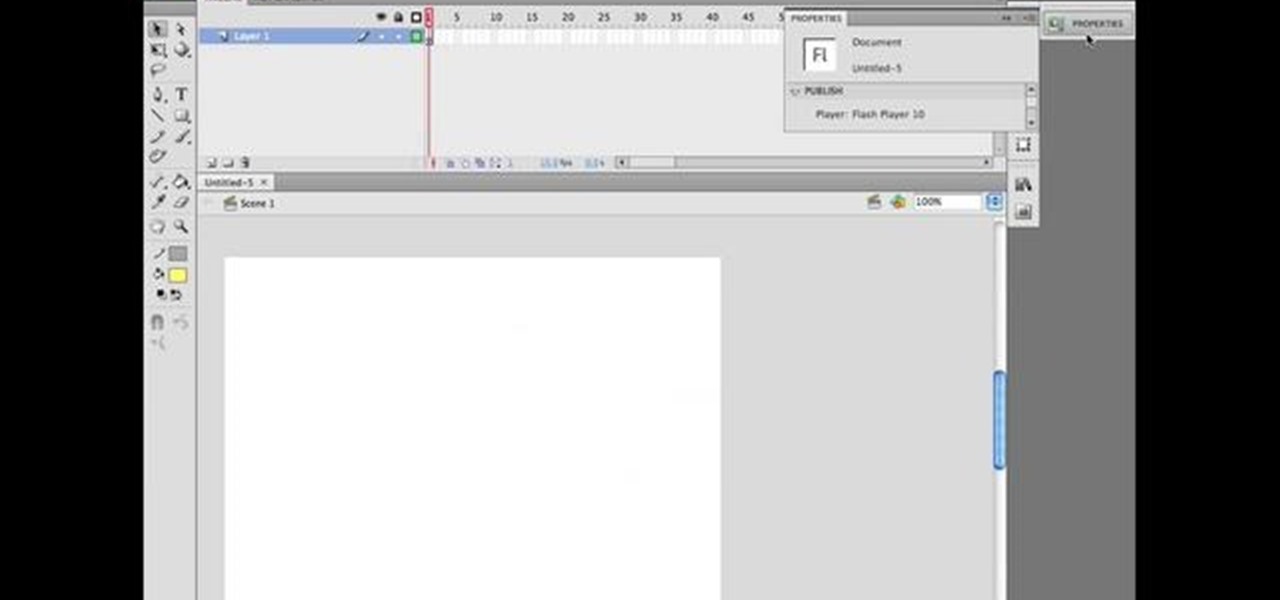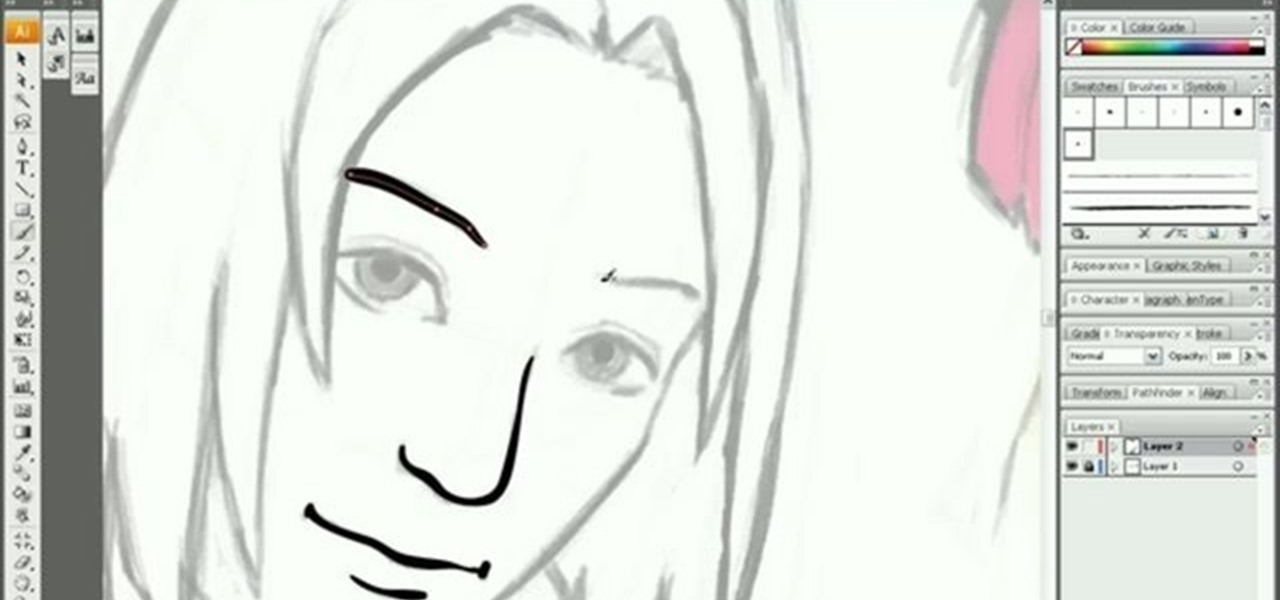
Importing custom brushes and patterns into Photoshop is not too complicated, you can probably handle that already. But what if you want to create your own? This video will teach you how to create your own custom brushes and patterns within Photoshop, which you can then use yourself or make available to others on the web. The former will save you lots of time when you find yourself making the same pattern over and over again because you can make a brush that will draw it automatically. How handy!

Maya and Photoshop CS4 may be made by different companies, but that doesn't mean they can't work together. This video will teach you how to take a 3D model from Maya, import it into Photoshop, and then use Photoshop CS4's new 3D editing tools to overpaint the rough texture seams in the model. The end result will be much prettier than the model that you could have created with Maya alone.
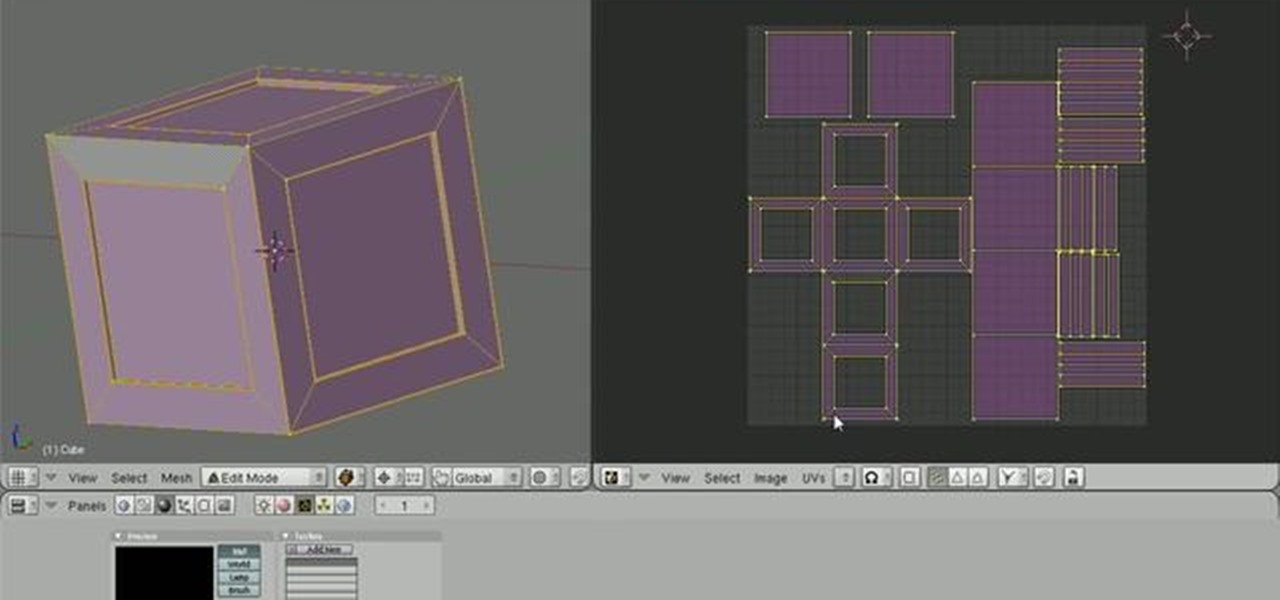
This clip offers instruction on how to export a model from Blender to Unity 3D and import it into a game. The tutorial also demonstrates how to bake a normal map and a color map from a highpoly model to the lowpoly counterpart, real-time display of the color/normal maps in the Blender viewport with GLSL shading, and real-time updating of assets in Unity. Whether you're new to the Blender Foundation's popular open-source 3D computer graphics application or are a seasoned digital artist merely ...
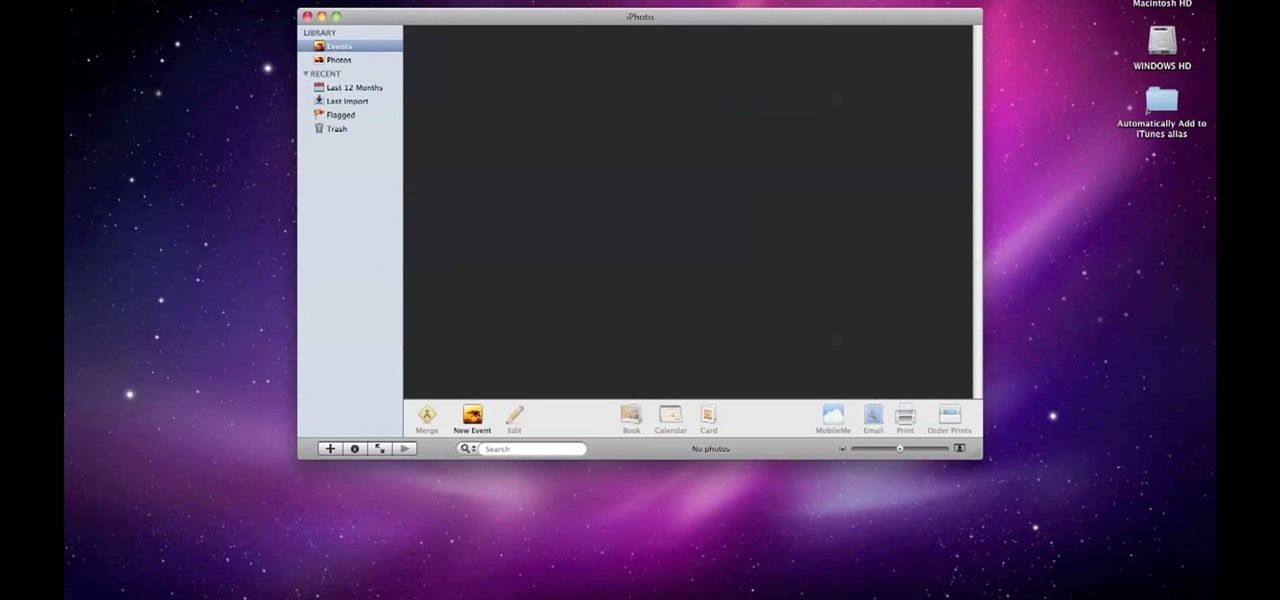
By default, iPhoto will open as soon as your Mac detects a digital camera or iPhone. In this tutorial, learn how to change your iPhoto settings so that it does not automatically open. The auto open is a good feature, but can be annoying, especially if you are just using your computer to charge your device and do not need to import any files. iPhoto's auto-open can disrupt other activities you may be involved in on your computer. In this video, Luke will take you step by step through the proce...
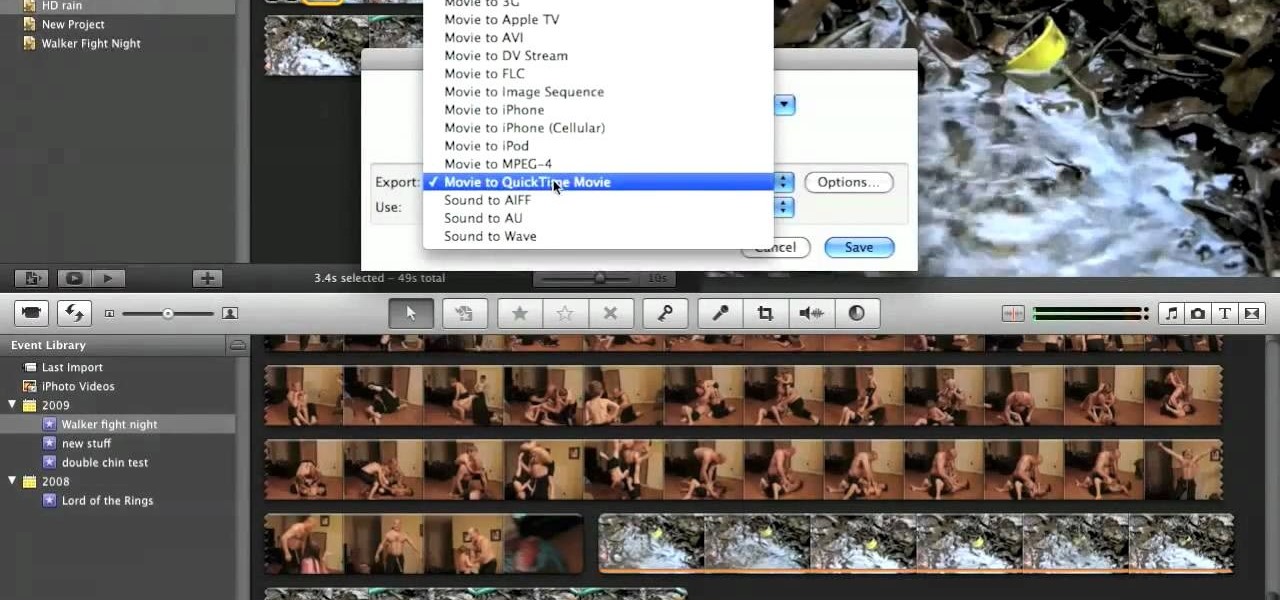
In this video tutorial, viewers learn how to create high definition videos in iMovie. Begin by importing the video into the program. Click on Share and select Export using Quick Time. Set the Export to Movie to Quick Time Movie and then click on Options. Under Video, select Settings. Change the Compression Type to MPEG--4 Video, leave the frame rater at Current, Key frames to Automatic and Quality to the Best. Click OK and then click on Size under Video. Set the Dimensions to 1280 x 720 HD. T...

Whether you're new to Adobe Photoshop or a seasoned graphic design professional after a general overview of CS5's most vital new features, you're sure to be well served by this (17-minute) official video tutorial from the folks at Adobe TV. In it, you'll learn how to do each of the following: realistically blend colors on canvas with the new Mixer Brush; create superior composites for print or web layouts with new technology that makes it easy to select even the trickiest image elements, like...

This video tutorial features Lisa Bettany, describing how to create your own ringtones on your iPhone. First you need to modify your import settings to aac encoder, then make sure you list high quality. When this is done hit "ctrl I" to set the time frame of your song. Right click this file and hit create aac version. From here you must delete the original song that you took the clip from. You must then change the extension of the file to .m4r. From here you just have to sync your iPod to iTu...

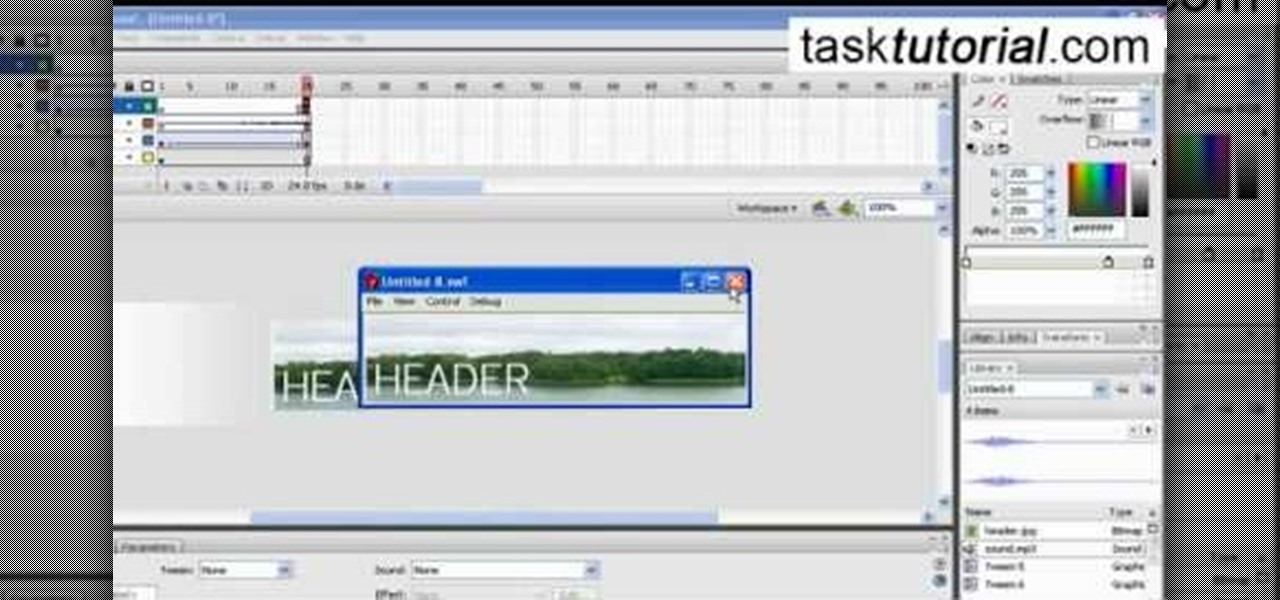
Today we learn about creating a header appearance in animation w/sound in Flash. First your import image. Create a new layer and then create our new shape. Then delete the stroke. Next select the shape and change its size to frame 20 and then press F6. Move your image as shown in the video. You will be asked to create a new layer three times. Just repeat the process of layer until you have a total of 35 layers. Now onto getting you animation to move. Mass layer is also acceptable in creating ...

This video describes how to import pictures from a digital camera onto your computer and use them in various ways. Simply plug in a flash drive with your stored pictures and they will immediately load onto your computer. Once this is done, you can share your pictures on Snapfish by opening the program and using its various programs. Within the program you can print your images, share, or even create gifts such as posters and mugs with your uploaded pictures. If you would like any more informa...

In this two-part tutorial, learn about the basics of After Effects. These videos are made for those people who are new to After Effects and want to learn how to use it.

Instead of using Photoshop, why not give Apple's Aperture a try? Aperture is designed more for post-production work for professional photographers, letting you cull through shoots, enhance images, manage massive libraries, and deliver stunning photos.

iMovie is the basic video editing software on MAC computers, the iPod Touch 4th generation, and the iPad 2. If you're new to film editing or just new to the program in general, this iMovie tutorial is a great introductory course to the program.

First you need to do is to open up the HD video file of Canon HV20 and then you can set the project properties. So go to file, import, media and open up the video file. Now drag it to the timeline and go to file, properties, click on the file folder called "match media settings" and open the same video file which you just opened. Now click on apply and then ok. But now video proportion is not fine. To fix it go to option, preferences, click on video tab and check the box which says "simulate ...

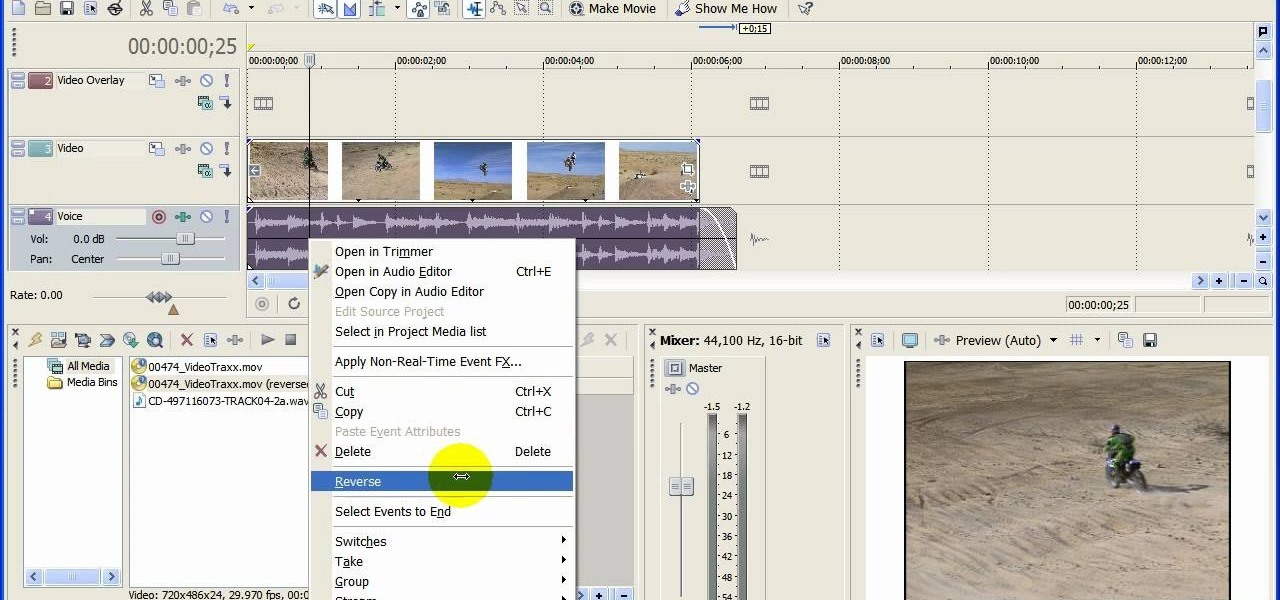
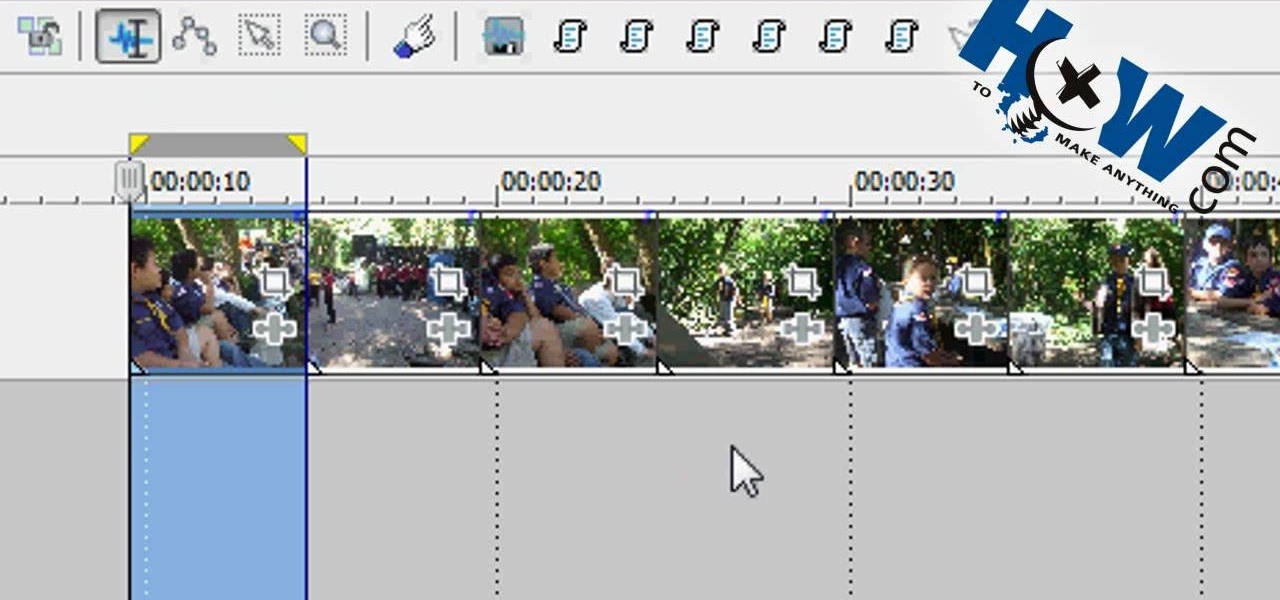
In this video tutorial, viewers learn how to reverse video direction in Sony Vegas Movie Studio. This task is very easy, fast and simple to do. Begin by importing the video clip(s) and/or audio into the time line. Then right-click on the clip and select Reverse. To reverse the audio, right-click on the track and select Reverse. To undo the video or track, right-click it and select Reverse once again. This video will benefit those viewers who enjoy editing and creating videos, and would like t...

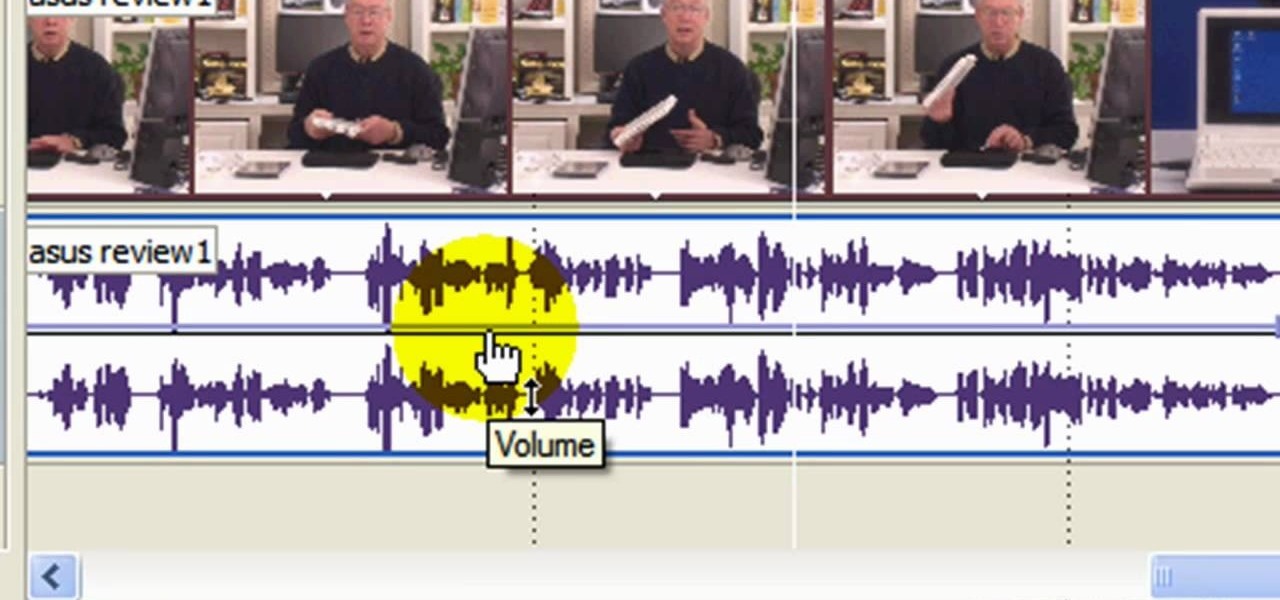
In this video tutorial, viewers learn how to use volume envelopes in Sony Vegas Movie Studio. Begin by importing the audio track into the time line. Then right-click on the audio control panel, go to Insert/Remove Envelope and select Volume. This will place a purple line through the audio track. Users are able to control the volume by moving the line up or down to increase or decrease the volume. Users are also able to select certain points by creating starting and ending points in the audio ...

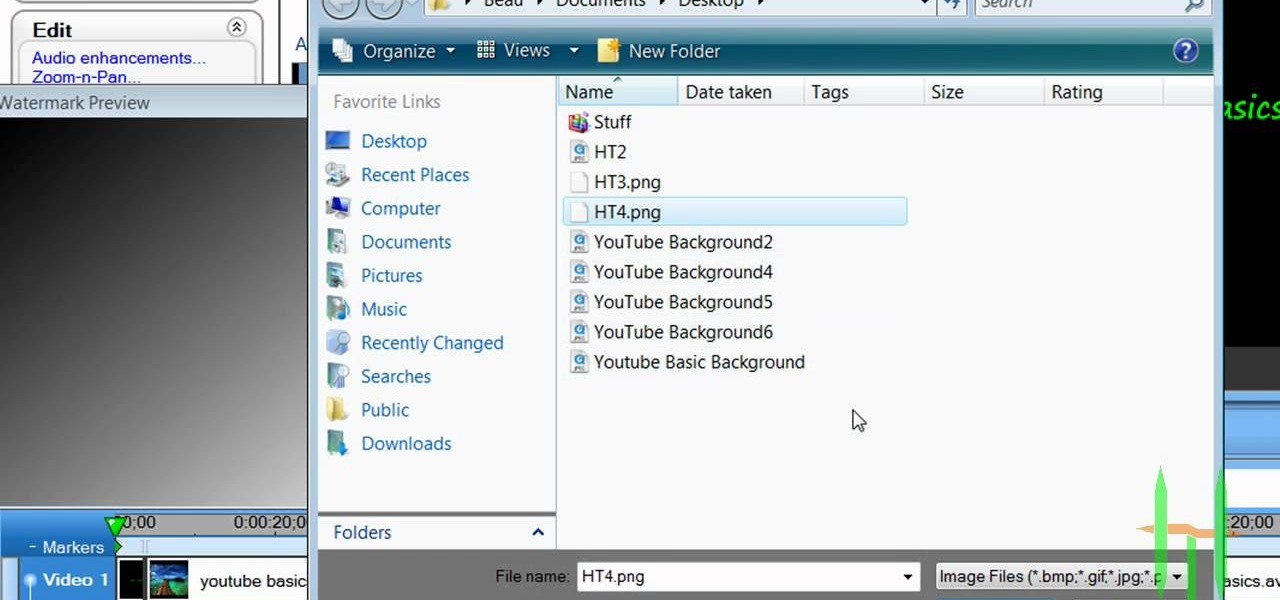
This video tutorial belongs to the software category which is going to show you how to add a watermark in Camtasia Studio. Open up Camtasia Studio and either import a video or open up a saved video to add a watermark. You got to edit your video and be ready to publish it because adding a watermark is the last step. Now click on 'produce video as' and the production wizard will come up. Here you can select a preset mode or create a custom one. Then you go to 'add / edit preset' and click on 'e...

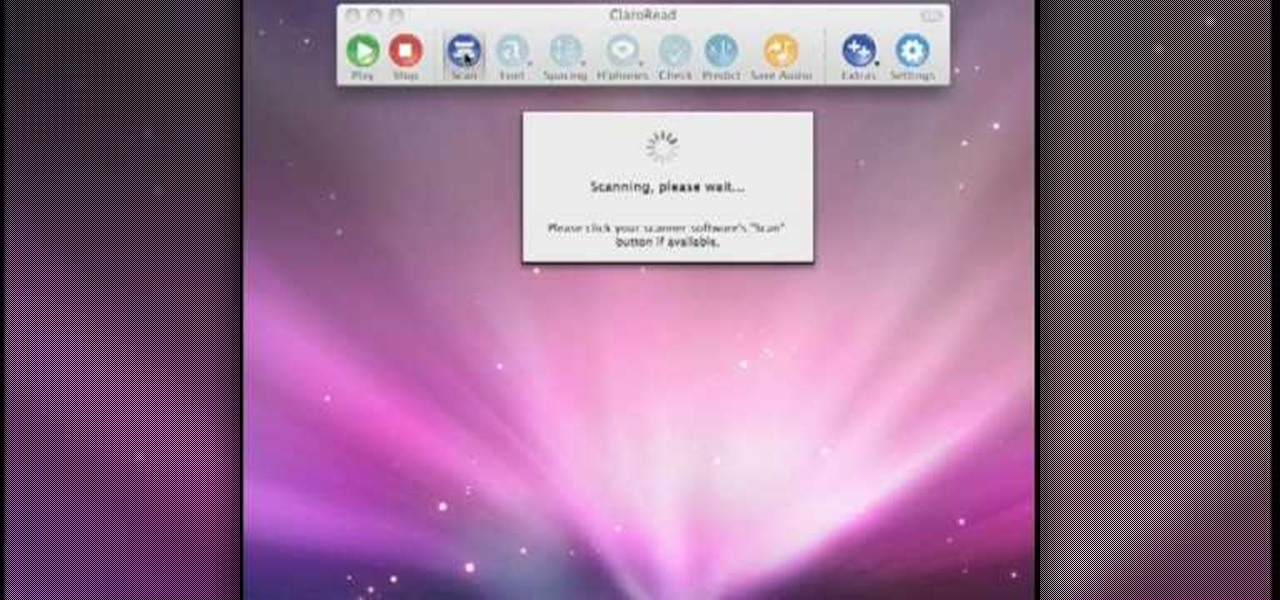
Scanning is an awesome, fast way to transport a document into your computer. But, what if you want to edit it once you've scanned it? Most scanner programs will import your document as a read-only PDF or image file. With this tutorial, learn how to use the program ClaroRead on a Mac to scan your document directly into Microsoft Word for editing. This will save you a lot of time and a lot of annoying formatting and copy and pastes!

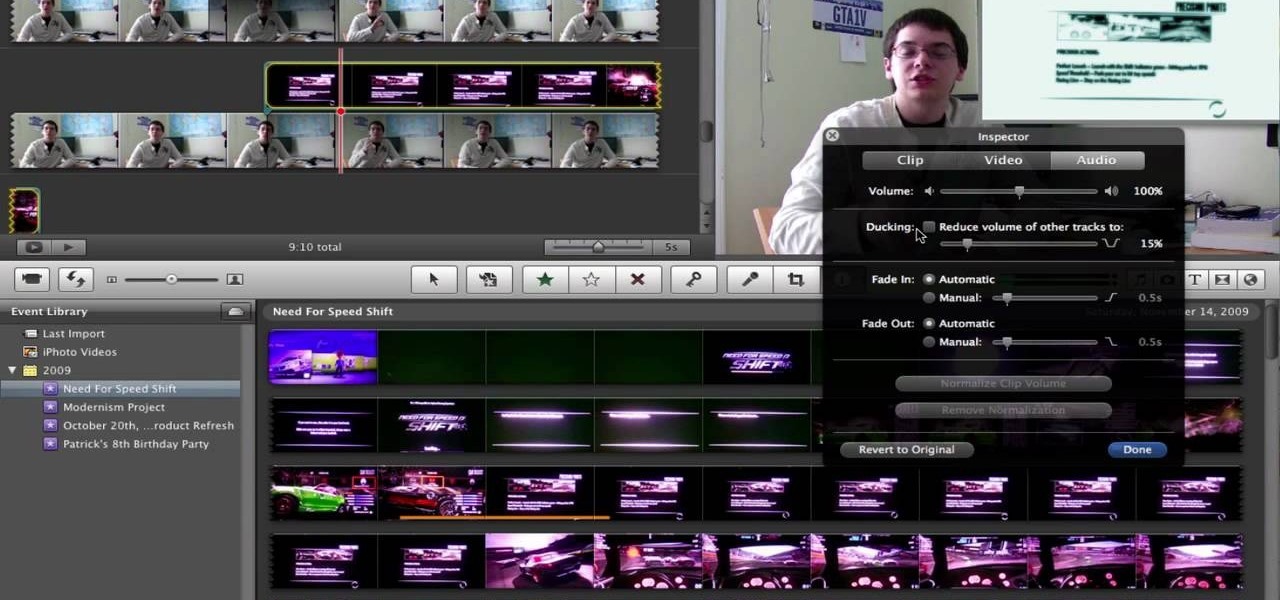
This video will show you how to take advantage of one of Apple's iMovie advanced editing feature, picture-in-picture effect. This feature allows you to embed either another video, or images into a base video. To enable this valuable tool in iMovie, go into the iMovie preferences by clicking on "iMovie" in the top left hand corner of your screen. Under the General tab make sure "Show advanced tools" is selected. Import a video from your event library by dragging it into iMovie and selecting pi...

This video shows you how to use flacs inside of iTunes. FLACS are higher quality audio files than your average mp3.FLAC stands for Free Lossless Audio Codec. It is designed for people who want to hear their music in a great high quality. For Mac users, download fluke. If you have iTunes up already, select open applications and open with. Select fluke and import it into iTunes. Once it has finished doing its thing, your music will open and you can play it. Essentially the system is tricking it...

In this video tutorial, viewers learn how to make a batch render in Sony Vegas. Sony Vegas is a professional non-linear editing system. Viewers will learn how to use the batch render. At default, it is located on the toolbar. Begin by importing your clips or images into the time line. One of the batch render's features is to render regions. Begin putting regions around the clips by highlighting the clip, press R and press Enter. The add the Add Regions To Event script to automatically set reg...

In this video the instructor shows how to use the Auto play feature in Windows 7. Auto play is an old feature which was also available in Windows XP and Windows Vista. When you insert any removable media into your computer like a CD, DVD or a USB thumb drive, Windows automatically pops up a Auto Play window where it gives you various options that can be performed on the recently inserted media. This feature is very helpful and helps you open your media very conveniently. The Auto play window ...

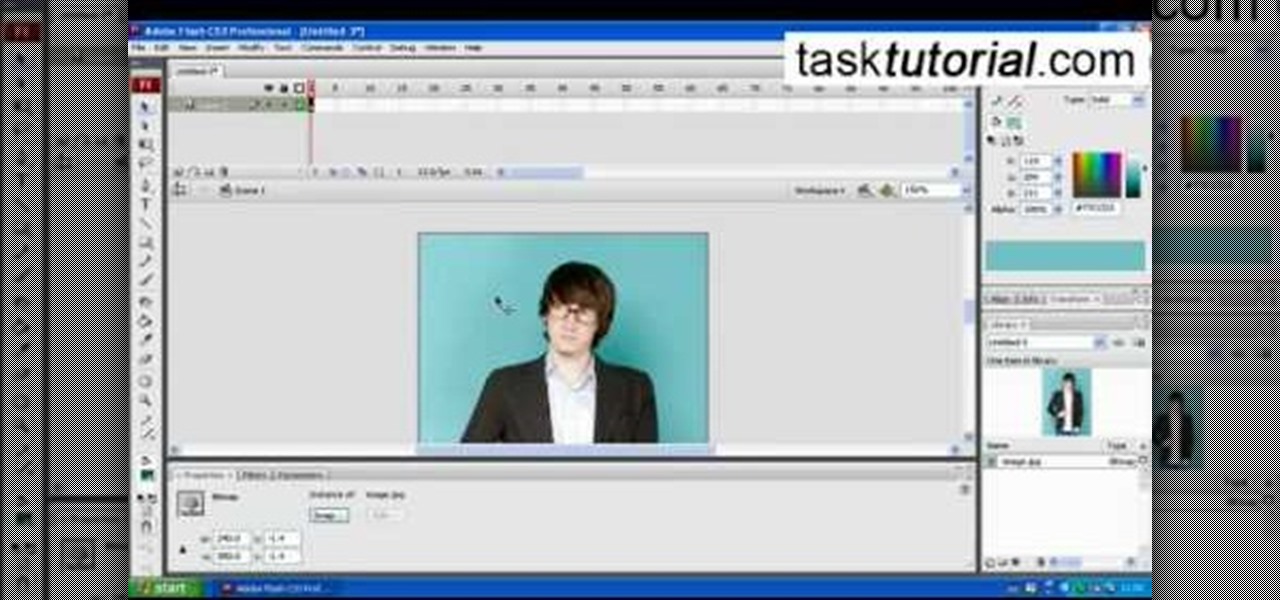
Are you interested in 2D animation in Flash? First import a image in flash. Then create a new layer and choose oval tool and take a radial gradient. In the middle of the shape, we need to have zero alpha value and pick the colors from the background of the image. Create the shape over the image and take another frame at no.10 and increase alpha. Then create another keyframe and convert it to movie clip. Then create shape and motion tween. On the new layer, write a stop command in action scrip...

Now you can easily animate gradient image using Flash. For this you need to open flash, and then import an image which you want to work with. Create a new layer. Draw a rectangular. Go to color option and choose liner. You have to keep alpha in one side of gradient. Ad few key frames and use motion tween. Now go to your picture. You also make the same key frames of that. So it will be regular. After watching this tutorial you will be able to make nice gradient animation using Flash.

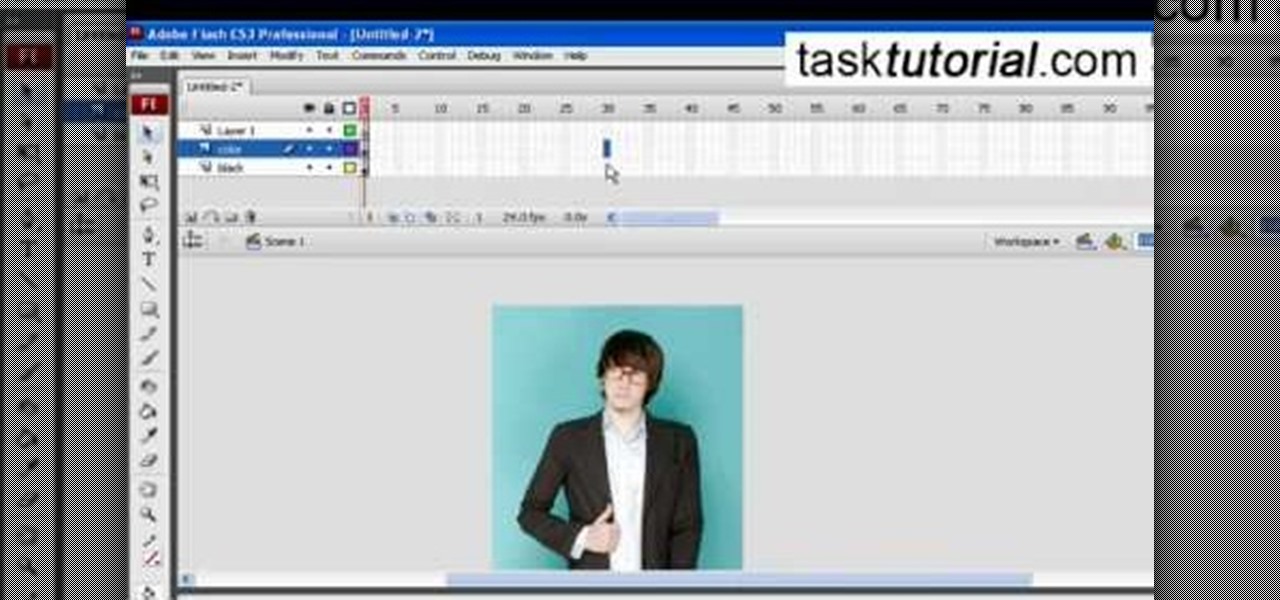
If you don't know how to turn a black and white image into color animation in flash, then this is the perfect video for you. This tutorial is perfect for newcomers! In the video, you will learn how to import images, make layers, and transform them into movie clips. This video will show you the best and easiest way to turn a black and white image into color animation in flash. This video is what you are looking for!

This video describes the initial creation of a database using File Maker Pro 10. While this video does not go into anything complicated, it does give a great preview of how their particular program works. The movie indicates there are templates available, however the series of movies explains how to create them from scratch. There seems to be another six or so official movies. This three minutes movie covers new database creation, naming, importing fields, naming new fields, relationship crea...

Converting bitmap images to vector in Adobe Flash sometimes can come as a nuisance. This video will give you a step by step tutorial on how to convert bitmap images to vector images in Adobe Flash.

This tutorial will show you how to create a cool image animation using mask in Flash. First lets import image file and now lets create a new layer. Choose oval tools and now lets draw a shape just outside our scene. Then go to frame 30, and add the key frame and select transform tool. Now lets re-size our shape and go to 50 frame and add the key frame. Then go to frame 80 and add the key frame, re-size our shape and use free transform tools. Now lets create shaped in frame over 30, 50,and 80 ...

In this flash tutorial the instructor shows how to make a black and white mask animation. To do this, first start by importing your image into the flash tool and bring it on to the scene. The image should be wider than the scene. Now select and distribute the layers. Now convert those images into movie clips. Now go to frame 80 and add all frames. Get back to the first layer and create a shape that is the your mask. Now go to frame 40, select key layer and add free transform tool. Now, mask t...

In this Adobe Acrobat series of video the instructor shows how to combine comments in a PDF. When we receive comments as a part of a review of a document there is no need to view the comments is a separate document but you can view the comments in the same document. To do this go to the comments menu and select the option of import comments. Now from there you can select one or more PDF documents that contain the comments and integrate it to the current document. This video shows how to combi...

This is Cartoonsmart's introductory lesson on how to draw using vector illustration Flash CS4, CS3 or Flash 8.

Boris Title Toolkit gives Adobe After Effects users advanced titling capabilities for maximum quality, speed, and creativity. Using Title Toolkit, graphic artists can import ASCII or RTF files for fast, easy credit rolls, take advantage of rich text style options such as bevel borders, gradient fills, simulated extrusion, and embossing, and save or apply custom or preset text styles, gradients, and colors, all of which can be applied on a per character basis.

Tutorial/demonstration showing how to use Calligraphic Brushes in Illustrator to do line drawings (inking) and then import them into Photoshop as a Smart Object to retain the vector quality of the line art. By using clipping masks, we can change the color of the line art without rasterizing.

Bloatware remains one of the biggest problems with Android, especially when tied to a carrier. Removing bloatware usually requires you to take extreme measures like rooting. Unfortunately, the Galaxy S10 falls under this annoying umbrella, but there's an easy workaround.

In iOS 12, Apple included new, Snapchat-like effects and stickers for photos and videos in Messages. While these new options are fun, they're missing something that takes away from the appeal, especially since Snapchat, Instagram, Facebook, and similar apps already let you do it.

The fatal crash of Air France Flight 447 is one of the most tragic accidents in avionic history — while it also serves as a stark reminder of what can go wrong when humans rely too much on driverless vehicles.

Switching between mobile operating systems is fairly easy, but there are a few bumps along the way that you're bound to encounter. One of the first issues you'll run into is that the contacts on your old iPhone don't easily sync with your new Android device.

Greetings null-bytians. Firstly, I would like to apologize for the no images thing. I guess I can't upload them.

With iOS 8.4 and iTunes 12.2, we got our first look at Apple Music, Apple's new streaming subscription service. While it's a little late to the party, there is definitely an incentive for iOS and Mac OS X users to switch over from competitors due to its heavy integration with the Apple ecosystem.

Thanks to a couple of photoshopped images that made rounds across Twitter last year, iPhone users were duped into thinking that iOS 8 included a security feature that would lock individual apps. Of course, none of it ended up being true, but we covered other features and apps that could accomplish roughly the same thing.

Here's a short and to the point tutorial teaching how to Bass Boost your songs with Audacity. To download Audacity for FREE you can go to the official Audacity website. You may want to Bass Boost your songs for many reasons, so here's a tutorial on how to do just that with the popular, Free, and easy to use software called Audacity.


