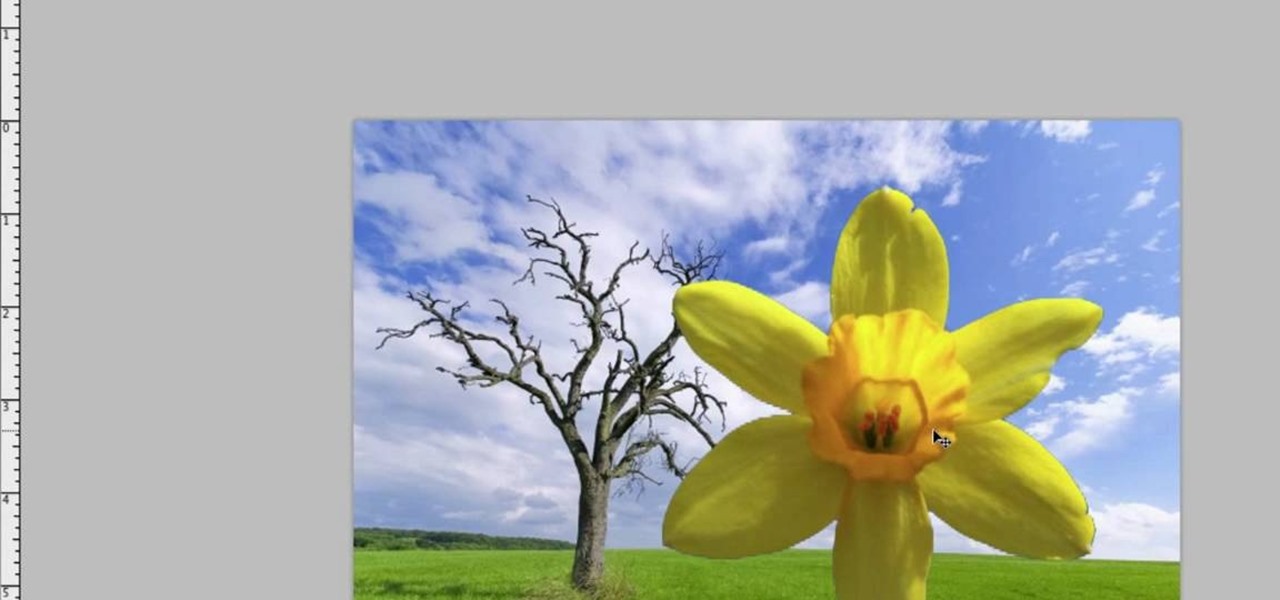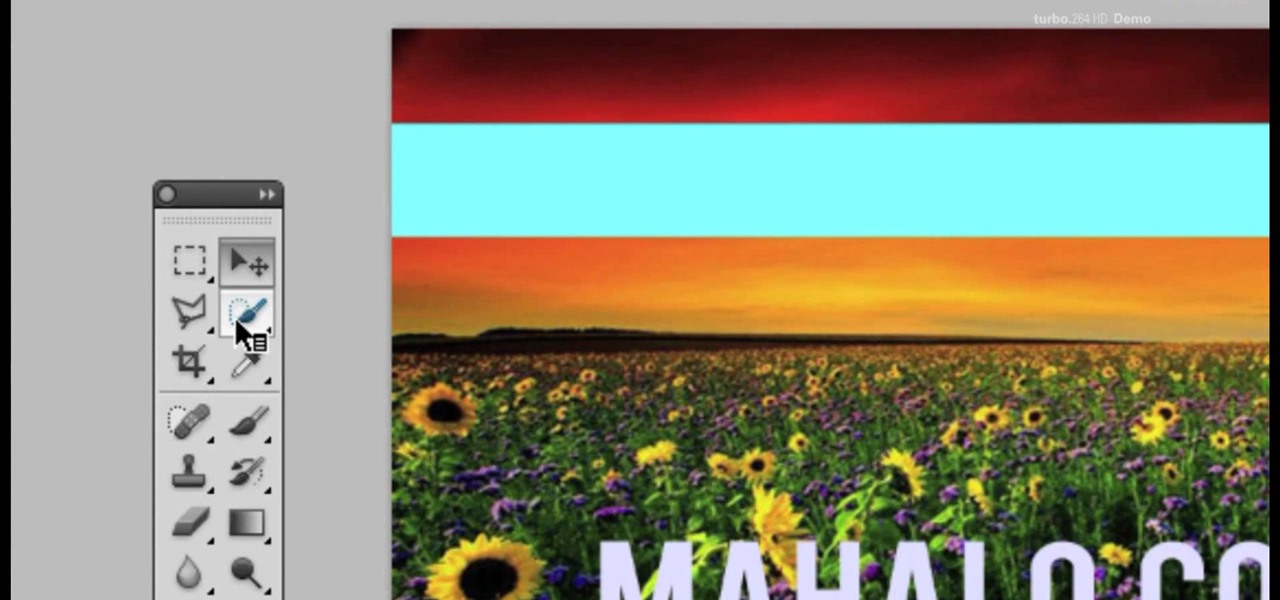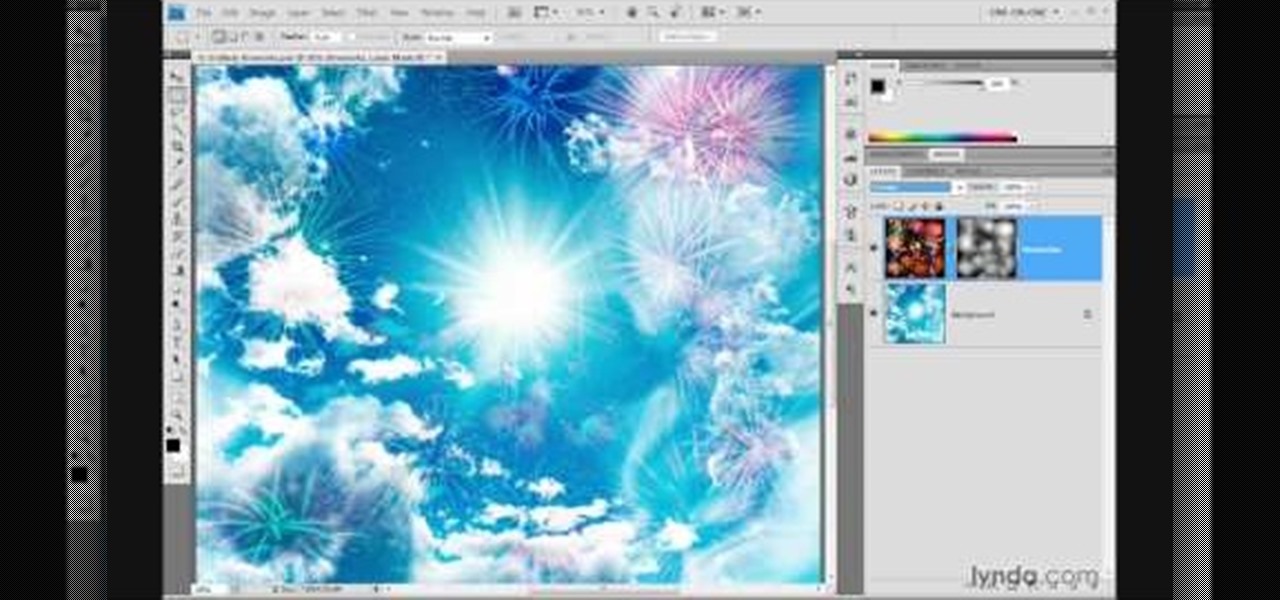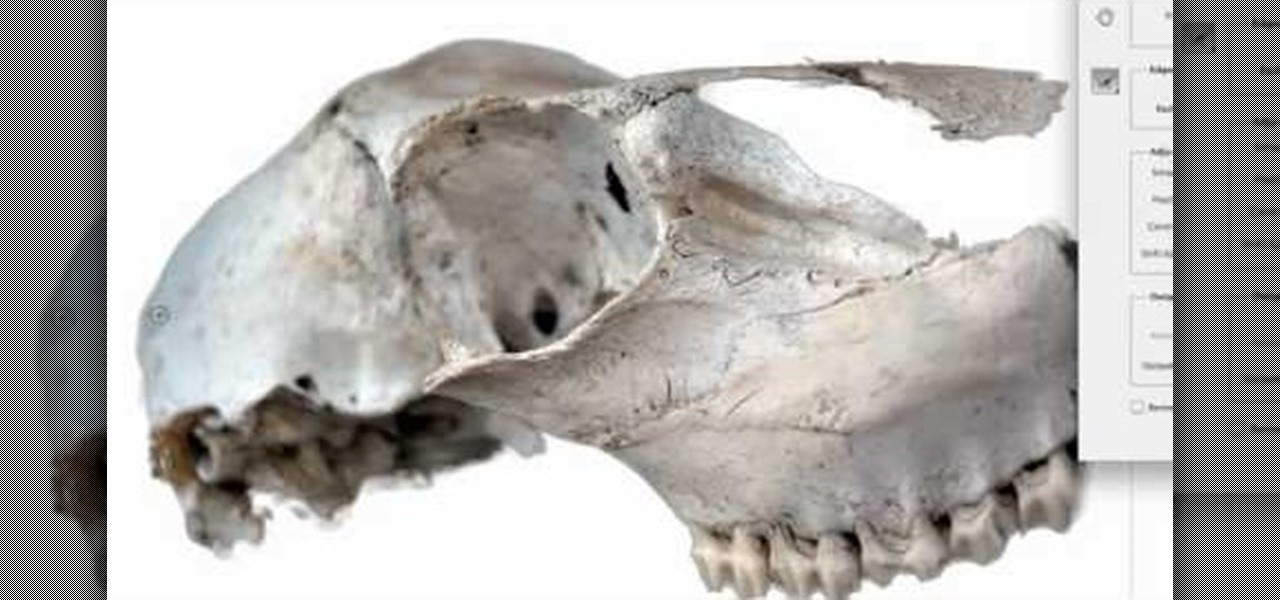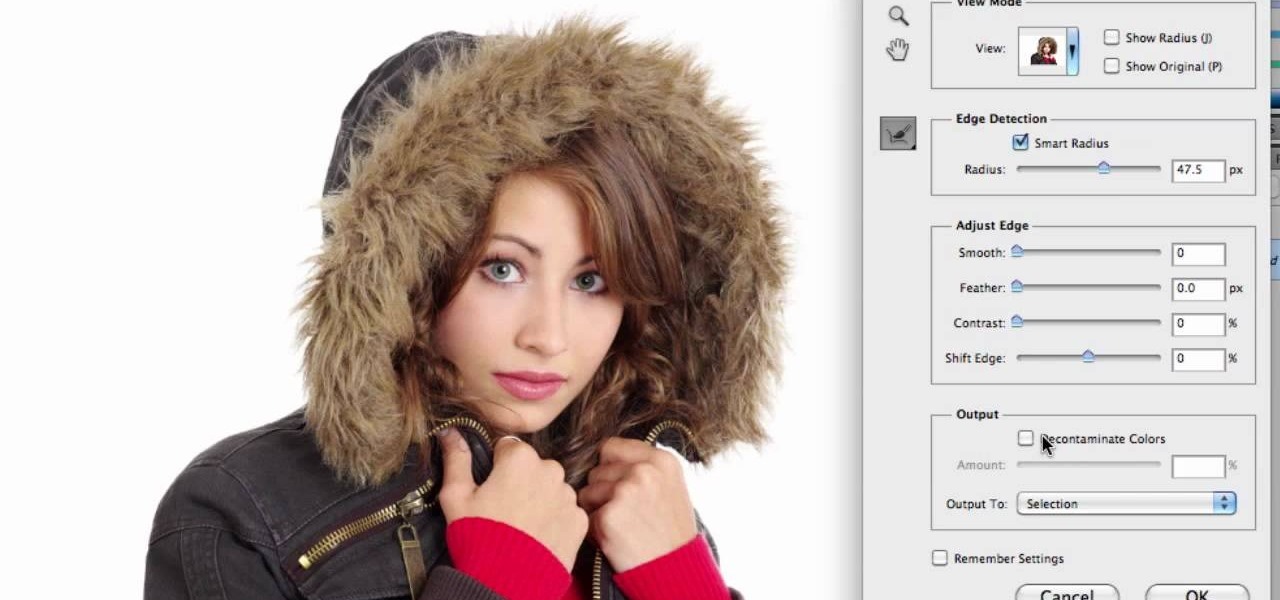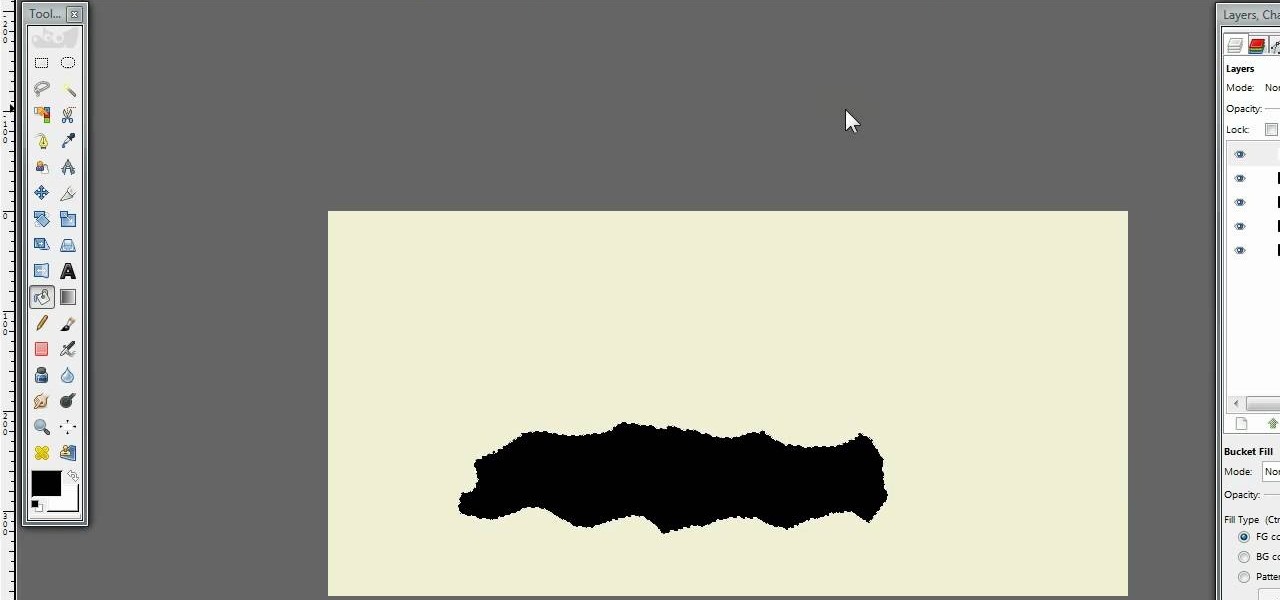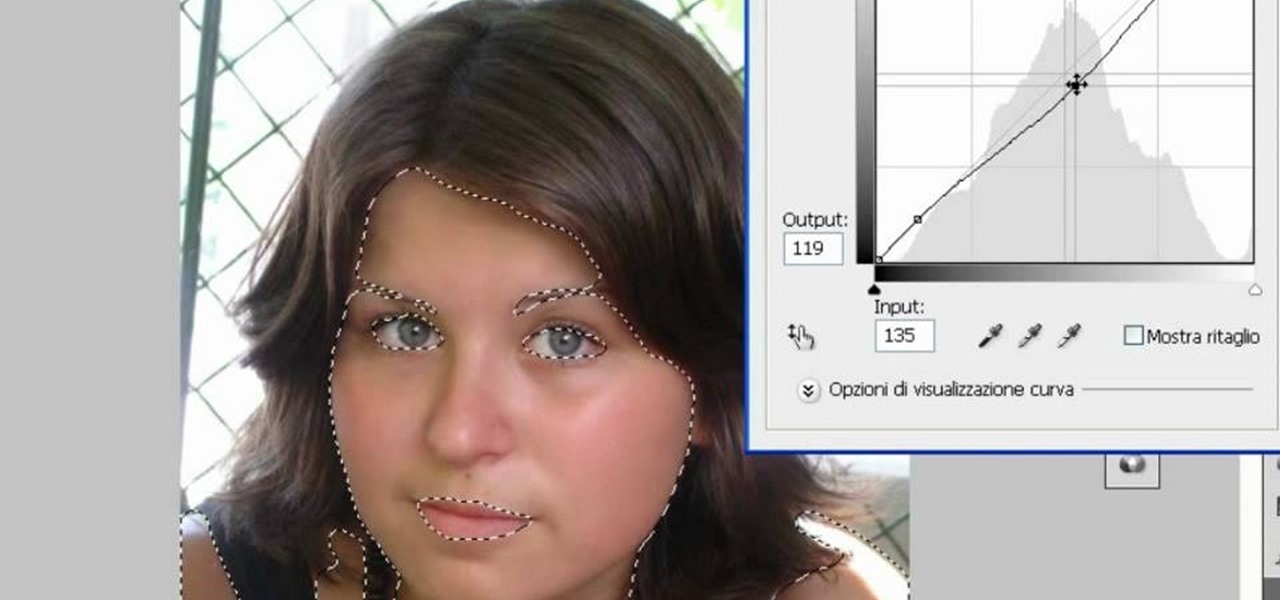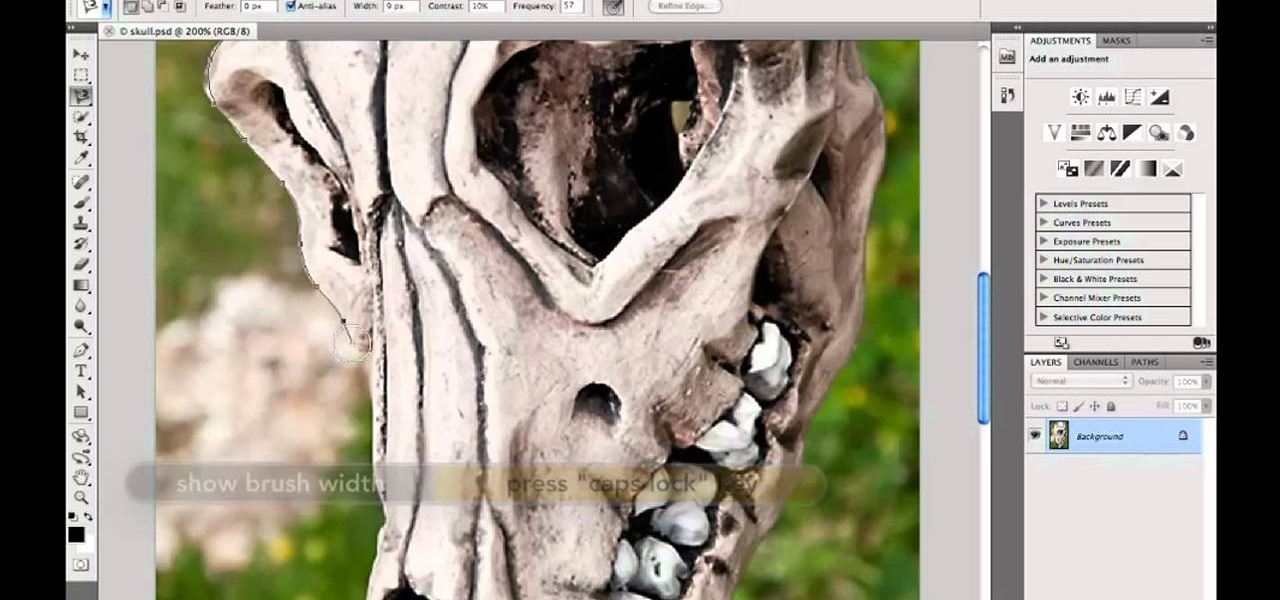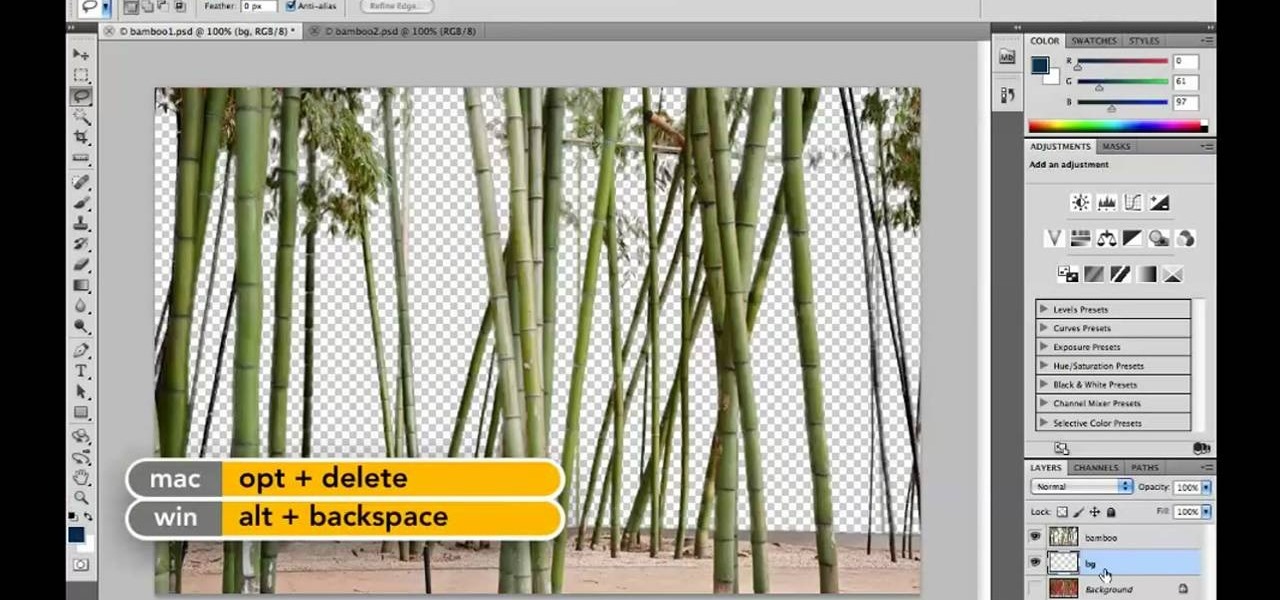
We don't know about you, but making selections around oddly shaped areas of an image is one of the most frustrating single tasks in Photoshop. Odd shapes are really hard to navigate around by hand and often you can't get a perfect cut. Luckily, this Photoshop tutorial will guide you through how to make complex selections easily in Adobe Photoshop CS5.
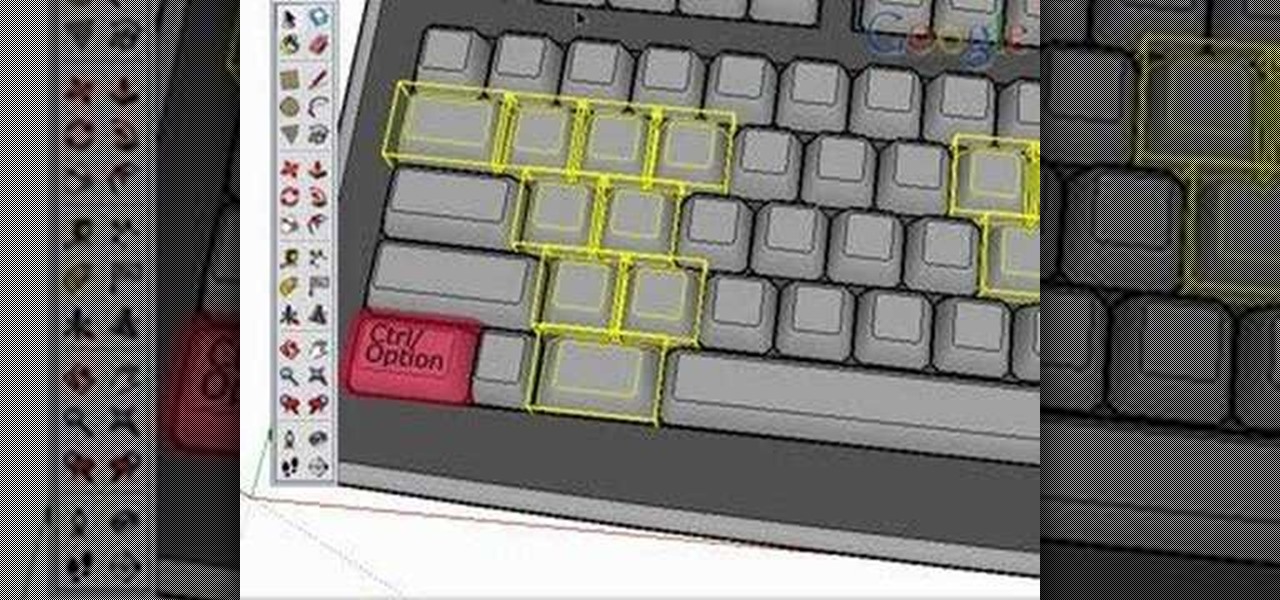
Take a look at this instructional video and learn how to use the select tool in Google SketchUp. Making good selections in SketchUp is crucial in properly using the other tools available in this 3 Dimensional modeling program. This tutorial covers the basic selections, window selections, modifier keys to add to and subtract from your selection, and tips for accurate and quick selection sets.
Getting into position to hit a shot is a key element of the game. Learn how to get into position on the court in this tennis lesson video from a professional tennis instructor.
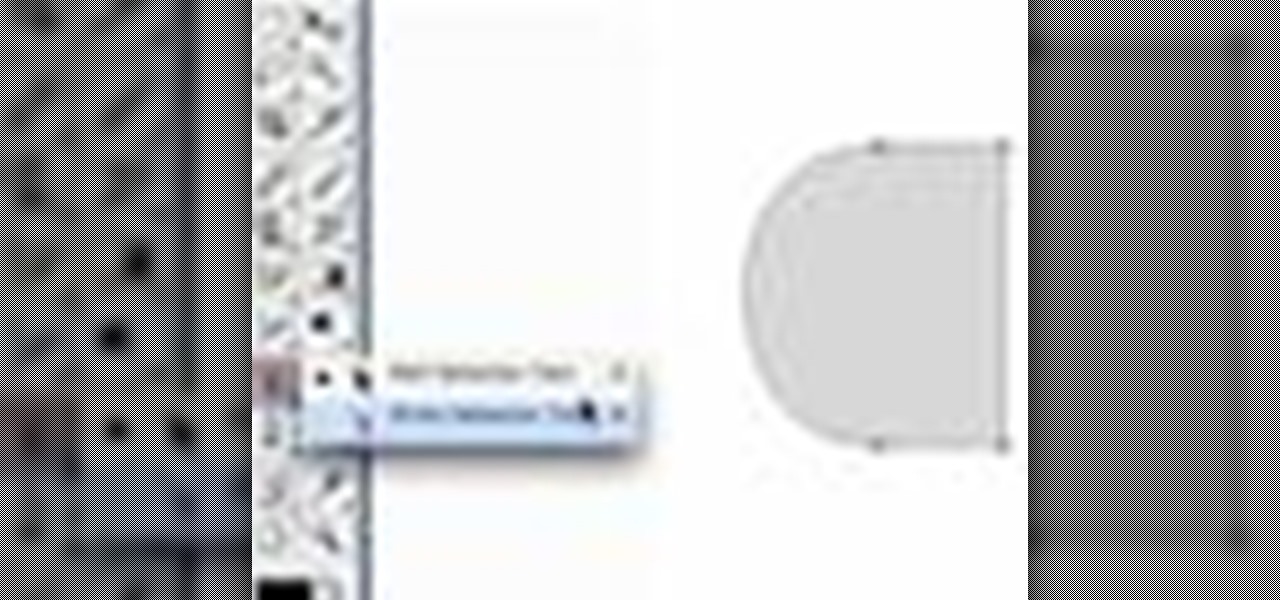
Once you have created a few shapes you can modify them with the path selection tools in Photoshop. The Path Selection tool selects all points on a path. The Direct Selection tool selects individual points on a path.
In this lesson, learn how to make difficult selections in Photoshop easily and how to save them for later use. Part two specifically covers how to use the clone stamp tool to "clean up" unwanted areas of digital images.
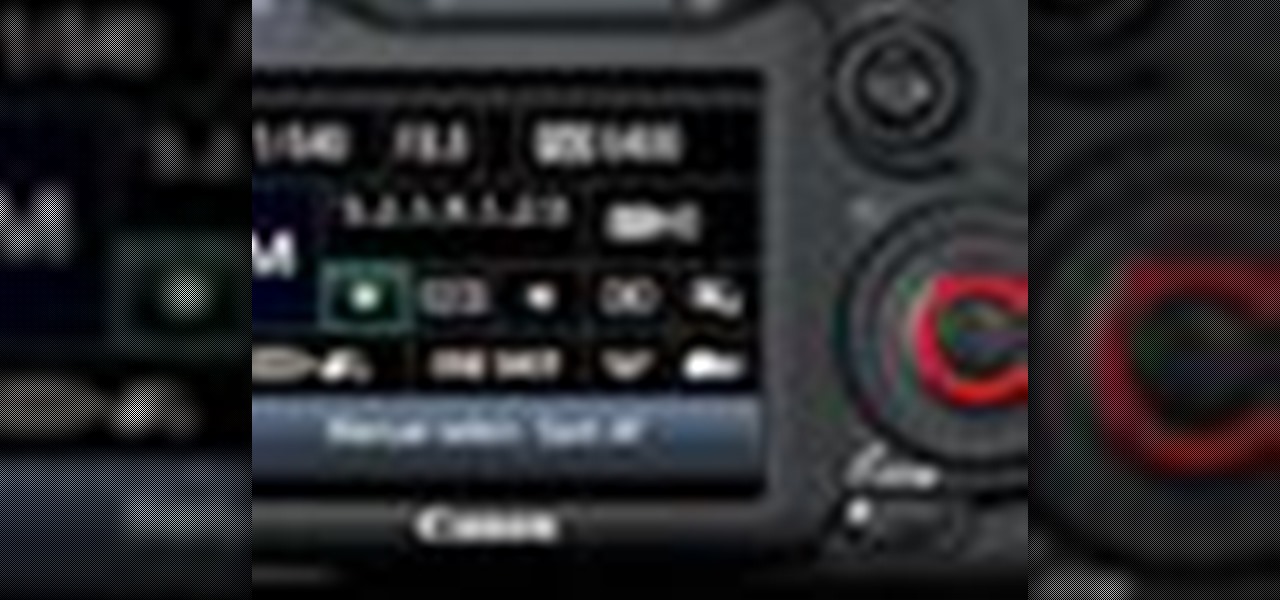
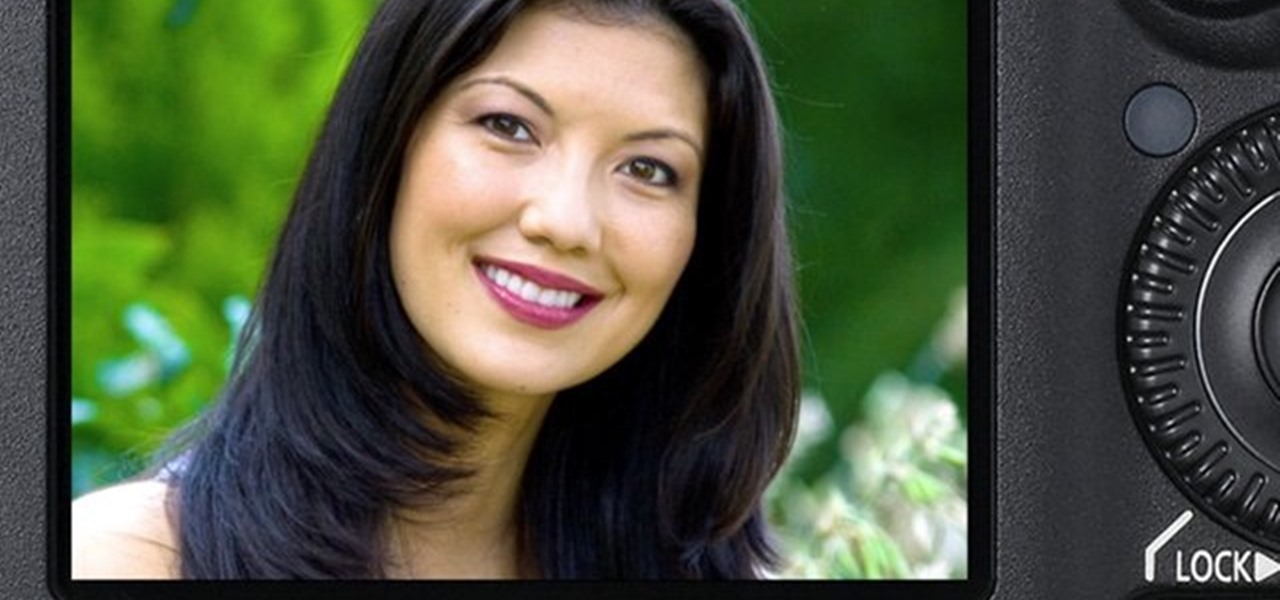
If you're not one to trust you digital SLR camera's automatic focus options, then the only thing you have to do is go to manual mode. With the Canon EOS 7D, select the Manual AF Point Selection and take control. It allows you to pick the area you want to focus on.

Photo editing expert Chad Troftgruben teaches the viewer how to effectively use the quick selection tool in Adobe Photoshop. In Chad's opinion, the quick selection tool is quite similar to the magic wand tool in the same software, except for one major difference: one can select a particular object, even in a complex picture, simply by holding down the left key of the mouse and moving the pointer over the object. Chad also points out that the quick selection tool saves a lot of time and is ver...

Looking for instructions on how to use the Selection Tool (V) in Adobe Photoshop CS5? This clip will show you how it's done. Whether you're new to Adobe's popular raster graphics editor or just new to Creative Suite 5, you're sure to be well served by this video tutorial. For more information, and to get started making custom selections in PS CS5 yourself, take a look.

This software tutorial is a comprehensive exploration of the Marquee Selection tool in Photoshop using Photoshop CS2. Learn how to use the marquee selection tool when editing images and photos in Photoshop.

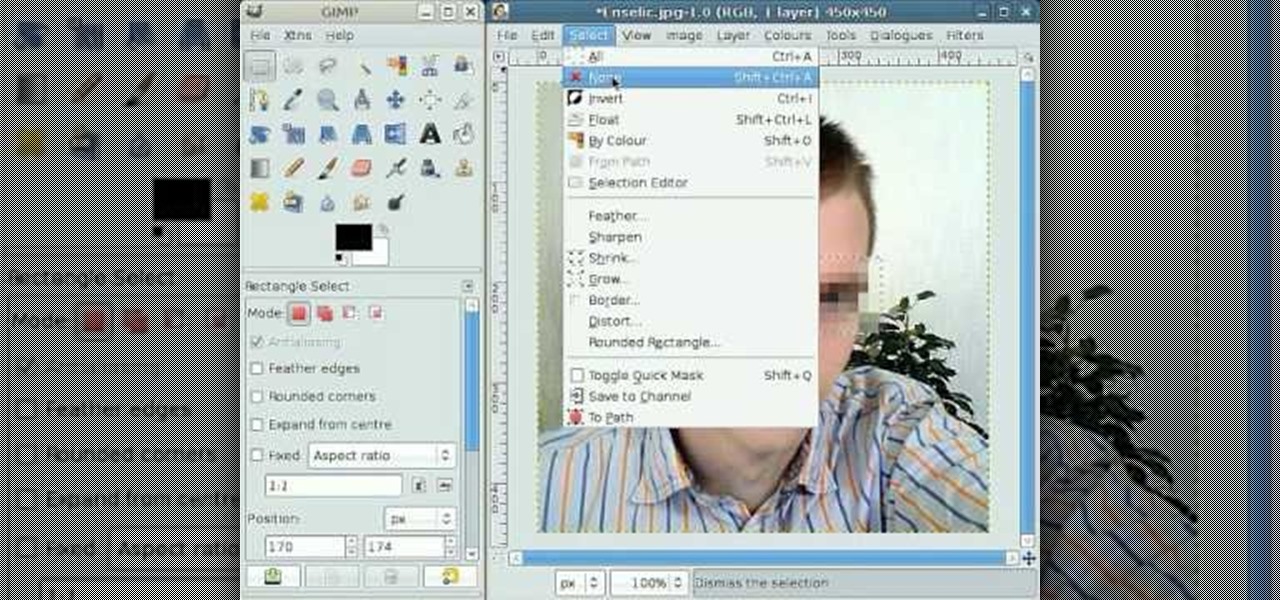
This tutorial takes looks at the selection tool as a drawing tool and also covers how to convert paths to selections and vice-versa when creating vector art in GIMP.

This series goes over all the different tools available for making selections in Photoshop starting with the Elliptical and Rectangle Marquee tools. Then the Lasso tools, Magic Wand tool, and finally what to do after you finish selecting!

This video shows you how to remove a tattoo from a photograph using Photoshop. First, select the tattoo using the pen tool, to get a very accurate line around the tattoo. Make sure the "Paths" button is punched in. Drag the mouse and click several times to make a path around the tattoo. Right click on the path and choose "make selection". Feather the selection with a feather radius of about 8 pixels. Use the clone stamp tool and a large size brush. Hover outside the selection and click to sam...

In this video tutorial, viewers learn how to make a real flame text in Adobe Photoshop. Begin by opening a flame image in the program and select the text tool. Type in the text and position it over the flame. Now go to Select and click on Load Selection. Once the selection is created, delete the letter. Then select the marquee tool. Right-click above the selection and select Feather. Now create a new sheet and fill it in black. Using the move tool, drag the selection to the new sheet. Go to F...

If you need some sound effects for your upcoming film, you better watch this video! After principle photography in production, you have to get into the editing process in post-porduction, which leads to sound department for ADR, Foley, Sound Effects and Sound Design. If you can't afford a professional sound designer for your movie, you can do it yourself, and this video will help you find sound effects on the Internet for your film.

In this clip, you'll learn how to use the Quick Mask mode to create selections when using Photoshop CS5. Whether you're new to Adobe's popular raster graphics editor or a seasoned designer looking to better acquaint yourself with the new features and functions of the latest iteration of the application, you're sure to benefit from this free software tutorial. For more information, watch this video guide.

Photoshop offers lots of tools for automating selections, but two stand out from the pack: The first, Refine Edge, lets you modify your selection using five different parameters and preview the results in five different ways. Whether you're new to Adobe's popular raster graphics editing software or a seasoned professional just looking to better acquaint yourself with the program and its various features and filters, you're sure to be well served by this video tutorial. For more information, i...

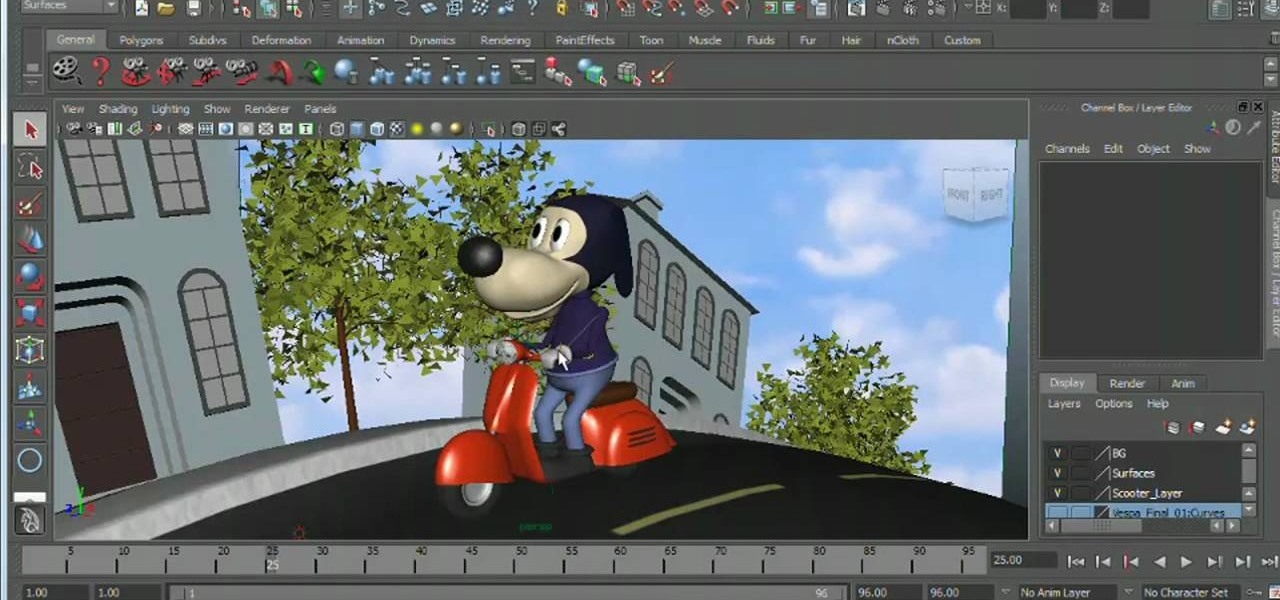
Want to select a certain object and nothing else? This clip will show you how to use Maya 2011's selection mask feature to achieve just that. Whether you're new to Autodesk's popular modeling software or a seasoned 3D artist just looking to better acquaint yourself with the Maya 2011 workflow, you're sure to be well served by this video tutorial. For specifics, watch this free video guide.

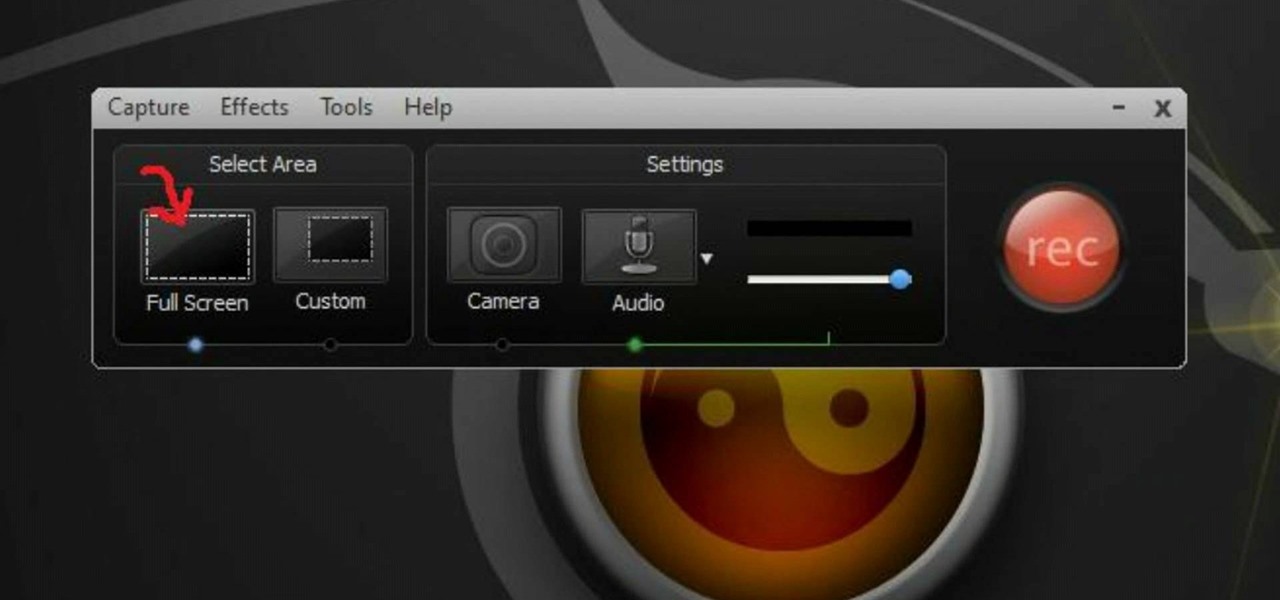
Learn to record audio with the Camtasia recorder by watching this video tutorial. First, if you want to record audio click on the mic. It's easier than clicking on capture. Next, you'll find on the same menu a selection for custom or full screen modes. After you've made these selections you have cursor selections to choose from. Those options are listed under the effects tab. Are you a silent mouse or a squeaker? If you want your viewers to hear your clicks then under the same tab there is an...

You love your iPhone and you can't live without it, but it's lacked the basic ability to cut, copy, and paste across multiple apps. With Apple's OS 3.0 upgrade, you can do it all with just a few taps. Watch this Howcast guide to learn how to cut, copy, and paste on your iPhone.

In this video, we learn how to use the polygonal lasso tool in Photoshop. This will allow you to create a selection on your photo in a freehand style. First, select the tool from your toolbar, it's the third selection down. Once you select this, go to your picture and find the piece you want to cut out or copy. Press and hold the control and space bar, then highlight the area you want to. This is great to make a selection that has a straight edge. If you just click with it, it will have a dia...

In this clip, you'll learn how to use the Refine Edge selection tool in Adobe Photoshop CS5. Whether you're new to Adobe's popular raster graphics editing software or a seasoned professional just looking to better acquaint yourself with the program and its various features and filters, you're sure to be well served by this video tutorial. For more information, including detailed, step-by-step instructions, watch this free video guide.

Adobe Photoshop CS5 brings a very welcome change to Refine Edge. Edge Detection will help with much more detailed selections such as hair or fur. Whether you're new to Adobe's popular image editing software or a seasoned graphic design professional just looking to better acquaint yourself with the unique features of Photoshop CS5, you're sure to find something of value in this free video tutorial.

The drawing tools in flash aren't always the most intuitive to newcomers. In this tutorial, Ralf will show you how to use the basic drawing tools in flash. You learn the difference between Merge Shapes and Drawn Objects, which are all shapes of the same look and feel with the exception that one can be more easily manipulated and the other. You'll learn how to use this selection and sub selection tools to select various objects on the flash stage. You also see how to use the oval and rectangle...

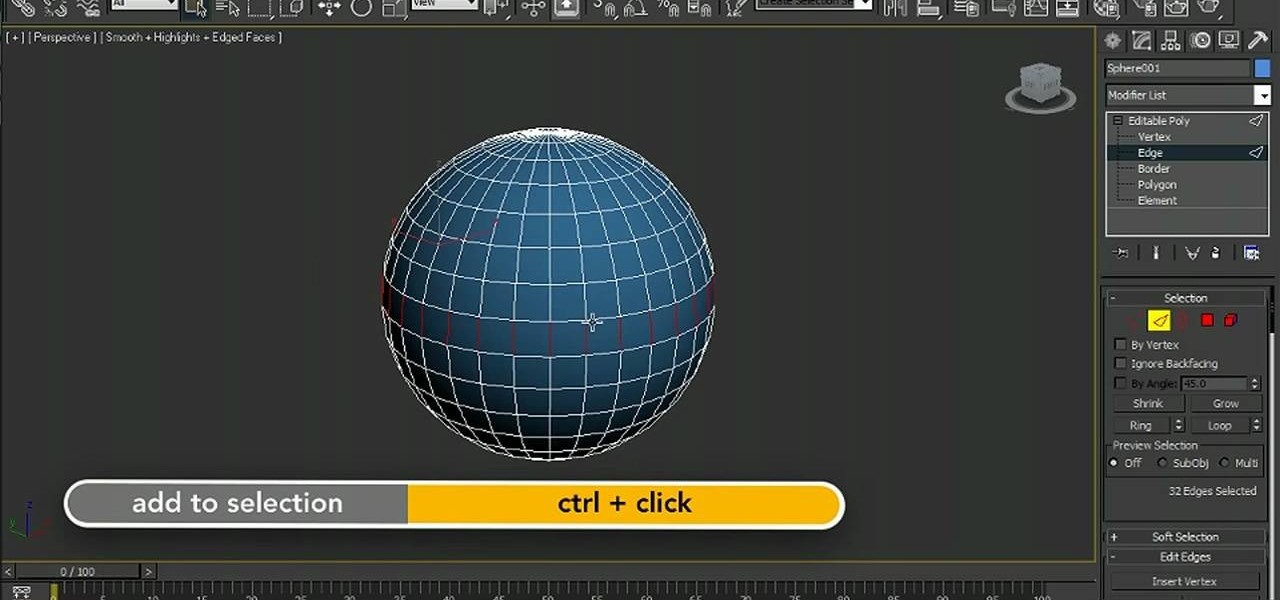
Learn how to use the new viewport selection tools in 3ds Max 2011. Whether you're new to Autodesk's popular modeling software or a seasoned 3D artist just looking to better acquaint yourself with the 3ds Max 2011 workflow, you're sure to be well served by this video tutorial. For more information, watch this free video guide.

In this video tutorial, viewers learn how to change the color of lips in Adobe Photoshop. Begin by importing the image into the program. Select the quick mask tool and then select the brush tool. Now color the part that you want to retouch. This will allow the mask to create a selection. No click on the masking tool to create a selection. Then select the marquee tool. Right-click the selection and click on Select Inverse. Right-click the selection again and select Feather. Make it 1 pixel and...

In this how to video, you will learn how to create a diagonal sum in Microsoft Excel 2007. First, open the program and make a large selection. Type in =int(rand()*500) and then press control enter. This will create random numbers for the cells in the selection. From here, click conditional formatting and select new rule. From here, type in =column(A1)-row(A1)=$H$1. For the format, choose a contrasting look, such as a purple background and bold numbers. Click okay. If you type -1 or -2 in this...

In this how-to video, you will learn how to remove tattoos using Photoshop. First, open the image in Photoshop. The patch tool is the easiest for removing these type of tattoos. If the tattoo is very ornate and complicated, it will take longer to remove. First, select the patch tool, which looks like a band-aid. Hold it down and select patch tool. Zoom in on the tattoo and draw a selection around it. Once it is selected, click the left mouse and hold it down. Drag the selection to an area sim...

Hulldo teaches you how to create your own headlines in GIMP. You start off with a new file and paint that a light brown. Make a selection on the file and create a new layer on top. Color that layer black and add Gaussian blur. Put that layer beneath so it will make a shadow on your selection. Create the start of a gradient or simply a Grey layer on the bottom of the headline. Then add your text with black color. You can duplicate these layers, reside the selection and change the text. You are...

This episode of TUTCAST shows you how to get rid of blemishes in your photos using Photoshop. For this demonstration the patch tool in Photoshop is used to clean the blemish. Use the elliptical marquee tool to select the area including the blemish as shown and then feather the selection using the selection modify feather command. Use the patch tool to patch the area with the blemish and use the clone stamp tool to clean up the unevenness as demonstrated.

In this video, Gary from MacMost demonstrates how to select items on a Mac computer. He explains that there are different ways of selecting items, both with the mouse and with the keyboard. Click to select a single item, and click an empty space to clear the selection. Hold Command or Shift to add to a selection or remove items from the selected group. Drag around an area to select multiple items, and use Command and drag to add more areas. To select items in a list, click to select a single ...

By following this tutorial you will learn the concept of selections in GIMP. Whenever he says "layer mask" he really meant "selection mask".

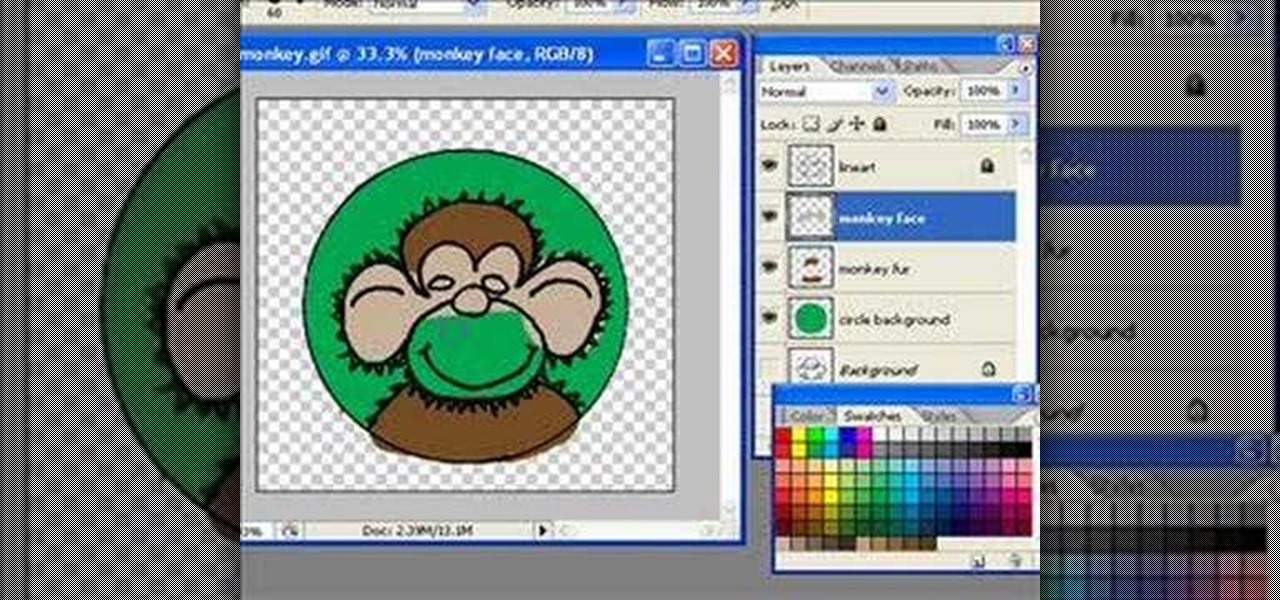
In this video tutorial you will learn to to colorize line art images using Photoshop. Learn to use the magic wand selection tool to make the selection you want. This example involves painting a monkey character.

Let your Canon EOS 7D do all the hard work. With the AF Point Selection option, the digital SLR camera will do all the focusing for you. It's easy to compose and shoot in just one step.

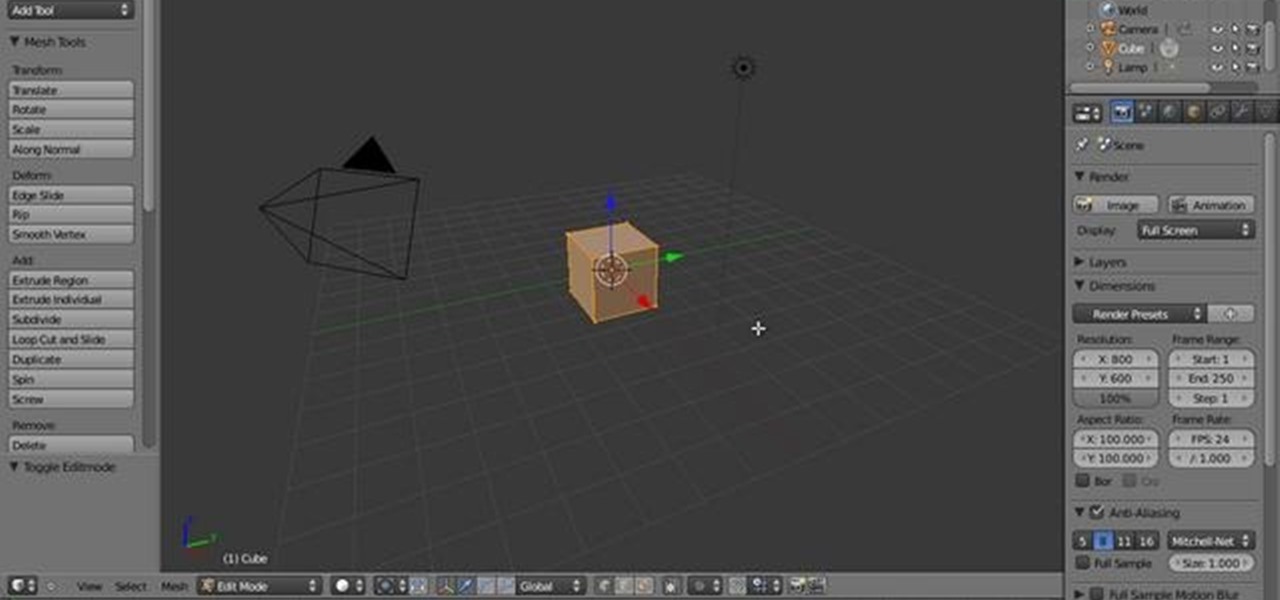
Tthis Blender 2.5 video tutorial goes through the steps needed to create custom keyboard shortcuts for changing mesh selection modes (vertex, edge, face). This allows you to very quickly switch between modes by simply pressing 1,2,3 on your keyboard. Whether you're new to the Blender Foundation's popular open-source 3D computer graphics application or are a seasoned digital artist merely on the lookout for new tips and tricks, you're sure to be well served by this free video software tutorial...

In this video tutorial, viewers learn how to make a digital sunburn using Adobe Photoshop. Begin by importing the image into the program. Then use the masking tool and select the areas of the skin that you want to sunburn. Now select a reddish color and use the brush tool to paint the select areas. Then click on the masking tool to create a selection use the marquee tool to invert the selection. Now right-click on the selection and select Inverse Selects. Then go to Image, click on Regulation...

Learn how to create and add character selection icons for the battle screen in Mugen - the custom PC game engine.

Learn to re-size, position, re-shape, rotate and skew objects using selection tool in Xara Web Designer.

Want to know how to make precise selections with the Magnetic Lasso tool in Adobe Photoshop CS5? It's easy. And this clip will show you precisely how it's done. Whether you're new to Adobe's popular raster graphics editor or a seasoned designer looking to better acquaint yourself with the new features and functions of the latest iteration of the application, you're sure to benefit from this free software tutorial. For more information, watch this video guide.

Want to know how to increase the size of a selection when working in Adobe Photoshop CS5? It's easy. And this clip will show you precisely how it's done. Whether you're new to Adobe's popular raster graphics editor or a seasoned designer looking to better acquaint yourself with the new features and functions of the latest iteration of the application, you're sure to benefit from this free software tutorial. For more information, watch this video guide.

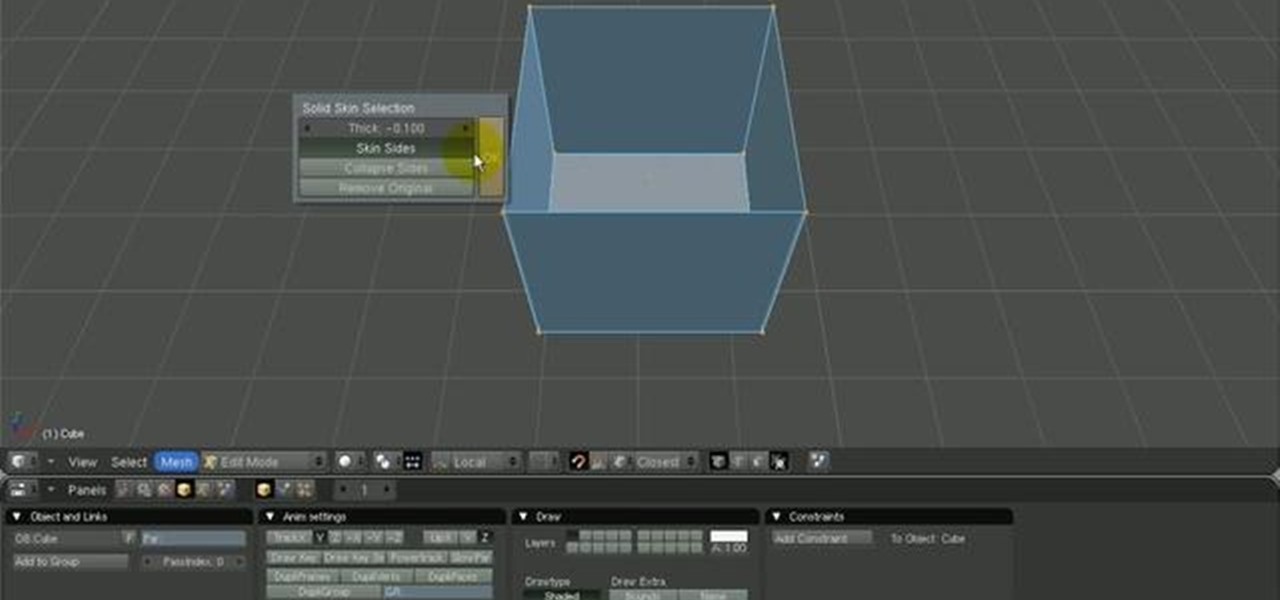
In this tutorial, we'll take a look at a built-in script called the Solidify Selection script. This script, created by Campbell Barton, will allow you to solidify a mesh by adding a second "skin" to it based on the selected geometry. Whether you're new to the Blender Foundation's popular open-source 3D computer graphics application or are a seasoned digital artist merely on the lookout for new tips and tricks, you're sure to be well served by this free video software tutorial from the folks a...


