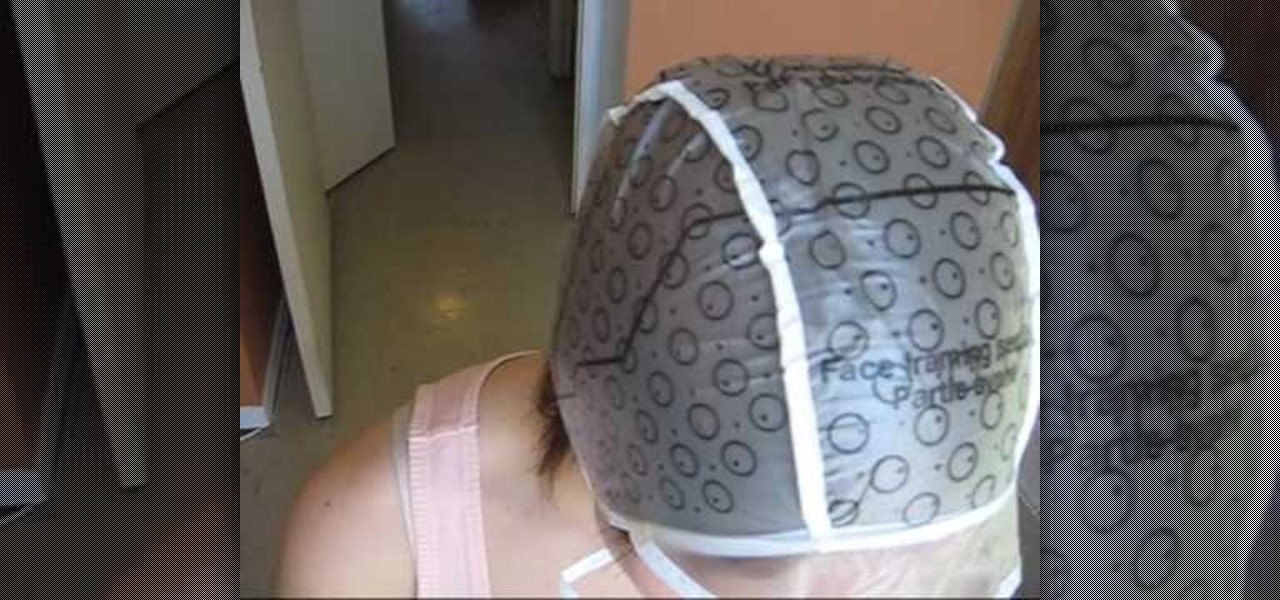
In this tutorial, you will learn how to dye your hair like a pro. Get tips and tricks on dying your dark brown or black hair to a nice blonde color without going orange. In addition to learning to lighten your whole head, you will also receive tips on how to use a hair cap to highlight your locks. By highlighting you will create a defined, multi faceted look that will look great and unique. So follow along and get ready to give yourself a professional style makeover.
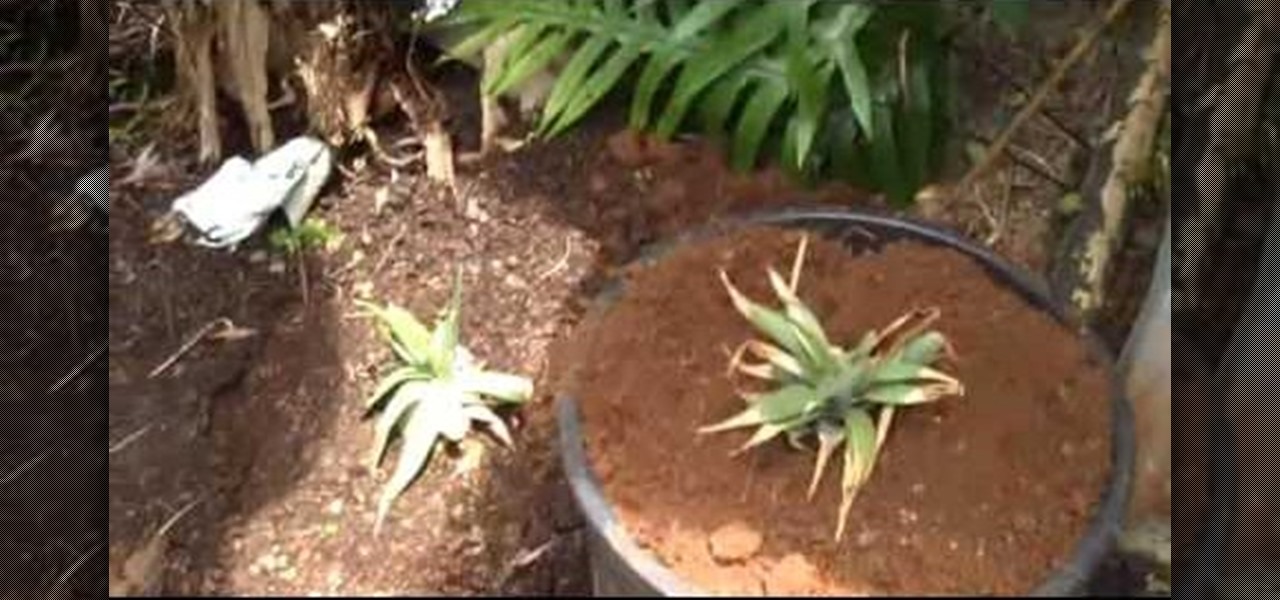
In this tutorial, we learn how to grow pineapple almost anywhere. First, buy a pineapple and cut the top off of it. Let the top of this dry out for around a week. Now, pull off all the dried up dead stuff from the bottom of the pineapple head. You will now need a large pot with soil and you will dig a hole in it. In that hole, place your pineapple head inside of it and place dirt around it, but not covering the leaves of the top of the pineapple. Now, water your pineapple and let it grow. Alt...
In this video tutorial, viewers learn how to use the Outline View in Pages '09 from a Mac computer. Begin by opening a new document and then click on Outline from the toolbar. The first level will automatically be set as a heading when you type your text. Each time your press the Return key, another heading will be created. Using the buttons on the toolbar, users are able to demote and promote headings at different levels. In the pull-down menu, users are able to select the type of text level...
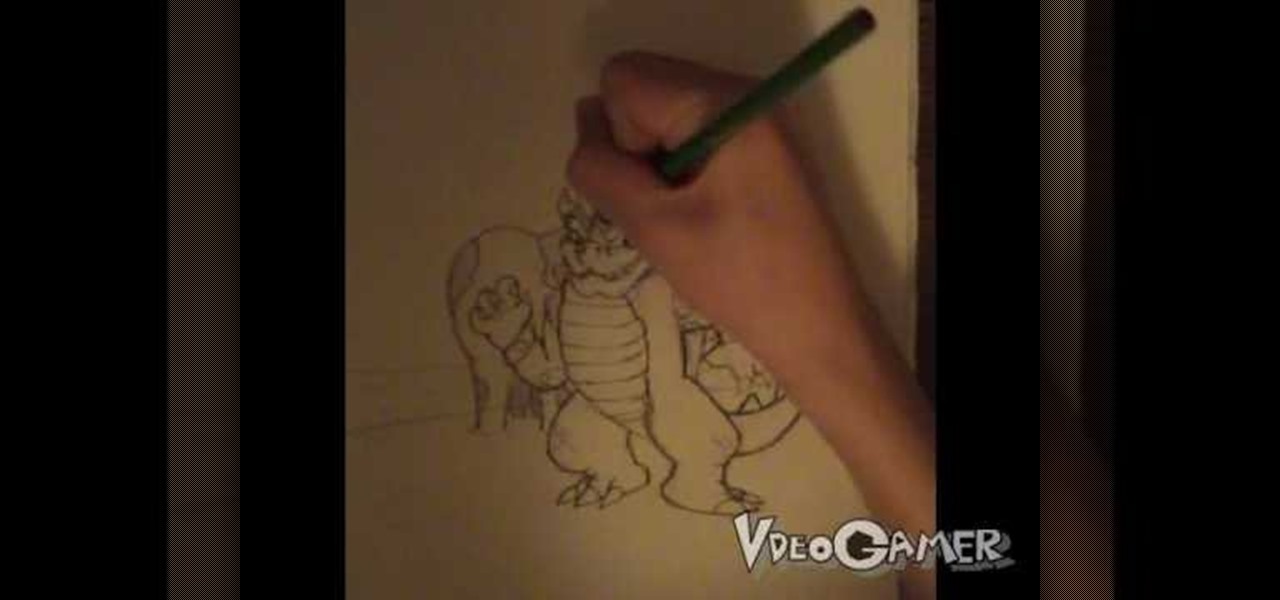
This video illustrates how to draw Bowser from Bowser's inside story. Here are the following steps: Step 1: First of all take a sheet of paper and pencil and start drawing the character.

In this Fitness video tutorial you will learn how to get ripped abs with a sandbag workout. The circuit will be 30 seconds of work and 30 seconds of rest. First is the half moon snatch. Keep the bag to one side of your body, pivot down, reach out with your hands, power up, over the head and to the other side. Up and over the head and to the other side. Continue this routine for 30 seconds and rest for 30 seconds. The next drill is called round the world. Pick up the bag in front, push with yo...
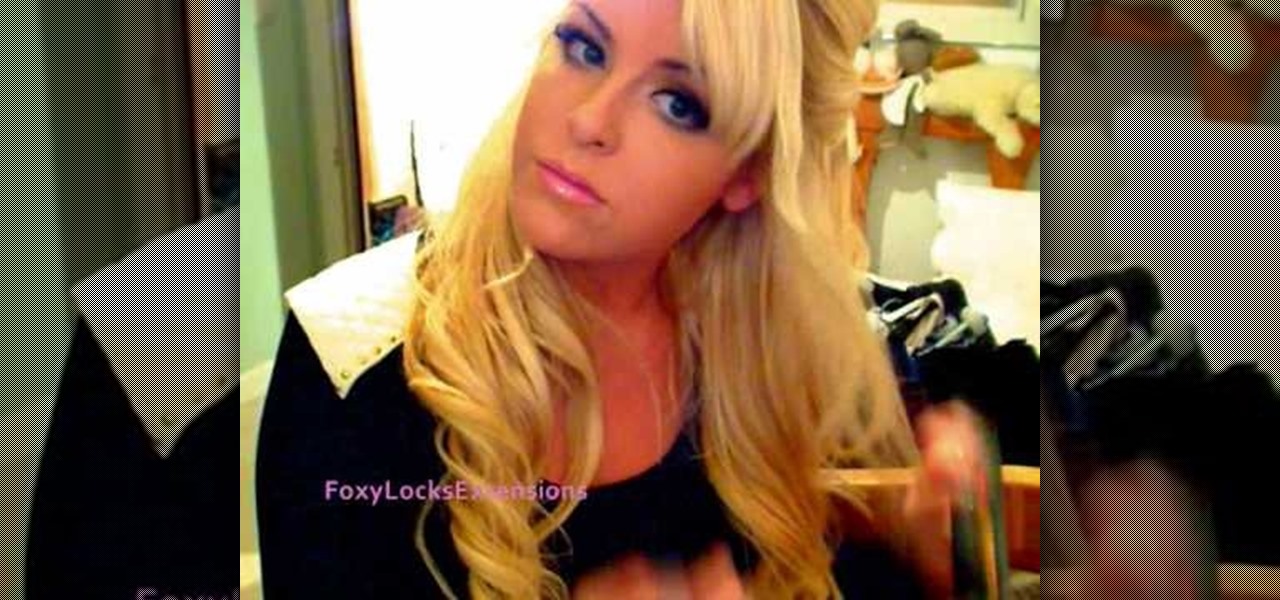
Are you a big "Desperate Housewives" fan? Are you looking for a little red carpet glam style? Look no further! In this tutorial, you will learn how to create an Eva Longoria inspired hairstyle.

This video demonstrates how to paint a rabbit in leftover ground ink. The style used is called sumi-e. Using a the side of a thick brush, create a filled in circle in the center of your page. This will be the head. Below this circle, add an elongated abstract oval shape for the body. Add a small circle at the back bottom area of the body for the tail. From the top back of the head, add two long thick lines for the ears. Using the thin tip of a brush add the details of the face including the n...

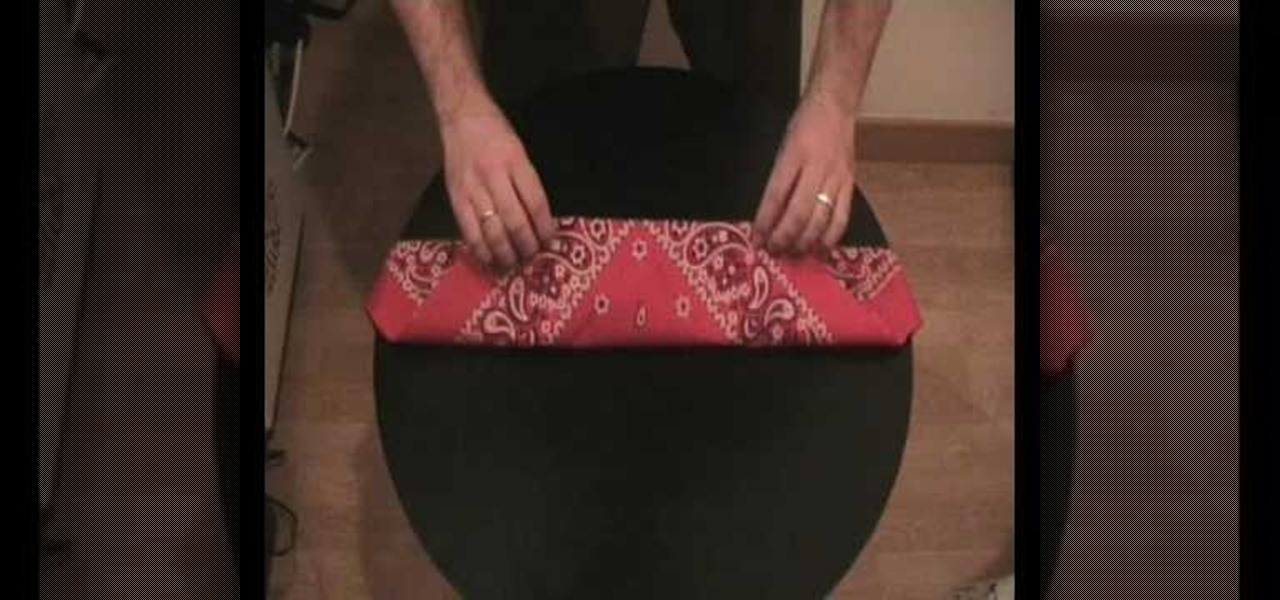
In this tutorial, we learn the proper way to fold a bandana. This is a traditional way, not a rapper or gangster style. First, lay the bandana flat and make sure there are no creases in it. Next, fold the bandana into one big triangle. After you've done this, fold the top point down and keep folding down until you've made a large and thin rectangle. Now, flip it over and you can tie the bandana around your head. Tie it in the back of your head and place it across your forehead, now you've got...

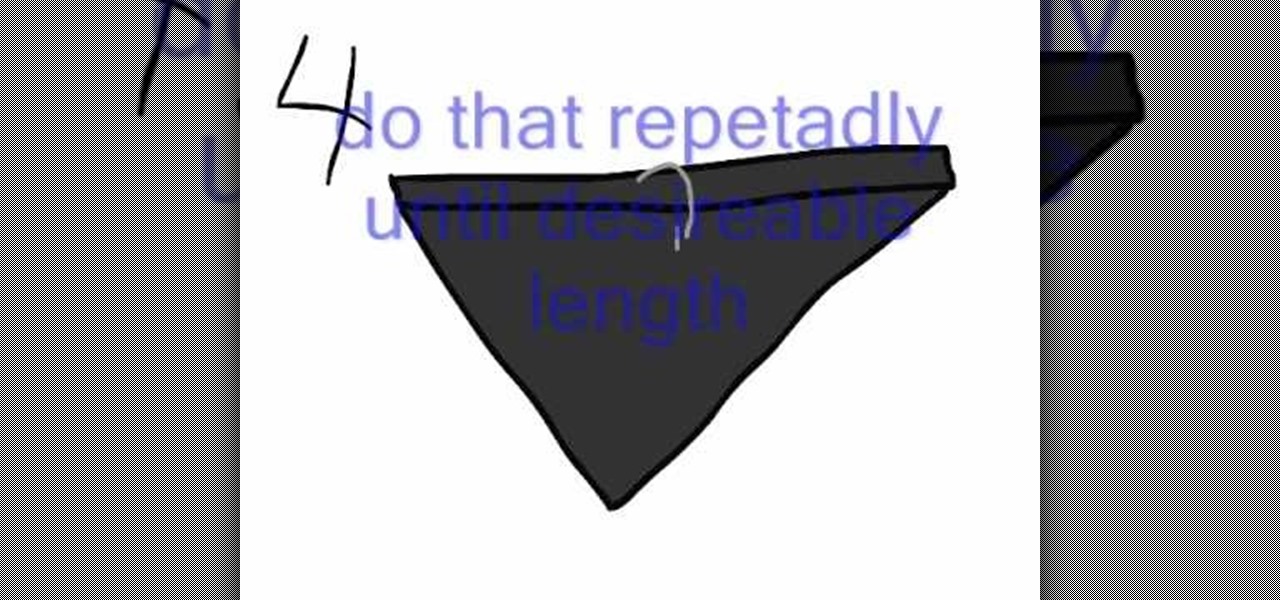
In this video, we learn how to fold a bandanna. First, place your bandanna flat, then fold it diagonally. Once you've done this, you will have an upside down triangle. Now, fold the top of the triangle down as many times as you desire, it can be as wide or as thin as you want. Now, you should have a rectangle with a triangle hanging out from under it. You can now tie the bandanna around your head, butting the triangle part around your mouth. Tie a knot behind your head tight enough to where i...

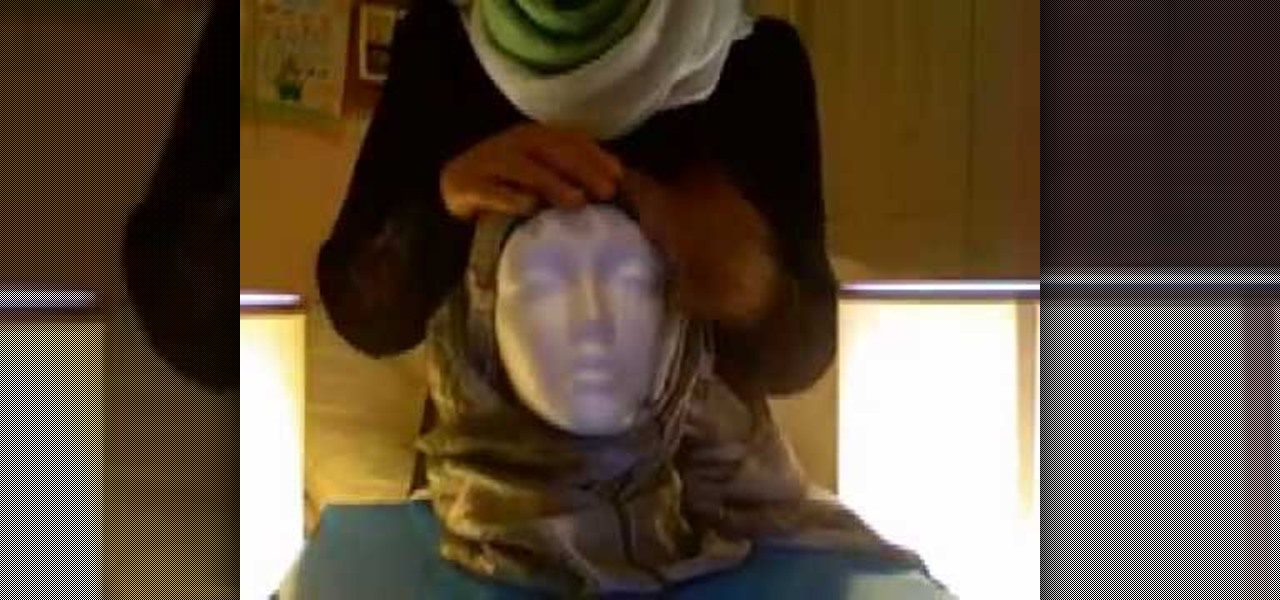
This video is a demonstration of how to fold a stylish hijab the way it's done in Egypt. Start with the undercap, and use a pashmina for the hijab and a few straight pins to help hold it in place. Take one end of the hijab and fold it over to make a triangle, making the tail longer or short as you like. Lay it over your head so the open point of the triangle is at your forehead. Pin it to the underpiece at the sides. Let the short side hang down. Wrap the long end around under your chin and u...

Seven easy basic art methods and steps to drawing Anakin Skywalker. The first 1-3 steps illustrates the basic drawing methods for the human head shape, and line placement for a basic human head. The fourth step illustrates basic drawing of the eyes, nose, mouth and ears. Step five illustrates the basic shading around the eyes, nose, ears and mouth. Step six illustrates how to add the shaping and styling of the hair and facial features. The final step illustrates how to shade the hair. It also...

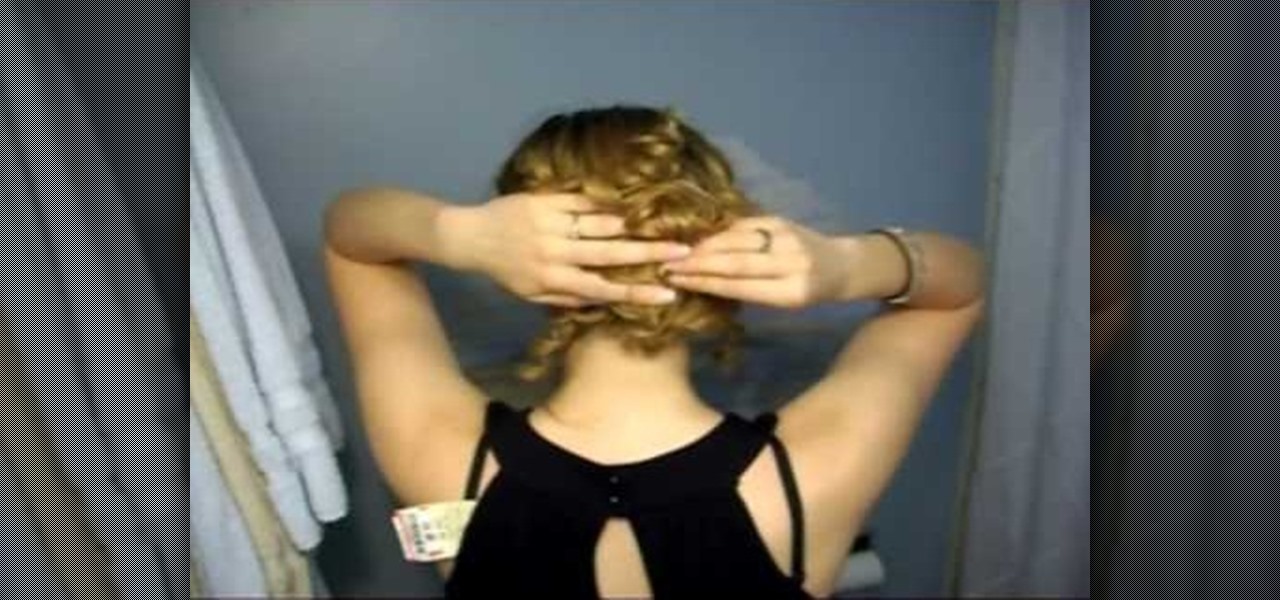
TipsFromXOXOSarah takes us through a step by step instruction on how to get Taylor Swift's up-do from her song, "Love Story." With hair parted to the side, she begins with curly hair and gently swoops it in the back with a large bobby pin making a messy bun. She leaves a cluster of curly bangs hanging by the right side of her face. The loose curls left around the back of her head from the messy bun are then put up with a few smaller bobby pins. She then pushes up the bun up and bobby pins it ...

In this video tutorial, viewers learn how to perform a sleeper hold and cobra clutch move. For the sleeper hold, begin the setup with a kick to the gut and an elbow to the back. Then wrap your right arm around the opponents head. Use the other hand to hold the opponent's head and tuck the right arm underneath to lock the hold. For the cobra clutch, grab the opponent's left wrist with your right arm. Then slip your left arm underneath and hold on your shoulder. This video will benefit those vi...

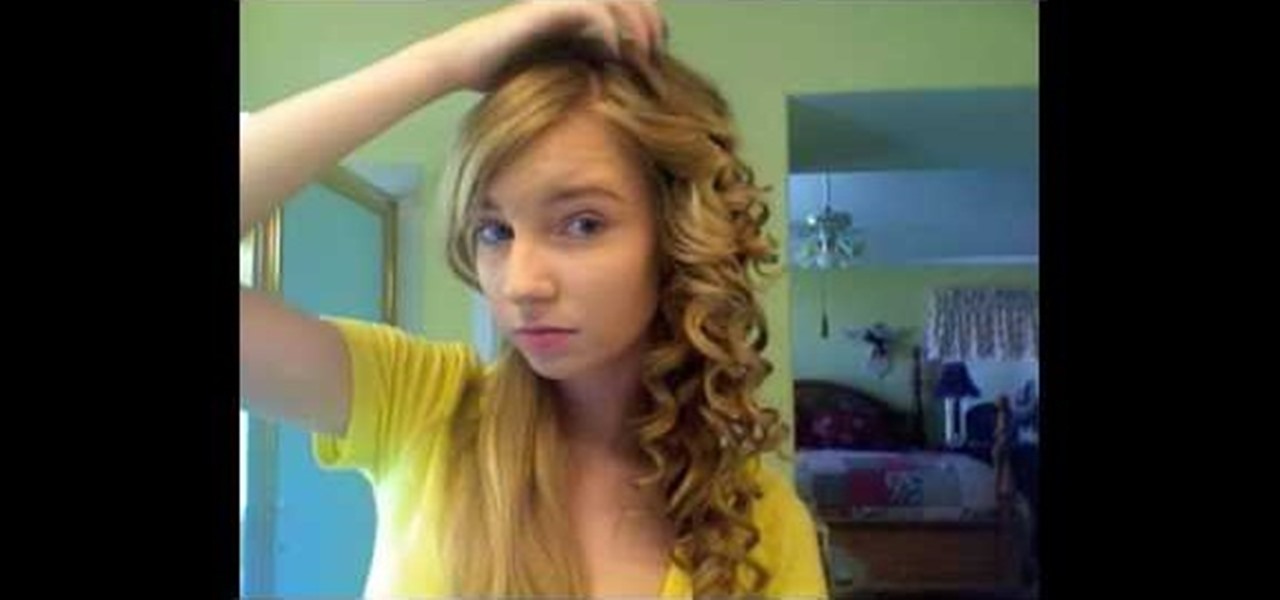
To achieve Taylor Swift's hair start off using a heat protectant spray and brush evenly through your hair. Part your hair the way you want to wear it letting your hair down in little sections. Use the wrap around method to curl you hair. This should create a nice spiral curl. Make sure to curl away from your face, do this all over your head. For the top layers use should hold the curling iron above your head while continuing to use the wrap around method. For the hair framing the face you sho...

Love fresh garlic but don't have the outside space or right climate to grow it? Not to worry! This video is here to show you how to grow your very own fresh picked garlic indoors. Follow these easy steps and you'll have a delicious seasoning in a couple of weeks, and full grown heads of garlic in a couple of months!

In this video, Blair describes how to fix oily hair with Fakkai dry shampoo. First, she brushes out her dry hair so it's smooth and evenly parted. Next, she puts several drops of the dry shampoo onto the roots of one side of her hair. After this, she rubs the dry shampoo into her hair in a circular motion. She then repeats this on the opposite side of her head as well as the back portion of her head near the roots. After rubbing in all the solution, she grabs the hair brush and brushes the en...

This is a video demonstrating how to make a cute and cool hair band scarf. Take a scarf. You can use any material, including a ready made scarf from another outfit, or a ribbon. Hold the scarf in the middle and make a bow. Pull the bow until both sides are even. Lay the bow on the top of your head with the scarf tails hanging down. Tuck the tails behind your ears. Tie the scarf into a knot on the back of your neck. Adjust the angle of the bow on your head. It is good because it gives you opti...

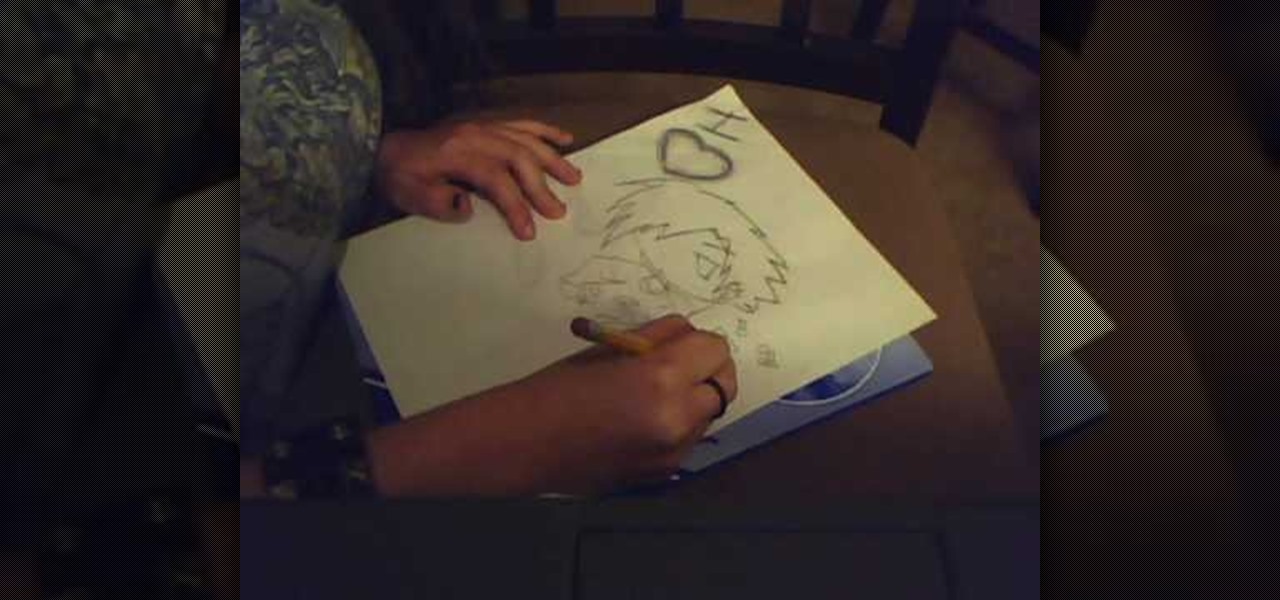
Sasukeisahotie shows you how to draw an Emo Chibi. Start by drawing a prominently spiky, asymmetrical, "emo" haircut, wider than tall. Then draw a line making the outline of the face from the right bottom of the haircut, to the left clump of hair, again this should be wide. Draw one eye on the face (where the other eye is, it should be hidden underneath hair). Draw in the shirt/jacket/top half of the character underneath the head, but make this smaller than the head. Decorate the shirt with s...

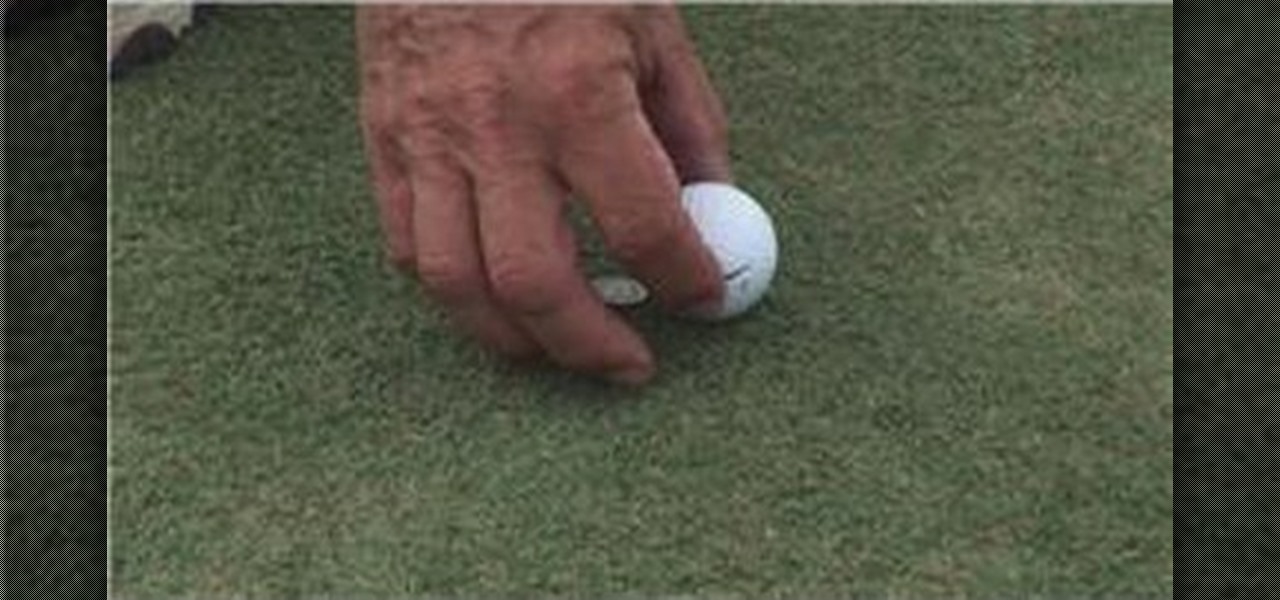
This video explains the importance of marking your ball on the putting green. If someone else is also playing golf, and theirs hits yours (and it isn't marked), its a two stroke penalty. In order to mark the ball, set a coin directly behind the ball onto the green. Then when you replace your ball, set it directly in front of the coin. It is important to always put your ball in front of the coin so you don't accidentally gain or lose advantage. When putting your marker in place, make sure to n...

This video teaches you how to make a steampunk bunny. You want to start off by making a blob with a fairly light color. Then you want to use a sharp stainless steel tool to create a round head. Make sure to make the head of the bunny is forwarded a little bit so that it looks like a bunny. Next, using your hands create a tail in the back of the bunny. Insert one of the bigger eyes using the little wire. Go ahead take your tool and carve out the nose, the cheeks and the mouth. Next you want to...

Catherine demonstrates how to create an eclectic, sunset-inspired necklace in this video. To create the necklace you must gather 40 yellow bugle beads, 18 orange chip beads, 3 mm red round beads, a barrel clasp, 2 crimp beads, 2 bead covers, about 20 inches of beading wire, clippers and pliers. The design is to start by threading a clap and a crimp bead onto the wire, leaving a 2 inch tail. Then thread on 15 yellow beads, remembering to cover the tail you left with the beads, 3 orange beads, ...

In this video tutorial, viewers learn how to put bait on a fishing hook. Be careful when working with the hooks. Begin by taking off the hook from the rod and put the bait on the hook. Depending on the bait, users will need to use the whole or half of the bait. With the head of the worm, put the hook into the side of the head. Now thread the worm through the point of the hook, until it cover the shank of the shank of the hook. This video will benefit those viewers who are interested in fishin...

Neti pots can be used to clean out your nose of dust, dirt and allergens and can help reduce swelling of the nasal passages. Stir half a teaspoon of salt in to a cup of warm water. Salt should be kosher salt or sea salt (DO NOT use ordinary table salt). Pour saline solution in the neti pot, then leaning over a bowl or sink place the spout of the neti pot in one nostril. Tilt your head so that your nose is slightly higher than the mouth, then rotate your head so your ear is facing the bowl or ...

More and more parents are choosing to forego circumcision and leave their newborn sons penises intact. This video is about how to care for your infant's foreskin. In the first few years of life no special form of care is needed for your baby's intact foreskin. Forcing the foreskin to retract is painful and is no longer recommended because it is not necessary. Clean the baby's penis just as you do the rest of the diaper area. Over time the foreskin will begin to retract naturally through norma...

Rob shows us how to use a silver one inch long wire head pin to place a bead on. He uses both flat nose and round nose pliers to close the loops he demonstrates how to make. outlining the basics for loop making and the loop connection process. He slowly and clearly shows us how to make two different types of loop closures. On of the loop closures is simple and easily reopened. The other loop closure is made by making the first loop and then using tools to wrap the rest of the wire around the ...

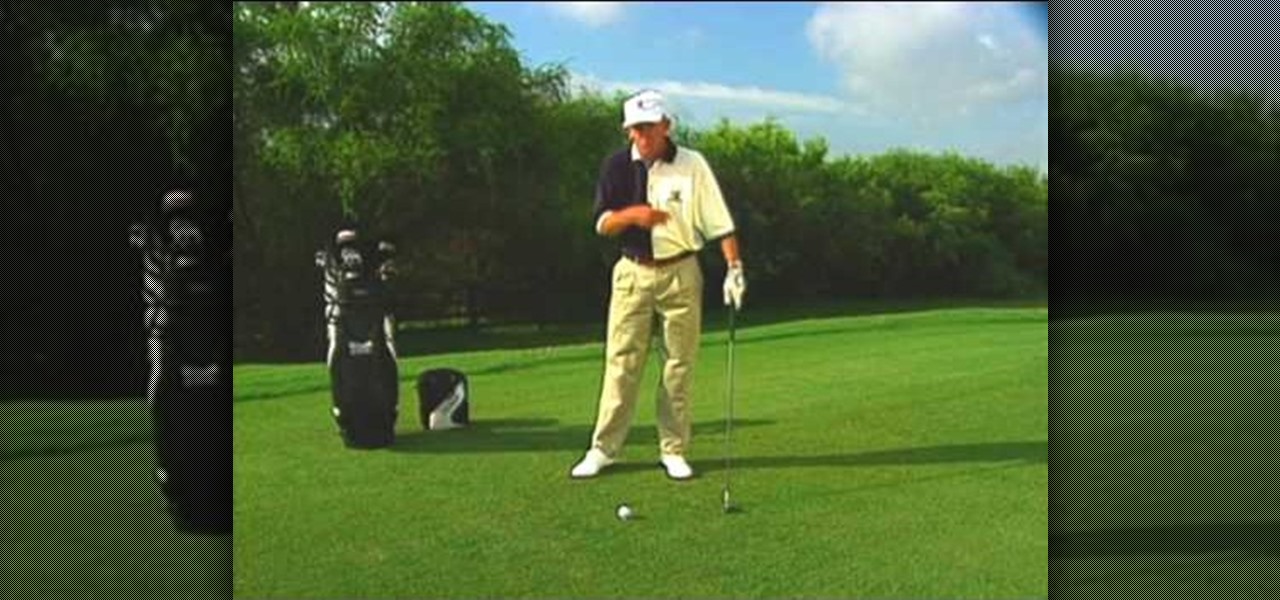
In this video tutorial, viewers learn how to prevent slice shots in golf. Slice shots are when the ball curves in the shape of a banana. A mistake that people make when they swing is that they drag their hands to far in front of the golf head, causing a slice shot. It also releases the head of the club too late and turn the club into another direction. The correct way is to swing and hit the ball at a straight line from the left shoulder to the club. This video will benefit those viewers who ...

In this video tutorial, viewers learn how to use the neti pot. A neti pot is a small pot used for irrigating the nasal passages. This pot looks very similar to a tea pot. To use the pot, fill it with warm water. Lean your head over a sink and put the spout into your nostril. Tilt your head to the opposite side of the pot and slowly pour the water into the nose. The water will come out of the other nostril. This video will benefit those viewers who have nasal problems and would like to learn h...

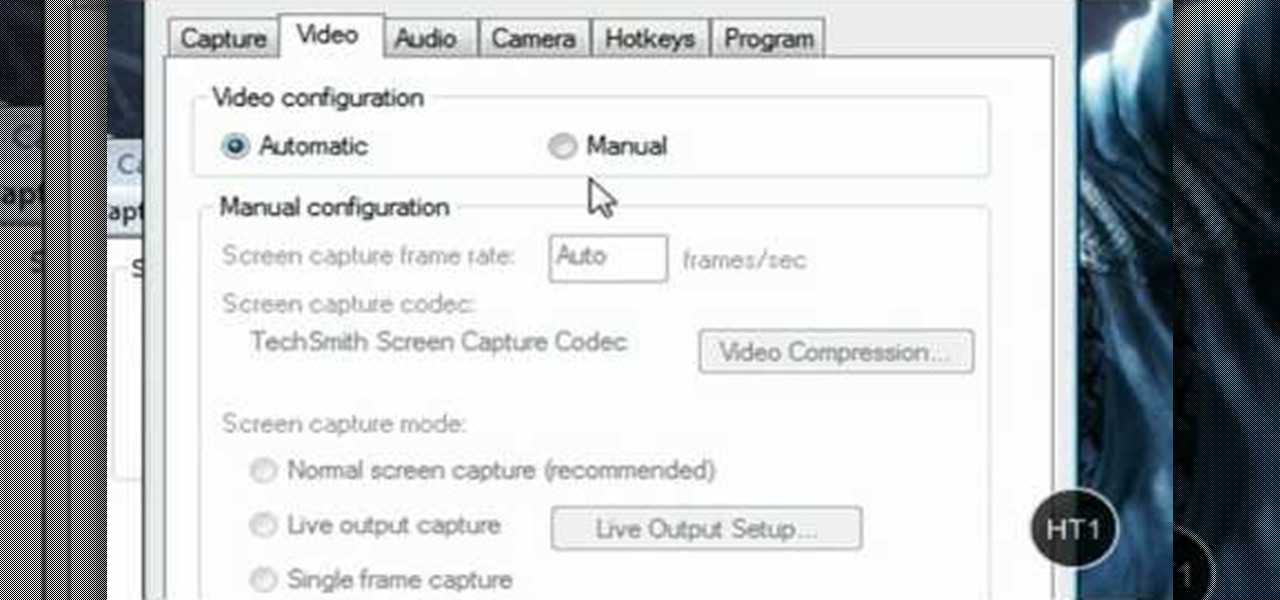
HelpTube1 teaches you how to improve video quality when recording with Camtasia. The reason some videos don't have the HD version is that it takes 30-40 minutes for YouTube to verify whether the video is in high definition or not. In Camtasia 5 there is a Tools tab at the top of the program window. Click on that and then go to Capture. Check the box that says Save as AVI. Then go to Video, change Manual and change the frame rate to 80. Then click Ok and you will get these options every time. ...

First, begin by drawing a big circle in the middle of the page. Then draw a smaller circle (about a third the size of the bigger one) above your first circle. This will be the head. Next draw two lines where you want the arms to be, and one leg on the right side. Next draw two big eyes and a big half circle mouth as well as a little curl (for the tail) on the left side, opposite the leg. In heavier ink trace over the head and face and begin to draw arms around the arm lines you drew earlier. ...

Follow along as Patricia Stark from Craving Confidence tells us how to regain confidence after an accident or fall.

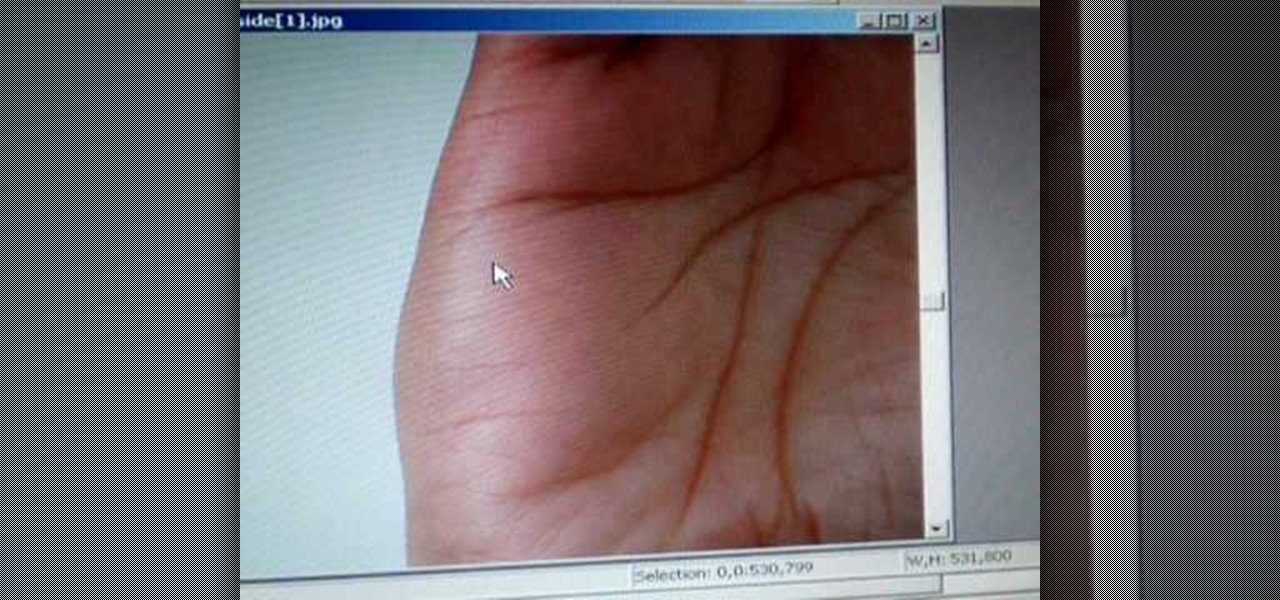
To read the right palm, look at the left side of the hand. This gives an indication of the affection lines and the travel lines. The deep lines means travel outside the country and if they're straight it means the journey will be successful. Locate the curved heart line. Below it, curved in the opposite direction is the head line. The life line bisects the head line. The affection lines are above the heart line which determine the length of engagements and marriages. The affection lines are r...

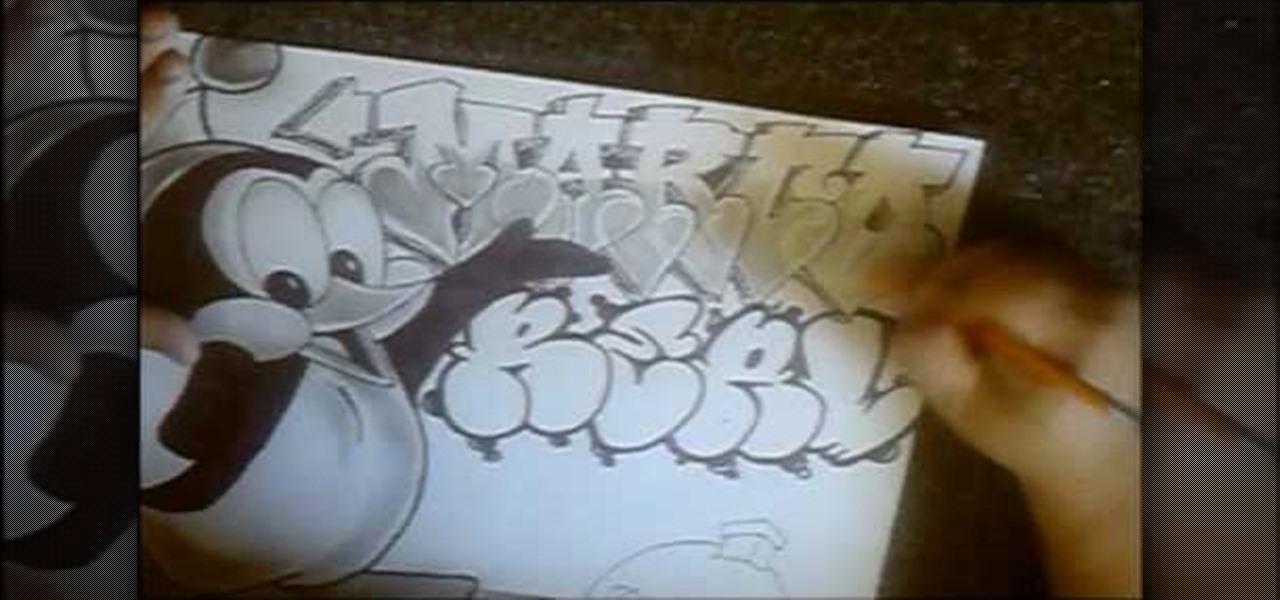
In this video cholowiz13 teaches you how to draw Chilly Willy. You start with a big circle for the head. Inside, draw two ovals and two smaller circles there. These will be the eyes. You then create another oval adjacent to that which will be the cheek. Draw a triangle facing outward, which will be the beak. Draw the body next and two flat feet at the bottom. One arm should be behind his back and the other extending, showing the letters you will draw. Also add a hat on top of his head and dra...

David Wygant discusses how to meet girls with the right opening line. First, don't initially get hung up on one girl. You can become selective once you successfully utilize techniques to be open to everyone and gain their interest. First, observe a woman and get inside her head. Women and men think in very similar ways. Everyone's favorite conversation is about themselves. Keep her lips moving and talking about herself by observing and paying attention to every little detail. Train your mind ...

This video demonstrates how to style short hair and get volume. If you have side bangs, part them around and up from the arch of the eyebrow. Make sure you have a blow-dryer and a large round brush, as well as a hair serum, and clips. Rub a quarter size amount of the serum on the ends of your hair, trying to avoid the roots. Put mousse on the hair roots near the top of your hair where the volume will matter the most. Section your hair off at the top and begin blow-drying by lifting the hair u...

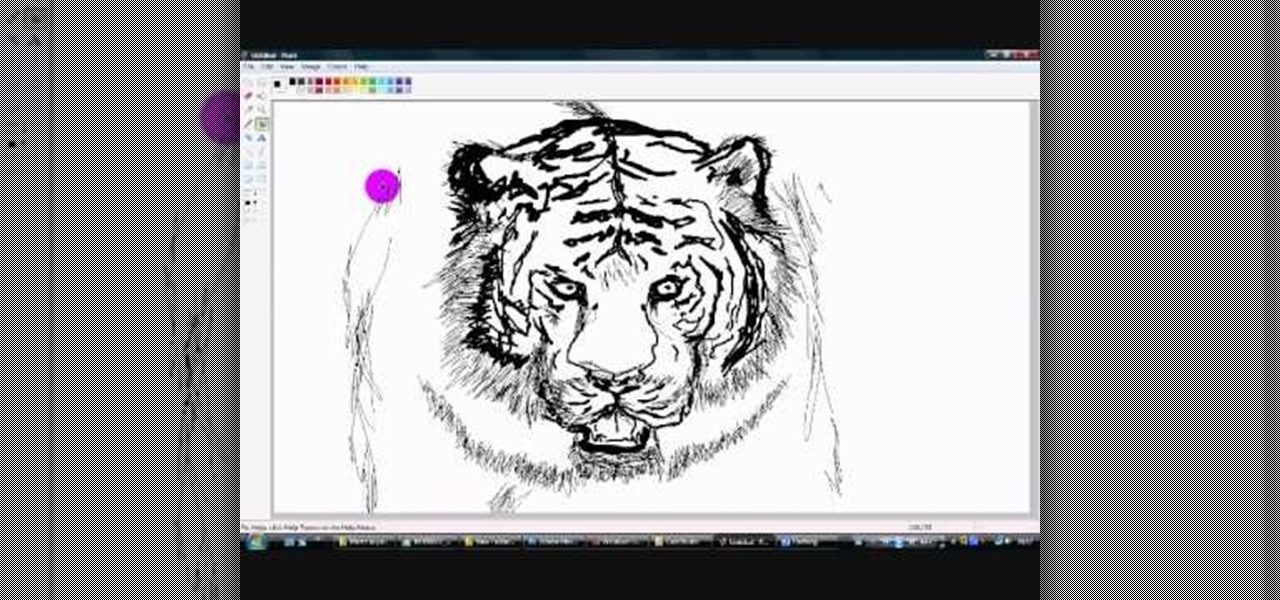
FreshLove8 teaches you how to draw a tiger in Microsoft Paint. Start with the thick pencil or paintbrush to first draw the whiskers and the nose. Connect this to the mouth that you will draw open, underneath. Continuing upwards you will draw pointed ovals for the eyes and then forehead. You can now start adding more details to the drawing, accentuating the contour. Draw the lines on the tiger's face and also add fur around it. Give it a menacing look and complete the head by adding ears. The ...

LoveMaegan teaches you how to style a full frontal French braid. First, you will separate the front strands of hair and braid them together as you would for a regular braid. To do this, pull the strand from the right under center piece, catch it under the center strand, weave over and then repeat until you get to the left side of the head. Here you will grab a strand of hair from the left side and bring it together with the strand from before. Grab the new strand from farther back in order to...

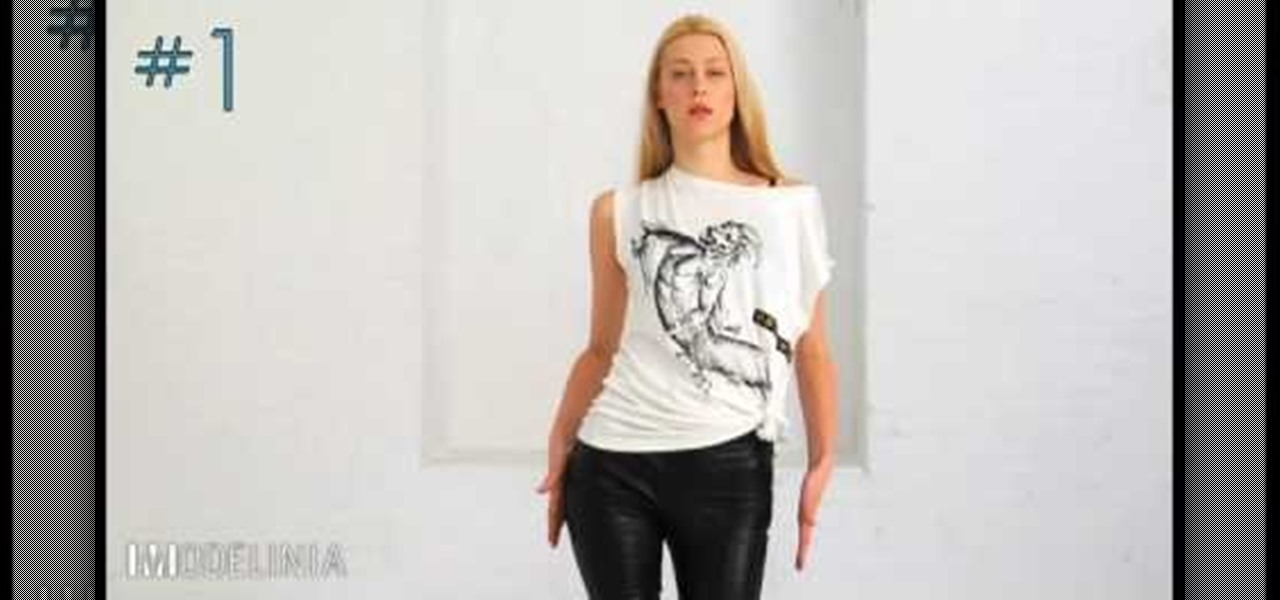
Anastasia Khozzisova, runway coach, explains that many women do not know how to walk properly down the runway. Follow these tips and learn now to walk in high heels as a model. The basic parts of the walk are: -Hips, this is where your movement comes from. -Head, make sure your neck is relaxed. Keep your head back and chin up. -Toes, practice walking on your toes before putting a pair of heels on. -Arms,make sure you are swinging and moving your arms. It helps for a great picture. Learn to be...

In this instructional dance video, learn how to perform the famous "Salsa Disco" dance move using different amounts of spin. A lot of dancers get caught up in the fact about knowing very little moves, but in reality, by adding doubles and triples in their current salsa dance combination - they become almost new.

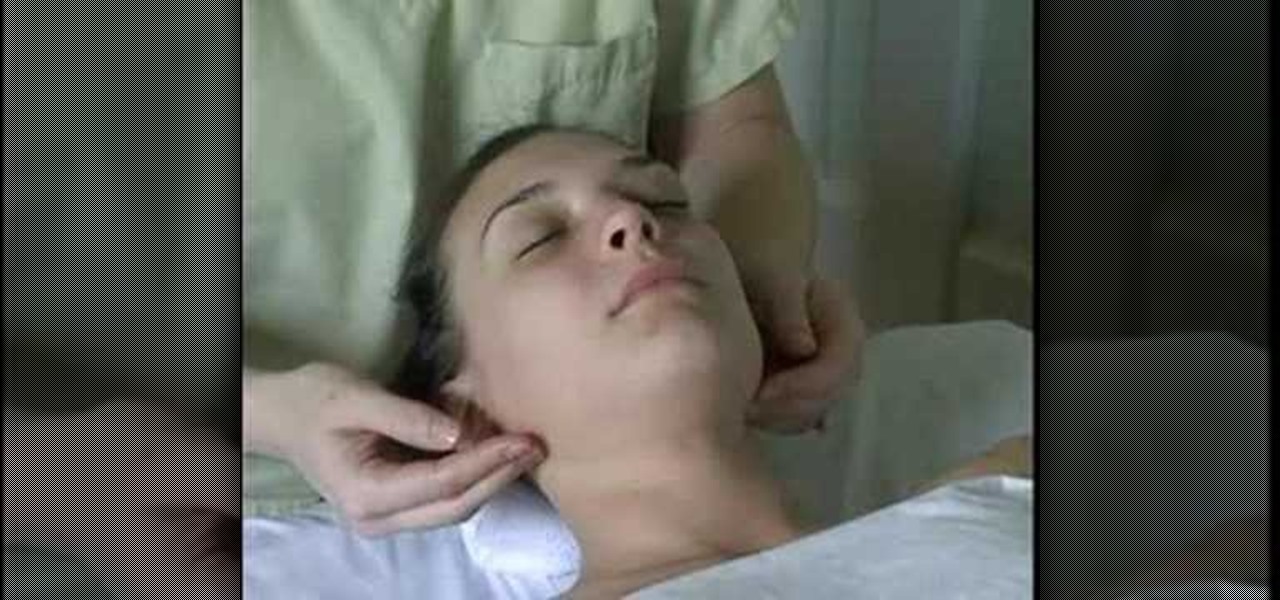
This video shows the viewer how to give a lymphatic drainage massage of the head and neck. A pillow elevates the head slightly to help the drainage process. Using a light oil, she applies the oil to the neck and the face of the client. She puts her fingers inside the clavicle bone at the base of the neck and pumps to start the fluid moving down. Encourage the client to take deep breaths as this helps the fluid to move down. This is a great massage to get in the spring time when allergies are ...

Do you believe in fairy tales and those wicked witches? Let’s draw our conceptual witch. First we need a paper and a pen. Let’s start with a hat (typical one).Then draw the basic shape of the head with eyes, nose and mouth as well as the hair curls. Then start with the detailing i.e.; shadows and highlights on the hat and the face. You can even do it with a pen. This will help in creating your sketching art work.


