Ron Hazelton shows how to rip cut a very long piece of wood using a circular saw instead of a table saw. First, place sawhorses approximately every 4 feet under the wood. Choose the correct blade for the wood. Affix the circular saw with an edge guide. Set the blade depth so that the blade barely goes past the wood. Put scrap pieces of lumber on the sawhorses under the wood. Then the long rip cut can be a zip.
The video is about one to one training with Mike Brown about the maximum dept of focus using a camera.

Do you know how coiling effects golf swing? Swaying too far off the ball in the backswing and downswing is one of the most common power leaks in golf. Use five-time, Re/Max World Long Drive Champ, Jason Zuback's method for creating power through a proper coil and gain yards now. See how to create power in your golf swing with a proper coil.

Giving up food and drink is an important part of this Jewish holiday, the Day of Atonement, because it helps focus the mind on repentance. Stay strong mentally and physically with these tips.

Prevent yourself from peeing in your pants with these tricks. You Will Need:

It's easy when Jamie-B from Total Recall Films takes an in-depth look at filming and editing techniques you can easily use to make your next film look and feel professional using a well know technique called "tricking the camera" -- and the viewer. Watch to see how to make a one-camera shoot look like multi-cams.

Chicken is one of America's most popular foods, and tops beef and pork in consumption. Whether you're grill over gas or charcoal, perfectly grilled chicken is a delicious must-have at any picnic or family cookout.
Bounce Legacy is proud to present the Legacy Monster tutorial for Halo 2. This is a very good in depth tutorial on the Legacy monster on Relic.
Wouldn't your TI calculator be way cooler with some sweet programs like Nintendo or Tetris? This is a short tutorial on extracting the files from a ZIP archive, and transferring them to your calculator.
Watch this in-depth video tutorial on how to animate LEGOs for stop motion animated brickfilms. This is a detailed peek behind the scenes of stop-motion animation from the director of the "Circle Circle Dot Dot" music video, Blunty3000.
It's time for some golf! Better putting comes from better practice. Try this drill to see what flaws may be creeping into your putting stroke. Just watch to see how to perfect your golf putts with practice drills.
Not everybody knows exactly where the position the ball when teeing off. Do you know where it should be placed? Director of Education for Troon Golf, Tim Mahoney, teaches you where to place the golf ball in your stance and how that impacts your ballflight. Just watch to see how to properly position the golf ball for your drive.
Cosmo Crow and Mark Hannah take you on a tour of the Sony DSR cameras in these how-to videos. The first video segment deals more with setting up the camera tripod. Then, Mark and Cosmo continue their tour of the Sony Camera with an in depth explanation of the Lens and all its functions. Finish up with the final installment, which will teach you how to operate the switches on the main body of the Sony Camera. Watch this video tutorial and learn how to set up and use the Sony Camera.
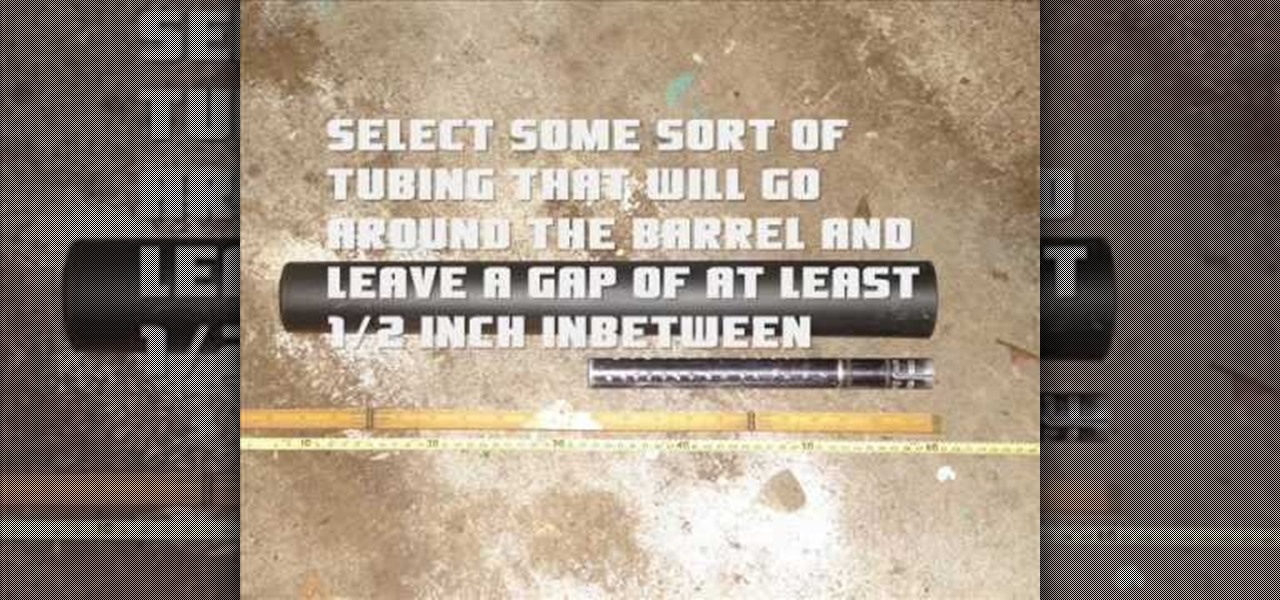
Here is a very in-depth description on how to make a silencer, but really a sound suppressor for your paintball gun. If you want to try to make a suppressor for a real firearm, the principles are basically the same. So, for ninja-like paintball action, watch this video tutorial to see how to make a silencer for a paintball gun, or sound suppressor, whichever you would like to call it.
It's time for some golf! All golfers want more power off the tee, but few know how to get the job done effectively. Rick Sessinghaus remedies this situation by explaining four relatively simple keys to maximizing your driving distance without changing your equipment. Just see how to add power to your golf swing.
Follow Monty Don's video guide to planting courgette plants, with advice on planting depths and watering frequency.
Monty Don demonstrates how to plant heritage variety shallots in a container, offering advice on drainage and planting depths.
It may not be the most epic of quests in The Elder Scrolls V: Skyrim, but it's one that's worth taking up. Getting married not only gets you 20G on Xbox 360 or a bronze trophy on PlayStation 3, but you also get some cool in-game bonuses. Your wife (or husband, depending on gender or sexual orientation) will cook you a hot meal every day that restores your health fully, and she or he will even give you gifts sometimes!
I guess it's a sex-themed night, but a few well-known people in the steampunk world are trying to put together a "Steampunk's Guide to Sex", including plain Victorian sexual practices as well as the sort of modern information one would want on a modern movement like steampunk.
Visit Taiwan some day. Honest. Every school kid twirls and twirls during class. This cool video teaches you different ways to spin a pencil/pen on your fingers. By using your thumb, index finger, and middle finger, while observing the weight balance, you will learn to be cool...in that post-modern metro sexual blase blase...way.
This video is an extensive and in depth analysis of how you can best play a four-person team on a multiplayer match in Call of Duty: Black Ops, especially on the Kino Der Toten maps. Always know where to look out for campers!
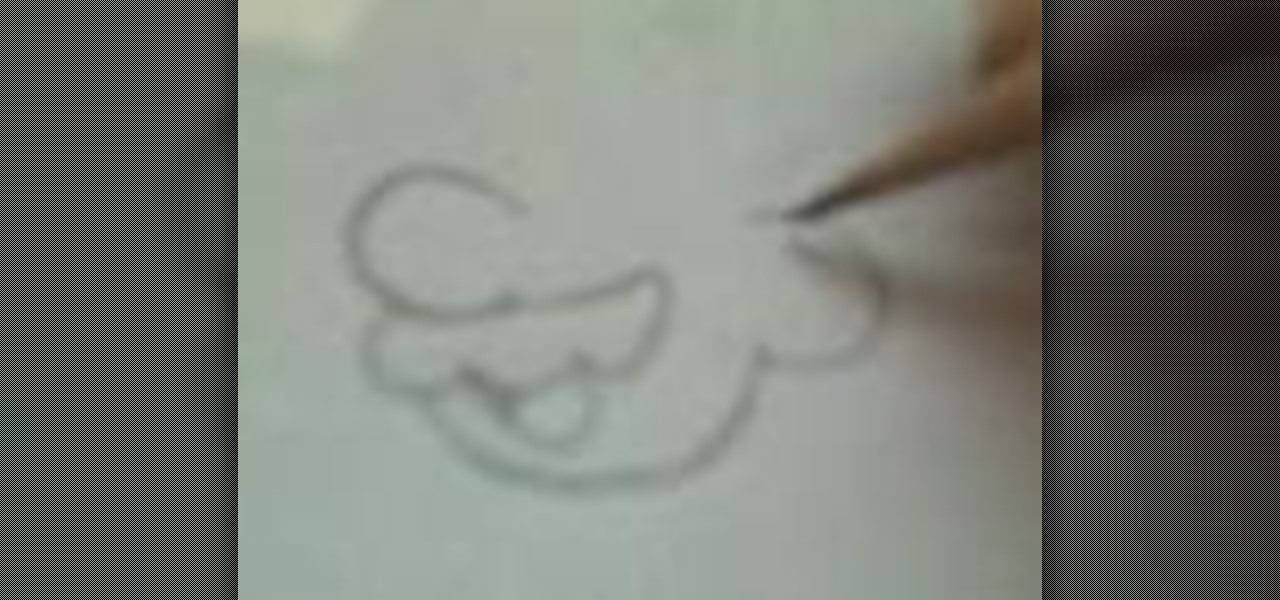
In this tutorial, we learn how to do a simple Mario drawing. First, take your pencil and start to draw the outline of the head. After this, you will draw in the mustache, nose, and mouth on his face. From here, draw in the hat on the top of the head and then draw in the eyes as well. Add in shading and lines to create additional details and depth in the drawing as well. Continue to draw in the body and the overalls that are on the body as well. Finish off with the legs and the shoes and then ...
In this tutorial, we learn how to draw curvy steps using pens. To start, you will first draw a horizontal line with a point in it. From here, you will need to draw lines coming out of the point. These lines will act as your reference point for the different items in the drawing. Next, draw the steps using the reference points. The one at the bottom should be larger, getting smaller as you work your way up. Draw these using the triangle shape in sort of a wedge. Shade in the bottom area to cre...
In this video, we learn how to draw a Porsche sports car. Start off by drawing an oval type of shape with lines to make the top of the car. Then, draw in the rest of the outline of the car and add on the wheels and the front of the vehicle as well. From here, you will start to add on the details to the front and sides of the car, as well as on the bottom. Use crosshatching and shading to make it appear realistic. Once the details are on this, use color to add a more in depth look to the car. ...
In this tutorial, we learn how to insulate your attic with Eric Johnston. To figure out if you have enough insulation, you need to measure the depth of the insulation that you have. Generally, you should have around 22" of insulation in attics. The highest percentage of energy loss is through the attic, even if it's a new home. You can use a blown in insulation system that is easy to install and will not cause a huge mess. With this, you will be able to have your home be much warmed and you w...
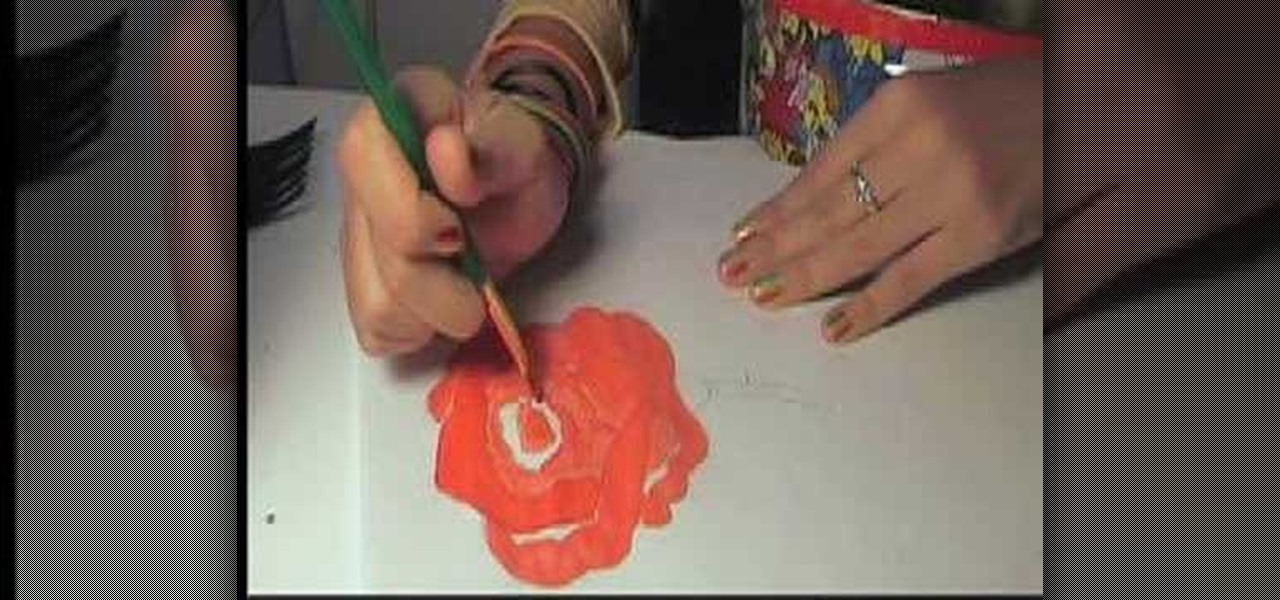
In this tutorial, we learn how to paint a red rose. First, you will add some red paint to your brush and paint along lines of a rose outline. Use an angled brush so you can get a better accuracy while you are painting. After this, continue to paint around the petals until you reach the entire area of the rose. Then, paint the inside of the rose. You will then mix the red together with darker colors and whites to add depth to the flower on the paper. Once finished, you will have a gorgeous red...
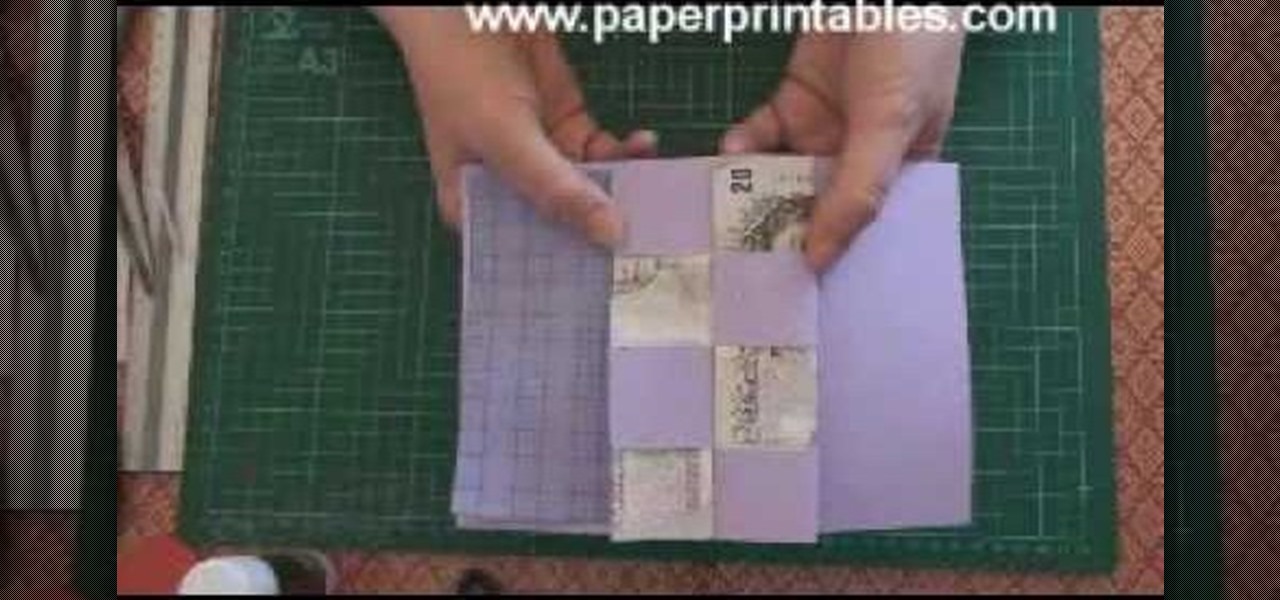
In this video, we learn how to make a pop-up concertina money card. To start, you will first need to take a piece of paper and measure your money on the inside of the paper. Then, cut this out in a strip and cold your money in half lengthwise. After this, measure the depth out from the center using a ruler. Then, fold the paper in half and on the sides where you marked. Then, you will cut three holes in the middle of the paper and these will hold the money in. Stick the bill in the middle of ...
In this tutorial, we learn how to draw Danzo. To start, you will draw the outline with the light touch of the pencil. After this, draw in the final outline darker and then erase the background lines. Next, you will add in the details around the character and then add in lines to show creases and make it look more realistic. From here, you will add in shading to make the drawing have some more depth. After this, you will finish up by cleaning any stray lines with an eraser. You can also use th...
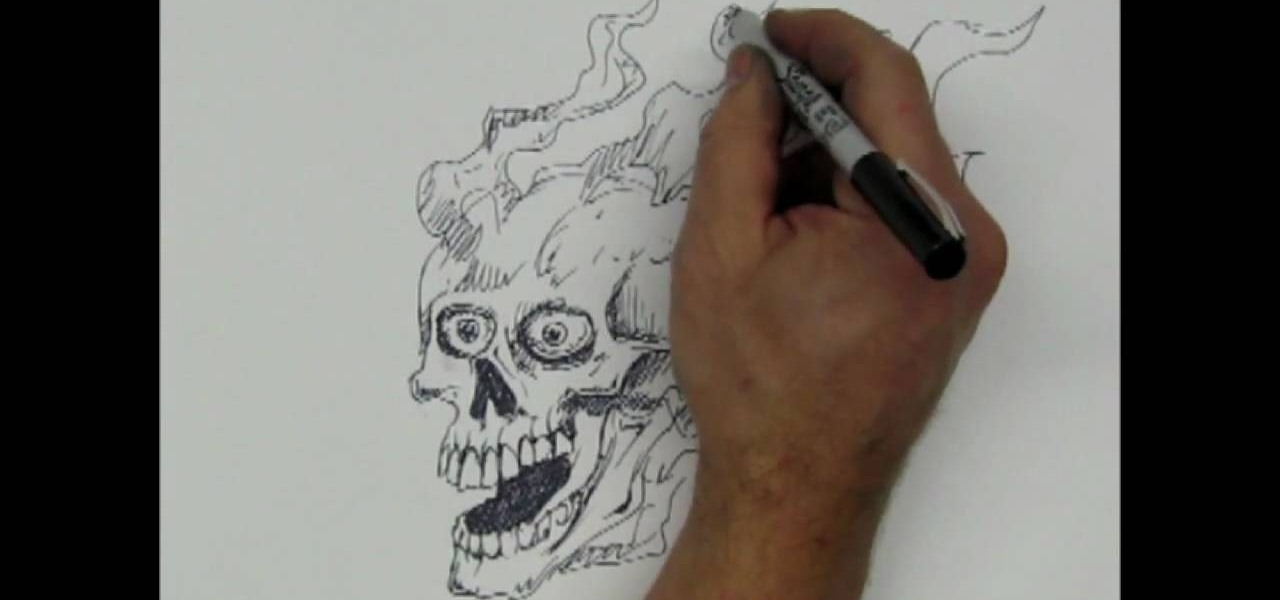
In this tutorial, we learn how to draw a skull with a Sharpie. First you will draw the eyes, make sure to draw lots of little lines around them then cross them to create depth. From here, draw the outline to the head and then the nose and the teeth. Make sure to add lines in around the head to show cracking and marks around the head. Use shading to create darker lines along the head and then add in additional details. Make this unique to you, it doesn't have to look one certain way. When fini...
In this tutorial, we learn how to create a nice drawing composition. First, use your pencil to sketch a light outline of the still life objects that you're drawing. After this, you will add in lines on the side of them for their shadows, then shade the area in between the lines in. Next, you will darken up the sides of the shapes to make them appear more in-depth and make them look more real. Use your pencil to blur the pencil markings and make everything look more realistic. When finished, y...
In this video we learn how to entice more opportunities with feng shui at home. First, find your focus room with an energy map to find the career area. This room is from the front door walking in. Use water, because this is the element for positive career changes. Put a painting of depth that makes you feel like the wall is not right in front of you. Also, add a table with rounded corners and musical instruments or something that you need for your career. This will ensure that you walk into a...
In this tutorial, we learn how to draw skulls the easy way. First, draw a round circle on the page followed by a smaller one connected at the bottom. From here, draw in two sideways triangles on the middle of the large circle. Then, draw in lines on the face and create the section of the nose. After this, draw in large teeth on the skull and then connect lines around the circles to make the jaw line. After this, draw on lines around the skull to make it look like it has depth. Then, shade in ...
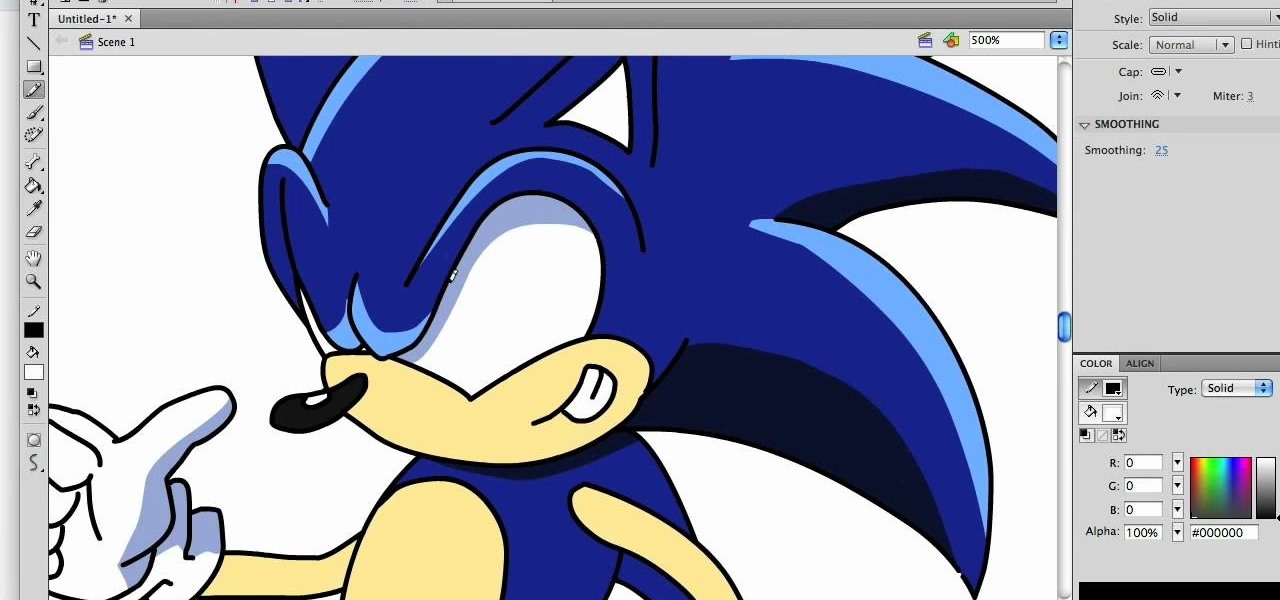
In this tutorial, we learn how to draw a hyper-stylized Sonic the Hedgehog. To start, you will draw the outline of the entire body of Sonic. Make sure you draw in the huge spikes for the hair as well. Next, you will draw in the eyes, muzzle, and nose on the face. Then, you will draw in the stomach area, the feet, and the hands. After this, clean up any background lines and color the character in completely. Next, shade in darker colors on the sides of the body to give Sonic more depth and mak...
In this tutorial, we learn how to draw the 8-Tails Jinchuuriki, Killerbee. Start out by drawing the outline of the character. You want to make sure you draw reference lines on the head so you know where to place the eyes, nose, and lips. Next, you will start to draw in lines to show wrinkles on the face and then the headband on the top of the head. After this, add some shading into the face to add some depth. From here, you will draw in the hair and the band around the head, giving it more de...
In this tutorial, we learn how to draw curvy steps using pencil. To start, you will draw a thin horizontal line with a small point on it. After this, you will draw lines out from this, using a ruler to keep them straight. From here, draw your steps on the bottom of the page using the lines to keep them proportioned and in place. Draw them in a triangle wedge shape and then color them in. Shade the bottom and the sides to give them depth and dimension. After this, draw in the area around the s...
In this video, we learn how to draw Sonic the Hedgehog in his soap shoes. First, draw his muzzle and nose. After this, draw in angry teeth in the mouth and then draw in the eyes and the ears. From here, you will draw in the rest of the spiky hair around the head. After this, draw on the arms and legs, as well as the feet and shoes. The shoes should be larger than the entire body and have lots of details on them. When finished, add in shading around Sonic with the side of the pencil to give hi...
In this tutorial, we learn how to draw a human skull. To start, you will use your pencil to draw a light outline of the skull on your paper. After this, you will start to add in more shading and lines throughout the face to make it look like it has depth and contours. From here, you will draw in the teeth and then create the nose and the pits for the eyes. After this, you will start to shade in the sides of the skull darker and then add in any additional details like small cracks on the face....
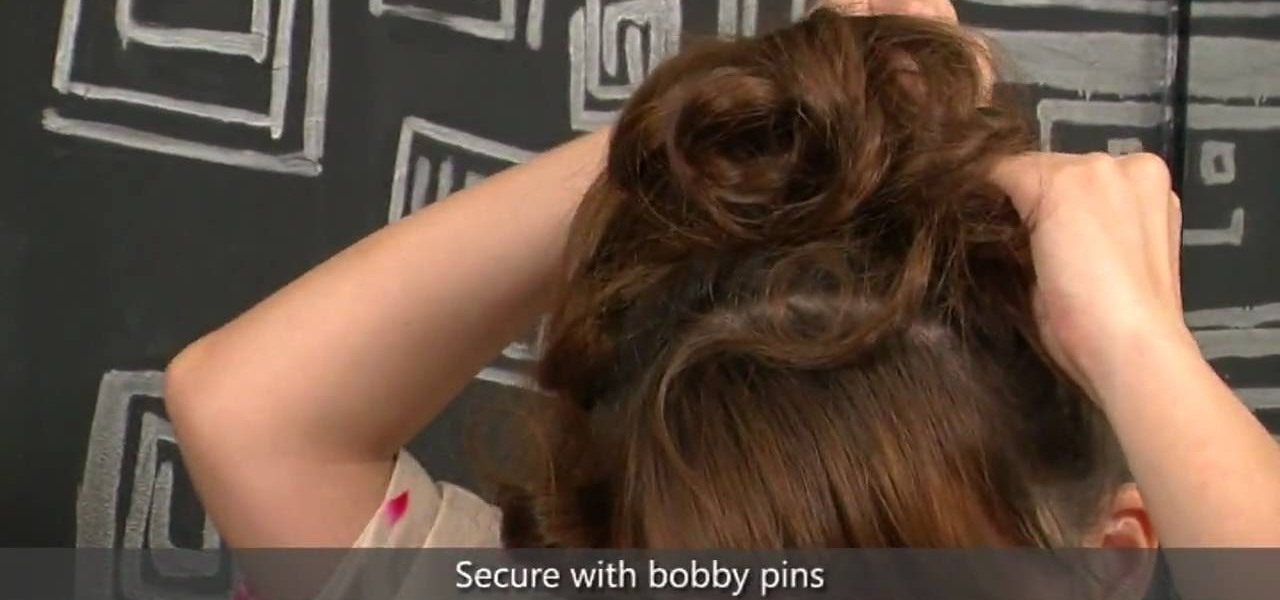
We have nothing against posh, elegant romantic curls or modern pin-straight hair, but don't you ever miss the days when you were just a kid experimenting with her mom's drawer of hair goodies? Creating crazy styles was so fun and the results were always unpredictable.
This is a video tutorial in the Home & Garden category where you are going to learn how to deal with a hollow door when installing bath fixtures. Bob Schmidt shows you how to do this while installing bath accessories such as robe hooks, towel bars or towel rings. The product that you need to do this is called easy anchor. It is a metal anchor specifically designed for the right depth for a hollow core door. Take the anchor and drill it down the door until it is fairly close to going in fully....