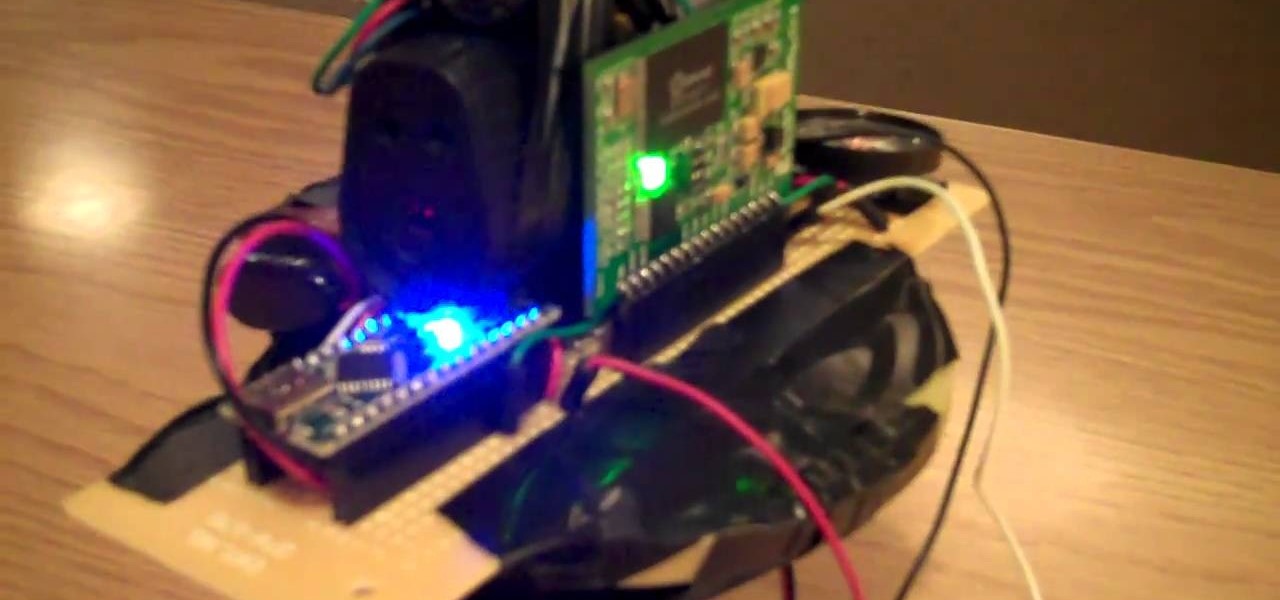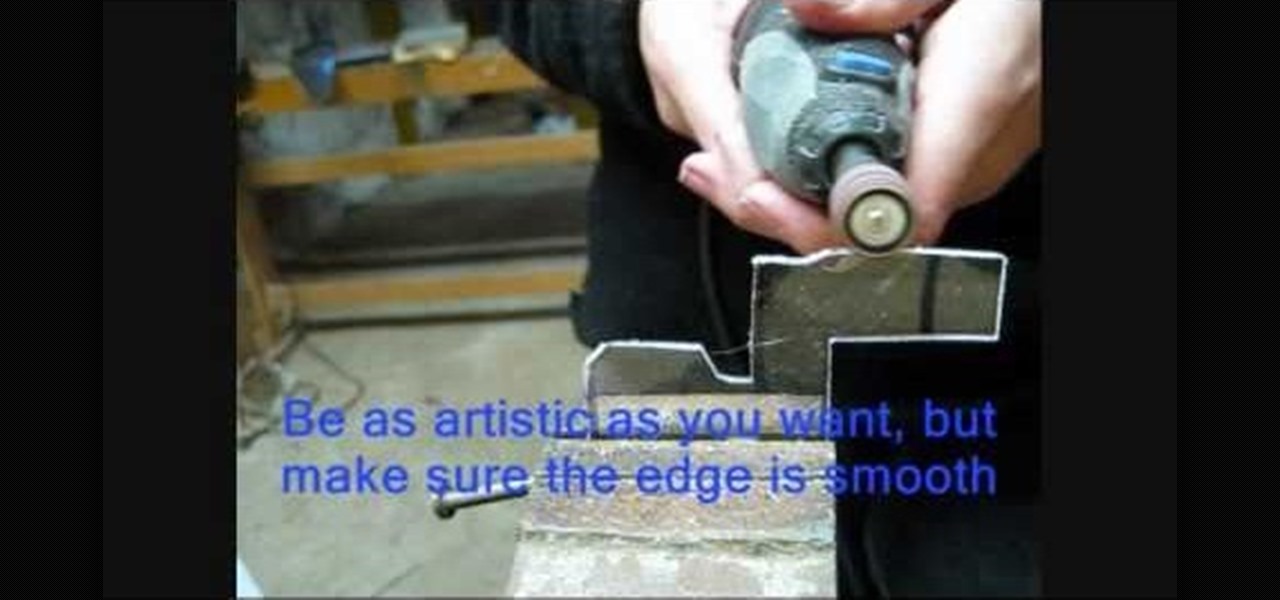
A perfect project for the budding roboticist in you! This video shows you how to make a small robot gripper using basic household items. Press the button and make the robot's come together! You will need: a small blow torch or butane lighter, a glue gun, a dremel or rotary tool (along with several different bits), the free cutting pattern, a permanent marker, a micro servo, some small nails or pins, a small piece of Plexiglass and a paperclip. If you don't have access to a dremel, you can fak...
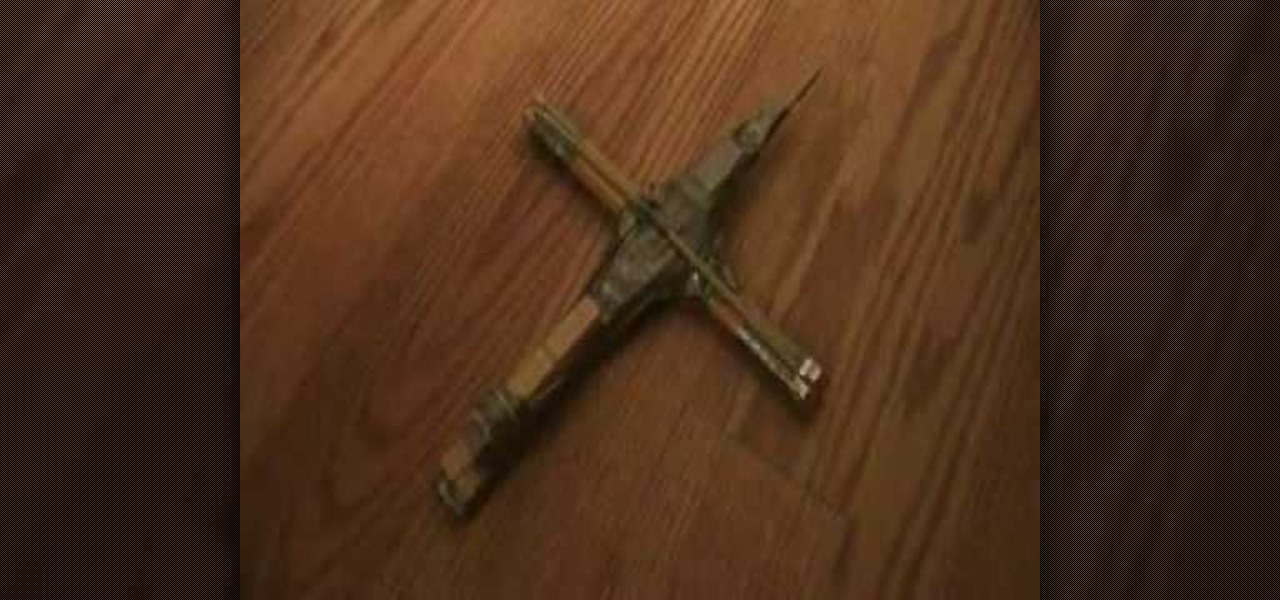
Do you find that ordinary Nerf guns lack power, DIY flair, and intimidating looks? This video can take care of that. It provides instructions for making a sort of Nerf crossbow out of common household materials. It shoots like the dickens, and looks like it could kill a vampire. Very cool.
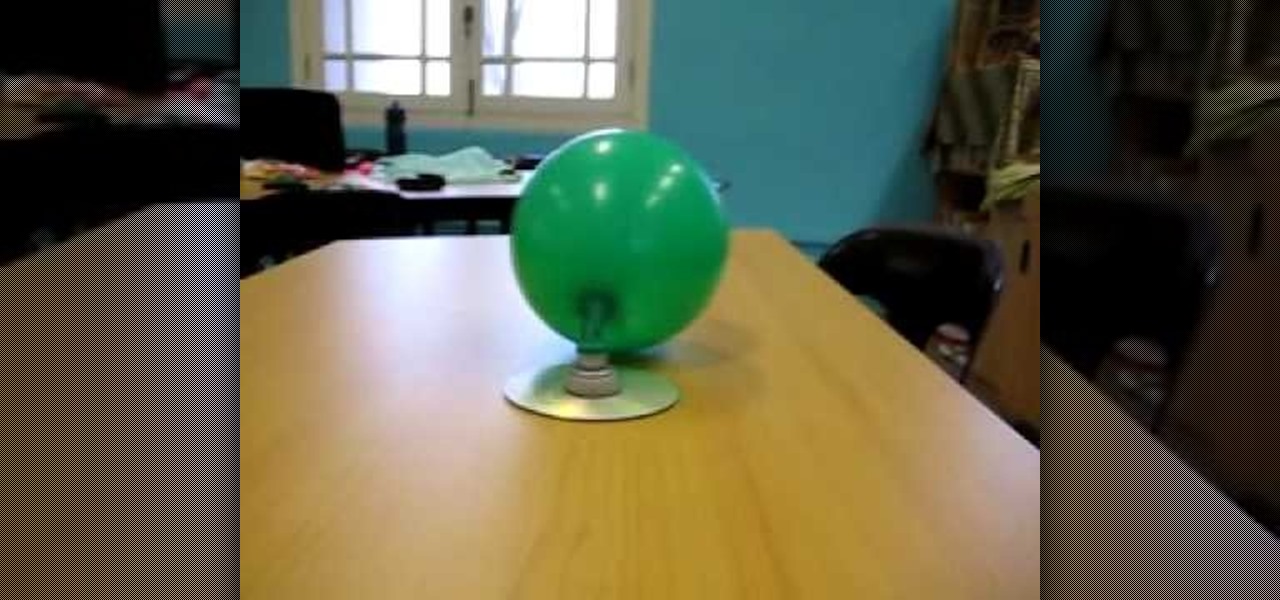
This video illustrate us how to make a hovercraft with common household items. To build one, first of all, collect all of the items required for making it. You need a CD, bottle cap, balloon and super glue. Then start by applying glue to the lower end of the cap and sticking it to the center of the CD and let it dry. After it has dried, blow up the balloon and secure it up on the bottle cap tightly. Now open the bottle cap and let the balloon deflate.
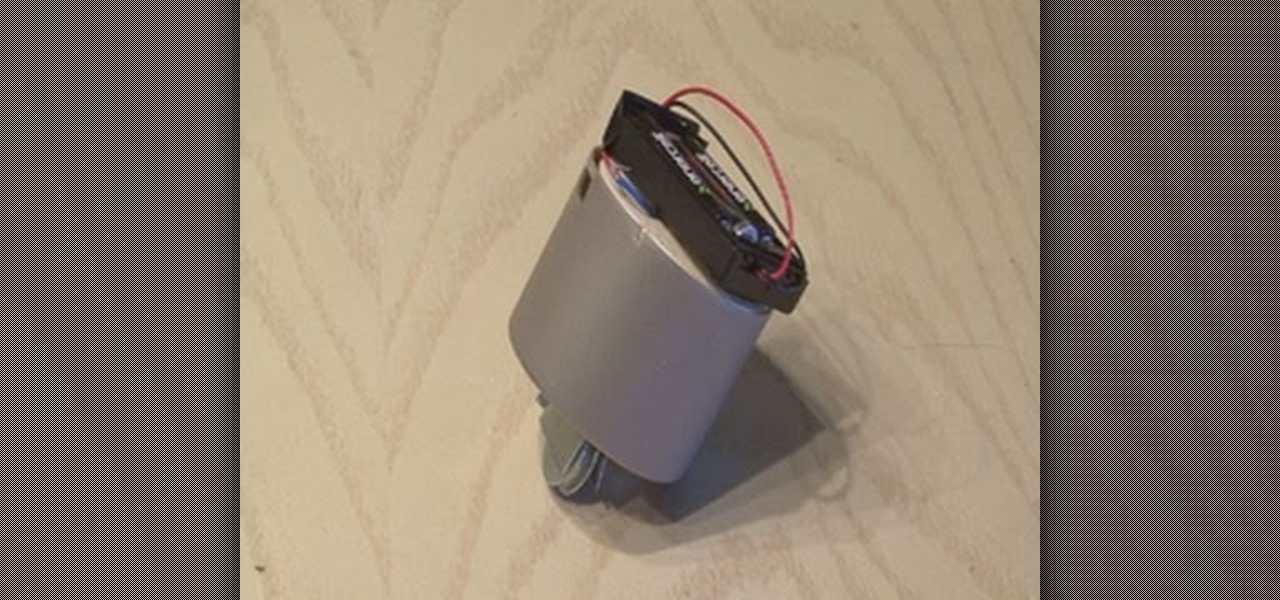
Build your own miniature gryocar from a toy gyroscope in this fun little project with Kipkay and make it ride on skinny tracks! All you need is a toy gyroscope, a spraypaint canister top to fit the gyroscope assembly, and some assorted parts that you could probably find around the house (or at your local hardware store). Ask your parents for permission first!
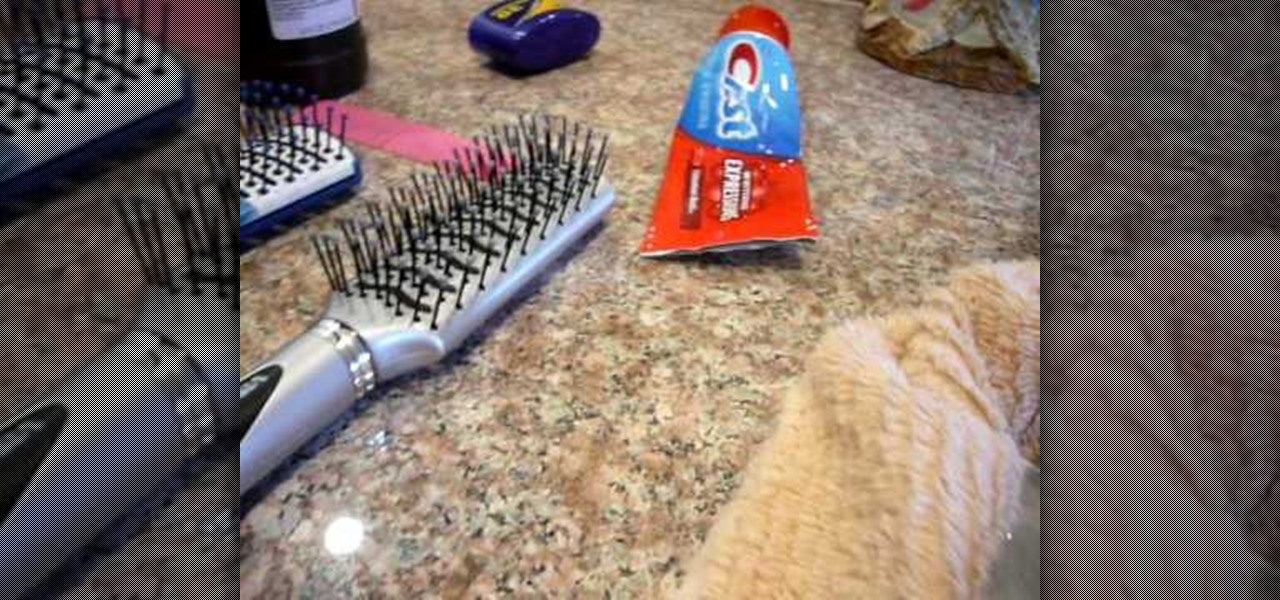
In this instructional video, the young host demonstrates an excellent method for cleaning your DVD's, CD's, and Game discs using simple, easily found items that you always have laying around your house. The toothpaste he uses acts as a super mild abrasive (almost exactly the same that is used in professional kits, except they don't get the benefit of a minty fresh smell) that removes minute dirt and debris that gets stuck on the disc. When cleaning your discs, be sure to rub the toothpaste in...
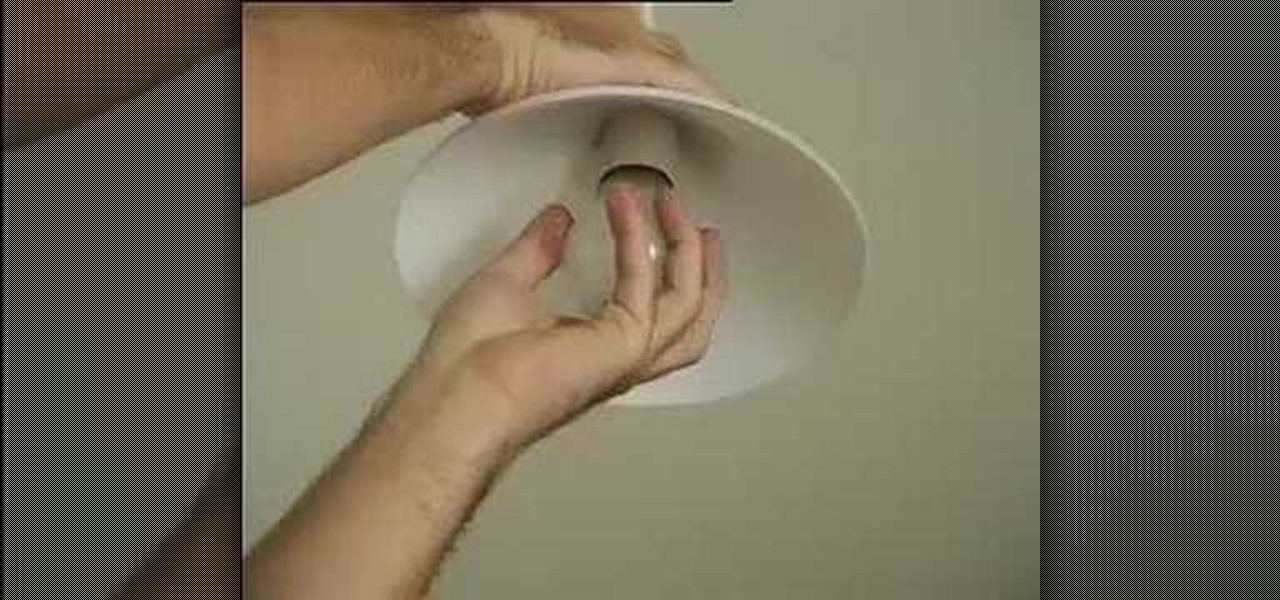
Here's a helpful house and apartment video tip to help you succeed in your home. Watch this tutorial to learn how to change your household lightbulbs.

Because life's just not fun unless someone is getting pranked. Whether you need to pull these pranks out for a party or to get back at your younger brother for stealing that last piece of fried chicken, you'll learn a whopping list of 8 different pranks in this video.

This video teaches you how to make homemade playdough through a few easy steps. Each ingredient is a common household product.

Missa shows how to ‘Distress Jeans’ in this video. She lays a pair of jeans to be distressed on a table. Next, the creases near the top, which are formed by bending the leg portion of the jean, are marked with a white pencil or chalk. A hard rock is then placed inside the jean, near the knee area. That portion of the jean is graded using sand paper to make holes. The pocket areas are graded next, using a nail file. A pair of scissors is scraped along the edges of the pockets to make cuts. (Al...

This do it yourself robot can be made out of many materials you can find around your house. You'll need a few special non household items, such as an arduino and a class 3 laser. However, once you assemble everything correctly, you can make a sentry robot inspired by the robots in the game PORTAL. Even if you've never built a robot before, as long as you have a basic knowledge of electronics, you can start with this simple and fun project.

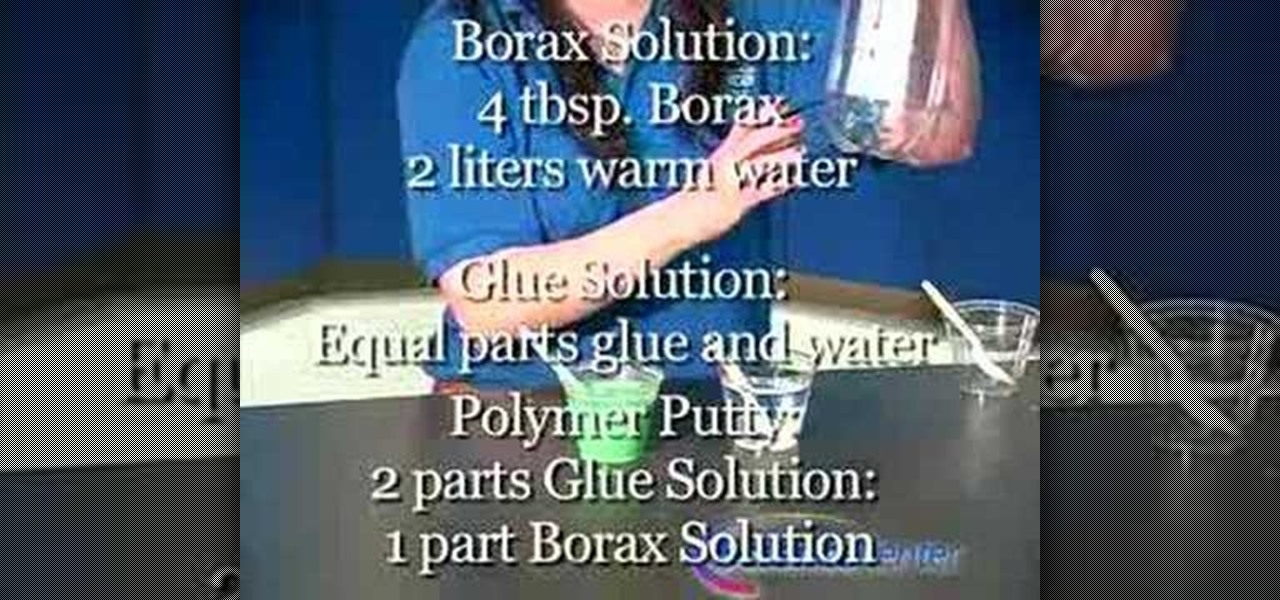
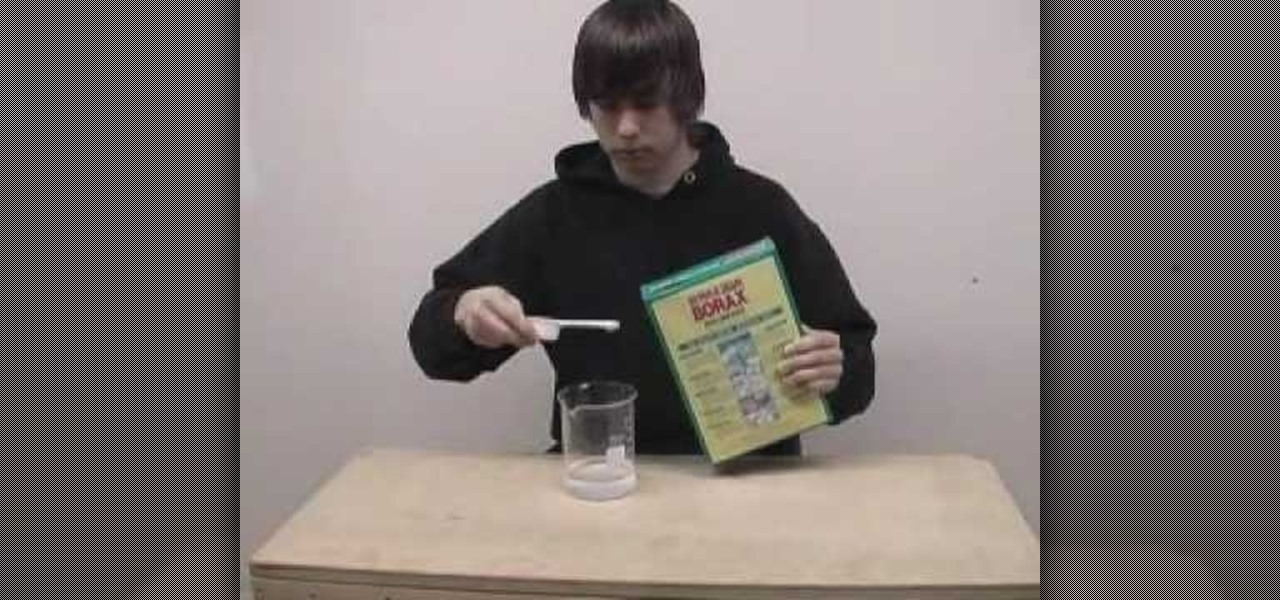
In this tutorial, we learn how to make polymer putty with household materials. You will need: borax, white glue, water, 3 plastic cups and spoons, and food coloring to color your putty. Now, dissolve 4 tbsp of Borax in 2 liters of warm water. Then, prepare equal parts of glue and water together. To make this, you will need 2 parts of the glue solution to 1 part of the Borax solution. Once you mix these together, you can add in some food coloring to it. Pour this into different cups to make di...

In this video, we learn how to make green fire from household materials. You will need: antifreeze, boric acid, and a glass jar. First, pour the antifreeze into the jar until it's 1/3 of the way filled. After this, drop a spoonful of the boric acid into the mixture and mix it up thoroughly. Now, let it sit for 30 seconds and then go into a dark room. Light this up, then watch it burn! You can also put it into a spray bottle and spray it over a flame to see the green fire right in front of you!

If you've purchased a Nook (the Barnes and Noble e-reader), then you probably want to keep it safe and free from cracks or scrapes. While you can certainly purchase a Nook cover from the store, why not personalize it instead by making your own Nook cover?

In this video tutorial, viewers learn how to make a guerilla spotlight using household items. Users will simply need a cardboard cylinder and a light source. Te materials used in this video were a toilet paper roll, piece of aluminum, gaff tape and a lamp. Begin by cutting a couple of 90 degrees slots in the middle of the foil, slide in the tube ad secure it with tape. It should be a bit longer than the tube. Now wrap it around the light source. This video will benefit those viewers who produ...

In this tutorial, talk show host Jenny Jones shows you how to make a totally edible cleaning solution that is great around the house. The best part is that this is totally safe for kids and pets and can be used for so many different things. Jenny will also show you how to make a dispenser so that it is easier to keep this cleaner around the house and use it. Check it out!

In this clip, Elizabeth Gleeson shows us how to make a cute flowered headband a la Carrie Bradshaw from "Sex and the City" or Blair Waldorf from "Gossip Girl" using materials you already have around your home. This headband is easy to make and won't cost you much, and you will look incredibly stylish and great.

In this video, we learn how to build your own stomp rocket out of household materials. Materials you will need are: plastic bottles, bicycle inner tube, 2 feet PVC pipe, duct tape, masking tape, and file folders or card stock. Now, take your PVC pipe and roll paper around it and tape it. Then, remove the paper from the pipe and tape it more so it's completely closed. Then, make your nose cone for the rocket. Place this and the wings onto the rocket in your choice of colors. Then, make the lau...

Bed sheets can be a good solution for some household dilemmas. Watch this video tutorial to learn how to use bed sheets as a bed skirt, a Duvet cover, a sling or as a furniture cover.

Need a pinata for Cinco De Mayo or special occasion? This week Meg of Decor It Yourself shows you how with some simple house hold materials. Piñatas are a fun Mexican tradition, and are as easy to make as any paper mache project. Check out this how-to video to get ready for your next fiesta!

You've manage to get your hands on some ruthenium, and now you want to destroy the hard silvery-white metal of the transition series. Well, you're going to try all kinds of ways to dissolve this odd metal, but the only successful way to dissolve ruthenium is with a common household cleaner… bleach.

In this video, we learn how to build parachutes with household materials. You will need: a long string, Mylar, mesh, plastic, scissors, tape, and a weight. To get started, you will first cut your plastic or mesh into a circle or octagon shape. Then, take your string and cut it into several pieces. Then, tape the strings onto your material all around. After this, tie your weight to the strings so it's fully secured. Now, go to somewhere high and throw down your item! The parachute will help ke...

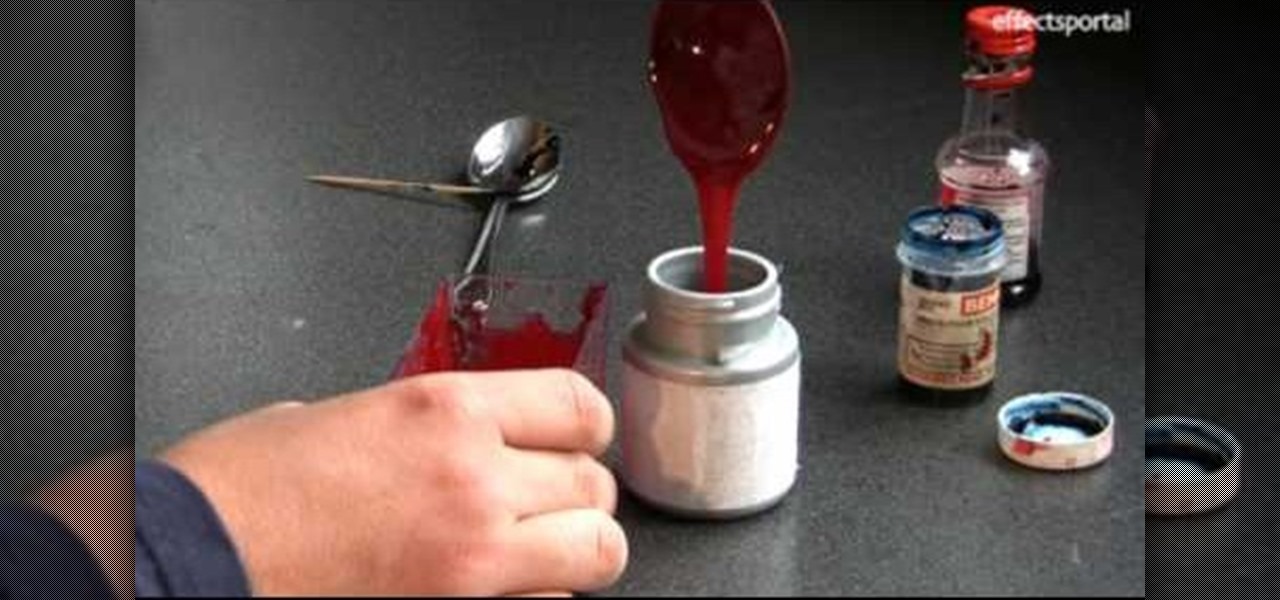
In this tutorial, we learn how to make fake blood with household items. You will need: 5 ml flour, red food coloring, 20 ml syrup, and blue food coloring. You will also need a container, spoon, and mixing sticks. First, place the flour in, followed by the syrup and the food coloring. Mix this all together with the mixing sticks until it's well combined. If it's not to the color or consistency that you would like, then you can add more color or ingredients until it's how you like it. After thi...

There are some days when you and your loved ones could be eating dinner and the power suddenly shuts off. The next best thing to do would be to find a flashlight or candle to help make things a bit more clearer in the dark. If you have a flashlight, but need a bit more light, then this video may be for you. This tutorial will show you how to make a small pocket sized light using easy to find household items. Enjoy!

This is a hobbies and toys video tutorial where you will learn how to make flubber with household supplies. Put three fourths cup of warm water into one jar. Measure half a cup of glue. Take food coloring or any other color and pour it into the glue. Stir the glue so that the color mixes well. Now add the glue into the warm water and stir well. For the second mixture, take two teaspoons of borax and half a cup of warm water and stir. Now combine both the mixtures together in a jar. With both ...

In this video you will learn how to make a bow and arrow from household items. In order to do this, just follow these steps: The first thing to do is to get your tools. Get any tool that will help you to cut things. Now, you need 2 yard flags and an elastic. Take 1 yard flag and cut it in half. Use a tool to bend 2 loops on each end of the flag. Make the arrow using the same cutting process and put the elastic on the bow. Fire the arrow with the bow and you're done.

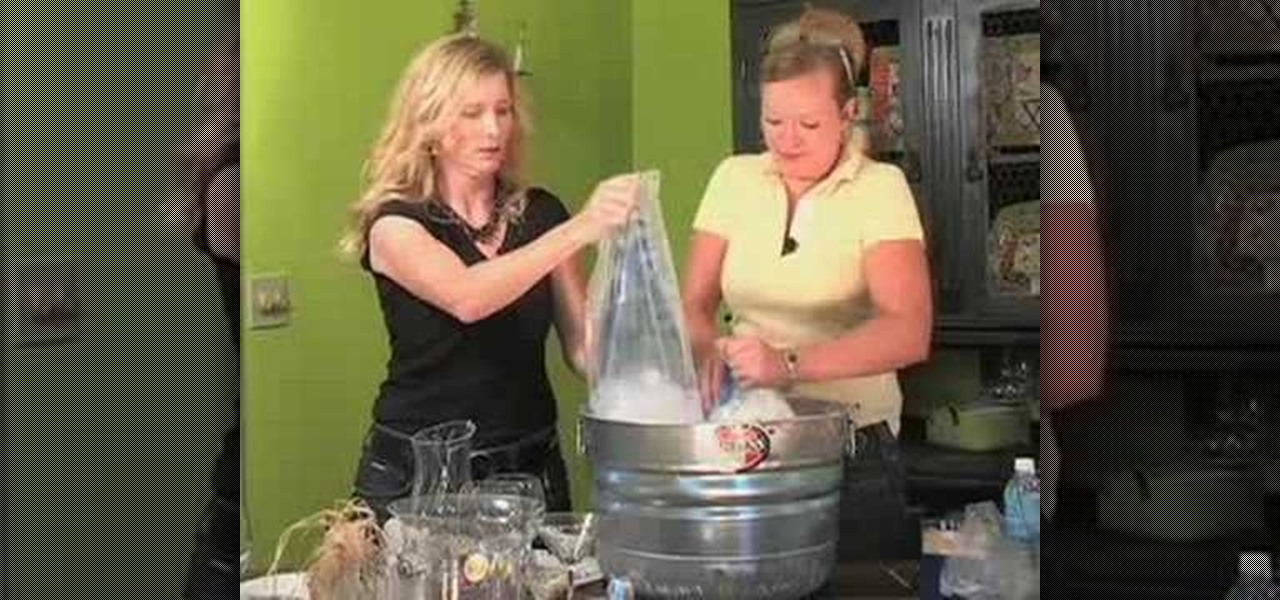
In this video tutorial you will learn how to decorate for a party using household stuff. The materials you will according to the hosts are wires of all sizes and colors (whatever you'd like), beads (the bigger the easier), a drill, an ice bucket, and indoor outdoor lights. With these materials you can learn how to decorate a ice bucket, and your stemware. Its very fun and easy according to the hosts and they will guide you step by step sharing there ideas and ways to decorate these items so t...

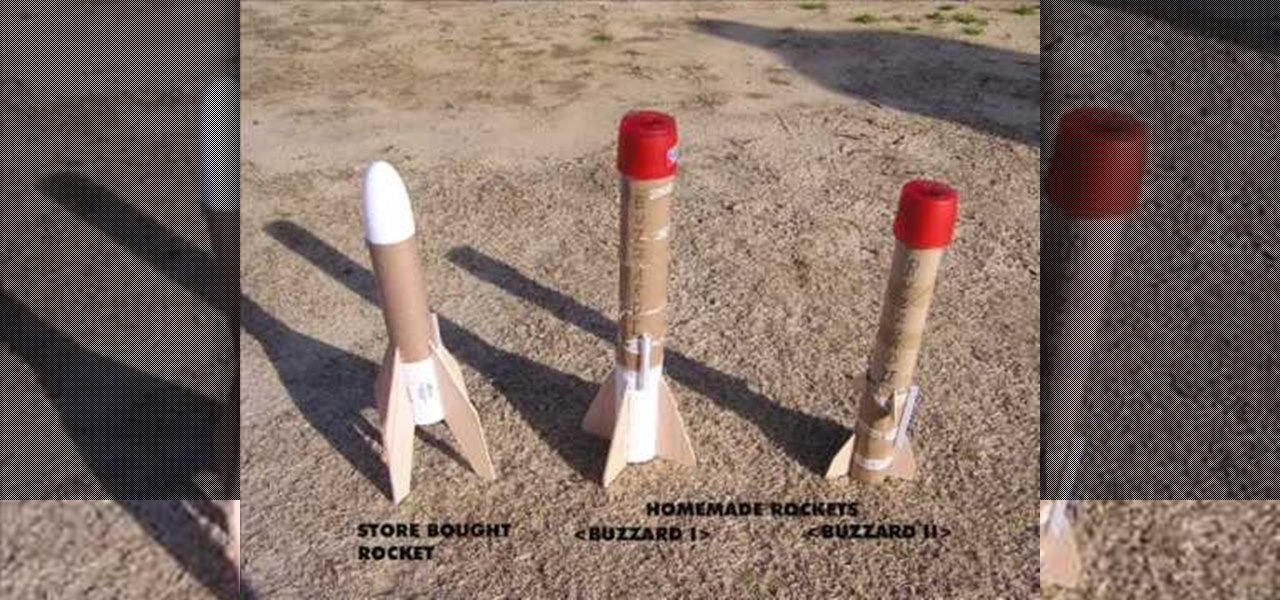
This video tutorial will show you how you can build a rocket from trash. That's right... trash. To make the rocket, you'll need a paper towel roll (or three toilet paper rolls), a spray can cap, a model rocket engine, scrap cardboard or wood pieces, hot glue gun with glue, a straw and a paper cup.

Ransack your kitchen and grab some dish soap, vegetable oil, honey, food coloring, rubbing alcohol, tall glass, water and a spoon. Why? Because you're going to create a visually stunning display of layered liquids. This illustrates the effects of different densities in liquids, while becoming a cool, psychedelic art piece for the living room. It's a super colorful decoration!

In this video, learn how to turn an old broken plate into a beautiful new, ceramic jar! This project will cost you next to nothing and only requires things you already have around your home. Check out this clip and create a very cool, fractured ceramic vase that can be used for many different things!

Playing with magnets can be fun for people of all ages. Making your own magnets can also be a great way to keep yourself and young ones entertained as well. This tutorial will take you through the motion of making an electromagnet using items that are regaularly found within your home. Enjoy!

If you're doing any sort of electrical work at home, a multimeter is an invaluable tool to have. But as invaluable as it is to have a volt/ohm meter, it is obviously even more invaluable still to know how to use one. And, with this electrician's how-to, you'll learn how to do just that. For more information, and to get started using and reading multimeters yourself, watch this free video guide.

Forget about the weather channel. Radio and TV seem not able to predict the darn weather anyway. Make Your own barometer within the next few minutes! Become the weatherman of the house! You will need an empty jar, scotch tape, a balloon, a tubber band, scissors, a straw, a ruler, a sheet of paper and a marker.

Check out this how-to video for a very nifty (and very thrifty) Halloween idea.

This video will teach you the process of vacuum forming sheet plastic into 3D shapes using the $40 make-it-yourself vacuum former from this "Instructable."

This is a video tutorial on how to set up a very simple foil parabola to increase your wireless signal at your home.

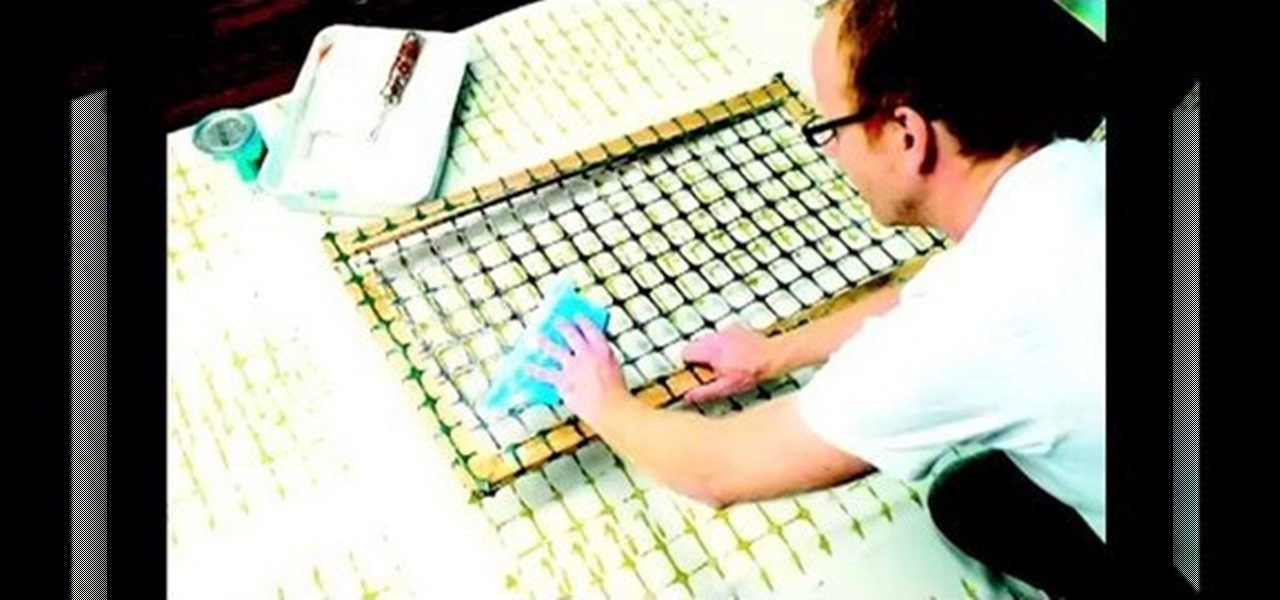
The Thread Heads visit ReadyMade magazine and take on one of their projects. The How-to doesn't start until a few minutes in, but it's a good one. Use sprockets and chicken wire to make cool patterns for your clothes. Sweet!

To make your own journal with household items you need a hole punch, scissors, yarn needle with string, some beads, a piece of construction paper, and at least 4 pieces of printer paper. Take your piece of construction paper, fold it in half and then unfold it. Do two hole punches in the crease of the fold at the top and bottom of the paper. Then do a half hole punch in the middle of the paper. Do the same fold, unfold and punches to the printer paper. Be sure to match up the holes in the pri...

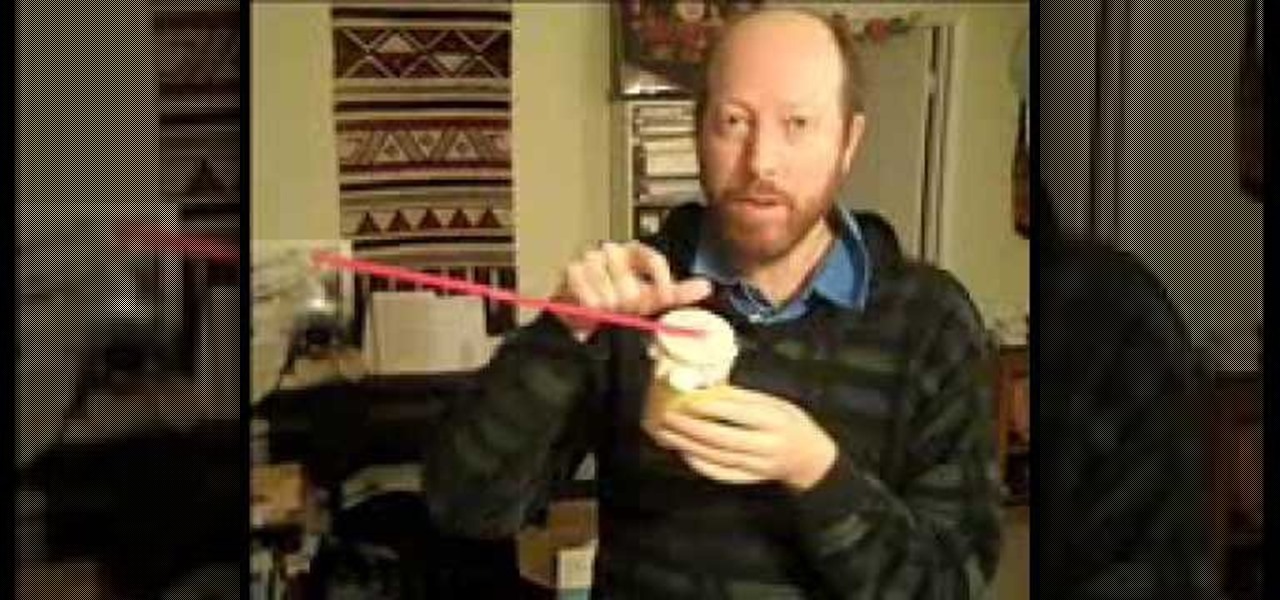
ARHSphysics shows viewers how they can build a simple barometer using household items! First, you need to get a container that is the height of an index card. Your best bet is to get an empty soup can of food can. Make sure you wash the can. Now, you will need a latex glove, cut a semi circle from the glove and attach this to the top of the can using a rubber band. Get two straws and attach them together at the ends. Cut a slit in each one and attach the straws. Attach the straw to the top of...

This video made by a loving wife while her husband is at work outlines three fun, safe, easy ways for families to prank each other without risking damage, injury, or rage. She starts by taping the laser on the bottom of her husband's mouse so it won't work. Then shut puts toothpaste under the light switches in dark rooms so that her hubby will get a sticky finger when he turns on the lights. Lastly, she put flour on the inside of his beloved window fan so that it will shoot out when he turns ...

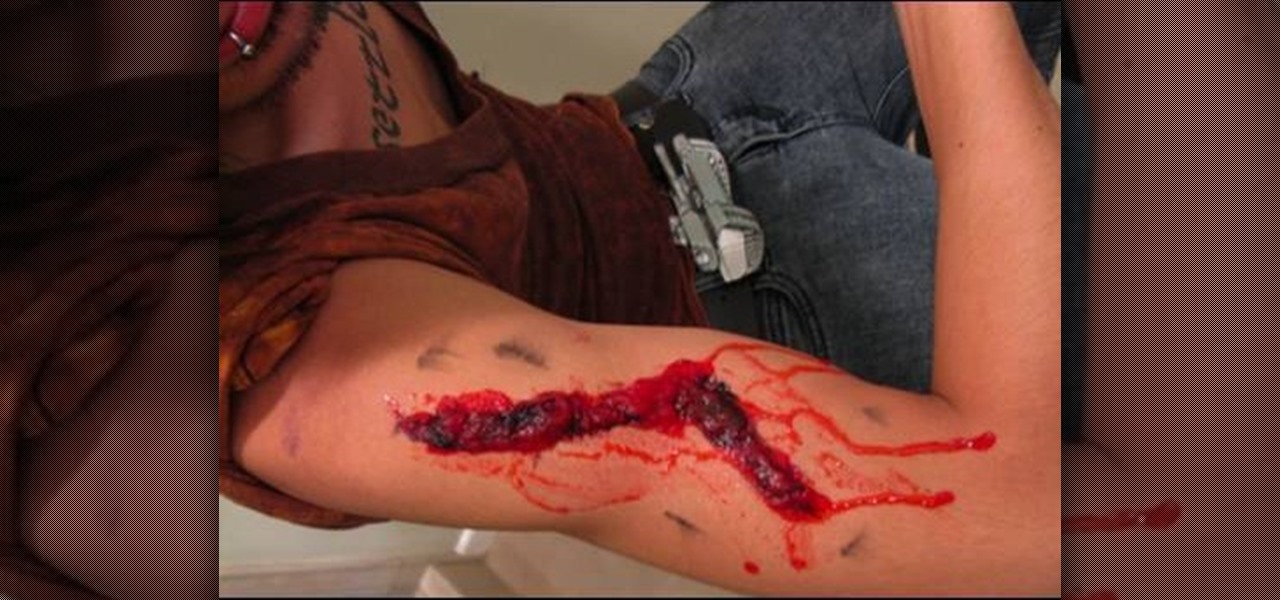
Halloween is by far the most fun holiday we have all year. When else can you dress up in crazy costumes, run around the neighborhood and be given candy for it? The key to a great Halloween costume is to make it as scary as possible, and nothing is scarier than bloody flesh wounds. This tutorial will show you how to make these scary lacerations with nothing more than things you probably already have in your kitchen and bathroom. Follow this step by step and you will be winning costume contest ...


