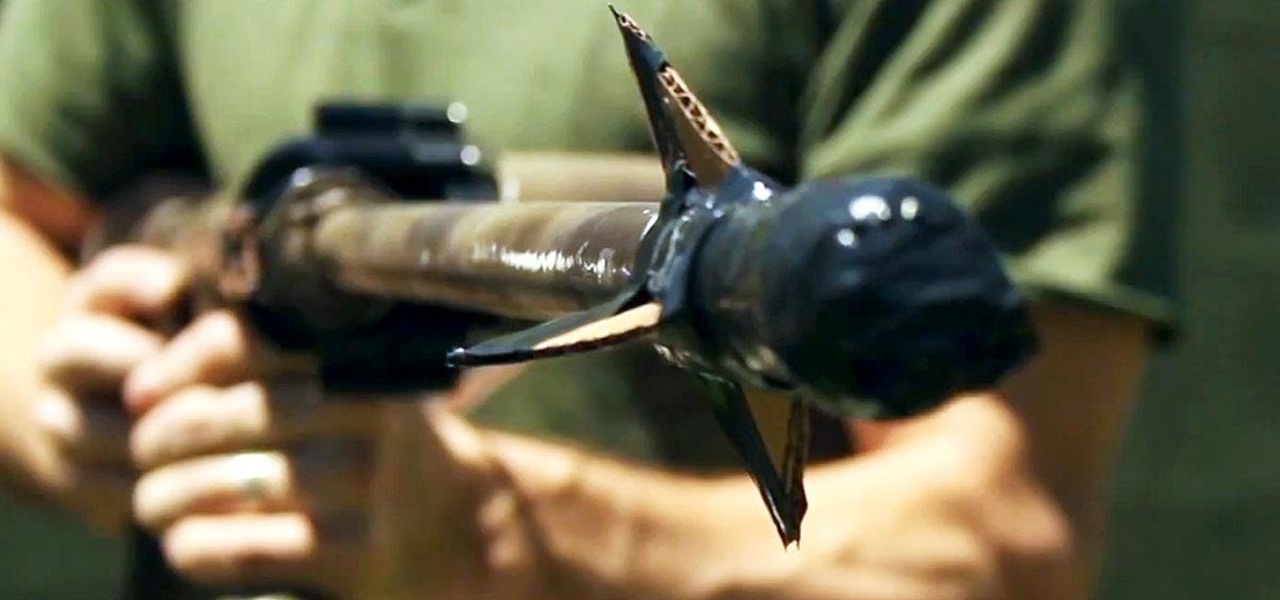
How To: Make a Powerful Handheld Rocket Launcher from PVC and Sprinkler Parts
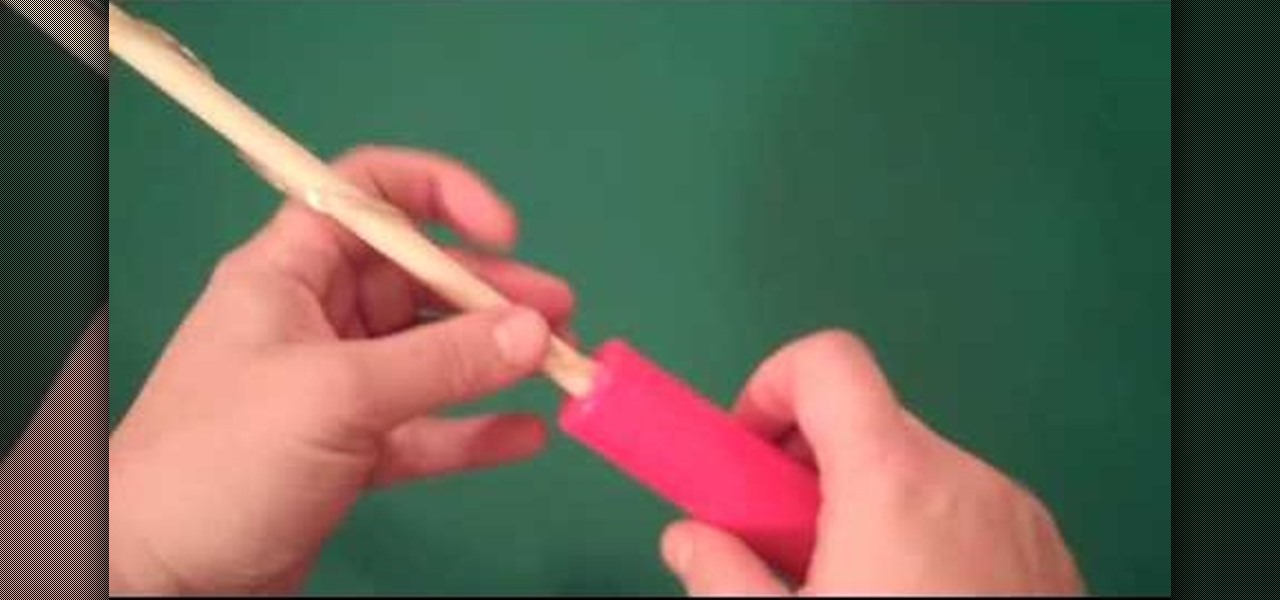
Take everyday sprinkler parts and form them into a high pressure rocket launcher that will shoot paper rockets nearly 300 feet!!! It's cheap to make and a lot of fun!


Take everyday sprinkler parts and form them into a high pressure rocket launcher that will shoot paper rockets nearly 300 feet!!! It's cheap to make and a lot of fun!
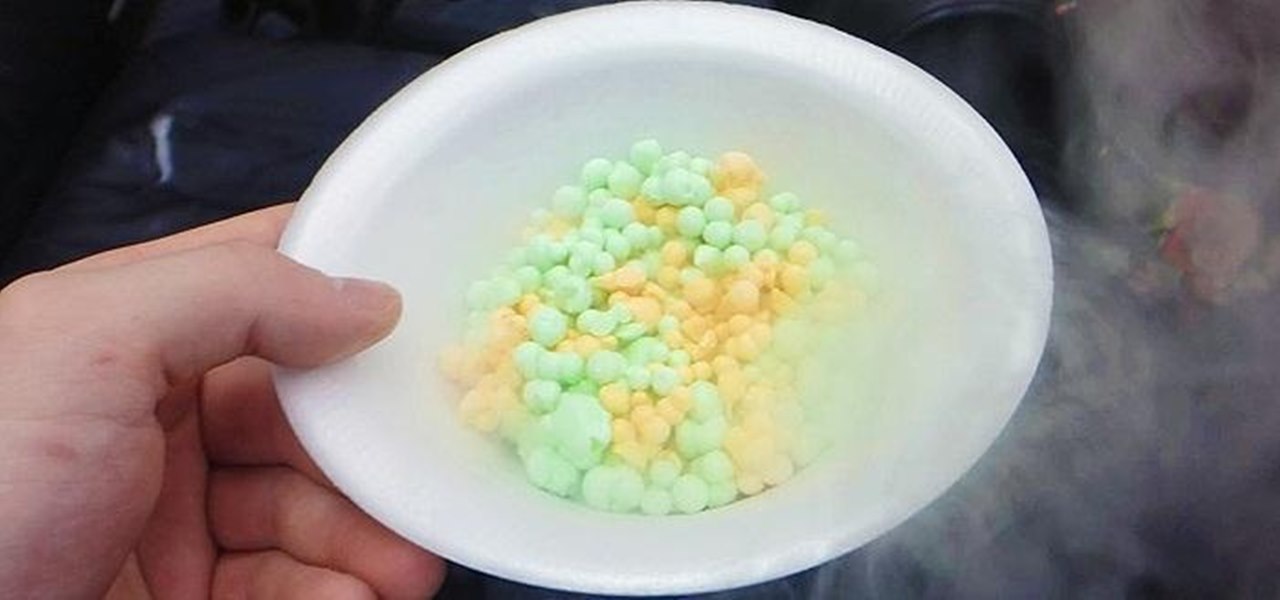
Dippin' Dots are a fun way to enjoy ice cream, but the price tag is not so fun. Plus, the company filed for bankruptcy last year, so they may not be around much longer. The good news is that you don't need them—you can make your own at home with some ice cream and liquid nitrogen. Redditor hypoid77 posted instructions on how to make your own DIY Dippin' Dots Maker out of a Styrofoam cooler, a couple two-liter bottles, a thumbtack, and some liquid nitrogen. Use the thumbtack to poke a 3-inch p...

Cropping images can be a huge pain if you have a bunch to do at once. Even if you have Photoshop or a similar program, the process of opening each individual photo and cropping them one at a time can take forever. A free web-app called Cropp.me makes that task a lot easier by auto-cropping your photos to whatever size you choose. All you have to do is upload an image, choose what size you want it to be, and click Cropp My Images. You can choose from a list of sizes or input a custom size of y...
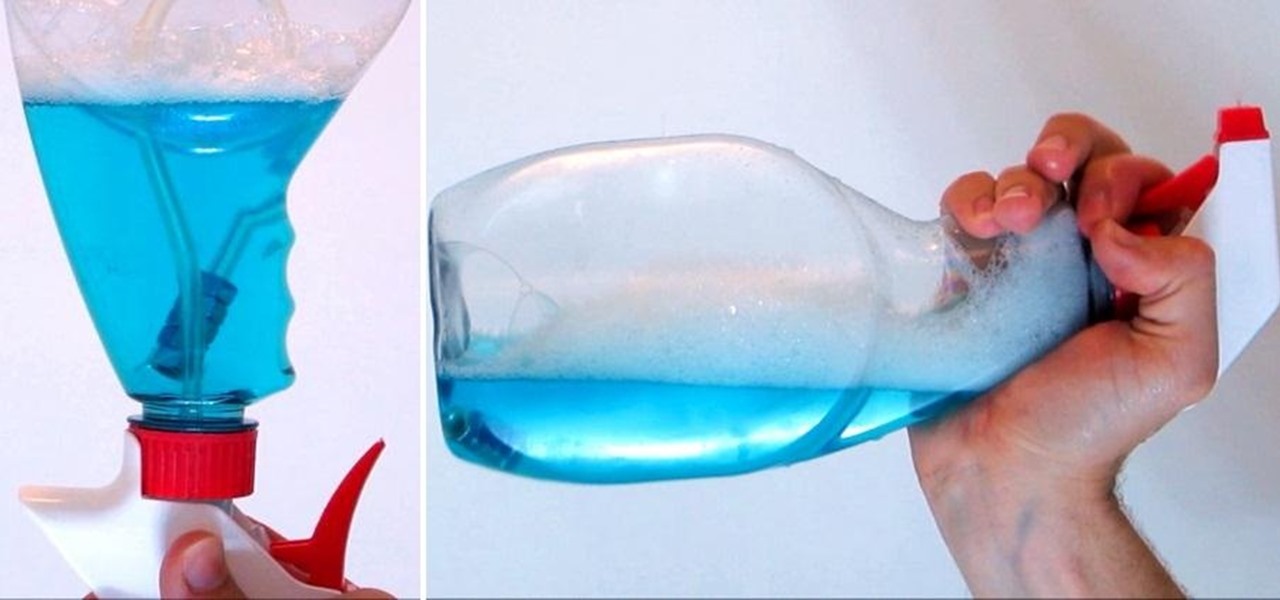
There's nothing more annoying than that last little bit of Windex that won't come. Most spray bottles are horribly designed, with the suction tube usually the culprit, but you can replace it and have a spray bottle that works in any position in about five minutes.

Learn how to use Ovi Maps on your device. See your current location, find a place, plan a route, and more. The C5 is the first offering in Nokia's new "C" series of mobile phones. It runs on Nokia's Symbian OS and features a 2.2-inch screen and 3.2-megapixel camera. Want more? Search WonderHowTo's sizable collection of C5 video tutorials.
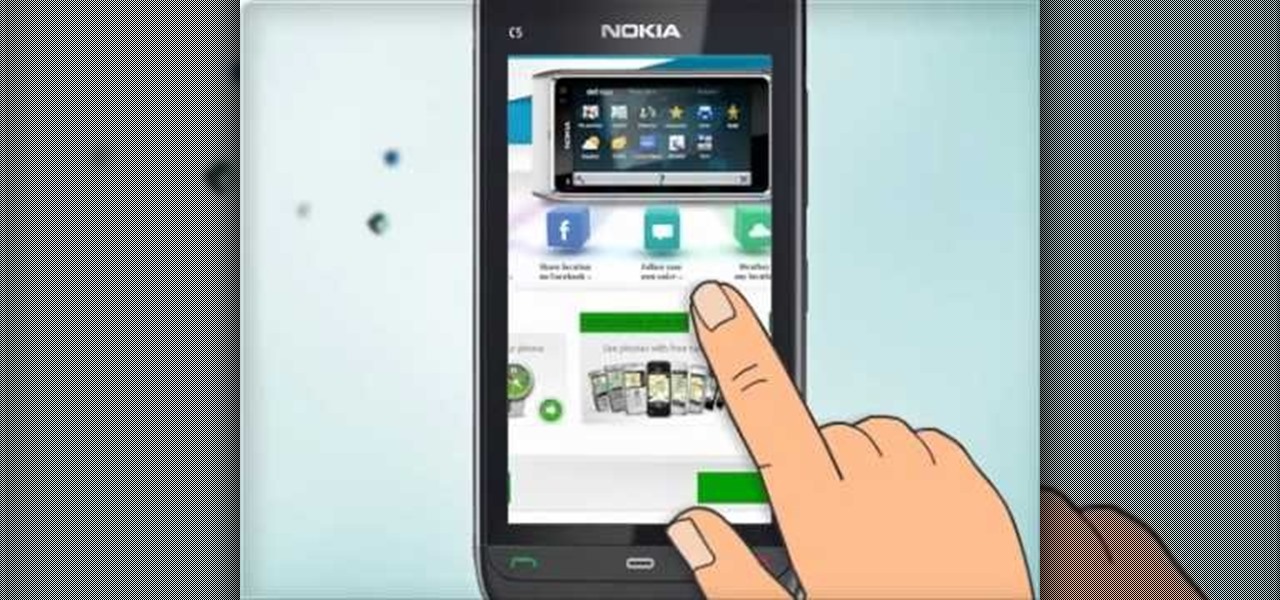
Learn how to use the touch screen to perform different actions. Learn how to control your device by tapping, swiping, scrolling or dragging. The C5 is the first offering in Nokia's new "C" series of mobile phones. It runs on Nokia's Symbian OS and features a 2.2-inch screen and 3.2-megapixel camera. Want more? Search WonderHowTo's sizable collection of C5 video tutorials.
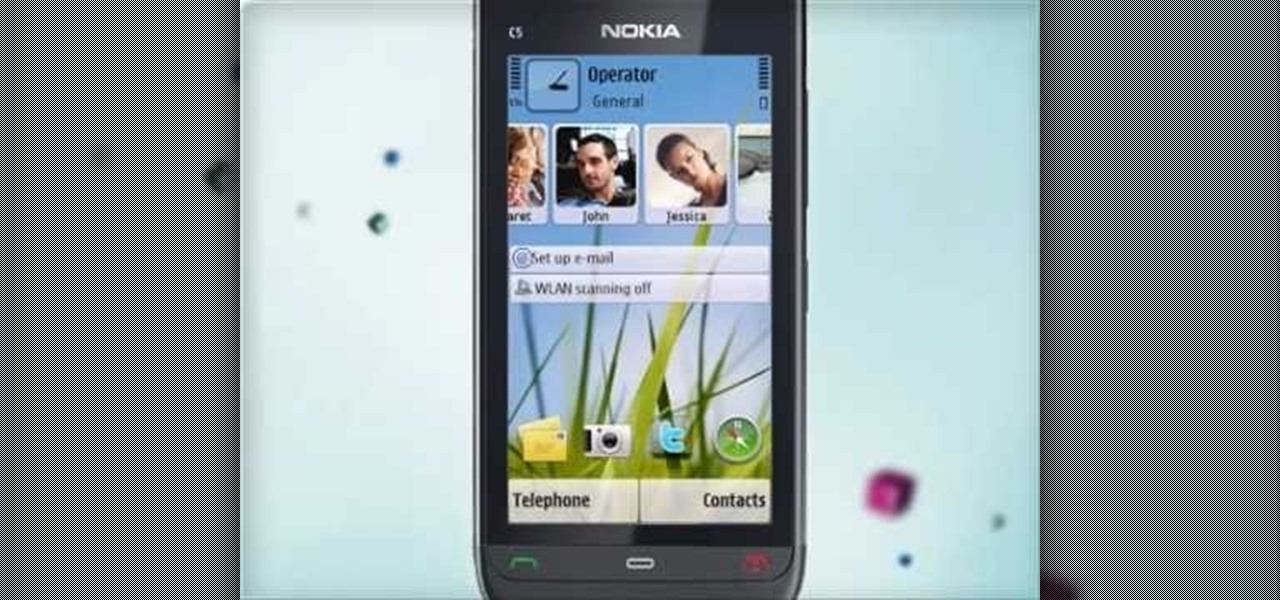
Get familiar with the home screen in your device. Learn how to personalise the home screen to make it yours. Also learn how to set an alarm using the home screen. The C5 is the first offering in Nokia's new "C" series of mobile phones. It runs on Nokia's Symbian OS and features a 2.2-inch screen and 3.2-megapixel camera. Want more? Search WonderHowTo's sizable collection of C5 video tutorials.
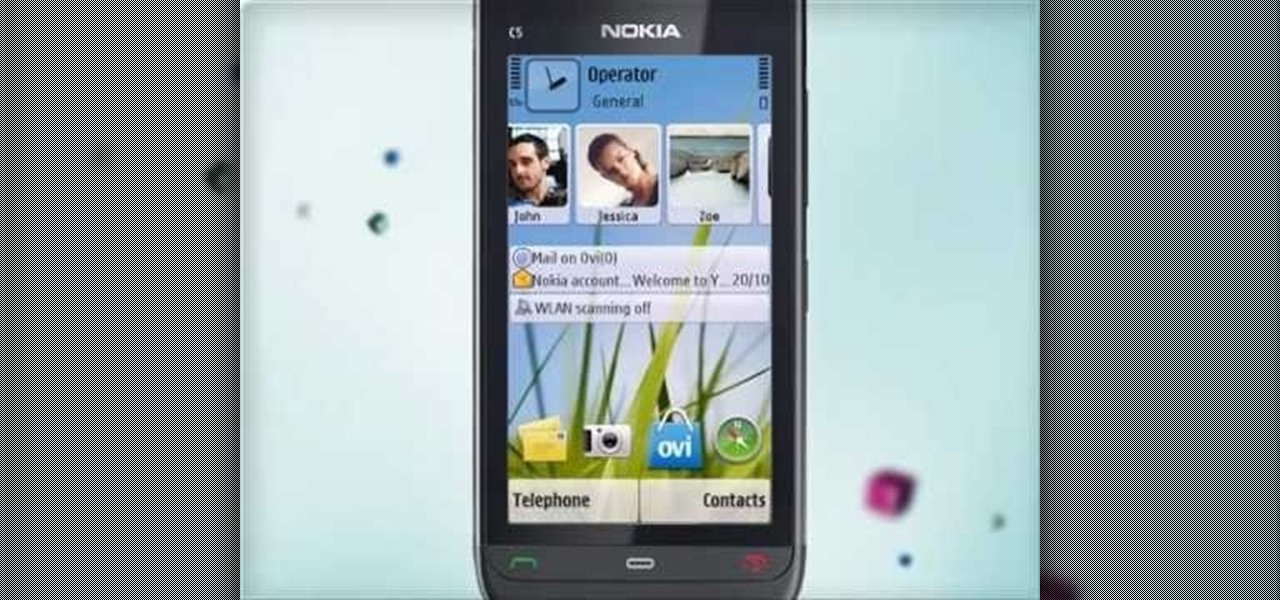
Learn how to make contacts that include a photo in the contact information displayed on the home screen. Also learn how to add a web feed to contact information and how to remove a contact from the home screen. The C5 is the first offering in Nokia's new "C" series of mobile phones. It runs on Nokia's Symbian OS and features a 2.2-inch screen and 3.2-megapixel camera. Want more? Search WonderHowTo's sizable collection of C5 video tutorials.
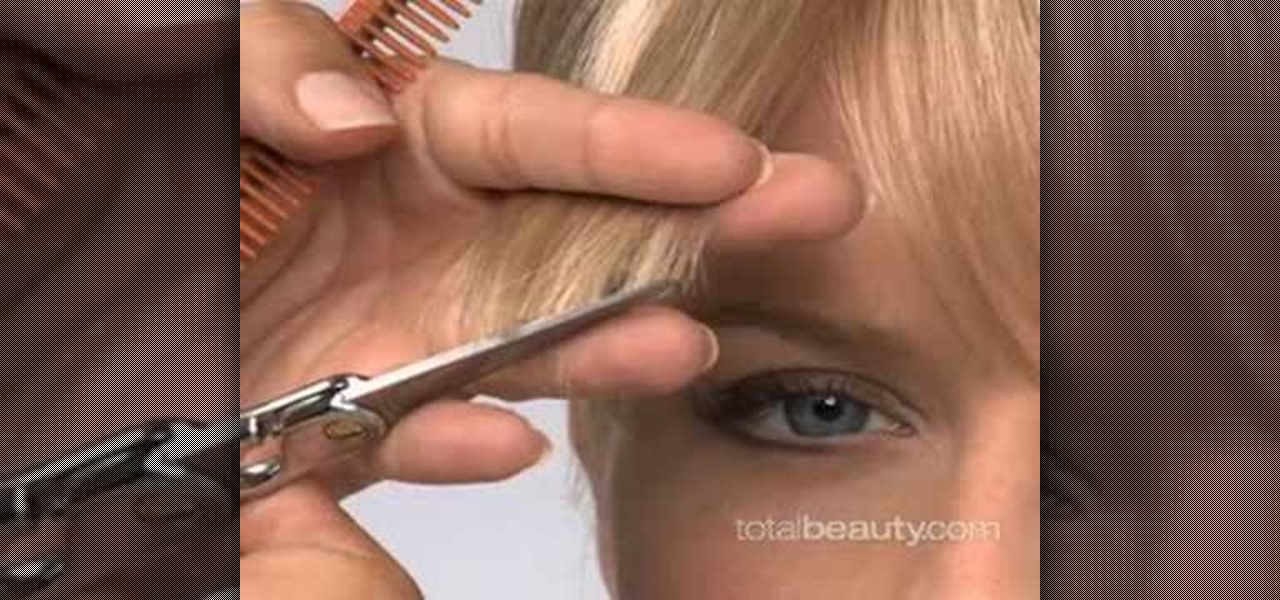
Bangs are one of the easiest and quickest ways to change up your look. Even if you're going from slightly overgrown bangs that graze your cheekbones to blunt cut bangs on your forehead, the change is instant and can do wonders to flatter your face shape.
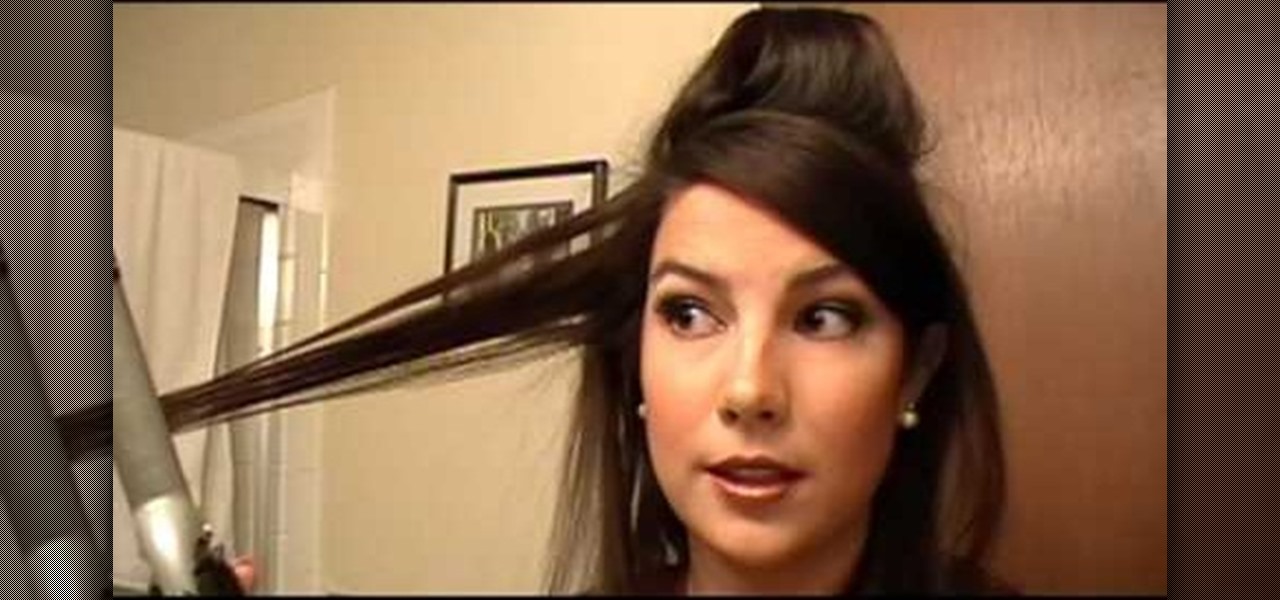
You don't need a big name hairstylist who claims he's done Jessica Simpson's hair in order to get luscious, enviable locks. In fact, all you need are cheapo, basic velcro hair rollers.
With the first installment of "Harry Potter and the Deathly Hallows" out, don't be surprised if you find yourself more than ever wanting to whip out a twelve inch phoenix feather wand and wrist twirl your way to defeating your own personal Voldemort. While this video won't teach you how to do magic (so sad), it will teach you how to craft a very cool-looking "Harry Potter" wand that can do the "lumos" spell.

In this video we learn how to make a candy DNA model. First, purchase some black licorice and another color. Grab two each from the pack and then purchase some gummy bears. After this, pick out four different colors from the gummy bears bag. Take your scissors and put the licorice together. Cut one inch pieces so you end up with six of them. These will represent the sugars in the molecules. Once you do this, you will take the string and push it through the holes that are in the licorice. Laye...
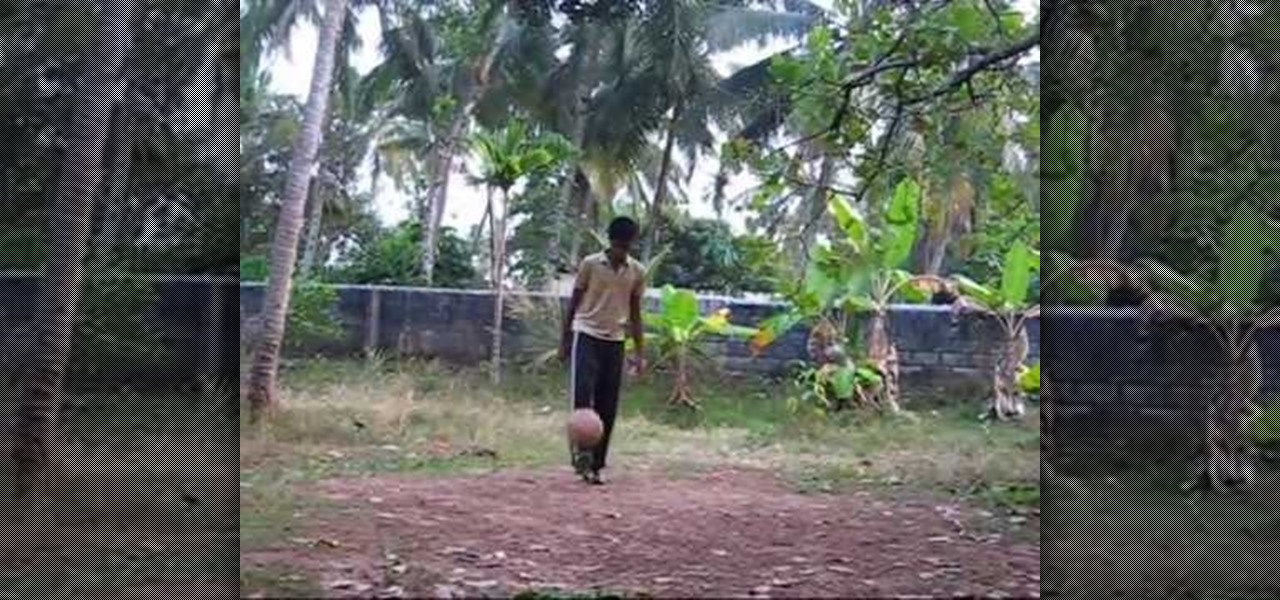
Juggling is the key to all free styling tricks. Juggling helps the players feel for the ball and his ability to strike the ball on the volley. To juggle use the top of the foot down toward the toes to strike the middle of the ball so that it goes straight up in the air. After practicing this type of juggling continue juggling with one foot, keeping the ball moving straight up in the air about 10 inches. The player should continue practicing juggling with one foot until he can juggle the ball ...
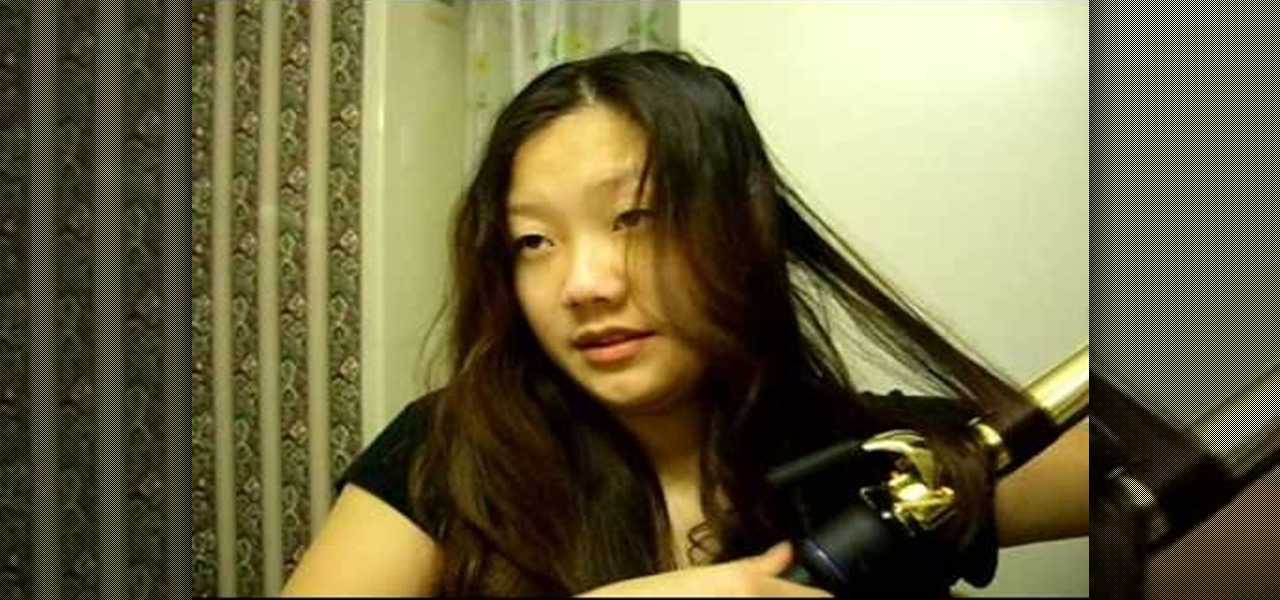
In this video, we learn how to curl your hair using a 1-1/4" curling iron. First, section your hair off into one inch pieces and then heat your curling iron up. After this, roll the hair in the curling iron and pull it up to the root of the hair. Leave this in for several seconds and then release the hair from the iron. Then, continue to do this for the rest of the sections of the hair. Slowly release the clamp so your hair doesn't get caught in it. When finished, style how you'd like and the...
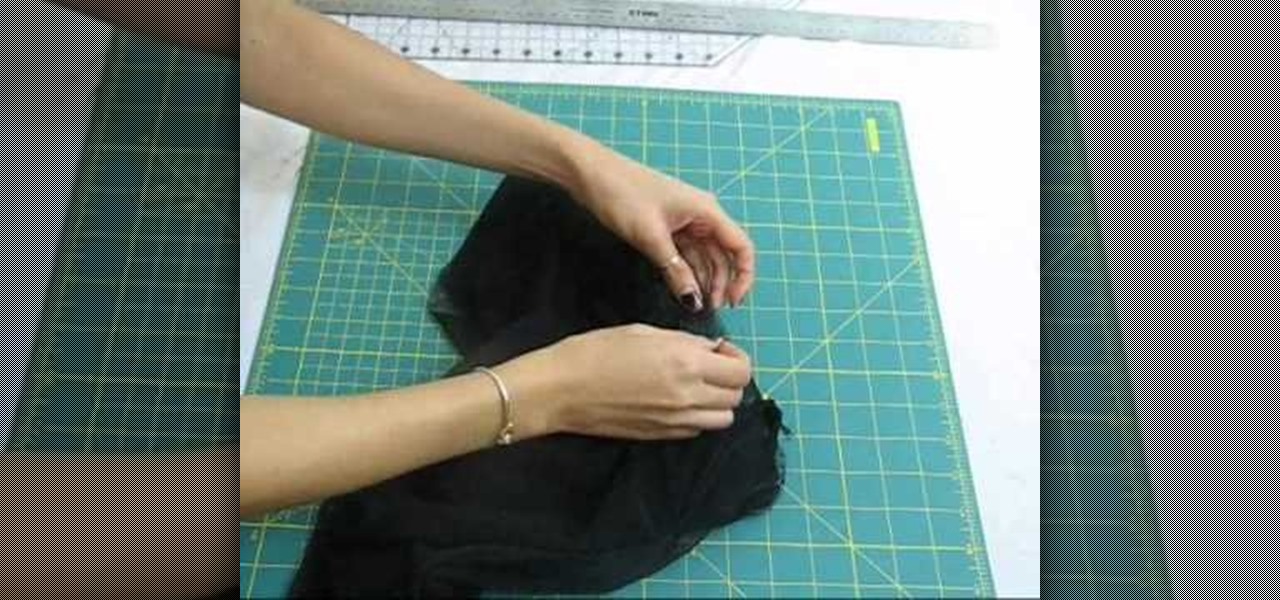
Leggings have the unique ability of covering you up (as long as we're not talking sub zero temperatures here) and keeping you warm and fashionable at the same time. They allow you to continue wearing certain fall dresses into fall. and look great in a pair of boots.
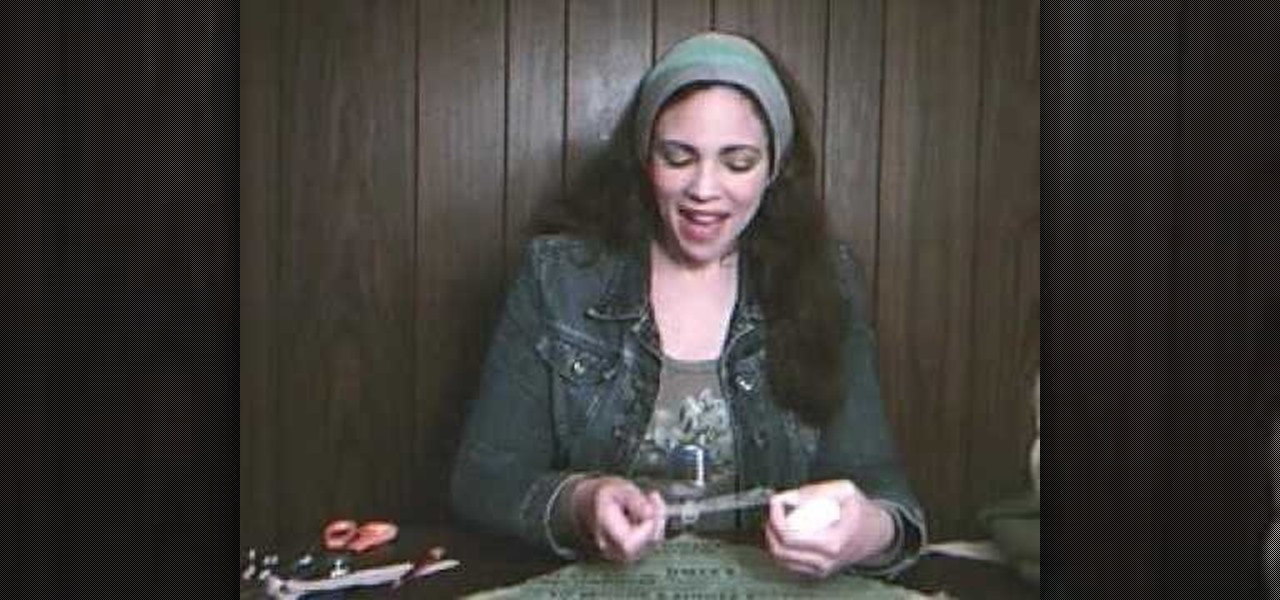
In this tutorial, we learn how to recycle an old t-shirt into a no-sew head scarf. First, lay your shirt out flat on a table and download the paper pattern from the video. From here, measure sixteen inches from side to side on the t-shirt that you are using. After this, follow the paper pattern on the shirt and cut out the pattern with scissors. Once you have finished this, use a fabric bonding agent to make the edges less frayed and fold them into each other. This is great for the environmen...
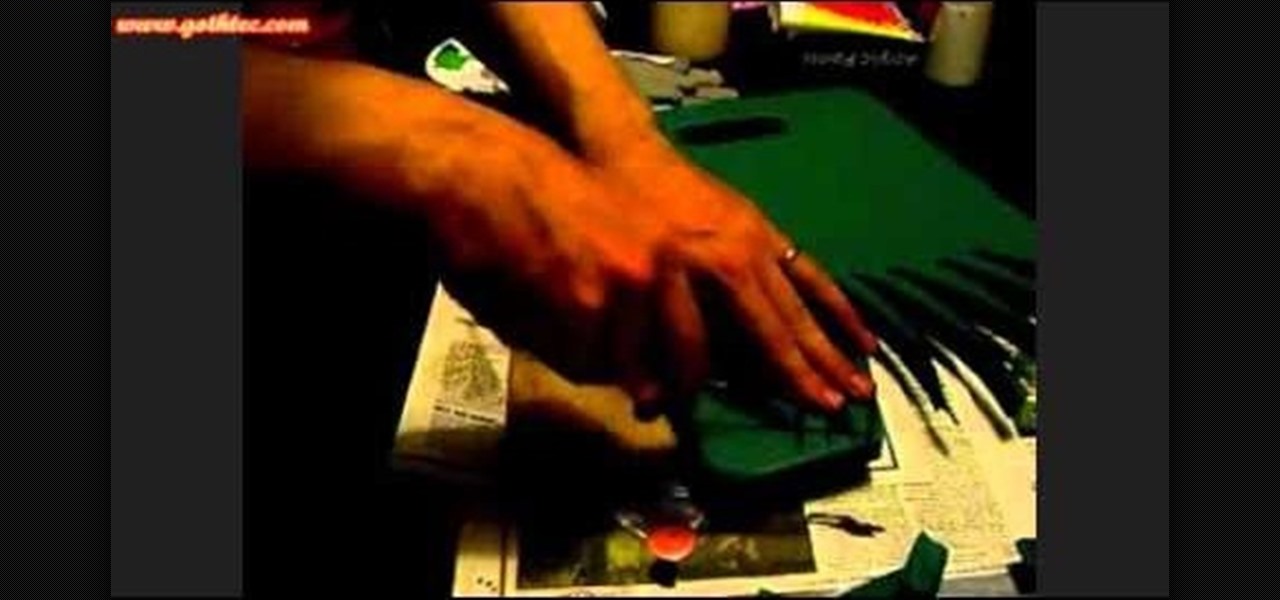
This tutorial shows you how you create a boffer larp safe pair of werewolf claws. Start with some basic heavy gloves, like gardening gloves, then cut out your claws from foam (at least three inches long!), and then follow along with the tutorial to end up with your own awesome monster claws!
In this video we learn how to make balloon wolverine claws with Michael. This is very simple, you just need two balloons that are 250 and two balloons that are 160. Use gray balloons to make them look more like claws. From here, you will take your blue 260 and inflate it then tie it. Make sure there is 4-5 inches left on the tail. This will allow you to tie the balloon and create pinch twists with it. Continue to twist the balloon, then incorporate the gray balloons in with it. When finished,...
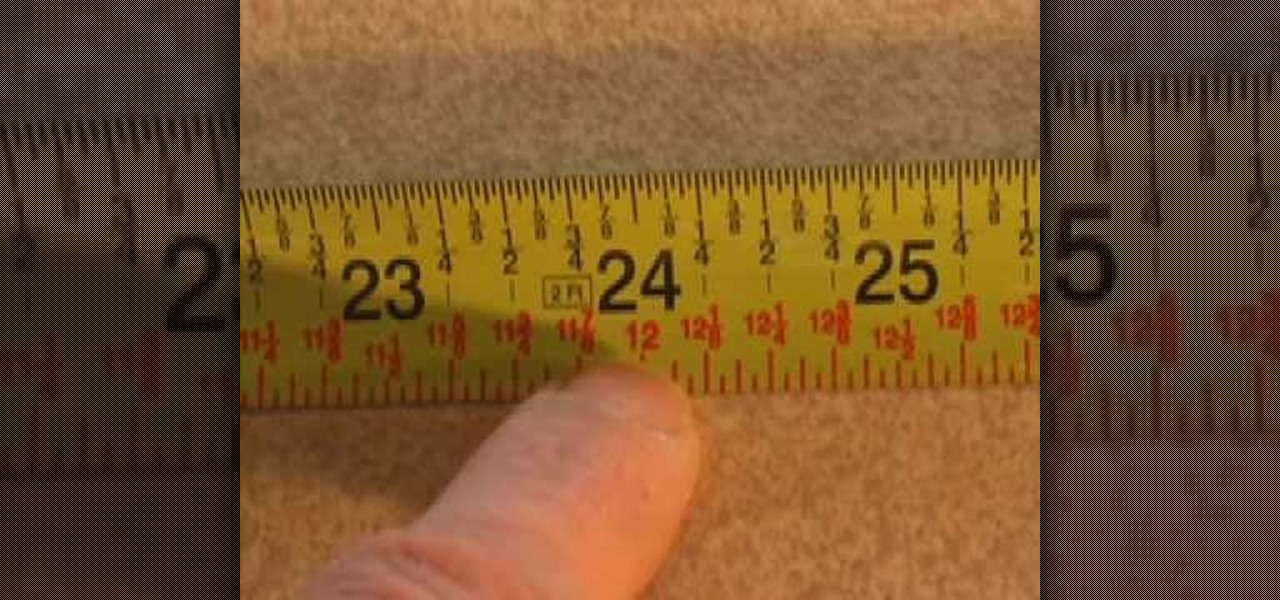
In this video we learn how to take accurate measurements in your home projects. First, you need to pick up the right tape measure for your project. Once you have picked out the right tape measure, you'll be able to use it for what you are trying to do. Now, learn how to read the numbers that are listed on the tape measure and find the precise measurement of your project. Make sure you take down all of the inches so you build everything correctly and don't have to go back and fix anything that...

In this video, we learn how to make a rose out of a bar napkin. First, take your pointer finger and thumb and get them moist. Then, grab the upper right hand corner of the napkin and gently roll it over. After this, keep rolling it towards yourself until you have rolled the entire thing. Next, roll then entire napkin up in a cylinder and find the tip in the middle. Grab this and then twist it to bring it out to the top. then, go down a few inches and squeeze and twist. Flare out the petals an...

In this tutorial, we learn how to tie a necktie on someone else. First, pop the collar and drape the tie around the neck with the wide end on your right. Then, tug the wide end down, so it hangs 12 inches below the narrow end. After this, cross the wide end over the narrow end, and bring it up through the neck loop and down the front. Swing the wide end to the right, pass it under the narrow end, then cross it back over the right. After this, push it up through the neck hole. Now, tuck it thr...

In this tutorial, we learn how to fold a paper rose. First, you will grab a napkin and unfold it. From here, roll the napkin around two fingers. Then, take it off and go two inches down from the top. Roll around this quickly, stopping half way. Grab the corner of the napkin and bring it up. Then, pull the rest down and continue to twist. Take your flower and make a leaf, then twist around the stem tightly. Put your fingers in the middle of the rose and use your finger to swirl it around. This...
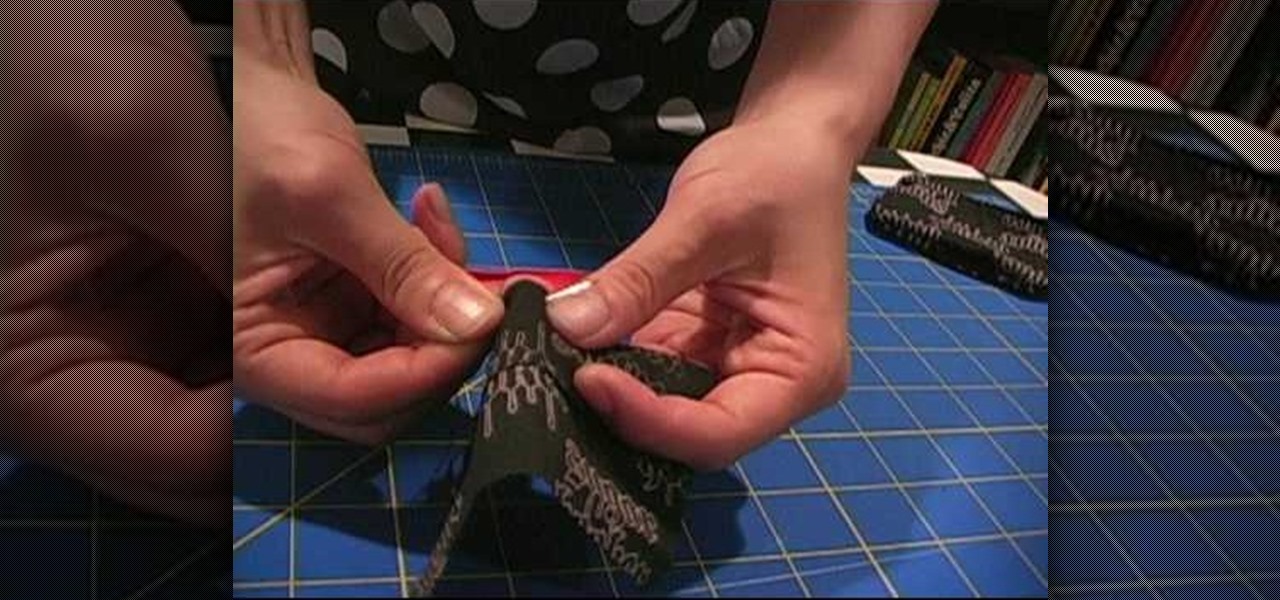
In this video we learn how to make a zipper purse or mini fanny pack for your belt. First, fold a bandanna in half and cut out a rectangle. Then, cut a rectangle out for the belt loop too. Next, take one of the bigger rectangles and cut it about 1.5 inches from the top. Then, sew these two pieces together using a needle and thread with white thread. After this, pin down the zipper to the back and sew up the sides. Then take the other piece and stitch it to the front side of your other rectang...

In this tutorial, we learn how to crochet a fringe on a scarf. Start be going to the end of your last row with your hook. Then, chain one and pull it tight. Next, decide how long you want your fringes to be and pull your thread that long. After this, cut it on the bottom and pull the loop out of the chain. Now, take your hook under the first stitch and fold three twelve inch strands in half. Then, hook these onto the crochet hook and catch the tail with the strands. Continue to crochet the fr...

This video tutorial is in the Fine Art category which will show you how to fashion a wallet from duct tape. For this you will need an X-acto knife, duct tape of any color and a tape measure. Rip off a piece of tape about 10 inches long and place it sticky side up. Rip off another piece of same length and place it on the 1st piece face down but, covering only half of the tape as shown in the video. Fold down the 1st piece on top of the 2nd so that you will have only one half piece of sticky ex...

In this tutorial, we learn how to make cucumber kimchi. To make this, you will need: 20 cucumbers 3 inches in length, 1 c sea salt, 10 c water, 2 c garlic chives, 1 c green onions. For the sauce, you will need: 1 c red pepper powder, 6 tbsp fish sauce, 6 tbsp water, 2 tbsp sugar, 2 tbsp minced garlic, and 2 tsp minced ginger. Once the cucumbers are cut, place them into boiling salt water and let sit for 15 minutes. After this, combine all the sauce ingredients and then mix the cucumbers up wi...
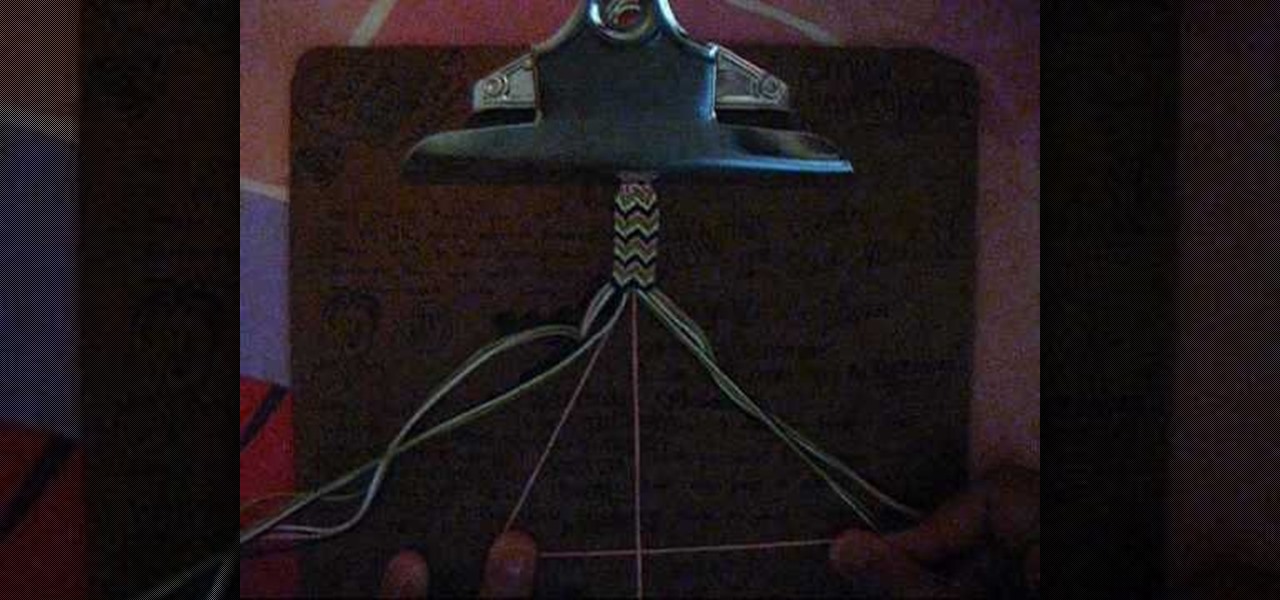
In this tutorial, we learn how to make a double arrowhead friendship bracelet. First, you will need two strings of the color you want that are 70 inches long. Then, tie these into a knot and put it underneath a clipboard. Now, separate these into four groups, then start to separate into colors. After this, find the color in the middle and start to braid and pull twice. Then, you will start to braid the other pieces of string in together so you are making to arrowheads right next to each other...
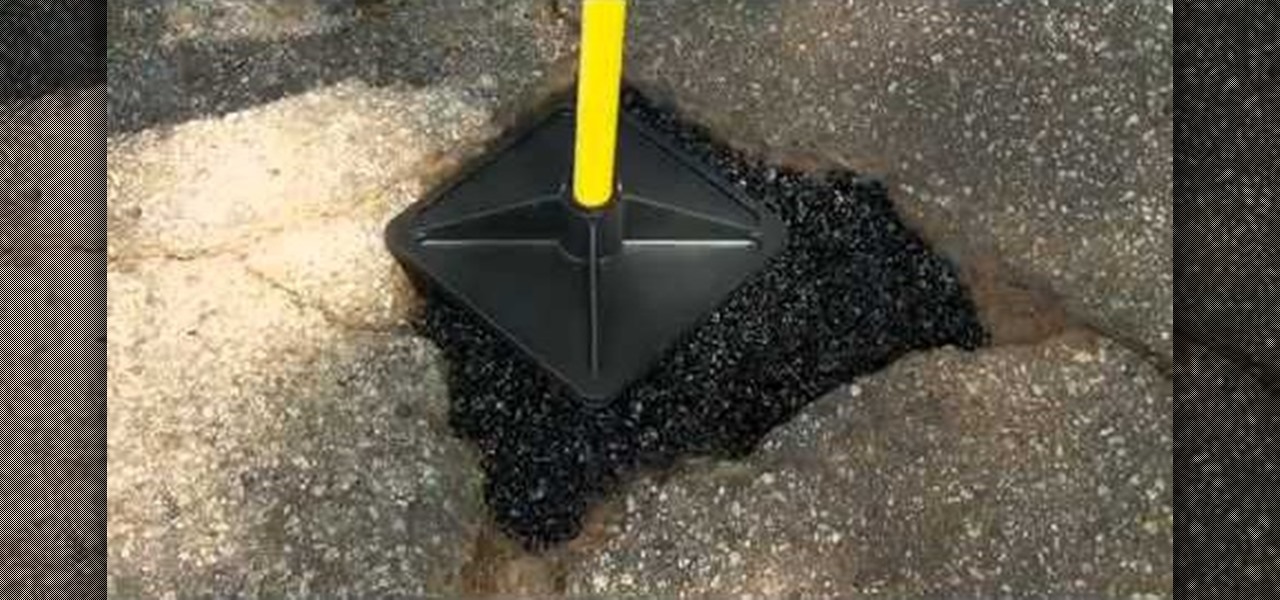
If you've managed to patch all of the unsightly and bothersome cracks in your home's driveway using QPR's Pavement Crack Filler, then you might have some bigger problems to repair— potholes. But don't worry, there's a super easy fix for that, too. QPR's Pothole Repair Products are permanent fixes for ghastly and embarrassing potholes in your driveway.

As little girls, we always read stories about beautiful princesses with neverending long hair, some with hair so long they could turn it into a rope to aid their prince to rescue them.
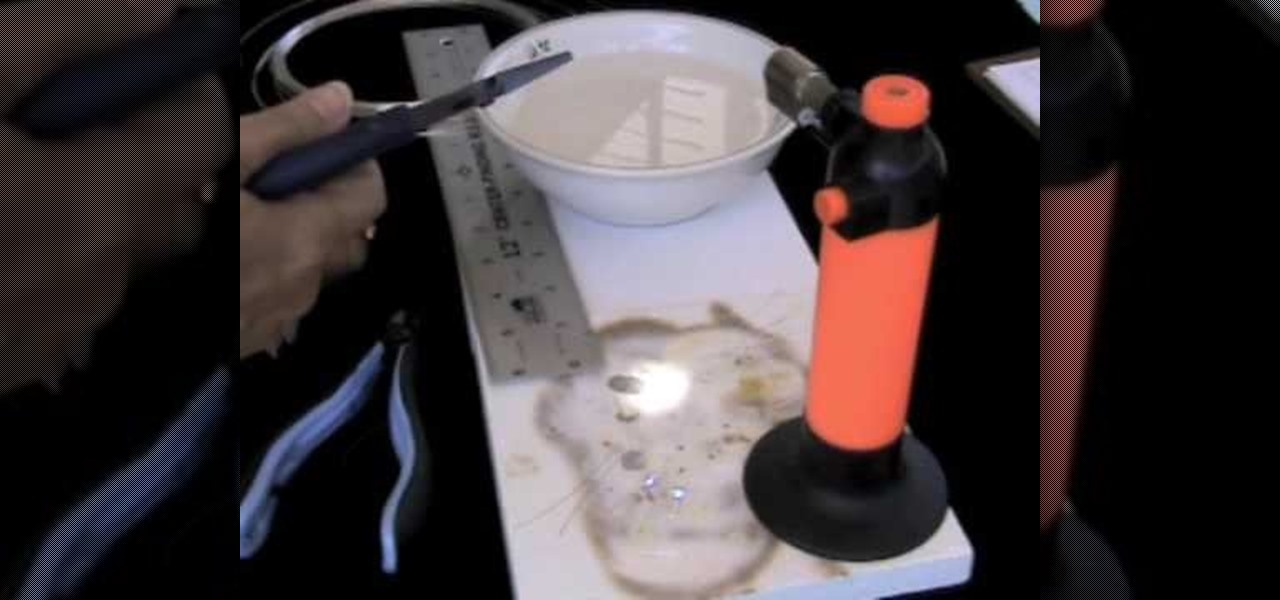
In this video, we learn how to make your own sterling silver headpins. You will first need a torch (one from your kitchen will work fine), a heat protected surface, bowl of cold water, and fine silver. Next, cut out two inch pieces (or longer if that suits you best). Put on safety glasses and turn on your torch. Now, pick up one of the piece you cut and put it into the tip of the flame. Quickly, the silver will ball up at the end of the pin. When it has balled up, place it on the cooled surfa...
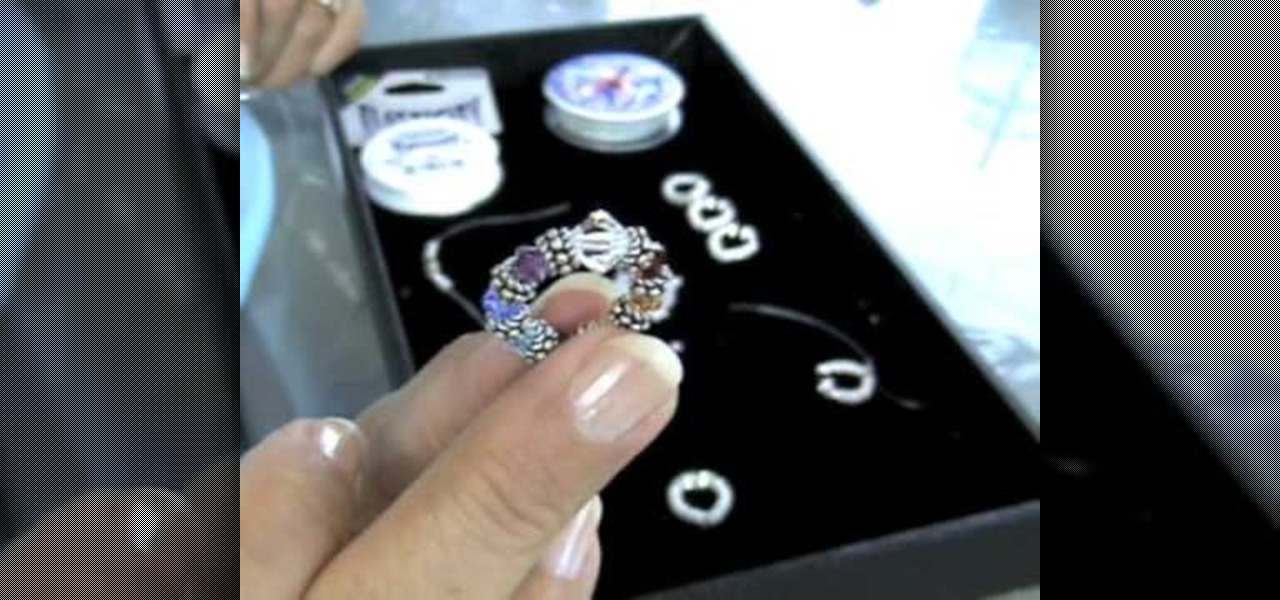
In this tutorial, we learn how to make an elastic Bali bead & crystal ring. First, you need to get all of your supplies together, which include: elastic cord, crystals, glue, beads, and scissors. Start by cutting a 6 inch piece of the elastic cord, then string a bead to the middle of it. Then take a crystal and string it onto one side along with another bead and a silver bead. After this, place more beads around the other side of the middle bead then put it around your finger to see if it's t...
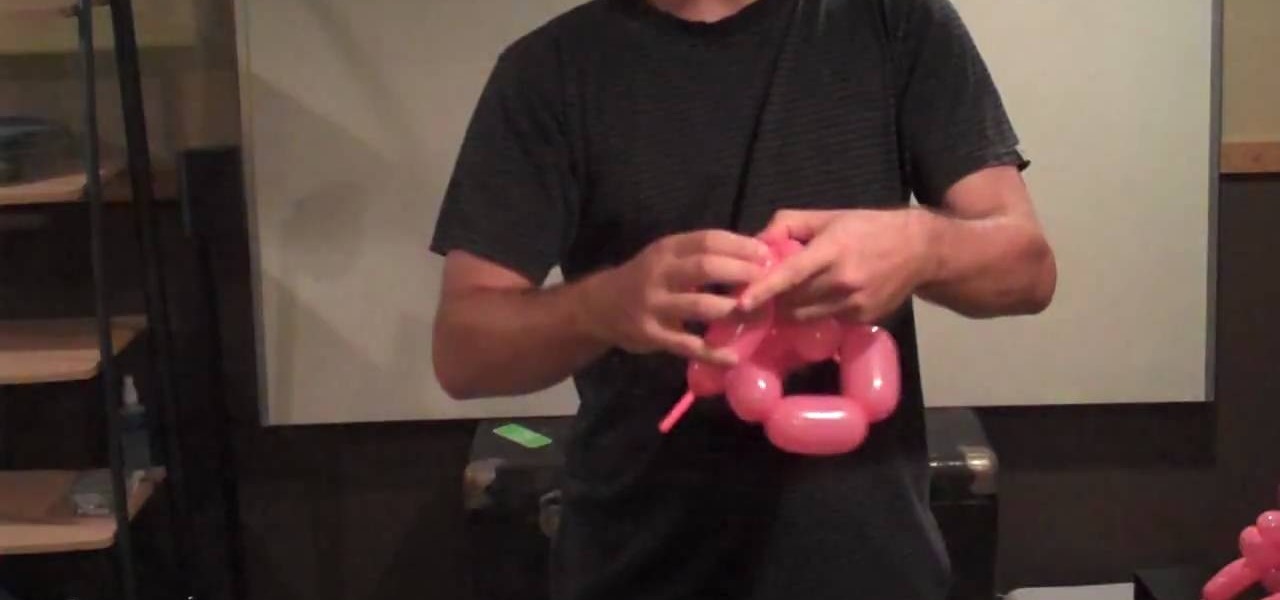
This video shows viewers how to create a maple leaf using two long balloons which are used for making animal balloons. You will begin by inflating the first balloon, leaving a few inches of empty space at the end of the balloon. Begin by making two small bubbles by twisting the balloon and creating consecutive bubbles in the balloon. Follow these with two larger bubbles and 3 more smaller ones, to create a hexagon shape. Continue to create small bubbles, folding them into each other to create...
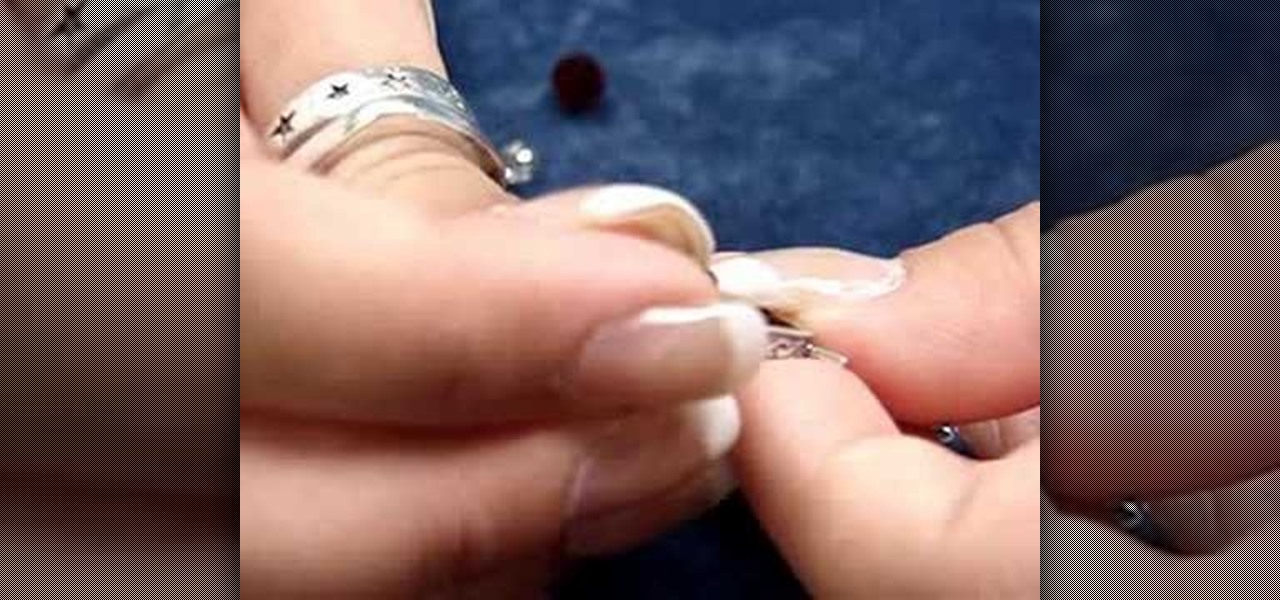
In order to make an adjustable cable necklace, you will need the following: 20 inch adjustable cable chain, a slide bead frame, 2 head pins, 8 mm bi-cone, 8 mm crystal, 2 6-mm round rondells, 2 7-mm jump rings, a pair of nipper tools, a pair of round nose pliers, and a pair of chain nose pliers.

In order to make your own silver wire wrap earrings, you will need the following: sterling 20-gauge wire, chain nose or small round nose pliers, fine sterling wire, and multicolored crystal beads.

In this video, we learn how to make a beaded 7 petal faerie flower pendant. First, string 14 beads on an 18 inch piece of string. Next, create a circle in the beads, then tie it off. After this, add three blue beads to your first pico stitch, then go through two more beads after this. Continue to do this all the way around the bracelet until you reach the other side. After this, go through the first pico stitch and add one red bead, followed by blue and red beads to make petals. Continue this...
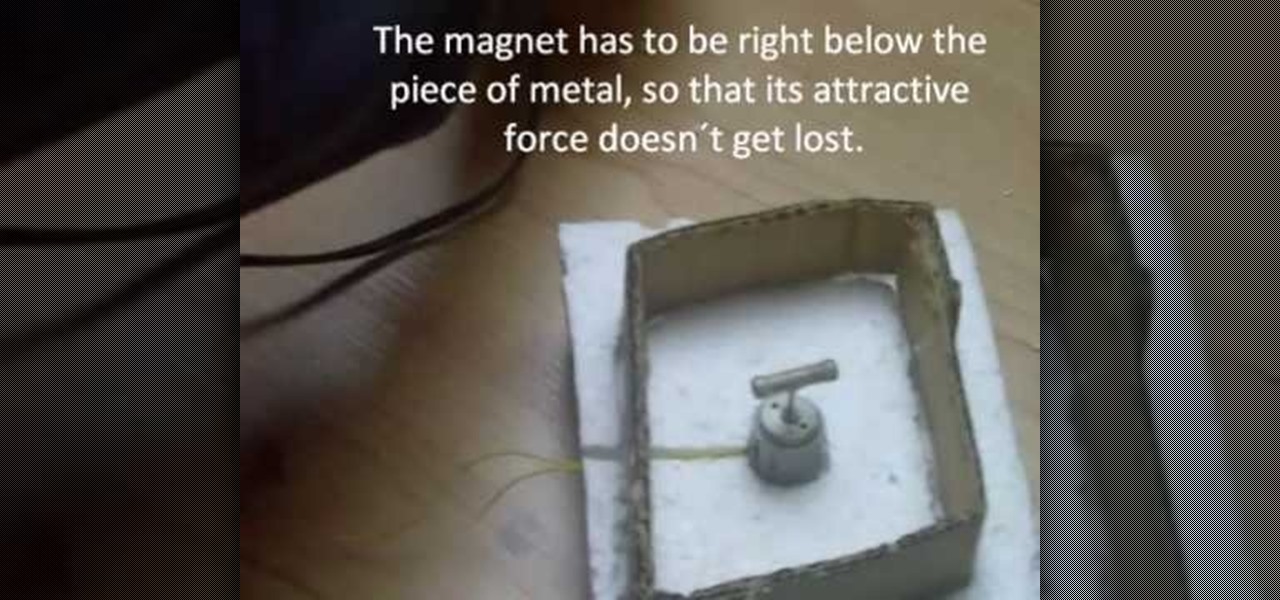
In this video, we learn how to build a magnetic stirring device. First you will need: a block of 1 inch thick Styrofoam, a piece of cardboard, 2 magnets, a small electric motor, a piece of non-magnetic metal, a hot glue gun, and a soldering iron. First, draw the shape of your cardboard square on the foam and cut it out. After this, take your soldering iron and melt away the Styrofoam from the outside. Then, make a hole in the middle for where the motor will be placed and push it inside. After...

When you get you're "My Kitchen" cartridge from Cricut, you will need to test the cartridge, in order to make sure it works. Then, you should look at the manual. Remove the pages that you don't need: those in foreign languages.
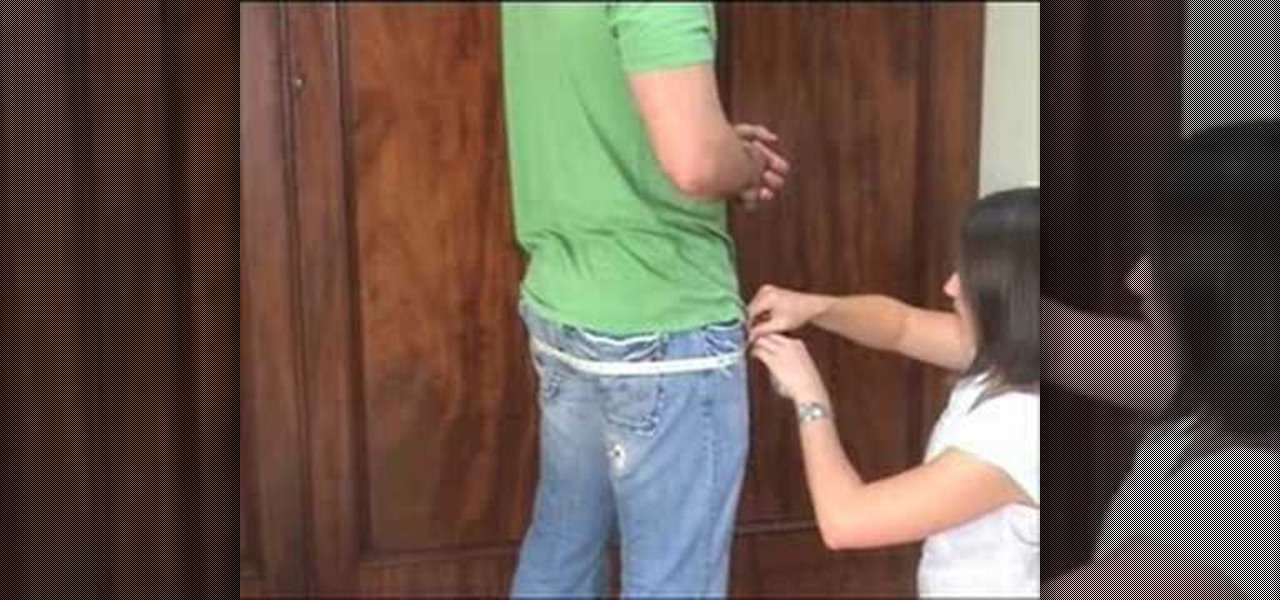
In this tutorial, we learn how to measure a traditional 8 yard kilt. First, make sure you have someone else take your measurements, don't do it by yourself. Have your waist measured first, measure about two inches above the belly button or where you want your kilt to sit. Next, measure the seat by taking the measurement around the widest part of your hips. Finally, measure the kilt length by measuring straight down from the waist line until you reach the middle of the knee cap. After this, yo...
In order to make a neoprene necklace, you will need the following: neoprene, scissors, end caps, clasps, glue, and 2 pairs of pliers.
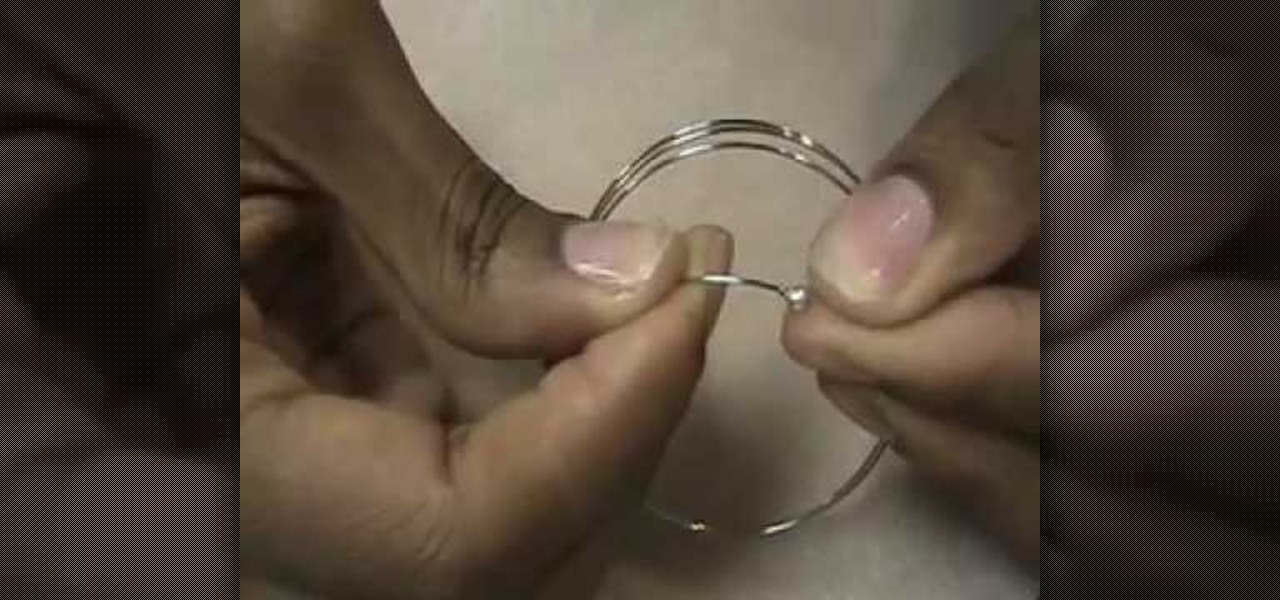
In this video tutorial, viewers learn how to make a Mediterranean blue bracelet. The materials required for this project are: memory wire, Mediterranean Czech glass bead mix, 4mm sea side mix Czech fire polish round beads, wire cutter, super glue, bead stopper and 2 3mm memory wire end caps. Begin by cutting 3 1/2 clamps of wire and glue one memory wire end cap to the end of the wire. Then string the beads. Users may decide to make a repetitive pattern with the beads or randomly string the be...