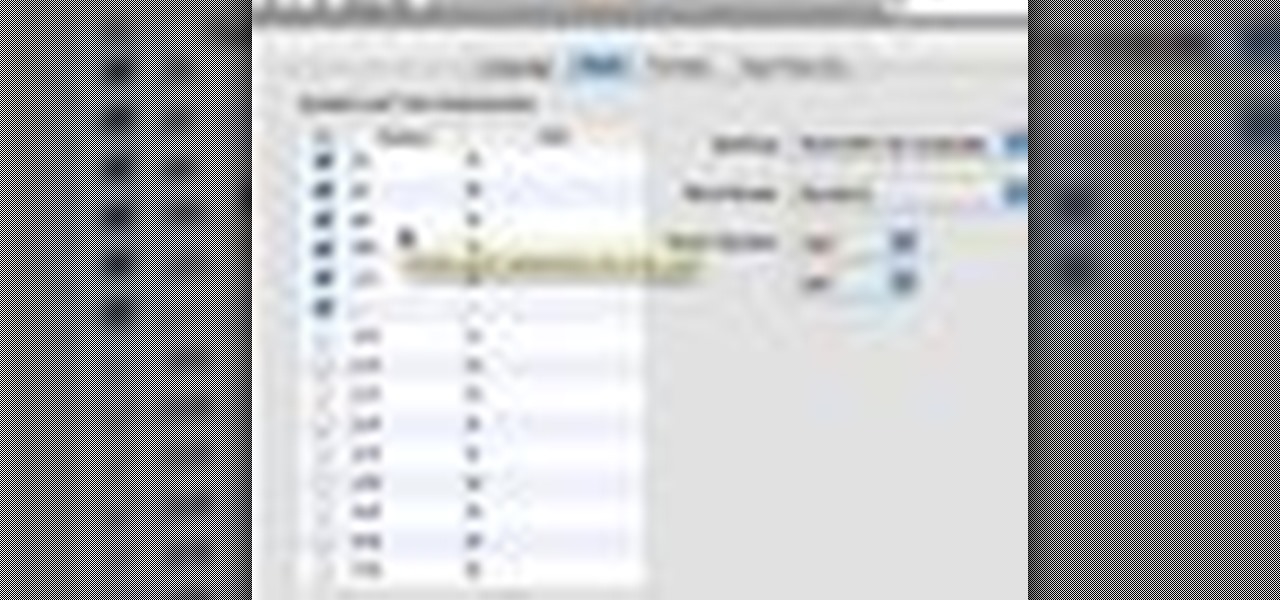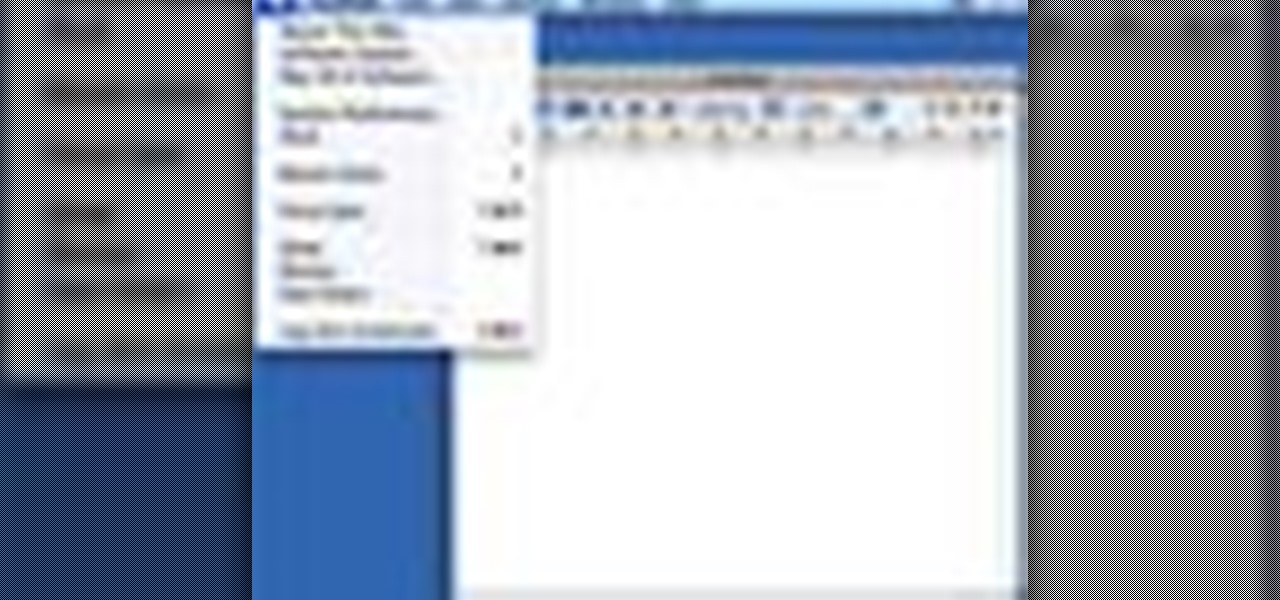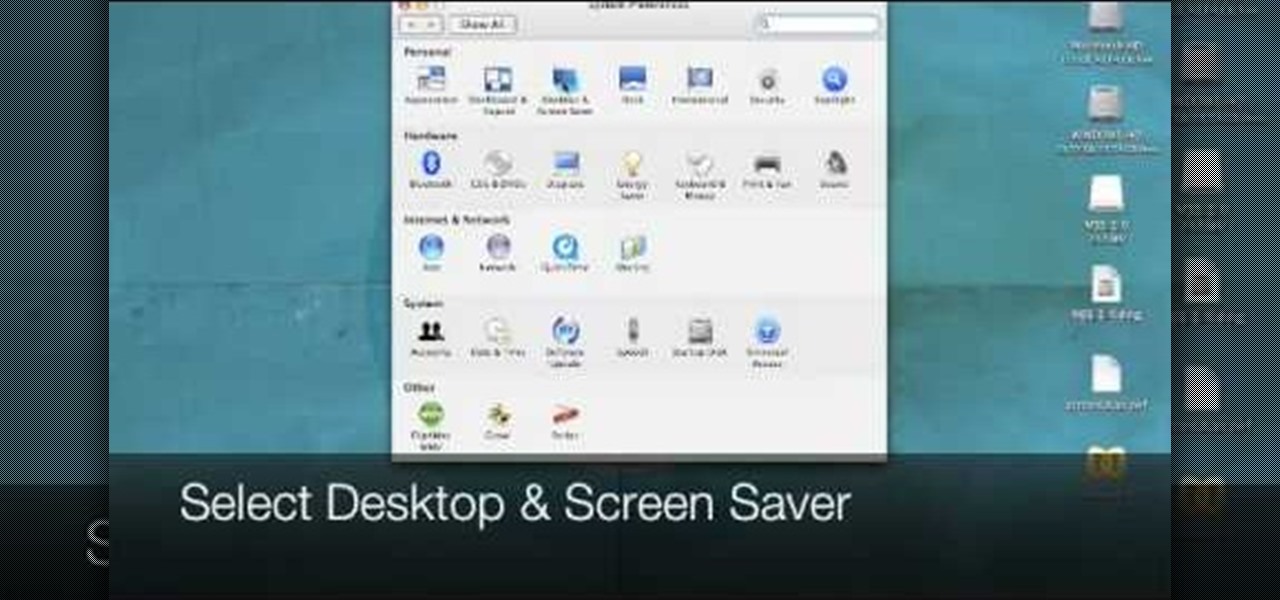
In this video tutorial, viewers learn how to type in special characters. Begin by opening System Preferences and select International under Personal. Then click on the Input Menu tab and check Character Palette and Keyboard Viewer. Now check "Show input menu in menu bar" and click OK. Then click on the flag icon on the top of the screen and select Show Keyboard Viewer. This will allow users to type or mimic the actions of the keyboard. Users are also able to change the character by selecting ...
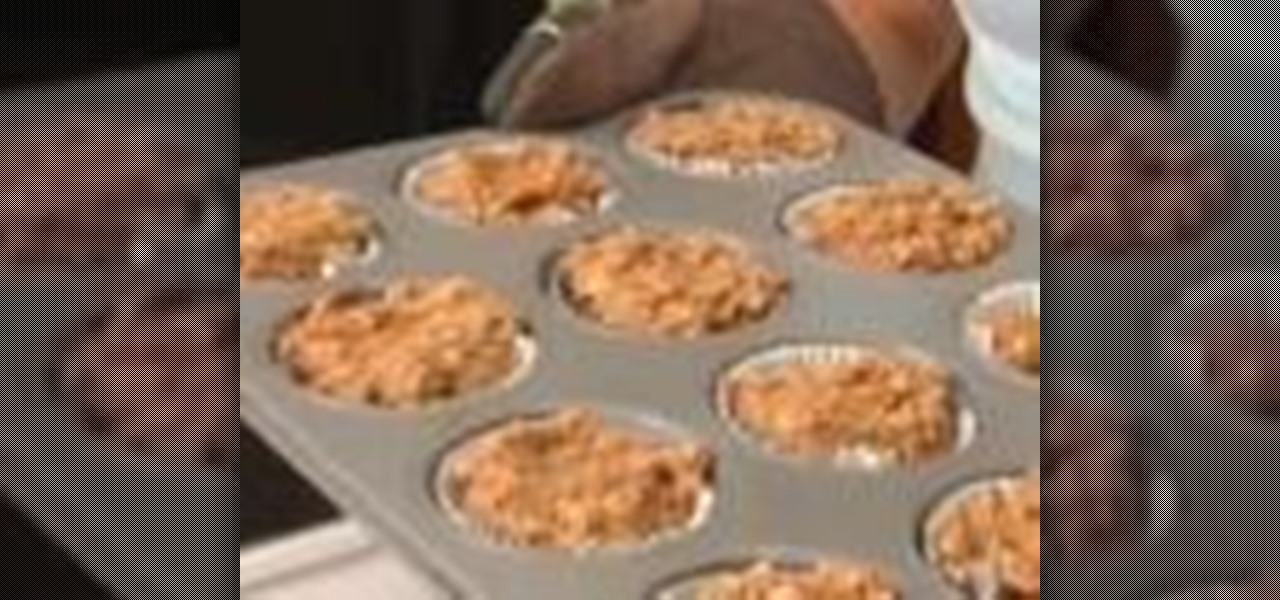
In this video, we learn how to make sweet potato muffins. First, take 1 medium sweet potato and cook it, when it's cooled, peel it and cut it into cubes. Next, mash the potato and add in 1 cup egg whites (6 egg whites), 1 tbsp cinnamon, 1 tbsp pumpkin spice, 1/4 cup Splenda baking blend, and 1 tbsp pure vanilla extract. Now, mix this all together in a large bowl until it's well combined. The final ingredient to add after this is 2 cup of oats (your preference). Mix this together with the othe...
In this tutorial, we learn how to save drive space using Firefox. If you want to change the cache folder location, whether it's for security or just because, it's very simple. First, type in "about:config" into your internet browser. A new page will appear, right click your mouse and select "new" and then "string". When the page asks for the preference name, type in "browser.case.disk.parent_directory". Then, type in the name of the folder where you want the cache to go. Next, Firefox will cr...
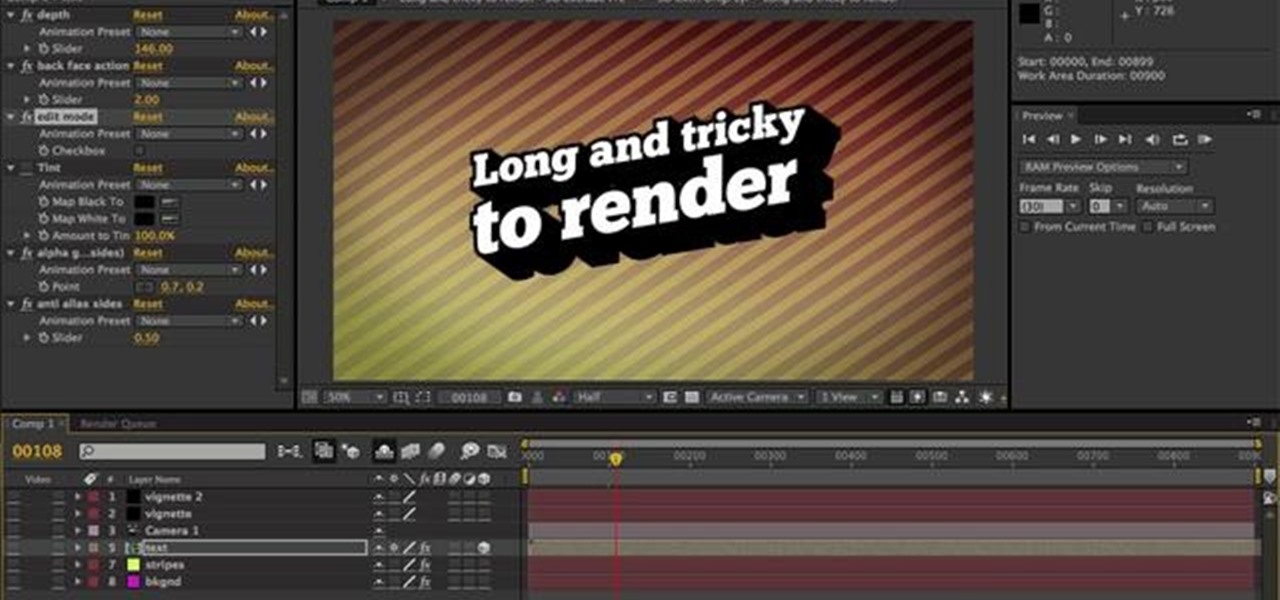
Learn how to render projects in Adobe After Effects CS4 or CS5. This guide also covers the use of background renderer, creation of output modules and render settings templates, memory, multi-processing and disk-cache preferences, as well as showing a basic preset for rendering FLVs and Quicktime H.264 out of After Effects. The tutorial is aimed at users at a basic to intermediate level. Whether you're new to Adobe's popular vector editor or a seasoned graphic arts professional just looking to...

In this video, we learn how to prepare a pack for 2 days and 1 night of hiking. Each person has different needs, so change according to your preferences. Something important is to pack something to sleep on, which would be a hammock and blanket. Also, pack a Bible if you are religious. Hand sanitizer is a must-have for any hiker to kill germs that can cause illness. Make sure you have water bottles packed as well as a GPS and compass. Two different compasses are a good idea just in case one h...

In this video, we learn how to connect an Apple wireless keyboard to the iPad. This is great if you need to write something that requires a lot of typing. First, go to "system preferences" then click on "Bluetooth". Once you're in this, make sure the "discoverable" check box is not checked, then highlight your keyboard. In the bottom left hand corner click the minus sign, then click "remove". Now, on your iPad click "settings" then "general" then tap "Bluetooth". Almost right away you should ...

This how-to video shows you how to use the text substitution feature in Mac OSX. This will make it easier for you to type symbols and fractions. It can also be used to create shortcuts for texts that you use on a regular basis. Go to apple and system preferences. Click language and text and select the text tab. You will see some substitutions already created. To add a substitution, click add and type the text you want to replace. Press tab to add the text you want to replace it with. Save thi...

This video shows us the method to transfer files between iTunes libraries in iTunes 9. First step involves downloading iTunes 9 from apple.com. Go to the 'Edit' tab and 'Preferences'. Go to the 'Sharing' tab and select the 'Share selected playlists'. Select the playlists you want to share and click 'OK'. Now go to 'Advanced' and select 'Turn on home sharing'. Make sure that both are under the same account. Type in the password and you will see an icon in the shape of a home in the left side. ...

Are you looking for a delicious meal that is healthy too? A curry coconut stir-fry may be just what you need. First prepare the vegetables: the celery first, cut into diagonal slices; the the onions are cut in two different styles to give a mixture of textures in the stir-fry; followed by the red pepper which is cut into thin strips. The chicken is prepared next: cut along the bones and then into small chunks. The wok needs to be extra hot when you add the oil. Depending on your preference yo...

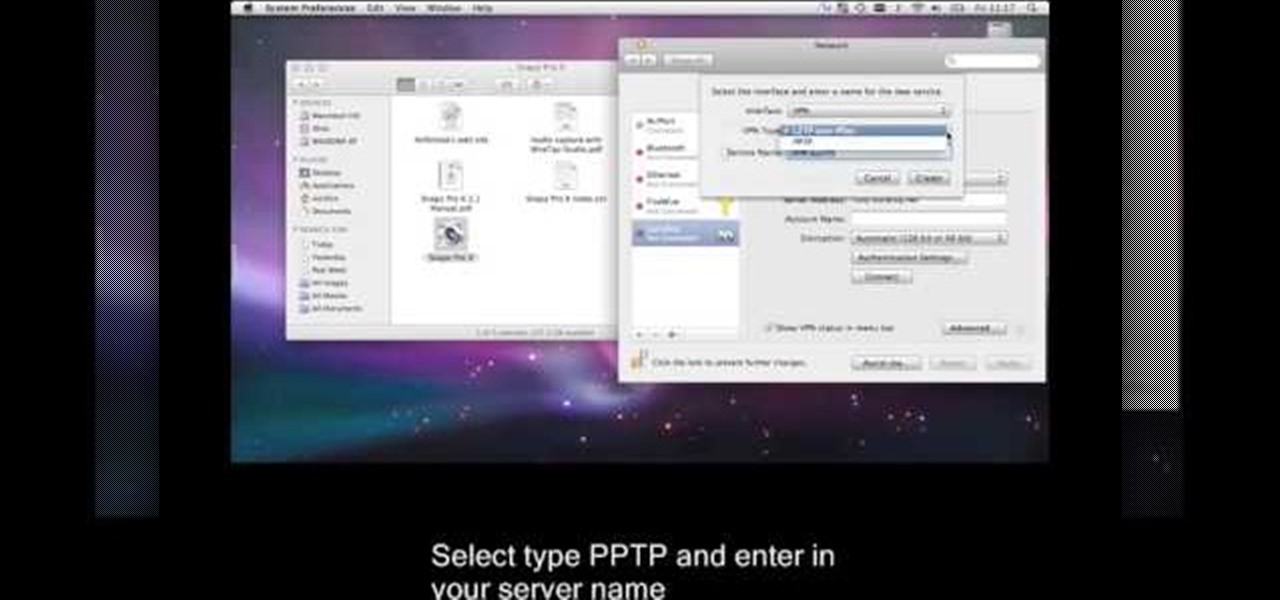
This is a video tutorial that is showing its audience how to set up your own VPN client on your Mac computer. The first step in setting up a VPN client is to go to your system preferences on your computer. Next select network and then select the plus button and type in that you will be making a VPN network. Next you should select the type PPTP and enter your server name. Then you can click on create and it will create a new network for you. Next you should enter your service address and your ...

In this video tutorial, viewers learn how to use the on-screen keyboard on a Mac OS X computer. To turn on the keyboard viewer, go to Apple and select System Preferences. Under Personal, click on Language & Text. Click on the Input Sources tab and check Keyboard & Character Viewer. The viewer will appear as an icon in the status bar. Click on the icon and select Show Keyboard Viewer. Now place the cursor where you want to start typing and use the onscreen keyboard to type. This video will ben...

Mac OSX offers an easy solution to increasing the contrast of your display, and switching the screen from black on white to white on black. In the Universal Access section of System Preferences, under the large "Display" label, you will find a set of controls. Switching from black on white to white on black will invert the colors on the screen, making it easier to read for some people. There is a toggle to the right of that control which switches your display from color to grayscale. Below th...

This video is a tutorial on how to create your own custom screen savers from your favorite movies on a Windows computer. The first step is to download the Movie Screen Saver Software from www.vijusoft.com. When the program is finished downloading from the website then you will have to open the installer package and follow the instructions. The download should only take a few minutes and then you might have to restart your computer when it is finished. The second step, once the program is down...

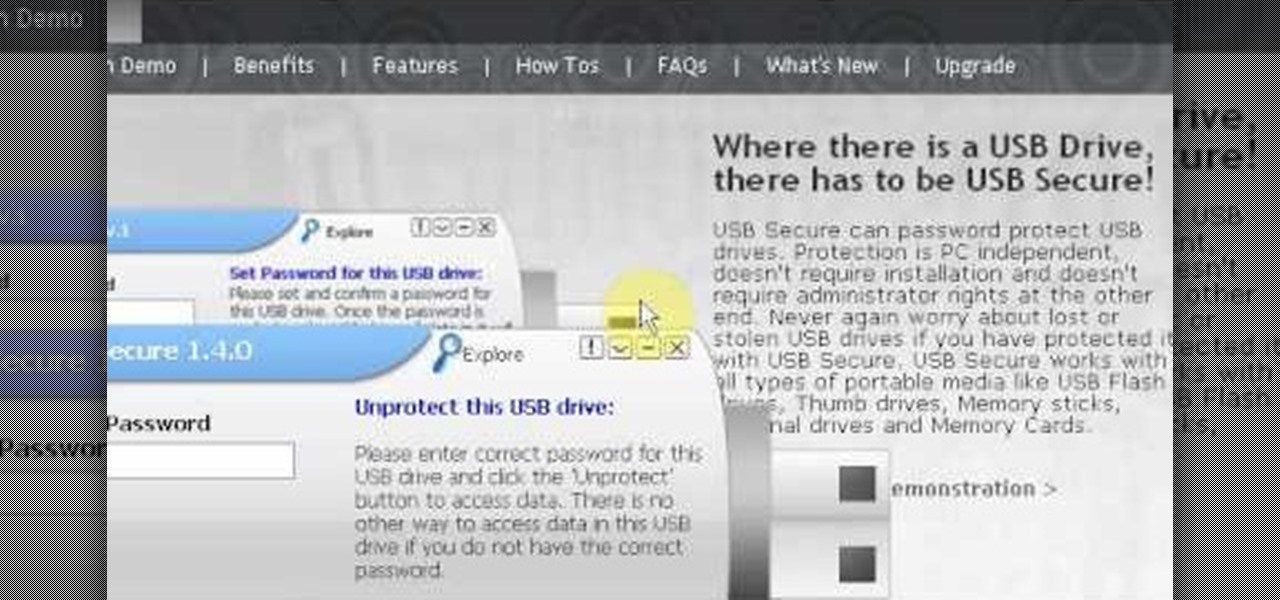
Have important files that you want to put on a USB drive but do not want anyone else to be able to access them? Put a password on it using USBSecure.net free resource.

In this video tutorial, viewers learn how to announce alerts on a Mac OS X computer. To do this, open the Speech preferences and click on the Text of Speech tab. There, users are able to set up the computer to announce when alerts are displayed and announce when an application required your attention. Users are able to set additional options by clicking on Set Alert Options. Users are able to select a different voice, phrase and delay time. To preview the option, click on Play. This video wil...

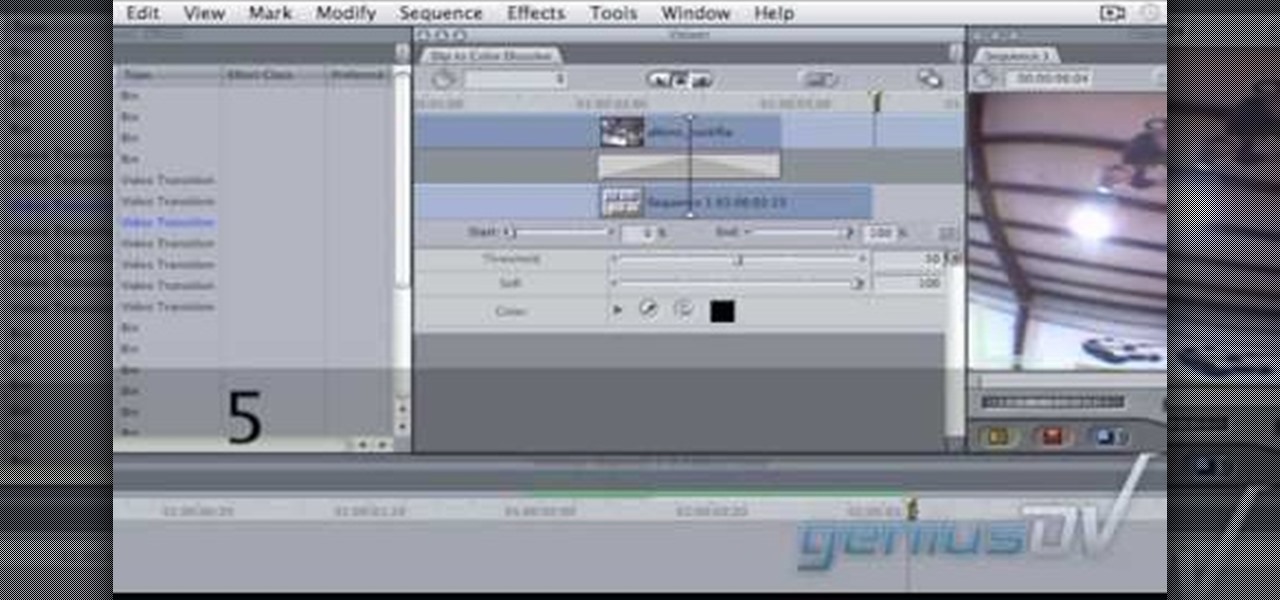
In this video tutorial, viewers learn how to create a freeze-frame effect in Adobe Final Cut Pro. Begin by placing the time line indicator to where you would like to place your freeze-frame. Press Shift and N to create the freeze-frame. The default user preference is 10 seconds. To change it, change the time and click on the insert button to splice the new freeze-frame time into the time line. Now click on the Effects tab and select the Dip to Color Dissolve under Video Transitions and Dissol...

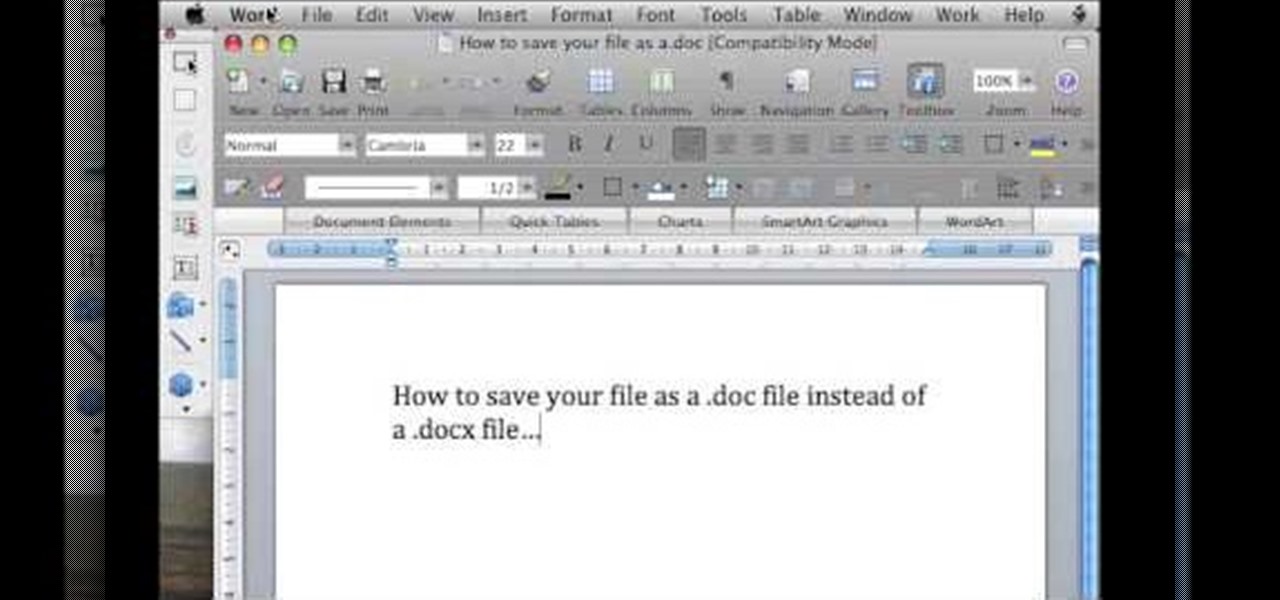
In this video tutorial, viewers learn how to save in .doc file format in Microsoft Word 2007. When saving a file, click on File and select Save As. In Format, change it to Word 97-2004 Document(.doc) and check Append file extension. To set .doc as the default format, go to Word and select Preferences. Under Output and Sharing, click on Save and change the format to .doc in Save word file as. This video will benefit those viewers who want to learn how to save files in .doc format so that it ca...

In this video tutorial, viewers learn how to change a Mac book Pro's dock. To turn the magnification off the dock, go to the Apple menu, click on Dock and select Turn Magnification Off. Users can also turn the hiding on, to hide the dock when not in use. Users can position the dock to the left, right or center on the bottom of the screen. In the dock preferences, users can adjust the size of the dock. This video will benefit those viewers who use a Mac computer and would like to learn how to ...

In this how-to video, you will learn how to change what application will open once you connect your camera to your Mac. For example, you may not want iPhoto to open up when you hook up your camera. Open up Image Capture and open up the preferences. Change the drop down section so that it will open whatever program you want once this is done. Choose Other so that you get a list of programs that you can use. Select the program you want and hit okay. By viewing this video, you will learn how to ...

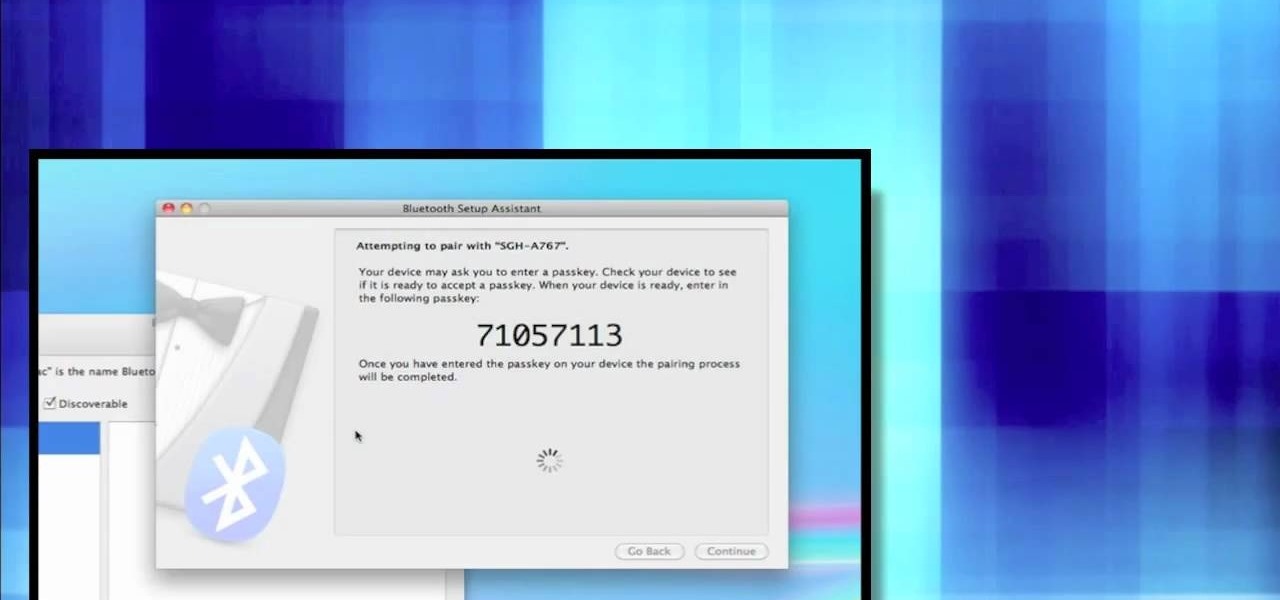
First open up system preferences, select Blue Tooth and click the plus at the bottom. Make sure that your phone has Blue Tooth on and wait for your phone to pop up. Click continue and enter the number 71057113 onto your phone in the space provided. Once your phone is connect to Blue Tooth, this space should be there. After clicking pair on your phone a Bluetooth set up assistant window should pop up. Click on the x, then click on the settings after selecting your phone. Even though it says no...

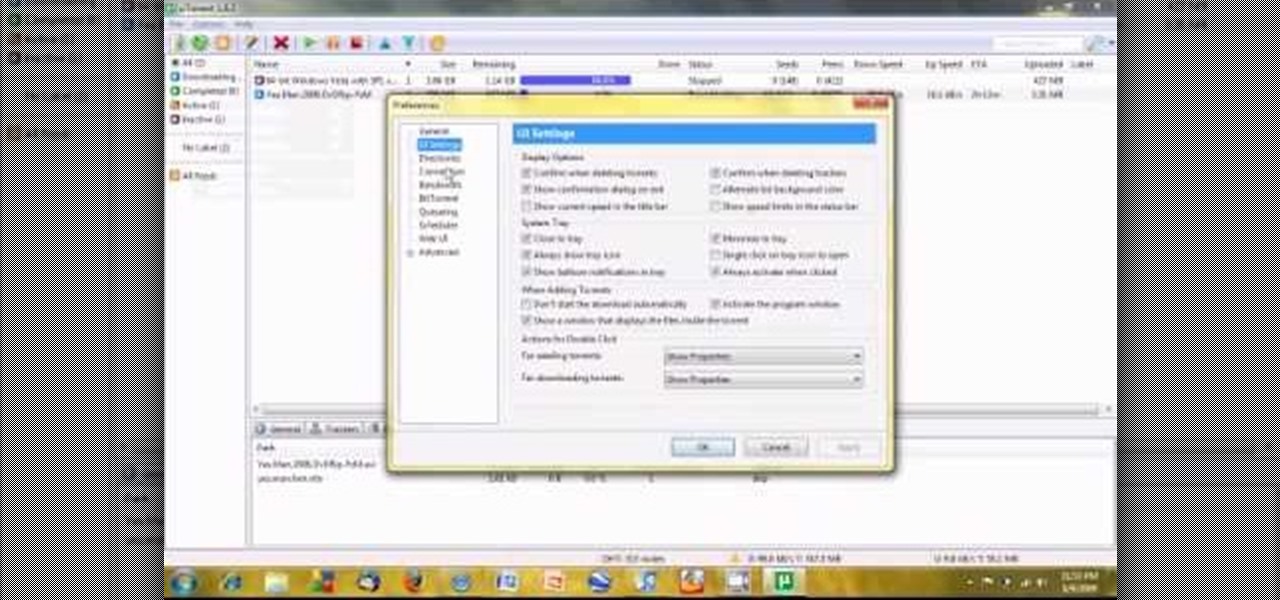
If you are a user of the system uTorrent then you know sometimes your downloads can take longer then they should or maybe longer then you want to wait. So, to fix this problem watch this video and find out how to get those downloads to go quicker in a few very fast and very easy steps. First, you want to right click on your download and then highlight "Bandwidth allowance" and from there click on "High". Now, in that same box go to "Set upload speed" and put it at 10 kb/s. Again, in that same...

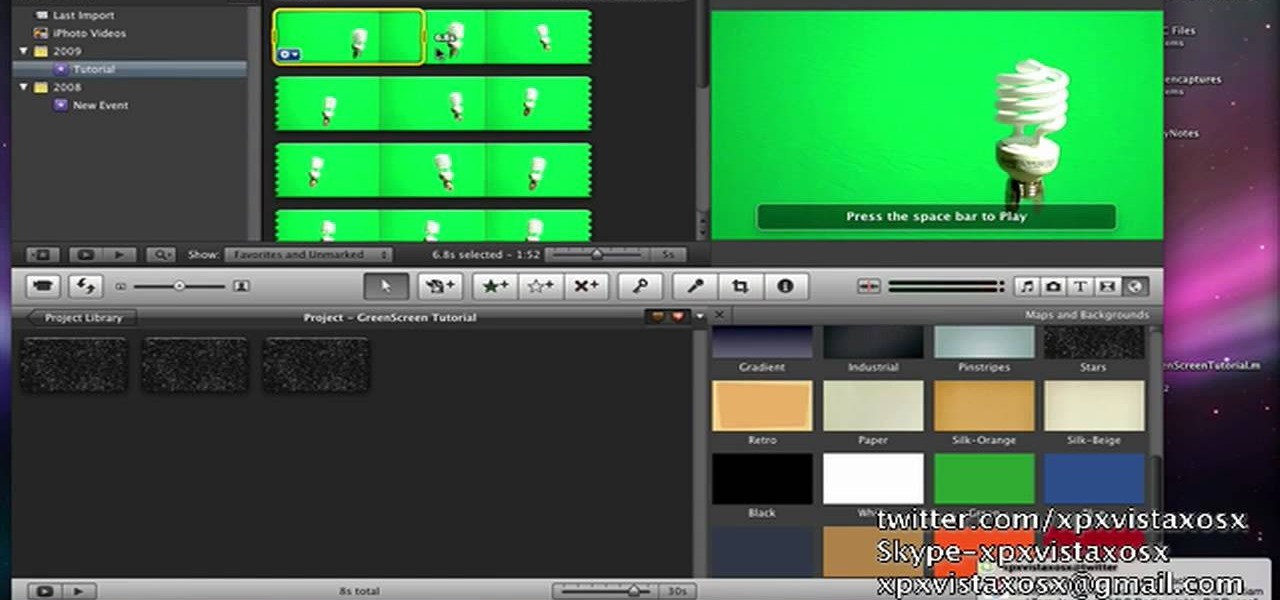
In this video tutorial, viewers learn how to use chroma key in iMovie '09. This video teaches users how to use chroma key to replace the background of videos. Begin by opening the program. Now drag or image or video background into the time line. Now click on iMovie and select Preferences. In the General tab, check the Show Advanced Tools option. Then simply drag the video that you want over the background image/video in the time line. This video will benefit those viewers who enjoy creating ...

In this how-to video, you will learn how to quickly set up the background image on your Apple Macbook Pro. First, right click the desktop and select Change Desktop Background. A new window will pop up where you can change it. Also, you can go to system preferences and selecting desktop and screen saver. To change the image, select any of the options available. This includes solid colors to large images. You can also go to your iPhoto albums and choose any picture in there. You can also go onl...

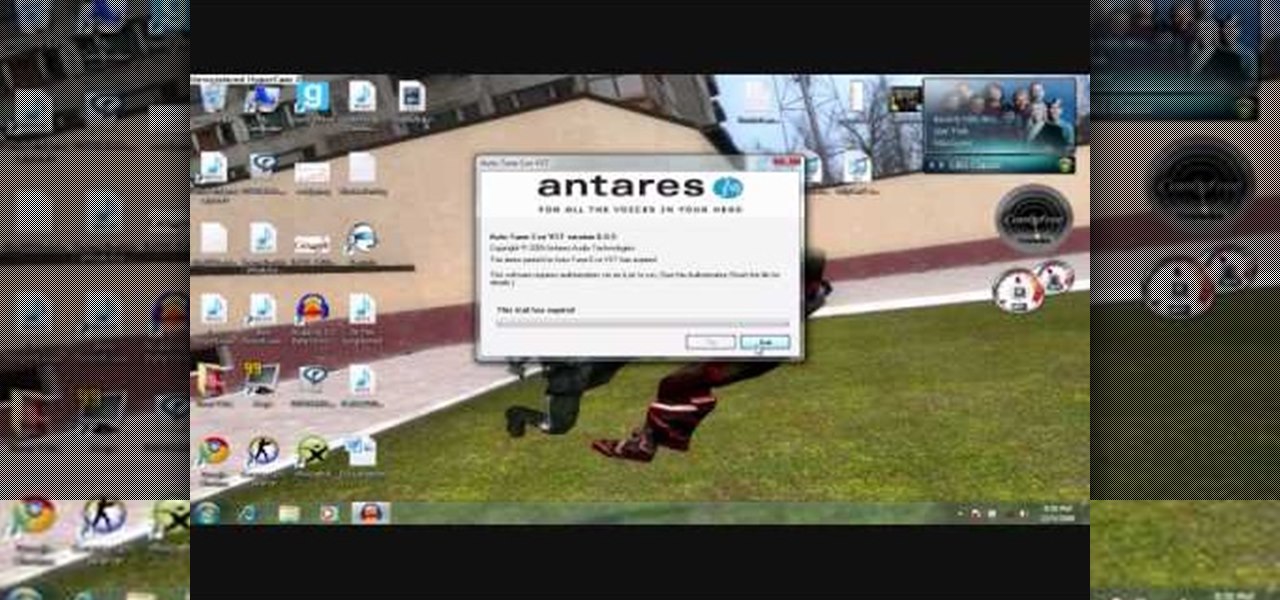
To get autotune on Audacity, you will need to have the 1.3.10 beta version from Audacity's website. Verify that you have autotune or G-snap in the plug-ins. You may need to download G-snap from the internet. First, open up Audacity. Then, go to edit and select preferences. Go to effects and click rescan BST effects next time Audacity is started. Then, click the okay button. Close out of Audacity and then reopen it. The program will then import your new files. Your new files will then show up ...

Get your mouse to right click on a Macbook Pro Setting up your mouse:

In this video tutorial, viewers learn how to use a green screen in iMovie. Begin by opening iMovie and click on Preferences. In the General tab, make sure the Show Advanced Tools is checked. Now film your video with your green screen. Then import the video(s) onto your computer from your camera. In iMovie, click on File, go to Import and select Movies. Place the video(s) in your project. Drag the green screen clip onto the project clip. When the menu pops up, select Green Screen. This video w...

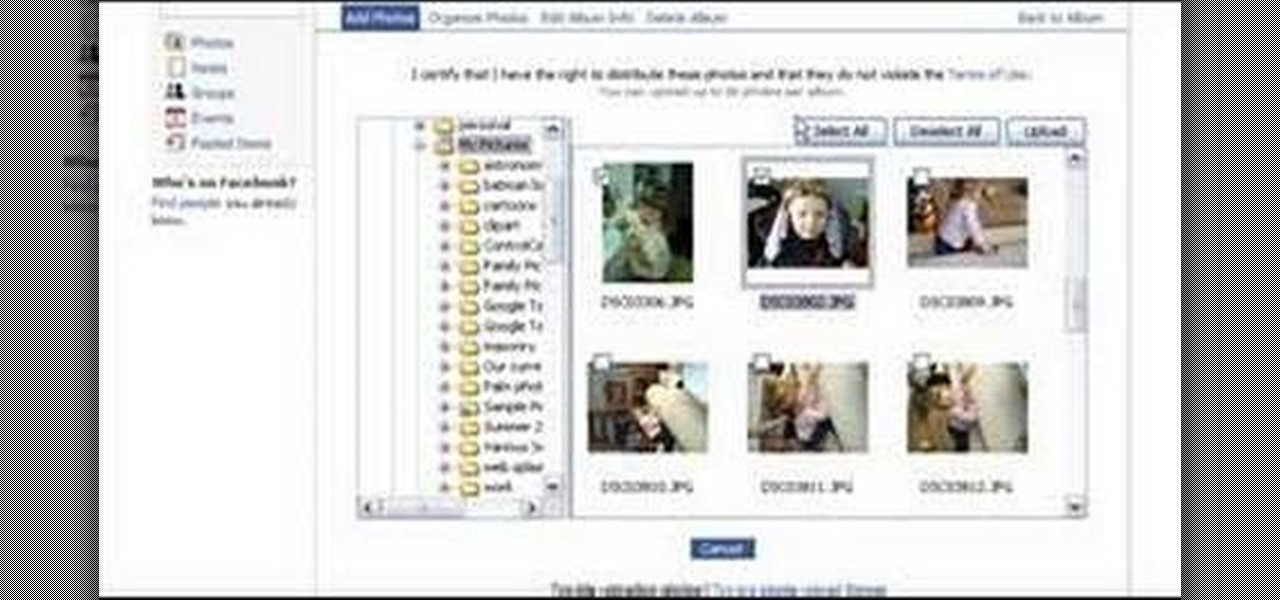
To add photos to Facebook, log into Facebook and go to your profile page. Click the photos button on the left hand side of the screen. On the next screen, click the my photos button at the top of the page. Next, create a photo album. Type in the name, location and description of the album into the appropriate boxes. Choose your visibility preferences and click the create album button. Next, using the Facebook Java upload tool, choose the hard drive file that your photos are located in from th...

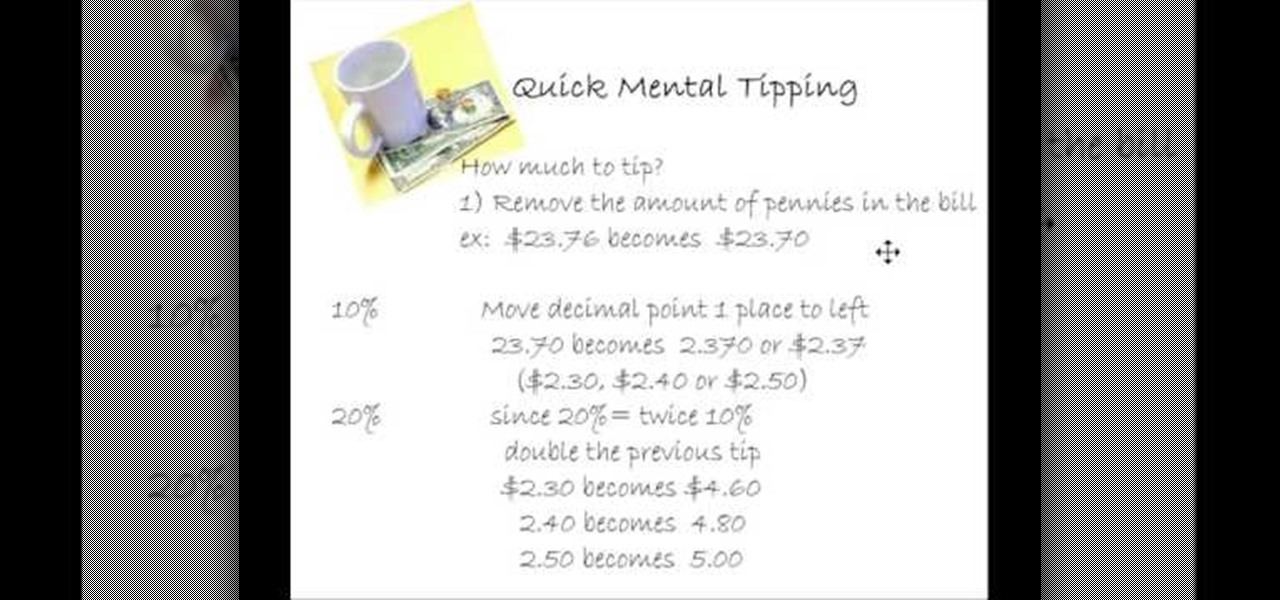
To figure out a tip without a calculator, first remove the pennies amount in the bill. For example, if your bill is $23.76 becomes $23.70. To figure out a 10% tip, move the decimal point one place to the left. So, 23.70 becomes 2.370 or $2.37. Bump up that number to $2.30 or $2.40 or $2.50 cents, depending on your preference. Since 20% equals two times 10%, double the figure you computed for 10%. So, $2.30 becomes $4.60, or $2.40 becomes $4.80 or $2.50 becomes $5.00. Using this method, you wo...

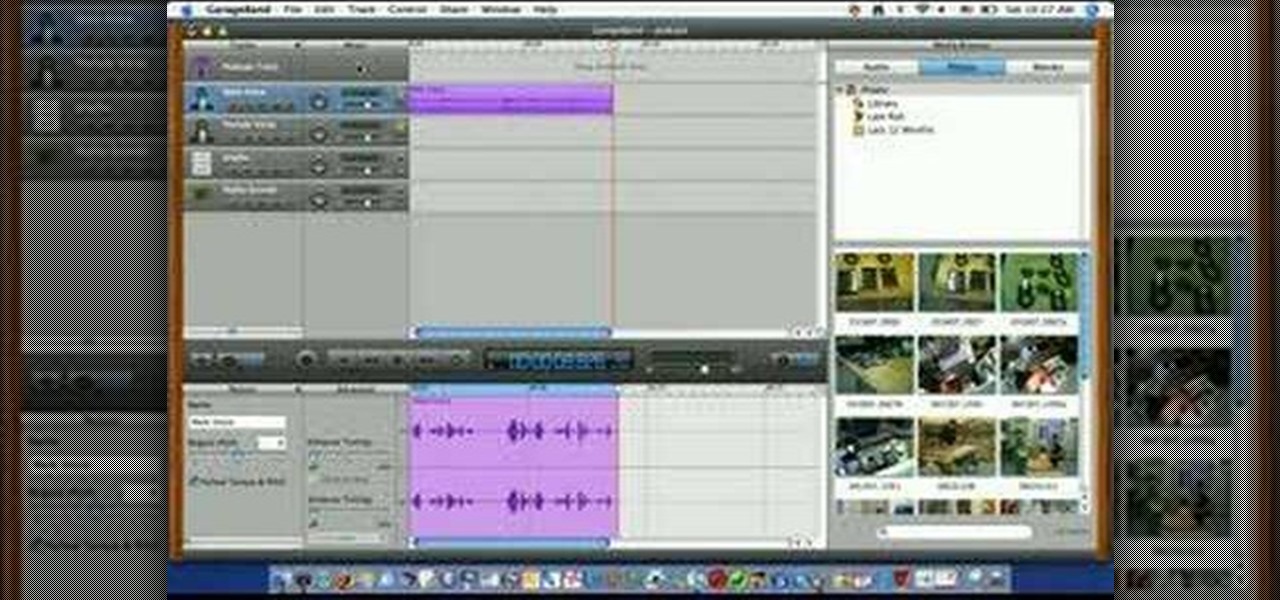
This video is describing how to create a podcast by using the Garage Band program on a Mac computer. Start by going to Garage Band and go to new podcast. Click create. Under the podcast you should choose what gender of voice that you would like. The top track is to add photos from your iPhoto. Select the voice that you would like to record on and click the record button on the bottom of the screen in order to begin. Record your podcast. Then to get your podcast into iTunes go to the share but...

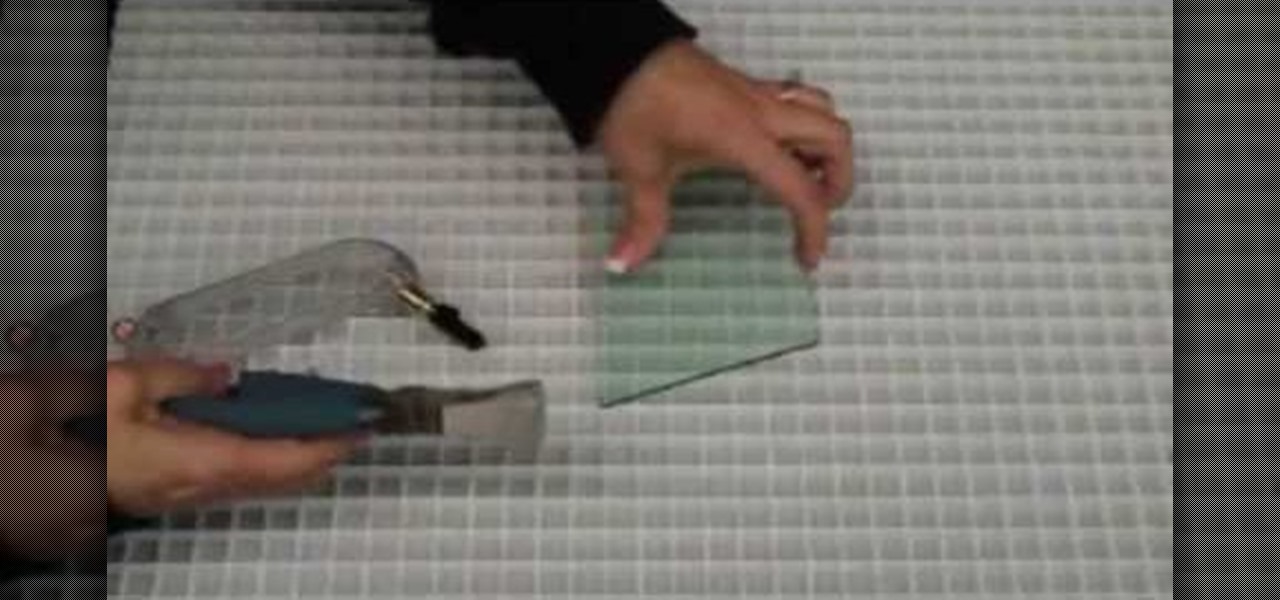
This is a great simple video, which will show you how to properly use a glass cutter and runner. The very first step is how to hold the glass cutter, you want to hold it at a 45 degree angle straight on the glass. Make sure to try your best to avoid leaning it to the left or right and at a 90 degree angle, and also make sure to start off the glass before cutting. Depending on your preference you can either push or pull the cutter, it doesn't matter which way. Once you make the cut, take the r...

Holly Chegg shows the best way to peel and chop fresh garlic in a quick way! She first shows us how to peel off the skin in a perfect manner using a simple technique that everybody should be able to do. It is practically fool proof. She then shows us some easy ways to chop up our garlic into the perfect size, depending on your preference. Don't have time to buy and chop up your own fresh garlic for every one of your family's cherished recipes? Holly Chegg leaves you with advice on using the g...

This video shows the method to create a photo montage in Sony Vegas. Go to 'Options' menu & Preferences. Go to the 'Editing' tab & 'New still image length (seconds)' and put the corresponding value and hit 'OK'. Open the pictures from explorer and you have a montage in which pictures last for a few seconds when another one comes up. Go to 'Tools' menu and 'Scripting' option. Click on 'ApplyTransition_1_2'. Choose 'Standard Cross Fade' from the drop down menu. Fill in 'Overlap Frames' which te...

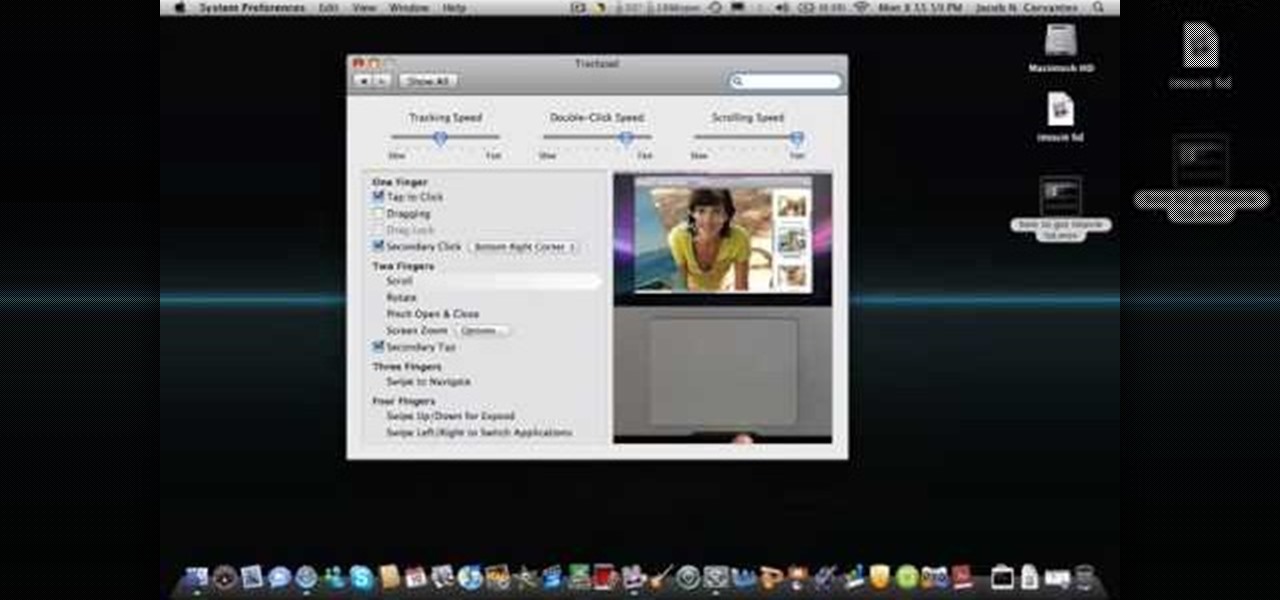
This video explains how to right click on a Mac laptop like Macbook Pro or Macbook. First you need to check if your right click is enabled. You can do so by right clicking and seeing if the menu opens up. If the menu does not pop up, it needs to be configured. The video explains how to enable the right click by going to the system preferences and then to the trackpad. Once you are in the trackpad menu, the video explains the options that need to be checked in order for the right click to work...

Magicmattman1 teaches you how to get free Verizon ringtones. You will need a Verizon phone and iTunes. Start iTunes and go to Preferences. Then go to Import settings and set it to MP3 Encoder. Click Custom, set it to 96 kbps and click Ok. Right click on a song, click Get Info, then Options. Here you have to uncheck Start time and click Ok. Start the song and see which 30 seconds you want as your ringtone. Now go back and enter the values you want for start and stop time. Right click and selec...

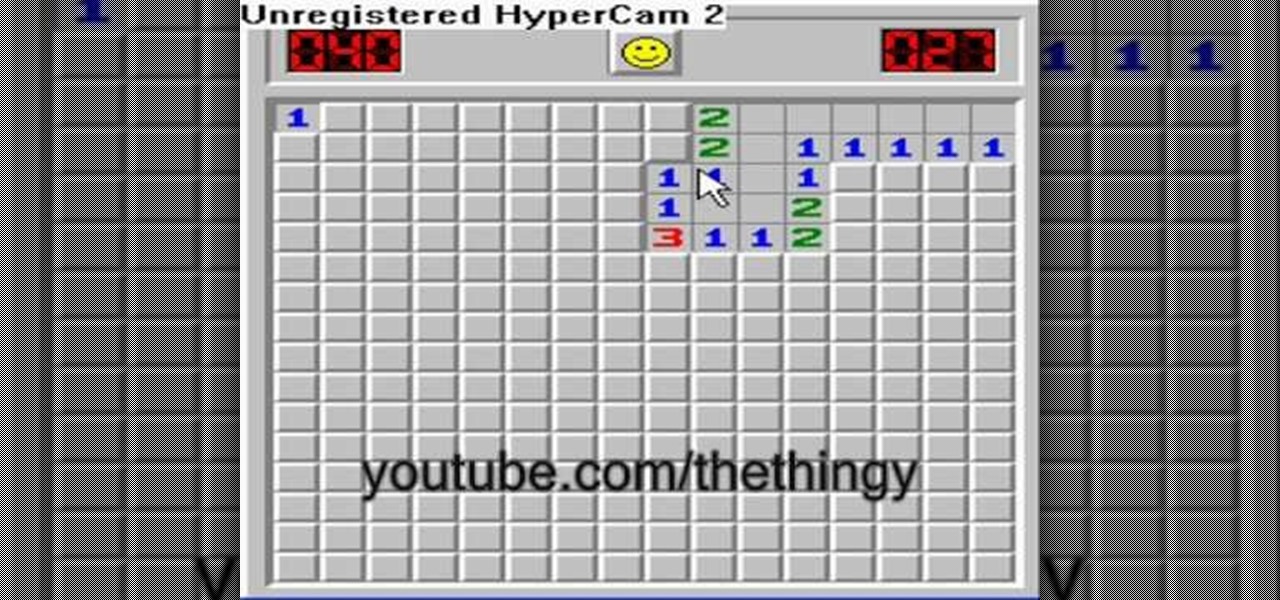
This how-to video describes how to play the game Minesweeper. To begin, simply click anywhere on the board; the narrator suggests the corner out of personal preference. If you remove a group of squares with a single click you can begin working on flagging mines, but otherwise try clicking until you get a workable section. Each successful click will display a number. This number describes how many mines this square is touching. If you feel that you know where a mine is, you can right click on ...

In order to cook rice and peas, heat oil in a pan and add chopped onions and garlic. Then cook for two minutes. Then add 2 cups of long grain rice and stir the ingredients. Lower the heat and add jerk marinade, thyme (dried & fresh). Then add spring onions cut them in half. Next add 2 cups of coconut milk and 2 cups of water. Then add a tin of boiled kidney beans or another type of beans of your preference. Cover and cook for about 20 minutes and your dish is ready.

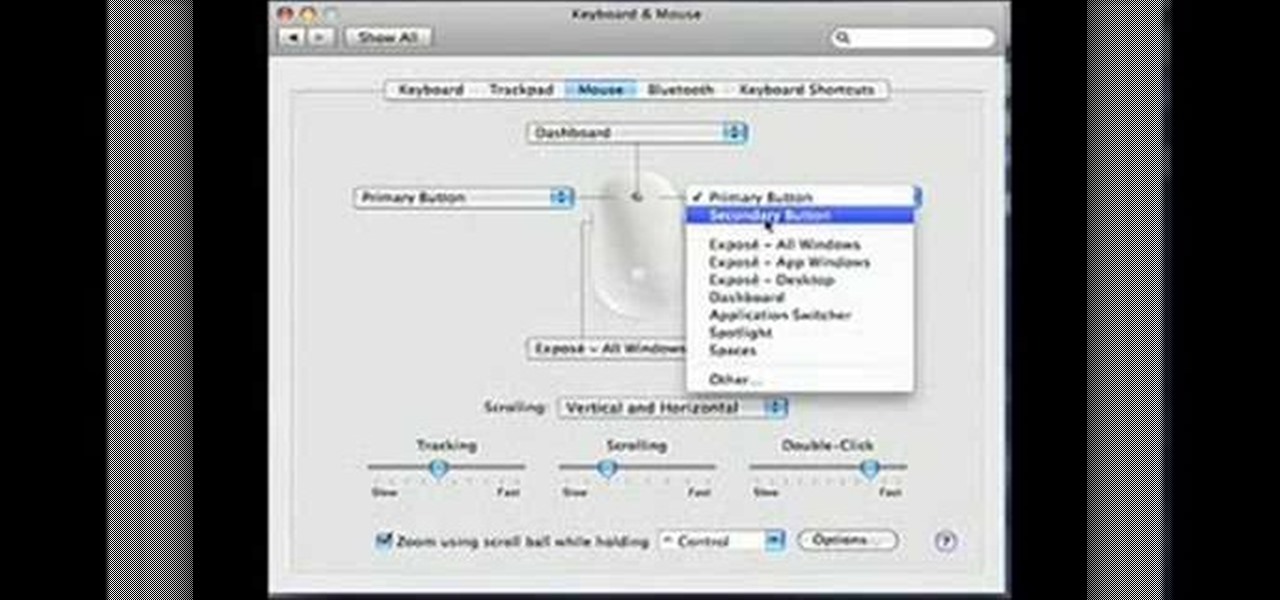
Jonathan demonstrates how to right click on a Mac using the Apple mouse. There is a short cut: holding down control while left clicking to make the right click menu come up. The Mighty Mouse has a right click function but you have to enable it. To enable this feature, go to system preferences and click on mouse and keyboard. The mouse and keyboard menu will now open up. Locate the right drop down menu. The default is set to "Primary Button" so you will need to change that to the "Secondary Bu...

This video demonstrates a way to use the lomo effect on pictures in Photoshop. The effect makes colors stand out more, thus making the picture stand out more. The first step in adding the lomo effect is to change the color curve levels of the picture by going to Image > Adjustment > Curves in Photoshop. They should be changed very slightly, from a straight line to a slight "s" shape curve. After this, the gradient map should be changed to a black to white gradient. Finally, the mode of the ne...

Steps on how to cut copy and paste on a Mac. Make sure that all your Windows are closed. 1. Click the Apple on the upper right corner. 2. Select and click System Preferences and a small window will appear. 3. Double click the small mouse picture and a bigger mouse picture will appear 4. Click on the right tab that says Primary Button and click to select Secondary Button. 5. Close the window. 6. When you right click the mouse a menu will appear and you can already cut copy and paste just like ...

This video tutorial explains how to operate the mirrors in a 2010 Toyota 4Runner. The mirrors are power operated. On the driver's side, left of the steering wheel are a couple of buttons to help you adjust the mirrors to your preference. The first button is a switch between left and right mirrors to specify which one you want to adjust. Below that is a directional pad that will adjust your mirror based on which way you push it. The 4Runner also comes with automatic mirror heating.


