In this video we learn how to do a heelside pendulum in snowboarding. Start by sideslipping on your heal edge. Then, tap on one leg to increase pressure on that foot. Reduce the angle and then you can slide your board down where you are facing. Look and point in the direction of desired travel. Tapping on both legs means even pressure distribution on both feet. Increase edge angle with even pressure on both feet to slow down and stop. Although you will start out slow at first, these are great...

In this tutorial, we learn how to make embellished tights. First, you will need to grab some beads and jewels and then grab your choice of tights. Make sure you have some tights that have texture on them, so when you sew them you don't break the surface and ruin them. Now, take your needle and thread and place it into the bead, then start to sew it into the tights. You can make different designs or just put the beads all over. You can also use small jewels to make it sparkly. Tie off each sec...
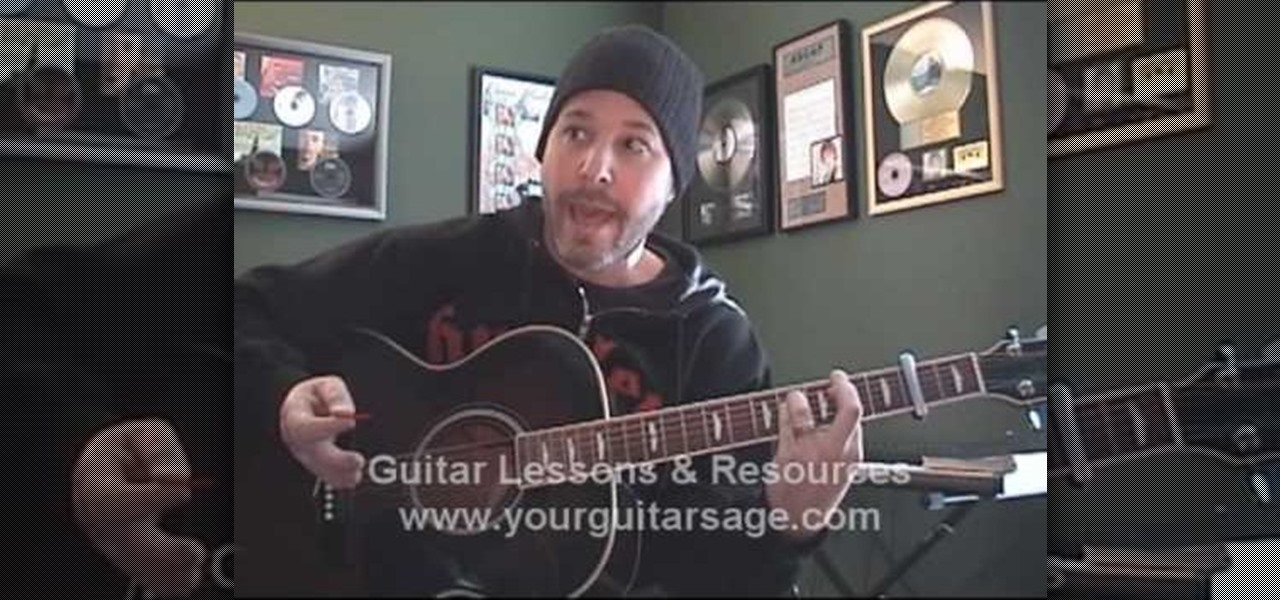
In this tutorial, we learn how to play "Upside Down" by Jack Johnson on acoustic guitar. Start off with playing the intro to the song. Make sure you are playing the right chords and your fingers are on the right frets. As you continue, you will start to play the middle of the song and all of the verses that are in the song. Make sure you pay attention to the highs and lows of the song, as well as where the stops to the song are. After you do this, you will be able to play this song through wi...
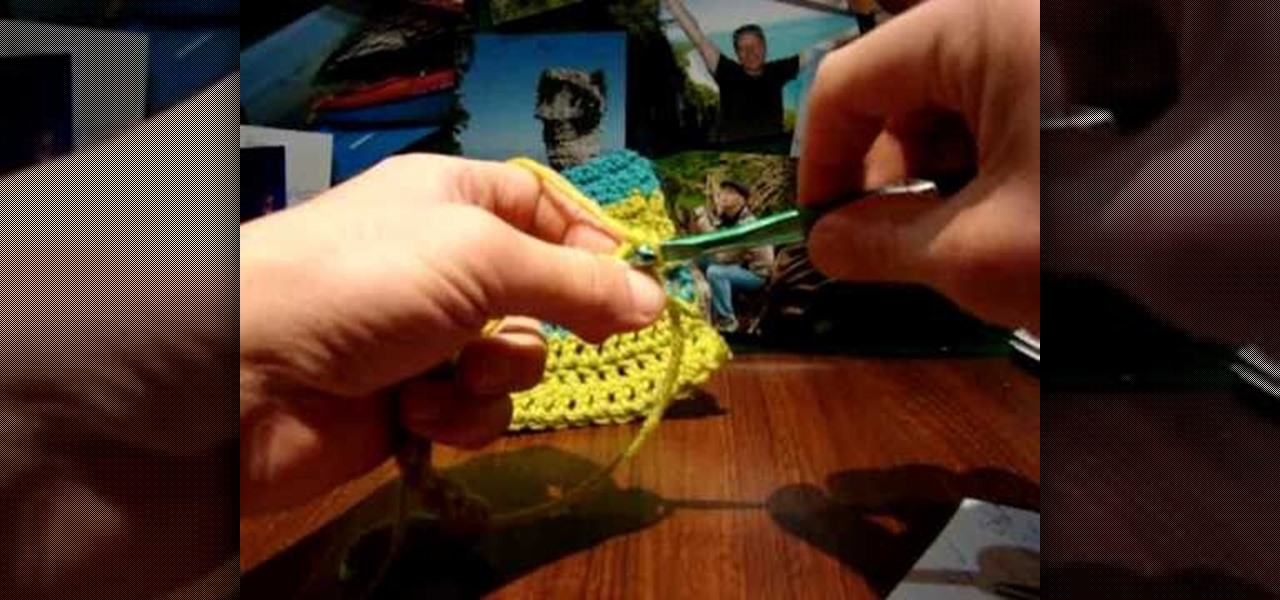
In this tutorial, we learn how to perform a simple crochet. Using the double crochet and single crochet opposite to each other gets rid of the same look when you are creating a pattern. The concept is simple and can make a big difference in your creation. First, take your size K hook, then wrap the yarn around your finger. Go back and forward, then push up and you will have knotted your hook with the yarn. Now, chain one and then two, then chain one and two again. Continue to do this until yo...
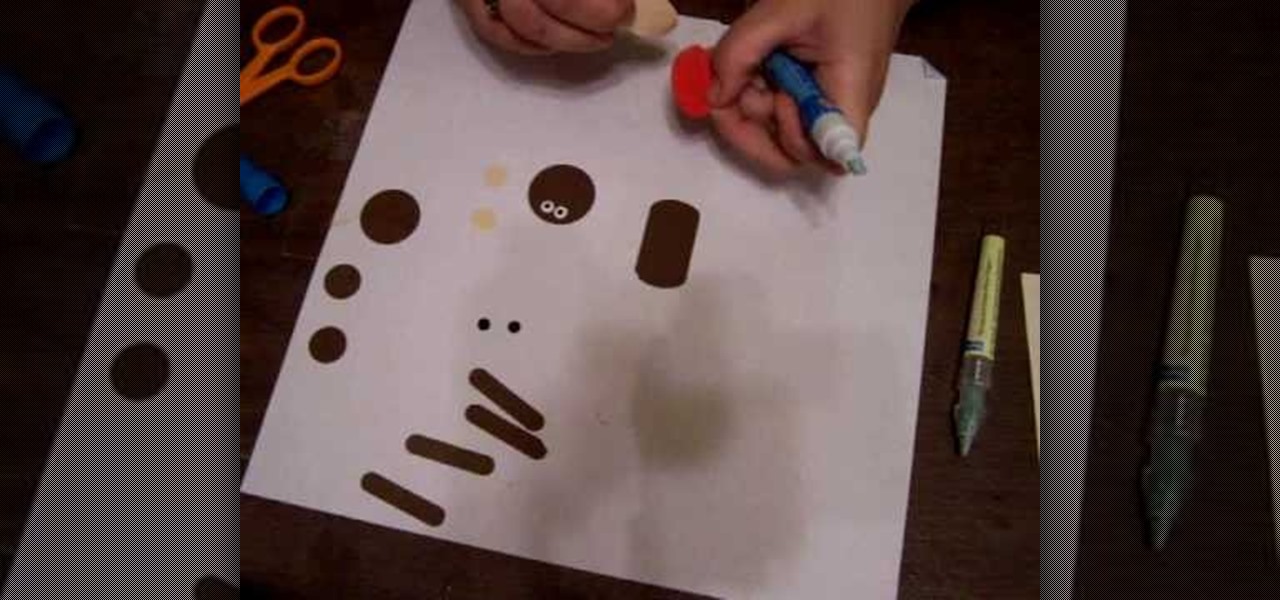
In this tutorial, we learn how to make a monkey with Stampin' Up punches. First, you will need to punch out all the appropriate punches that you need to make this. Once you have them, start to assemble by starting with the head. Place the eyes and the mouth on the appropriate spots, then use a black pen to add in further details on the face. As you continue, make sure to glue the different pieces together until you reach the bottom. Once you are done, add any additional details with the black...

In this video, we learn how to program Geolocation on the iPhone. First, start up Xcode and start a new project. Name this "where am I" and then expand out your groups. Now, type in "corelocation/corelocation.h" and "mapkit/mapkit.h" in the view controller and space file. Type in the rest of the code to the program, then open up the program on your computer. Drag and drop the tabs into the viewing window, then grab buttons and other tabs to go onto the screen for the phone. Once finished, sav...

In this tutorial, we learn how to build your own hydroponics system. To do this, you will need: square line rain gutter, 6x end caps, 3x gutter running outlet, 1x small pond pump, 2 meters pond pump tubing, timber for framework, large plastic container, and gutter leaf guard. When you start, you will need to measure out how tall your pump will need to be, then build the framework to surround it. Then, grab all your gutter parts and put them together. Once you do this, start to set up all the ...

In this tutorial, we learn how to understand vowels and vowel sounds in Spanish. To best understand how to say the vowel sounds in Spanish, you will want to listen to a native speaker saying different words. Take some of the words that you might think sound the same, but are completely different. These words can use the same vowels but have a different sound because of the pronunciation that is associated with them. Start to practice the vowels out one by one, then start to use them in words ...

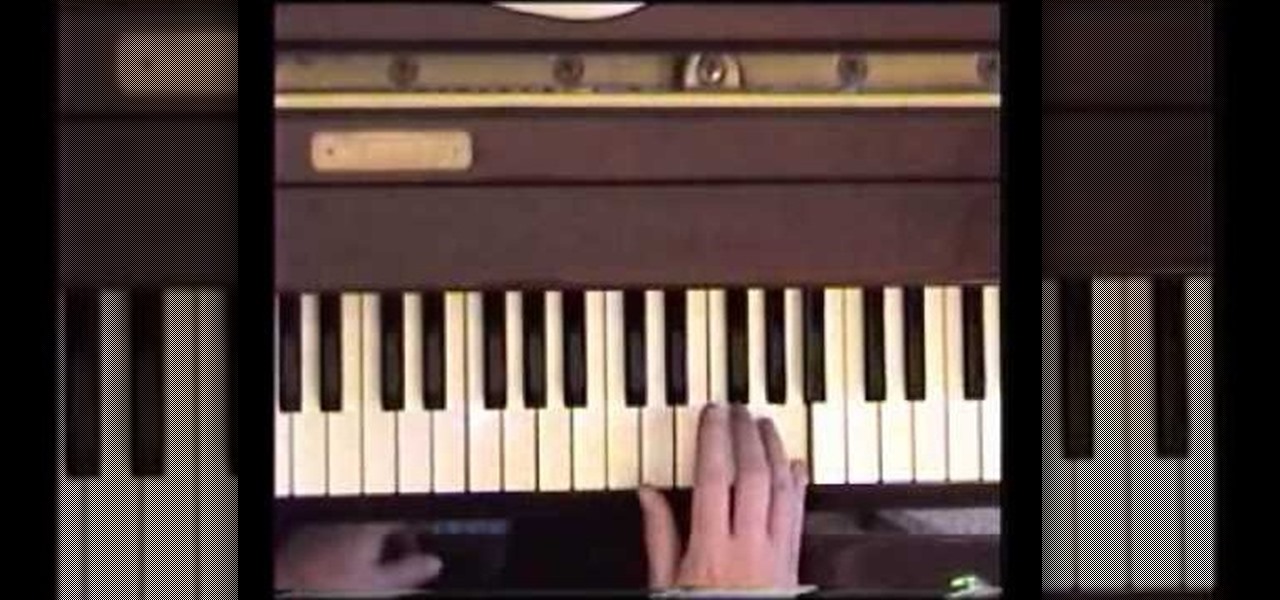
In this video, we learn how to play "Bennie and the Jets" by Elton John. Start out with A, E, C. Next, go to the G and then to the A. After this, go to B, A, A, sharp, and D. After this, you will have started to do the intro to the song. You will be playing with your right hand during this. Next, you will trip again and go to A, A sharp, B, A sharp, G, E, then finally to the G in the new measure. Continue to play until you reach the end of the song. You will go through all the different keys ...

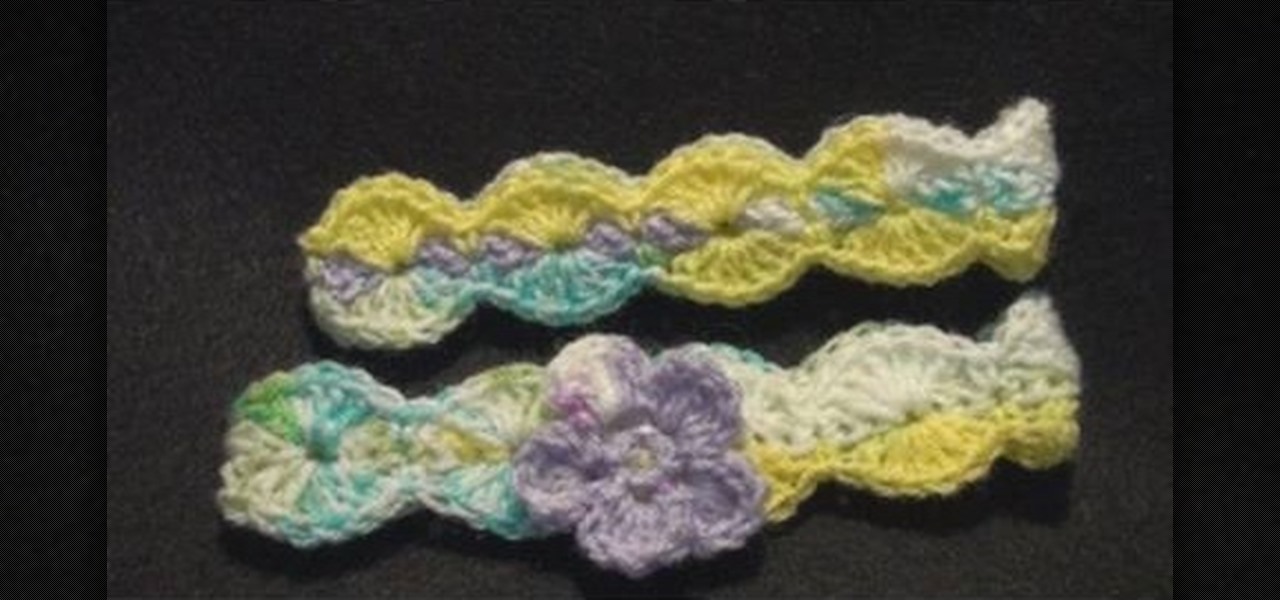
In this tutorial, we learn how to crochet a left handed headband with optional flower. To start, you will make the foundation by crocheting a single crochet 54 times. Once you have made the base, you can take another color and start to crochet it on top of the first foundation. You will use a single crochet on the top, then to make larger humps double crochet for part of it. When you reach the end, take another color and repeat the same process going over the last color. You can continue arou...

In this tutorial, we learn how to crochet a left handed slinky flower. You will first start row 1 by working a single crochet in the second chain from the hook. Then, chain 2 and skip a chain. Continue across, then make the last chain 2 and single crochet. After this, start to make the petals. For the first petal, you will do a chain 1, then do a half double crochet followed by a chain one all in the same loop. Continue to repeat the petals until you have seven of them in total. When finished...

In this tutorial, we learn how to make a tubular peyote bracelet. To get started, string your beads onto the string and leave a 10 inch tail. Then, bring it into a loop and tie it into a square line. After this, use a needle to sew more beads through the beads that you just strung on. As you do this, skip beads so that you have interchanging colors around the circle. You will have a total of four beads on top of the eight that you started with. Continue to do this until you reach rows that go...

In this video, we learn how to play "While My Guitar Gently Weeps" by The Beatles. Start out with the intro in E minor, then A minor, and G. Continue to play this and make sure your fingers are on the correct frets. As you continue to play the rest, play all the different verses on the song. There will be different chords throughout the entire song, just make sure to follow the music as you are playing along. Start to sing in the lyrics while you are playing the different verses, then end the...

In this video, we learn how to play "Numb" by Linkin Park on acoustic guitar. Start out with putting your middle finger on the second fret of the A string and play an E minor. Now, move your ring finger to the third fret of the A string and your pointer finger on the E string. Now, play a G with your middle finger on the first fret and your ring finger on the third fret. Learn how to get your finger movements correct while doing this, then start to play the intro and the rest of your song. As...

In this video, we learn how to create an engraved text effect in Photoshop. First, start a new document in Photoshop and make it as large as you want it. Now, select the foreground color as a dark gray. Next, grab the rectangle tool and draw a shaped layer, making the color whatever you want it to be. Now, go to "layer", then "layer style", and "gradient overlay". Go to the gradient bar and mix light and dark grays or black to make a metal or chrome look as you prefer. After this, write in yo...

In this video, we learn how to play "...September Ends" by Green Day on guitar. Start off by placing your ring finger on the fifth fret of the D string, using the very tip of the finger. Place the first finger on the third fret of the B string. When you have these placed, you will start the intro and continue to play. As you move along the song, the chords will stay around the same range but you will need to change the pattern to go slower or faster. When you get to the chorus, change the fin...

In this video, we learn how to play The Smiths "There Is A Light That Never Goes Out". The intro starts with D minor, then F major 7, then G. This is a very simple intro that you will play over twice, then move onto the first verse. This starts with A minor 7, then G, then A minor 7, G, F, C, and G. You will play this over four times after you play the intro to the song. To play the second verse, it's exactly the same as the first chorus, so continue to play this. Once you get into the chorus...

In this video, we learn how to improve your yoga with the hara breath. Start by sitting down on your yoga mat and become centered in your body. You will start to breathe in different poses by placing your hands underneath your navel. Close your eyes and envision the center of energy that's in your body. Close your eyes and deep breathe, inhaling and screening energy into your body. Feel your body fueling up with energy and block out all the negative thoughts from your mind. As you do this, fe...

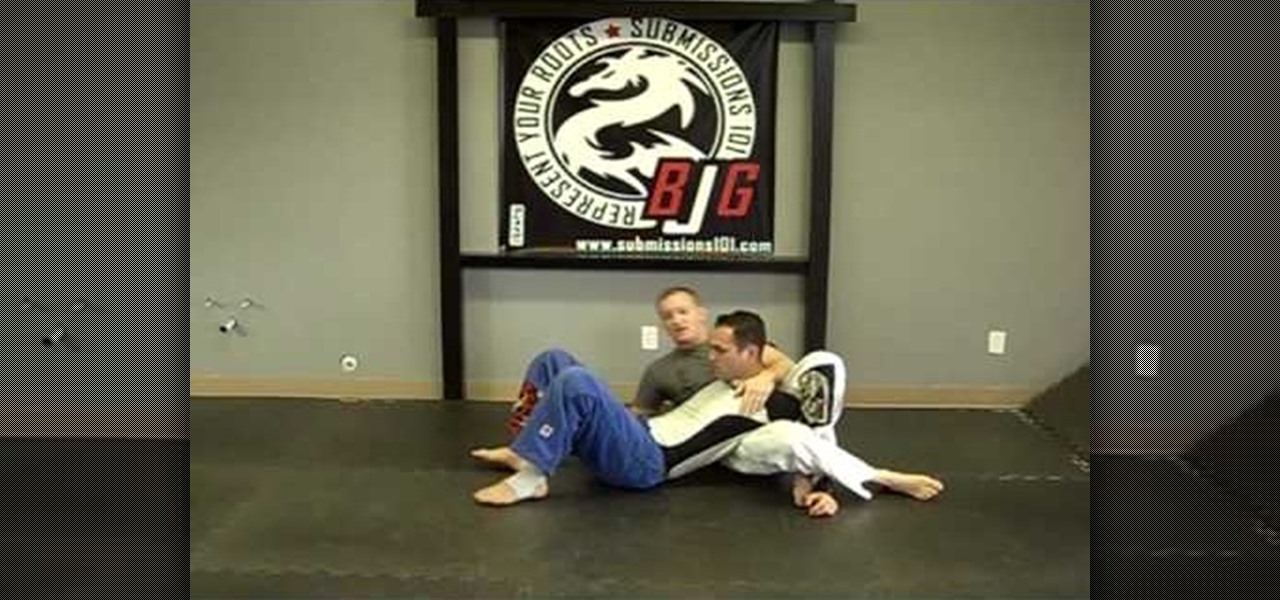
In this video, we learn how to do the rack and crucifix jiu jitsu position. Start by starting in the cross position with your grip around the opponent, pushing their arm up. Now, lift up your forearm and it will prop them up to their side. Now, swing your legs over and catch over top the arm on their body. Now you can swivel to perform a neck crank. From this position, there are a lot of submissions you can do. To get the crucifix position, shift your leg back and fall backwards. Triangle you...

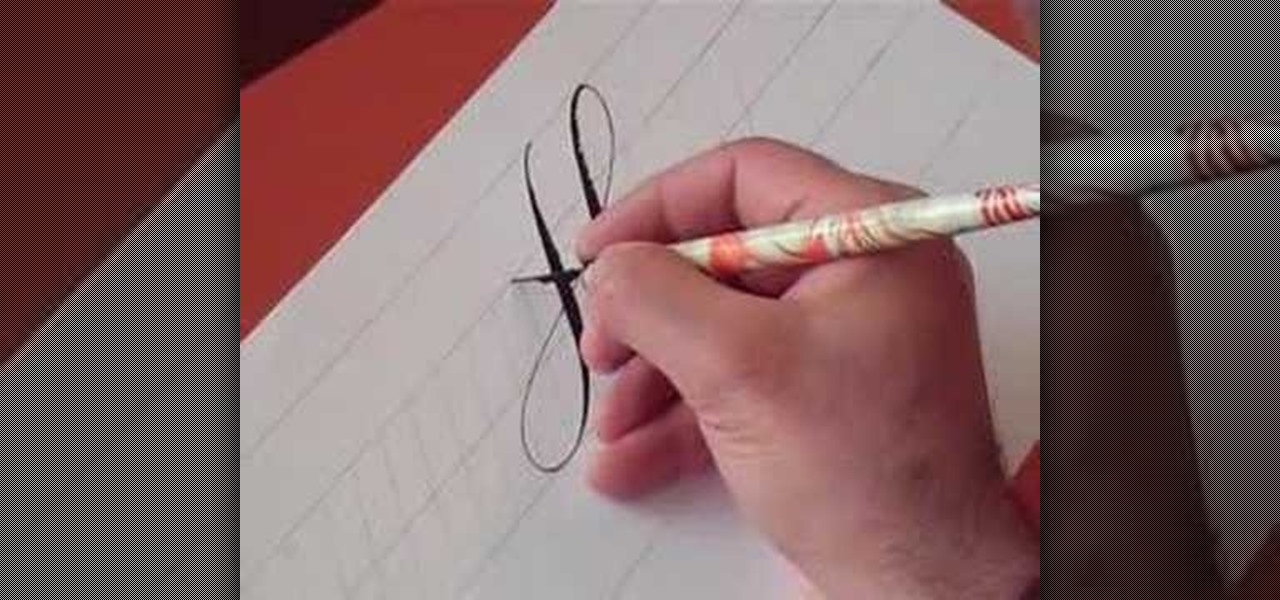
In this video, we learn how to write the letter H in calligraphy copperplate. To make the upper-case letter, start off drawing into a thick line, with a curve at the end of the letter. Make the curve end touching the line, then draw it out to the right side of the letter, bringing it back down to a line to make the "h" shape. Next, draw a line across the two lines with a curve at both ends. To make the lower-case letter, start by drawing a thin line to make a loop at the top, then bring it do...

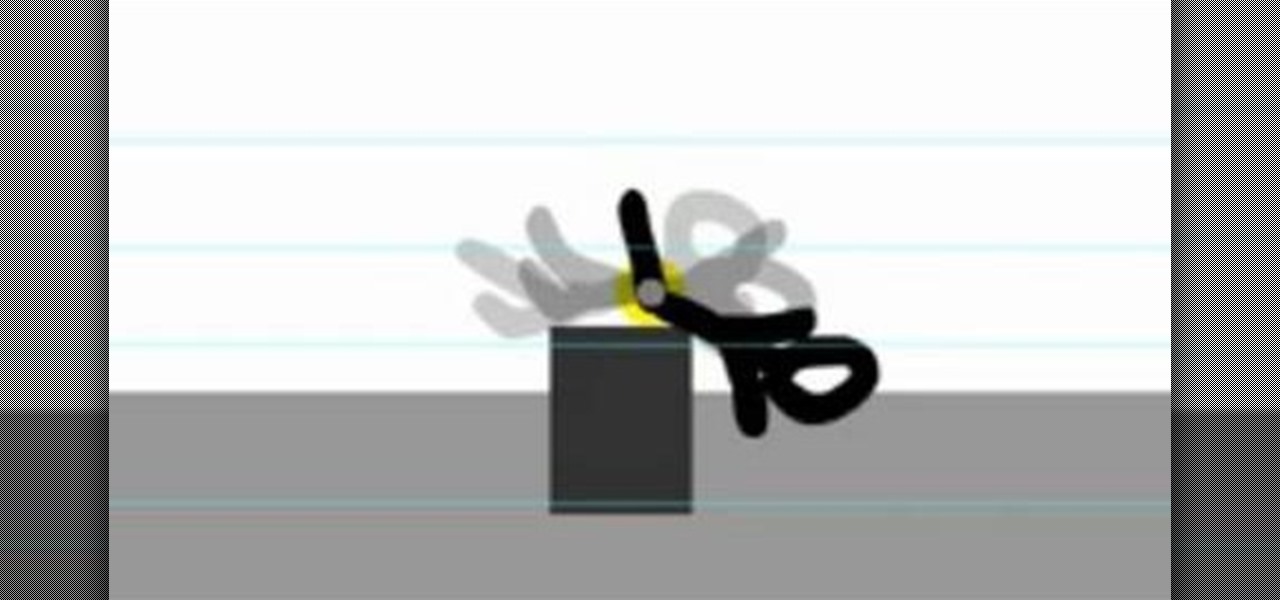
Looking to get into flash animation and not sure where to start? With this great video series you'll learn how to create a silly stick man animation that'll get your flash animation skills up and running! Go from the beginning to the end with these simple tutorials showing you exactly how to start your project and how to put on the finishing touches all in Adobe Flash CS4.

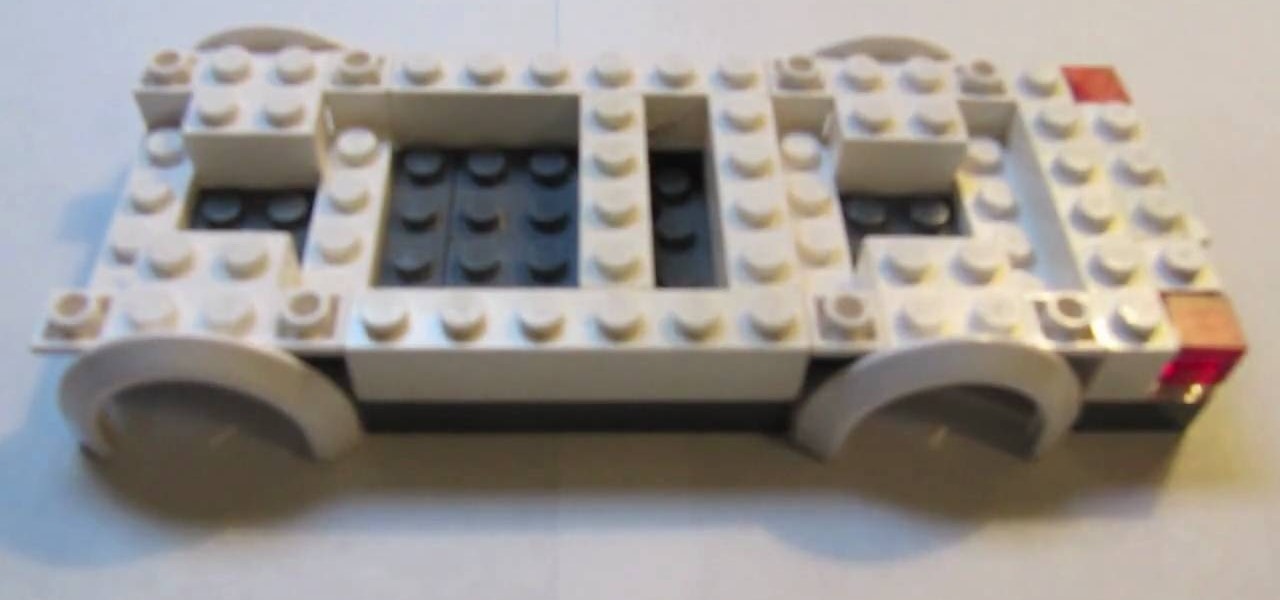
In this video, we learn how to build a LEGO pickup truck. First, you will need to lay out all the parts that you need to build the truck. This includes small and large parts that are in gray and white colors, as well as wheels. Start off by building the middle of the car, making room for the wheels to fit in. After this, start to add on the blocks that go on the back and the front to make the headlights and different features on the truck. Add on the block for the windshield, then add on the ...

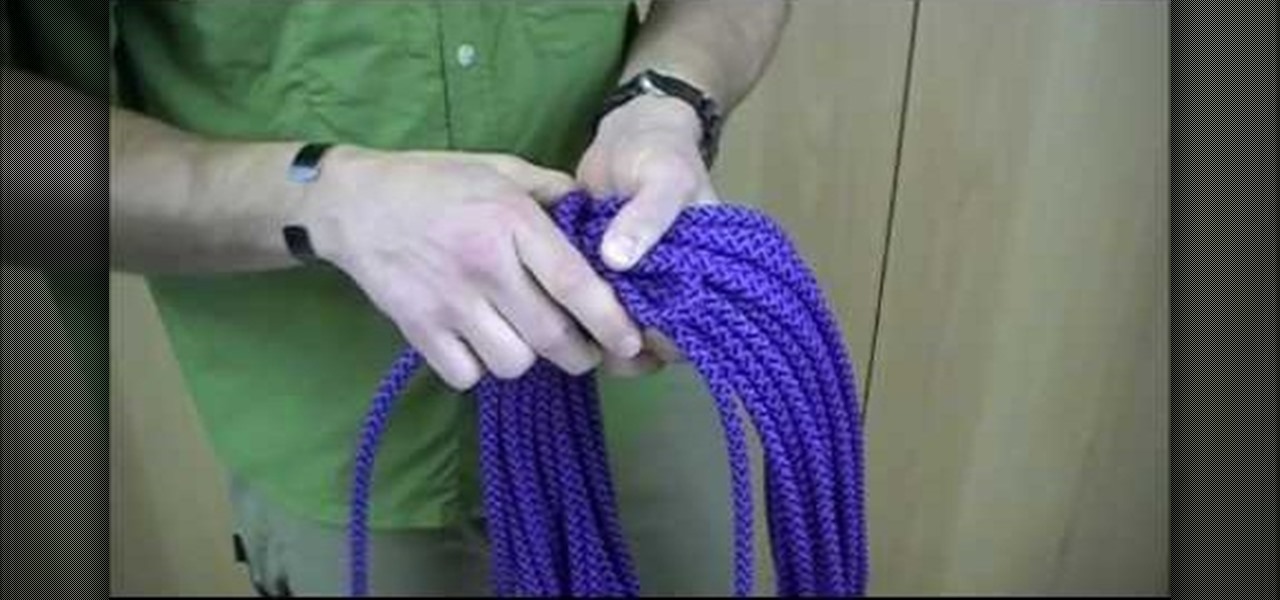
In this tutorial, we learn how to tie an Alpine Coil knot. When you start your coil you want the starting end to be inside your hand. First, take the working end of your rope on your last coil and make a loop in your rope. Then, wrap a couple of turns around the rope and lock it into place. Once you've made a couple of turns, the working end will go into the loop. To secure, go over to the end from the loop and give it a tug, which will lock the working end into the rope and make a nice way t...

In this video, we learn how to draw a game character in motion. First draw the outline of the game character and make the body more prominent with details. After this, start to add in darker lines around the outside, then start to shade in the drawing and make the different parts pop out of the page. Next, add in colors throughout the sketch and add in white marks to show the glare on the picture. You will want to keep adding in all the small details to make this picture look even better. Whe...

In this tutorial, we learn how to create and edit tasks in MS Project 2007. Before you begin, you need to set the start date by going into project information and changing the start date and end date. After this, type in your first task name, then enter in the information that goes with it. After you have entered this, press the check mark to set it up. After this, enter in the other task names that you need to specify in your project. When you are finished, you will need to save this onto yo...

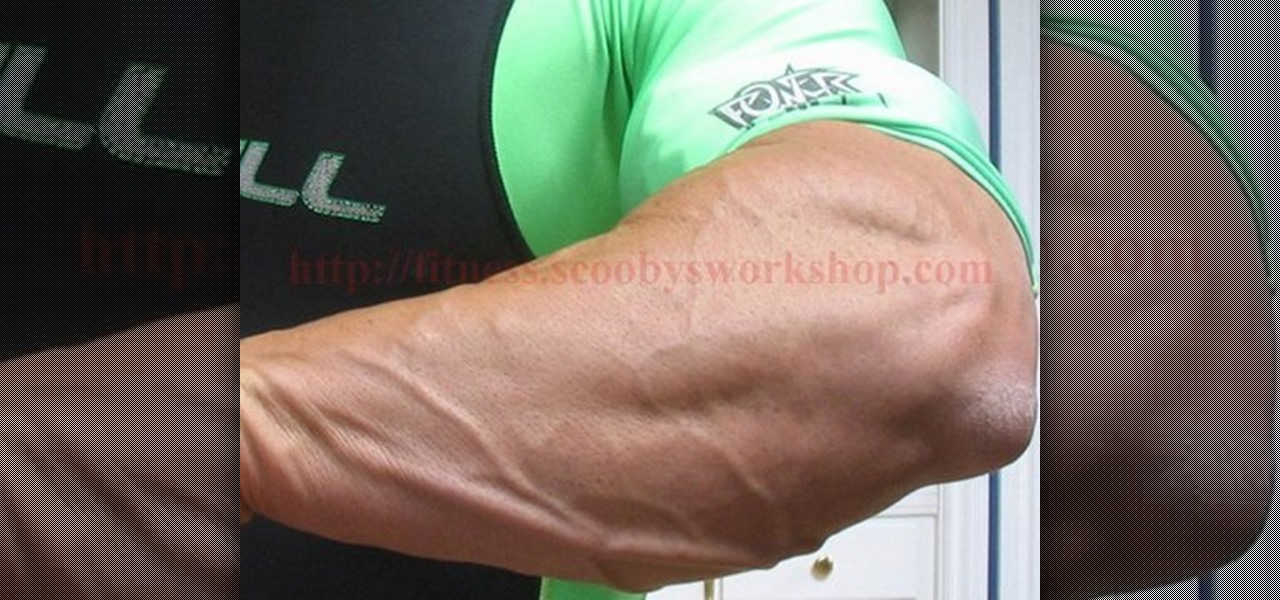
In this tutorial, we learn how to do a complete forearm workout. First, grab a small weight in each hand and start to lift your forearms up into the air. Control your movement when you go both up and down, to help work your arms out better. Next, lift up gently with the weights, relaxing your body and letting the muscles do the work. Don't lift with your back or use momentum, use only your muscles to lift. Continue to do this for several reps. After this, grab a dumbbell and start to lift it ...

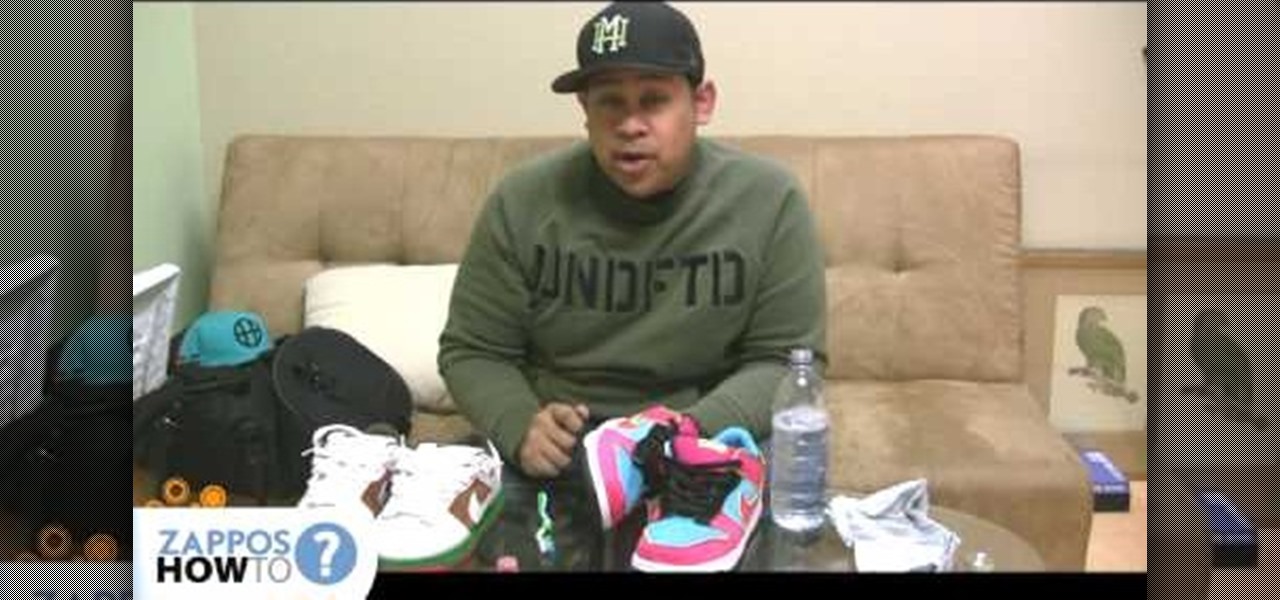
In this video, we learn how to clean cup-soled shoes. You will want to start off by cleaning the outsides of the shoes with an old toothbrush. The soles will have a lot of dirt on them, so focus on these first. After this, start to clean out the sides of the shoes with a water bottle filled with soap and then after this, use a clean cloth to wipe the shoes down again. To finish this process, use an eraser to help take off any missed spots from the soles. Wear your shoes after this and they wi...

In this tutorial, we learn how to style a cute and curly retro hairstyle. Start off by sectioning your hair off and starting on the underneath area of your side. Now, take your hair into sections and curl them into curlers. While these are sitting, take the top back portion of your hair and curl the hair, then place them into curlers as well. Continue to do this for all of the sections in your hair, pinning with bobby pins to keep them secure. Allow these to sit in your hair for around an hou...

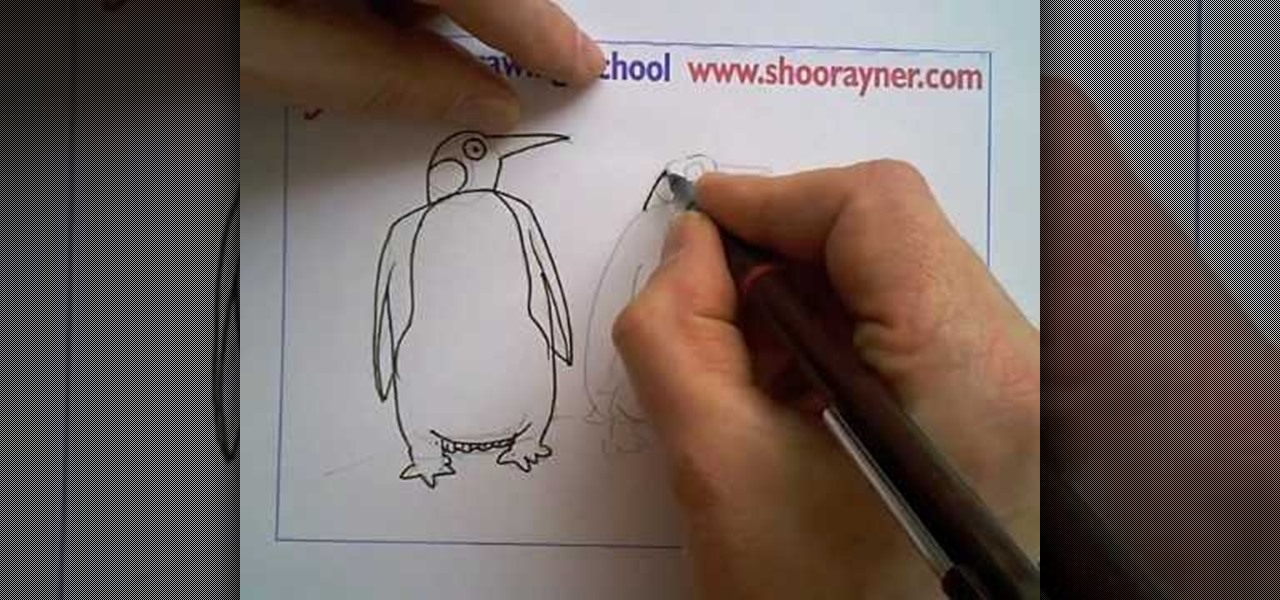
Shoo Rayner teaches us how to draw penguins in this tutorial. Start off by drawing a boxed shape for the body, then draw the head and beak onto the top. After this draw on the windows as well as the belly and the feet of the penguin. Use a light pencil while you are doing this, since it's just the outline. After this, draw the inner body of the penguin, then start adding further details. Use a darker pen or pencil to draw over the outline and create the entire penguin. You can draw from the s...

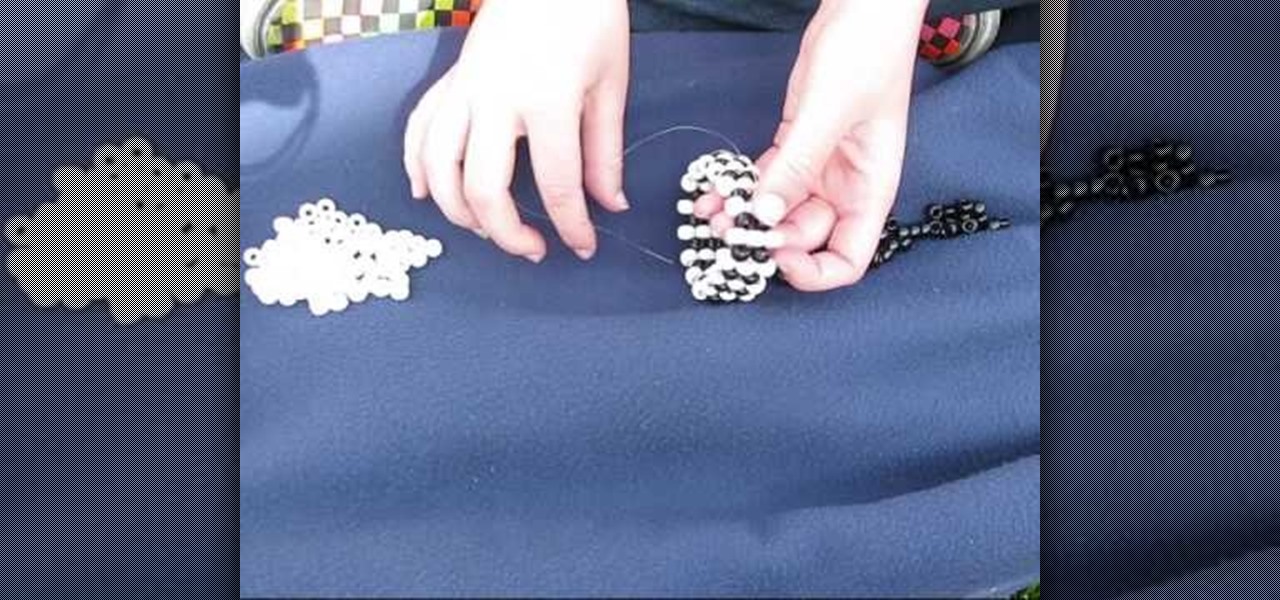
In this video, we learn how to make a vertical striped bracelet cuff out of beads. Start with a long piece of string and string on your beads until you have a length that fits well around your wrist. After this, tie the ends together and cut the tails off the excess string on the short side. now, start to thread through new beads around the entire bracelet. At the end of every few rows, tie it to keep it tight at the end. When you are finished, tie the string and make a knot, then cut off any...

Chances are, if you have some elder relatives who have paid you a visit during the holidays, then you probably have more than your fair share of cable-knit sweaters in various ugly Christmas designs. While we're certainly not a fan of these types of sweaters, the cable-knit technique is one that is used very commonly in knitting and is one of the most basic.

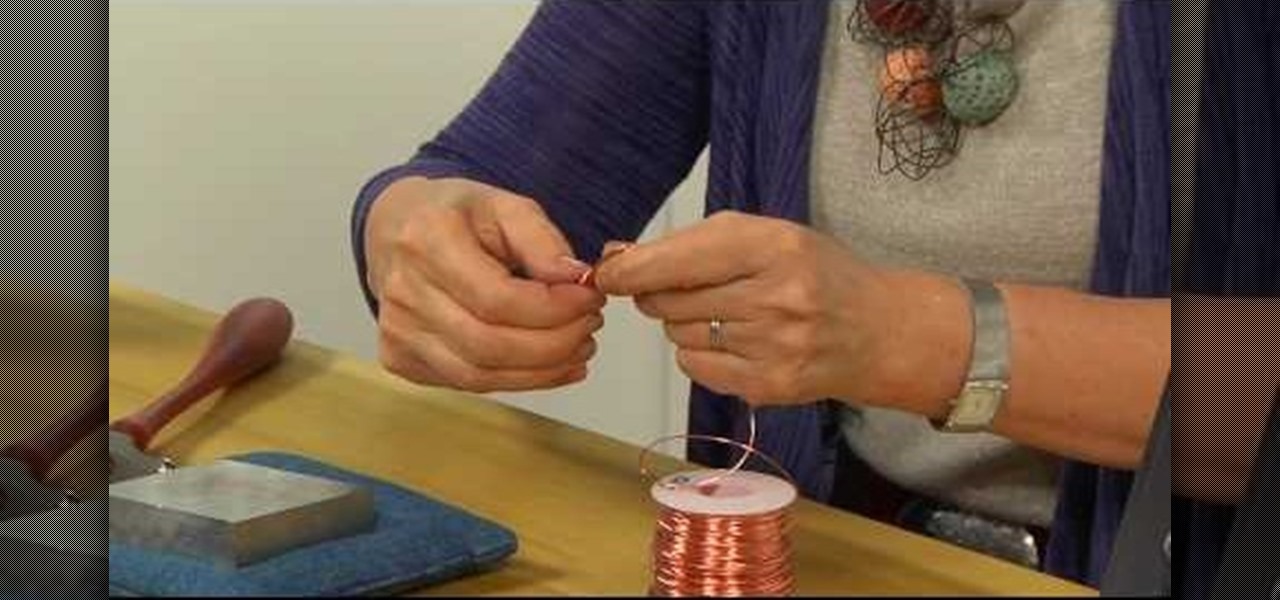
Wire jewelry is one of the most beautiful types out there. With a delicate appearance and ability to bend into gorgeous curvalinear patterns or wrap endlessly around necklace pendants, wire jewelry is also easy to maneuver for beginners.

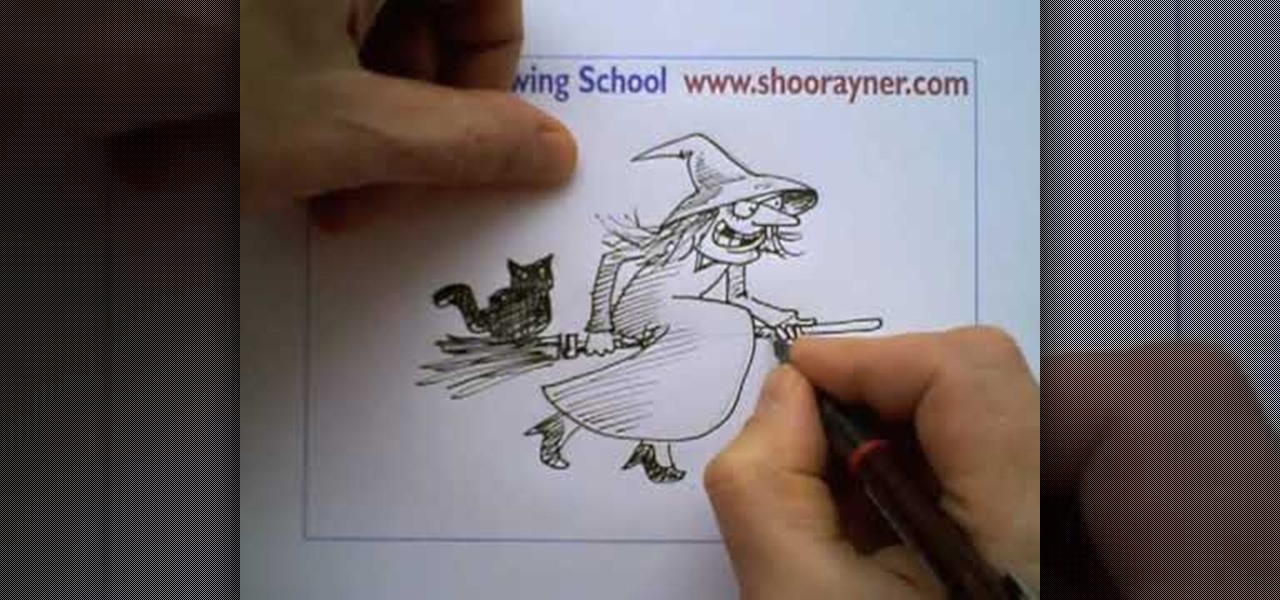
In this video, we learn how to draw a Halloween witch. There are a ton of different styles of witches you can draw, you just have to choose that one that you like best! No matter which one you choose, you will first start out by drawing the outline of the witch, using a light pencil marking. Draw the head and body, followed by the witch with the broomstick. After this, start to add in more details, such as the face and clothing. Make sure to draw in the hat and add in lines on the clothing to...

In this tutorial, we learn how to properly tape a hockey stick. Start at the base of the stick and start to tape down the blade. Try not to have too much tape overlap. Keep taping until you reach the end of the blade, taping over the toe if you prefer. If you have a rounded toe, you will have to use scissors to cut the tape, then fold it tightly at the end so no tape is hanging loose. Now, flatten the tape out with something hard and flat. To finish, store this in a cool and dry place and enj...

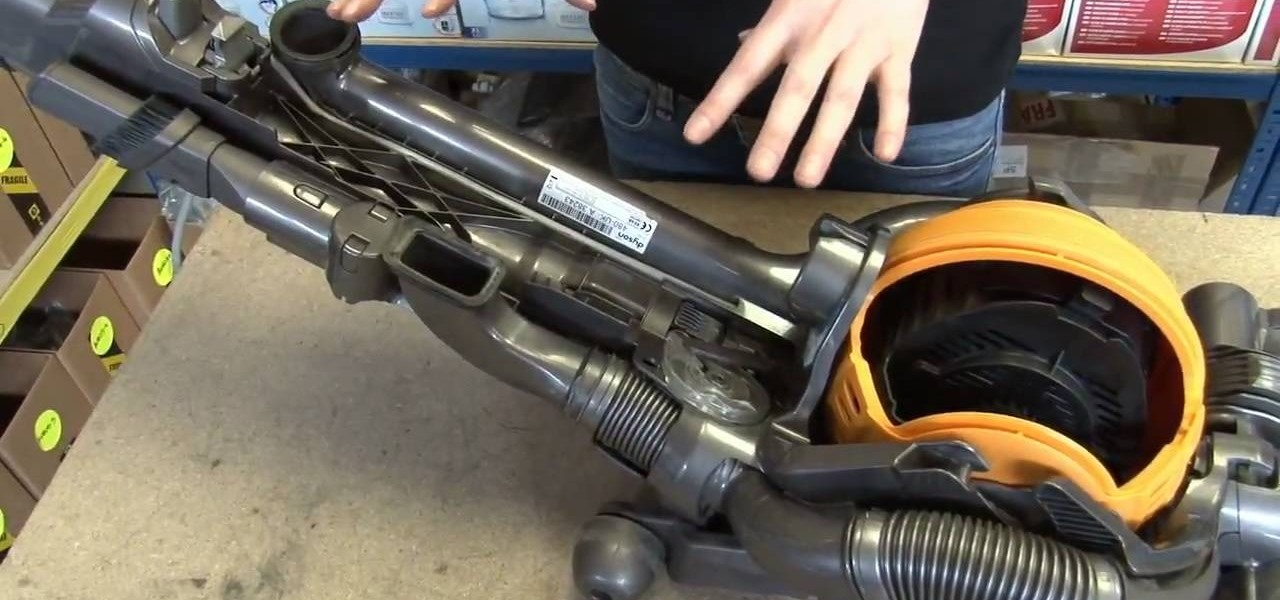
If you're trying to vacuum around the house, but realize that nothing is being picked up, you have a big problem on your hand. There are numerous reasons for why your vacuum isn't sucking, and it can be confusing for where to start.

In this video, we learn how do perform basic turns while snowboarding. To start out, increase the pressure onto your front foot while on the board Then, rotate your upper body in the direction you are turning. When the board starts to go downhill, transfer your weight from the heel to a flat base on the board. The snowboard will turn away, place pressure on your toe and bend your ankles. Place more pressure on your feet, then rotate your upper body in the direction you are turning. Keep doing...

In this tutorial, we learn how to make slime by mixing corn flour and water. To start, you will need corn flour, water, and two plastic containers. First, pour the corn flour into one plastic container and then add in some water with food coloring to the mix. After this, mix the combination together until it makes a paste. Add more water or corn flour as you mix. When finished, grasp the mix in your hands and it will start to turn into slime! You can color this with any color food coloring, b...

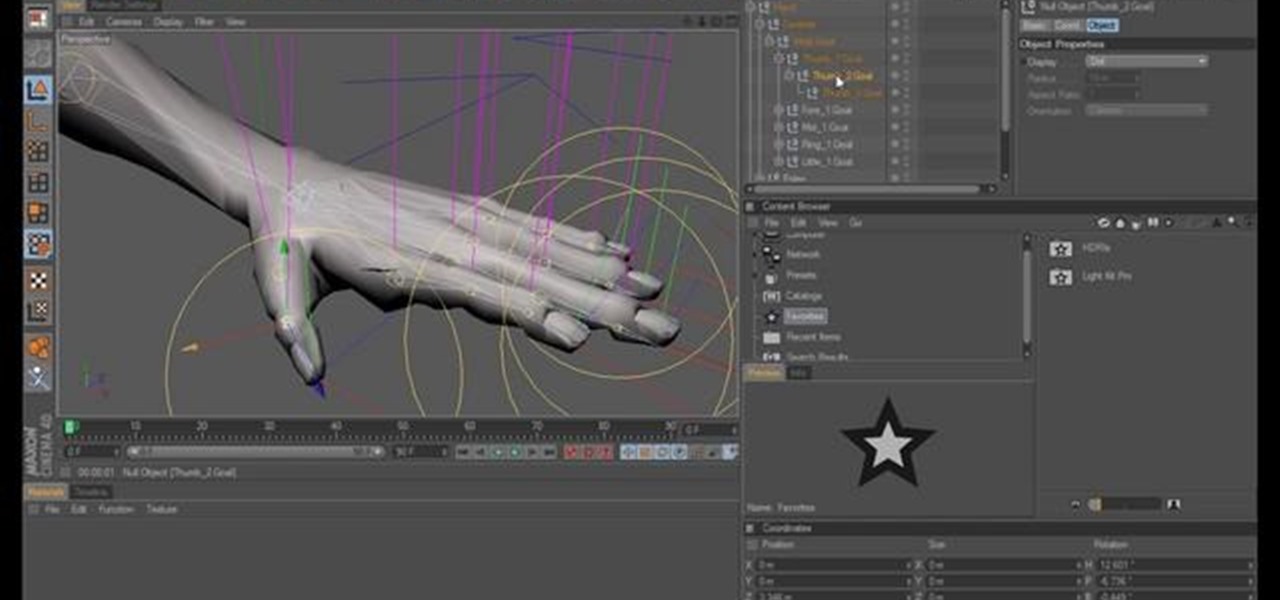
This tutorial covers the C4D rigging system, applying it a model of a hand. It goes from start to finish covering all the different aspects of the technique. Whether you're new to MAXON's popular 3D modeling application or are just looking to get better acquainted with Cinema 4D and its various features and functions, you're sure to enjoy this free video software tutorial. For more information, and to get started using this trick in your own Cinema 4D projects, watch this 3D modeler's guide.

This video tutorial is in the Autos, Motorcycles & Planes category which will show you how to block sand body filler using hand bricks for a car. First repair the dent and apply the body filler. Blocks come in different sizes. Normally you would like to use the biggest block depending on the size of the dent. For a smaller dent, use a smaller block. There are different grades of sand paper. You would generally start out with 36 for a big dent. But, for a smaller dent you can start with 80. In...

In this tutorial, we learn how to perform negative resistance training with Jennifer DiDonato. Start of sitting down with your elbow resting on your knee and holding a weight of your preference. Now, lift the weight up by counting 1,2,3. Bring the weight back down by counting to 6, and keep doing this back and forth. This will give you a different work out since you are doing resistance on your way down as well as going up. Do three sets of this exercise on both sides, then try to do one more...


