

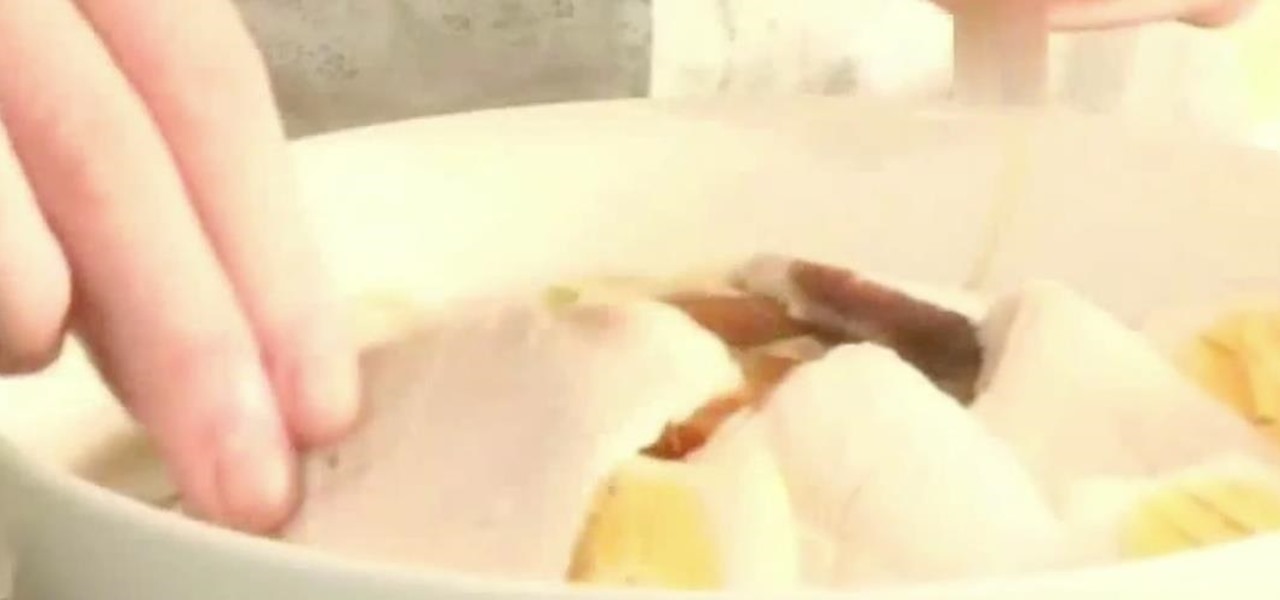
How To: Make a Filipino ensaymada (sweet butter & sugar bread)
Dissolve yeast and 1 1/2 teaspoonful of white sugar in lukewarm water. Mix until bubbly then set aside.

Dissolve yeast and 1 1/2 teaspoonful of white sugar in lukewarm water. Mix until bubbly then set aside.

Mary, from Cardztv, with her love for owls, shows you how to make a Christmas card with an owl on it, in this video. She shows you how to use plastic stamps to create this cute card, along with the Cricut machine from Provo Craft. In this particular video, she uses the Winter Wonderland cartridge for the Cricut machine. She shows you how to make each individual embellishment that's used to create the card. Mary's tutorials make card making easy.

Illustrator is a great tool for creating individual artwork. Creative and clever, it has many functions, one of which is mosaic. If you want to make your illustration or design appear to have a myriad of tiny 'squares' like a Roman mosaic, this guy can help you do it. The short clip explains clearly how to bring the chosen effect to your design. You can see on screen exactly how to do it, so you're not left in the dark, searching every menu for the right tool.
Fix the 2 packs of Ramen noodles as instructed on the package. You can buy 12 individual packs as they are a few cents cheaper. Some people like to coordinate my noodle flavors with the type of meat they're using. For chicken flavoring, use turkey or chicken. For beef flavoring, use beef or pork. For hrimp flavoring, use any type of seafood.

In order to decorate your presents during the holiday season, this quick tutorial will show you how to make a beautiful gift bow. Using a somewhat thick ribbon, determine the size of your bow and wind it around itself about 8-12 times, the more winds, the thicker your bow will be. Squeeze the loops of the ribbon together, making the ends overlap on the inside and fold it over. Then make two cuts on a diagonal through the center, making sure that you do not cut through. Unfold the loop and tie...
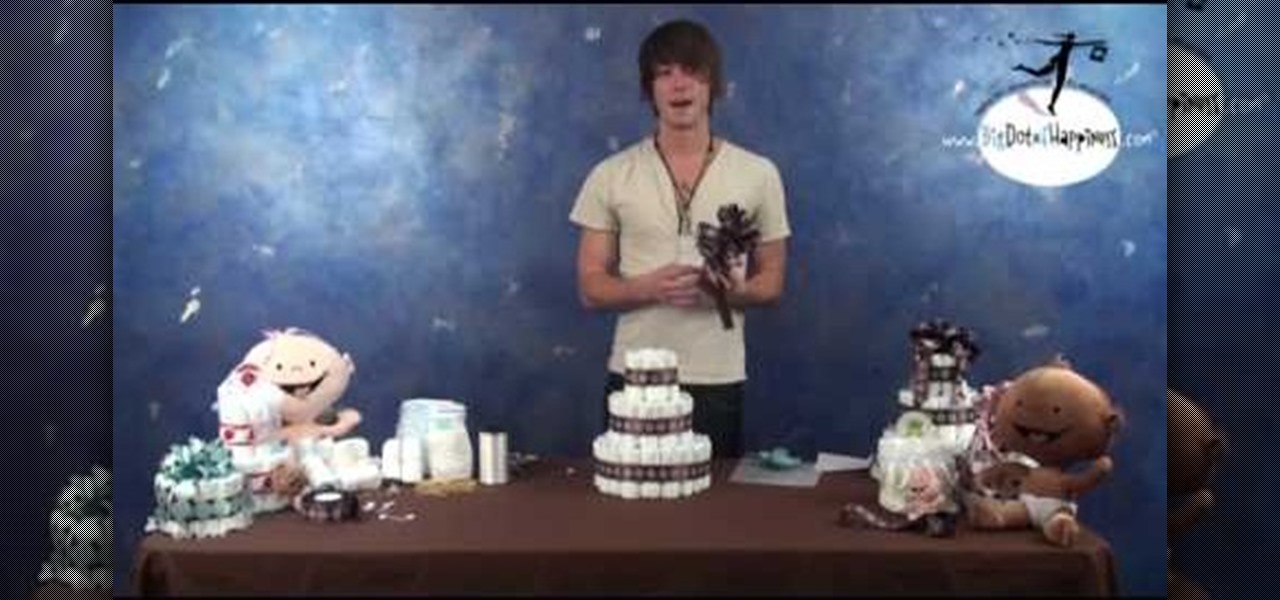
Here is an interesting idea for a baby shower: a diaper cake. Using various materials such as a tube, a glue gun, some safety pins, string, rubber bands, scissors, and 63 diapers, you are on your way to making this bizarre yet interesting cake. After rolling together each individual diaper, holding them together with rubber bands, you are on your way to making this cake. While this cake is not meant to be eaten, it is a very interesting centerpiece or gift for your next baby shower.

In this video, an English lesson for foreign language speakers teaches viewers expressions using the work "table." There are three different expressions taught through watching, listening and defining.
An amputee shows the way to tie shoe laces with one hand or one arm. He has no prosthetic help meaning he doesn't use a hook. This can be a huge challenge in life for persons with missing limbs or in need of adapted living situations. Shoelaces are tough enough with two hands, let alone one. This is a great first hand account of the strategy in tying one's shoes without a prosthetic. This is an adaptive equipment tutorial for handicapped, disabled or individuals that have lost limbs to amputa...
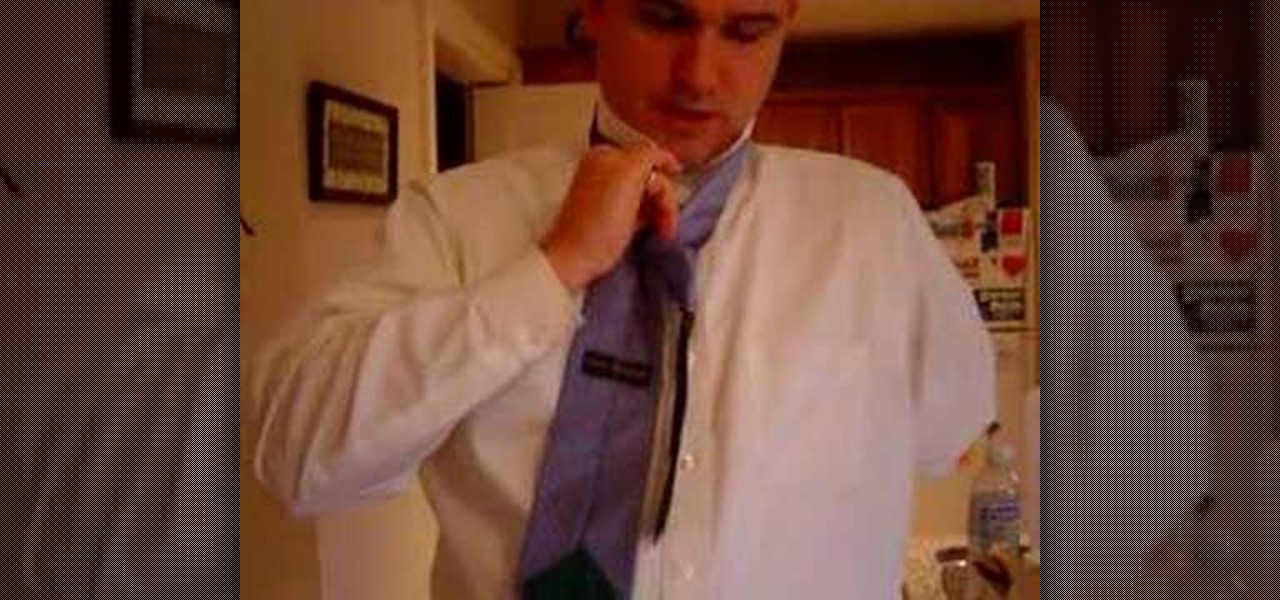
One armed tie tying and collar buttoning is tough for most people, let alone an individual who has suffered an amputation. Here's a lesson from an amputee on tying a tie and other suit tricks all while using one hand and no prosthetics. A thicker tie is easier as it will not bunch up or tighten. Only tie a Half Windsor as a Full Windsor is way too tricky for one hand. This is a step by step tying video by an amputee with only one arm. If it cinches up too much wiggle it out and it will loosen...
Watch this step by step fashion design tutorial on how to bleach shirt designs. Print out a design onto durable paper and cut out the individual pieces. Iron the shapes in place atop the t-shirt. Place a protective lining on the inside of the shirt. Fill an empty spray bottle with bleach and spray your design lightly from about two feet away. The areas where you placed paper shapes and letters will not soak up the bleach.

Watch this instructional ceramics video to learn how to trim a large tiered bowl with Simon Leach. With a thin bowl, one needs to be careful when balancing the upside-down bowl on the bat. Leach trims each individual tier with a large trimming tool. The large and possibly wobbly ceramic bowl can become once again even and graceful with some adventurous trimming. As we can see from the trimming process, when throwing a tiered bowl, it helps to leave some extra bulk.

Welcome back, my greenhorn hackers! Before we attempt to exploit any target, it is wise to do proper reconnaissance. Without doing reconnaissance, you will likely be wasting your time and energy as well as risking your freedom. In previous guides, I have demonstrated multiple ways to perform reconnaissance including passive recon with Netcraft, active recon with Nmap or hping3, recon by exploiting DNS or SNMP, and many others.

Teeing off sprinkler lines is something you'll probably have to do if you're trenching or pulling that plumbing pipe for your sprinklers underground. It allows you to run your main lines closer to the middle of your yard and then branch off to each individual head.

Null objects in After Effects CS5! In this clip, you'll learn all about them: what they are, how to create them and how to link layers to them. This clip also looks at adjustment layers and their relative advantages over making changes to individual layers within your projects.

The first step in any After Effects CS5 project is importing your footage and setting up a custom composition with reference to the technical settings of your individual clips. Learn how it's done with this video tutorial.
There are twenty different glyph puzzles scattered throughout the game Assassin's Creed: Brotherhood, and you will need to solve all of them. This walkthrough shows you where you can find each individual glyph, and then shows you how to solve them.
When you're searching for a contact to message, sometimes it's a little better to see a face than a name. But it's even better to have both! With the Android OS on the new Samsung Galaxy Tab, adding photos to your contacts is a breeze. Select APPLICATIONS < CONTACTS and select your preferred contact. Choose EDIT and tap the blank photo space in the upper left corner. Press TAKE PHOTO or ALBUM to add the picture. See how in this video.
This video explains how to create a 4z4 tri-fold mini album. The first step is to score your designer paper at four inches and then fold along the score mark. The previous step is completed three more times until you have four score marks along your paper. Three separate pieces of paper are then cut measured at three and half inches. Your chosen picture is then glued into the center of your original twelve inch panel. using the three individual pieces of paper you must glue them around the pi...
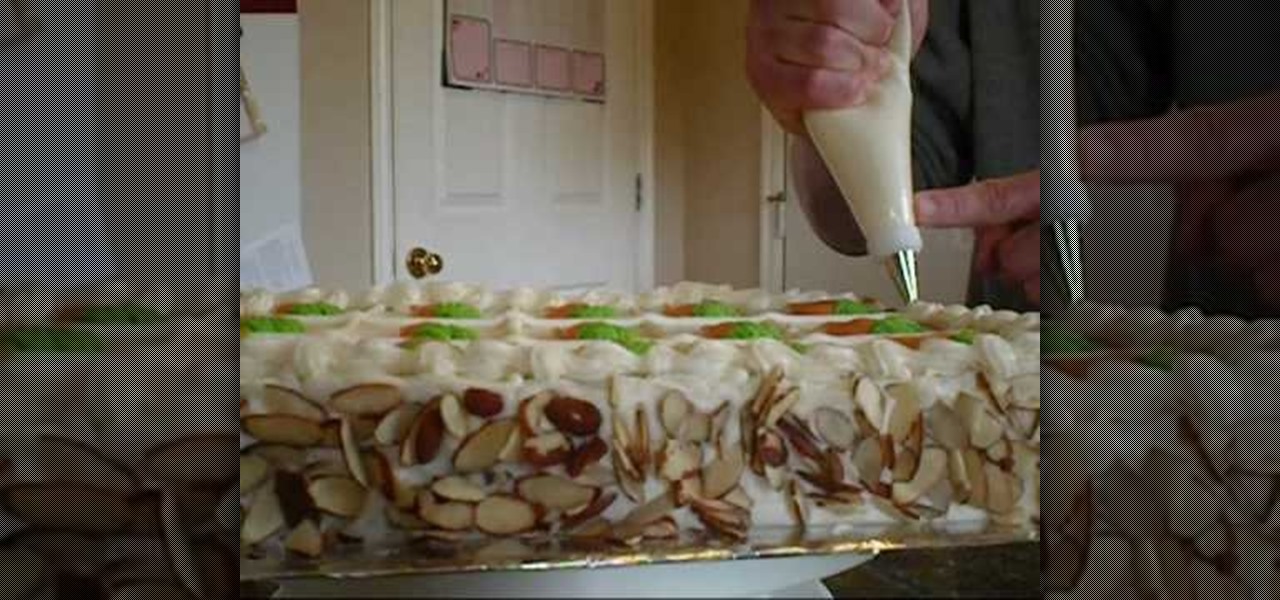
In this tutorial, we learn how to decorate a carrot cake. First, apply icing all over the top and the sides of the cake. After this, apply sliced pecans to the side of the cake using your hands to press them on. After this, use your icing to create squares in the cake to make equal size pieces. Then, use orange and green icing to create carrot shapes on all of the individual squares. Once you're finished making the carrots, you will be ready to cut this up and serve. If you want more icing, y...

In this video we learn how to say "I love you" in Korean. Korean people generally don't say "I love you" because it's not a verbally expressive culture. You wouldn't often say "I love you" to a Korean woman or man. Learn how to say this by first learning how to say each of the individual words and then put them all together. Remember that there are no pronouns in Korean, so don't try to say them in the word. If you want to change the punctuation you will have to change how the words are said....
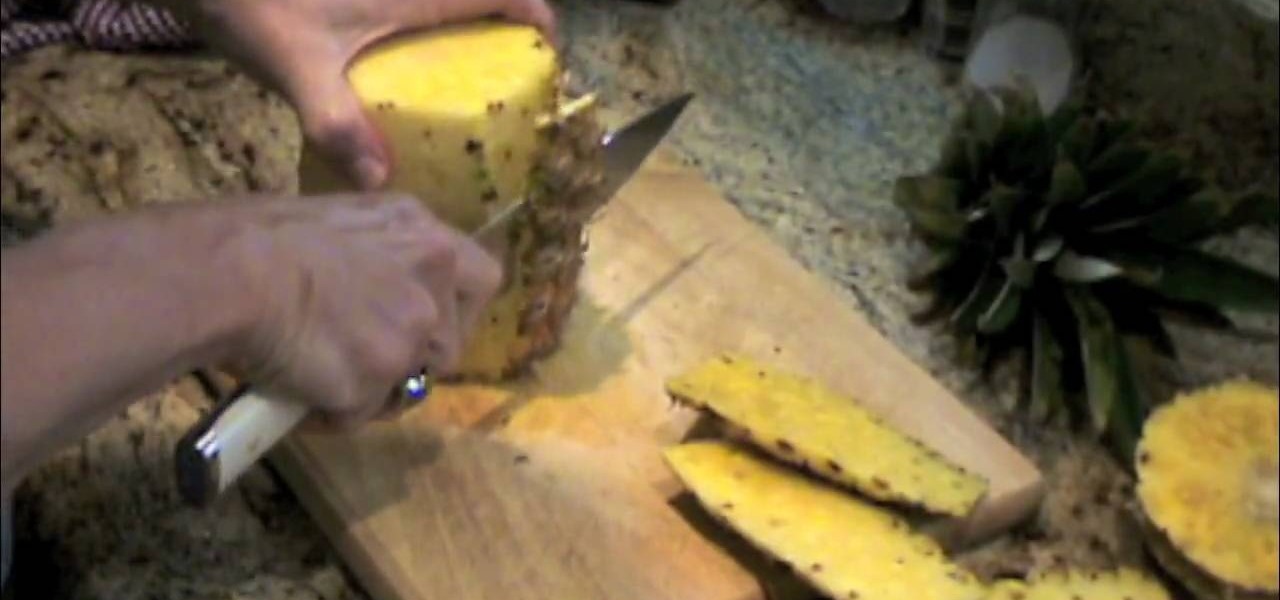
In this video, we learn how to cut a pineapple. First, take your pineapple and remove the leaves from it. Then, using a sharp knife you will cut off both ends of the pineapple. From here, turn the fruit on one side and gently cut the edges off of it with the sharp knife. Continue to do this all the way around the pineapple until there is no more skin left on it. After this, you will place the fruit on it's side and cut it into thick slices. After this, take each individual slice and cut the r...

In this video, we learn how to say "I love you" in Russian. If you want to learn how to say this correctly, you will need to make sure that you have the accent down correctly. Listen to the audio in the video so you can get an idea of how your voice is supposed to hand. If you cannot read the word written in Russian, just try to say it. Once you understand the basic way of how to say the different letters, you can put the individual words together. From here, you will be finished with saying ...
In this tutorial, we learn how to quickly make a cheeseburger pizza. First, spread ketchup on your small pizza crust, then spread on mustard in a circular motion. After this, use a spoon to mix the two together and spread evenly throughout the entire surface. After this, grab some already browned ground up meat and spread it on top of the sauce, using how ever much you would like. Spread shredded cheese over this, then bake in the oven until the cheese is all the way melted. Let this cool for...

In this video, we learn how to borrow and regroup in math. First, look at the top numbers of the subtraction equation. Look to see if it's smaller than the bottom number. If not, look at the numbers to the left of each one on the top to see if you can borrow from them. If you can, then you will have to lower than number by one each time you are borrowing a number. Once you do this, you will be able to subtract the number at the top from the number at the bottom, even when the individual numbe...

In this tutorial, we learn how to make mini cheesecake treats. First, you will need to take cream cheese and place into a bowl with eggs, and sugar. Blend this together with an electric blender. Then, add in vanilla extract and an egg, then blend together once more. Next, place cups into a muffin pan and place a vanilla wafer inside each individual cup. Then, add in the cheesecake mixture and set in the muffins to an oven set at 350 degrees. When finished cooking, let cool completely, then ad...

In this tutorial, we learn how to make chocolate Rice Krispies treats. First, you will need 1 stick of butter, 12 oz package large marshmallows, 6 c Rice Krispies cereal, microwave safe bowl, and nonstick pan. Now place your butter and your marshmallows in the bowl and microwave for one minute. Then, use a spoon to mix together the mixture and place in the microwave again if it isn't melted, two more minutes should be perfect. After this, spray non-stick spray on the pan and then mix the mars...
In this video, we learn how to make Life Savers treats. First, use the curly label punch and punch it out of a white paper. Next, fold this in half and then use your stamp-a-ma-Jig on card stock with a love and flower stamp. Use a black and pink marker to fill in the colors of the stamp. Next, stamp this on the piece that was folded in half, then punch out a heart and use sticky strip to adhere the individual life saver to the middle of the sentiment. Once finished, apply the heart and you ar...
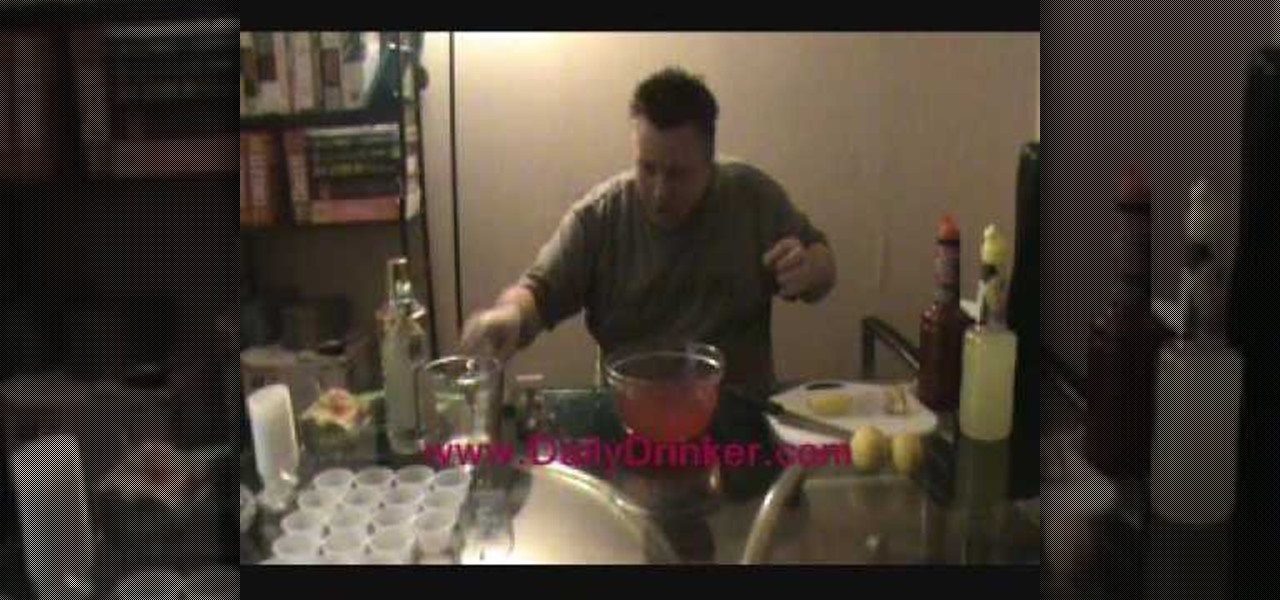
In this tutorial, we learn how to make strawberry lemonade Jell-O shots. First, you will need to take a couple cups of boiling hot water, then mix it with a large packet of strawberry lemonade Jell-O. Mix this together until all of the powder is completely dissolved. After this, pour 1.5 c of citrus vodka (cold) into the bowl of Jell-O. Then, take a fresh lemon and squeeze the juice of it into the bowl, making sure to remove any seeds. Mix up the rest of the mixture after this, then pour into...
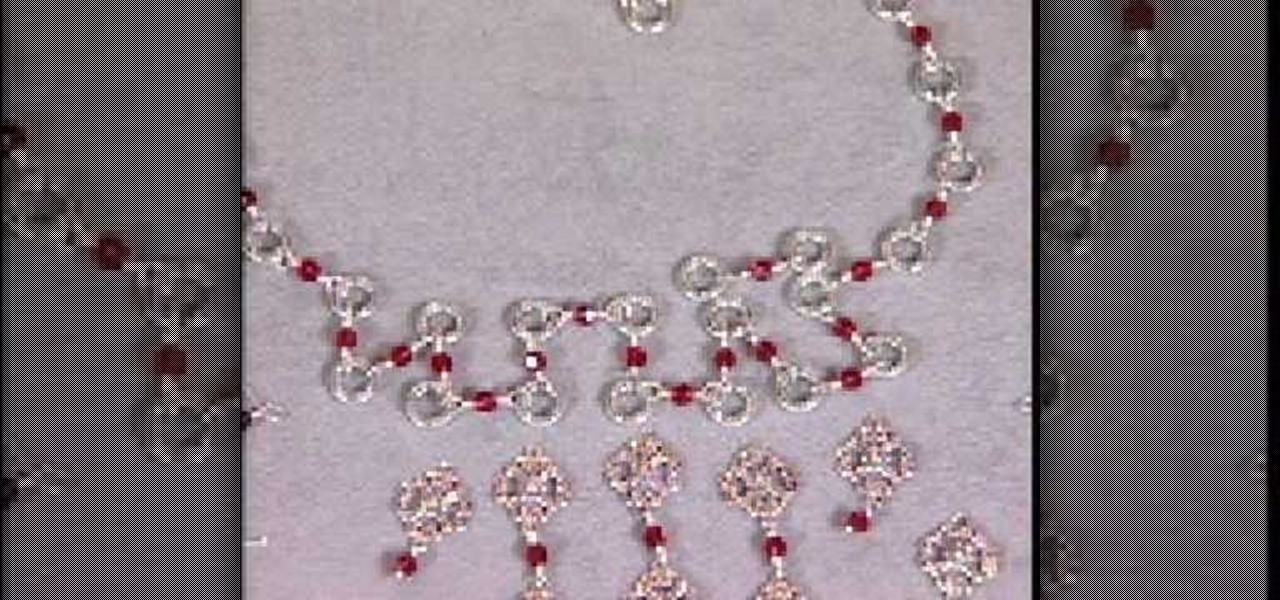
In this tutorial, we learn how to make a silver vintage-style bead necklace. First make sure you have silver wire and glass beads in the color that you prefer. Now, you will string the beads through individual wires and close them so these can be applied to the center of the necklace. This will create a long chandelier like quality on the necklace. After this, you will create the base of the necklace with the same color beads and silver. You will want to follow the pattern of creating silver ...

StarCraft, quite possibly one of the most influential RTS' of all time, has its supporters for each individual race on all sides of the battle field. For those of you who are Terran players who also love Legos, this video is going to be right up your alley! In this video you will learn what parts you'll need as well as the steps you will take to building your very own Terran factory with machine shop upgrade in a matter of minutes!
In this video, we learn how to dye yarn with Kool-Aid. First, take two chairs and wrap yarn around them as tight as possible to keep them from getting tangled up. Then, place in a bath of lukewarm water for ten minutes. After this, grab packets of Kool Aid the color you want your yarn to be. Now, take the yarn out of the water and squeeze out any excess water. After this, mix up the Kool Aid and place it into individual jars for each color. Next, place the jars in a large pot of water and the...

In order to perform a perfect six o'clock, you will need to, first, begin by increasing your strength and flexibility. Partner stretches may be beneficial to you, in order to increase your flexibility. This will be of additional benefit to you, if you've pushed yourself as far as you can go alone in individual stretches. When you are adequately limber, begin by stepping forward with one leg. Turn out and engage the front leg, as you transfer your weight to it. When the foot is planted, swing ...

Pendants are like the stars of your necklace. Without them, you'd only have a boring necklace chain or cord. Pendants add excitement to a necklace as well as show off some of your individual style and charm.

In this video, we learn how to get Kylie Minogue inspired makeup. First, you will need to get cardboard paper and cut it out into an eyelash shape, cut around the individual eyelashes making them very long. Next, glue on rhinestones to the lashes and set aside to dry. Next, apply a blue eyeshadow to the entire eyelid going up to the brow bone. After this, apply a darker blue in the crease and the outer v, then blend colors together. After this, apply a shimmer color to the inner crease of the...
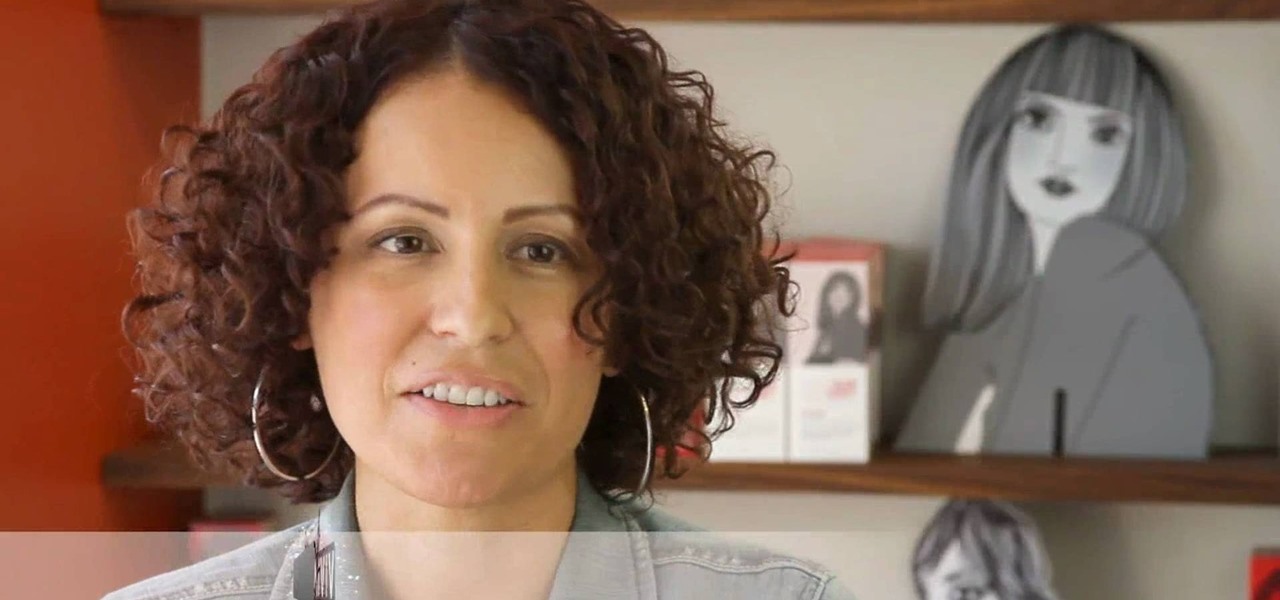
HerCut is an innovative new line of haircare products at Sephora that's built on the premise that every haircut is unique and requires its own styling products to create the best texture and shine. As "no duh" as this seems, there actually aren't many lines out there that are built for individual hair styles.

In this tutorial, we learn how to understand rheumatoid arthritis. This concentrates by attacking the joint spaces and causing a reaction. This doesn't happen for an exact reason, but it usually occurs in older individuals between 40-60 years old. This also occurs in young children rarely. The symptoms are when the joints become inflamed and painful. This happens around the knees, ankles, neck, and more. This attacks both sides of the body and the same body parts at once. Fatigue, fevers, mor...

In this video, we learn how to make chocolate dessert cups for an event or party. First, tape a cupcake pan and paint pink colored hot chocolate into a shape at the bottom. Next, add in melted chocolate to the individual cups. After this, place in the refrigerator for 10 minutes, then push the cups out of the trays. Then, you can place icing or cream into the middle of them and serve to guests. These only take a short amount of time to make, and everyone will love them. It's a great way to ke...

In this tutorial, we learn how to enhance the color of your lips and eyes with GIMP. To change the eyes, use the ellipse tool to highlight each individual eye, then change the contrast of the eye as well as the color and highlights. Do this for both eyes, then save. To change the lips, use the lasso tool to highlight the outside and inside of the lips, then go to "select", "from path", and then change the color balance as you did on the eyes. Change it until it's the desired color you want, t...
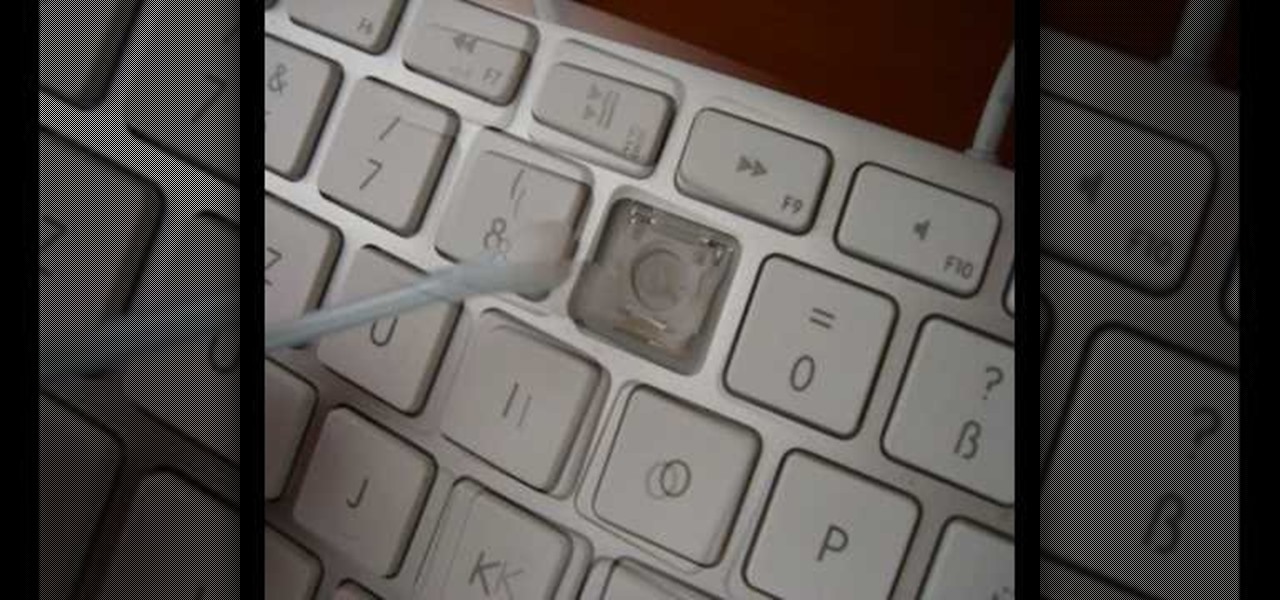
In this tutorial, we learn how to clean an aluminum Apple keyboard. You will need: soap , q-tips, and water. First, remove each individual key to your keyboard gently, then, clean off the keys and the inside with a mixture of soap and water on a q-tip. When finished, place your key back onto the keyboard. Repeat this step for your entire keyboard, making sure to be gentle when you remove and replace the keys back on. Don't do more than two at a time or you run the risk of forgetting where the...
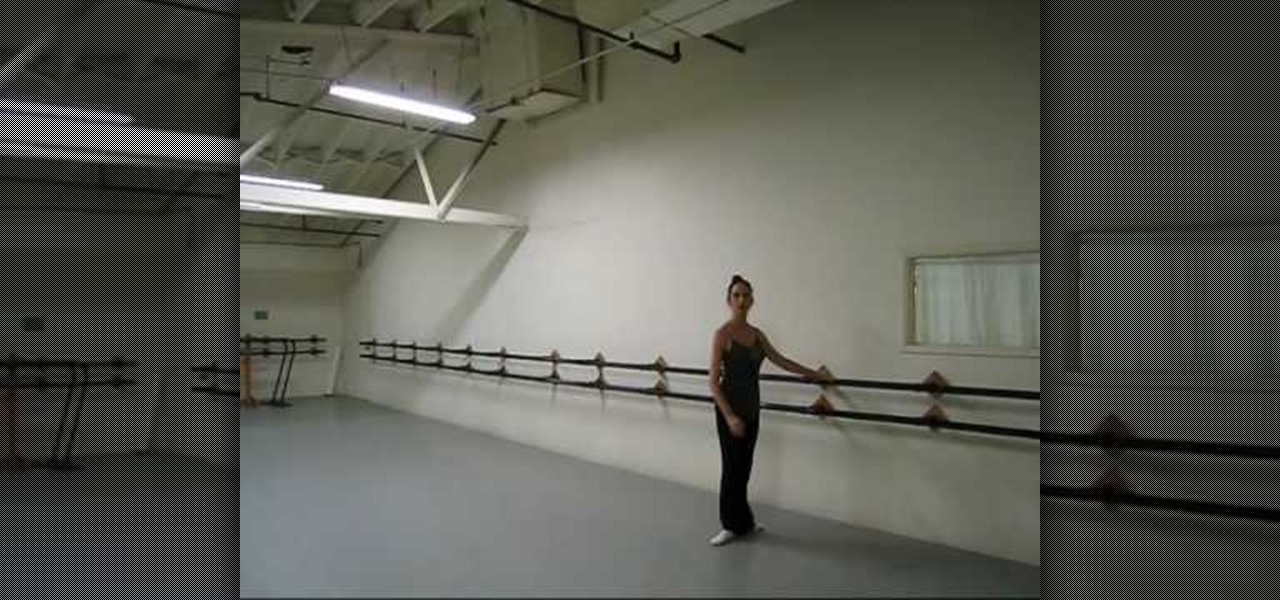
In order to develop ballet turnout, it is important that you remember that relaxation is the key. Your hip joint must be loose and relaxed at all times, since all movement is done based on turnout.