In this video, we learn how to cheat on any test using an eraser. First, take your eraser, it should be wide and thick, not one that comes on the top of a pencil. After this, you will cut a hole out of the middle of the eraser. You can do this easily using a straight edge blade. Once finished, you will take a small piece of paper and write down the answers or information you need on it. After this, you will fold the paper up into a tiny square and then place it into the hole in the eraser. Ta...
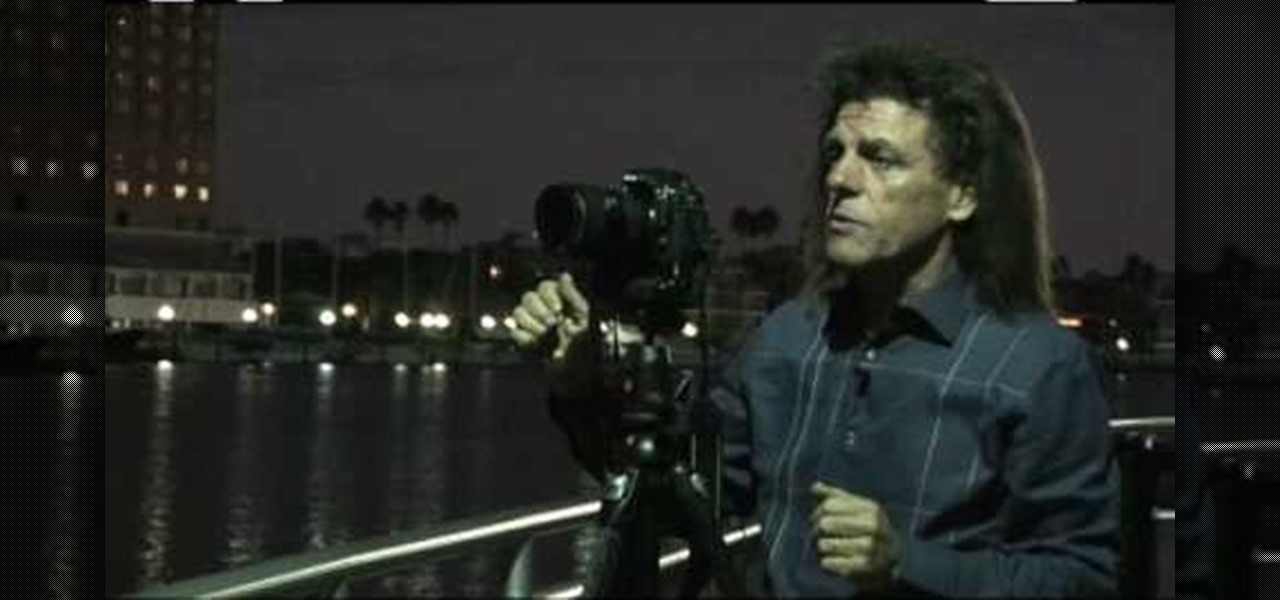
In this tutorial, we learn how to take pictures right after sunset. To get the optimal setting for pictures after sunset, you will first want to place your camera on a tripod. You want to get a view of both the sky and the tops of buildings that have just turned their lights on. After sunset, set your flash to a setting for outside and then take a picture of the sky with the clouds showing lightly in the air. Make sure to take a wide angled shot so you can see a clear view of the surrounding ...

Is it two hours before that big frat Halloween party, and you've got little cash and very few places you can go to pick up a last minute costume? Then check out this tutorial to learn how to make a prank pizza zombie face mask.
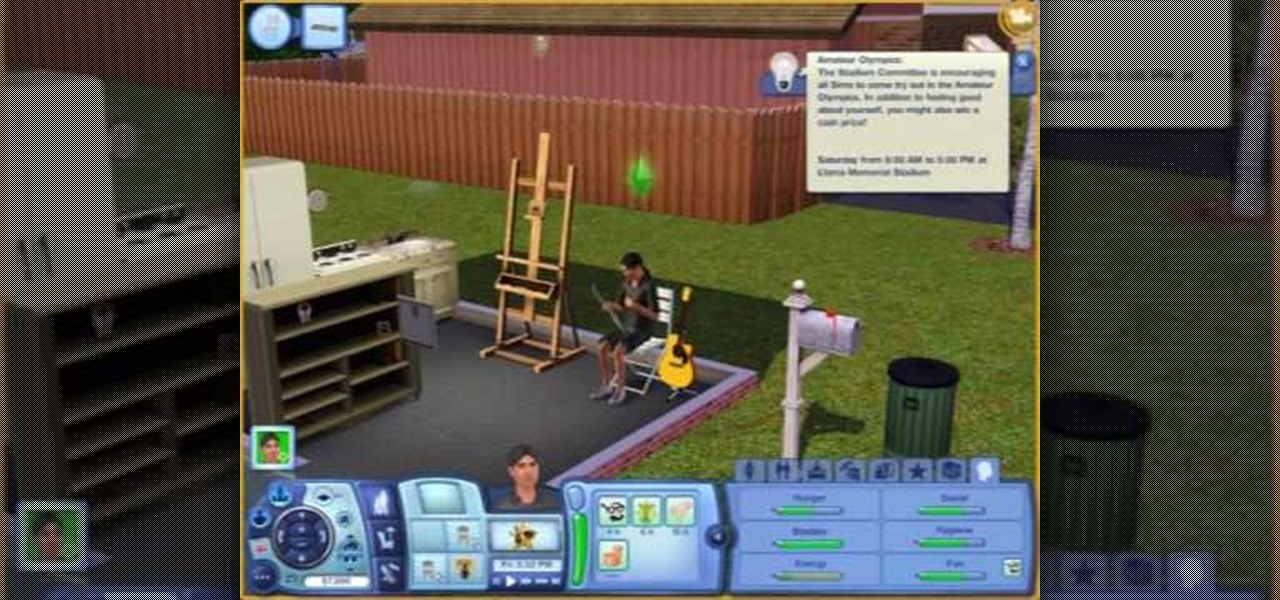
The newest sims game, Sims 3, gives you a wide variety of sims and choices. This tutorial demonstrates how you can maximize happiness for each of your sims by giving them hobbies and making sure all their needs are met.

In this video, we learn how to switch brake pads with Marc DiVall. You first want the side that is longer because that's the trailing side. The arrow should also be pointing to the left. If they are rear mounted, that means the brakes are on the wrong side. Go in and remove the mounting nut from the pad and line everything back up. Use your wide washer and spacers to shift around, which will allow your brake pad to rotate. Replace with the washers and then the bolt and then you can place thes...
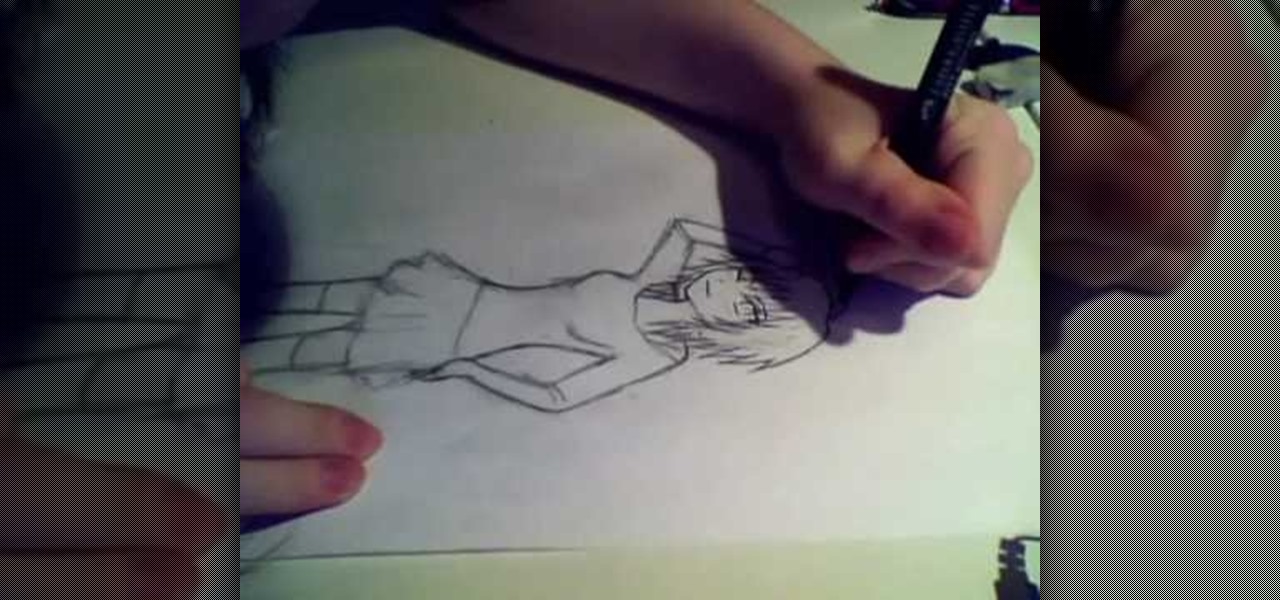
In this tutorial, we learn how to draw a manga girl. Start off by drawing the outline of the body, starting with the head. After this, draw the neck and shoulders, leading down to the rest of the body. Make sure to give the character feminine curves as you are drawing. Then, add in the features of the face and then give her bangs and short spiky hair. Next, draw a long sleeved shirt on her, that has wide shoulders on it. Continue to draw, making sure to add on lines to show contours where the...

In this video, we learn how to draw Kagome Higurashi. Start with drawing the head and the reference lines for the face. Draw in the eyes slightly to the left, then draw in the rest of the details of the face. Make sure the eyes are wide and bright, and there are eyelashes on the sides of the eyes. Next, draw in a nose and a mouth, then an ear on the right hand side of the face. Draw in bangs and the rest of the hair for the character. Make sure there is a long neck with shoulders draw in as w...
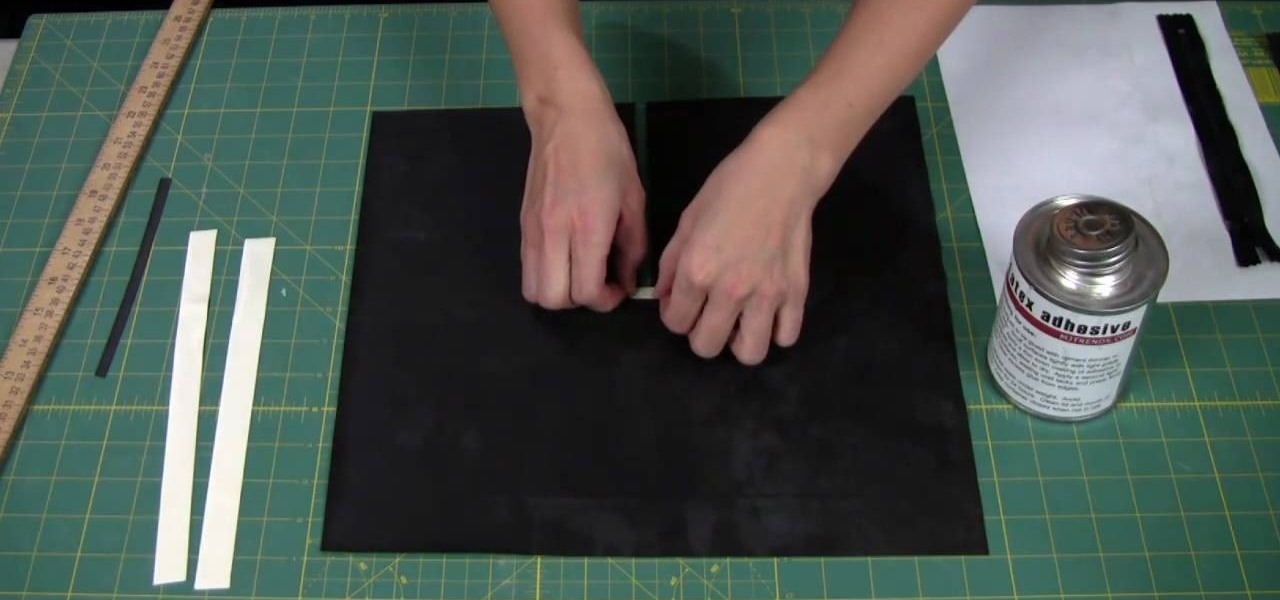
In this video, we learn how to add a zipper to a latex garment. First, apply glue to the zipper, using an ammonia based adhesive in one coat. Next, take a small paint brush from any store and apply a thin layer of adhesive to the zipper. The top will take about 45 minutes to dry, then turn it over and apply another layer of glue to the back. After this, cut two 1/2" strips of latex a little bit longer than the zippers. Also cut a 1/4" wide and 1" long piece of latex as well. Now, apply these ...
You don't need a wide lens anymore to create your own panoramic landscape shots. This tutorial uses a few beautiful shots of the Aegean Sea and shows you a few techniques available in Adobe Photoshop to create your own panoramic images.
Kanye West might be the most popular and most hated rapper in America right now. It's funny how those two go along right? Whether you like him or want to make fun oh him, making an XBox 360 Avatar in his likeness is a good place to start. This video will show you exactly how to make a pretty good one. Now make him say funny, self-obsessed Kanye quotes!
President Barack Obama is proving to be just as polarizing as the last president, but if you still love him after his nearly two years in office (has it only been that long?) pay tribute to him by creating an XBox 360 Avatar in his likeness using the steps in this video. This is a pretty young Obama, if you want a more presidential look age this by about 30 years.
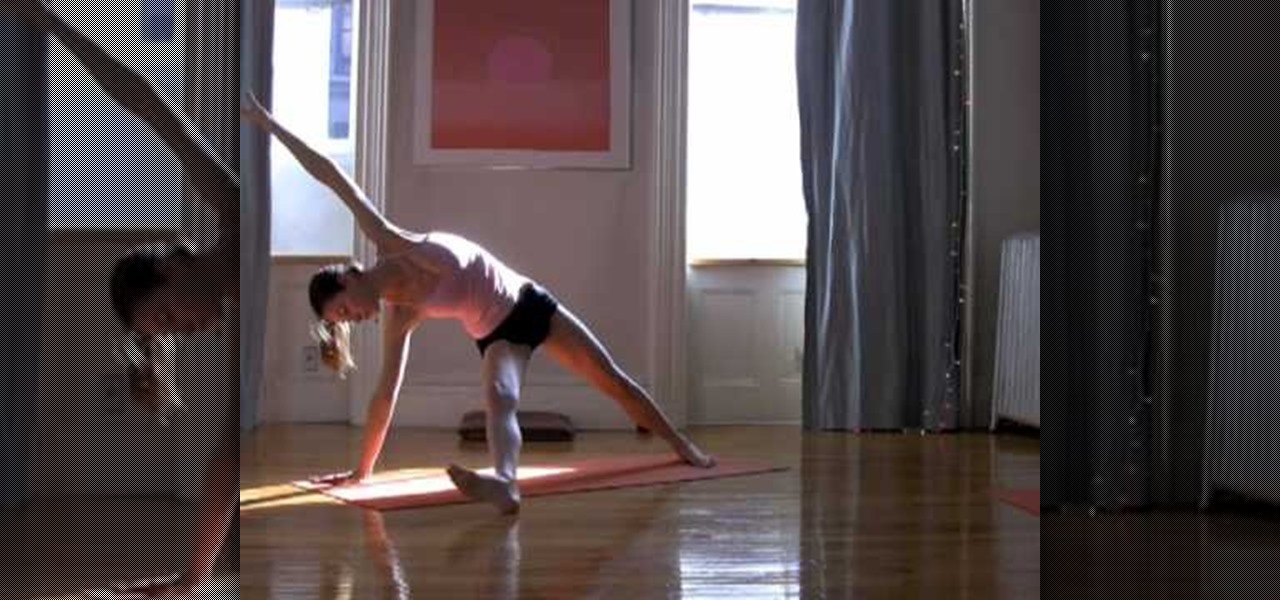
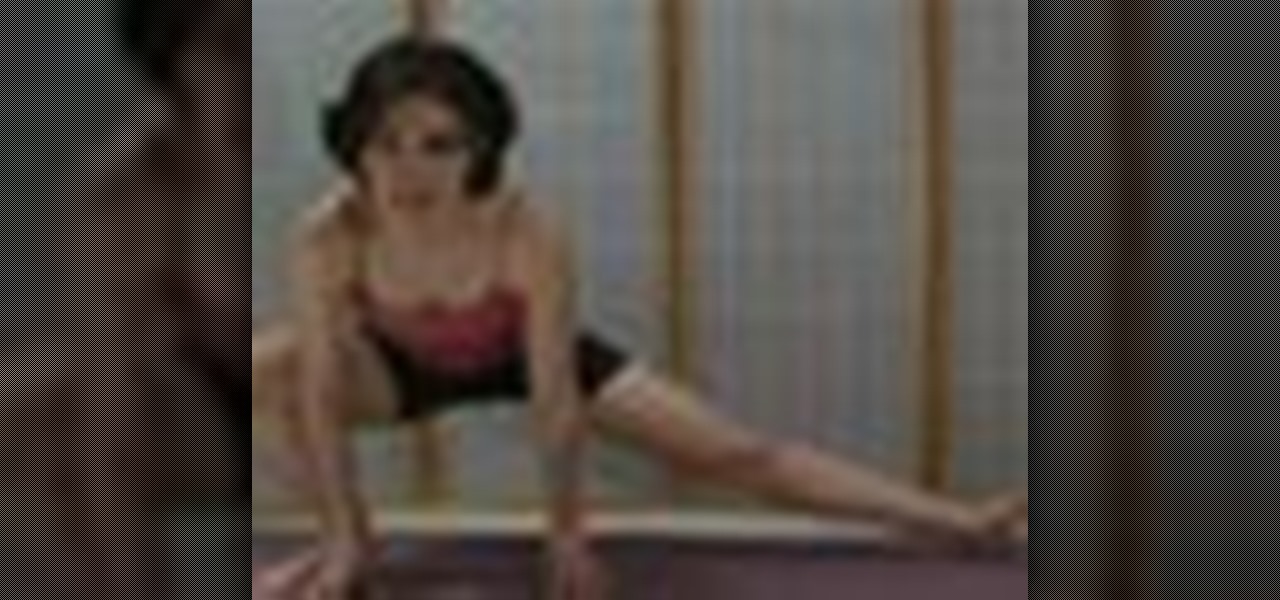
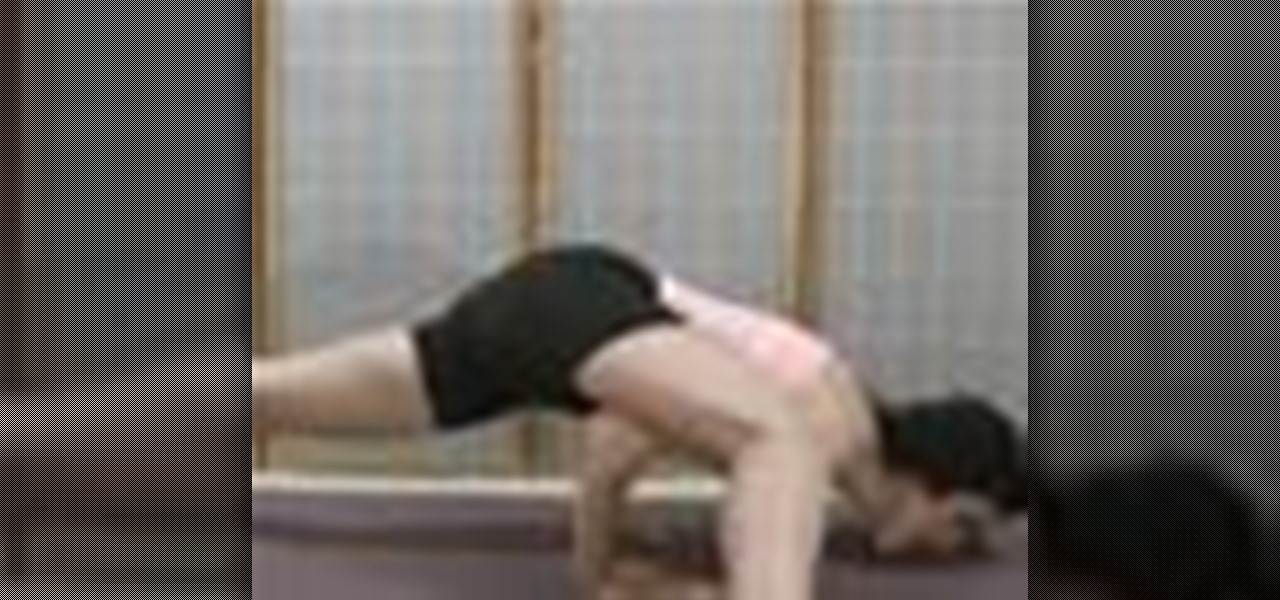
In this video, we learn how to strengthen buns, abs, & thighs with Tara Stiles yoga. First, stretch out your body on a yoga mat, then come into a downward dog position, raising your back legs in the air. After this, come into a warrior pose, except have both of your hands straight in the air while bending the knees. From here, come into the normal warrior pose, then stretch out both sides of the body by lifting opposite hands up in the air. Next, stretch out your legs as wide as they will go,...
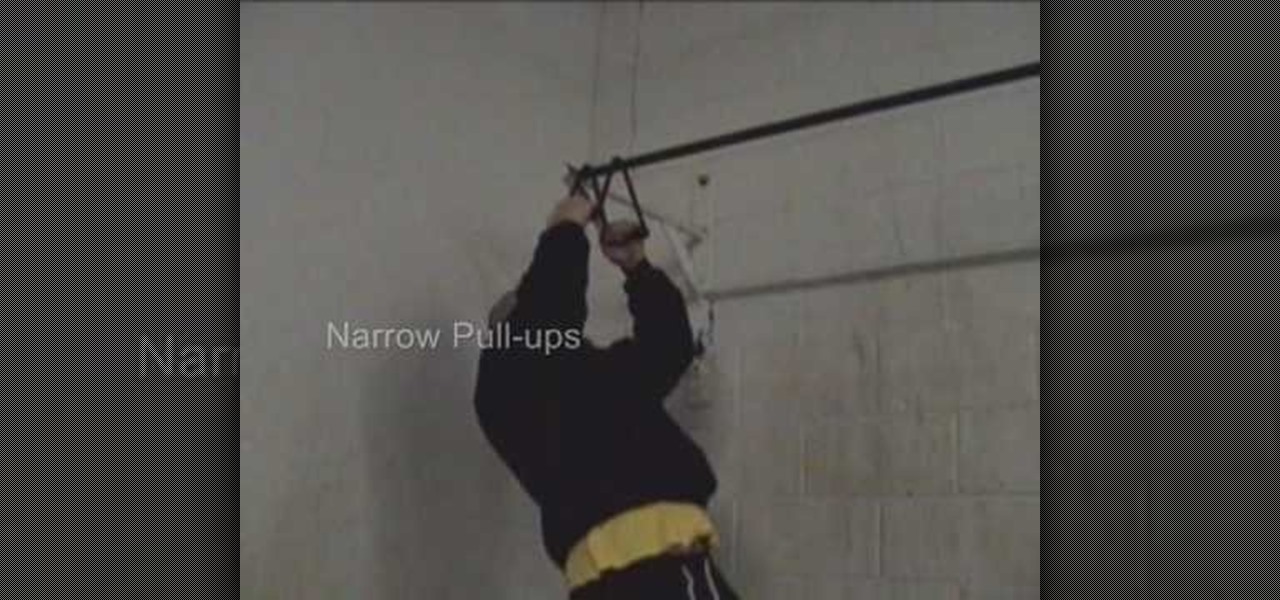
In this video, we learn how to start doing pull-ups. First, stand up while you pull down on the machine at a weight you can handle. After this, do wide lat pulls using a weight that is heavy for you, but you can still handle. Next, do seated row exercises in sets to where you can't do anymore of them. Low cable rows are your next exercise, making sure you have the right form while doing them. Start to do W's next, while sitting down on your knees and using control with your arms. After this, ...
In this video, we learn how to use cones when jewelry making with Christina. First, take a half inch hard wire with a looped end and use a pair of pliers to open up the loop slightly. Next, take your strands of beads and place them onto the loop. After this, close the loop making sure it's secure and the beads won't fall off. Then, take the cone and insert the wire through the wide end and pull it through the narrow end. Using your fingers, bend the wire to a ninety degree angle, then trim of...
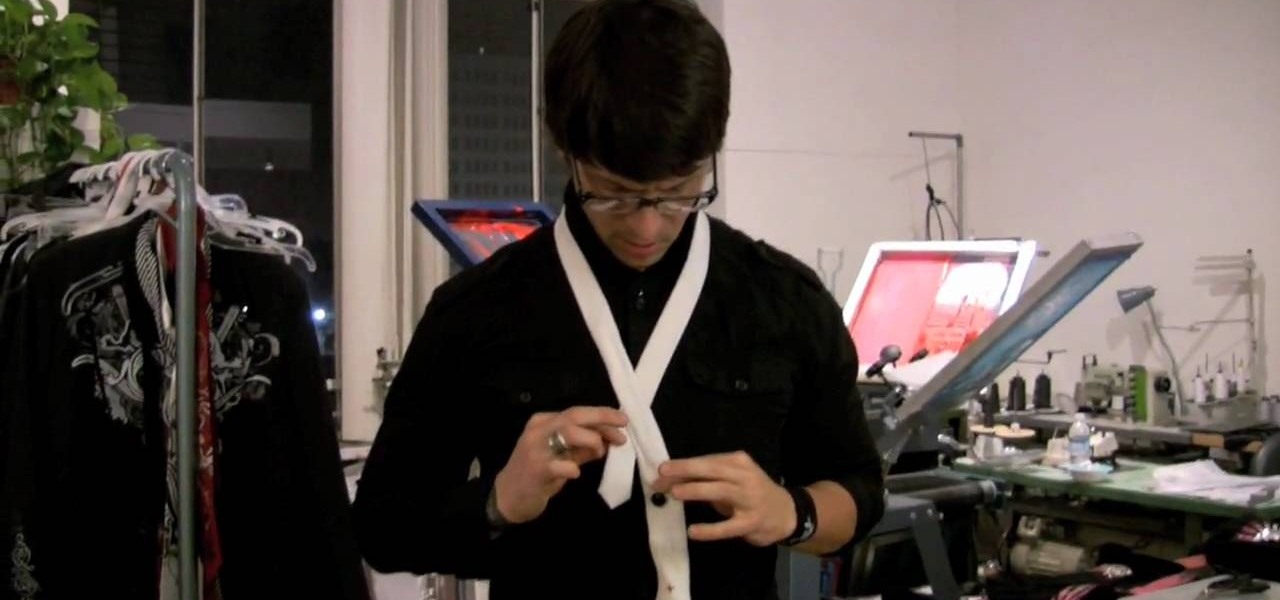
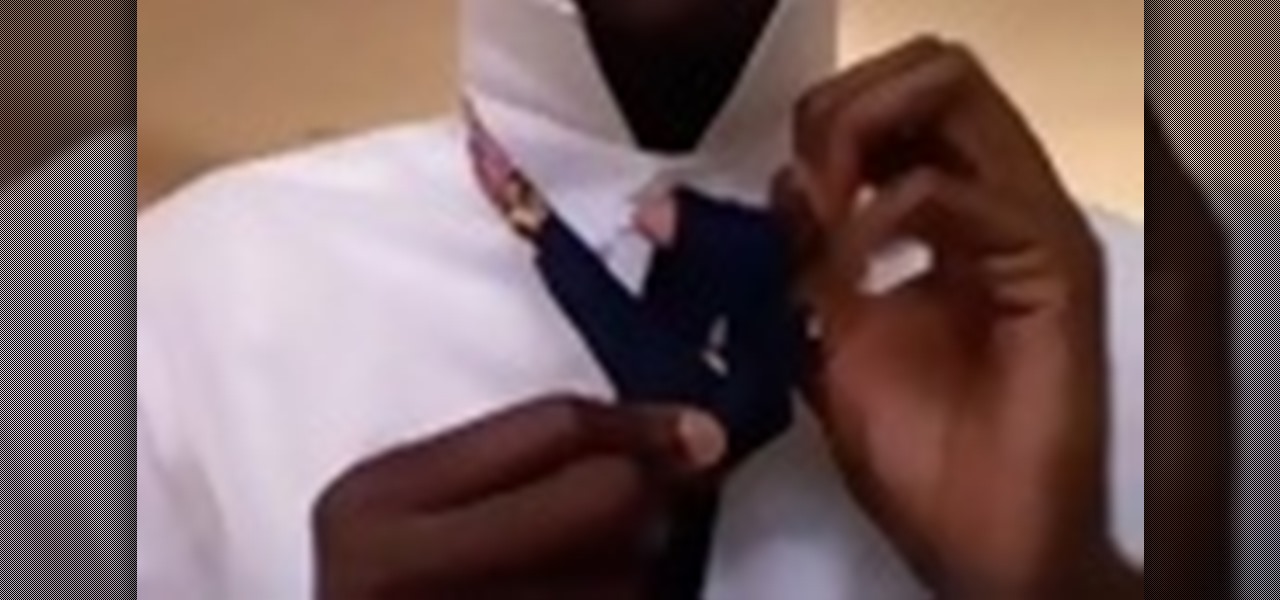
In this video tutorial, viewers learn how to tie a necktie. Begin by placing the tie around your neck, with the wider end 2 times lower than the narrow end. Then cross the wider end over and under the narrow end. Now bring the wide end through the V gap between the neck and . Wrap it once more over and under. This time, create a small loop. Bring the tie through the V gap and through the loop. Finish by tighten and adjusting the tie. This video will benefit those viewers who are attending a s...
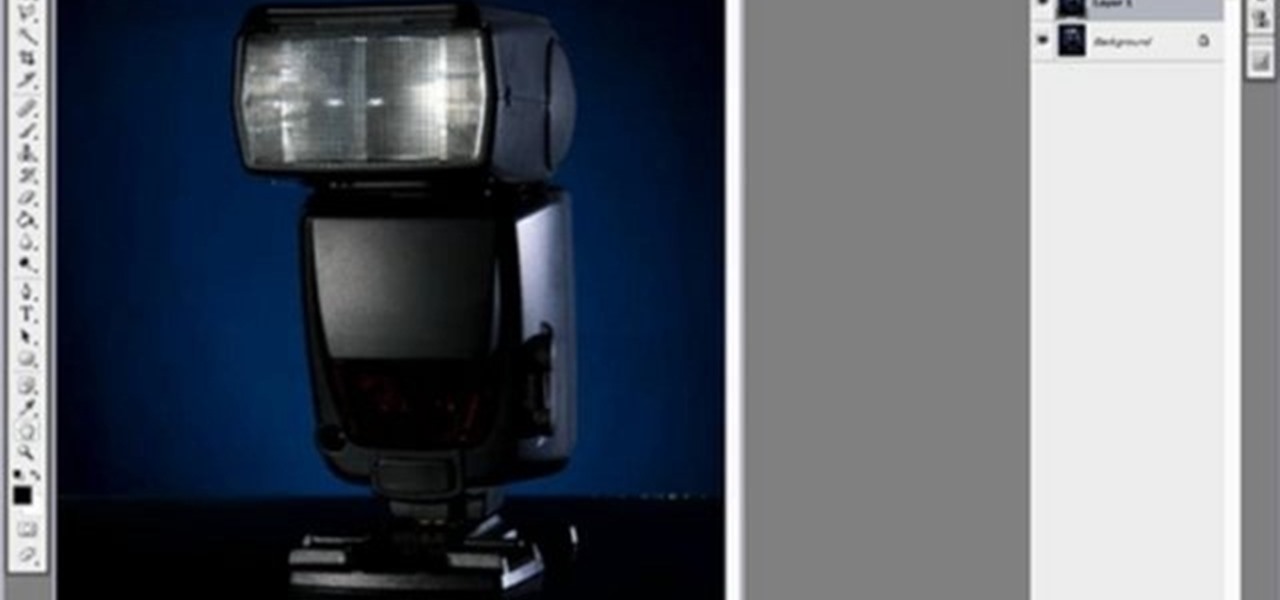
Yanik Chauvin teaches us how to color correct product shots in Photoshop in this tutorial. First, remove some of the black from the image by using your crop tool. After this, if your image is too wide, duplicate your layer and use the marquee tool to edit. Remove any dust spots from your image, to make it look more clear so you have an image that is impeccable. You can do this by creating a new layer and then adding a feather to the image. Continue to go through the editing tools available un...
In this tutorial, we learn how to draw Chowder. Start off by drawing the ears, then start drawing in the head underneath. Make sure the face is wide, then draw in large eyes, a nose, and a large smile. Make sure to add the tongue inside the mouth. After this, draw the arms, making sure to add in layers of fat to the upper body. Then, draw in the stomach and the legs to this character. Draw in shorts, then add on a t-shirt as well. Finish this off by adding in a tail, and any more details you ...
In this tutorial, we learn how to draw a cartoon cyborg. Start off by drawing the outline of the body to be wide and fat. Make the hands look like claws and the toes large. The ears should be pointed out and the belly should be large and fat. Add in hairs, eyes, a nose, a mouth, a chin, and nipples to the appropriate areas. Add shading around different areas to give the cyborg a more chunky look. After this, start drawing the mechanical parts on the inside of the cartoon, making machinery par...
In this tutorial, we learn how to make a Victorian hat from a lampshade with Gwen. You will need: a lampshade, scissors, acrylic paint, paint brushes, glue, a compass, and cardboard. First, take the compass and make the circle as wide as you want your hat to be, then trace your lampshade on the cardboard. Now place the small end of the lampshade around the large circle that you drew. Next, cut these circles out of the cardboard. Leave extra room, don't cut it out exactly on the line. When fin...
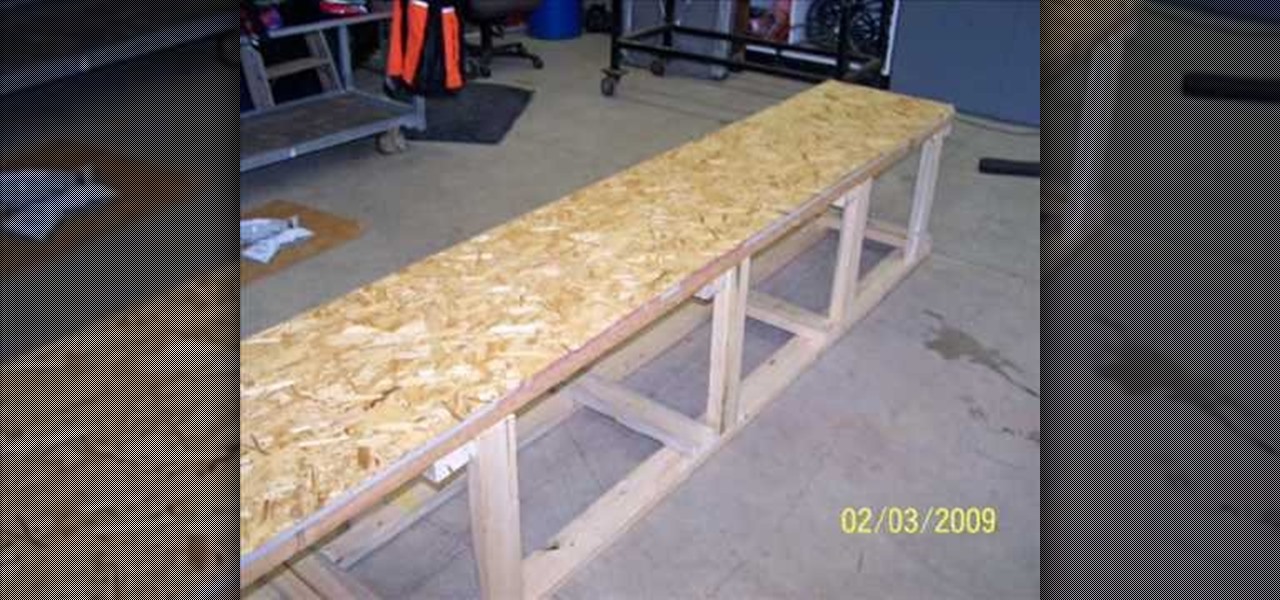
In this video, we learn how to make a snowboard box. The box will be 10 ft long by 1.5 feet wide and 2 feet tall. For the box structure, make small cube like structures that are surrounded by large boards holding them up. Screw all the pieces of wood together, then cut out your plywood and place it on the wood to make a shell. Check to make sure the box is sturdy by standing on it, then place plastic on the bottom of the wood to keep it away from snow or rain. When finished, use the board to ...
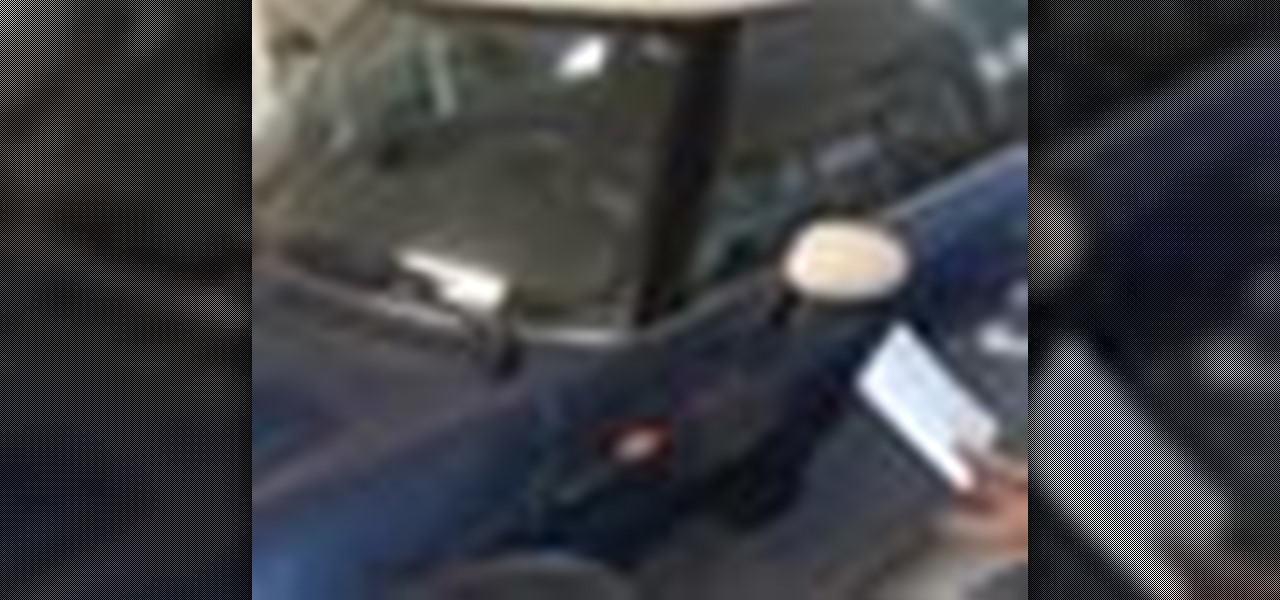
In this video tutorial, viewers learn how to judge when it's time to repair a car. This topic is subjective, but it also depends on how big the dent is, how deep the dent is, how wide the dent is and many other factors. A way to find out is to place a 8 1/2" x 11" sheet of paper and place it over the dent. If the dent surrounds that whole area, that is about 2 hours of repair. This video will benefit those viewers who have a vehicle and just had an accident, and would like to learn how to est...
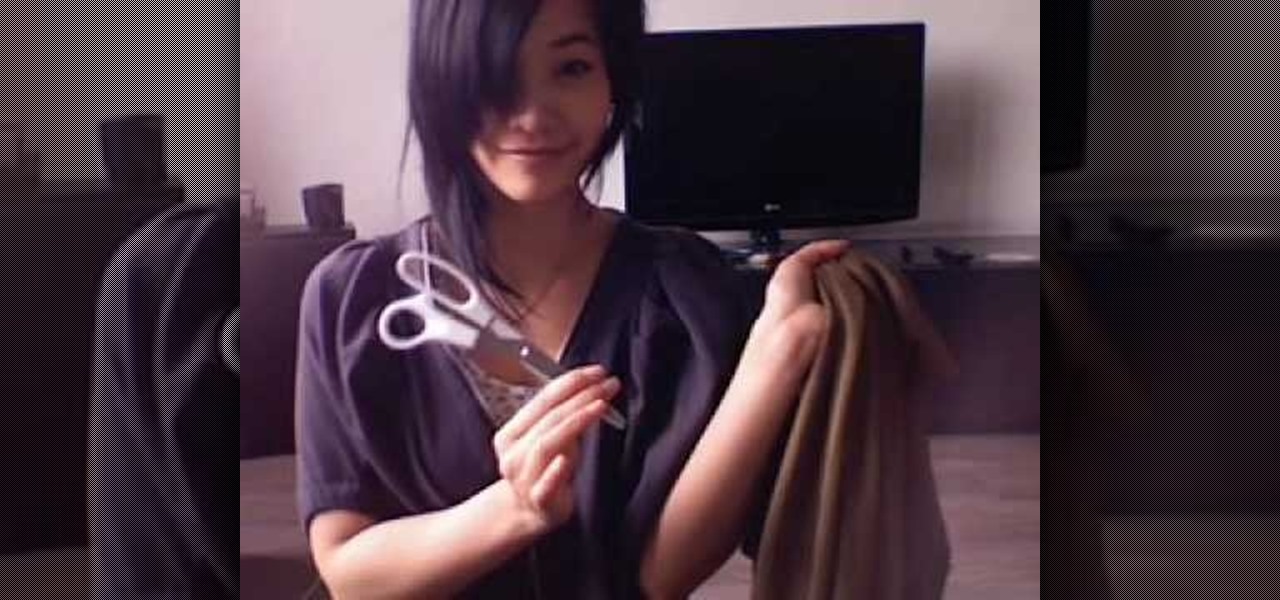
This video shows us how to make a DIY long vest out of a scarf in no time! You will need: a wide scarf, matching thread, other colored thread, safety pins, needles, and scissors. First, measure yourself shoulder to shoulder and add 15cm to that number. Next, measure 30cm on each side from the very middle of the scarf. Now, mark that spot with a safety pin and measure out another 30 cm on both sides, marking those spots as well. Now, bind the last two safety pins and sew from the bottom up to ...
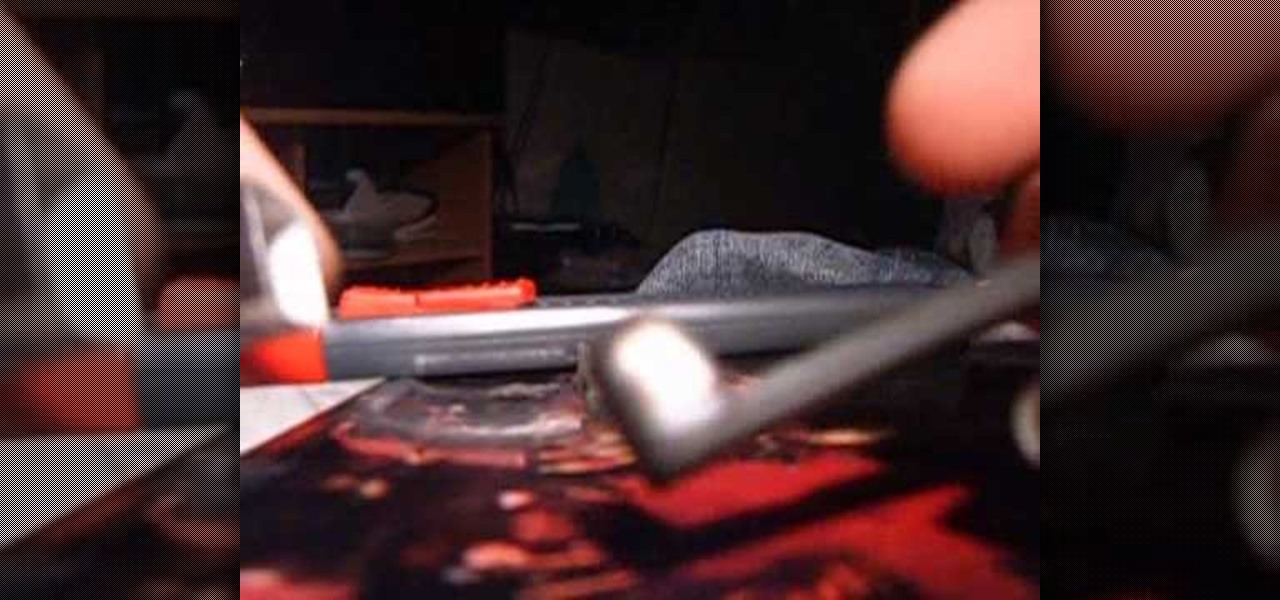
In this video tutorial, viewers learn how to make a cigar box ukulele. This video only focuses one the cigar box for the ukulele. For this task, it is recommended to use a wooden cigarette box with a bottom that is about 1/8" thick. The bottom of the bottom of the box will be used for the front of the ukulele. Wider is better. It should be at least 6" wide and 2 1/2" deep. Remove the paper from the inside the box. Use a scrap tool or warm water if necessary. This video will benefit those view...
In this video, Dina Prioste shows us how to do a yoga deep hip and groin stretch. Begin in a wide straddle position with your knees slightly bent and your feet turned out. Now, bend over the right knee and stretch out your left leg, keeping it extended and active. Breathe for several seconds while in this position. You can put your hands in a prayer position here if you are comfortable. Once finished, go over to the other side of the body and continue to deep breathe. You can add this into yo...
In this video, Dina Prioste shows us how to do a yoga arm balance pose. Warm up before you do this pose, to avoid muscle pull. Start in a wide lunge stance and work on getting your elbows down to the floor. If you can't do that, stack some blocks or books to where your elbows can stretch to. Now, sit back and stretch your foot, then go back to the same pose and get your shoulders down as low as you can. You can spread your arms out while doing this, and focus on relaxing and staying in balanc...
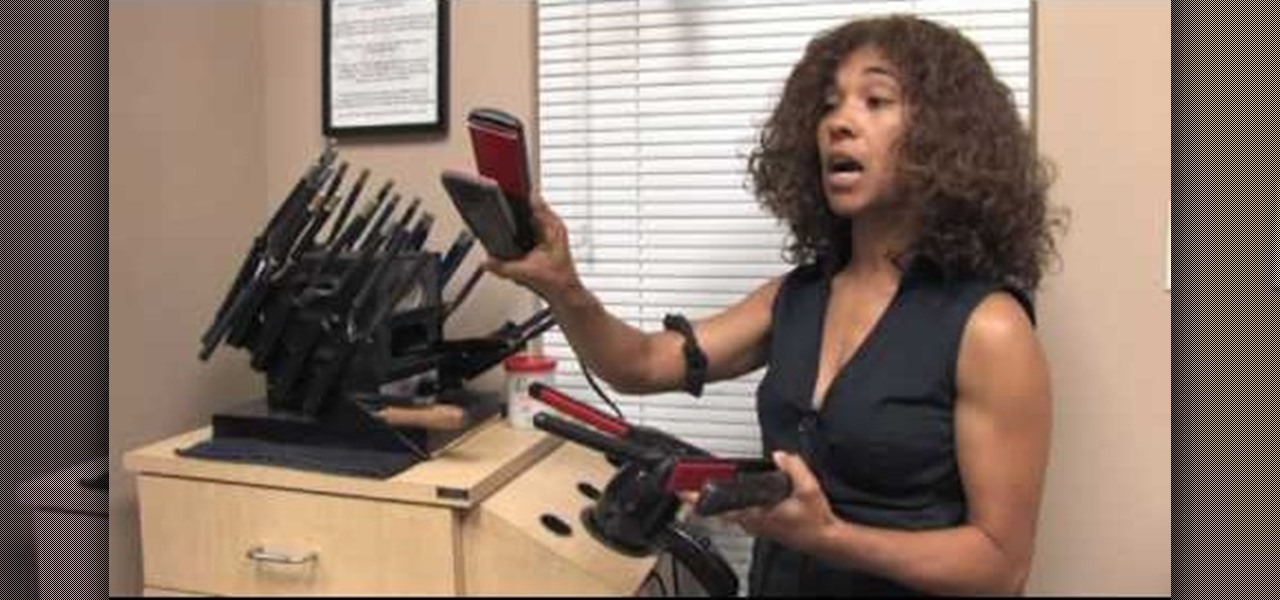
In this video, we learn how to choose the right curling iron and flat iron. Ceramic flat irons leave a great shine to the hair, and you can even use them to curl hair. The ceramic also come in a lot of different sizes, which help with people who have short, medium, and long hair. Another great thing about flat irons is that you have temperature irons, which reach all the way to 450 degrees and they are easy to use. Curling irons that come in ceramic are great, since they come in a wide variet...
In this Fine Art video tutorial, you will learn how varying your lens Aperture can affect Depth of Field. Depth of Field is defined as the range of the photograph that appears to be in focus. This can be controlled by using the aperture settings. With a wide aperture like f/1.4, f/2 or f/2.8, only a small range of the image will be in focus. This is used to isolate the subject from the background. But, if you have a smaller aperture opening like f/8, f/11 or f/16, you will get a large depth o...
In this video tutorial, viewers learn how to tie a necktie the British way. Begin by putting the tie around your neck. Cross the wider end of the tie over the narrow end. Then bring the wide end of the top up through the loop between the neck and tie. Pull it back down and slightly tighten it. Now bring the tie over and through the loop once again. Then bring with tie around the unfinished knot, under and through the loop one more time. This video will benefit those viewers who need to dress ...
In this video, we learn how to do a yoga upward facing two foot staff pose with Dina Prioste. You will need two large blocks and make sure your body is warmed up. Now, line your head up with the blocks and take the palms of your hands onto the floor pointing towards your feet. Your shoulders should stay in line with your hips. Now, lift your hips up and keep your elbows in, don't let them go wide. Practice keeping them in as you deep breathe. Release back down, then get into the same position...
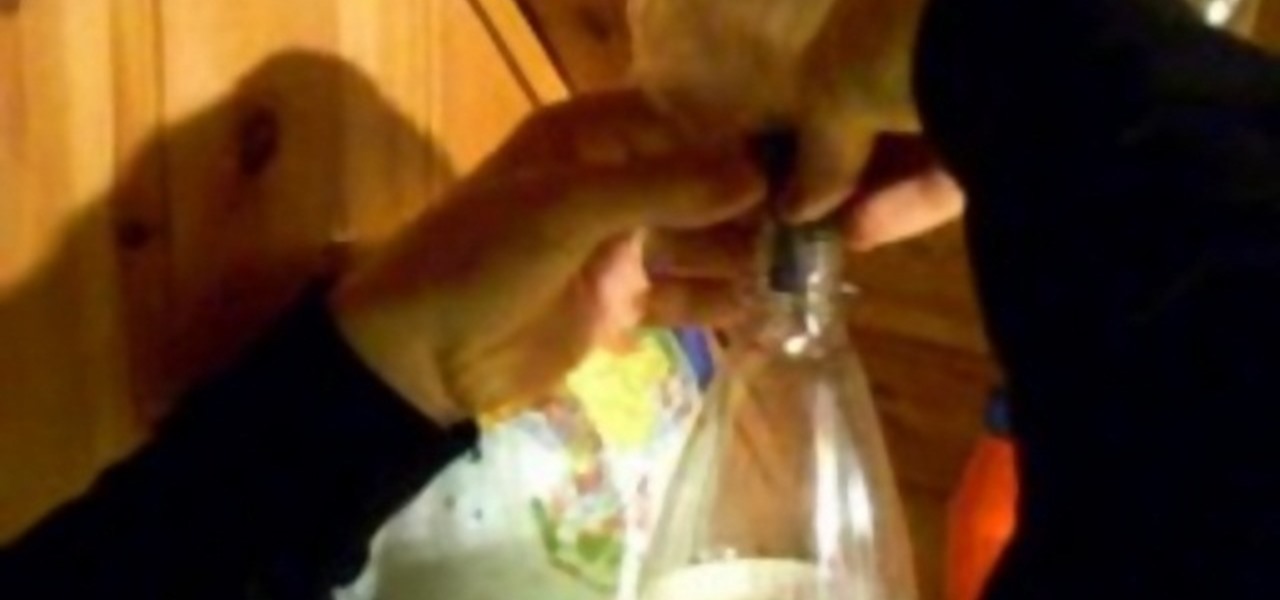
There's nothing like playing outside, especially as a kid. The grass beneath your feet, the blue sky in the air, and the endless amount of possiblity that lies in such a wide open space. This tutorial takes advantage of that space and shows you how to make a simple bottle rocket. Many of the supplies needed are easil found in your home and are usually cheap and inexpensive. So sit back and enjoy! Oh, and please be careful!
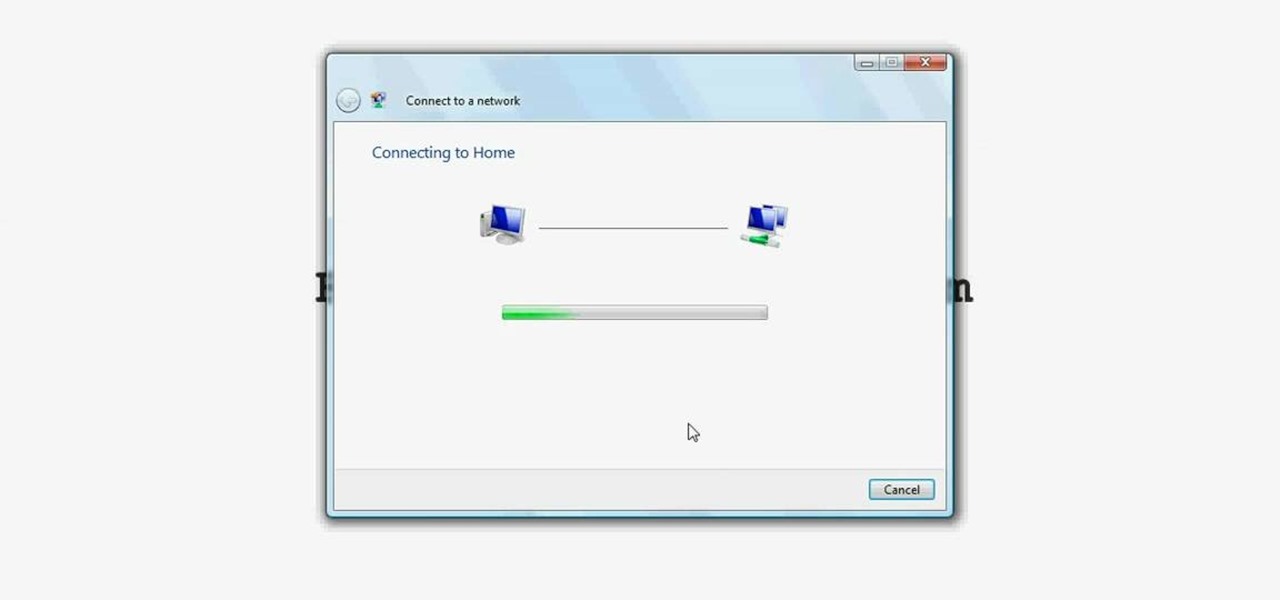
Wireless networks are really the only way to go these days. With WiFi you can access the world wide web from almost anywhere, at anytime, and not have to worry about annoying wires or cords. In this tutorial, learn how to set up a wireless connection in a Windows Vista based machine.
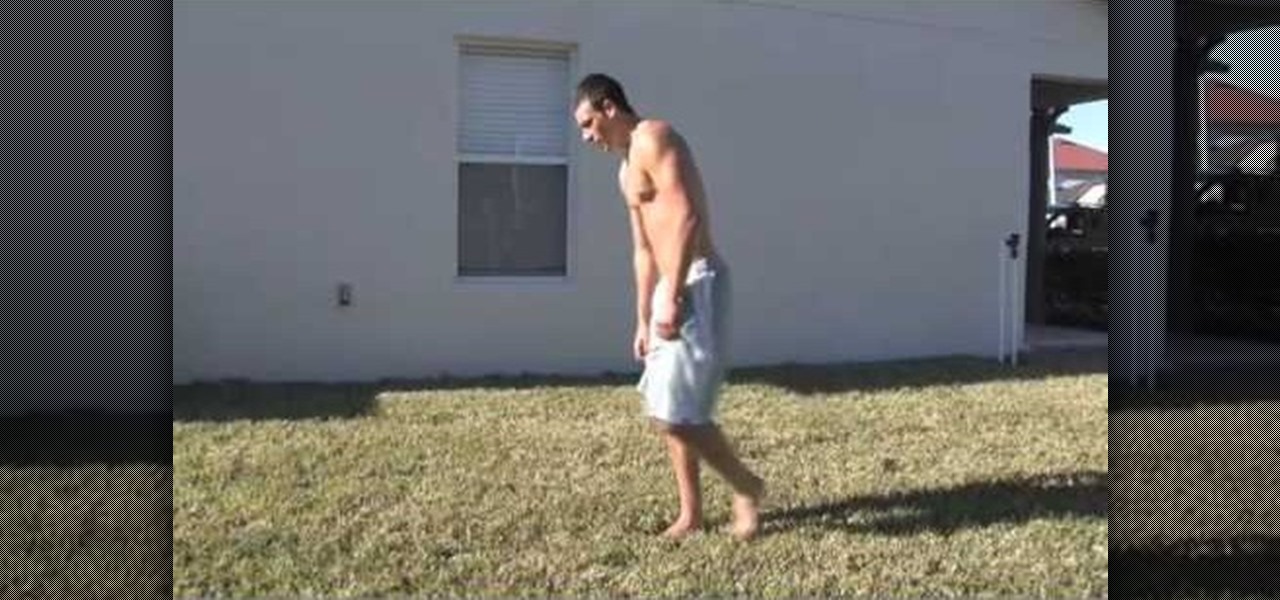
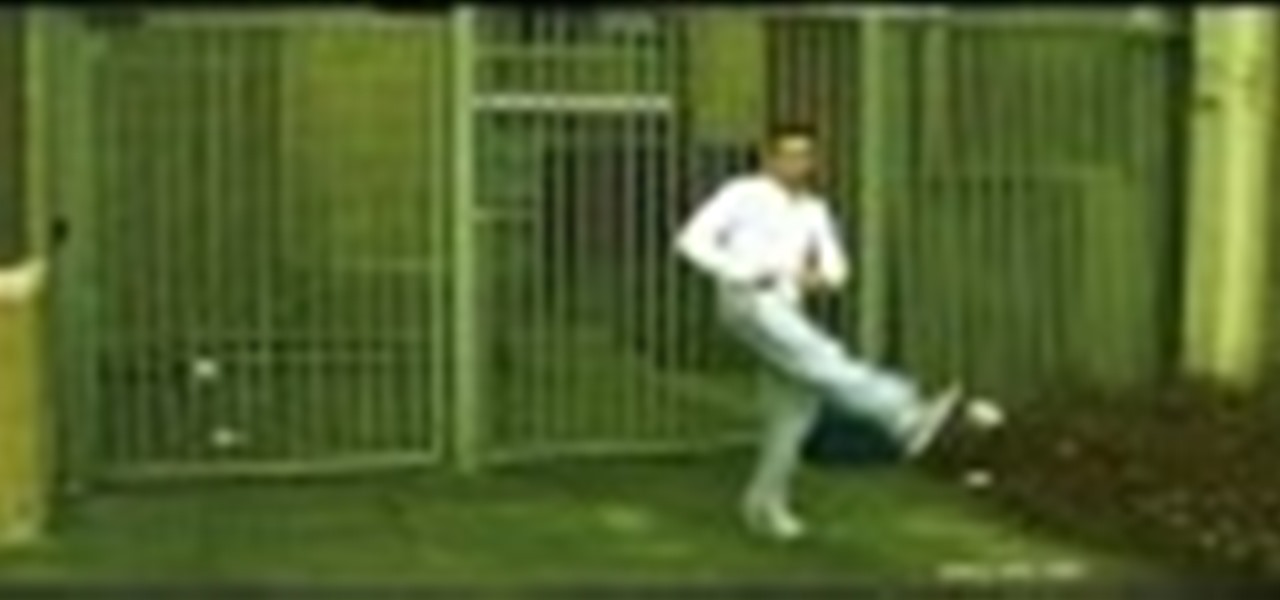
This video shows us how to perform a round off back somersault. Firstly you have to make sure that your leading leg must be wide when you put your hands down. And when you place your hands down, don’t place them parallel to each other but just place them slightly tilted. While you place your hands down, keep your head within your shoulders and when you place your hands down your back leg kicks back and you will rotate on your hand. When you go down, both your legs will be kicked to the back a...
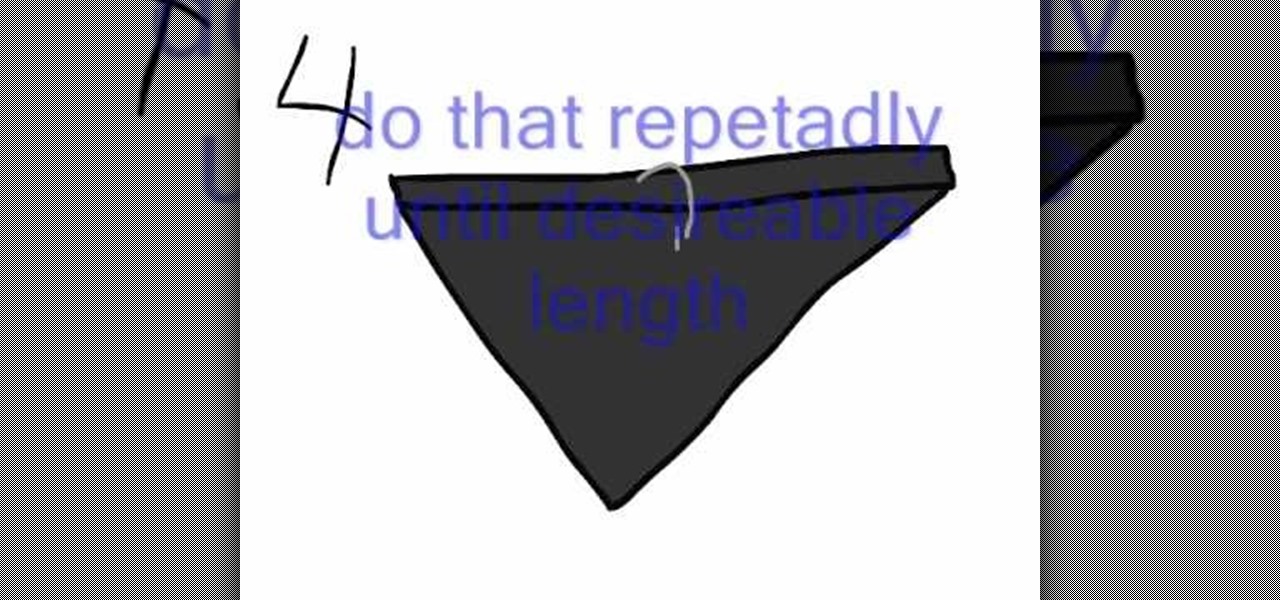
In this video, we learn how to fold a bandanna. First, place your bandanna flat, then fold it diagonally. Once you've done this, you will have an upside down triangle. Now, fold the top of the triangle down as many times as you desire, it can be as wide or as thin as you want. Now, you should have a rectangle with a triangle hanging out from under it. You can now tie the bandanna around your head, butting the triangle part around your mouth. Tie a knot behind your head tight enough to where i...
Whitney shows a quick way to make a bag out of t-shirt sleeves. This bag has so many household uses and is easy to make. You'll need a sleeve, safety pins, scissors, scrap fabric, pins, thread, an iron, and a ruler. Start by cutting a 1 inch wide strip of fabric and any design you'd like. You can make the bag as large as you like. Cut your rectangle using the ruler. Position your design to the fold. Sew around the design you choose, refold your rectangle and pin. Sew along those two lines. Tu...
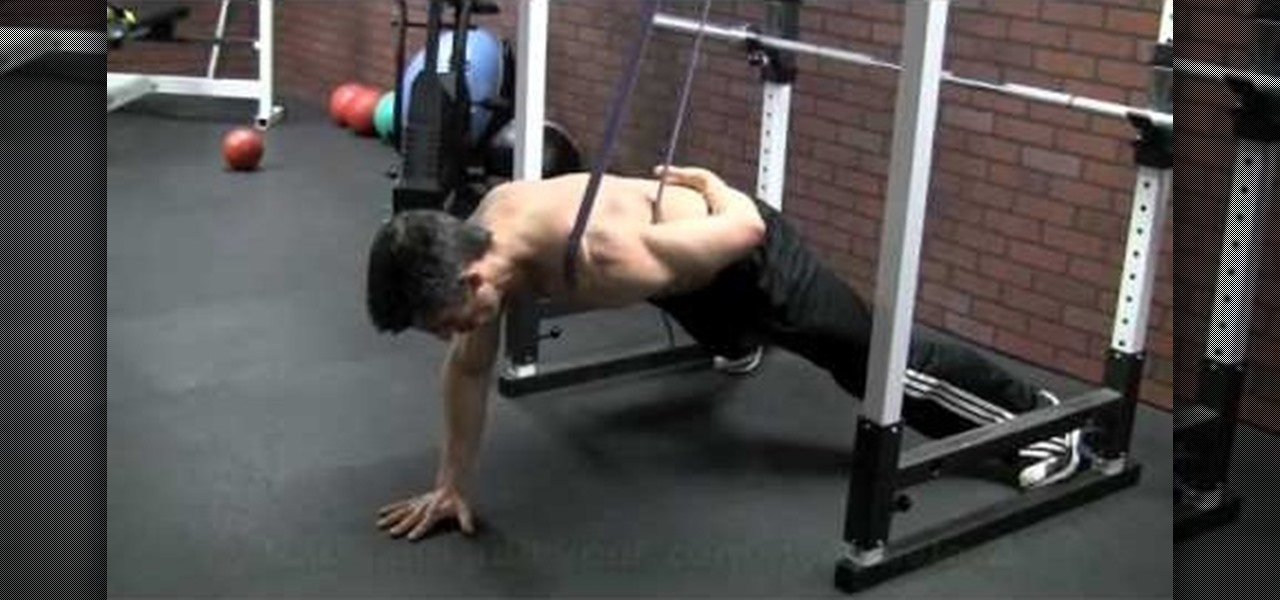
This video starts off with a guy doing several one-arm push-ups. He goes on by saying that since the days of rocky a lot of men have wanted to do the one arm push up. It takes a long time to develop the strength needed to be able to do the one arm push-up set. The video demonstrates a way to be able and start doing them now with the assistance of a power stretch band. Have the band tried up high and wrap the loop around the shoulder that you will not be using in the one arm push up. Press you...
In this video Pro Rider Matt Crowhurst talks about the wake jumps and what needs to be done to execute them. At the beginning of the video Matt says that in order to execute them one has to mater the perfect riding position, being in ease with moving left and right, inside and hillside edge, crossing and execute smooth turns. For executing wake jumps one has to concentrate on three major areas-1. Starting out wide, cruising along and a flat board.2.A progressive edge3.Holding that edge and po...
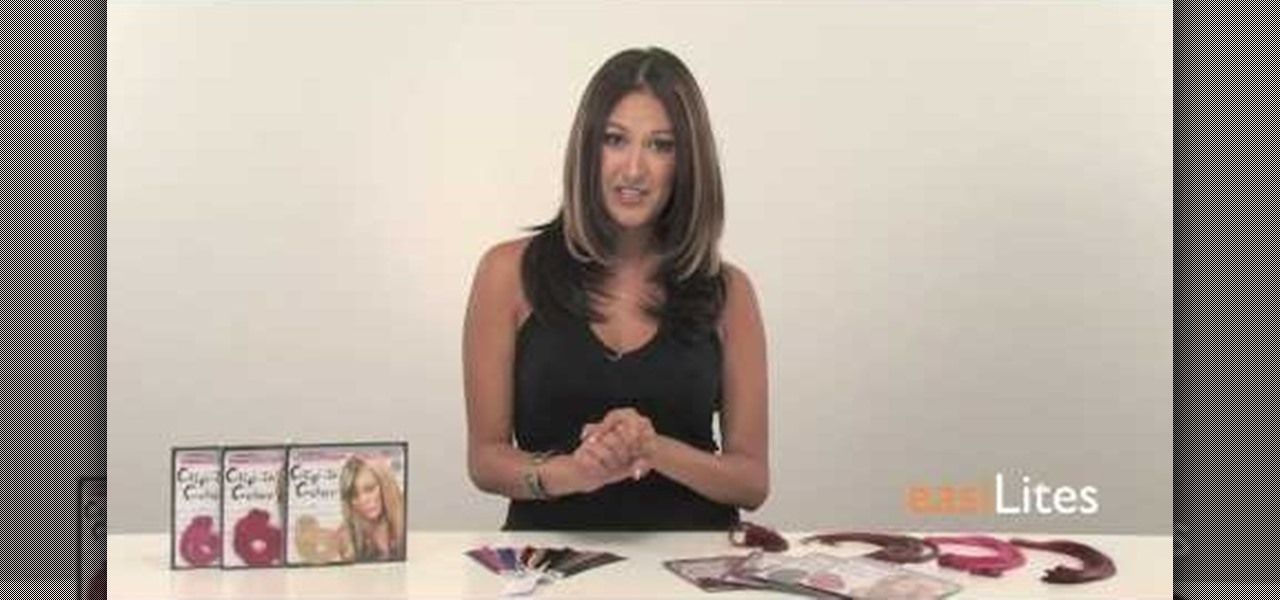
In this video, Jennifer Pompa teaches us how to use click in color extensions using Easilites clip-in color extensions. These extensions are about 1 inch wide and 16 inches long. They are also 100% human hair so you can use heat tools on them without damaging them. To use, grab a piece of your hair close to your hair line and pull it over to the other side of your head. Next, take the hair extension and slide it into the hair underneath. Make sure it is clipped in well and put your real hair ...
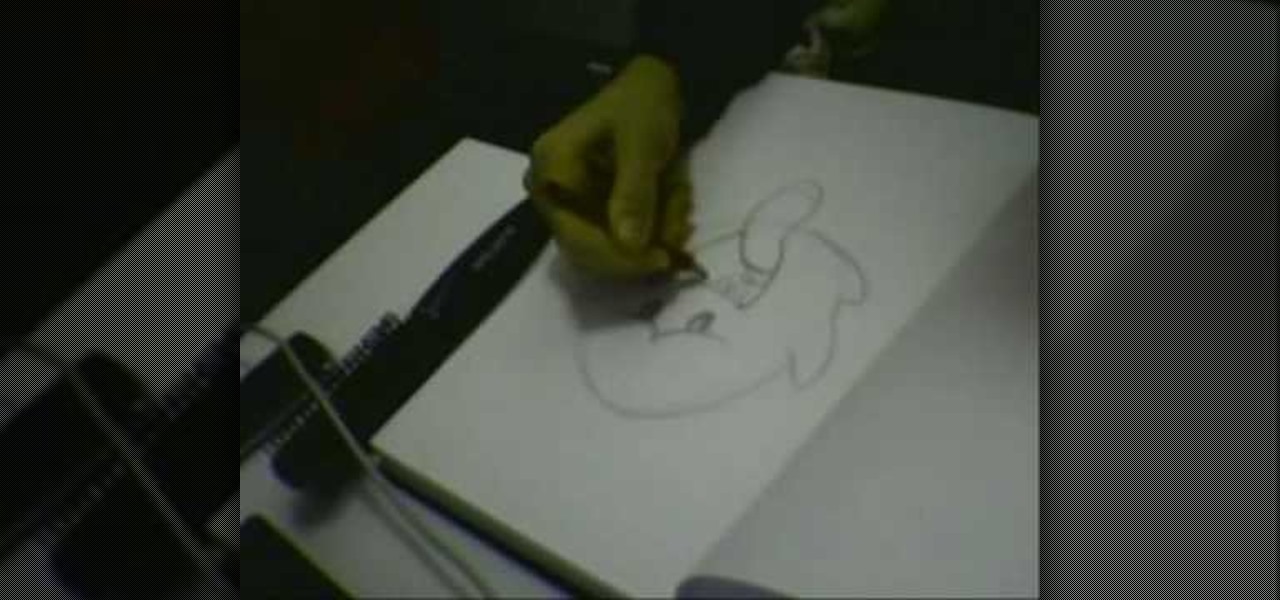
In this video he just draws a simple picture of boo. It maybe takes two or three minutes to make the sketch. First you just draw a circle roughly, and add ears to that. Next add tongue which is very long and outside of the mouth. You just have to give importance to the teeth in this drawing to make your sketch great. Next you just add teeth, which is wide. Next make the teeth highlight. Next draw two small circles like eyes and highlight it with the pencil. Next make the rough sketch into the...
This video is a tutorial for executing Freerunner kick the moon. To execute this move you have to treat your leg as a pendulum with a weight at the bottom and swing it with full force. When executing it you have to keep your leg strong and the momentum from the leg will take you around. Regardless of the number of step, you have to finish off with a nice wide step and the kicking leg should always be back and the arms should be stretched back. This video is for those who are athletic enough t...
In this tutorial, we learn how to remove gelatin from the pan. First, grab a butter knife and run along the edges of the pan slowly and accurately. Once you've done this, you will now be able to remove it from the pan. Place the gelatin softly under your hands and gently move your hands down to the bottom of the other side of the pan. Be careful not to create any cracks in the gelatin. Also, make sure you keep your hands wide so you are touching both sides and the full middle of the gelatin o...