Android's new Material Design language is truly a thing of beauty. Slated to make a full debut alongside the upcoming Android "L" release, the vision and simplicity of this UX design recently won Gold Prize at the annual User Experience Awards.

Finding a unique wallpaper can be extremely difficult, and even the most dynamic wallpapers become exhausted and boring to look at after a while. Searching for new, interesting wallpapers can become a tedious task, so instead, let's just make our own instead.
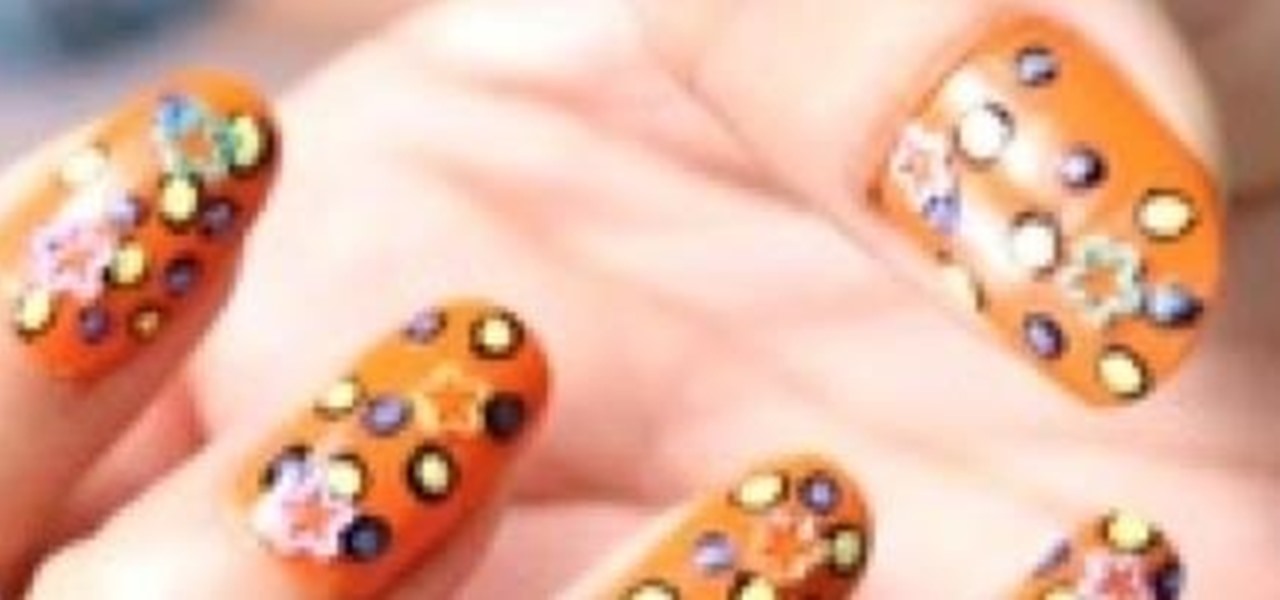
Nail Arts are a current new rave among the contemporary fashionistas. Make your nails look highly fashionable and appealing by following this plain and simple steps tutorial. Polka dots Nail Art Design is super cool and looks brilliantly charming on your sleek hands.

This HTML Web Design tutorial will explain how to add a Heading tag for your website. The heading tag is very important because it helps search engines to determine what the main topic is on a particular web page within your website. The HTML codes for heading tags range from h1 to h6 with h1 being the most important or in other words the main heading HTML web design tag. Make sure to give the h1 tag the most importance in terms of titles on your web page for headings. Another rule I recommen...

Learn how to setup up a basic structure for a HTML web design document, define the HTML version, open and close HTML tags and learn how to apply the proper file extensions when saving document in notepad. This web design tutorial is by no means a complete structure for HTML coding and is only a brief introduction to HTML web design. This video will only go over a brief introduction to the structure of an HTML document and in a future tutorial we will go over additional components that are nee...

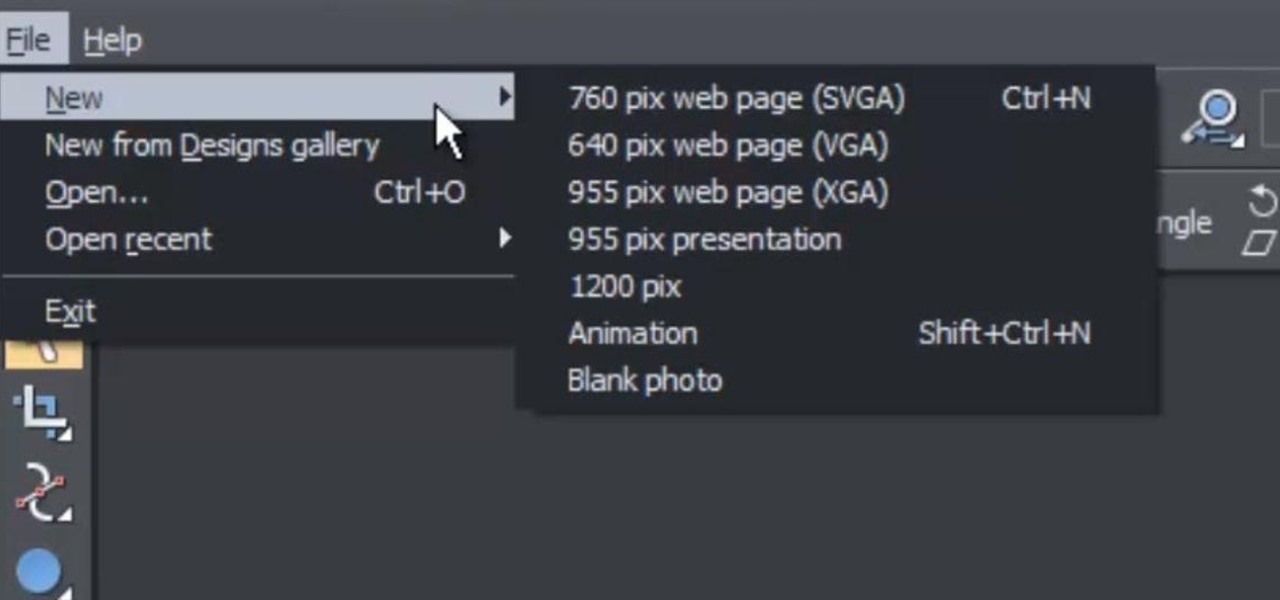
This web design tutorial is for newcomers to the Xara Web Designer software. In this web design tutorial, you will learn how to open a new document and save it using save as and save option.

A couple of months ago we showed you Foldify, an iOS app that allows you to create your own custom, foldable, 3D papercraft files. Your designs could then be sent to your printer, cut out, and assembled.

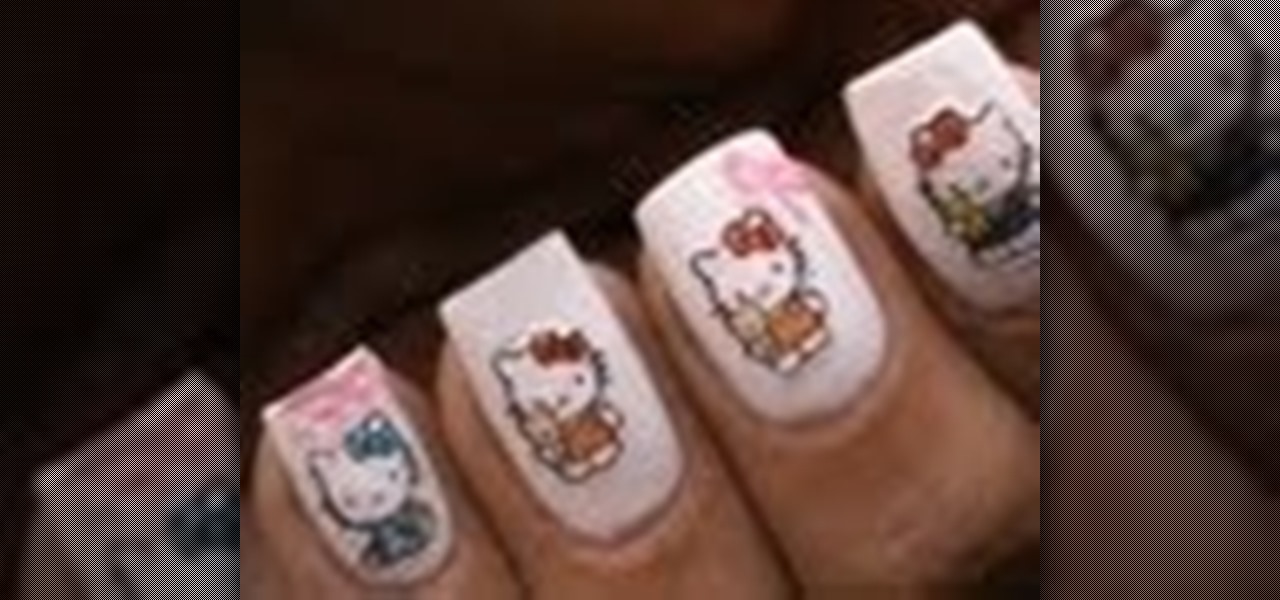
This is a very easy hello kitty nail art design that I recently did using hello kitty nail art stickers! In the video given ahead, I have demonstrated in a step wise procedure how to use nail art stickers and how you can create this super cute design in less than a few minutes !

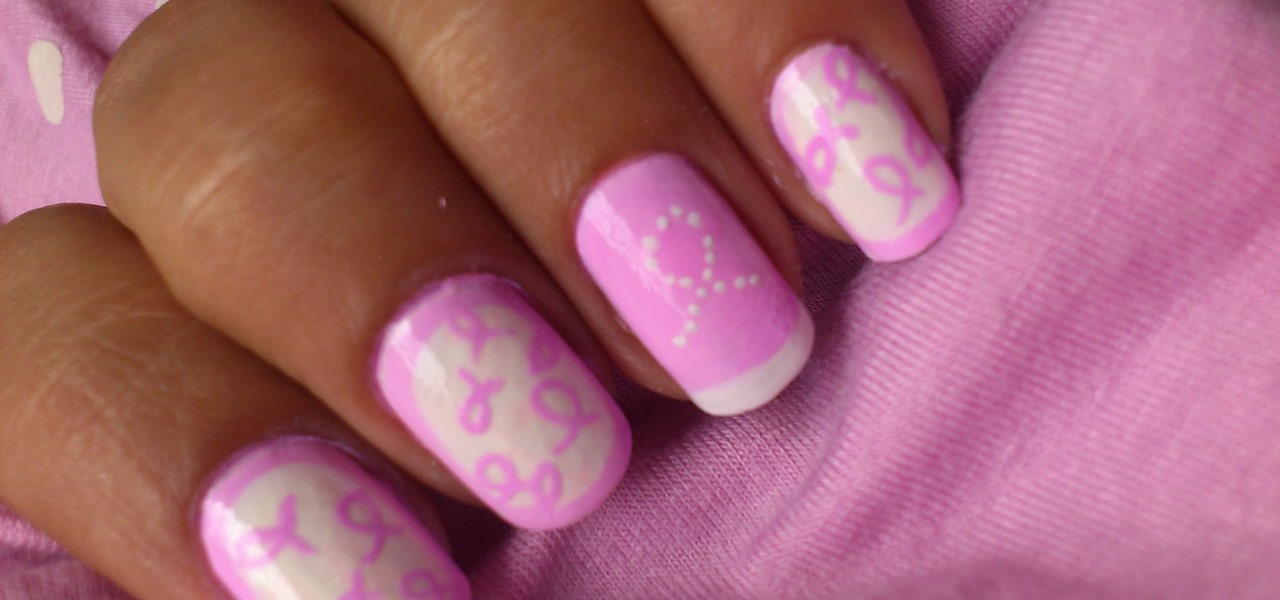
Breast Cancer Nails Art Designs 2012-- Awareness Ribbon Nail Polish Tutorial no decals or stickers

Whether you're making a poster, drawing a logo or designing a website, the font you use can make a huge difference in any visual design, and the ones available in most word processors can get pretty boring. There are thousands of sites online where you can download free fonts, and even a few that let you design your own. Here are some of the best.

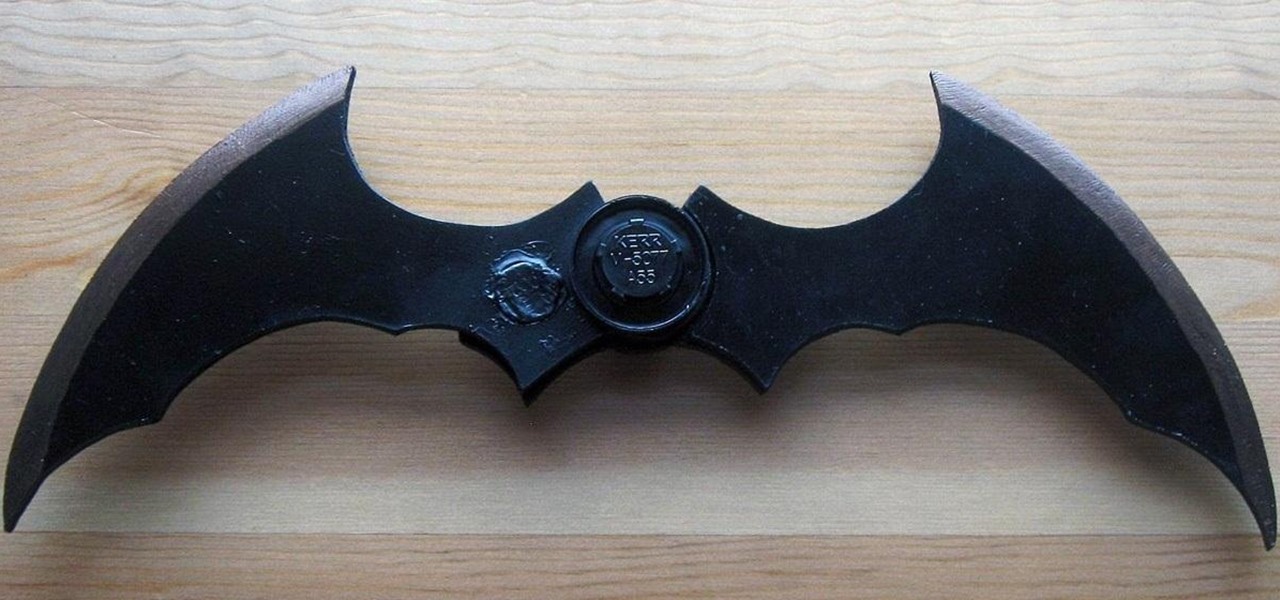
The final chapter of Christopher Nolan's Batman trilogy is here, The Dark Knight Rises, and if you're anything like me, it made you want to immediately don a cowl of your own and run around punching criminals. Don't forget though, one of the most awesome aspects of Batman is his never-ending supply of crazy gadgets. Unfortunately for most of us, we don't have a billion dollars, nor Morgan Freeman, so we'll just have to make do with some good old-fashioned DIY tricks. Read on for a rundown of ...

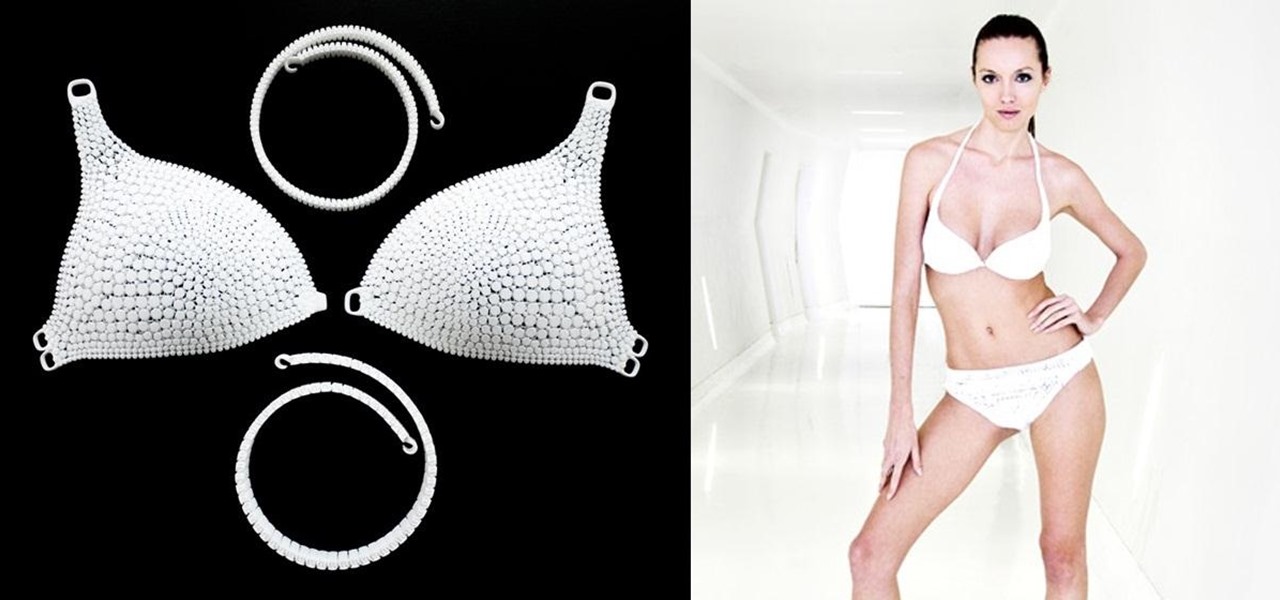
3D printing has been around for a while, but until recently it was used mostly for prototyping and research. Now, with technological advancements, it seems like everyone is using 3D printers, from crime scene investigators to garage hobbyists and hackers. Below are some of the most innovative uses people have come up with so far.

In this video we learn how to decorate a ceramic lamp base with Simon Leach. First, grab a small paint brush and then apply paint to it. Once you have this, start to paint your chosen design onto the pot. Painting a leaf or a plant will be the most appropriate for a large jar or lamp base. Use a brush that will move along the pot and create unique lines. Go all around the pot until your design is finished. Let this dry and then rinse your pot off when you are done. Let your personality shine ...

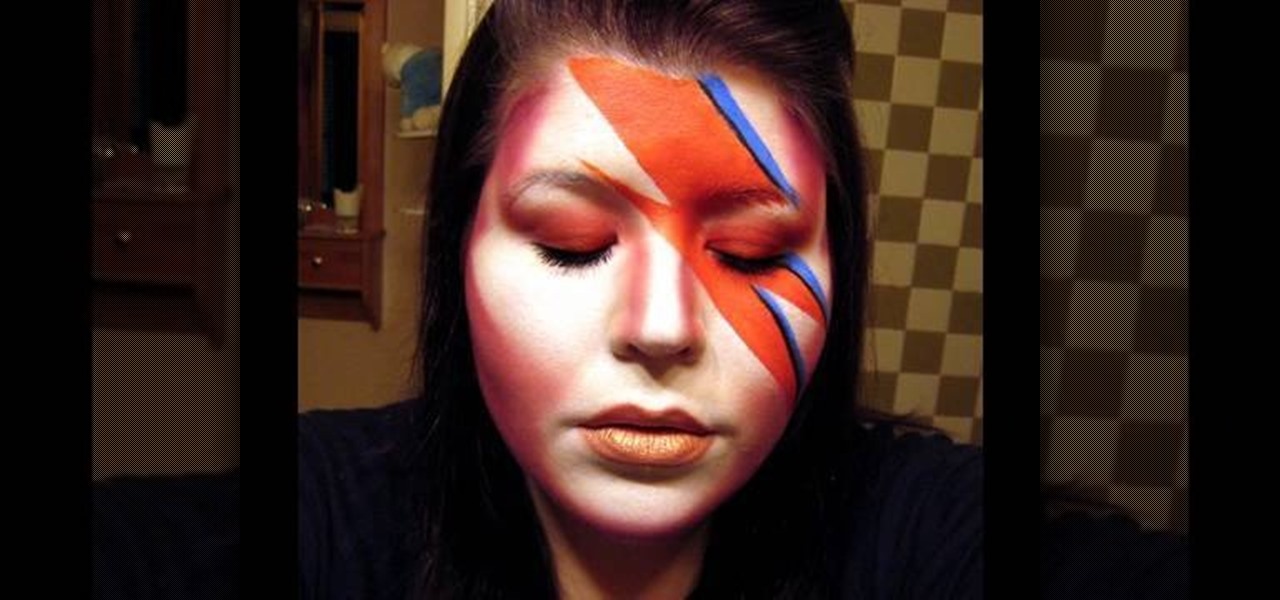
In this video we learn how to do Bowie-like inspired makeup. Start off by applying white makeup to the face all over around the lips and on the bridge of the nose. From here, apply red color to the side of the face and on the right eyelid going up to the corner of the face. Then, contour the nose with this same color, connecting the sides to each other. Now, apply red paint and blue paint to the face to create the design that is on the left hand side of the face. Once your design is finished,...

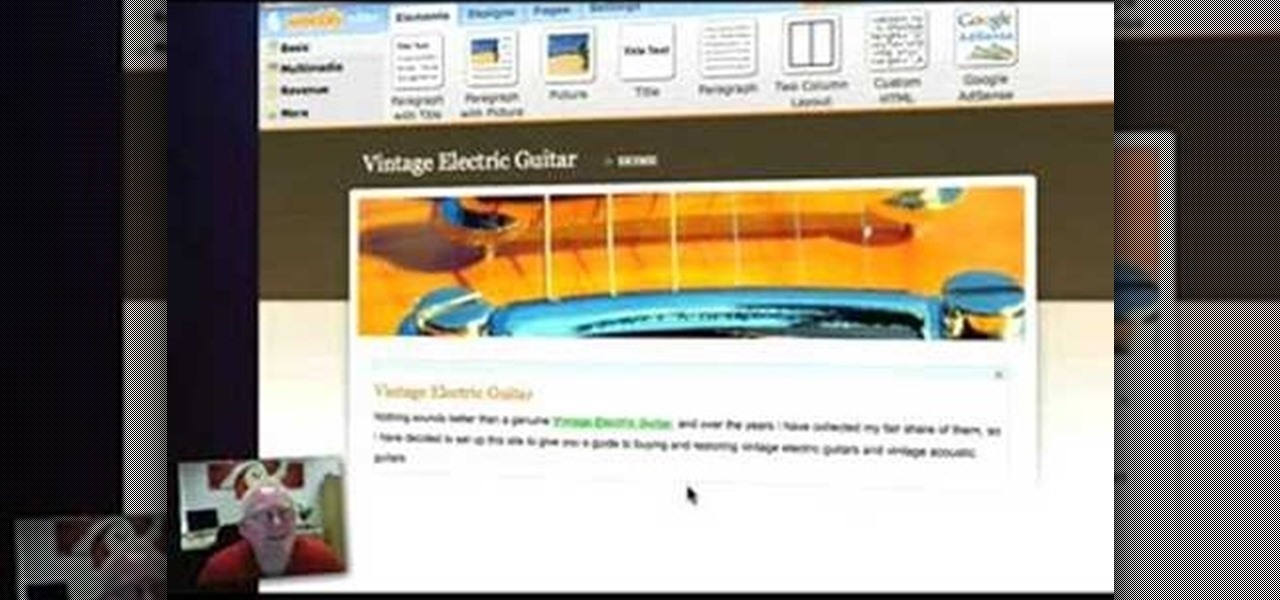
In this video, we learn how to set up a Weebly website. This can be used to build a complete site with multiple pages. First, go to Weebly and enter in your information under the sign up now text. Next, click the sign up button and enter in the Captcha phrase. After this, title your new site and continue on until you see the tabs at the top of the screen. Elements, designs, pages, and settings will all be listed. Go through the designs until you find one you like, then settle on that. Once yo...

In this video, we learn how to transform into a witch doctor for Halloween. Start by using a white foundation all over the face, avoiding the eye and eyebrow areas. After this, apply bronzer to the cheekbones. Next, apply a black or dark brown color on the entire eyes, smudging it on the edges. Next, apply brown lipstick on the lips and mark lines with black paint on it. When done with this, start to draw a tribal design on the chi, then underneath the nose. Define the cheekbones further with...

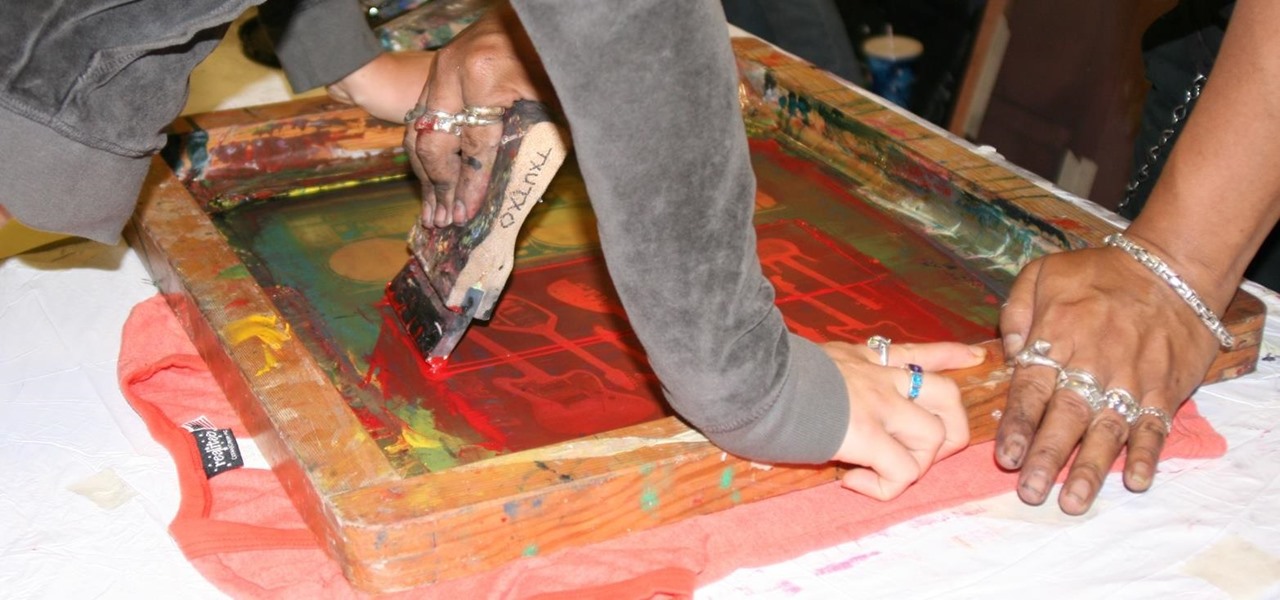
This is silk screen production, the cheap and easy DIY way! In order to make this easy silkscreen for making cool T-shirt logos and designs, you'll need some acrylic paint, paintbrushes, cheap net curtain (patterned or plain), vinyl sign sheets, blackboard (or cork board), and some fabric paints to paint with. Also, you'll need a CraftROBO precision cutter. Soon, you'll have your very own screen-printed tee shirt, thanks to your very own homemade silkscreen.

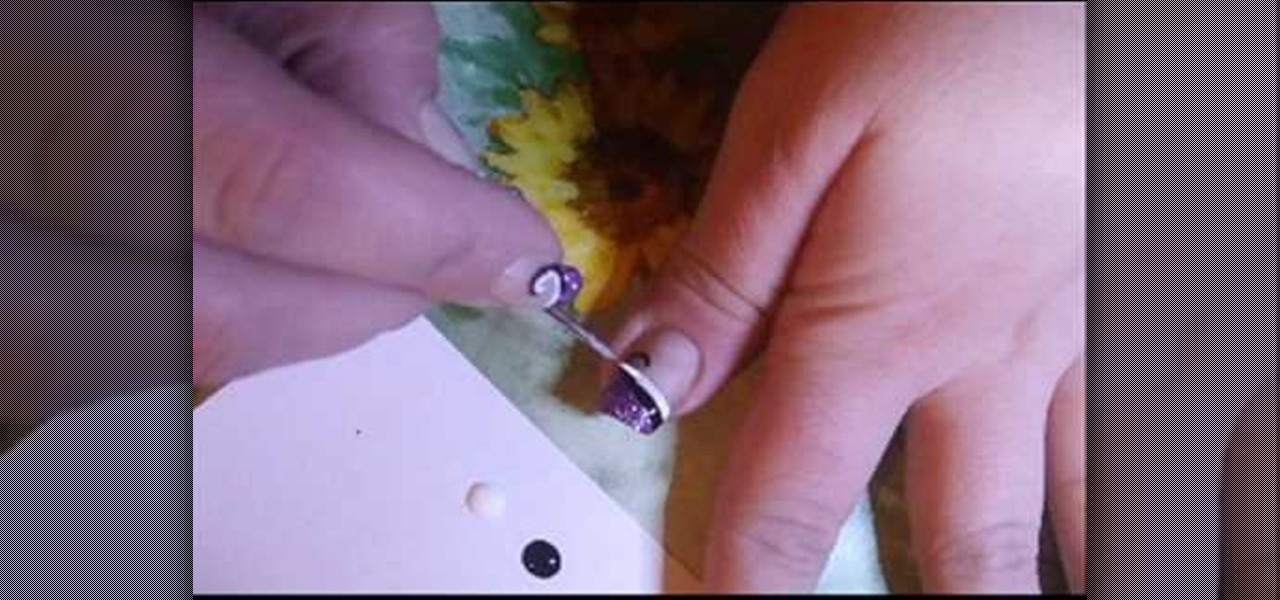
In this video, we learn how to create a white, purple, and black swirl nail art. Start off by applying purple glitter to the side corner of the nail. Next, draw on a black thick line underneath the purple, followed by a swirl at the end of the line. Then, take white nail polish and make the same line underneath the black line. Make sure you let the black dry before you paint the white on underneath it. When all colors are dry, apply a clear coat of nail polish over the designs. Now your swirl...

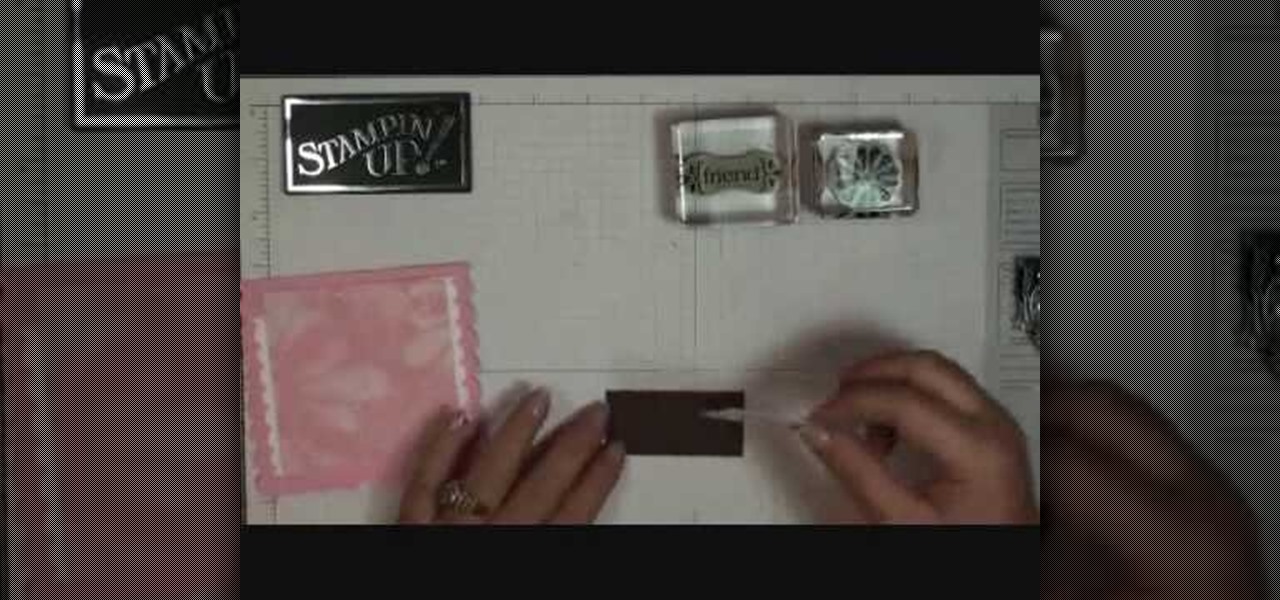
In order to make a scallop square card with Stampin' Up, you will need the following: a big shot, a large scallop square # 115950 Bigz Clear die, stamps, adhesive, design paper, mini glue dots, decorative ornaments, and card stock.

In this tutorial, we learn how to paint your nails with blue glitter and black nail polish. You will need: blue nail polish, clear nail polish, blue and black acrylic paint, chopped thin brush, glitter, dotting tool, and a small flat brush to do this. First, paint the tips with blue polish, then use the small brush to stick the glitter onto the nails, patting it on thick. Next, add a clear coat and let the nails dry completely. Now, put the chopped brush into black acrylic and make a swirl de...

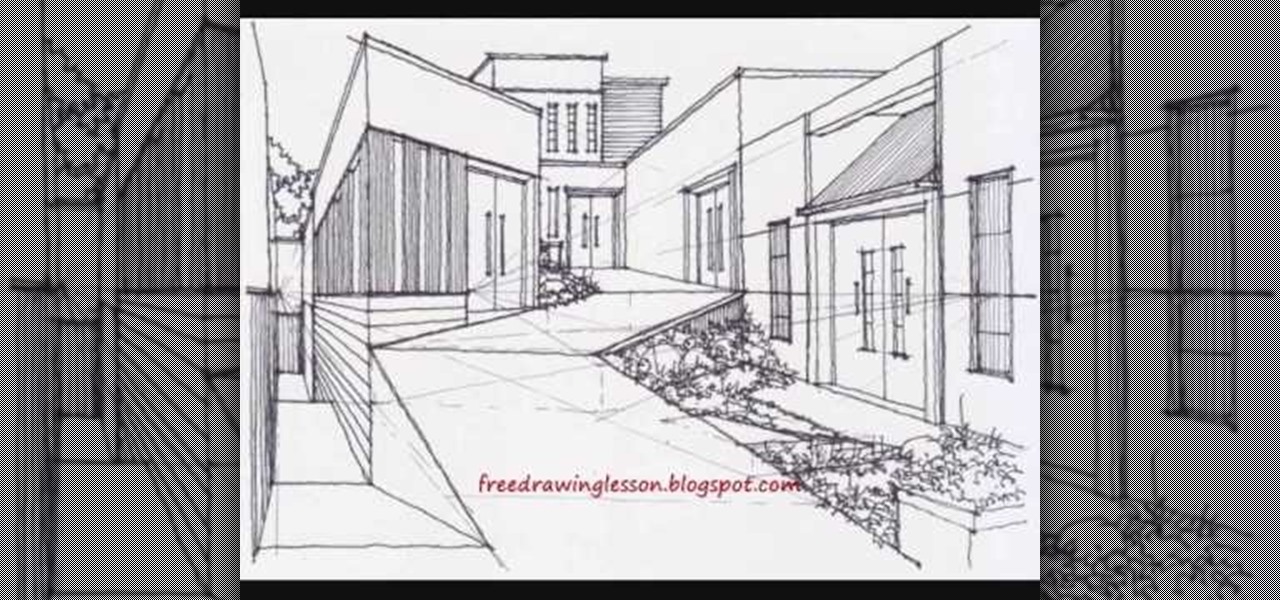
Have you always secretly harbored a love for urban design or architecture but your parents made it clear to you that they would only financially support you through school if you studied pharmacy? We know your situation sucks, but just because you can't get a degree in urban planning doesn't mean you can't sketch out designs of beautiful cities.

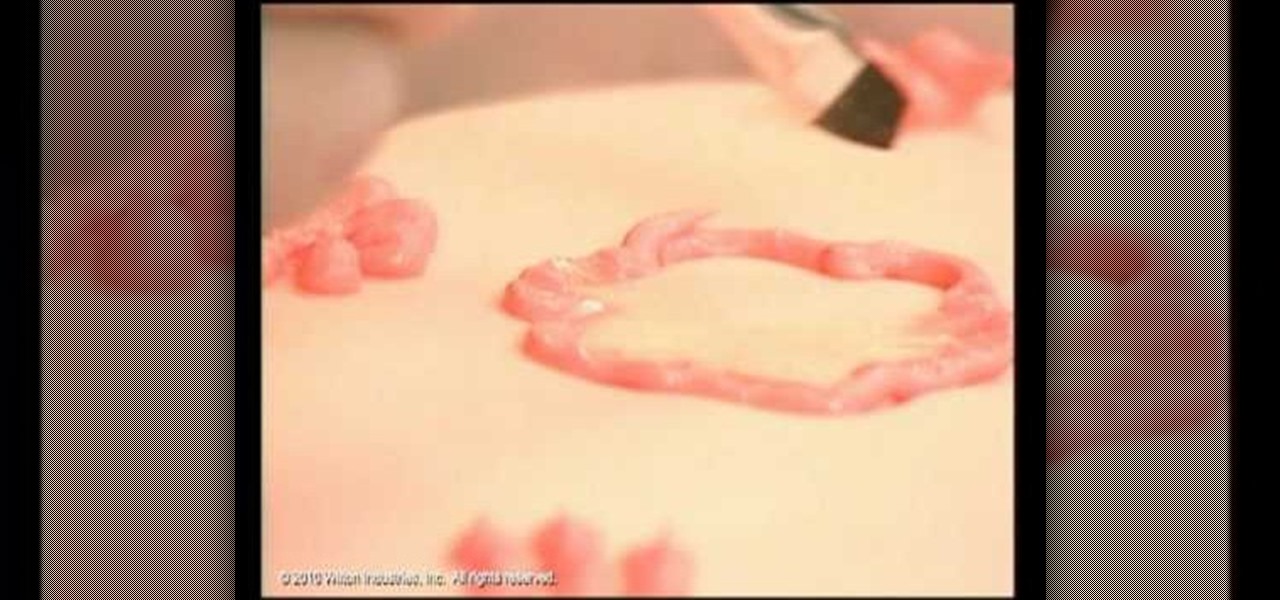
As you'll quickly learn in cake decorating, the outcome and success of your designs stems entirely from the type of tip on your icing bag. Tips range from star shaped to round to square and everything else imaginable, all to give you a limitless variety of ways to decorate your cake or cupcake.

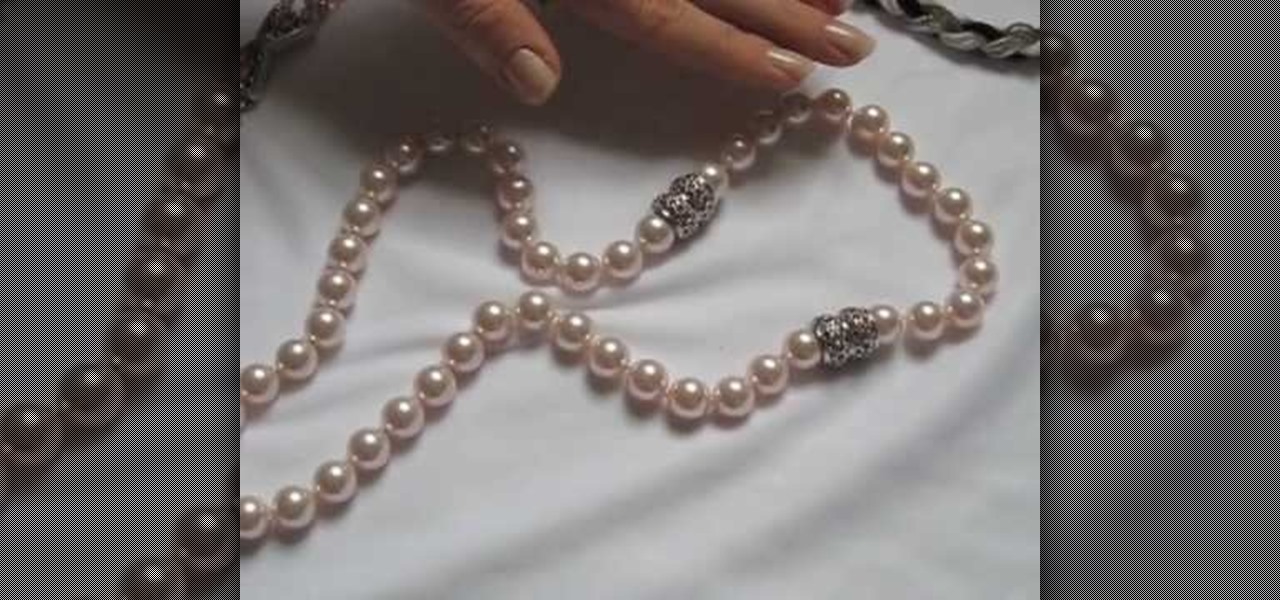
Jewelry clasps don't seem all that important, right? After all, when compared to the shape of your beads and the color scheme of your jewelry piece, a clasp is merely the finisher, something that helps close off your necklace.

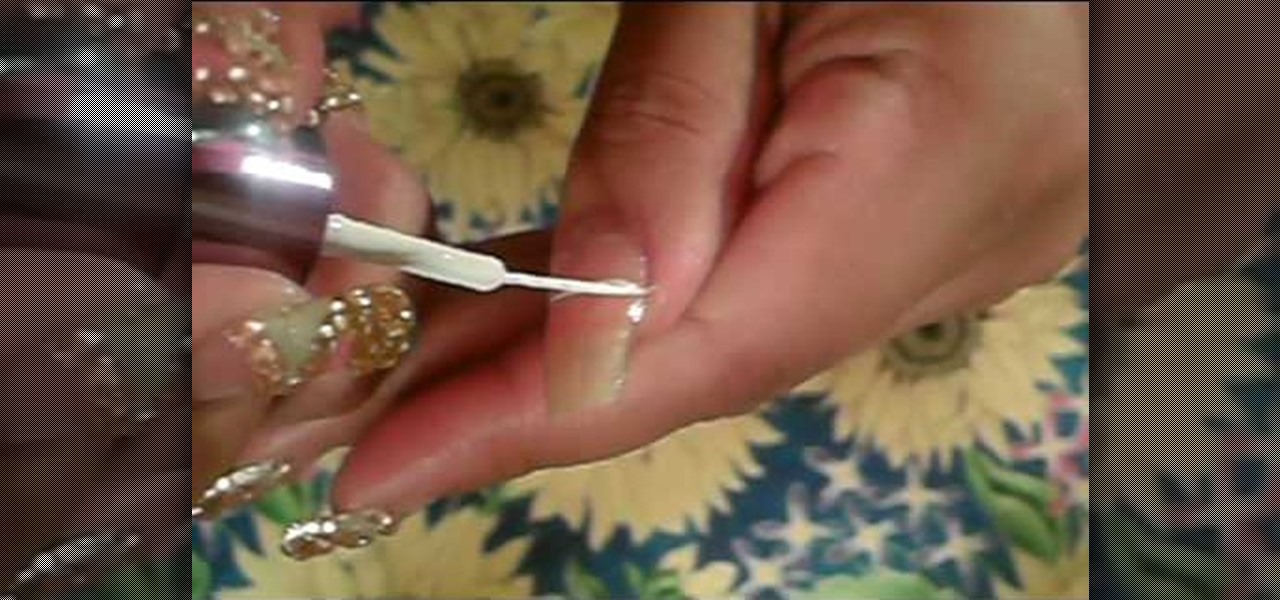
In this tutorial, we learn how to paint nail with a gold and blue rhinestone design. First, start off with your acrylic nail, then paint a white zig zag line throughout the entire nail. After this, apply a green nail polish to the top triangle of the nail. Next, apply a gold/pink nail polish to the triangle underneath the green. In the triangle underneath, apply a light green nail polish, and paint a pink nail polish underneath that. Add glitter to each of the different colors to match which ...

In this tutorial, we learn how to display a custom-designed Google logo on your Mac/PC. First, you will want to download GreaseMonkey as a Firefox add-on. After you have installed this on your Firefox browser, type a search in Google for "how to change Google using greasemonkey". After this, click on the first page that come sup and download Java for Greasemonkey. Next, go to your Google page and you will be able to change what the "Google" logo says to say whatever you would like! This is a ...

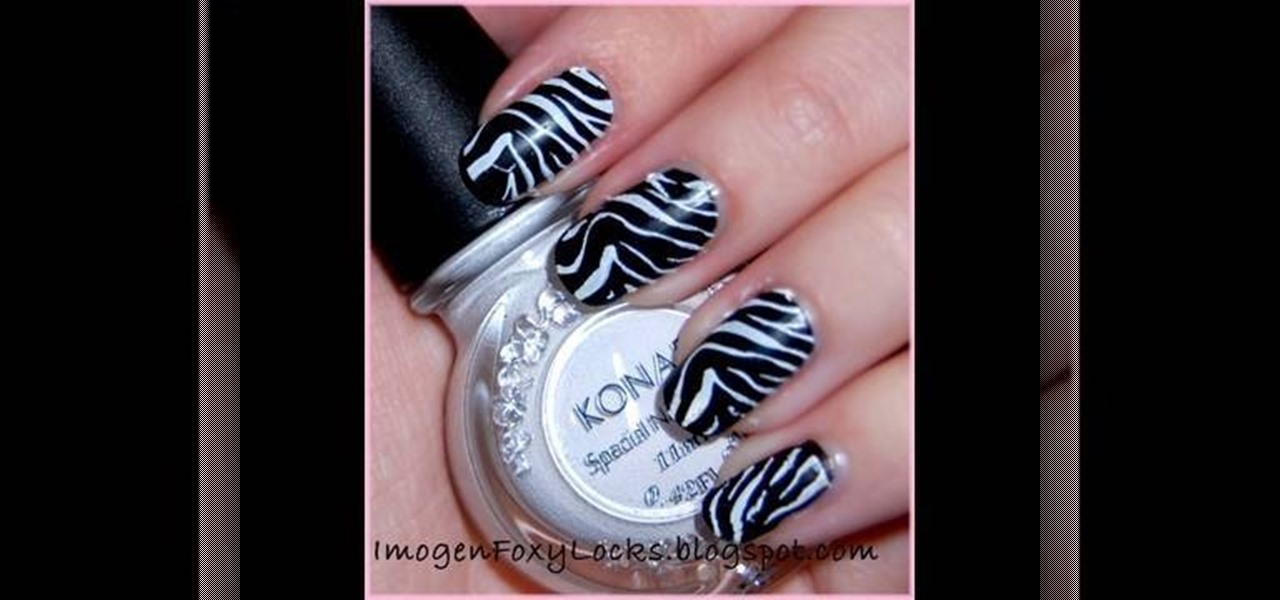
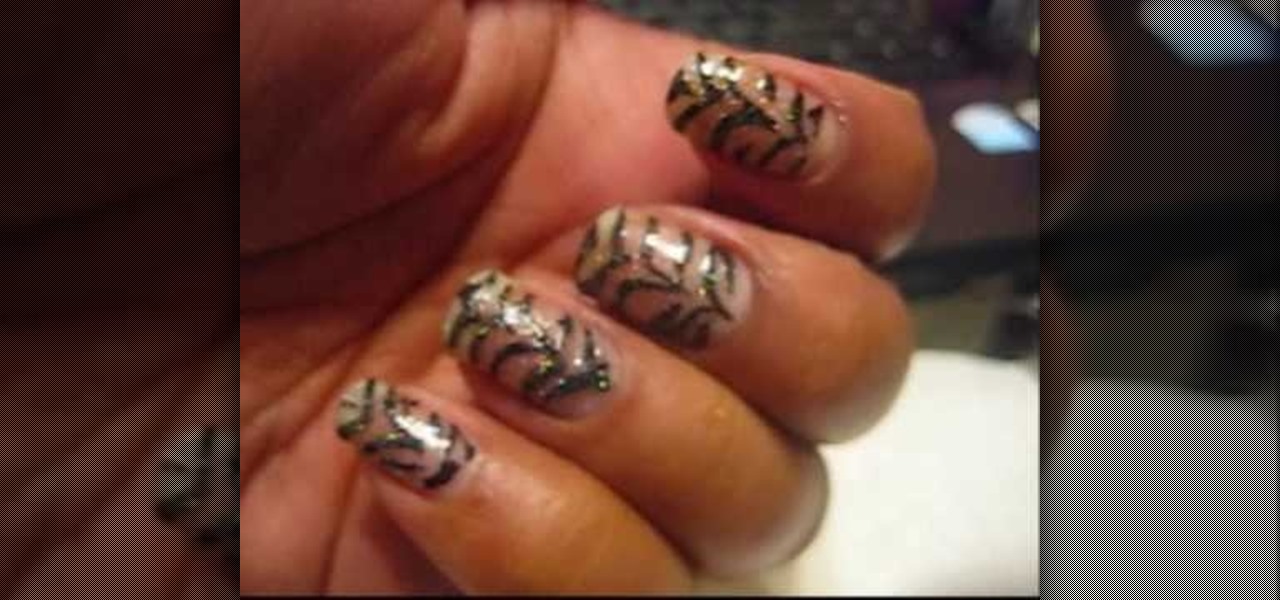
In this tutorial, we learn how to do a Konad zebra nail design in 5 minutes. You will need: Konad white nail polish, stamper, zebra stamp, and scraper plate. First, place white nail polish onto the zebra stamp until it's all over the stencil. Then, use the scraper to remove the excess nail polish. Now, stamp the stamper onto the stencil and then stamp it onto your nail. You can clean up the excess white nail polish with nail polish remover on top of a Q-Tip. Before you begin this, you will wa...

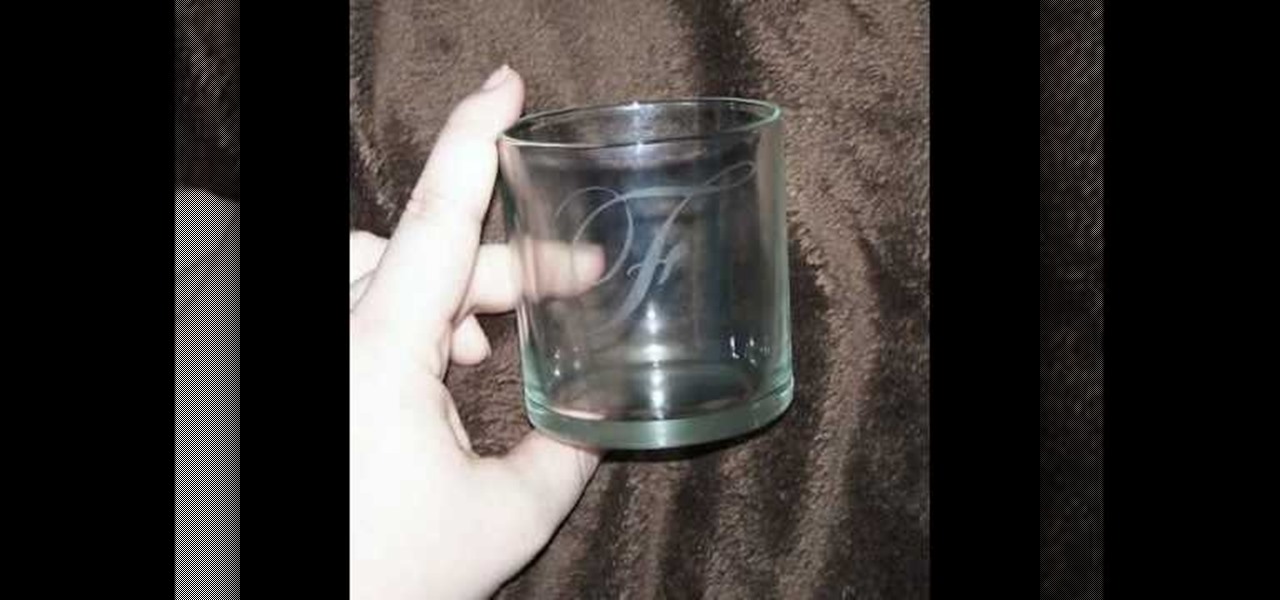
In this video tutorial, viewers learn how to etch glass in 5 minutes. The materials needed for his procedure are: contact paper, Armour Etch and a paintbrush, glass and a sink. Begin by cutting the contact paper face up on a circuit mat. Cut it on medium speed and pressure. Then put the contact paper on glass. Work carefully to prevent any wrinkles and bubbles in the design. Now put the etching cream on in a dabbing motion. The etching cream will not run into areas that are not stuck down. Fi...

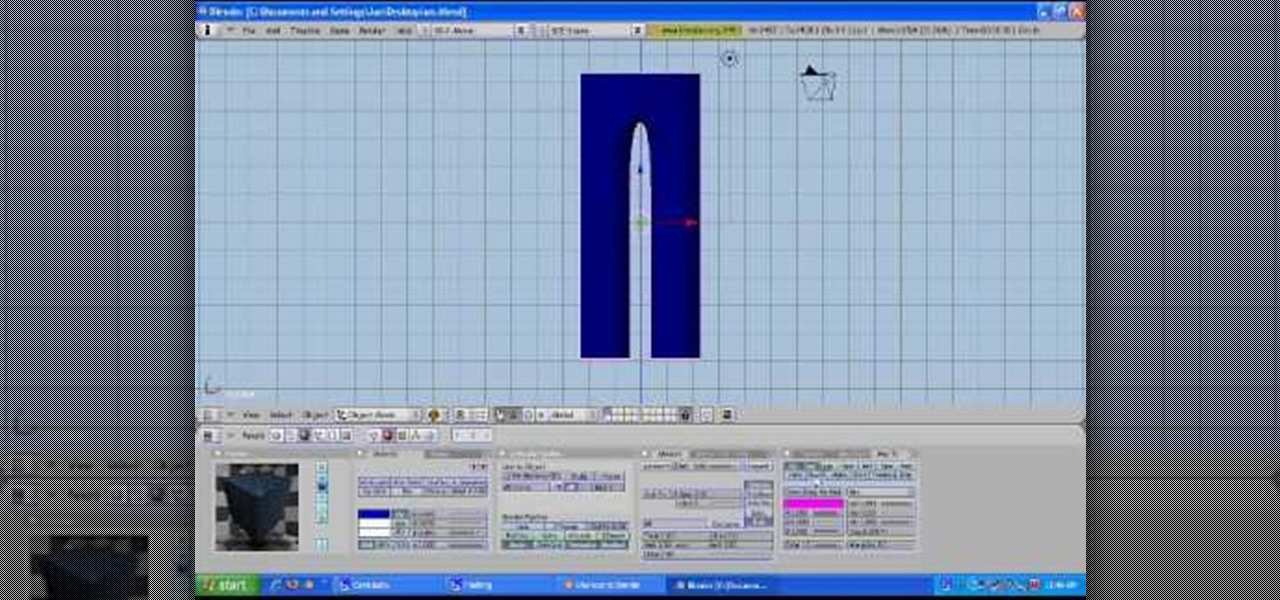
Designing 3D graphics is one of the most challenging and lucrative fields of computer design. This video for beginning 3D graphics artists features a tutorial on how to make materials and textures in Blender, one popular 3D modeling software suite. Making this pair of pants will have you well on your way to making more elaborate images.

Nothing says chic like DIY. With spring and summer just around the corner, this breezy and elegant tube dress is all you need to stay cool. See how to make a DIY chic tube dress in this video from GiannyL.

Keep your favorite dessert or food item close to you at all times by making a foodstuff-shaped piece of polymer clay. From chocolate cupcakes to orange slices to donuts, polymer clay can be formed into almost any food imaginable. Plus, miniaturizing makes food look adorable, making it even more irresistable.

Ombre and zebra prints are two of the hottest fashion trends this season, but you'd never see the two trends mishmashed together on on person. Until now.

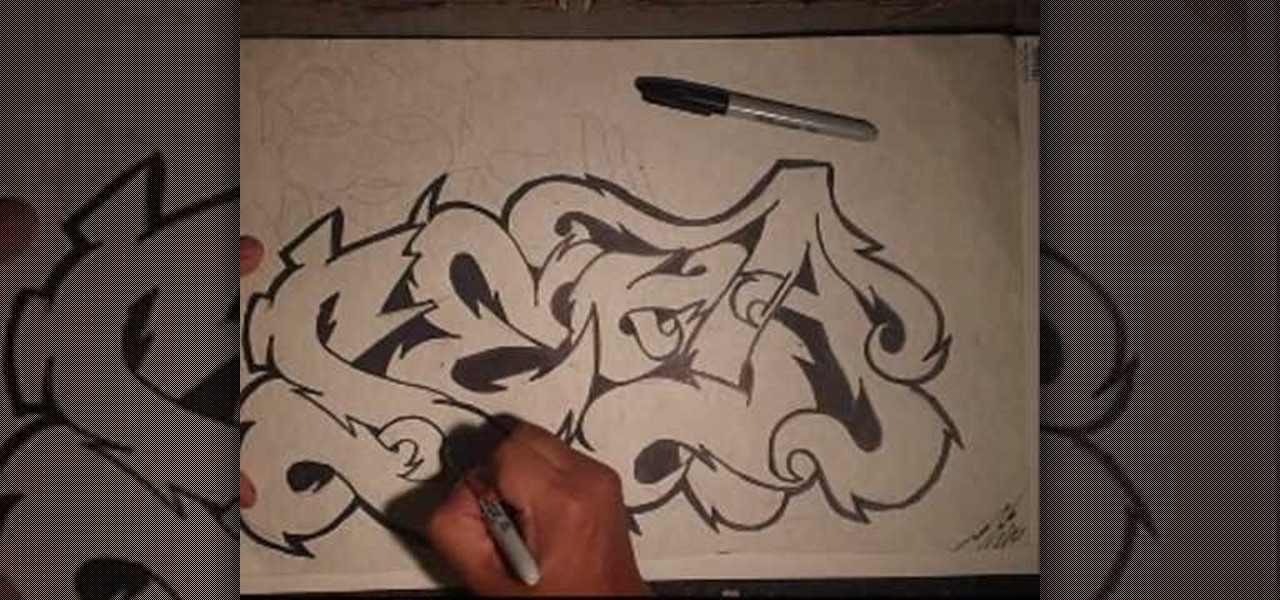
This video demonstration shows established graffiti artist Wizard creating a tag of the name SESA. It features a figure in the background sticking his middle finger thorough the second S in the name. The elaborations around the letters and the types of curves he used in this particular design have little bit of a Japanese flair to them, a different sort of style for Wizard, but one that this master of graffiti tags handles with the same skill with which he handles all of his other tag designs.

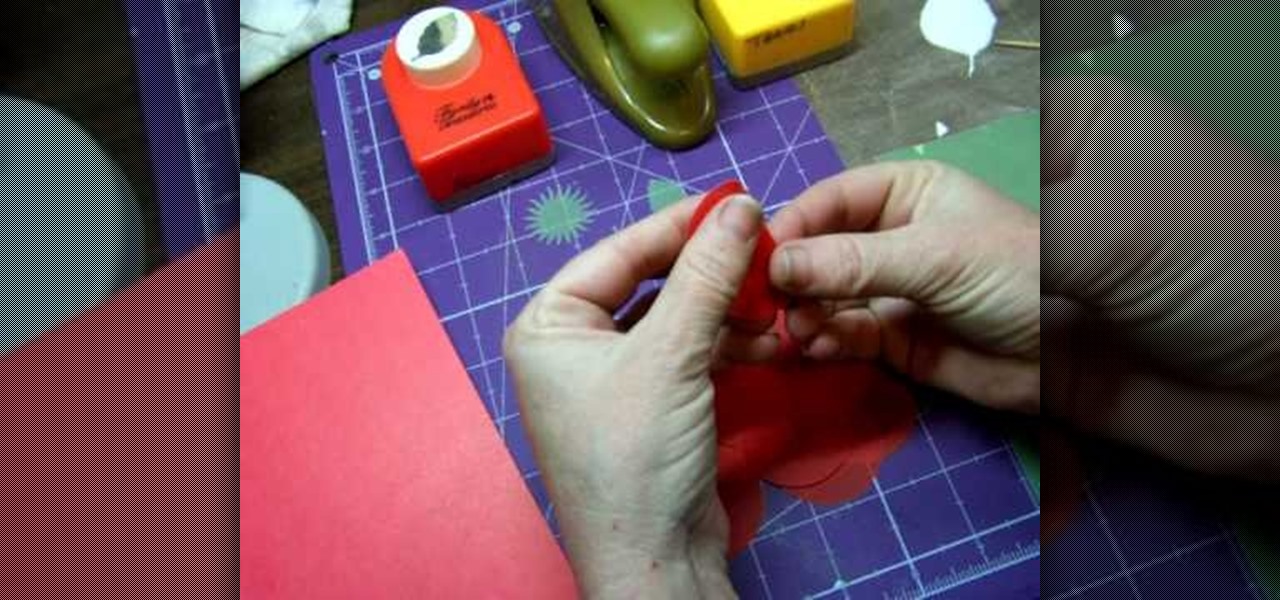
Stampin' UP! punches make just as fun designs as their line of stamps. In this tutorial, learn how to fashion basic flowers out of punches. These flowers make great additions to your scrapbooking or greeting card crafts.

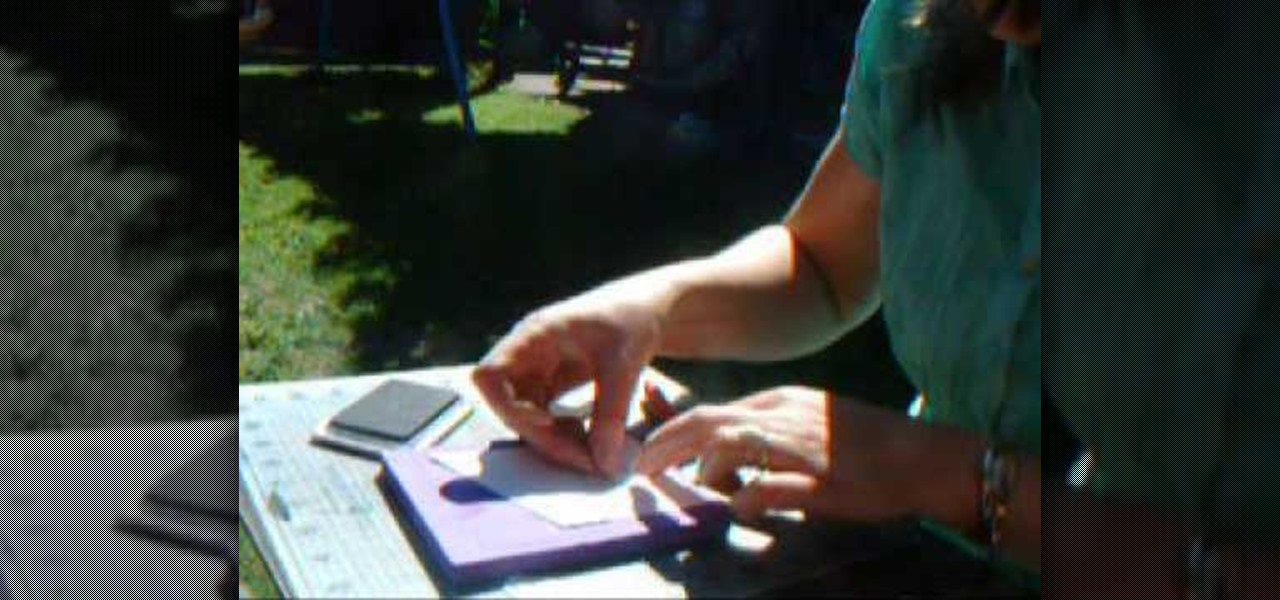
In this Arts & Crafts video tutorial you will learn how to make a stamped notepad cover. Put the note pad on the edge of a bigger sheet of paper, draw the outline and cut the paper along the lines. The paper should be longer than the notepad. Put the note pad on top of the paper aligned with one end and fold the other end of the paper. Remove the paper and crease it properly along the scoring lines. Depending on the theme you want for the cover, apply the required ink with sponge on the paper...

This video shows how to paint your nails with a very attractive red and yellow nail art design. Using a glitter nail polish, dip it in yellow glitter powder. Pat it on the nail, rather than brushing it on. Then apply large glitter shimmers randomly all over the nail, and this forms the background.

In this video tutorial, viewers learn how to ice cupcakes. In order to ice a cupcakes, users will need a piping bag, tips, coupler and a spatula. Screw the coupler at the end of the piping bag and select a tip to put on the end of the coupler. Fold the bag 2-3 inches downward and place it into a cup to hold it. Now scoop some icing with the spatula and place it inside the bag. Squeeze the bag to bring the icing down and tie an elastic on top to close it. Viewers will learn how to 3 different ...

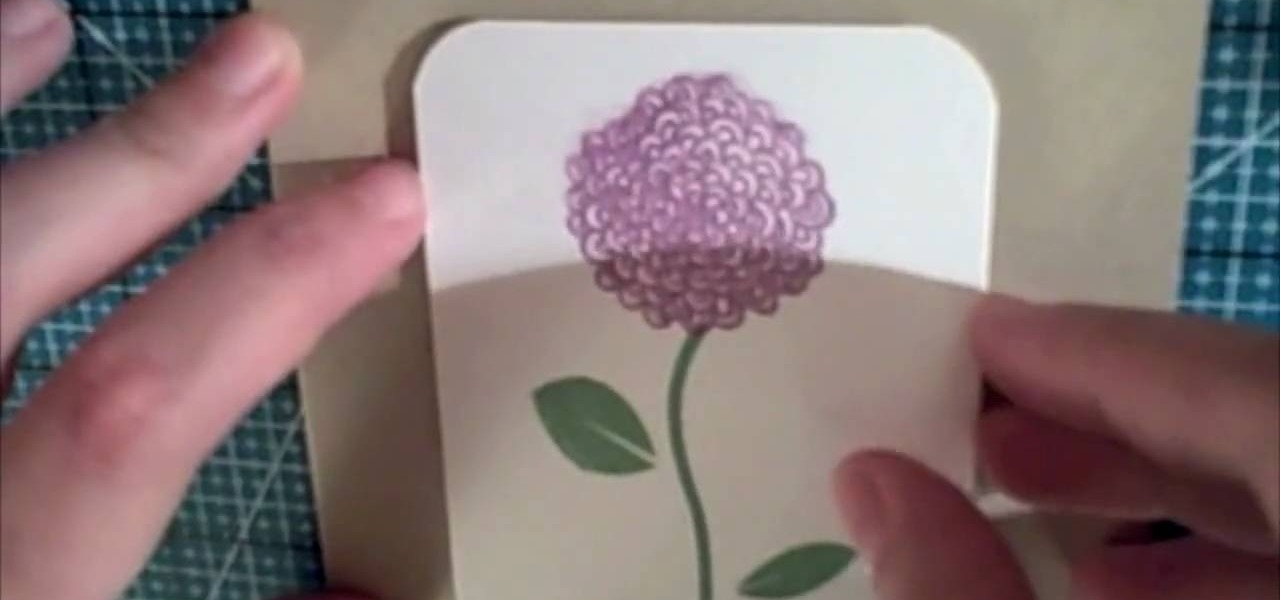
In order to make an accordian- fold style greeting card, you will need a piece of card stock, glue or adhesive, scissors, markers, and stencils/stamps. Cut the cardstock in a diagonal. Fold the card into 3rds, lengthwise. Cut a 5 x 3 ¼” panel at an angle. Use Masking Magic and stamp the excess card stock. Cut out your stamp designs. Color in your designs with Sharpie brand permanent marker pens. Glue the 5 x 3 ¼” cut piece to the card, or you could use 2 sided tape. If you have addition...

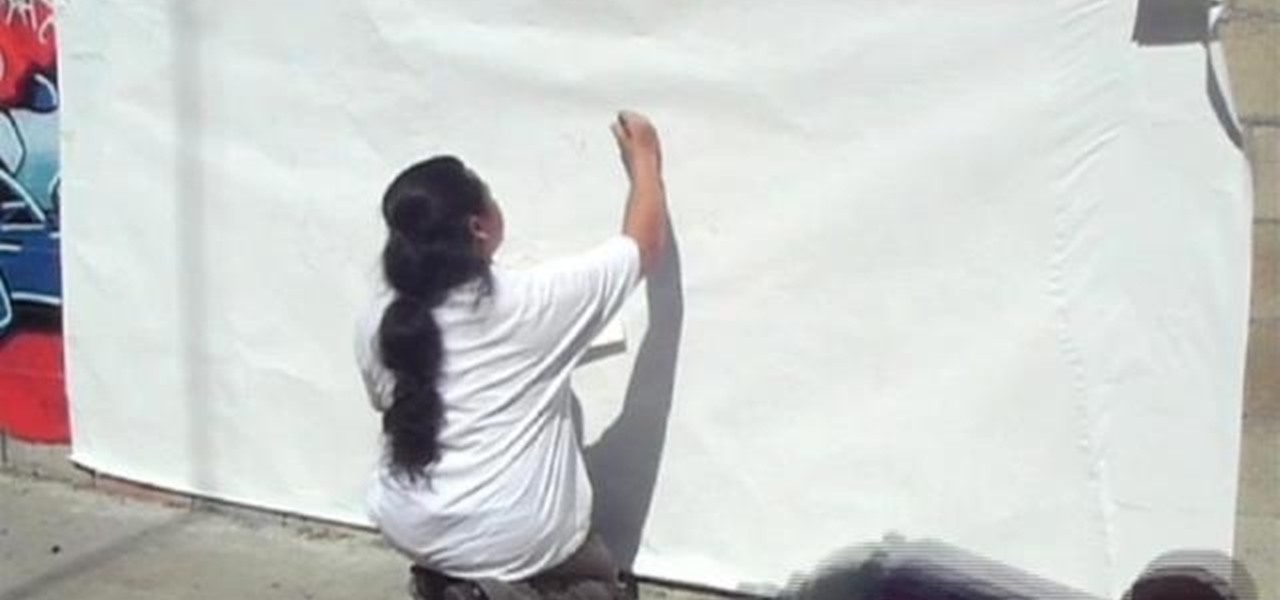
This is your basis step by step on how to do graffiti on walls - in your house for decoration, of course, not on the streets for vandalism! The best spray paint is made with krypotnite added into the paint. While you will want to paint directly on the surface, you don't want to be exposed to excessive winds or temperature when doing your graffiti, so you may be somewhat at the mercy of mother nature. Start by sketching your design with pencil, making sure that it takes the maximum amount of s...

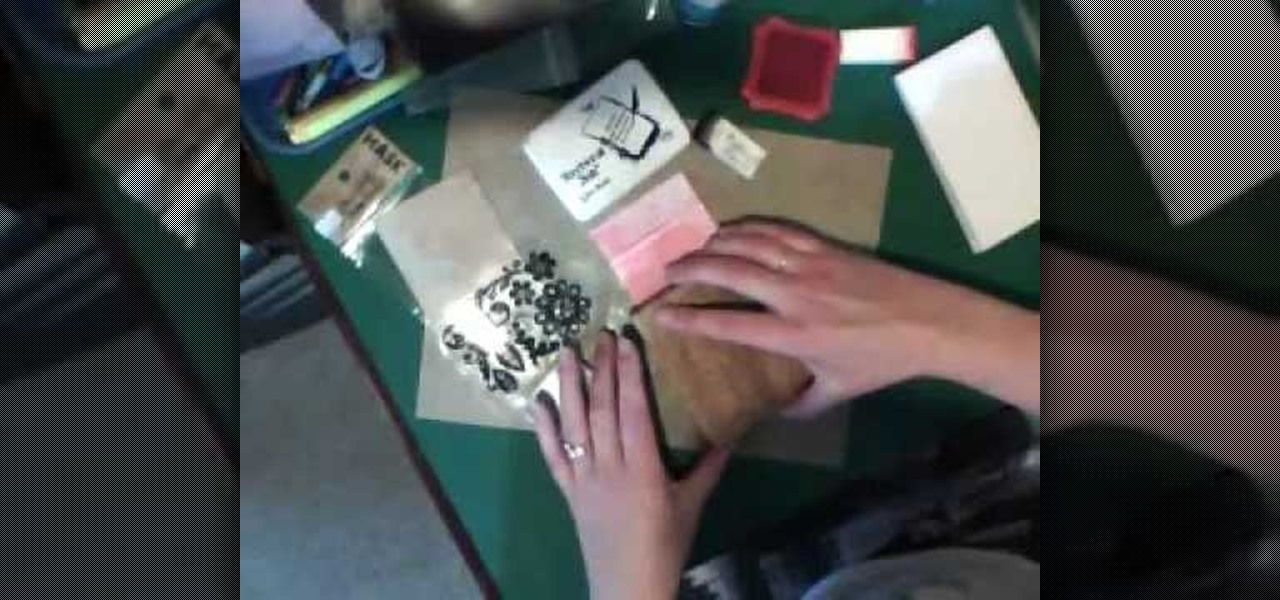
In this Arts & Crafts video tutorial you will learn how to use clear stamps & make a card. You will need acrylic stamps for this project. The products used in the video are from papertrayink.com. The stamps are clear and have a sticky back with which you can attach them to an acrylic base to make the stamp block. Then ink the stamp and stamp it on the paper. Since, it is clear, you can ass and align it properly on the paper. The other cool thing about acrylic stamps is that you can take more ...


