Interested in loading external images and SWF files in Flash? Learn how with help from this video. Learn how to load images and SWF files that are not actually in your Flash document dynamically using Actionscript 3.0. This can be especially useful if you are creating a website or gallery with a lot of content as it gives your website user control over what actually gets loaded. Learn everything you need to know about how to accomplish this in this free Flash tutorial.
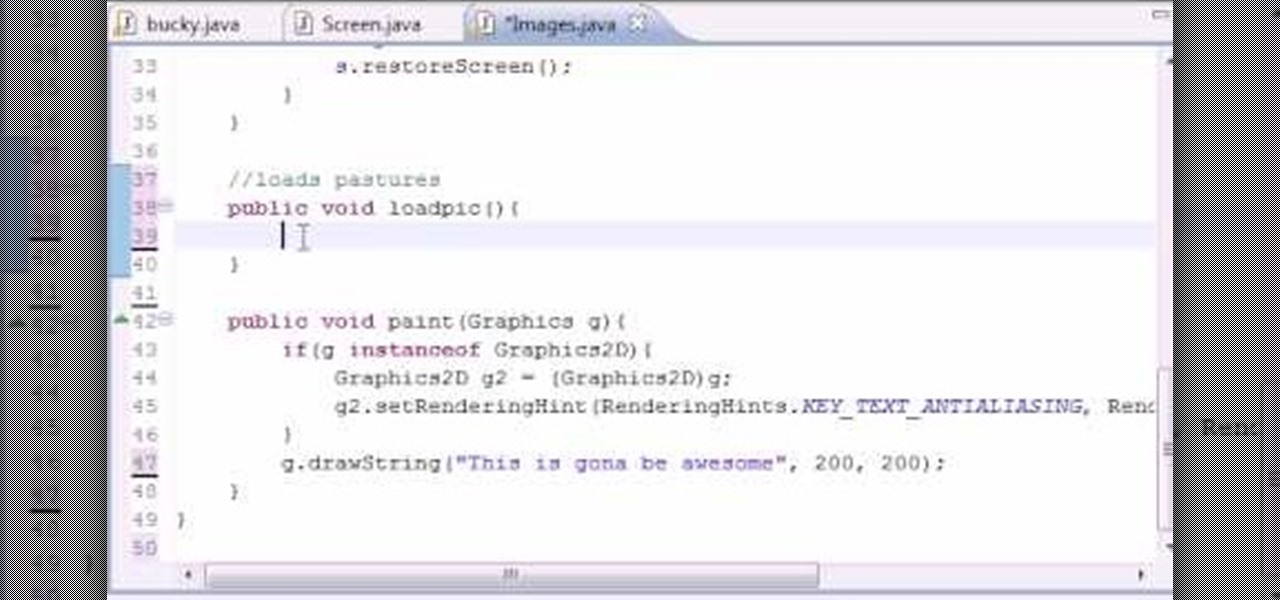
Want to program your own Java games and applications but don't know beans about object-oriented programming? Never you fear. This free video tutorial from TheNewBoston will have you coding your own Java apps in no time flat. Specifically, this lesson discusses how to to load graphic images when writing code in the Java programming language. For more information, including detailed, step-by-step instructions, watch this helpful programmer's guide.
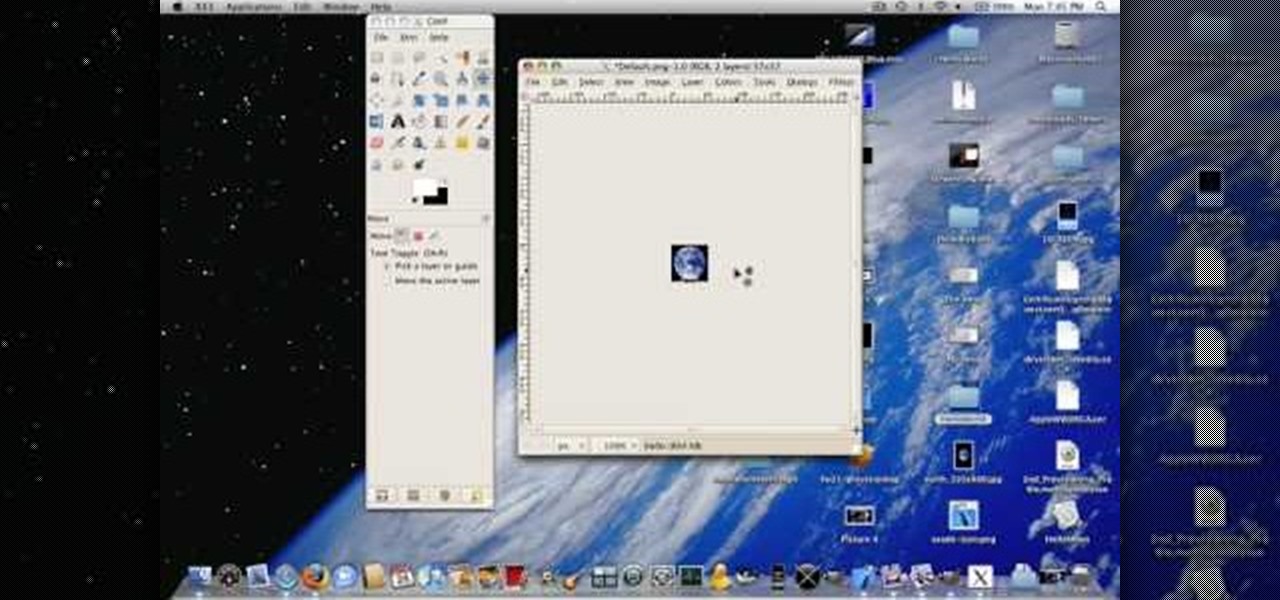
Simple SDK demonstrates how to add icons to your iPhone applications using XCode. Find your desired app and right click on it to designate that you want to open it with Gimp. Use the rectangle tool to crop the image to a square size. Add text to the image as desired. Then, scale the image to 57 x 57. Then, save the file as an icon.png in the same application folder. Exit out of Gimp. Next, go back to XCode. Open the icon file in the info list. Type in the icon title in the correct field and d...
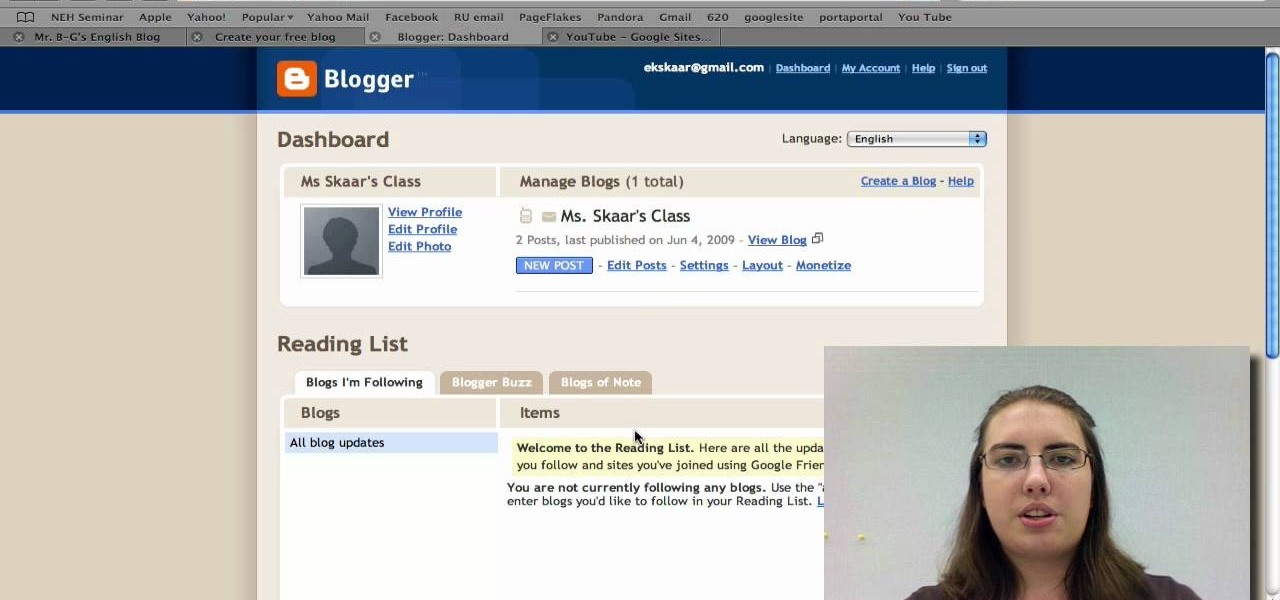
Radford University demonstrates how to upload pictures, embed videos and then publish them in Blogger. Log into blogger and go to your dashboard page. Click edit posts or create a new post. In the blog editor choose edit image from the toolbar. You can now add an image from a URL or upload one from your computer by choosing the choose file option. Next, choose your image position and size. Then, click the upload image button and then click done. Your image will now appear in your post. To emb...
Whether you're new to Adobe Photoshop or a seasoned graphic design professional after a general overview of CS5's most vital new features, you're sure to be well served by this (17-minute) official video tutorial from the folks at Adobe TV. In it, you'll learn how to do each of the following: realistically blend colors on canvas with the new Mixer Brush; create superior composites for print or web layouts with new technology that makes it easy to select even the trickiest image elements, like...
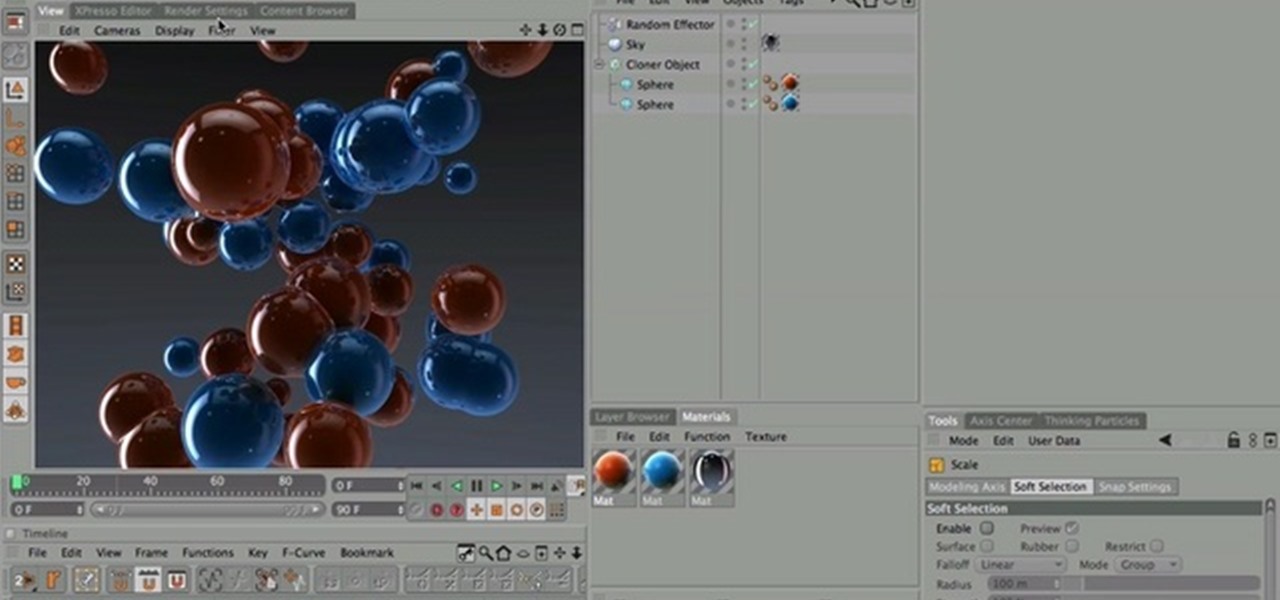
Nick from Greyscale Gorilla shows you the basics of setting up a project file, creating a scene, and rendering a final image in Cinema 4D. He also does a basic tutorial for post-production HDR lighting.

This is an excellent video showing you how to open up the dynamic range of your Canon DSLR camera in order to see into the highlights and shadows better. By giving you a flatter image, you have more ability to manipulate the image in post-production, having lost less available information.

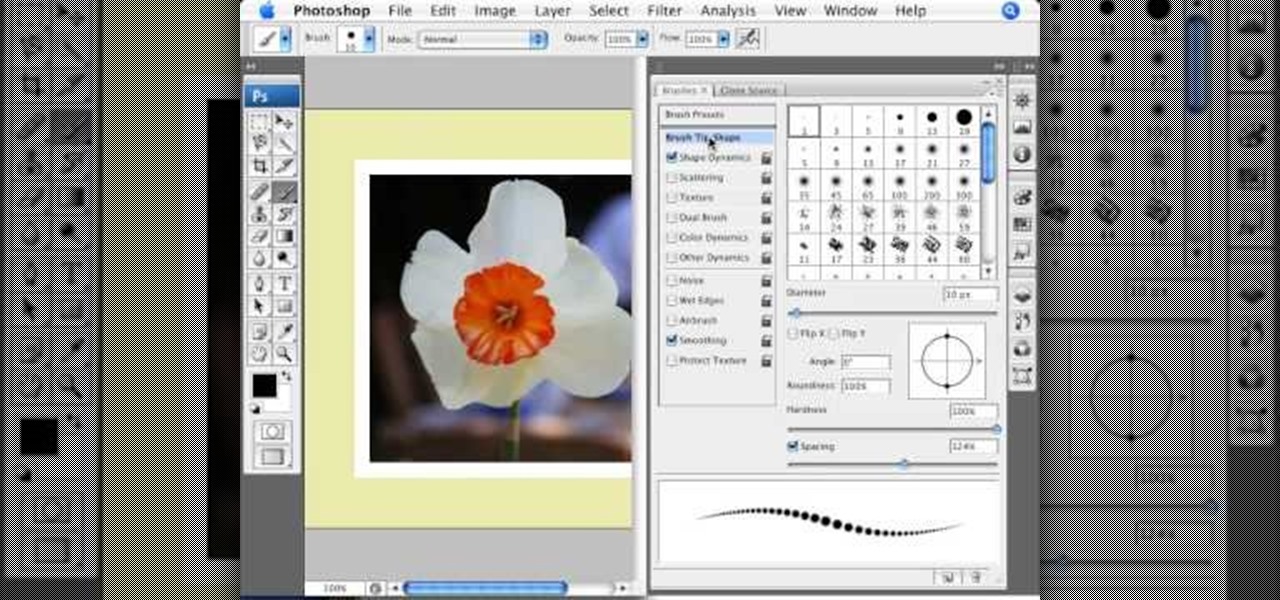
This video tutorial by photoshopuniverse shows you how to create a postage stamp in Photoshop. First take a suitable image and decide the shape of the stamp. Corp the image to suit the shape of the stamp by selecting the area and choosing corp and increase the canvas size as shown in order to create the perforated cutout. Transform the image into a regular layer and once again increase the canvas size to create a back ground with an appropriate color as shown. Add a layer mask, chose the brus...

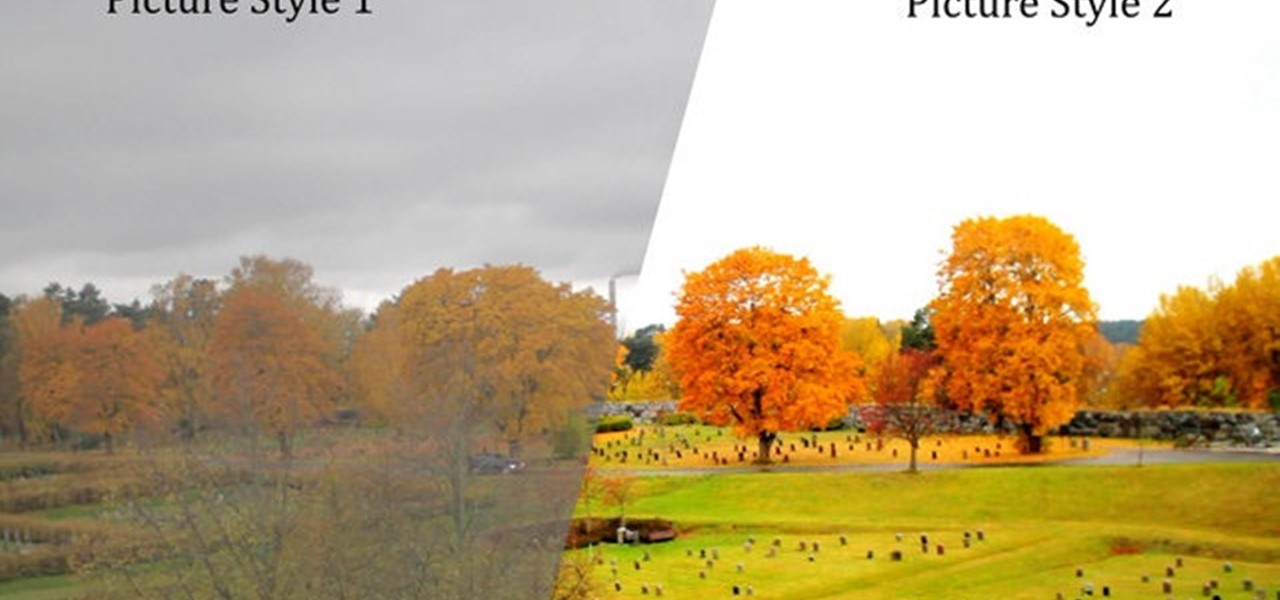
Learn how you can remove the blue haze from photos in Photoshop with this tutorial! 1. Select any image and right click on the menu click on Levels. 2. Select each and every channel and set input levels for red, blue and green and see the preview of the image. Set as RGB in Channels. 3. Now, click on "Sample in image to set gray points" and click on the area of the image which need to be set gray click on ok button. 4. From the picture icons select eye dropper and make sure it is set as 5 by ...

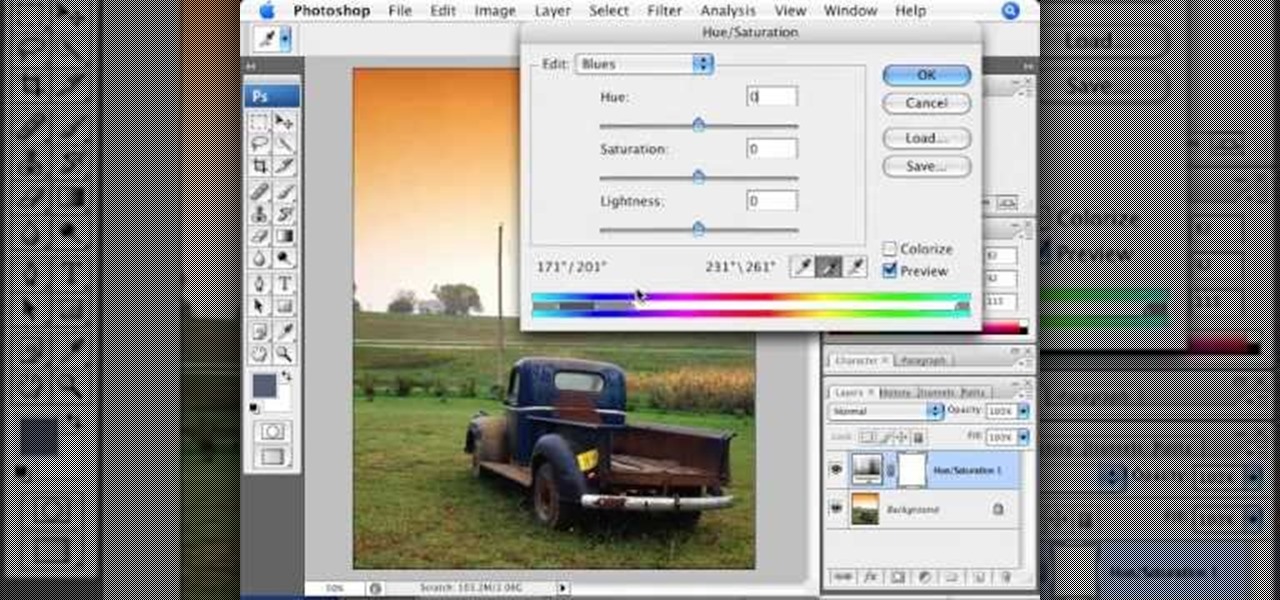
Adjusting the color of specific objects within your images in Photoshop is crucial. Sometimes fine tuning the color of just one component in an image is required. While an image may be adjusted globally at once, this approach lacks flexibility. This tutorial will show you the proper steps from the creation of an adjustment layer to the appropriate and functional calibration of the hue and saturation options. Get the most out of these tools and maximize your productivity in Photoshop.

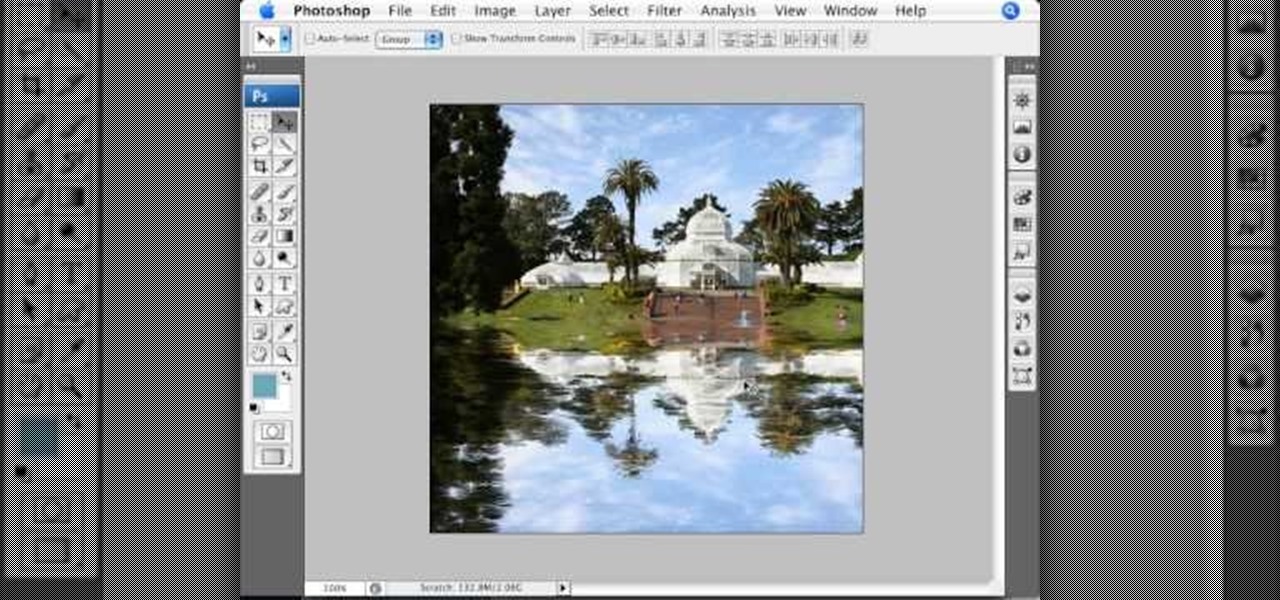
This Photoshop describes how to simulate the water reflection on scenery. First, create an image and add it to any photo. The added image should not contain water in them. The video shows displacement map to create the ripple effect. It is highly saturated and pure.

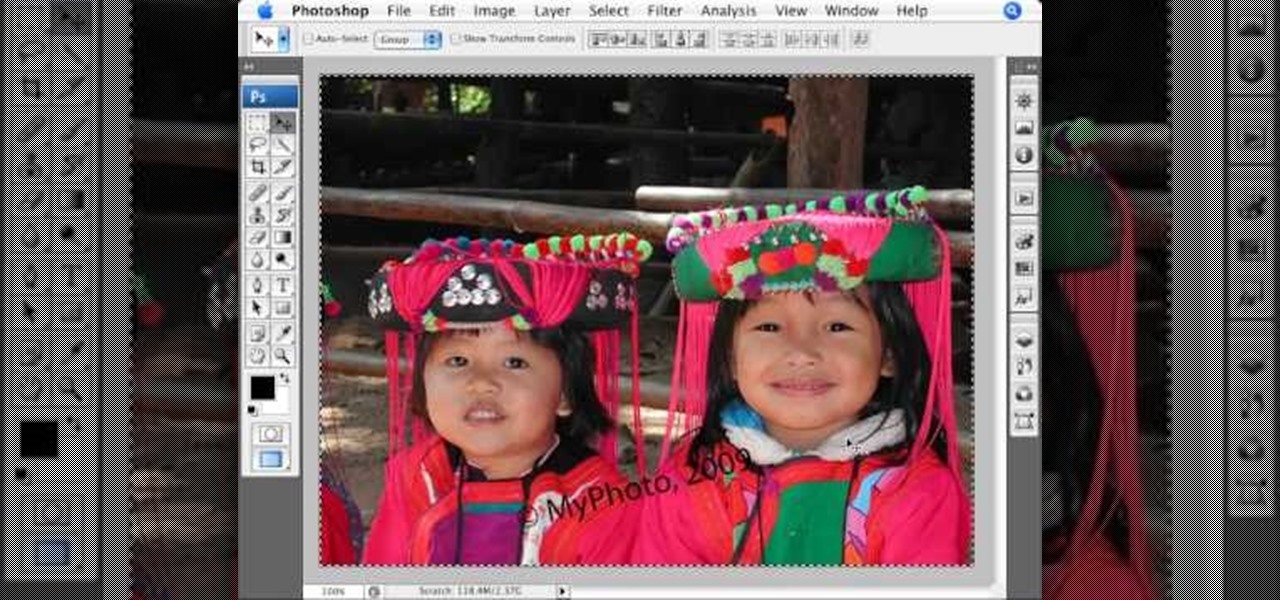
The PhotoshopUniverse team effectively teaches a method of adding a watermark to an image, as a security feature to make it harder to copy or steal. Instructions are simple and easy to follow, using as an example a photo of two girls that one might have in his or her family album. Using Photoshop, the text that will become the watermark is added, rotated and patterned across the entire image. To finalize the watermark, the opacity is edited to a desired value so that it does not interfere wit...

Ever wanted to create your own X-ray without a doctor's visit? Learn how to create your own X-ray in Photoshop by compositing two separate images to make it appear as if you are holding your own X-ray. You will use different layers, layer masks, and levels to make a believable self X-ray image - and you don't even have to get it approved through your insurance!

Pixel Perfect is the "perfect" show to help you with your Photoshop skills. Be amazed and learn as master digital artist Bert Monroy takes a stylus and a digital pad and treats it as Monet and Picasso do with oil and canvas. Learn the tips and tricks you need to whip those digital pictures into shape with Adobe Photoshop and Illustrator. In this episode, Ben shows you how to create realistic reflections in Photoshop.

Pixel Perfect is the "perfect" show to help you with your Photoshop skills. Be amazed and learn as master digital artist Bert Monroy takes a stylus and a digital pad and treats it as Monet and Picasso do with oil and canvas. Learn the tips and tricks you need to whip those digital pictures into shape with Adobe Photoshop and Illustrator. In this episode, Ben shows you how to turn images into watercolor paintings in Photoshop.

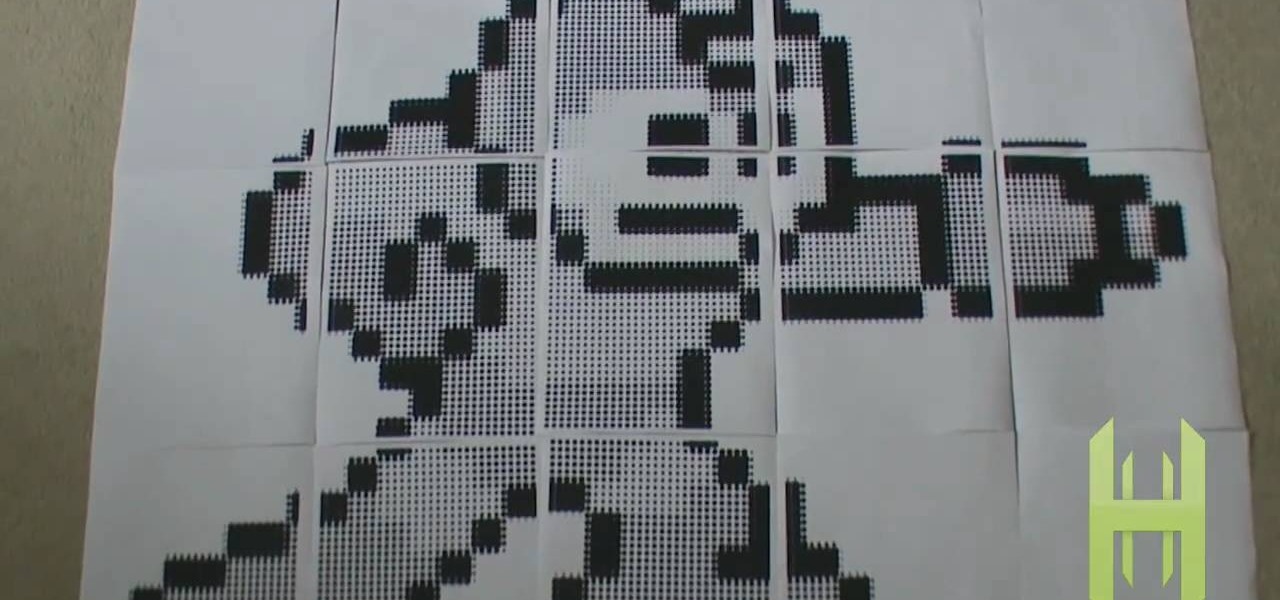
Empty walls? This is the perfect solution. The Rasterbator creates huge, rasterized images from any picture. Upload an image, print the resulting multi-page pdf file and assemble the pages into extremely cool looking poster up to 20 meters in size. Rasterbating is when you make a photo out of several photos.

Instead of using Photoshop, why not give Apple's Aperture a try? Aperture is designed more for post-production work for professional photographers, letting you cull through shoots, enhance images, manage massive libraries, and deliver stunning photos.

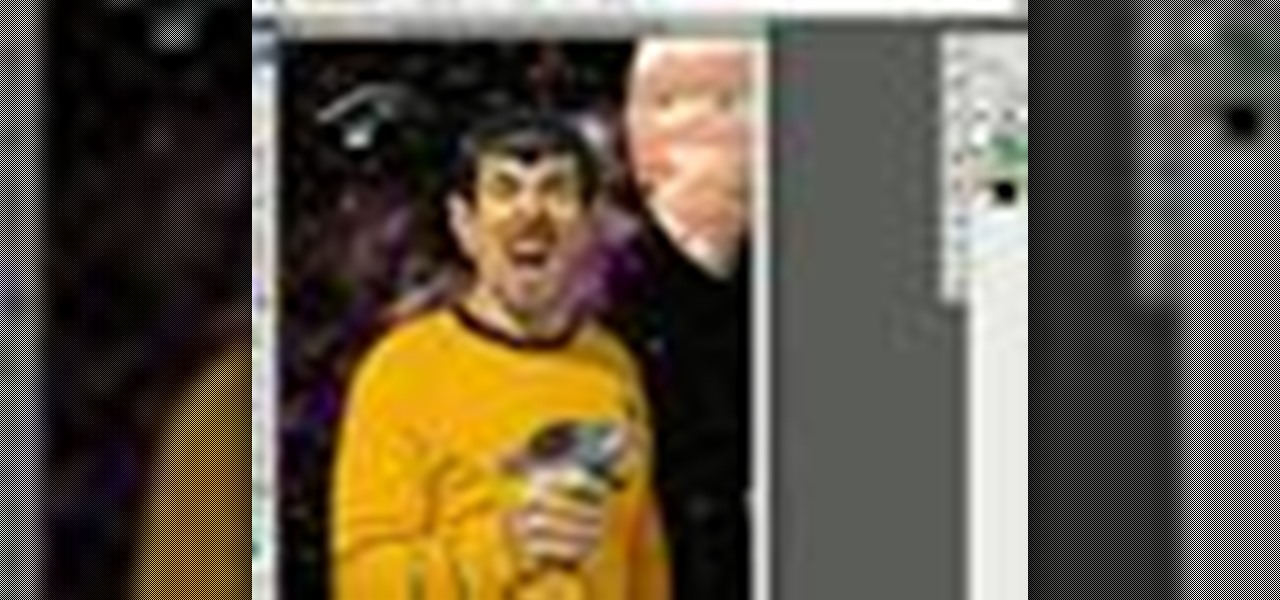
This image editing software tutorial shows you how to extract a green screen background from behind a spock-like monster in Photoshop CS3. Learn how to remove the green spill of light that appears around the edges of images, that are shot against a green screen backdrop. This is an important step in cleanly extracting a background professionally in Photoshop. Especially if you want your monster scenes to look great!

This image editing software tutorial shows you how to work with luminosity in Camera RAW. Delve into the powerful realm of Adobe Camera RAW and learn new techniques for enhancing images with the luminosity controls.

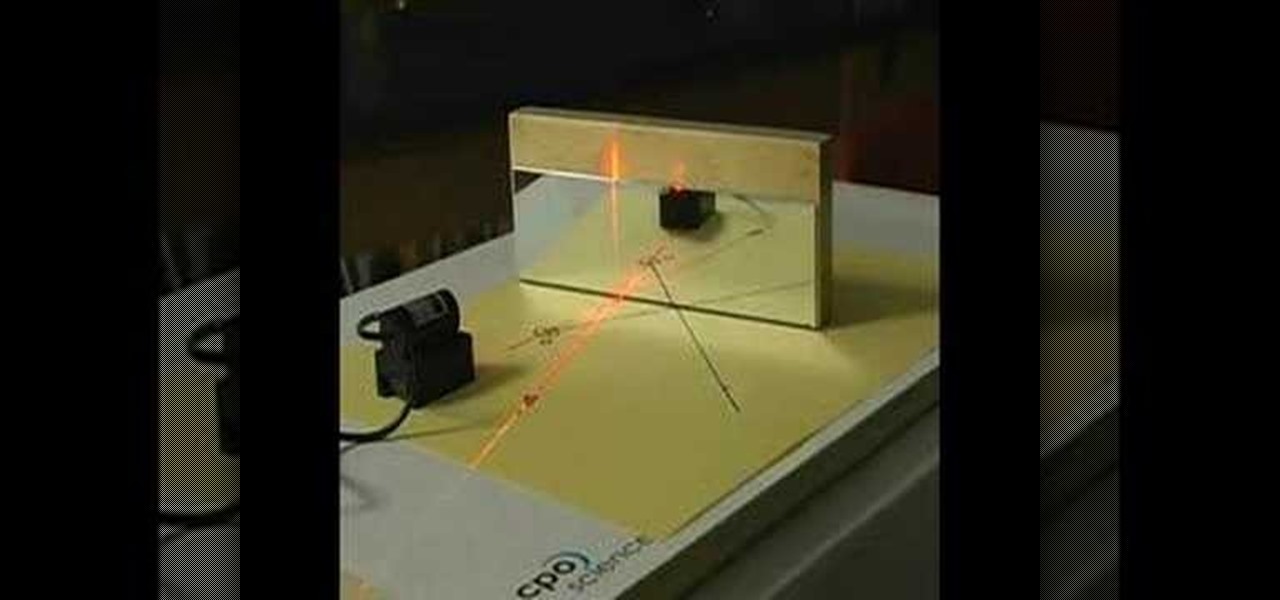
For both reflection and refraction scenarios, ray diagrams have been a valuable tool for determining the path of light from an object to our eyes.

This software tutorial shows you how you can blend three differently exposed images using Photomatix, and then demonstrate how to use some basic Photoshop techniques to touch-up the resulting image. [Note: the Flash overlay in this video doesn't sync completely with the audio; pausing for a second and then resuming it fixes the problem.]

Aperture 2 and iPhoto '08 are designed to work together so you can bring your iPhoto images into your Aperture library to work on them. Conversely, you can use images from your Aperture library to create iPhoto cards, calendars, and projects.

Aperture's compare mode lets you keep one image fixed in the viewer while you cycle through your other images for easy side-by-side comparisons. This feature is useful for choosing the best out of a group of similar shots.

To help you compare and manage groups of similar shots or of images shot in a rapid sequence, Aperture provides stacks, an organizational tool that allows you to group related images.

Aperture's advanced filter and search tools make it easy to find an image or a group of images within a single project or album, a folder of albums, or across your entire library.

Aperture's lift and stamp tools let you copy adjustments and metadata from one image and copy them to other images in your Aperture library.

Aperture's metadata inspector is a one-stop location for editing the metadata associated with your images. Some of this metadata is automatically stored within the image files of your digital camera, and aperture automatically reads it when you import your photos. You can add other metadata, such as keywords, yourself.

With a photo printer and photo-quality paper, you can create high quality prints of your photos. Using iPhoto, you can print a single image, multiple images, an album, or a reference page of thumbnails called a contact sheet.

In this how-to video, photoshop wizard, Brandon Jackson, explains how to create an animated gif from your images and from video. More specifically, he explains how to limit the number of times/cycles your gif animates, how to specify the duration of each specific frame in your animation, and how to automatically add in between images - tweening. Animated gifs are a great way to express information in place of just a single image and even works on older computers and web browsers (unlike Flash...

Customize your digital images and graphics - you can create a partial black and white effect in Photoshop Elements with these simple steps.

By now you're probably already an expert at creating cover images for your Facebook Timeline, especially if you've taken advantage of those free Facebook cards that were (and still are) being offered. But just in case you need some help making eye-grabbing cover images, there's a few tools you can try out to streamline the process.

We've all seen the breathtaking, colorful photos of the Eagle, Egg and Cat's Eye Nebulae. You may not recognize them by name, but you've seen them, whether in astronomy textbooks, magazines, websites, album covers, or tee shirts. They are some of the most striking photographs ever taken from the Hubble Space Telescope (HST).

In photography, creating a double or multiple exposure photo involves combining two different images to make one single image. This technique has been used in film photography by exposing a piece of film twice to two different images. The second image becomes superimposed onto the first image, creating various effects that may mirror one another or seem ghostly.

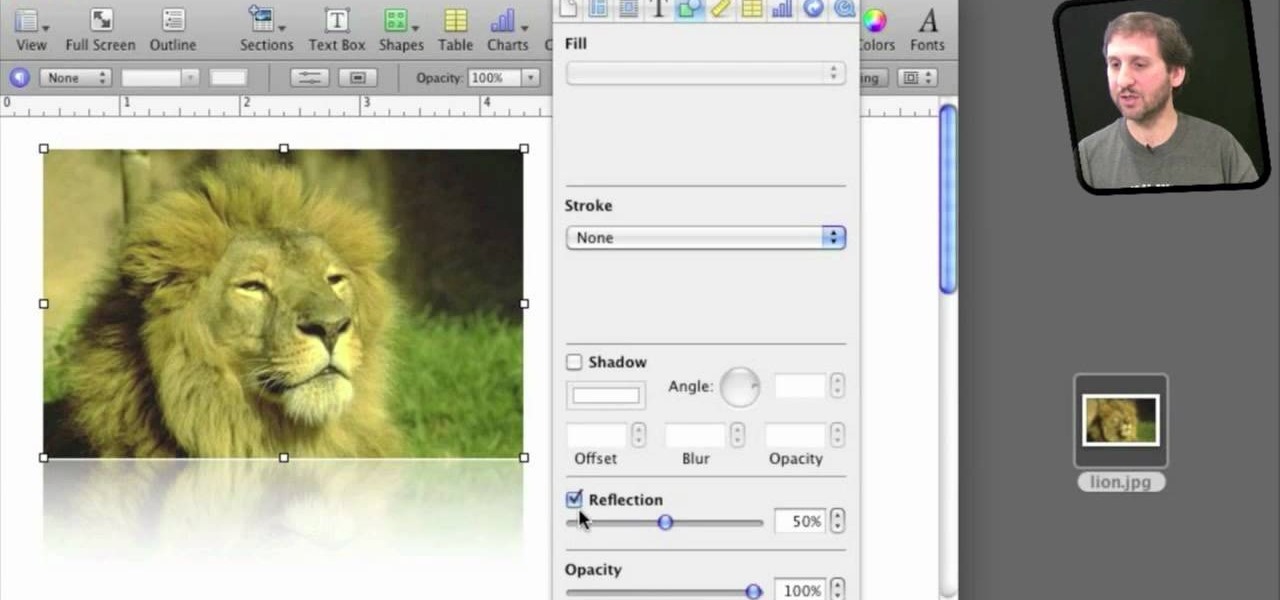
In iWork documents and pages, there's a lot of things you can do with external images. You can import them and manipulate them in various ways. These images can be resized, scaled, rotated and cropped. You can also make color adjustments, brightness, contrast, adjust image colors and place them inside of shape masks.

In this tutorial, we learn how to change image size in Photoshop CS3. First, go to your pictures folder and then open up your picture. From here, reduce the image to 50% of what it is by opening up Photoshop. Load the picture to this, then go to the edit menu of the image and zoom in and out of it to see the image larger or smaller than what you want it. You can also crop it if you want to remove something from the image. When you're finished changing the size, save this to your computer and ...

In this video tutorial, viewers learn how to get high definition wallpapers using Google. Begin by opening your web browser and go to the Google website. Then click on Images from the top menu and type in "HD wallpapers" in the search bar. Now click on Google Search. In order to get the best picture quality, be sure to select Large images from the Showing drop-down menu. Once you found an image of your liking, click on the image to have it full sized. Now right-click on the images and select ...

In this Computers & Programming video tutorial you will learn how to use Stock.Xchng to access free stock images. The site is at SXC. Go to this site and you will find a large number of stock images that are free to use. And every day new photos are being added. You can search for an image by category by clicking on the search box and scrolling down to find your category. You can also type in the search box to find a photo of your liking. The image also tells you what is the screen size, prin...

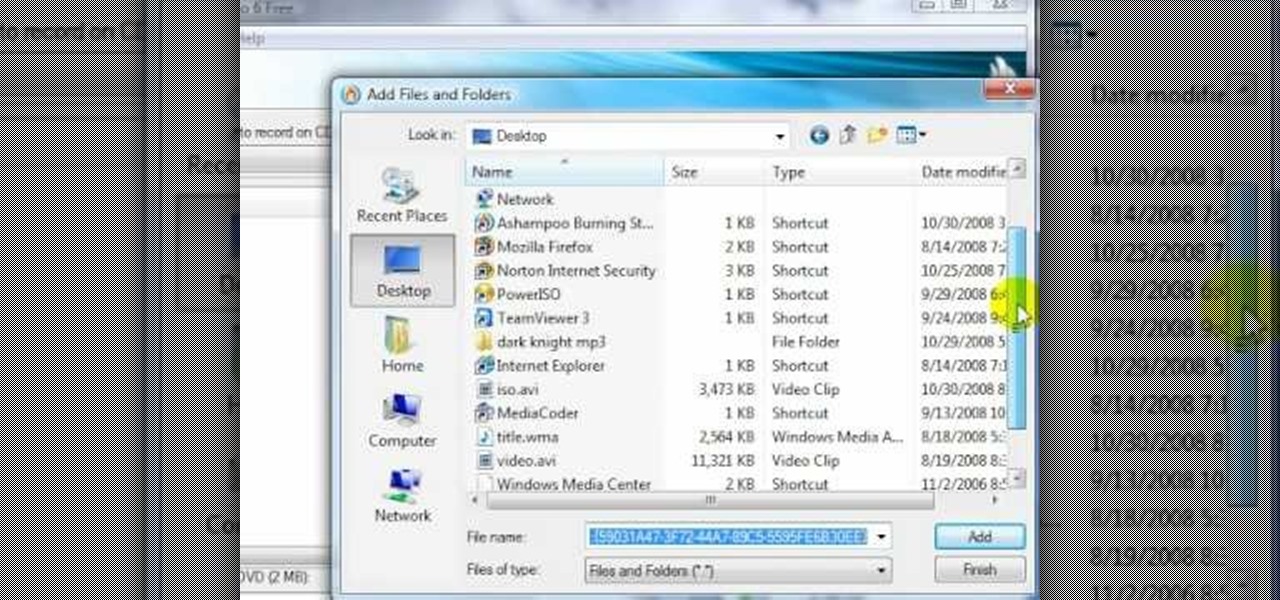
In this video tutorial, viewers learn how to create an ISO image. Users will need to download the program, Ashampoo Burning Studio 6. Begin by going to the Google search engine and search for the program. Select the result from download.com. Click on Download Now and save the file. Double-click on the file and follow the instructions to install it. Then open the program and select Create/Burn Disc Images. Select the type of disc image that you would like. Then click on Add and select the file...

Blip TV user Mr. Root teaches you how to mount an ISO image file using the Unbent Linux terminal. To do this and have access to the files inside of an ISO, without unarchived it, start the terminal. Type in dirk CD. Make sure the ISO image is on your desktop. Then type in sud o mount -o loop -t iso9660 and then the name of your image file, followed by CD/. This will create a new disk drive, which can be seen on the desktop. You can explore that disc like a real one. To unmounted your image, s...

This video tutorial shows you how to scan an image in the Runtime GetDataBack software for NTFS. The image was made in the tutorial for RAID Reconstructor when recreating a RAID 0. Why do you need to scan an image? For data recovery that you recreated with RAID Reconstructor. An image is the exact same thing as a hard drive, except that it's in a file format. So, backup your computer's drive, with this video to help, using GetDataBack.


