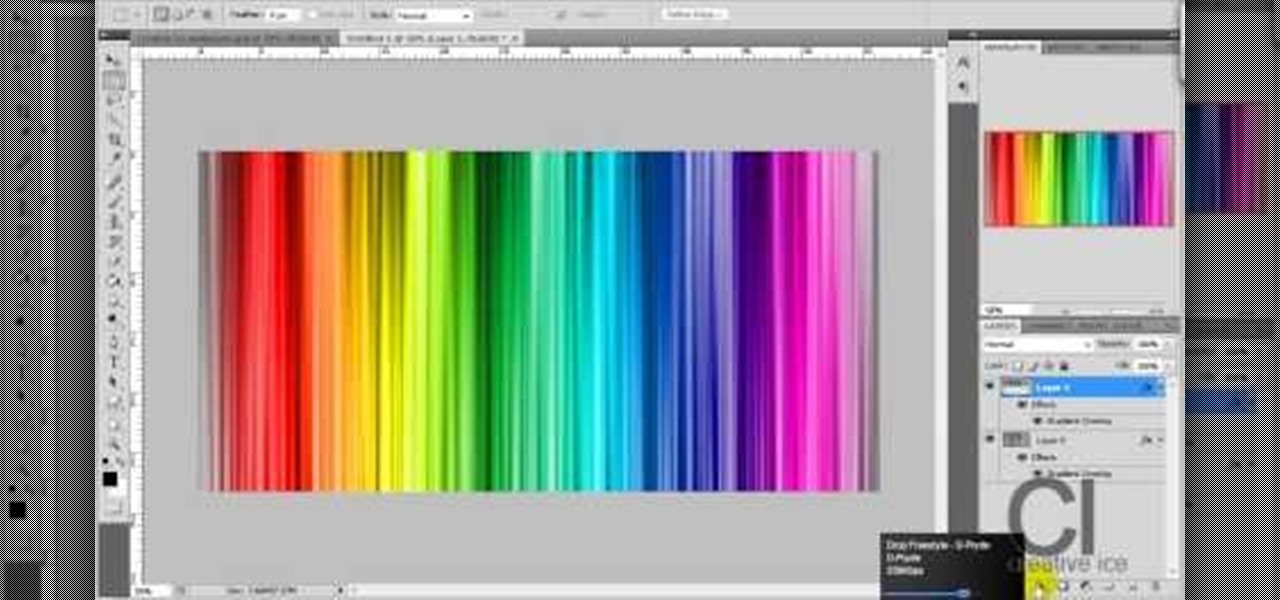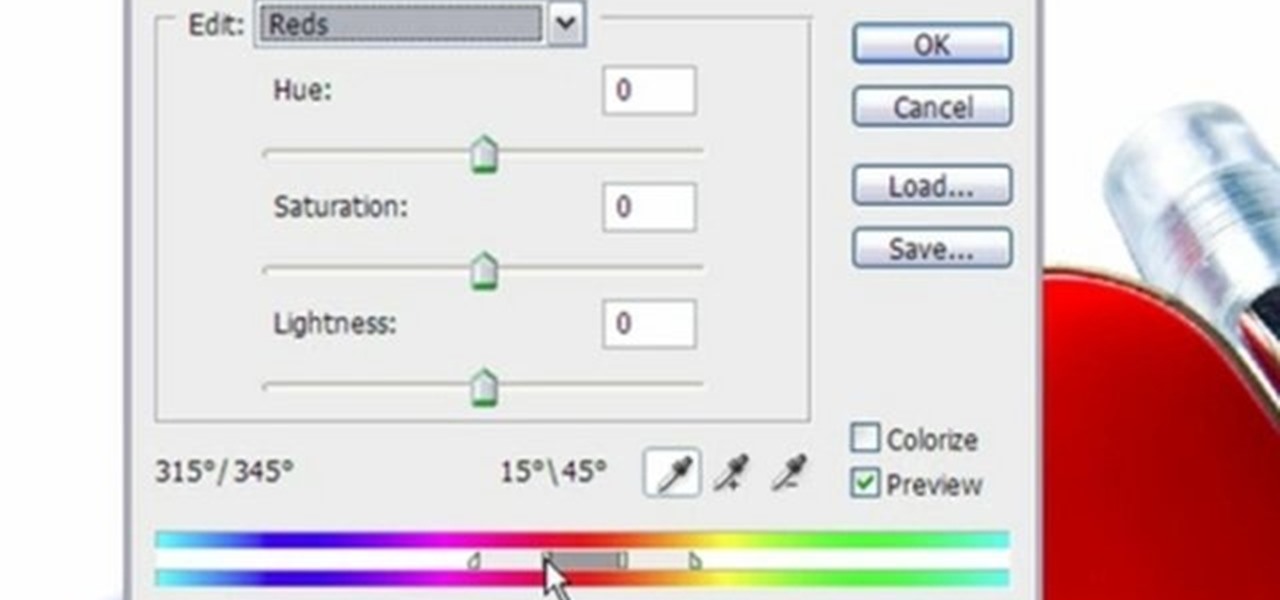
In this how to video, you will learn how make car rims bigger using Photoshop. First, open the image in the program. Choose the elliptical marquee tool and select the rim. Next, right click the selection and click layer via copy. Now you should have the cut out rim in a new layer. Drag layer 1 bigger by holding shift. Replace it and then click on the accept button. Erase the part of the rim that is on the body of the car with the eraser tool. Have layer 1 selected and merge it down. Do the sa...
Howard demonstrates how to control sharpening on your image in Photoshop. First, you want to copy your layer by dragging to down to the new layer icon at the bottom of the box. Next, go up to the menu bar at the top of the screen and click Filter, select Sharpen, and go to Unsharp Mask. A dialogue box will pop up so that you can adjust the how sharp your image is by using the sliders. Click OK when you are done. If you want adjust where you sharpen the picture go to the right side and click o...
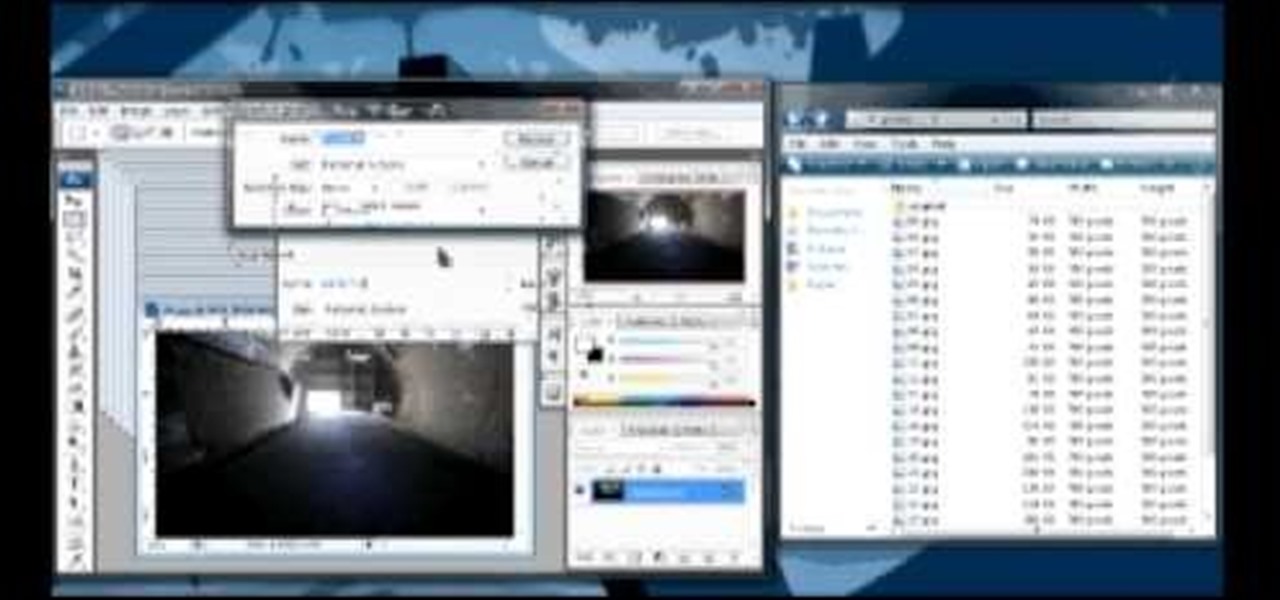
1. First of all you need to have a folder containing stock of various photos downloaded from the internet. The width of these images is ‘780’ and you need to resize them to ‘550’.

In this how-to video, you will learn how to create flashy pictures and animated gifs for your profile pictures. This is useful if you want to put an animation as your facebook or myspace default photo. First, find and open the image you want to use. It should open in MSpaint. You can go to image and select invert colors. Save this new file with a different name. Now, go to the gifninja website. Click on Create an Animated Gif. Now, upload both of your files to the page. You can select the spe...
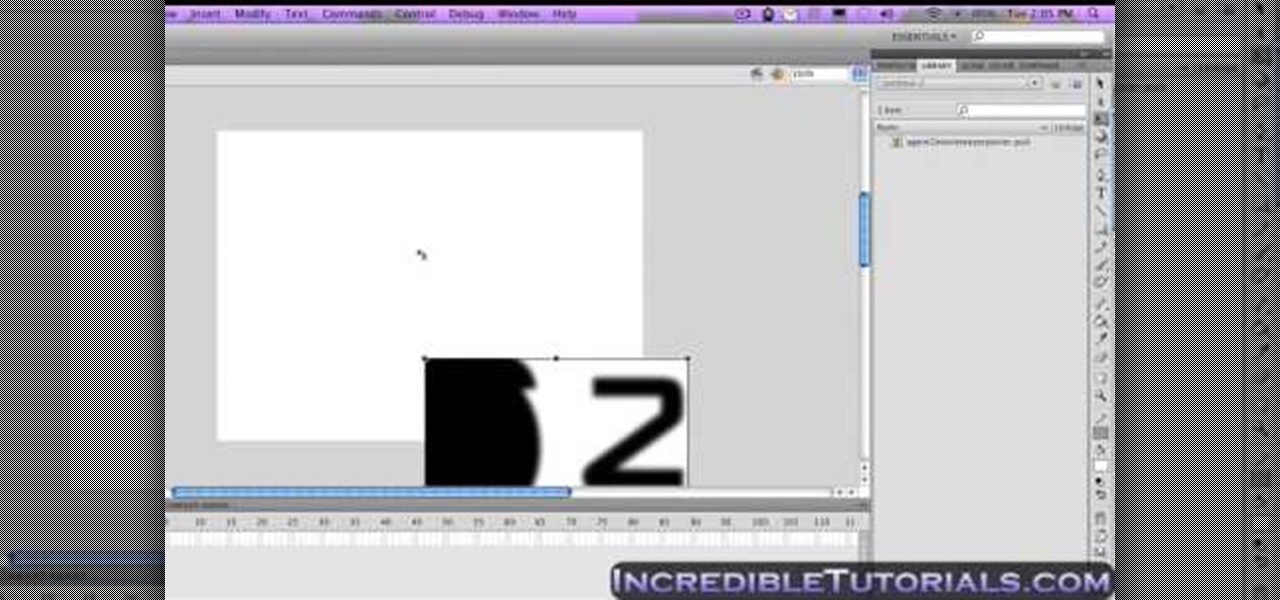
This video tutorial will help you to use the bone tool on an imported or Photoshop image while in Flash. If you want to use an image from Photoshop you must first pull the image up in the Photoshop program. Once the photo is pulled up in Photoshop you can save it by going to, file, and save us. Save your file as whatever file extension you would like to use (Photoshop, jpeg, etc). Pull up the Flash program and find file, and import. At this point you can import your Photoshop picture to your ...
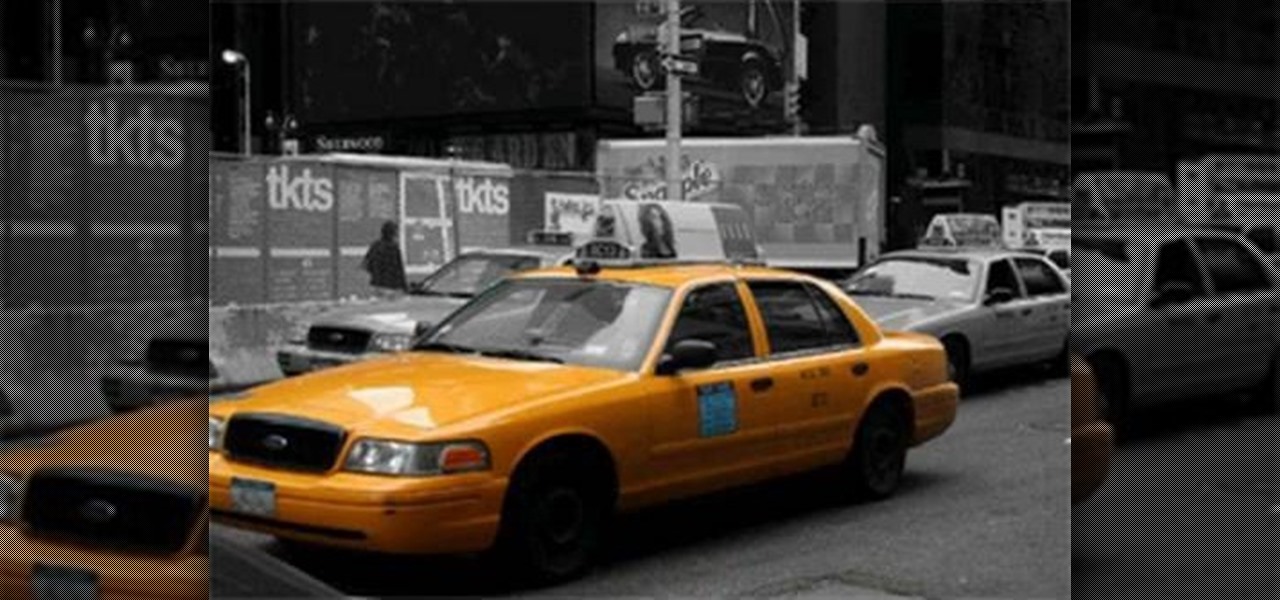
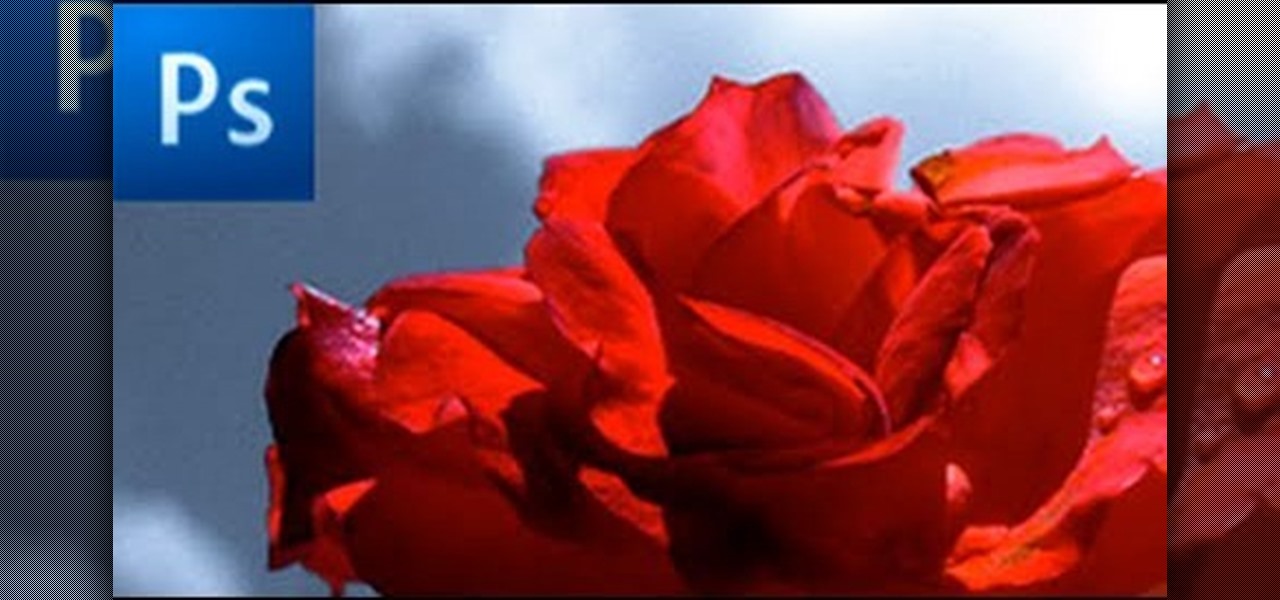
This video shows us how to turn parts of a color photo into black and white and keep the colors for the parts we choose. Start by choosing the polygonal asso tool in the tool box. Now create borders for the parts of the image that you want to keep the colors. Hold the ALT key while clicking to draw borders around a second or third object. Once all the borders are created, right click on your selection and click "select inverse". Now go to "image menu, highlight "adjustment", and then click "b...

In this how to video, you will learn how to remove acne with Photoshop. First, open the image you want to edit in Photoshop. Go to the left column and select the healing brush. Next, set the brush size and find a part of the image that is clear. Hold alt and click. Next, start clicking on the areas that you want to remove. As you can see, the spots are replaced with the color that you chose earlier. Keep on doing this until the image has been completely healed. This video shows you just how e...

This video describes how to illistrate simple reflection and shadow tutorial using Adobe. The first thing you want to do is to get the image you are going to be working with, touch up the colors. Make sure the logo is cleaned up, and ready to use. Make it more useable by making it 140x25 cm. Make a copy of your imag, flip it upside down, make sure it is pretty close to the base of the other one. This will look like the first one has a reflection right under it. Next make a 142x 27 box, put it...

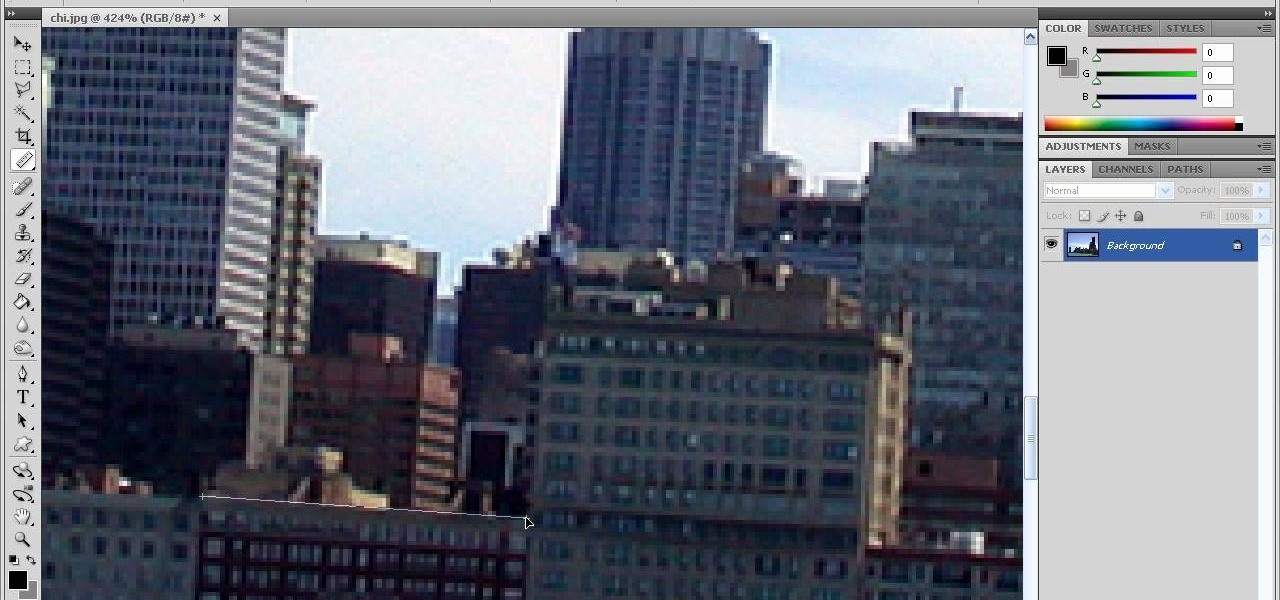
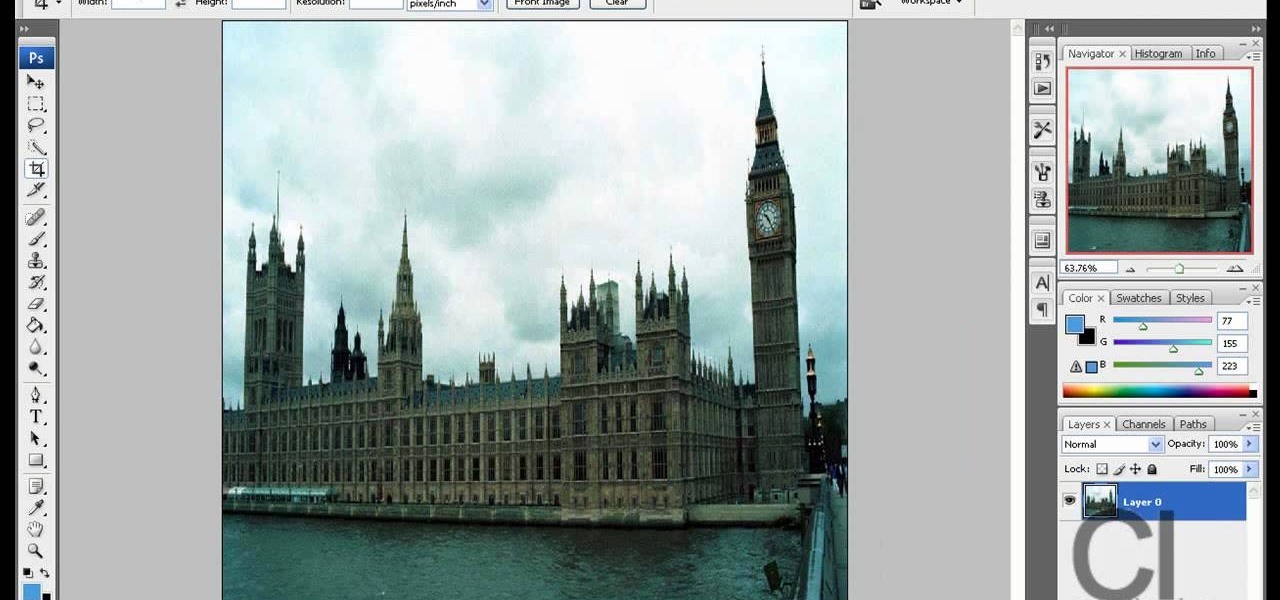
In this how-to video, you will learn how to straighten crooked photos in Photoshop. First, open the photo you want to straighten in Photoshop. Next, use the ruler tool under the eye dropper tool. Select it and zoom in to an area. Find a crooked line to straighten, such as a building rooftop or ground line of some sort. Click, hold, and drag. Next, zoom out. Go to image, image rotation, and arbitrary. Click okay and your image will be adjusted. Go to the crop tool and crop out the spaces. Hit ...

In this how-to video, you will learn how to single out a color in an image with Photoshop. First, go to select and click Color Range. Select all the color of the image by clicking around the object while holding shift. Once it is selected, click okay. Your selection will be made. Go to the magic wand tool. Hold shift and select the color areas that you have missed. Now, go to select and press inverse. This will select everything but the object. Go to image and adjustments. Now, drag the satur...

This video tutorial from ozz3141 presents how to copy your DVD library to a Mac computer. To start, insert DVD you want to copy. It will mount on Desktop and DVD player will open. Close DVD player. Click File-New Finder window. From left pane select applications. Scroll down and select FairMount. The DVD will remount now.

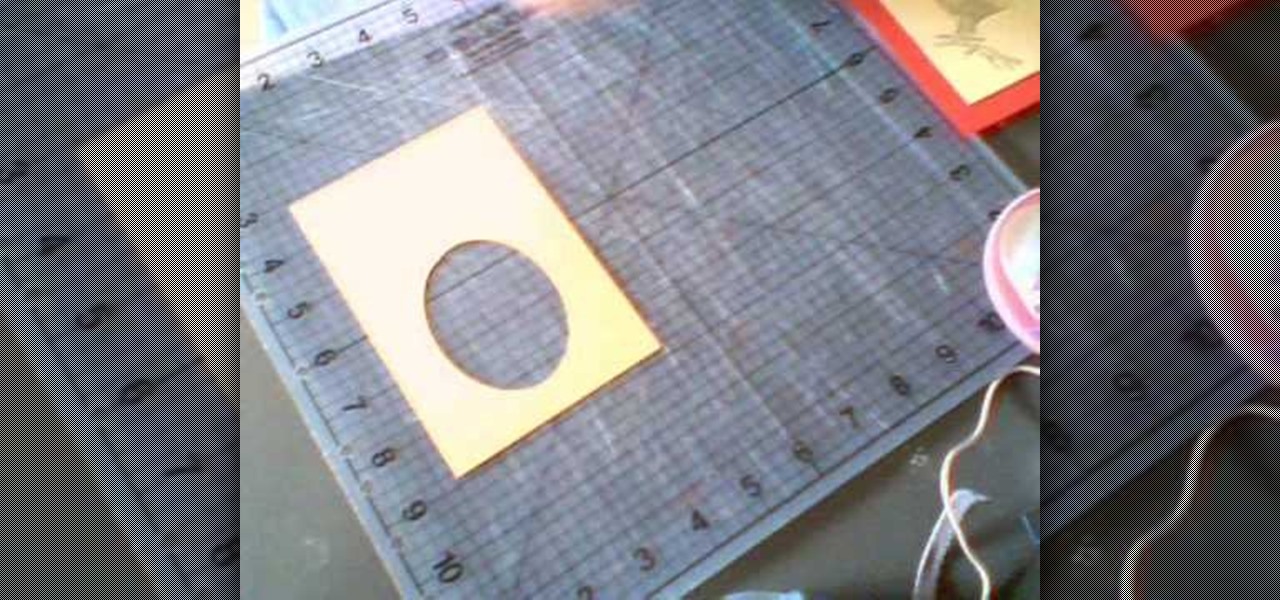
This video teaches us how to make shaker cards. These are cards that have a sort of window where you can see glitter or confetti moving about when you shake the card. You start off with your card base. A good size is 6" by 8". You take your front image, either a picture you have or stamp one yourself. Attach this image to the front of your card base. Line your image with thick double sided tape. Don't leave any gaps or your glitter will leak out. Next you cut your window. This will be the ver...

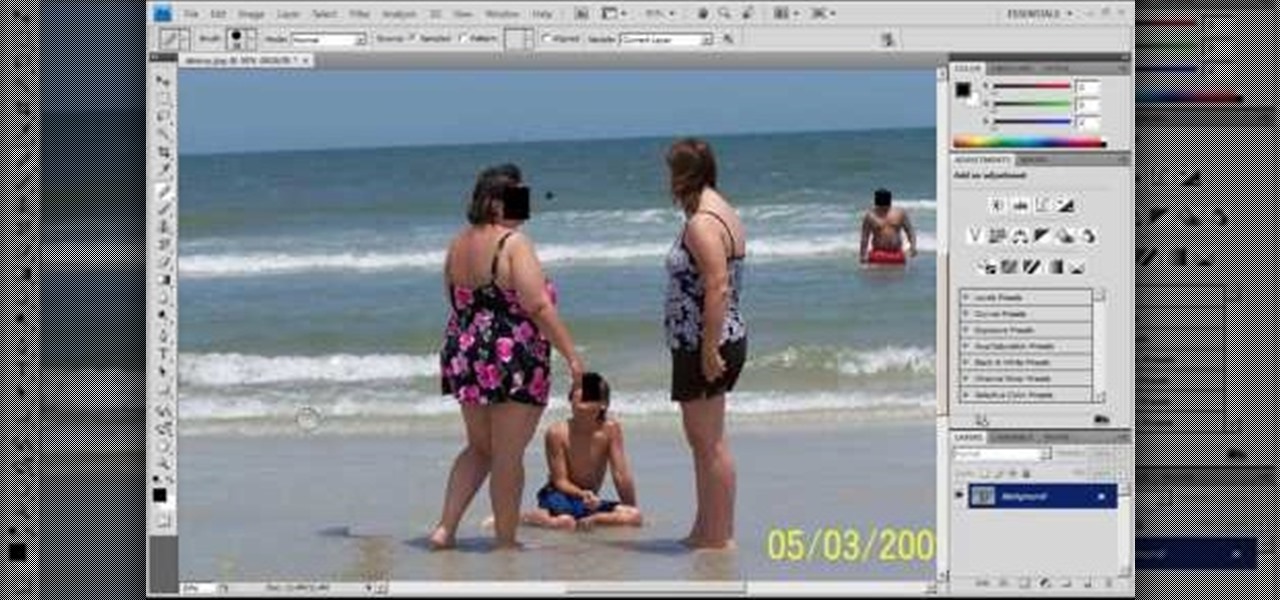
This video teaches you how to use Photoshop to remove people from a picture but you can essentially use this method to remove anything you want from a picture. First, click on the lasso tool and highlight a figure you want to remove. Drag the highlight adjacent to the figure and copy the image. Now paste what you’ve copied over the figure you want to remove. This will work best and is easiest if the area next to the figure is similar to the background of the figure. If you paste the image a...

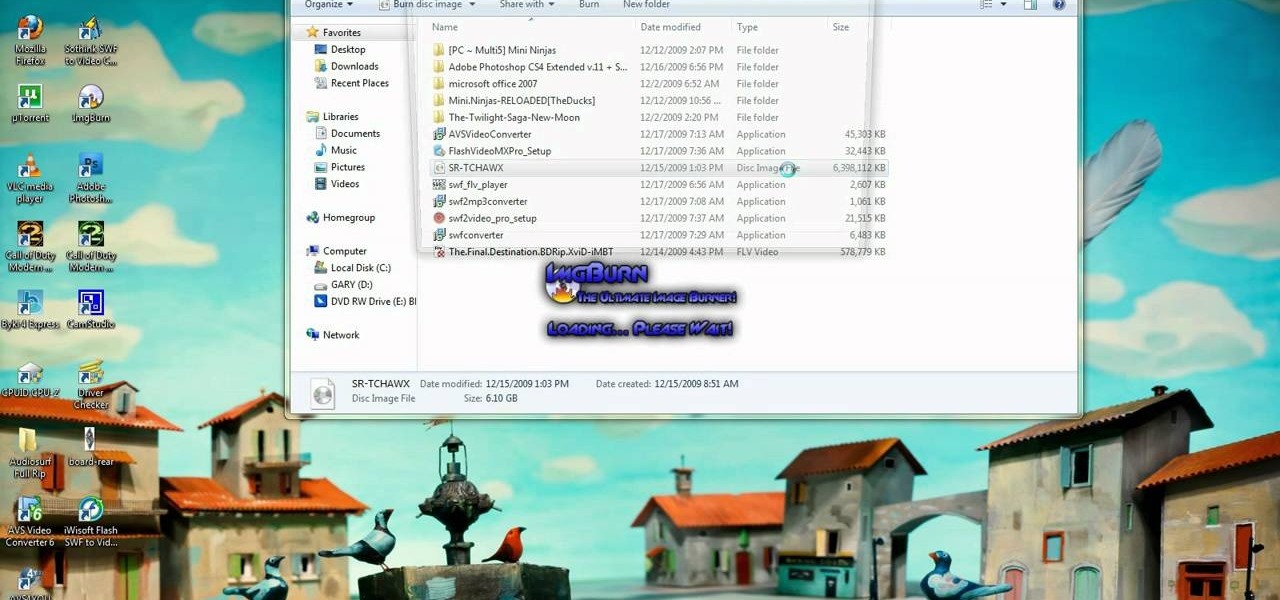
It seems silly to have to burn an ISO disc image to a CD just to insert it back into your computer to install or watch its content. Fortunately, there is another way. In this free video guide, you'll learn a method for mounting ISO disc images in Windows without wasting a CDR.

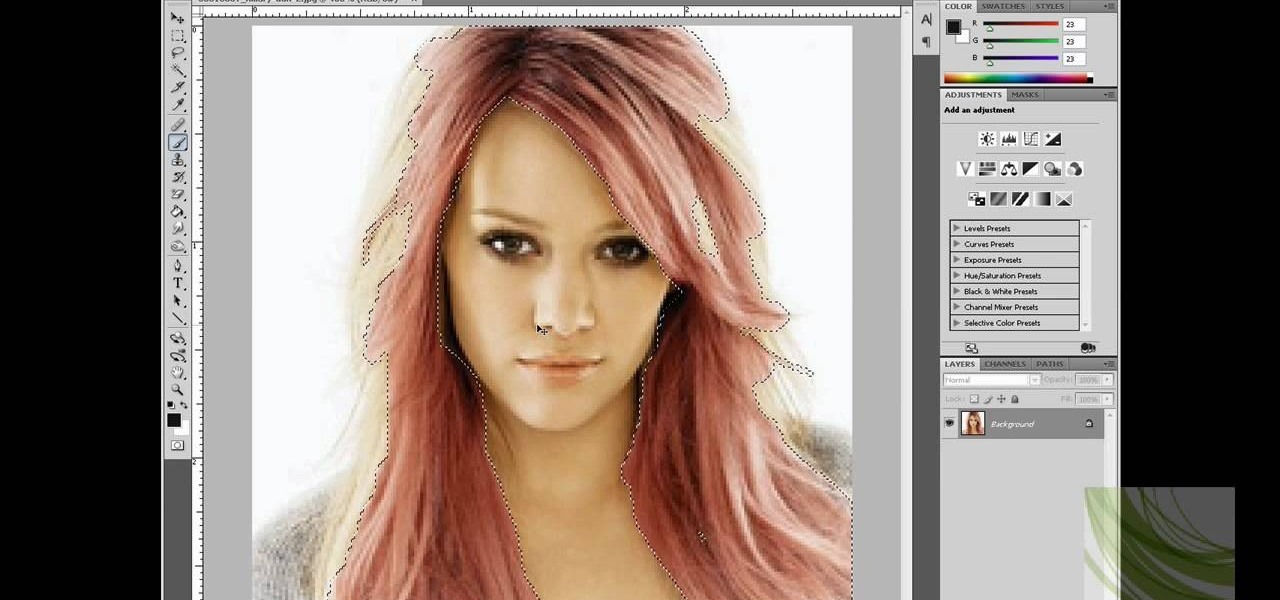
Photoshop is an amazing tool to use to edit your photos. If you would like to see what you or someone else would look like with a different hair color then Photoshop is the place to do it. Try out something realistic or add a funky color to your favorite celebrity’s style.

In this video you will learn how to download a torrent PC game, mount and the burn it. For this you will need a torrent program (to download torrents), daemon tools (to mount the images) and powerISO (to burn it). To get a torrent go on site mentioned in the video or on other torrent sites. After you downloaded the file, right click on daemon tools icon select virtual drive and mount your image. Enter in image from my computer, take the CD key from crack and write it on a CD case. To burn it ...

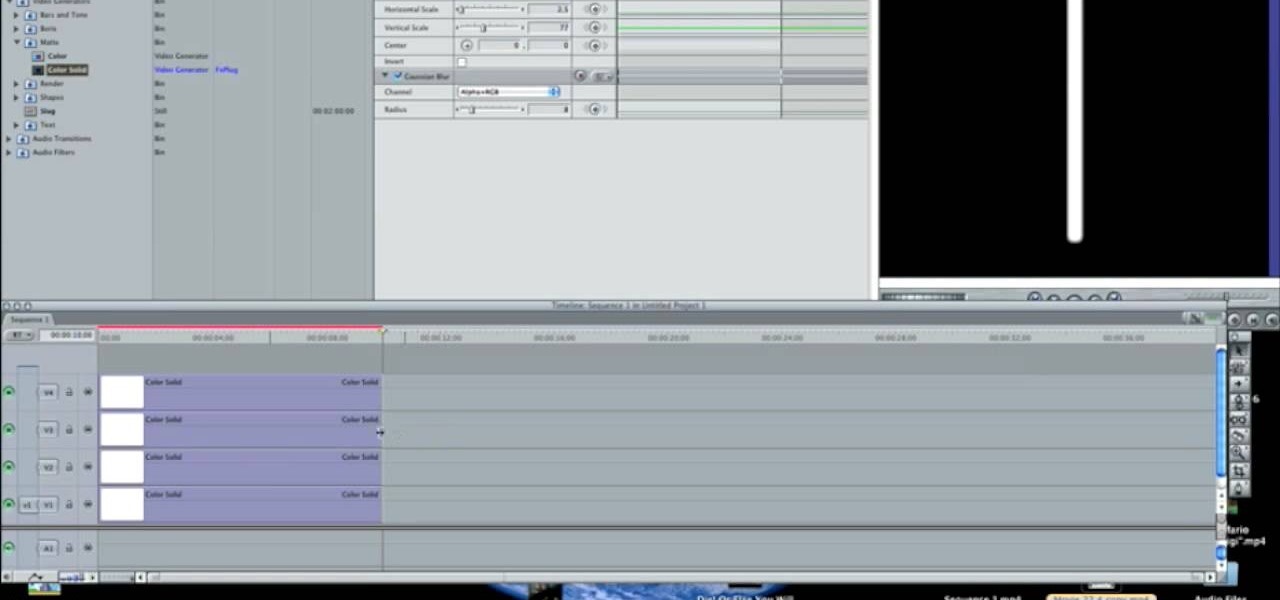
In this how-to video, you will learn how to make a light saber or similar image in the Final Cut Express program. First, go to the effects tab and go to video generators and select color solid. Drag this to the viewer. Go to the control tab and select the blue color. Now drag it to the time line. Double effect the color solid and go to mask shape. Select filters and change the effects settings to 2.5 horizontal scale. For the vertical scale, select 75 to 85. Go to the effects, video effects, ...

In this how-to video, you will learn how to censor your eyes using the software Fun Booth. First, click the left arrow on the program until you reach the section My Props. Click the plus sign and upload a black image. Place and reshape the image so that it fits your eyes. Now, click save prop. As you move your head, the black image will follow your eyes. Click file and press record if you want to make a movie using the censor bar. Viewing this video will teach you an easy way to make a censor...

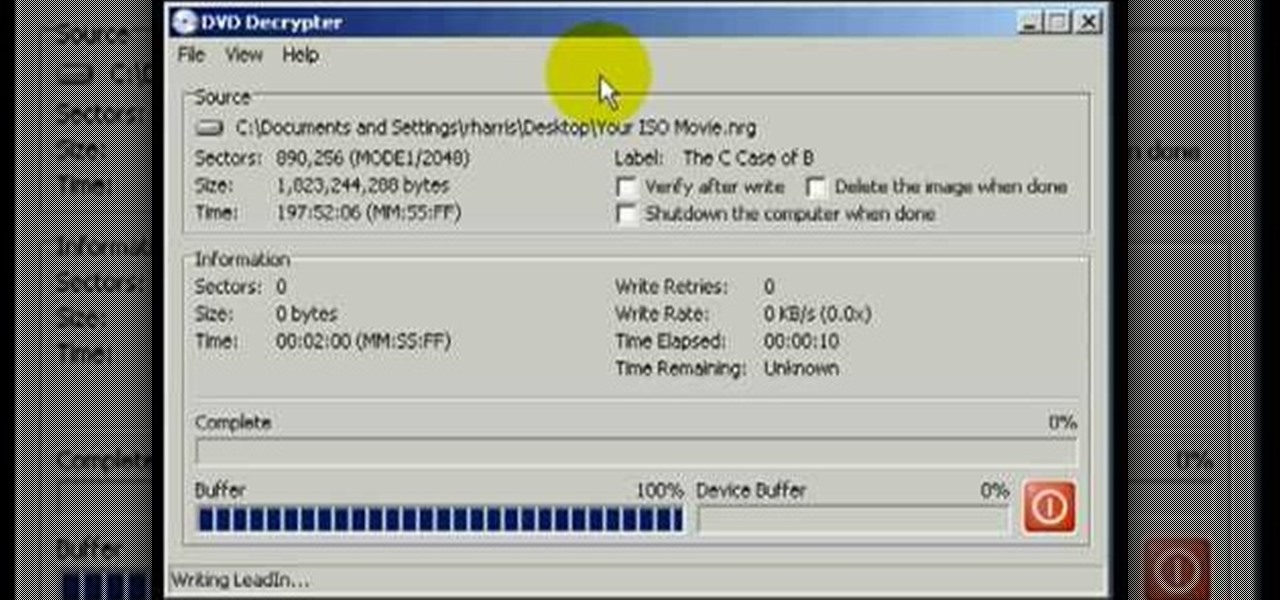
In this video tutorial, viewers learn how to burn ISO-format disc images to a DVD from Windows. Users will need to download the program, DVD Decrypter. Download it from this link: DVD Exact Copy/] and double-click the file to install it. Users will also need a blank DVD disc. Open the program, go to ISO and select Write. Now click on the folder icon to locate your ISO file. Now click on the disc image and wait for the decryption to finish. This video will benefit those viewers who have downlo...

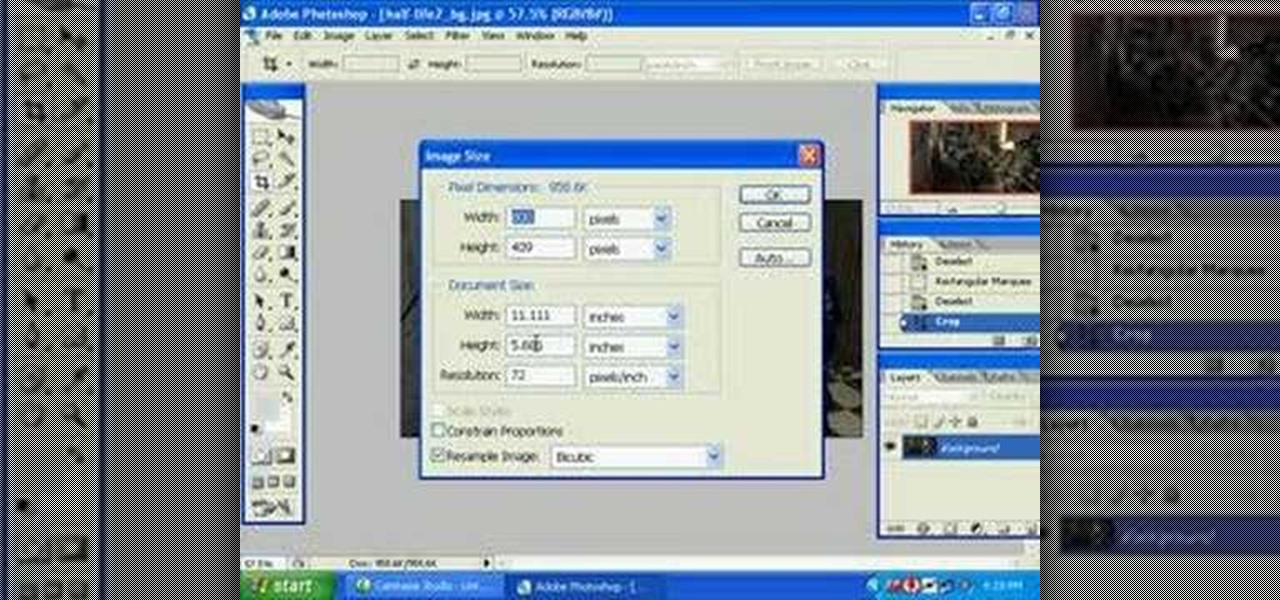
When using Adobe Photoshop being able to crop and resize an image is essential. This live demonstration shows you step by step directions for these useful functions. To crop, select a certain area and hit enter, everything not selected will be deleted. If you mess up you can undo. This is a great way to take a large picture and only use the parts you want to concentrate on. Video also shows how to resize picture using width and height or mega pixels. Gives tips on how to keep your picture fro...

In this two-part tutorial, learn how to use a stencil on a shirt to create a screen printing effect. Although this does not show you how to do real screenprinting, by using a stencil you will create the look of a screenprinted shirt and be able to transfer your image. Materials you will need include: A blank t-shirt, a high contrast image, acetate, Scotch tape, a sponge, a Sharpie, Exacto knife, some acrylic paint, and glue adhesive. Get your favorite image on a t-shirt you can wear with help...

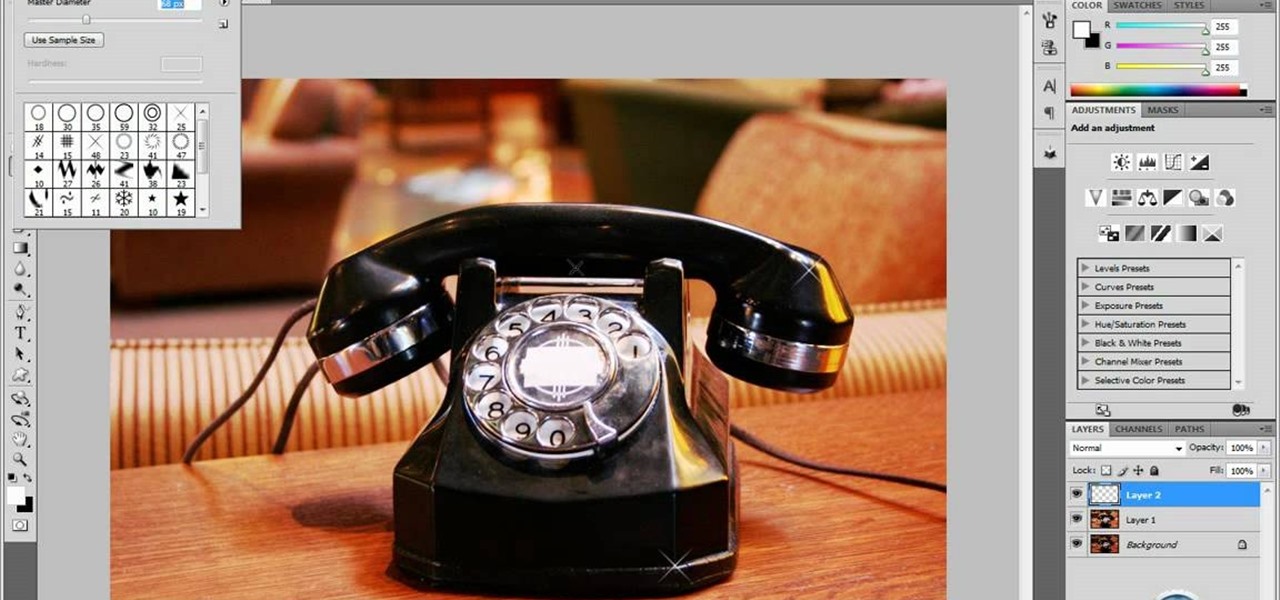
In this tutorial video, YouTube user "inteltuts" discusses ways to use Photoshop CS4 to help make better looking product pictures, as a way to attract costumers to your online products. Using a black telephone as an example, he first shows how the opacity, linear dodge, and brush tools can help make a product image look shiner, sleeker and brighter. He goes onto create what he calls "glints", which are subtle reflections and areas of sparkling light that he places across the image. Lastly, he...

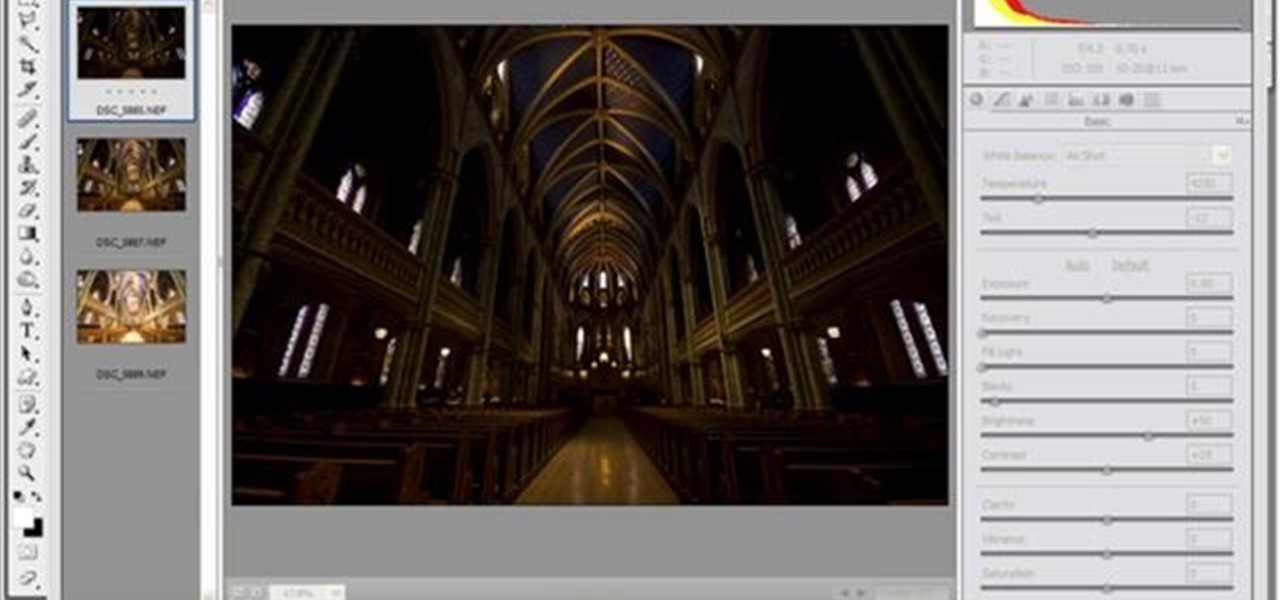
Yanick's Photo School demonstrates how to use Photoshop to make HDR images in Photoshop CS3. This tutorial first explains that HDR means "High Dynamic Range" which is a process to get details from a photo from both the highlights and shadows of a particular scene. The first thing that is necessary is to take multiple views of the same image with different exposures. To start off, you will take three exposures: one that is two stops down, one that is normal exposure, and one that is two stops ...

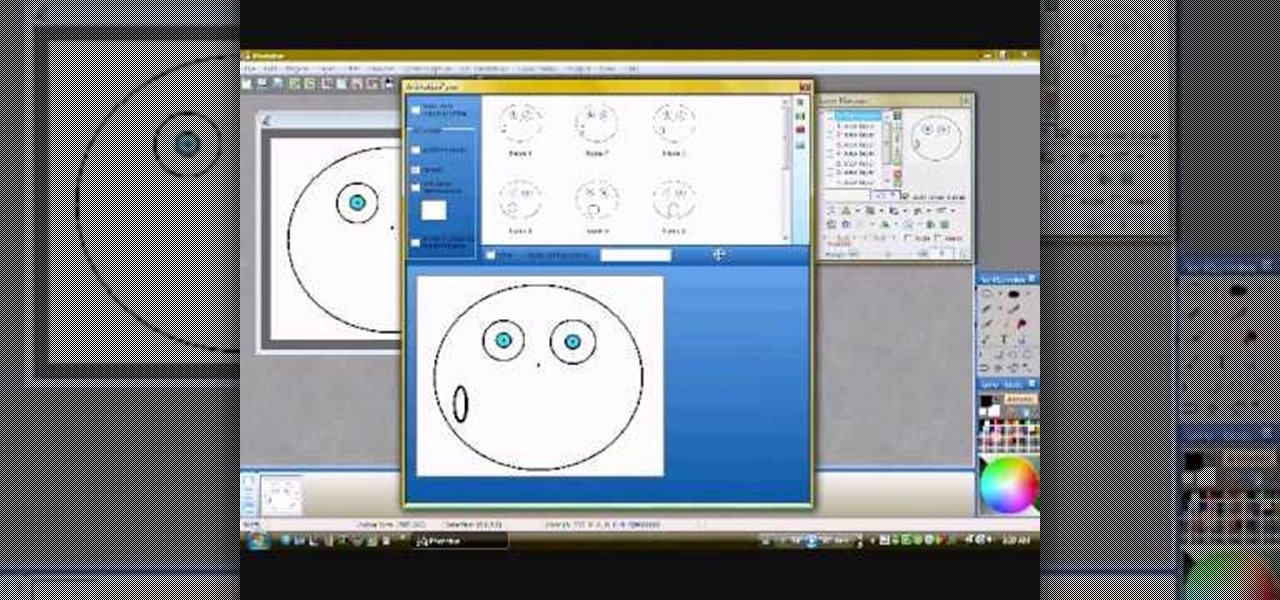
In this video you will learn how to make a GIF animation without Photoshop. This is by using a windows operating system program and its from a website which is provided. Go to your search engine then type in download. Then click on CNET, then type in Photobie and download the latest version. Once you've downloaded and have it open click on layer, then click import images as new layers on current photo panel. Then add your images and have them ordered as you want them. Then click on the top on...

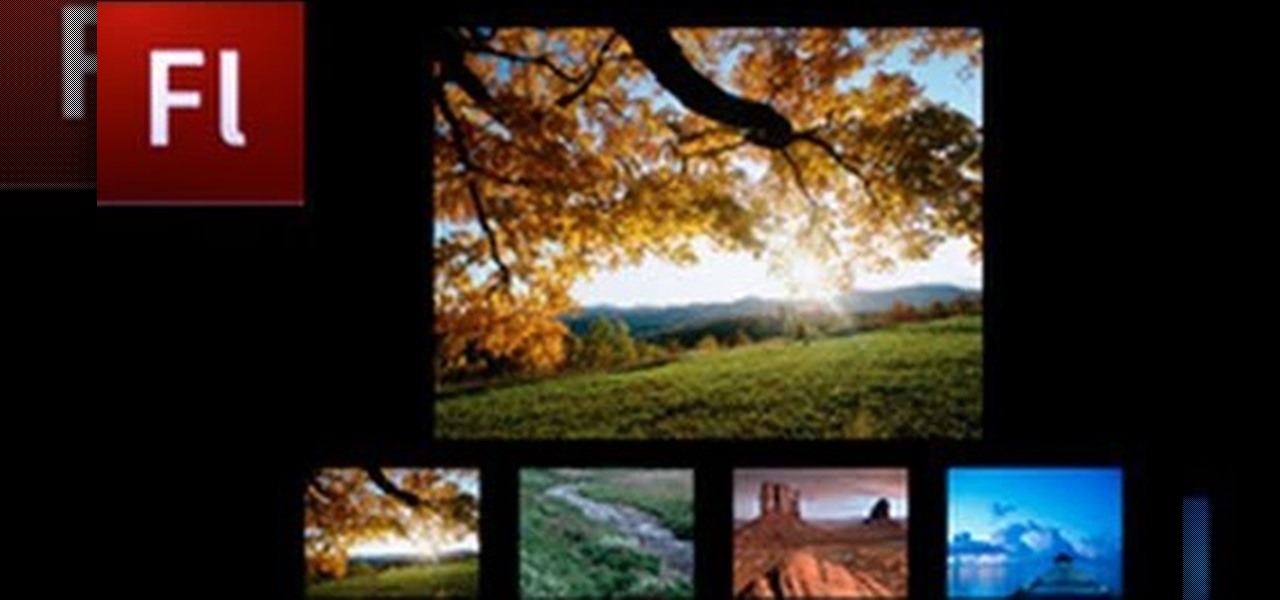
Do you have Adobe Flash CS3 downloaded on your PC and have no idea how to use it or what to use it for? Well in this video tutorial, witness as you will learn how to create a simple image gallery with transitions in Flash CS3. Enjoy!

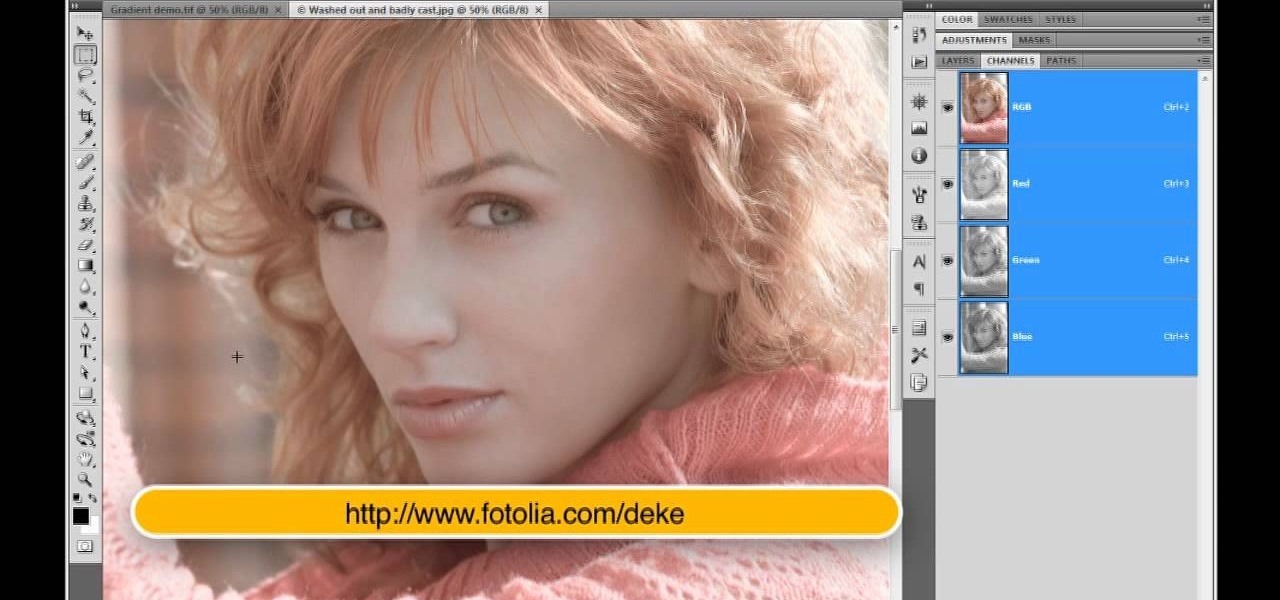
Deke McClelland explains what the Levels and Histogram commands can do in Photoshop in this video tutorial. Levels allows you to adjust the luminance levels allowing you to adjust the contrast and colors within each color channel of an image. Thus, Levels allows you to adjust the individual colors that can be found within a gradient. This command is very similar to the curves command but to a less powerful extent. It is also more efficient than the curves command. The Histogram is another col...

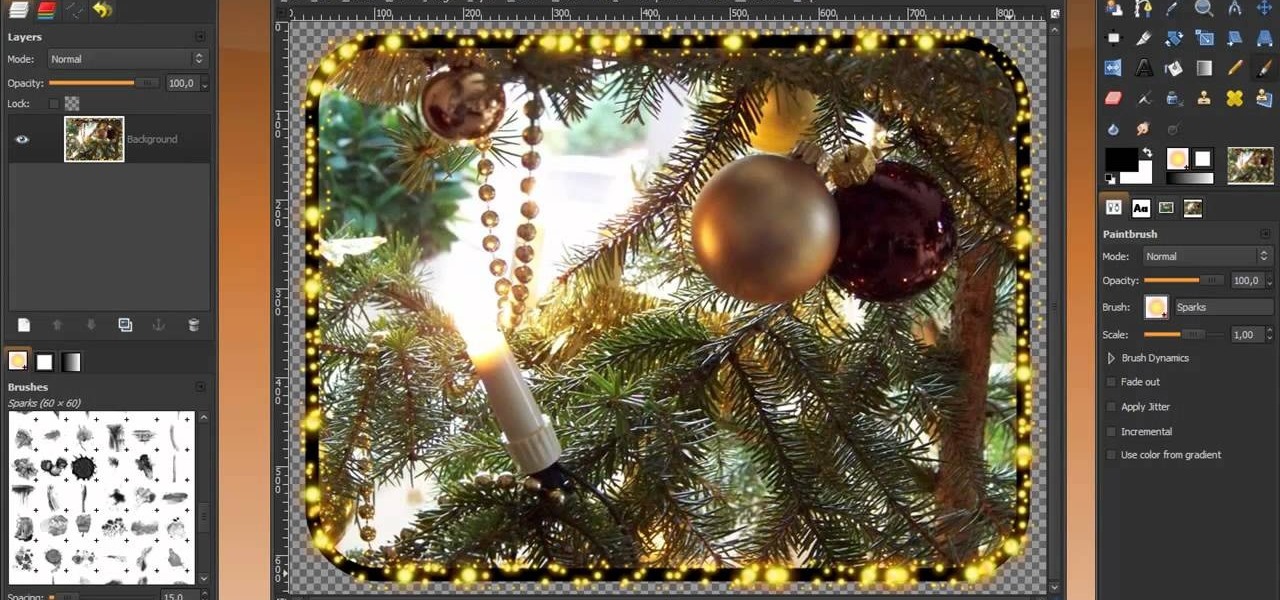
Learn how to make a fancy border in GIMP with this GIMP tricks video tutorial. This border can be used to frame images for YouTube videos or other things. Take your image, and go to Image and Canvas Size. The size should be made larger to allow room for your border and then click Center. On Layers, select All Layers. Then, click Resize. This allows you to make room for your Layer. On the far left side, right click on your layer and select Alpha to Selection. Go to Select, To Path, Select, and...

Adobe Photoshop CS4 lets you create images and graphics that represent your personality. This video tutorial demonstrates how to make a quick, cool, and easy wallpaper design for your personal computer desktop. Either copy the provided example, or make your own tweaks and come up with a cool custom design.

Terri Sproul shows how to use a really cool technique to make an embellishment for a card. You first need to find a roll of aluminum that is self adhesive. Work on the back of the aluminum, the side with the adhesive. Use a stamp to lay out your design on the back, by stamping the image on the back. Then you must trace the outside of the image. Use alcohol inks to add color to the aluminum. Then she cuts the image out with her scissors. Then she uses a glue dot to place the piece on a card sh...

This video shows three ways to change the color of an object in Photoshop. The first method is of hue and saturation. Go to 'Image' & 'Adjustments' and choose 'Hue/Saturation' or press Ctrl+U as shortcut. Go to Edit and choose the color you want to change. As you select the color, a grey bar appears in between the rainbow bars at the bottom representing the color you want to change and the feathering which it will cause. You can change it by sliding it outwards. Slide the 'Hue' slider to chan...

This video shows the way to work with 3D in After Effects. The video basically teaches three things. Firstly, it teaches the way to change the anchor point of the image. This is done by pressing the PAN Behind Tool icon. This changes the anchor point to the desired location. Secondly, the method to change the view is taught. This is done by clicking on the camera tools and selecting the XY Camera Tool or Z Camera Tool. This changes the view of the given image. Thirdly, the video teaches to ha...

YOUTUBE A gentleman describes how to convert your flat screen TV into a piece of art. Using his Sanyo flat screen hanging on the wall, he demonstrates how entering a DVD into the built-in DVD player using a Detour brand DVD can improve the overall look of the room. The DVD plays the program "Wall Flowers", a high quality image without sound, that constantly changes in patterns and images. He then closes by showing how the TV images can add to the decor of a room. After watching this video, yo...

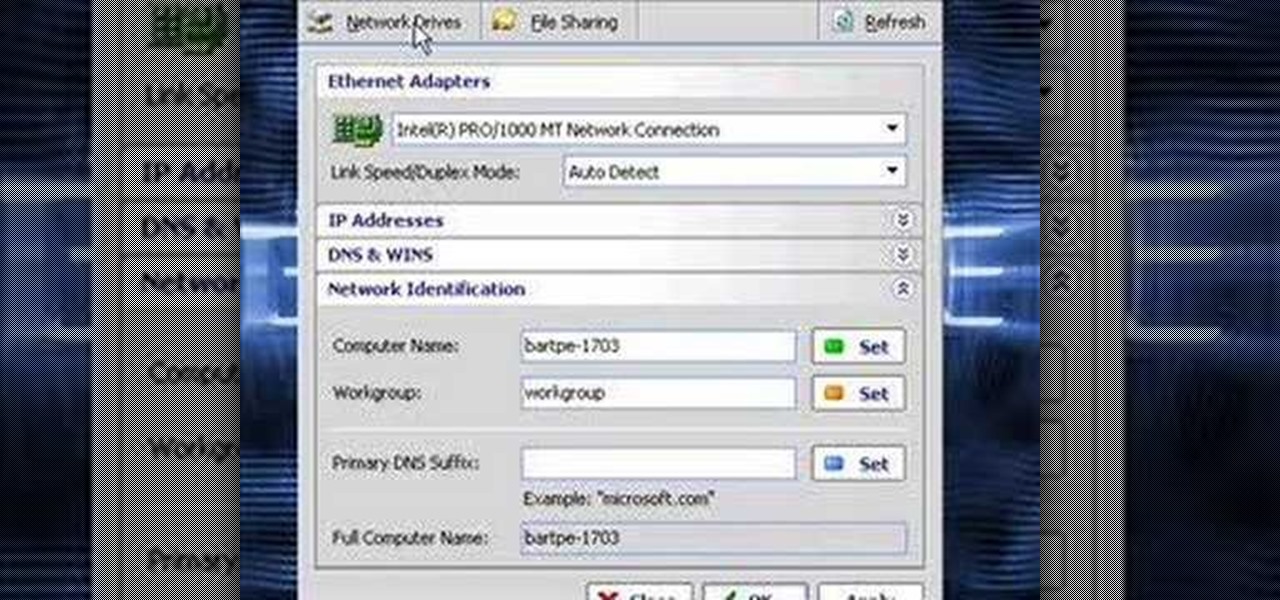
In this video the instructor shows how to clone computers across the Local Area Network using BartPE and Selfimage. To do this first we will have an original computer. Now create the image of the hard drive of the computer and share it on the network drive. Now, using that image from the shared folder you can start the clones of other computers by overriding their hard drive using this image of the main hard drive. Using this technique you can clone multiple computers which are the exact dupl...

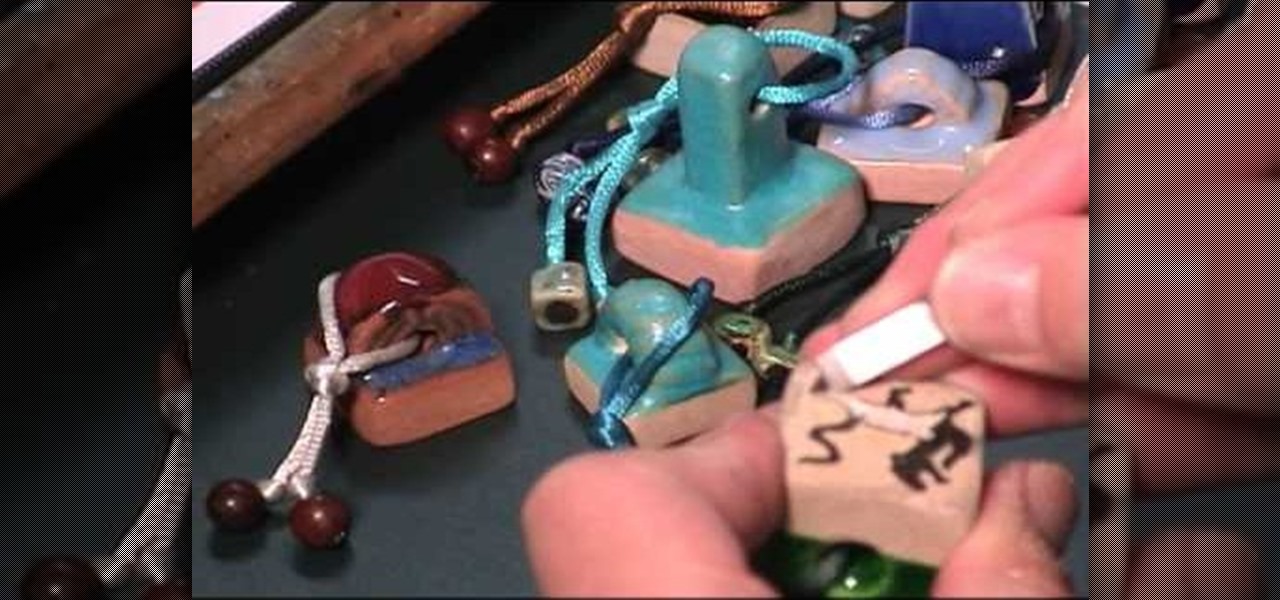
Henry Li from Blue Heron Arts shows how to carve a tiger design stamp onto a pottery seal for use with Chinese seal engraving. This technique shows how a pottery seal can be made without having to use a kiln. You will need a pen, pencil, marker, charcoal, knives, and soapstone. The first thing that needs to be done is to create a design. In this tutorial, Li uses a Hahn Dynasty tiger design, which must be flipped by using the computer. The charcoal is then used to duplicate the image onto the...

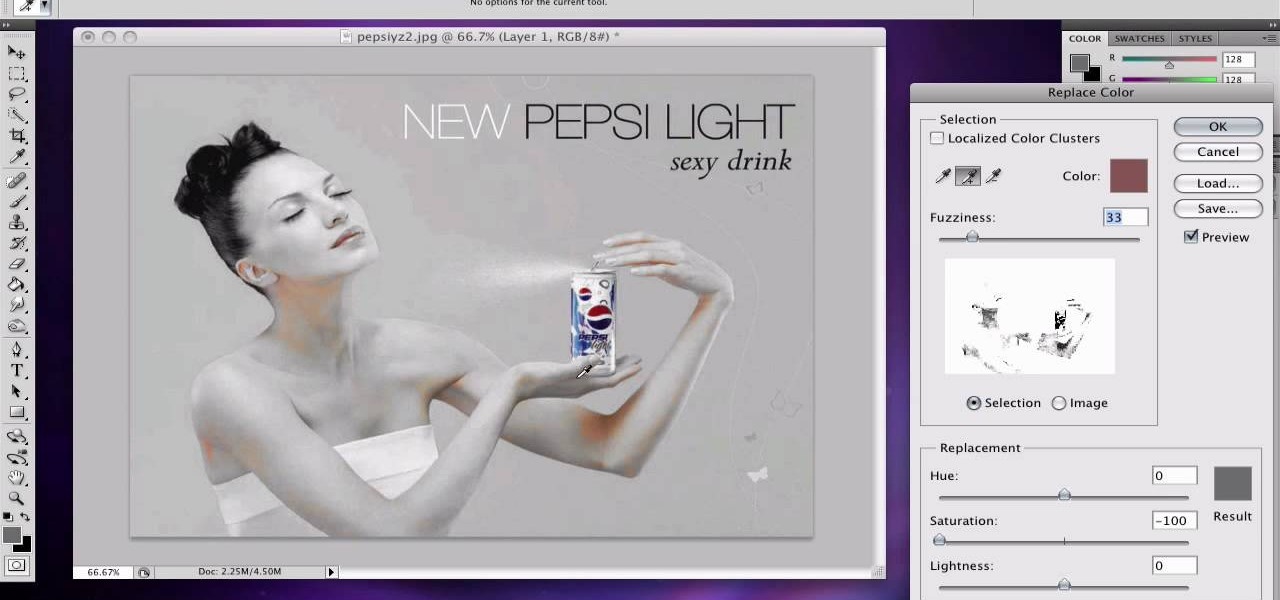
If you want to learn how to do selective desaturation in Photoshop CS4, you should watch this video. Go to File and choose Open. Open the file you want. Go to Image, select Adjustments, and then Replace Color. Select the second droplet or the droplet with a plus sign. Increase Fuzziness, say 106 but you need to decrease Saturation. Set Saturation to -100. Click on the image except for the selected part that you want to have a color. Decrease Fuzziness to know the parts that you need to click ...

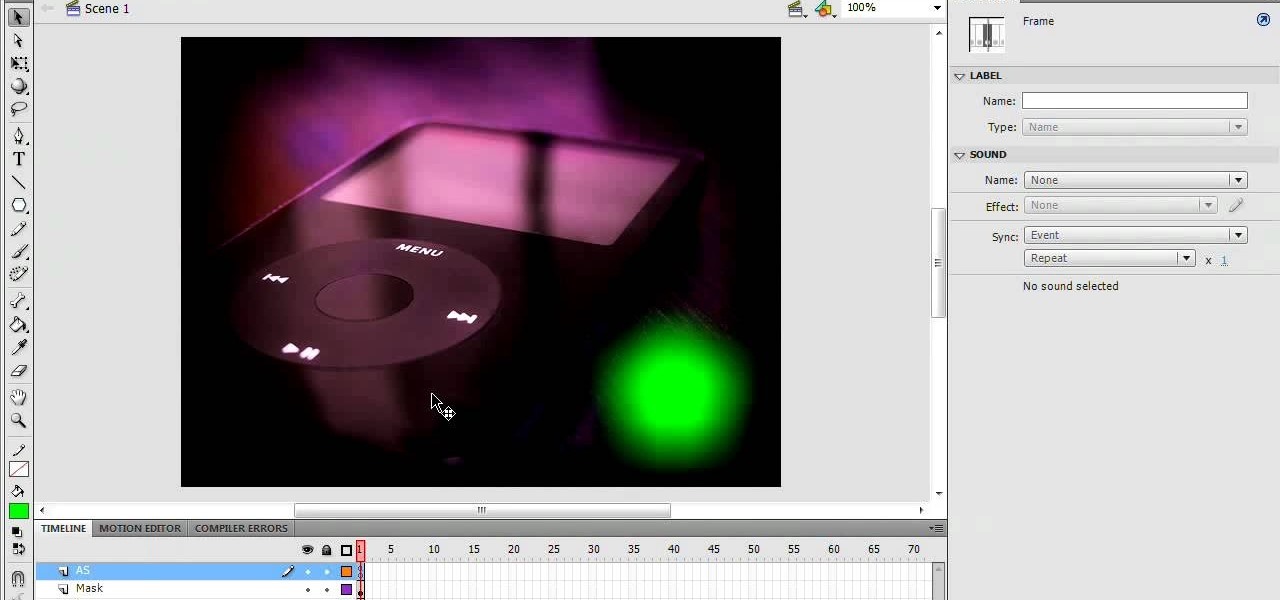
1. In the Flash Application go to new and select Flash File ActionScript 3.0. 2. Change the stage size to 600*450(width and height) in the property section. 3. Then goto file import image and select the background image. 4. Rename the layer1 to image and go to modify->convert to symbol and name that as mac-clip 5. Create two new layers namely Mask and As. 6. In the Mask layer draw a poly star image and convert it to movie clip symbol 7. Select As layer go to windows-> action, then add the eve...

Watch this video to learn how to make a little planet effect in Photoshop. Go to Image>Image Size and resize the picture making the width and height equal . Don't forget to unmark the "Constrain Proportions" option. Now that you have a squared photo go to Image>Rotate Canvas>180. Go to Filter>Distort>Polar Coordinates and select the option "Rectangular to Polar". Now rotate as you want to and remove any failures.After you select the picture, make sure the sides are alike and that the horizont...

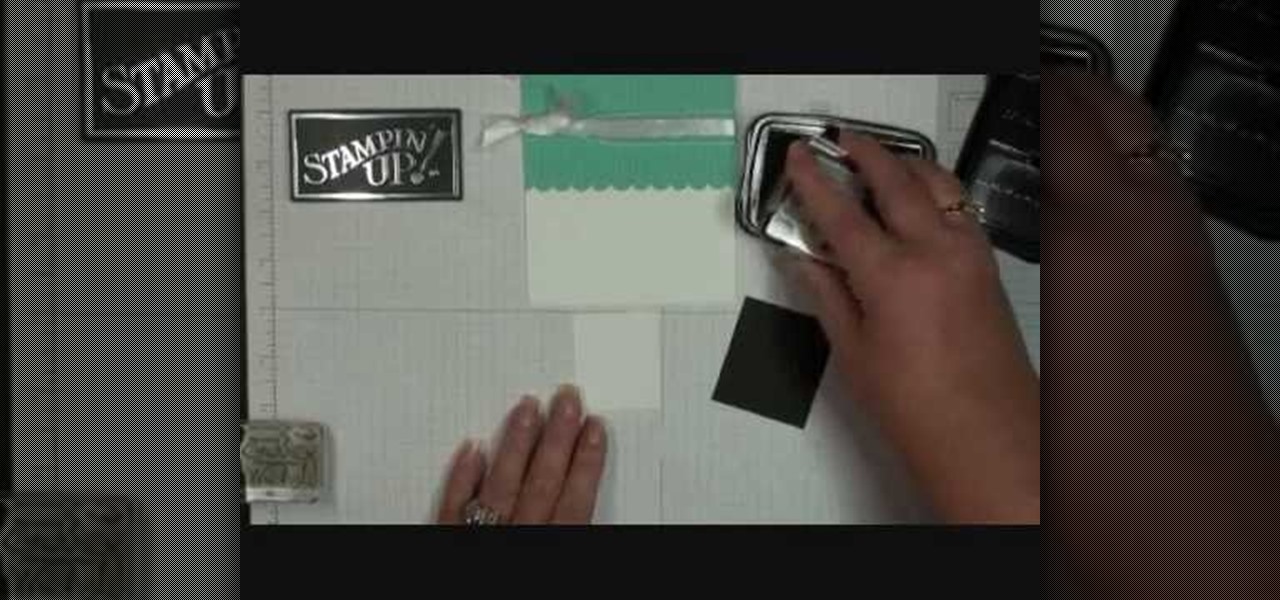
Demonstrator Dawn Griffith offers a short tutorial on how to make a simple and cute birthday card. First you will use white paper to make your base card. Then use a scallop edge punch to scallop some green designer paper, which you will glue to the top of your card. Tie some white ribbon around the top and trim for a clean look. Use a greeting stamp to stamp a message onto the bottom right front of your card. Create a center image by adhering white paper on black card stock, stamp the white p...

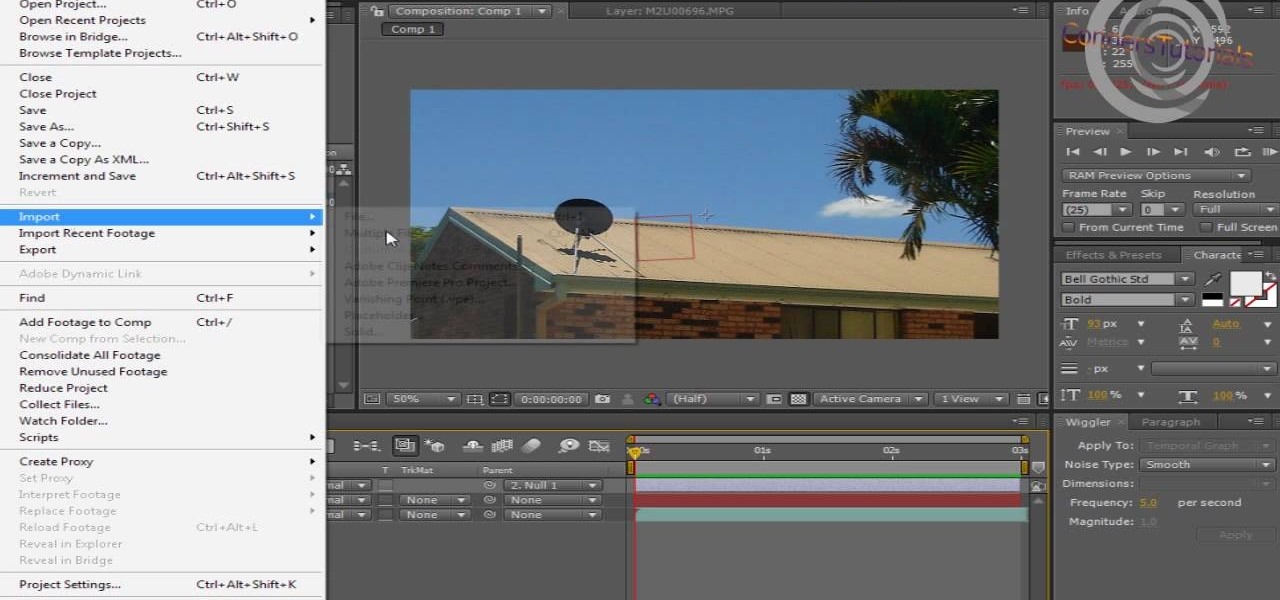
In this video, viewers learn how to add realistic camera movement to a still image using Adobe After Effects CS4. Adobe After Effects is a digital motion graphics and compositing software. This tutorial will go over how to add realistic camera movement to a still image or photo and make it seem that it is an actually video. This tutorial will also teach viewers about motion tracking and basic chroma keying. This video will benefit viewers who enjoy producing videos and creating special effects.

Here is another cool photo manipulation you can do using Photoshop CS3. You can take a normal photo you’ve taken and really make it look unique by giving it harder edges and some more texture to the shot. Mix up your photos with this effect.


