
How To: Produce web-ready images using Photoshop
This tutorial shows you how to crop and resize images in Photoshop so they can be used on the internet.


This tutorial shows you how to crop and resize images in Photoshop so they can be used on the internet.
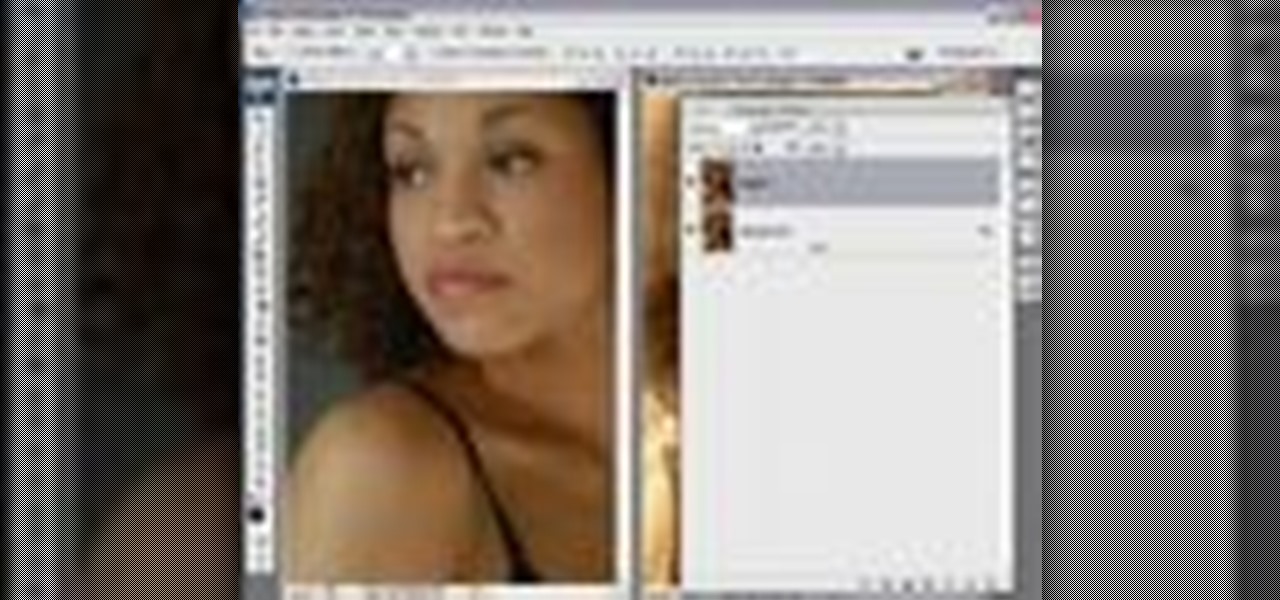
Photoshop Mama shows you how to use the Match Color command in Photoshop to match the color temperature from one image to another.

Photoshop Mama continues editing an image to remove, replace, and blend different elements of the image using more super tools in Photoshop!
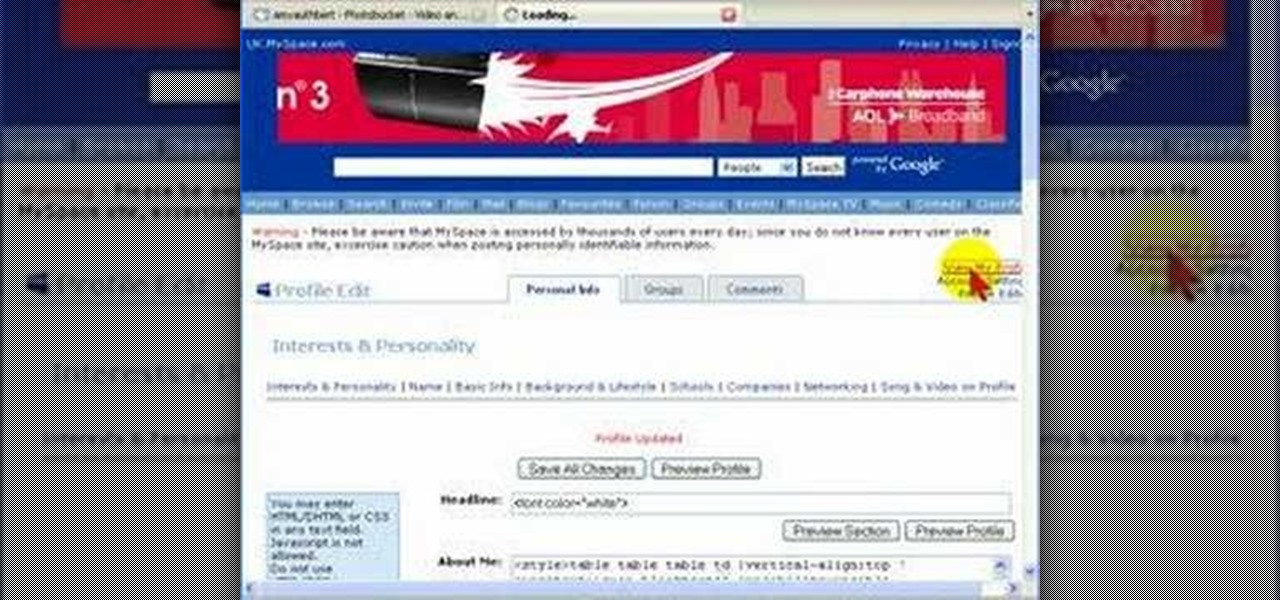
Uploading photos to Photobucket and embedding an image onto your Myspace profile.

This Photoshop tutorial shows you how to brighten an image using levels and brightness/contrast.
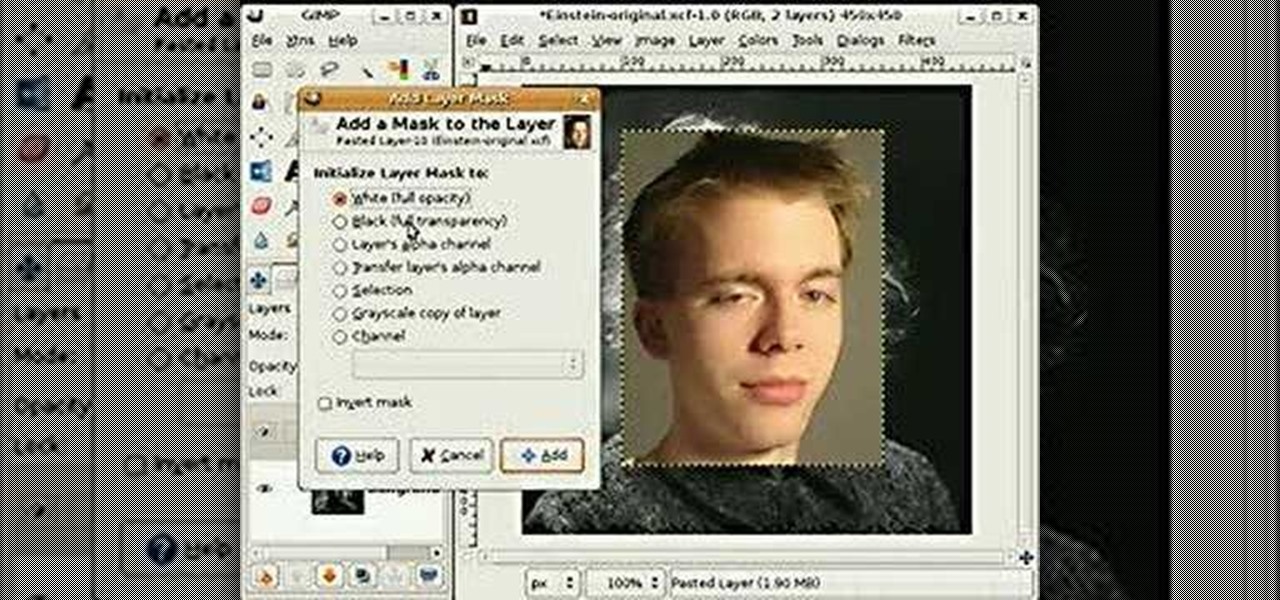
This video shows how to use some basic image editing techniques to replace the face in an image with another face.

Learn how to instantly change the colors of objects in images using Adobe Photoshop.
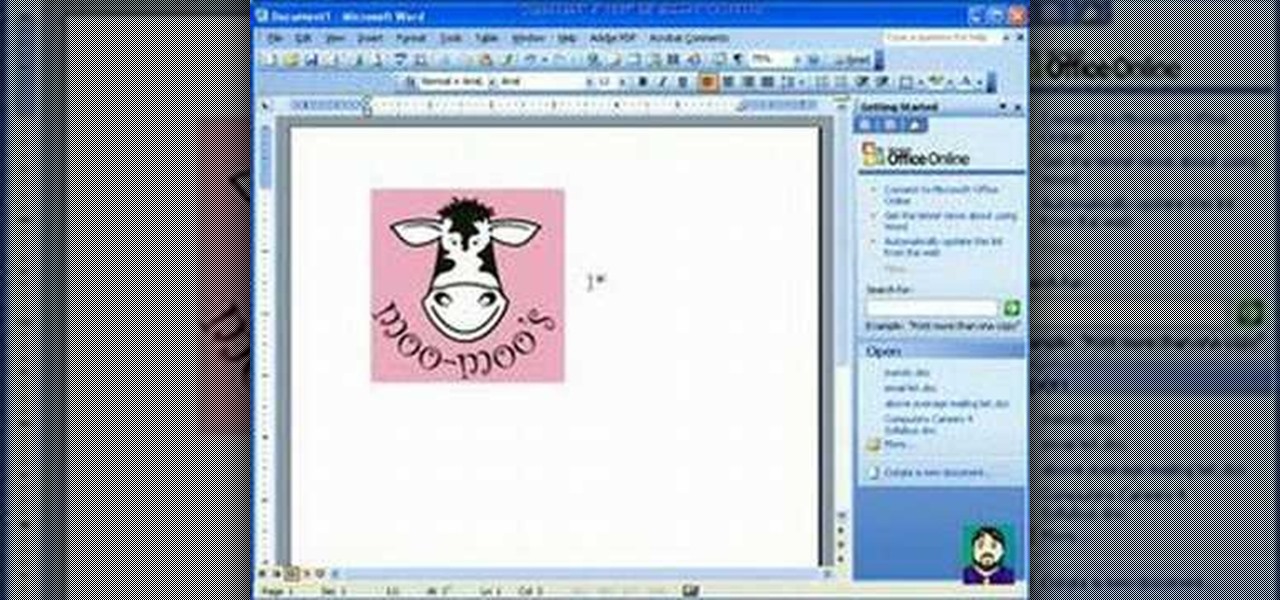
How to format Microsoft Word documents that contain picture or clip art and how to import images into Word documents and capture images from your PC screen.
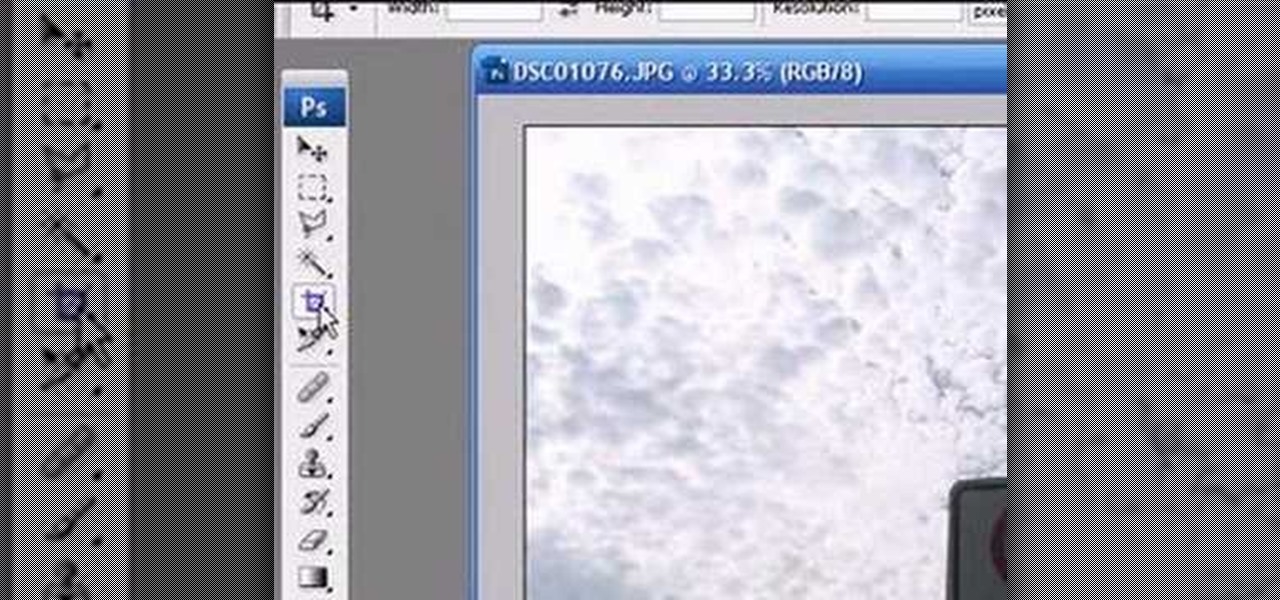
How to do Perspective Cropping in Photoshop to change the angle and perspective of an image or part of an image.
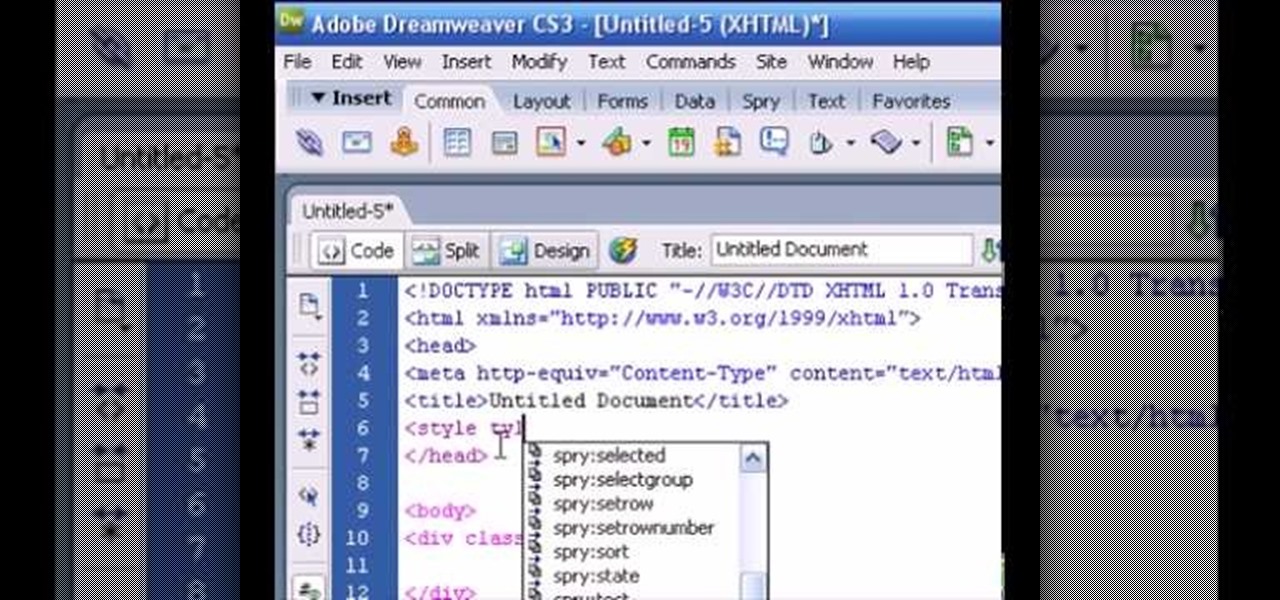
This tutorial demonstates how to use Adobe Fireworks and Dreamweaver to create rollover images.

This is a tutorial for Photoshop beginners and demonstrates resizing an image.
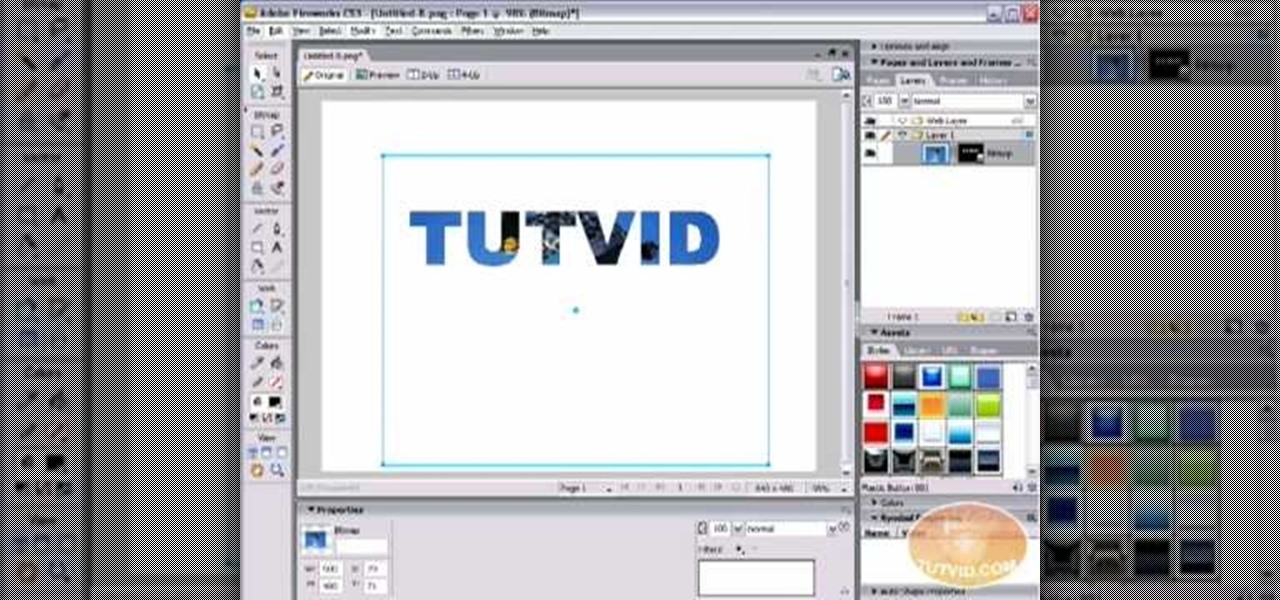
In the following tutorial you will create an image inside of text effect and learn how to use text as a mask for both vector and bitmap graphics in several different ways.
This Israel Hyman's video demonstrates how using lines can create a more interesting image. This technique is an easy one to learn, and it’s one you can immediately use whether you’re shooting home or formal video. The principles of cinematography are universal.

Digital video image often lacks the tonality of a film image, but there are ways to make videos look more like film. Israel Hyman will show you how in this tutorial.

Painting a color on an image might be a painstaking task for a Photoshop beginner. The good news is you don't have to rely on the brush tool to do the job. In this video tutorial you will learn to replace one color with another using the Replace Color dialogue within Photoshop.

In this video tutorial you will learn to create the Sin City effect where one portion of the image is in color while the rest is in black and white. Learn how to use layer masks to do the job. You could have as many layer masks as you want as you add in more colors to your images.
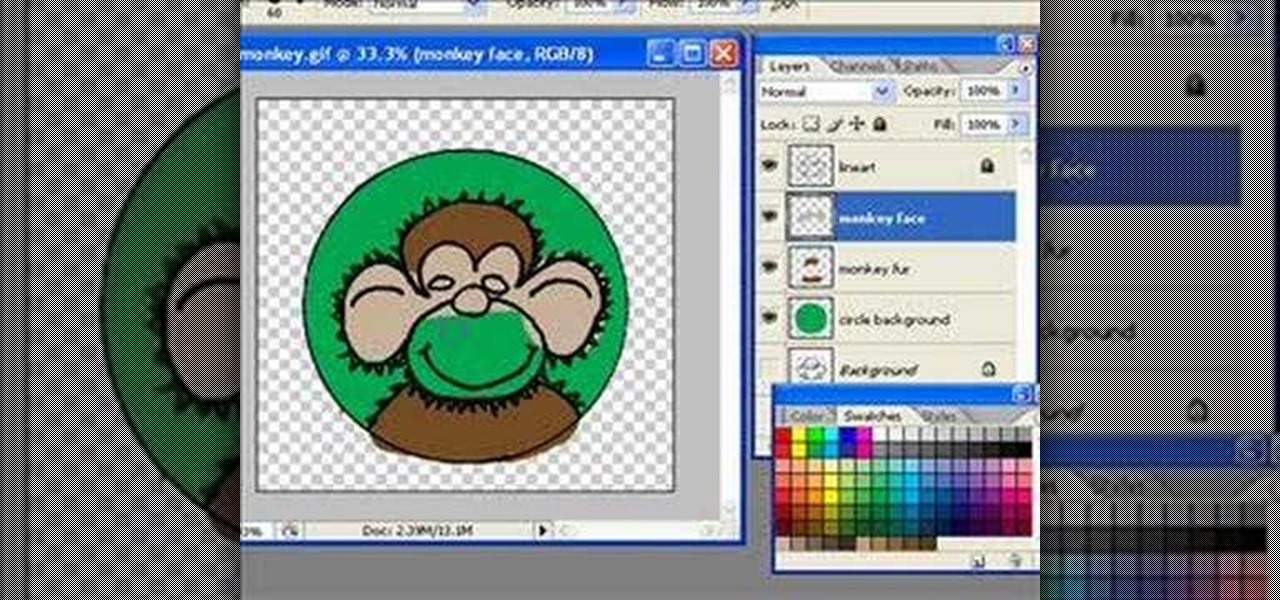
In this video tutorial you will learn to to colorize line art images using Photoshop. Learn to use the magic wand selection tool to make the selection you want. This example involves painting a monkey character.
In Keynote '08 a slide is a freeform graphics canvas that allows you to control the layout of your objects. In this tutorial you will learn how to create shapes and mask images in conjunction with your slides.

It's been called the "Sin City" effect, and a myriad of other names, but really all you're doing is adding selected color to black and white photos or comic-type images. See how Bert suggests achieving this effect in his tutorial.
Every time you place an image in InDesign, chances are you have to execute a fitting command to make it fit in the frame or area that you specified. In this video of the Creative Suite Podcast Terry White will show you ways to do it most efficiently. You’ll also see how to better integrate the Bridge into your workflow.

Sometimes you need to print a perfect 5x7" or 8x10" photo that will go into a frame with correct aspect ratios. Or maybe you need to make an image for a video that will be just the right size for DV. Photoshop has a variety of ways to accomplish this task, and in this video Terry White will show you some of the easiest ways.

You can learn how to draw an image on open canvas. In this video, a man's face is drawn and the artist begins by drawing a large circle which becomes the head. The original sketch is in black and white, but then the background becomes red.
Having cool photos as your desktop can make your computer a welcome sight, but having to find a fresh one every so often can get pretty stale fast. Thankfully, freeware utility Flickr Wallpaper Rotator for Windows PC's can import images for your desktop from Flickr automatically at intervals you set. You can even set it to use photos from a Flickr search or show favorites from a specific user.
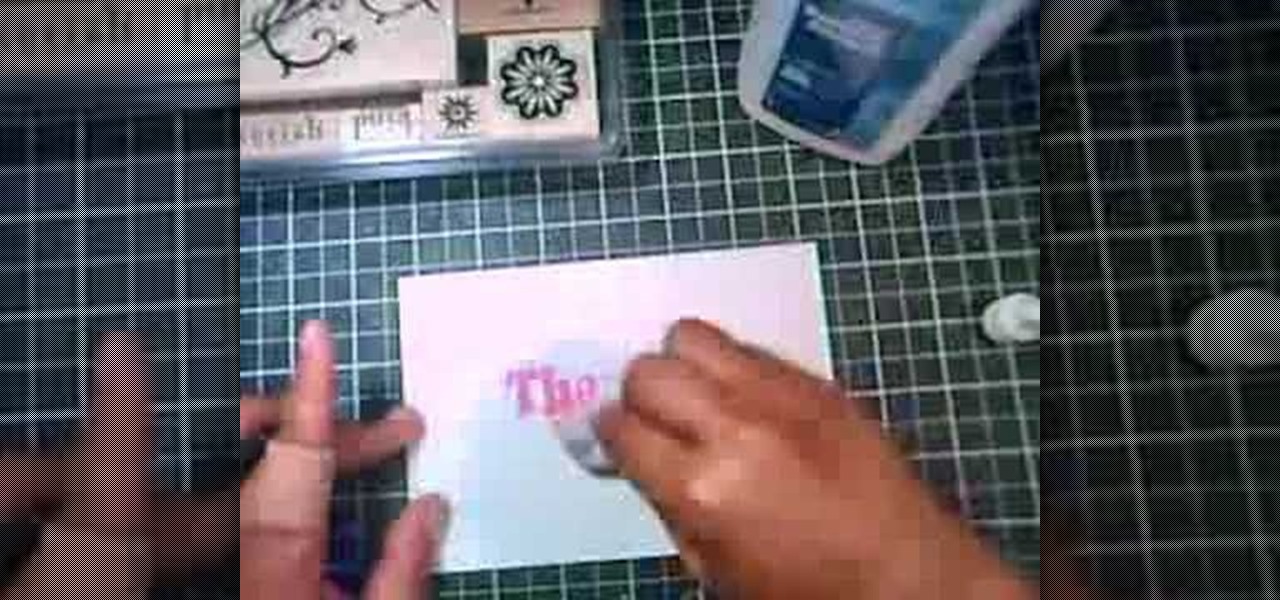
In this tutorial, we learn how to create a marble effect for paper design. You will need: rubbing alcohol, ink, stamps, and a cotton ball to get this effect. To start, you will Need to first dip the cotton ball in some rubbing alcohol and then add it to the ink. Dab this onto the paper all over. From here, you will color your stamps with dye ink and stamp it over the paper where you made the marbled effect. When finished, you will have a cute image over the marble design and then you can add ...
Google is the biggest and best search engine on Earth, and if you are a webmaster and want your website to be a big success it would really behoove you to know as much about how it works as possible. The Google Webmasters series of videos and website were created to teach webmasters, SEO professionals, and others how Google works by answering their questions and giving them insights into how they can best integrate and utilize Google's functionality to improve their business. This video will ...
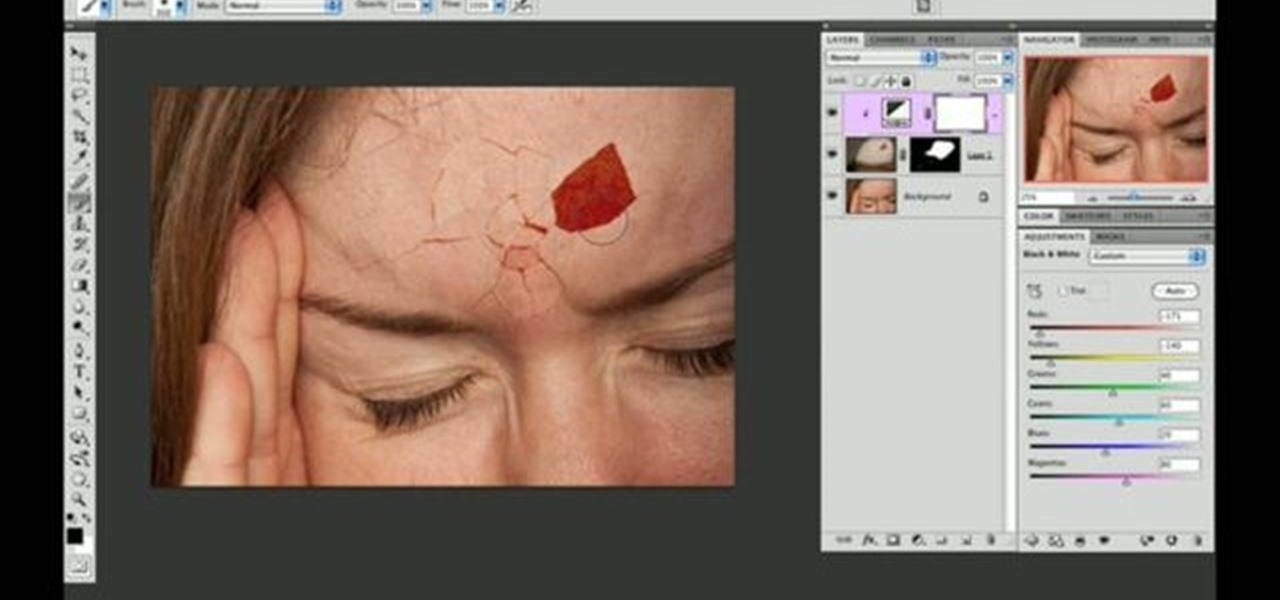
Use two photos, a main image and a photo of a cracked egg which will be your source of the headache. Drag the egg into the main image by holding down the shift key. Resize the egg. Change the opacity down to 50%. Zoom out. Command T flips the image. Hold option and right click. Position the image. Add layer mask icon. Bring back to 100%. Brush. Go to color palate and make sure black paint is on. Paint away all, but the cracked part of the egg. Add the black and white layer, only the egg porti...
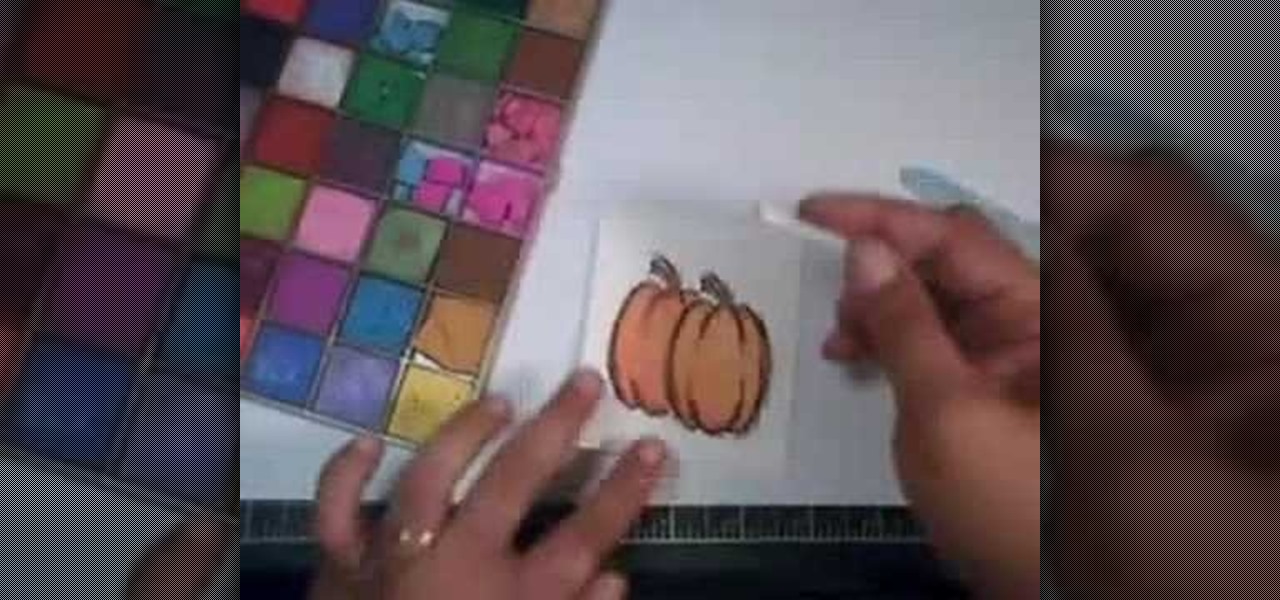
In order to create a watercolor effect with Stampin' Up markers, you will need the following: Stampin' Up markers, Stampin' Up pastels, stamps, color spritzer tool, a water resistant ink, cotton swabs, a blow dryer, aqua painter brush, and watercolor paper.
Learn how to use a little bit of Photoshop and little bit of Imageready to add video to a normal graphic file. This is great for all sorts of things like video signatures and short video clips for your site!Whether you're new to Adobe's popular image editing software or simply looking to pick up a few new tips and tricks, you're sure to benefit from this free video tutorial from TutVids. For more information, including step-by-step instructions on how to add video to image files with Photosho...
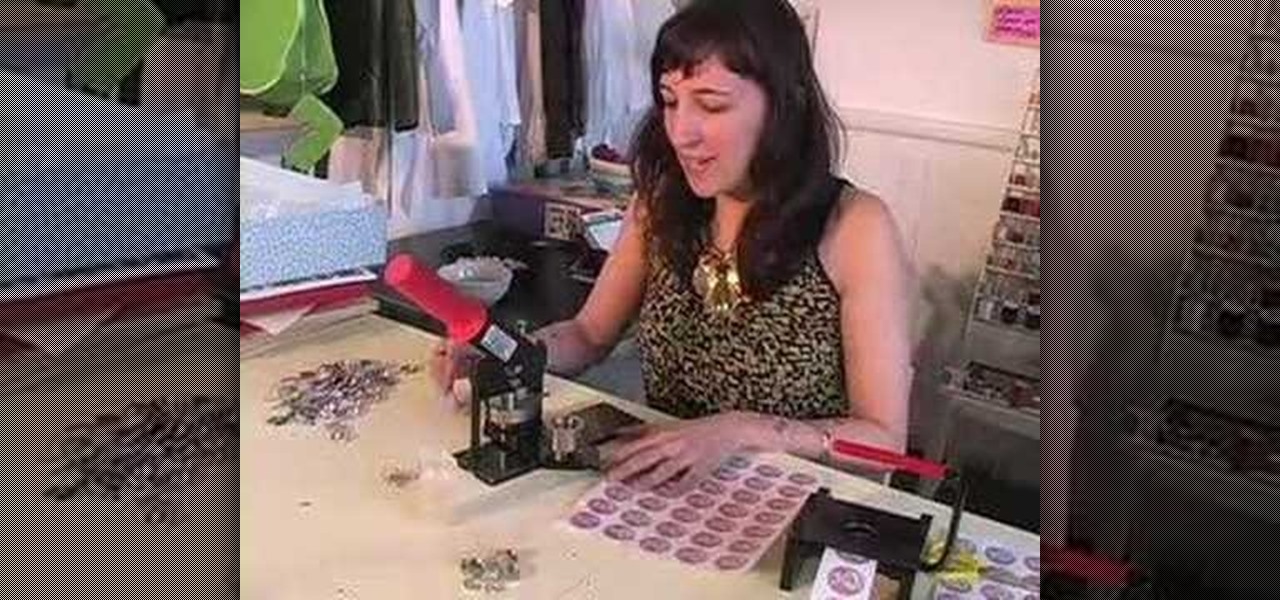
In this how-to video, you will learn how to make a pin back button. First, you will need a button and cloth. Download the sheet of buttons you want to use. Cut out each button, or use a punch. Now, take the image to the button pressing machine. Place the silver part in first, followed by the image. Lastly, place the plastic outer layer on top. Once these are set, place the ring on the other side. Press down for the first step and then rotate and press down for the second. Now your pin back bu...
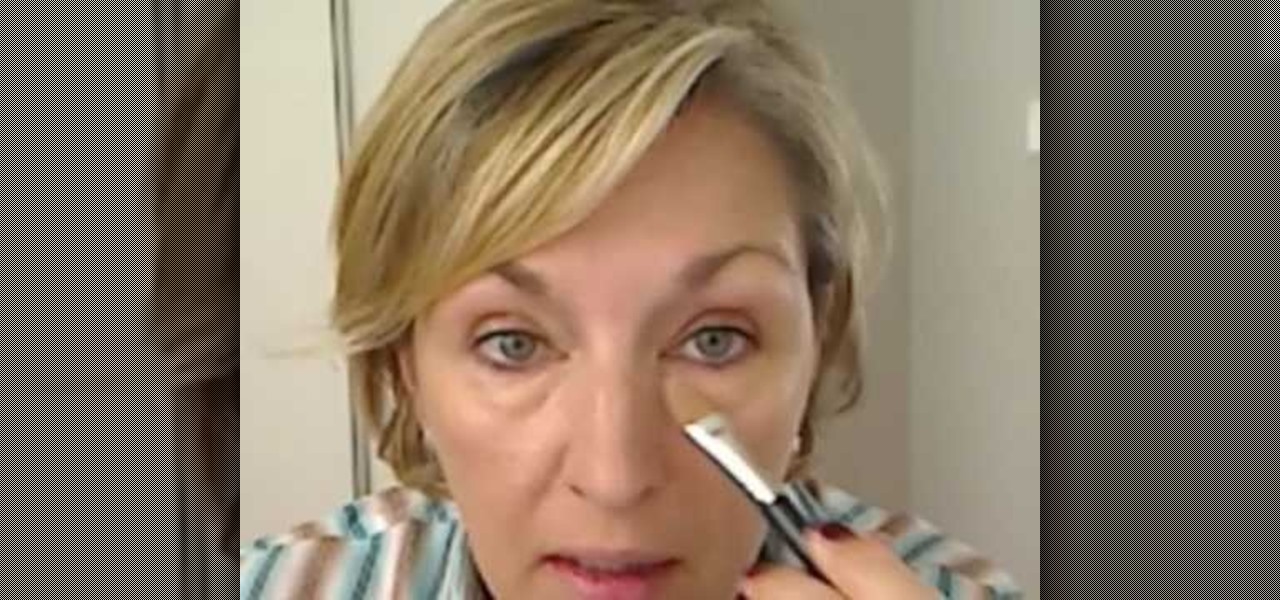
Image consultant, Sara Connolly shows you how do look good when asking for that promotion or at that meeting. In order to become successful you need to look like you already ARE successful so have a go at this serious boardroom look. Immaculate make-up is part of your professional image and you need to look confident and powerful but who has time for that in the morning. This 10 minute routine will have you looking the part in no time, perfect for the mature lady.
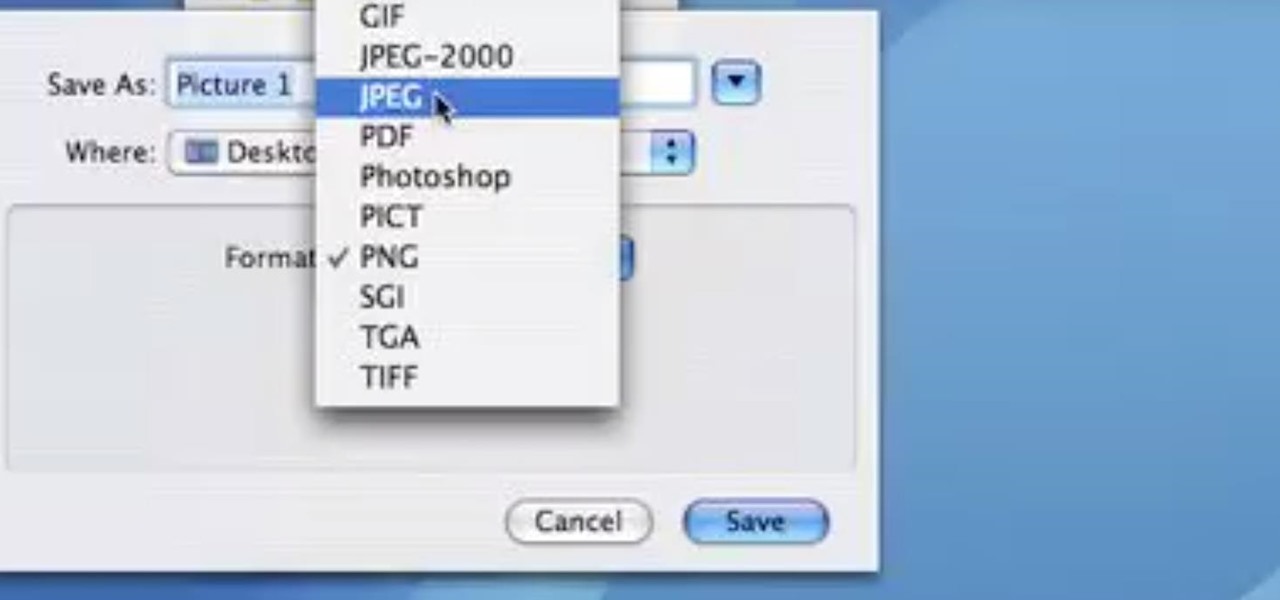
This video demonstrates how easy it is to take a screenshot with shortcuts in Mac OS X. Pressing Command-Shift-3 will take a screenshot of the entire screen, while Command-Shift-4 will let you take a screenshot of just a selected area of the screen instead. For the latter, once you use the shortcut, your mouse pointer will turn into crosshairs, and you would click on one point of the screen, then drag and release your mouse to take a capture of the selected area.
Systm is the Do It Yourself show designed for the common geek who wants to quickly and easily learn how to dive into the latest and hottest tech projects. We will help you avoid pitfalls and get your project up and running fast.
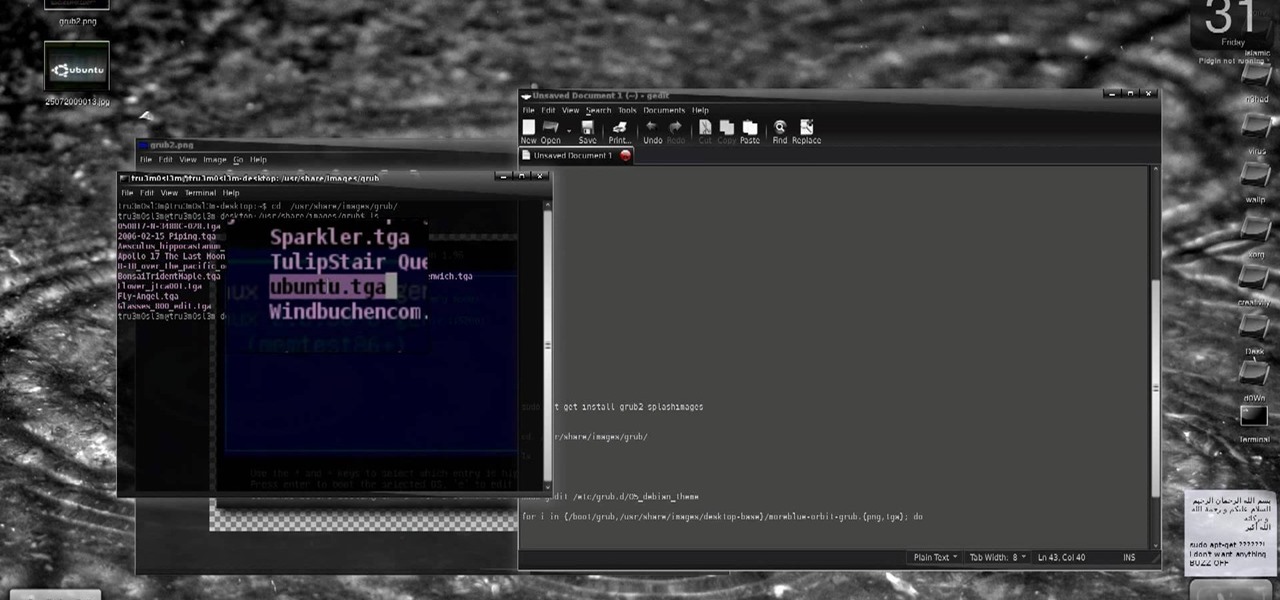
New to Ubuntu Linux? This computer operating system could be a bit tricky for beginners, but fret not, help is here. Check out this video tutorial on how to install GRUB 2 and apply themes on Ubuntu Linux.

Check out this informative video tutorial from Apple on how to add images to documents in Pages '09.
Check out this informative video tutorial from Apple on how to use tables, color, images and fonts in Numbers '09.
Check out this informative video tutorial from Apple on how to crop and compose images using the mask tool in Keynote '09.

In this how to video, you will learn how to add tattoos to a body part using Adobe Photoshop. First, open both of the images in Photoshop. Next, copy and paste the tattoo image into the body image. From here, lower the opacity of the tattoo so that the white becomes invisible. Increase the opacity of the black area of the tattoo. Next, place the tattoo to where you want it to appear on the body. Once this is done, take the eraser tool and erase the areas where the tattoo is not overlapping th...

In this Software video tutorial you will learn how to mount an image using Daemon Tools Lite. This software takes many different types files and puts them on a virtual DVD drive. Go to www.daemon-tools.cc and download the Daemon Tools Lite program. You then install it. After that double click on the icon on your desktop and it will appear on the bottom right hand corner of the screen. It will say Daemon Tools and the version. Right click > virtual Cd/DVD ROM. To mount an image, click on ‘mo...
Looking to make your Xbox your own? Check out this tutorial for details on how to create your own custom designed faceplate and make a statement.

In this video the instructor shows how to hide any kind of file in a .Jpeg image file. To do this take the image in a new folder. Go to start button and then to run. Type cmd in the run and hit enter to open the command prompt. Now browse to the directory that contains the picture and also the file that you want to store using the CD command. Type the command to create our required file as shown in the video. Now a new file will be created that contains your image as well as the file that you...