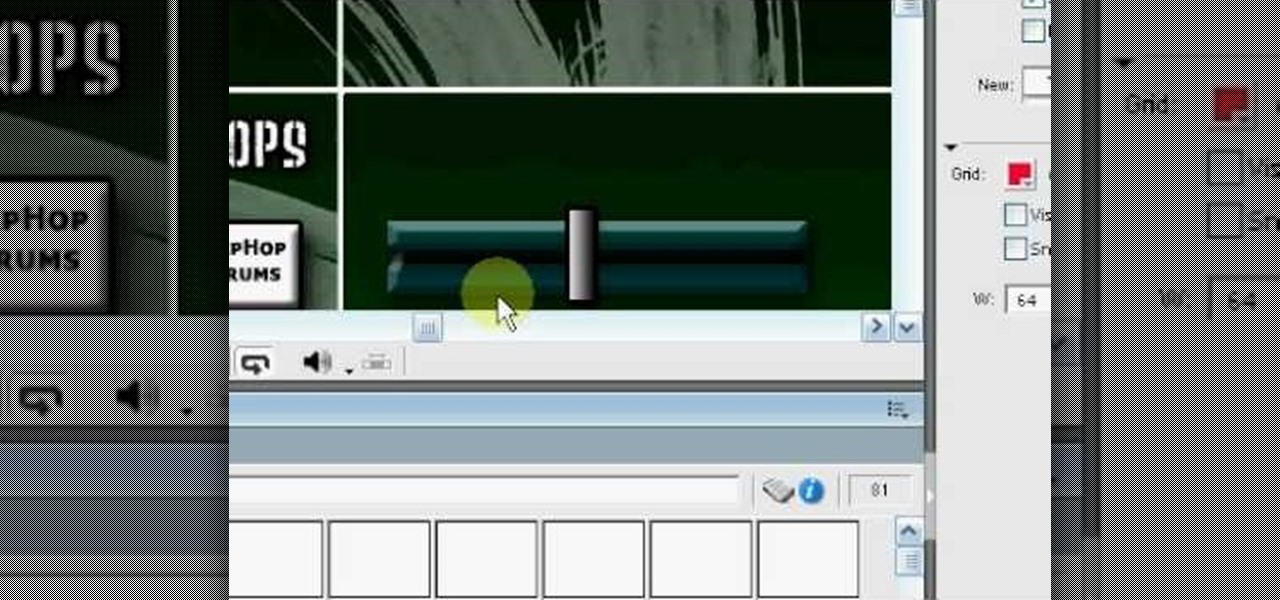
How To: Make beats in Adobe Director
This six-part video tutorial, goes over how to make beats in Adobe Director. The six different videos go over the following:


This six-part video tutorial, goes over how to make beats in Adobe Director. The six different videos go over the following:
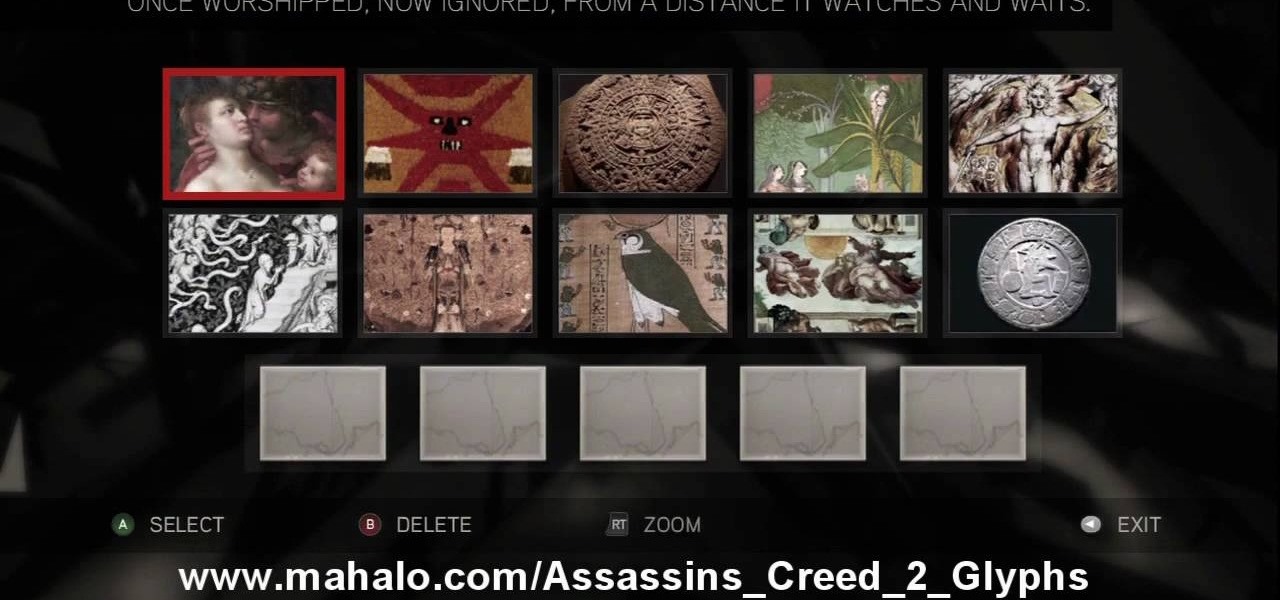
Here's the answers to the 19th puzzle, titled "The Fourth Day", in Assassin's Creed 2. Image set: What used to be worshipped by every primitive culture under the…? That’s right, the sun. Pick the five images that focus on it. Image: Find the tiny image of Earth in the lower-left quadrant of the sun. For more info, watch the whole gameplay.

Find out how to solve the 11th puzzle, entitled "The Inventor", in Assassin's Creed 2. Image 1: Just move the lightning bolt over the bulbs to bring them to life. Image 2: Highlight the area just at the base of the tower, between the two windows, to find this hidden image. Image 3: Move the pointer onto Tesla’s lap. For more info, watch the whole gameplay.

Learn about the 8th puzzle, titled Martyrs, in Assassin's Creed 2. Image 1: Highlight Czar Nicholas’ staff. Image 2: Highlight Joan of Arc’s sword. Image 3: Move the fireball to Joan of Arc’s portrait. Image 4: Move the photo of Rasputin onto Czar Nicholas’ portrait. For more info, watch the whole gameplay.

Windows 7 is the hot, new operating system replacing the past XP and Vista systems. Windows 7 is the most simplified, user-friendly version that Microsoft has developed - ever. Get acquainted with your new version of Windows straight from Microsoft.
Buying a digital camera doesn't mean your old prints, slides, or negatives are obsolete. You can easily convert them with a scanner to bring them into the 21st century. Watch this video to learn how to convert photos to digital.
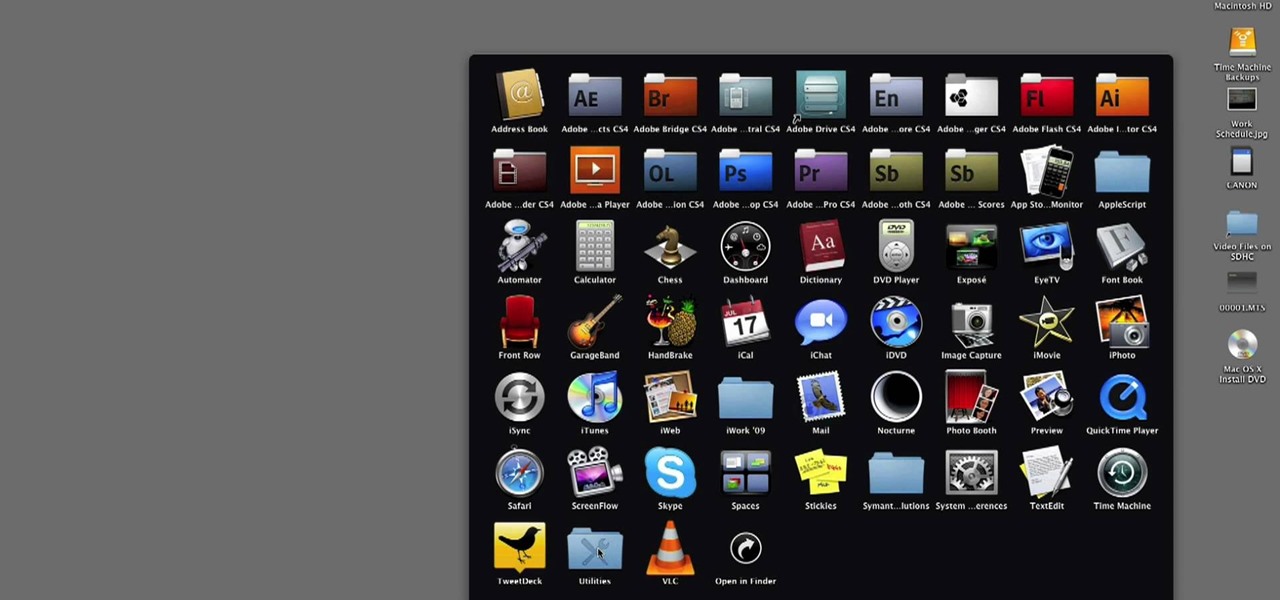
Install & boot Mac OSX on an external hard drive

In this video tutorial, viewers learn how to change the color of lips in Adobe Photoshop. Begin by importing the image into the program. Select the quick mask tool and then select the brush tool. Now color the part that you want to retouch. This will allow the mask to create a selection. No click on the masking tool to create a selection. Then select the marquee tool. Right-click the selection and click on Select Inverse. Right-click the selection again and select Feather. Make it 1 pixel and...

In this how to video, you will learn how create glowing eyes in the darkness using Photoshop. First, open your image in Photoshop. Next, duplicate the background layer. Go to hue and saturation and make the image really dark by turning down the lightness and saturation. Next, select a paintbrush for the eraser and start erasing around the eyes. Once this is done, make a selection around the pupils. Create a new layer and paint the selection red. Next, lower the flow of the paint brush and cho...

In this how-to video, you will learn how to make grain textures in Photoshop. First, click add layer mask to an open image. Add a filter to this mask and by going to the texturizer option. Adjust the settings to your liking. Click okay to continue. The mask will make the texture transparent. Go to image adjustments and levels to adjust the intensity of the grain. Click okay to save the settings. Select the layer and then choose the color you want the grain to be. Make sure to lock transparent...

In this how to video, you will learn how to create a rainbow effect in your photos with Photoshop. First, open the image you want to edit in Photoshop. Next, edit the hue and saturation. Make sure to desaturate the drawing. Next, create a new layer. Select a brush and choose a blue color. Make sure in the new layer that color is selected. Color the top part of the image. Next, select a purple or pink color and color the middle part. Choose a yellow color and color the bottom of the middle par...
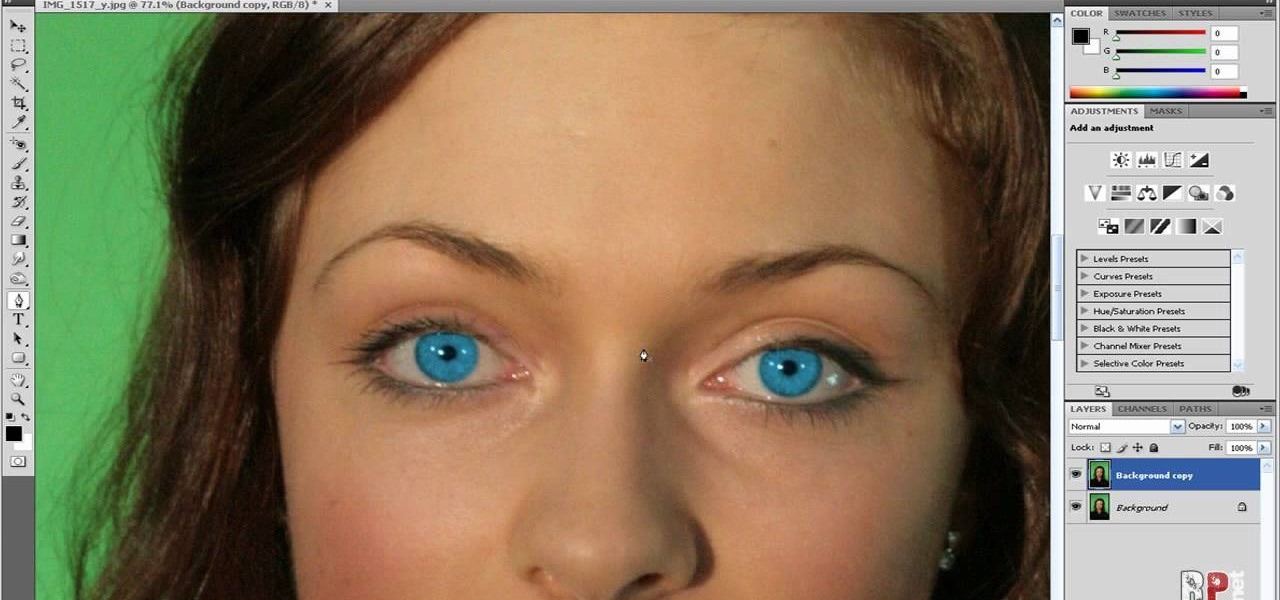
In this how-to video, you will learn how to change eye colors using Adobe Photoshop. First, open the image, Duplicate the background image. Zoom in to one of the eyes and select the pen tool. Set it to paths. Now, go around the iris of the eye. This does not have to be perfect. Click and drag to the other eye and select the other iris as well. Once these are both selected, right click into one of the selections and set the feather radius to about three pixels. Go to Image and Adjustments and ...

This step-by-step tutorial will teach you the correct way make a Light-Saber effect using Paint.net.In this video, you will learn how to gather the Light-Saber image, paste the image into Paint.net, choose the preferred color for the Light-Saber, and other special effects such as: sizing your Light-Saber, 'blurring' your Light-Saber, and learning the correct way to save your project.Your first step is to right click on the Light-Saber image and click 'Copy'. Next, you open Paint.net. Then you...
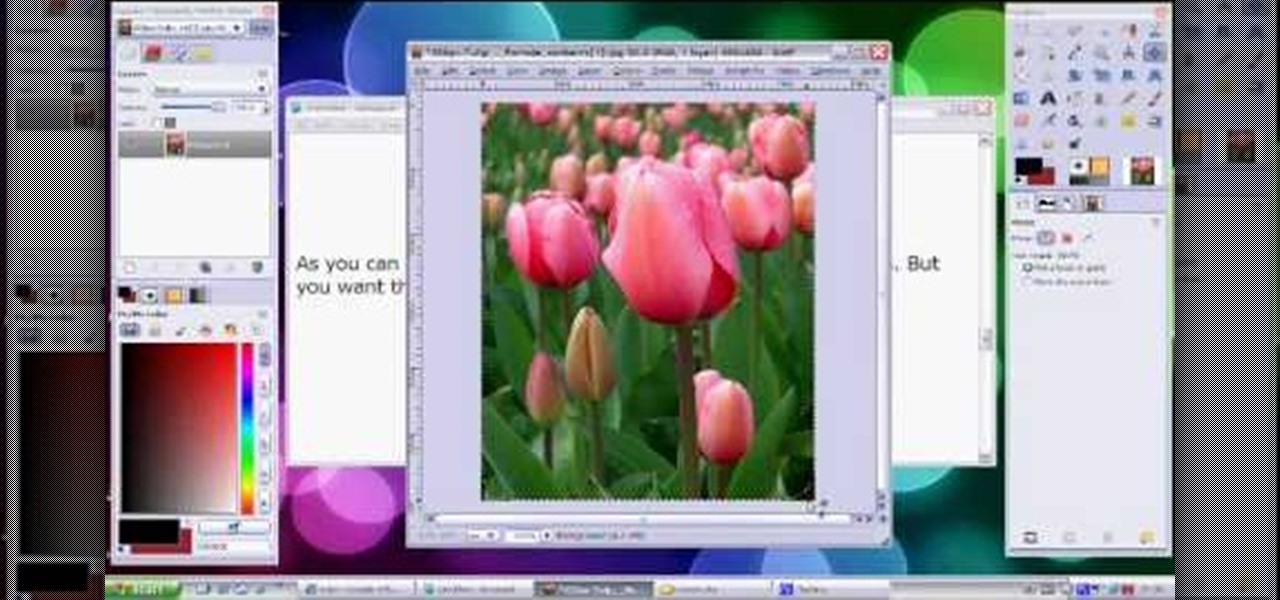
Video demonstrates how to make rounded corners in GIMP. First step is to open an image. The image needs to have transparency for this to work. An alpha channel is to be added to the image. This can be done by going to the layer option in that select transparency and add alpha channel. By doing this if the picture grays out it means the image already has transparency and there is no need to add an alpha channel. Now Select option is selected and in that rounded rectangle is selected. The radiu...

This tutorial explains how to create a multi colored eye effect. First open the image in Photoshop and unlock the layer. Make a selection of the eye with either the lasso, magnetic lasso or pen tool. If you are using the pen tool, like in the tutorial, right click and choose mark selection, feather radius of three pixels. Now copy and paste the eye. Go to File and select New. Create an image of 1000 by 1000 pixels. Unlock the layer and make sure tea background and foreground colors are black ...
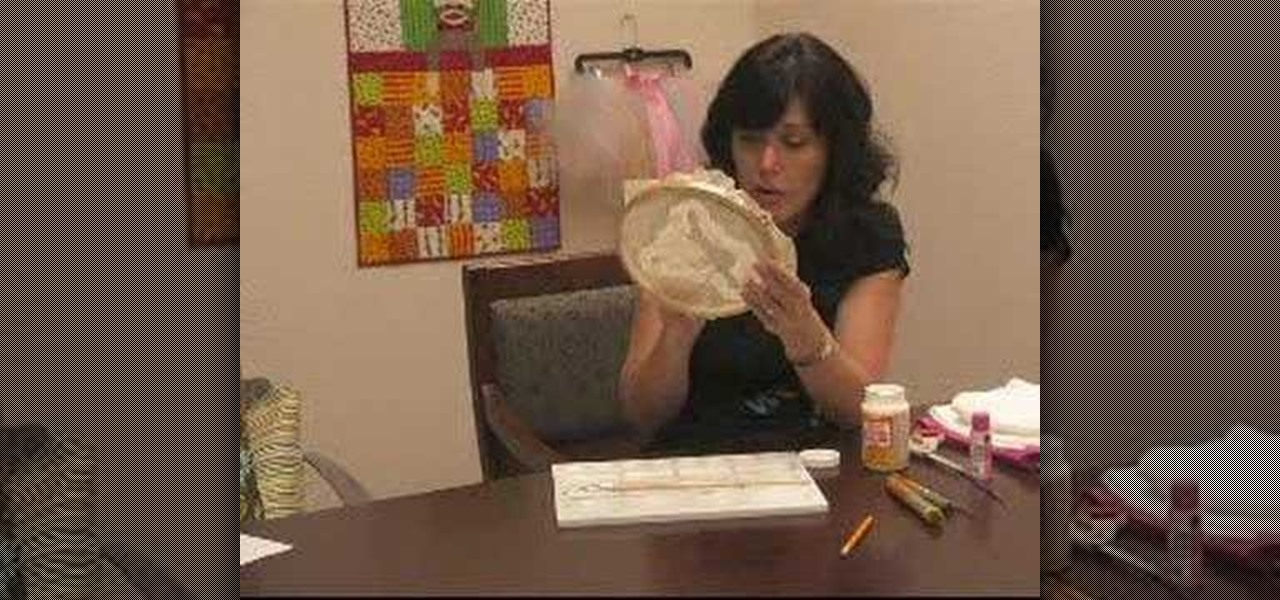
This video by Wowzzydot shows us an easy way to silk screen/stencil a garment. Using either a t-shirt or baby onesie, you can decorate it in the style of our choice. She clearly tells you the supplies you will need, embroidery hoop,sheer fabric, such as a curtain panel, paint and stencil brushes, scissors, Mod Podge or any water solvable glue. Also textile paint or ink and of course, the garment to be decorated. The first step is to cut the sheer fabric about an inch larger around than the ho...
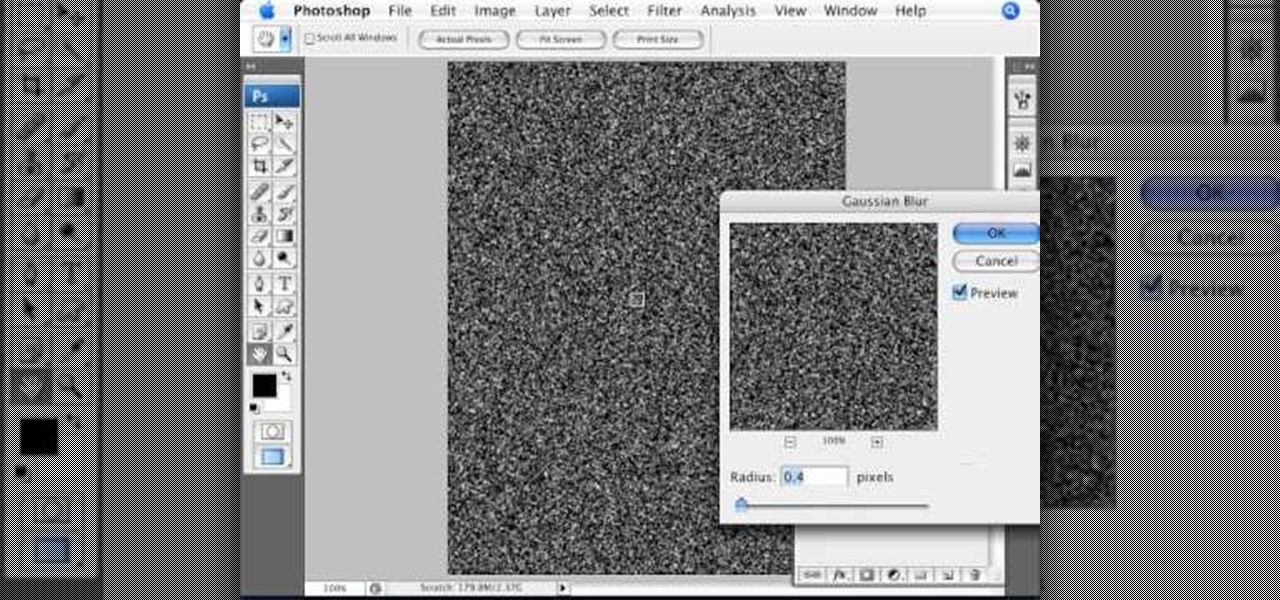
Open an image and on the layers panel add a new layer by clicking on the fifth icon below the layers panel. A new layer is created with the name 'layer 1' and your previous layer would have the name 'background'. These names can be changed by you. For now we'll leave them as they are.

Step 1 Launch the Adobe Flash program and select “Flash File (Actionscript 3.0)” under the “Create New” menu. Change the workspace layout to “Essentials” by clicking on the drop-down menu in the upper left of the top menu bar.
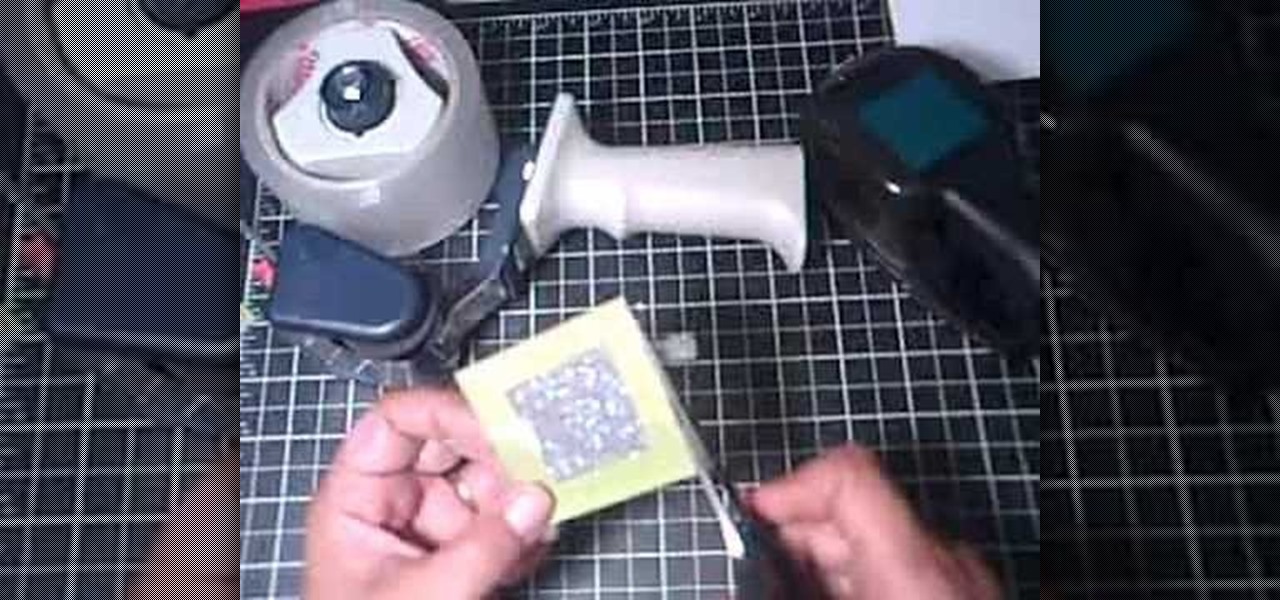
This artsy crafty video tutorial will show you how to make glittered window-style cards. The "glittered window" technique to card-making is basically just adding glitter to shipping tape.


In this tutorial, we learn how to heat emboss a stamped image for a handmade card. First, use the stamp to grab ink and then lay it down on a piece of card stock. After this, cover it in ink and start to add heat to it. You will see the image start to change color when you do this. It will turn to a metallic sort of color when you add the heat to it. Once you have added heat to the entire thing, you will be finished with the embossed stamp effect! Do this for any type of stamp you want and ha...

In this clip, you'll learn how to get started using Dell Kace appliances to manage your desktop system images. It's easy! So easy, in fact, that this helpful how-to can present a complete overview of the app in just over five minutes. For more information, including detailed, step-by-step instructions, take a look.

In this clip, you'll learn how to create a simple image overlay effect for title text and headers in Adobe Photoshop CS4 or CS5. Whether you're new to Adobe's popular raster graphics editor or a seasoned designer looking to better acquaint yourself with the new features and functions of the latest iteration of the application, you're sure to benefit from this free software tutorial. For more information, watch this video guide.
In order to make your own icons for free, you will use any bitmap program. You can use Paint, in Windows. Open paint. Click on Images. Then, go to Attributes. Change the width to 32 by 32 pixels. Click OK. You can enlarge the image, if you like, in order to make it easier to work on it. Draw the image that you like. Click on File and Save. Next, you will need to save the image. Click on File and Save As. Change it to a 24 Bitmap image. Name it New.ico. Save it to your desktop. You should see ...
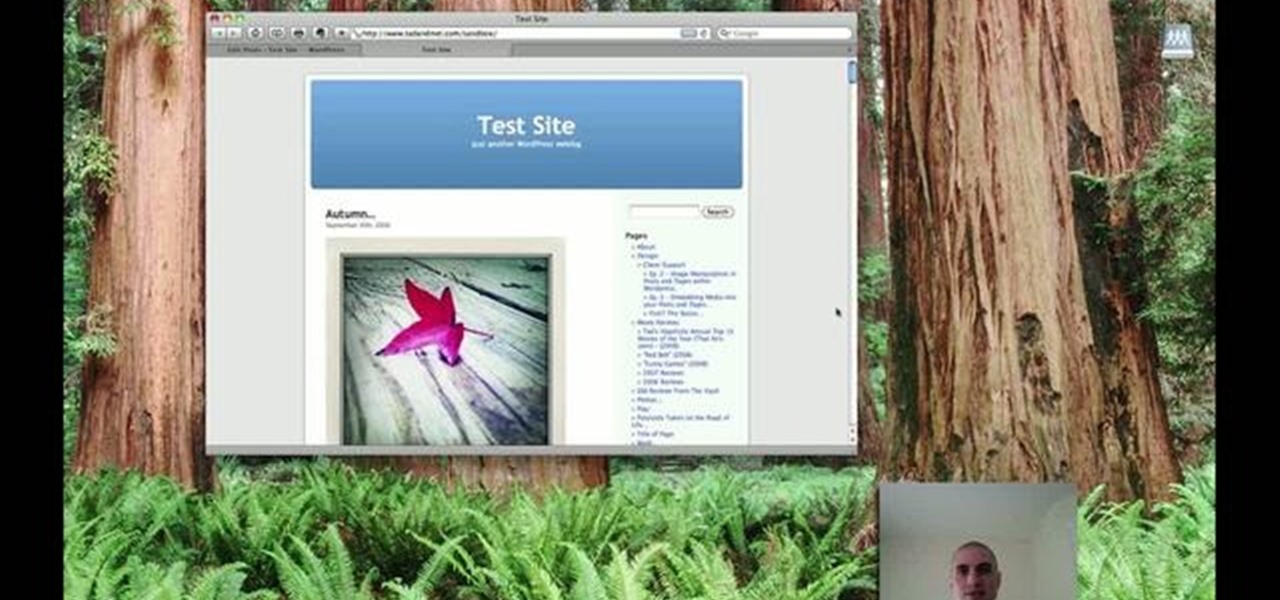
In this clip, learn how to create lightbox galleries for images posted to your WordPress blog. Every version of WordPress brings with it new features, new functions and new ways of doing things. Fortunately, the very same technology that allows an open-source blog publishing application like WordPress to exist in the first place also makes it easy for its users to share information about the abovesaid things through videos like this one. Take a look.
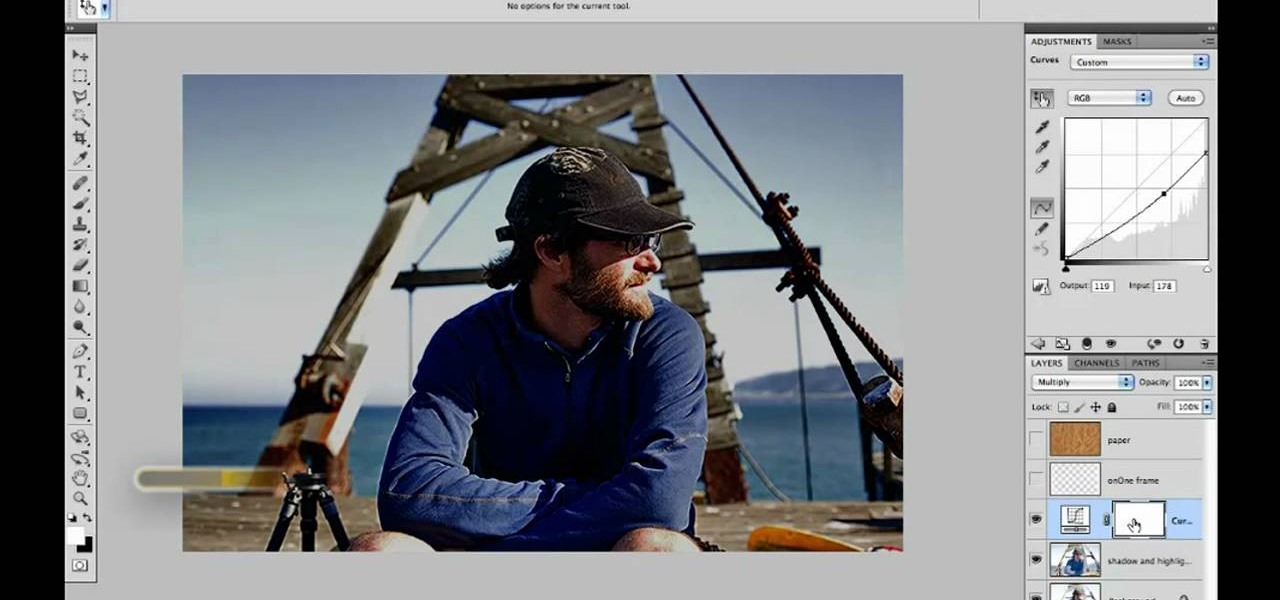
Want to convert a color or black-and-white image to sepia? With Photoshop CS5, it's easy. And this clip will teach you what you need to know. Whether you're new to Adobe's popular raster graphics editing software or a seasoned professional just looking to better acquaint yourself with the program and its various features and filters, you're sure to be well served by this video tutorial. For more information, including detailed, step-by-step instructions, watch this free CS5 video guide.
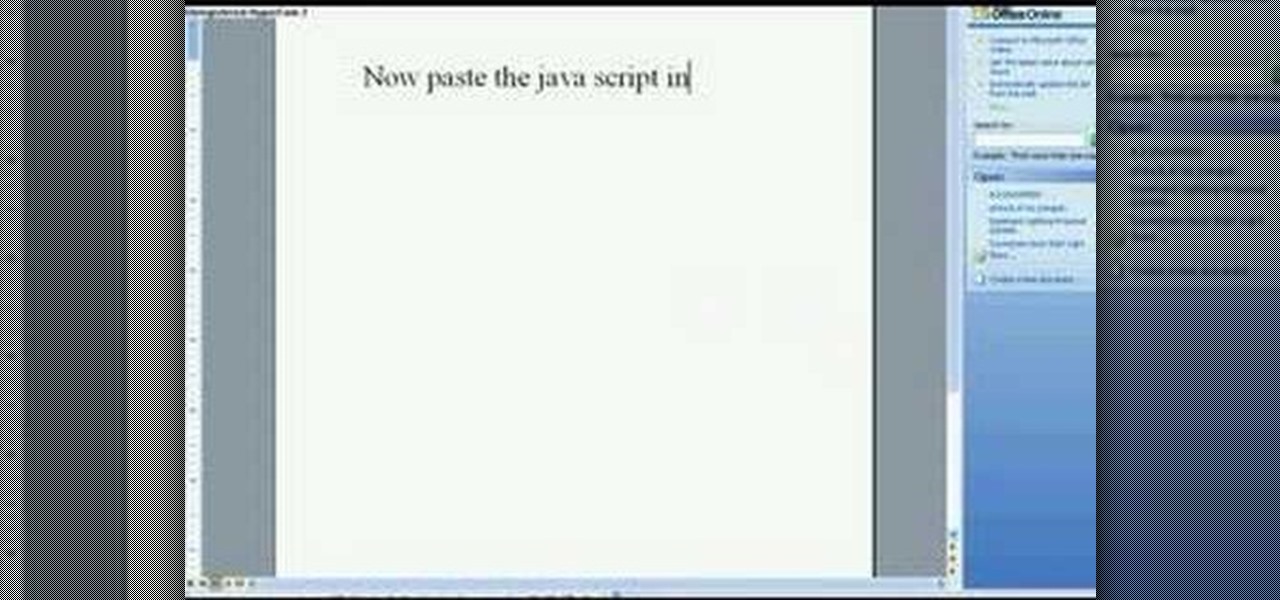
In this Computers & Programming video tutorial you will learn how to make Google go crazy. This is a cool cheat that makes all the pictures in Google to fly around the page. First do a Google search for 'Google go crazy' and open the first link. Then in another tab search for anything with images, for example 'guitars '. Then remove everything from the address bar of the images page and copy and paste the java script from the 'Google go crazy' page in to the address bar. Click enter and all t...
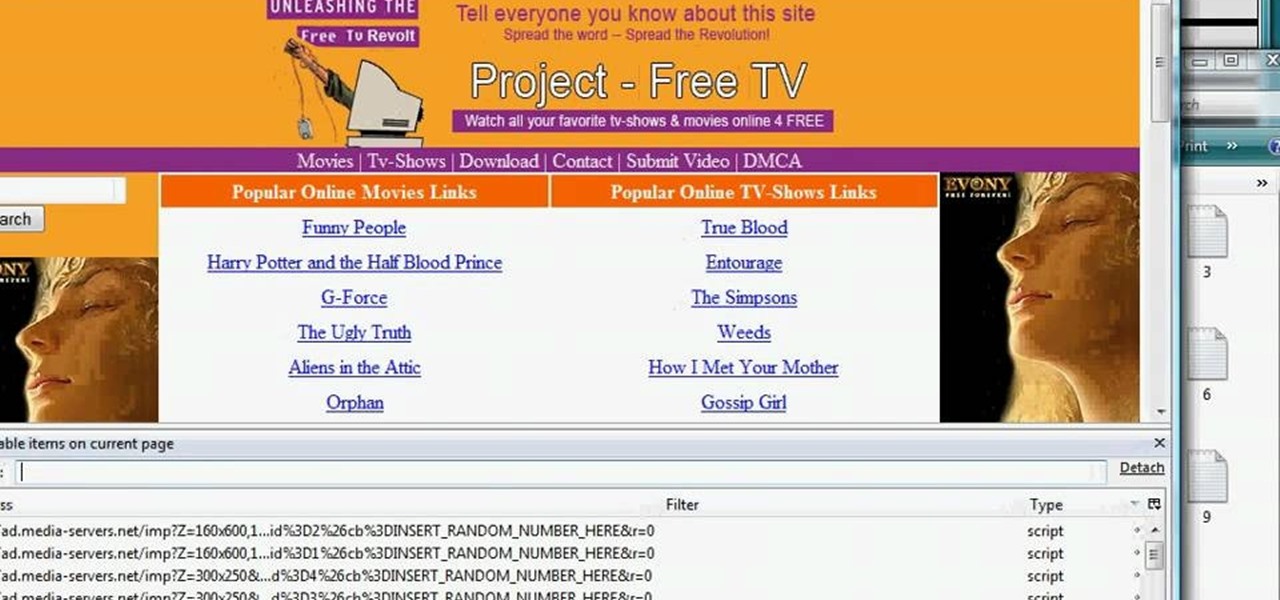
In this tutorial, we learn how to remove advertisements from Mozilla Firefox. First, click on "tools", then "add ons". After this, type in "adblockplus" in the search bar. Now, click "add to Firefox", then download and install this add-on. When finished installing, go to the website where you want images blocked. Once on the site, click on the adblock icon and select "open blockable items". Now, right click and click on "block this item", then "add filter". When you click on this, the images ...

If you want to have any kind of impact in the discussion of video games online (and that is one big and jaded discussion) it will behoove you to be able to capture images of the games you're playing, be they console or PC. It's easy for the PC, but many people have no idea how to capture screenshots or videos of their console gameplay that they can share later on their computer. This video is here to clear up that confusion, showing you how to install a PCI TV card in your PC that will allow ...
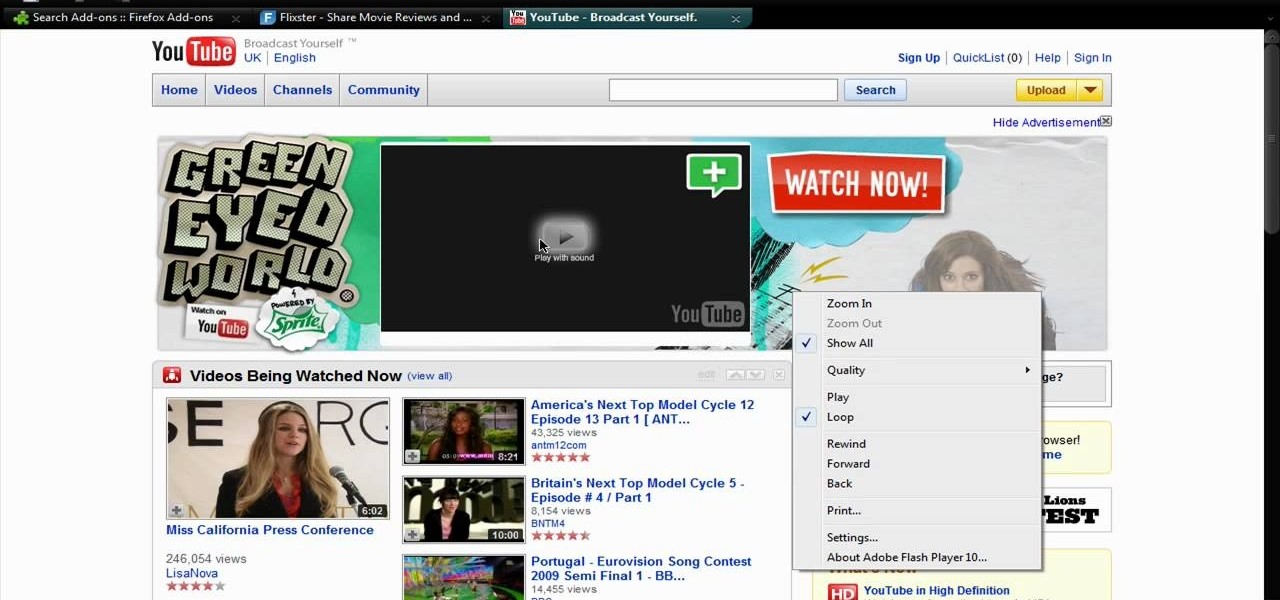
In this video tutorial, viewers learn how to disable ads with the Ad Block Plus add-on in Mozilla Firefox. Begin by going to the Firefox add-on site and search for "ad block". Then click on "Add to Firefox" to install it. Once installed, users will be able to block out any advertisements. Users are able to add a filter subscription. To block an image, right-click on the image and select "Ad Block Image". Users are able to customize their ad block filters to only allow certain advertisements. ...
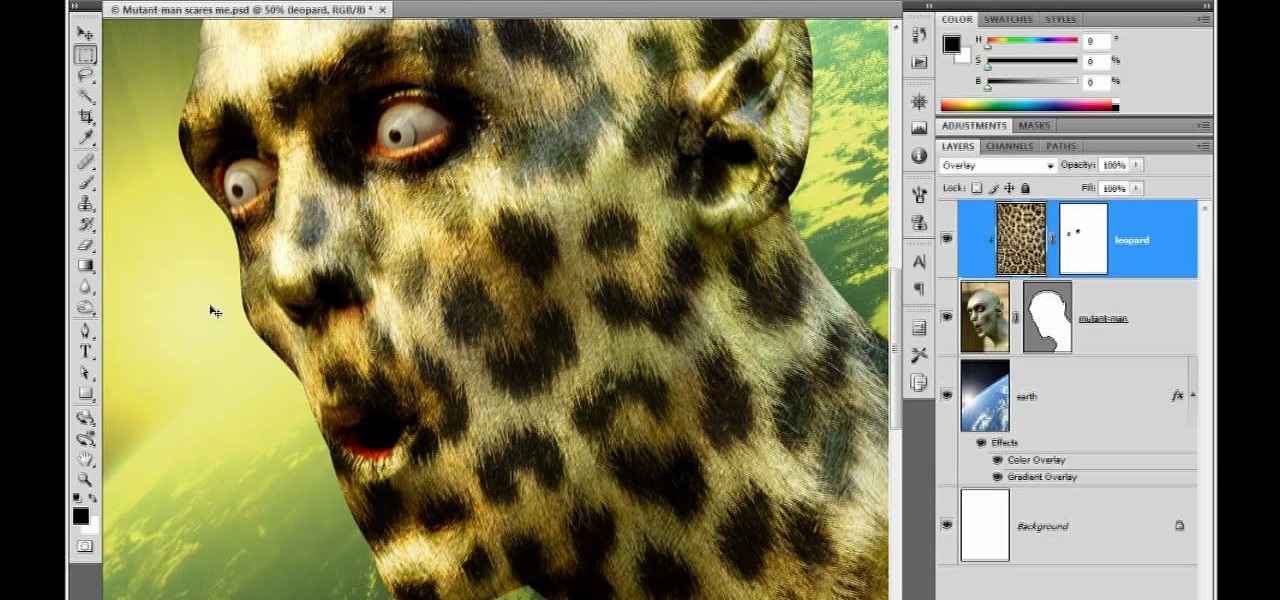
The safety-net trio of Undo, History, and Revert protect the intrepid image editor from unexpected disasters. But they also let you toggle operations, compare before-and-after images, and move back and forth through time. Whether you're new to Adobe's popular raster graphics editing software or a seasoned professional just looking to better acquaint yourself with the program and its various features and filters, you're sure to be well served by this video tutorial. For more information, inclu...
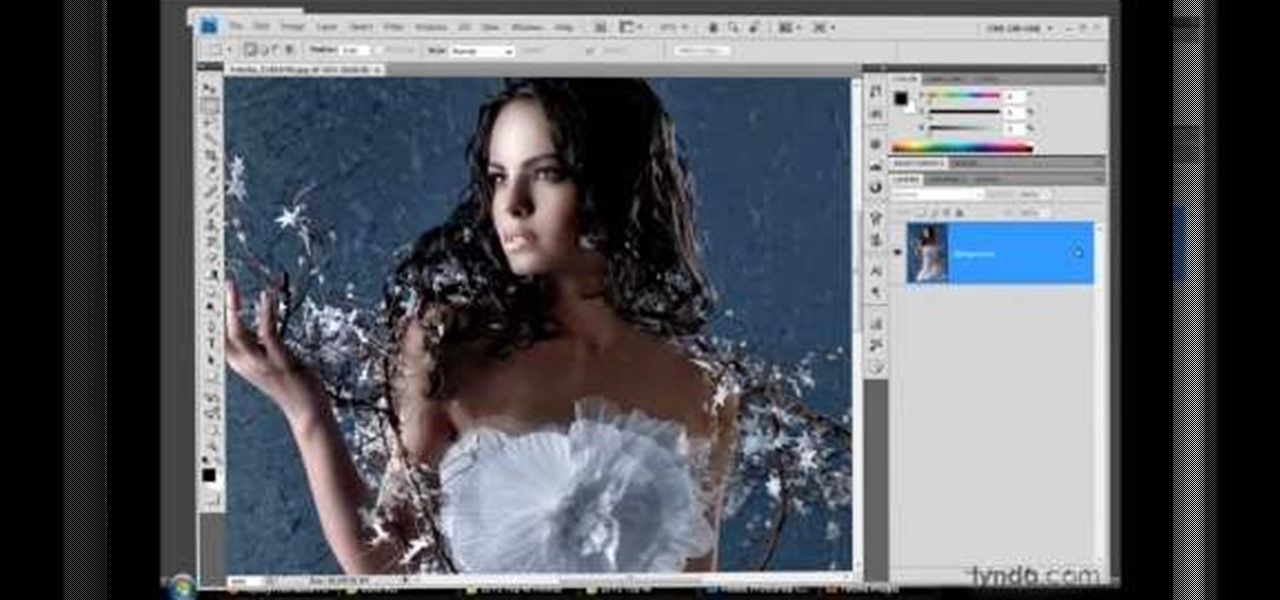
Want to let the world know who made your photo? Then choose File Info. Here you can assign a title, an author, a copyright, and a Web site. No image should go out without a visit to File Info. Whether you're new to Adobe's popular raster graphics editing software or a seasoned professional just looking to better acquaint yourself with the program and its various features and filters, you're sure to be well served by this video tutorial. For more information, including detailed, step-by-step i...
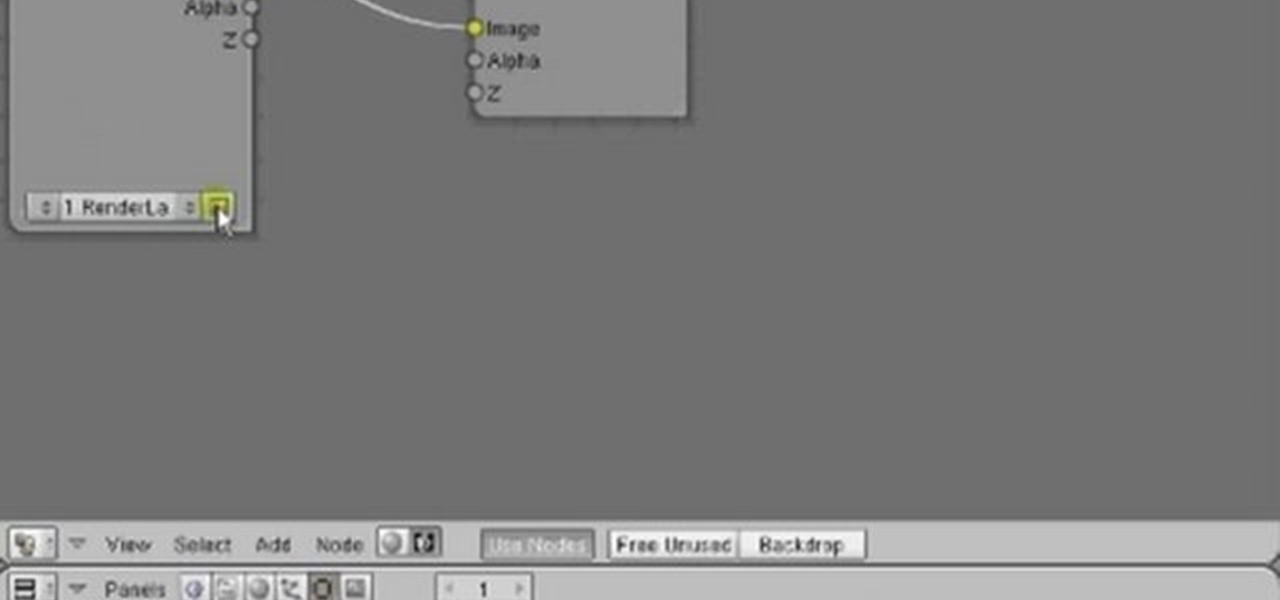
In this clip, you'll see how to create a new Screen Layout (workspace, desktop) to use when Compositing: 8-Nodes. and initialize this new default User setup used in all future tutorials. This clip will also teach how to move the window around, what the starting nodes are and do (RenderLayer, Composite, Viewer) Backdrop, , how threads work in the noodle, rendering the composite and discusses basic window management and splitting, and using the UV/Image Editor to view images/results. Whether yo...
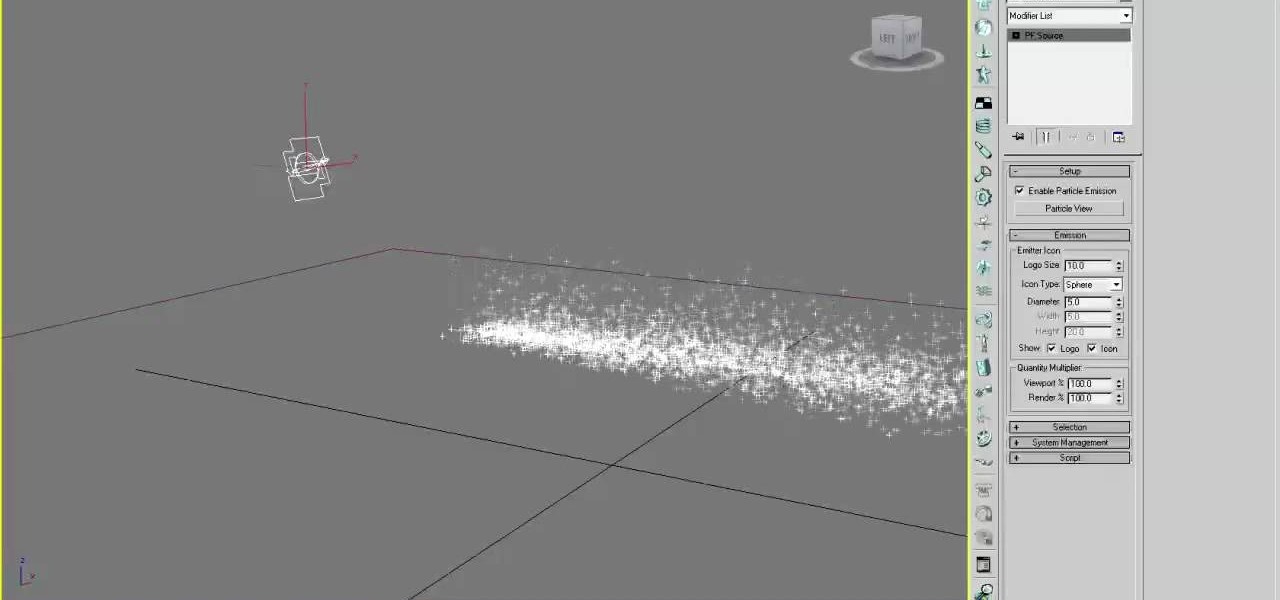
Particles are tiny images in 3D graphics that are essential to creating clouds, fire, and various other effects. This three-part video will teach you how to use particle flow in 3D Studio MAX to create particle images in your 3D graphics. Expand your repertoire of effects by watching this video.
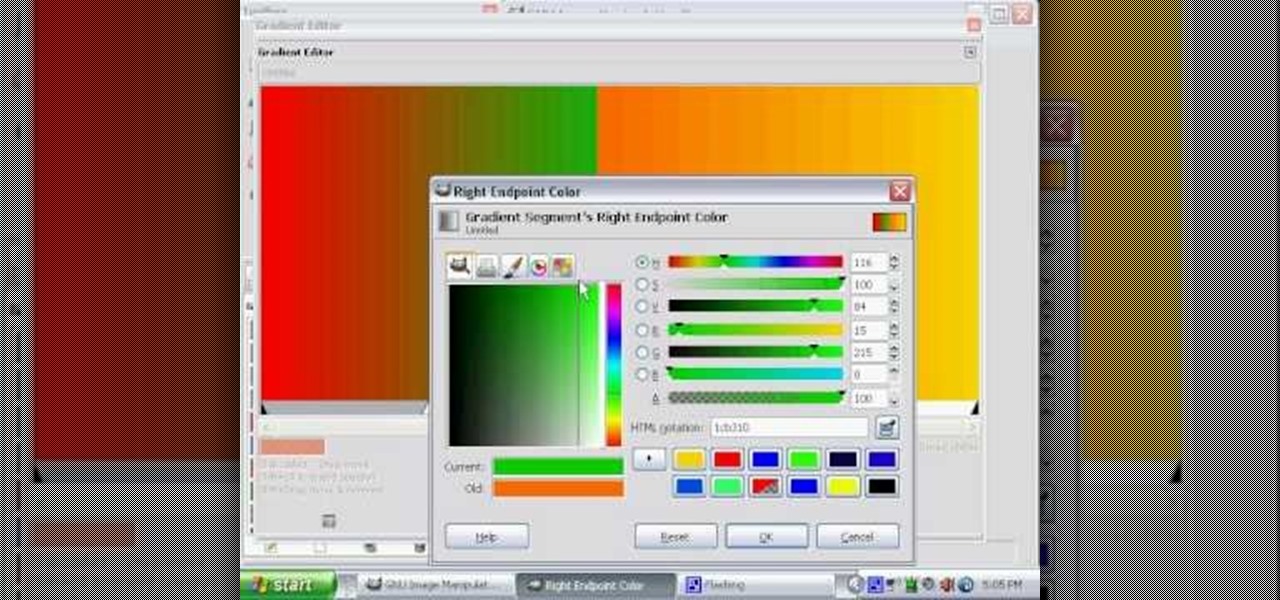
Wondering how to make a custom gradient in GIMP? This clip will show you how it's done. Whether you're new to the GNU Image Manipulation Program, GNU's popular free graphics editor, or a seasoned designer just looking to pick up a few new tips and tricks, you're certain to enjoy this free video software tutorial. For more information, including detailed, step-by-step instructions, and to get started making your own custom gradients, take a look!
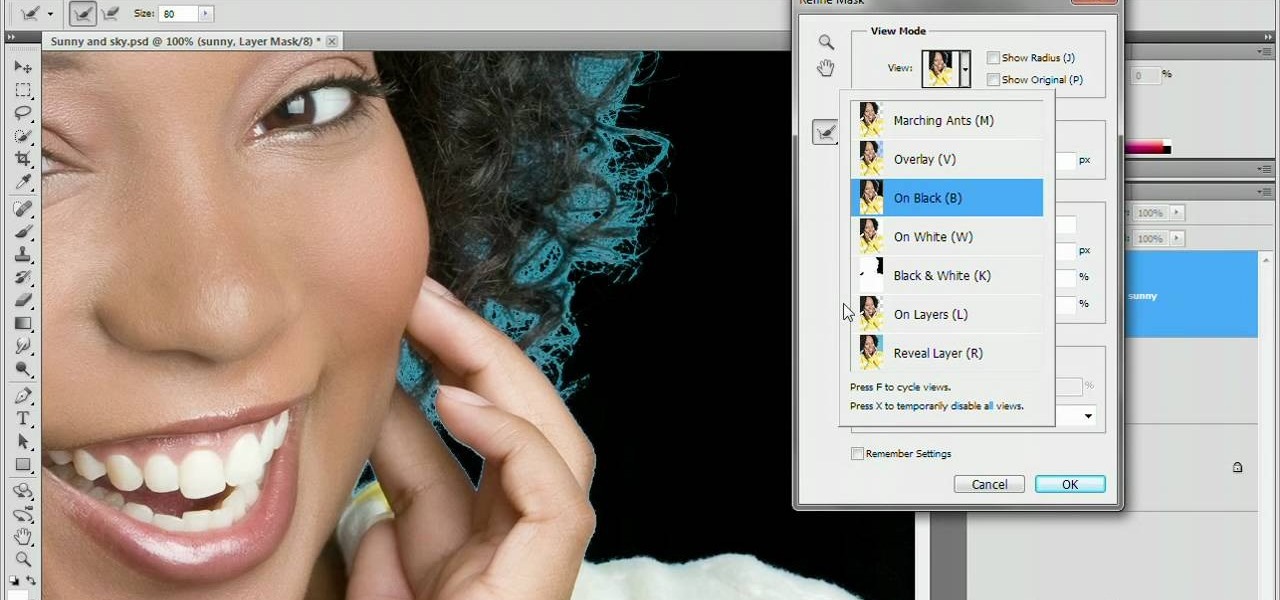
Refining selections and creating masks are unglamorous but utterly essential Photoshop techniques—you've got to master both in order to perform tricky compositing tasks, such as extracting a person from an image and then adding a different background.
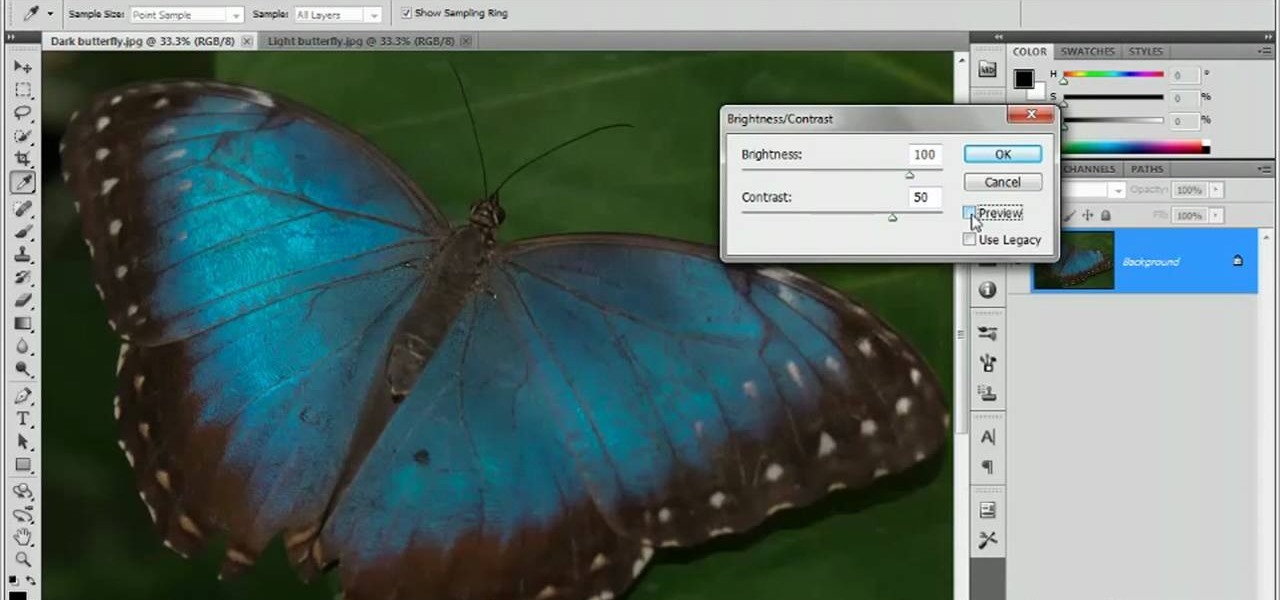
Have a digital image that's a little bit too dark or otherwise lacking in depth? Your fix is just a few mouse clicks away. This free software tutorial will teach you how to use the new Brightness & Contrast tools within Adobe Photoshop CS5. Whether you're new to Adobe's popular image editing software or a seasoned graphic design professional just looking to better acquaint yourself with the unique features of Photoshop CS5, you're sure to find something of value in this free video tutorial.
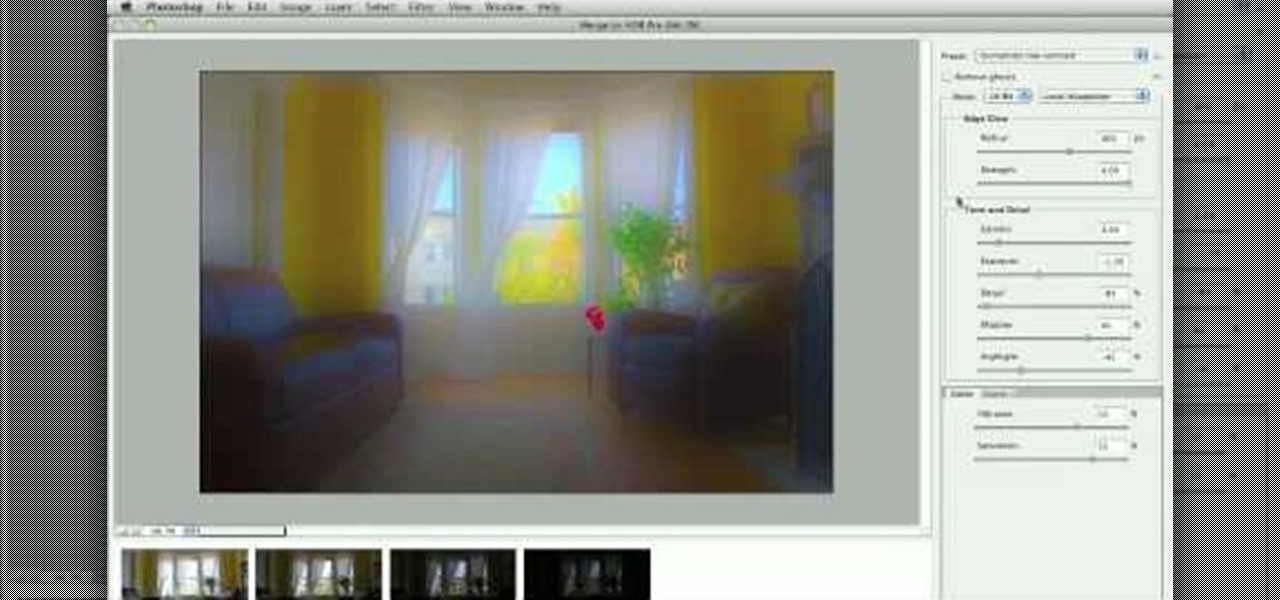
With Adobe Photoshop CS5, it's easier than ever to work with HDR or high dynamic-range images. This video tutorial presents an overview of some of the bigger enhancements. Whether you're new to Adobe's popular image editing software or a seasoned graphic design professional just looking to better acquaint yourself with the unique features of Photoshop CS5, you're sure to find something of value in this free video tutorial. For more information, and to get started taking advantage of Photoshop...

Airbrush your digital photographs for a studio look! Whether you're new to Adobe's popular image editing software or simply looking to pick up a few new tips and tricks, you're sure to benefit from this free video tutorial. For more information, including step-by-step instructions on how to get started airbrushing your own digital images, watch this graphic artist's guide.

Create digital notebook paper in Adobe Photoshop! Whether you're new to Adobe's popular image editing software or simply looking to pick up a few new tips and tricks, you're sure to benefit from this free video tutorial from the folks at IT Stuff TV. For more information, including step-by-step instructions on how to create a notebook paper-style image in Photoshop, watch this graphic designer's guide.