Add air bubbles to an image with a custom-made bubble brush. Whether you're new to Adobe's popular image editing software or simply looking to pick up a few new tips and tricks, you're sure to benefit from this free video tutorial from the folks at IT Stuff TV. For more information, including step-by-step instructions on how to get started making your own bubble brushes in Photoshop, watch this graphic designer's guide.

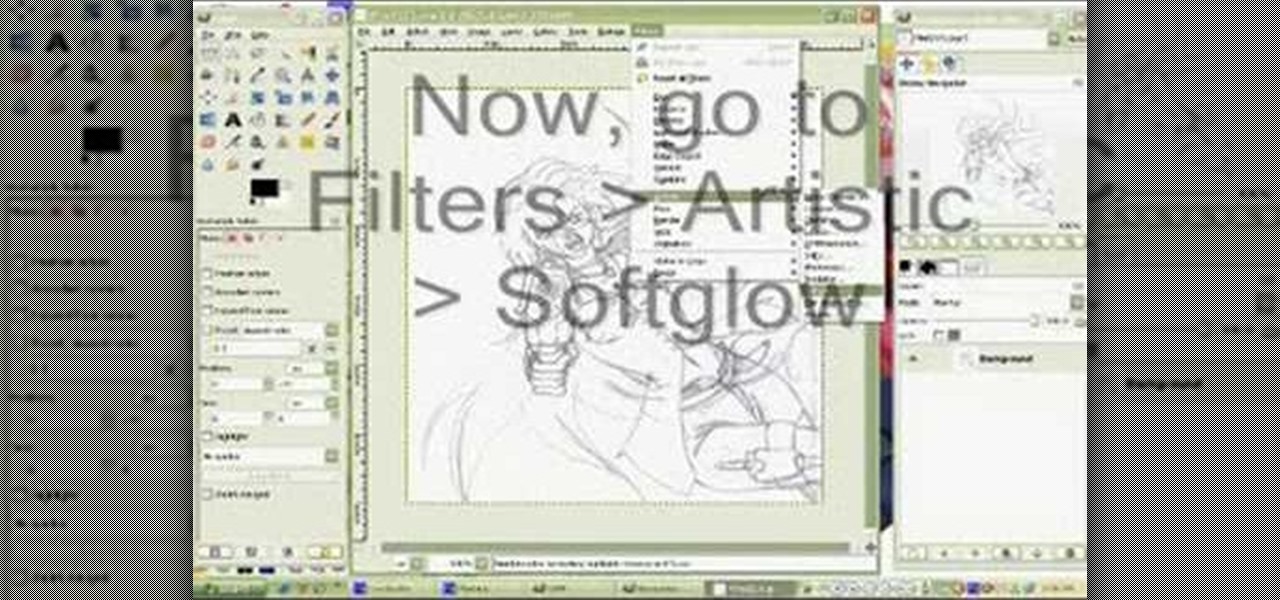
In this how to video, you will learn how to clean up scanned drawings using Gimp. You will need a scanner, drawing, and Gimp installed to do this. First, open the scanned drawing in Gimp. Next, select Select by Color. Click on an area that should be white and hit ctrl + x. Next, go to filters and select soft glow under the artistic sub menu. Play around with the settings to lighten the image and darken the important lines. Click okay once you are finished. Next, go to the artistic sub menu an...

To insert a picture on your wiki page you first need to find the picure you want. Hit the edit button and click the image of the tree. Browse your computer to find the picture you want, click open, and then scroll down and click "upload" If your file does not upload, it may be becuase it is to large, or becuase it has strange character in the name. Try renaming the file or re-sizing it. Hit insert and resize image if neccisary. You can right click and go to image properties to change many thi...

Cathie Filian and Steve Piacenza demonstrate the way of making medieval candles using tissue paper transfer technique. Steve asks you to first take a piece of tissue paper and a square-shaped chunky stamp. Then you should load the stamp with black pigment. Once the loading is completed, you should cut the tissue paper in square shape and place the shining side on the stamp and give a nice light press with your fingers. Then once you get the stamp image on the tissue, gently take it out and pl...

To hack into Google images follow the following steps. You will first need to open a new internet browser window and go to Google, then load their images website. Next type into the search bar your image query and press search. Once you have gotten your search results paste the following code into your address bar:

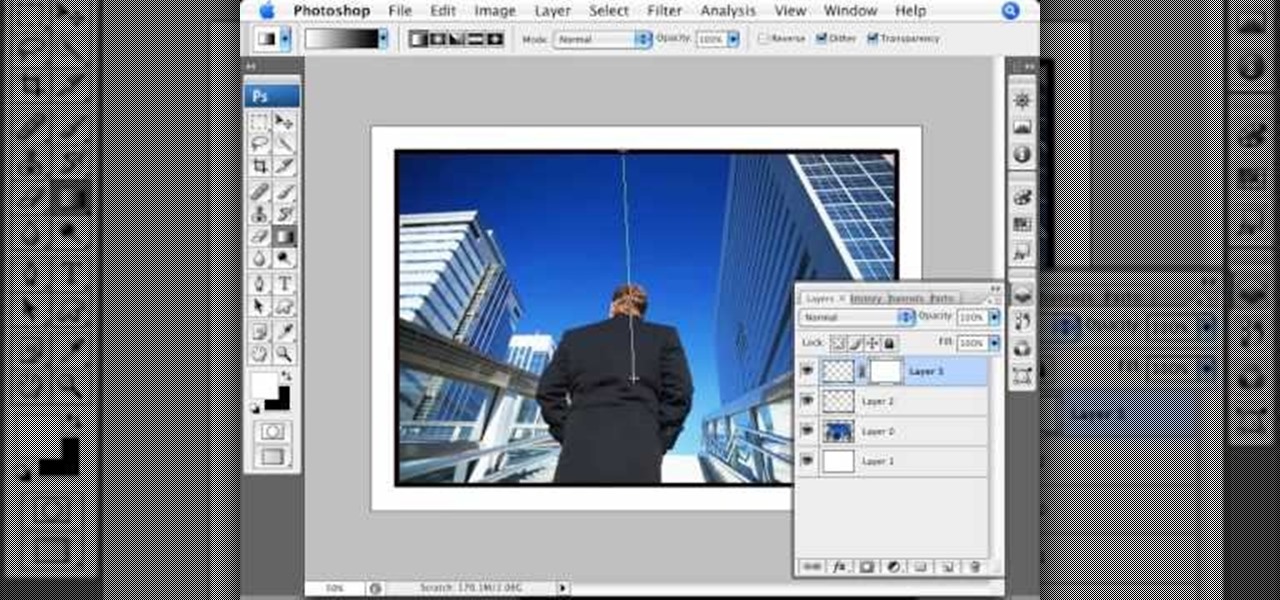
Don't know how to add some line frames in Photoshop? Well, this video teaches the viewers how to exactly add line frames, or borders for their images using Photoshop. First of all, change the background layer into a normal layer. Next, go to image size and add in some more pixels in order to allow room for the border. Next, add another layer and set it to transparent. Now select where you want your border to be, then go to strokes, and select a color. At this point, the viewer should have a b...

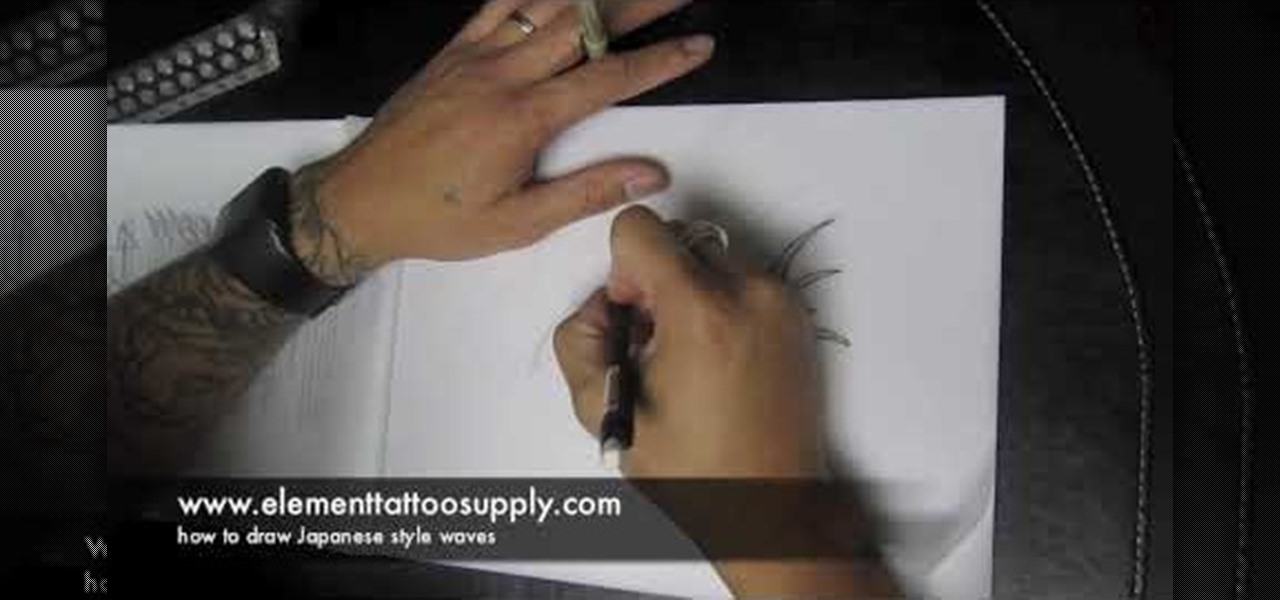
In this video tutorial, viewers learn how to draw Japanese waves for a tattoo. In this video, viewers observe different ideas and elements for wave designs. Viewers learn different techniques. To draw a design for a tattoo, viewers should sketch out their image and experiment different designs. The materials used in the video include: tracing paper, pencil and a Micron 08 pen. This video will benefit those viewers who enjoy sketching images, art and would like to learn how to design tattoos.

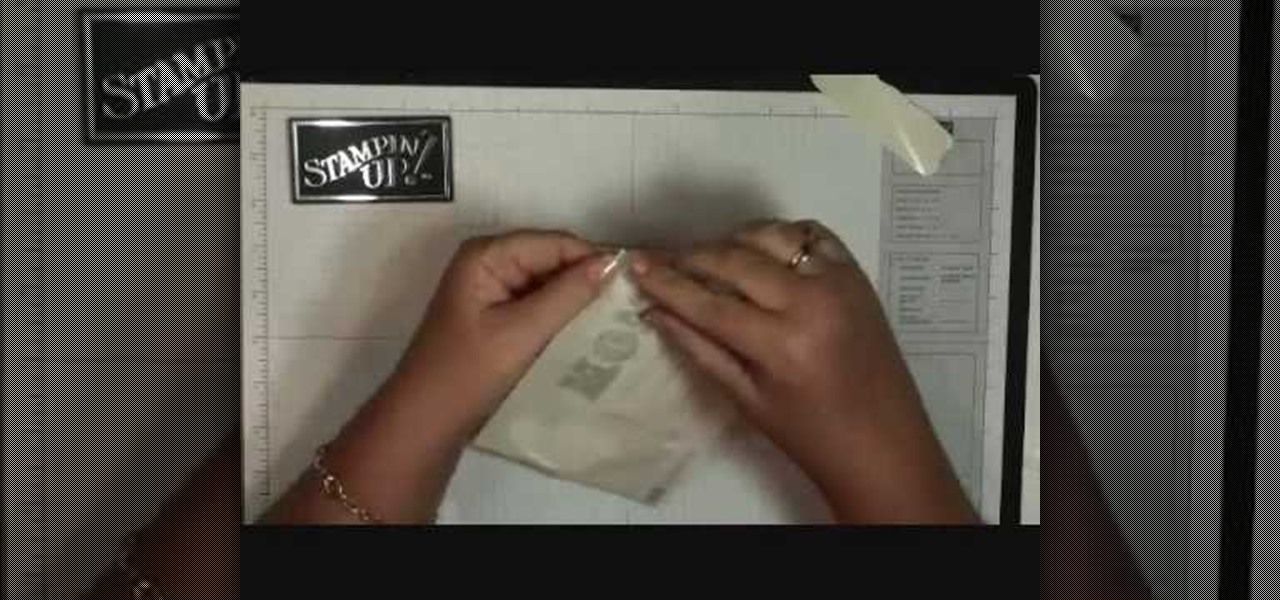
Dawn5377, teaches you how to use the clear mount stamps. These come in sizes from A to I. They are high cut so you don't get ink on your fingers when using them. The stamps come in a DVD case for easy storage, which also comes with instructions on usage. Remove the sticky part of the image, place it on the back of the rubber stamp. Place image face down on the clear block of equal size. Ink the rubber stamp and just stamp on a piece of paper. You clean the rubber stamp with spray mist and scr...

CreativeIceDesigns shows you how to make a "Polaroid"-style image on Photoshop CS3. Open a new 400 x 500 pixel image, and create a new layer, and drag underneath the original background layer. On the original "Layer 0" (the top-most layer), take the marquee tool and cut out (delete) a square, so that what you have in front of you looks like a Polaroid picture. Drag the the picture you want in, transform it into the right shape (ctrl + T) and drag it underneath "Layer 0." You can add effects (...

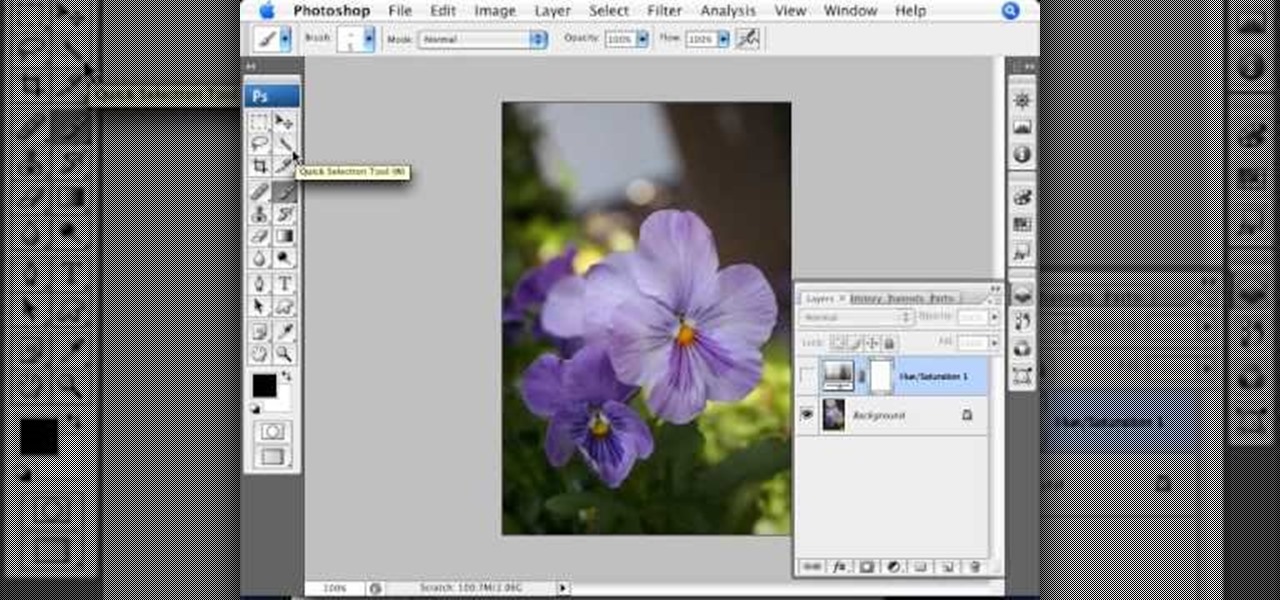
This video shows you how to simulate hand coloring in Photoshop. The first step in the process of simulating hand coloring is to turn the image you have chosen into black and white. Following turning the pictures coloring to black and white you must bring up the hue color control panel. The final task includes selecting the object to color within your image as well as picking the color in hue that you wish to use. The coloring must be done manually by the users control of the mouse.

This how-to video produced by Photoshop Universe gives step-by-step instructions on how to batch automate a process in Adobe Photoshop. With this tutorial you'll be able to learn to correct white balance, enhance colors, resize, and save for the web whole folders' worth of images in one go. The first step to doing this is to open up one of the images in your folder and correct the white balance, enhance the colors, resize the photo and save. The next thing you want to do is to record all of t...

The Video On Demand highlights how amazing backgrounds are inserted behind characters and will show you how to composite video so your characters can seamlessly move in front of these images. Computer generated video objects may be superimposed over a background video image so as to create the illusion of a single composite scene. The leading edge of an object is detected and for a period of time the object and background video signals are mixed. After that period, only the object video is tr...

Even if your Photoshop knowledge is lacking, you can still learn how to make a 3D image into a 2D one. This video is on the long side, but it is also very informative and makes it so anybody can understand the lesson within. As you watch, not only will you see the steps needed from beginning to end, but you will also hear the directions in clear and easy instruction. You will learn to make a 3D butterfly and 3D fire. Great for beginners and advanced learners, too.

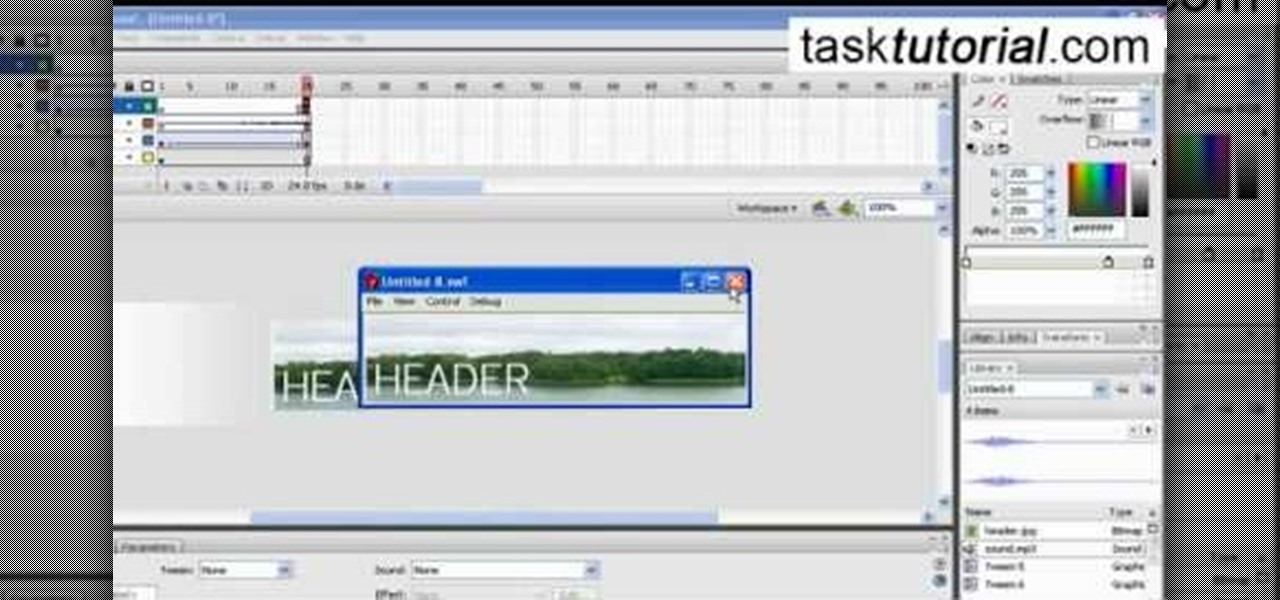
Today we learn about creating a header appearance in animation w/sound in Flash. First your import image. Create a new layer and then create our new shape. Then delete the stroke. Next select the shape and change its size to frame 20 and then press F6. Move your image as shown in the video. You will be asked to create a new layer three times. Just repeat the process of layer until you have a total of 35 layers. Now onto getting you animation to move. Mass layer is also acceptable in creating ...

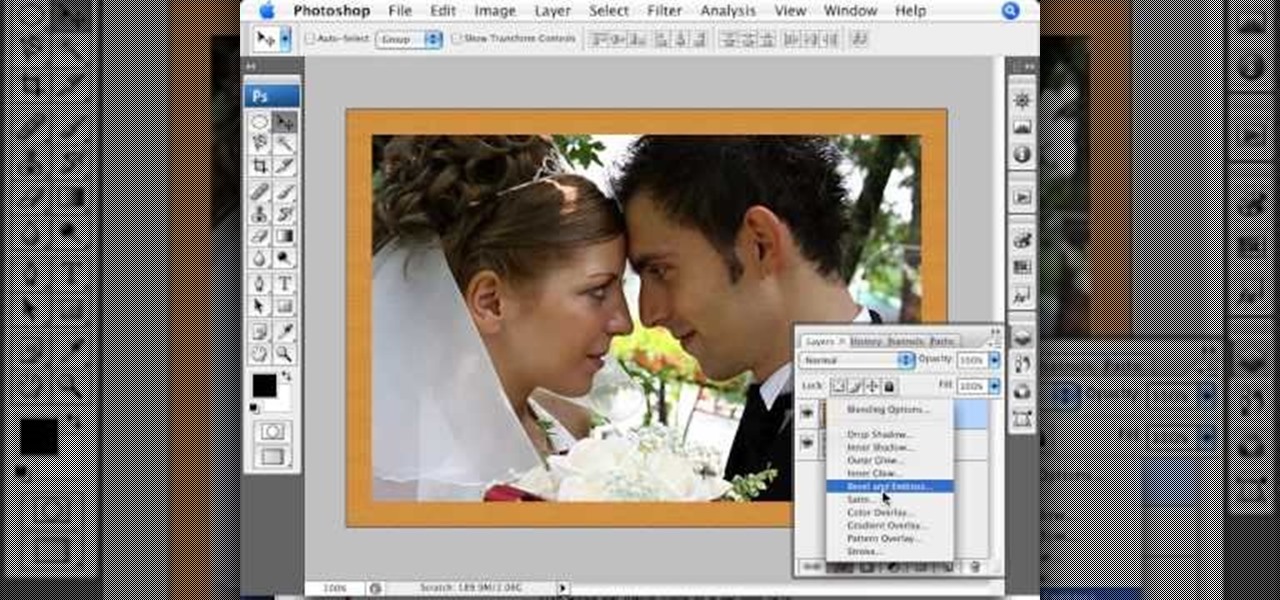
In this video tutorial by photoshopuniverse you learn how to create a wood photo frame in Photoshop for your photos. Take the photo that you want to add a frame to, open it in Photoshop. Open the layers palette and double click to convert to a regular layer and increase the canvas size of the image to the required thickness of the frame. Create a new layer and fill in with the wooden pattern. Apply a mask and reveal the photo as shown. Apply the desired effects bevel and emboss to get the woo...

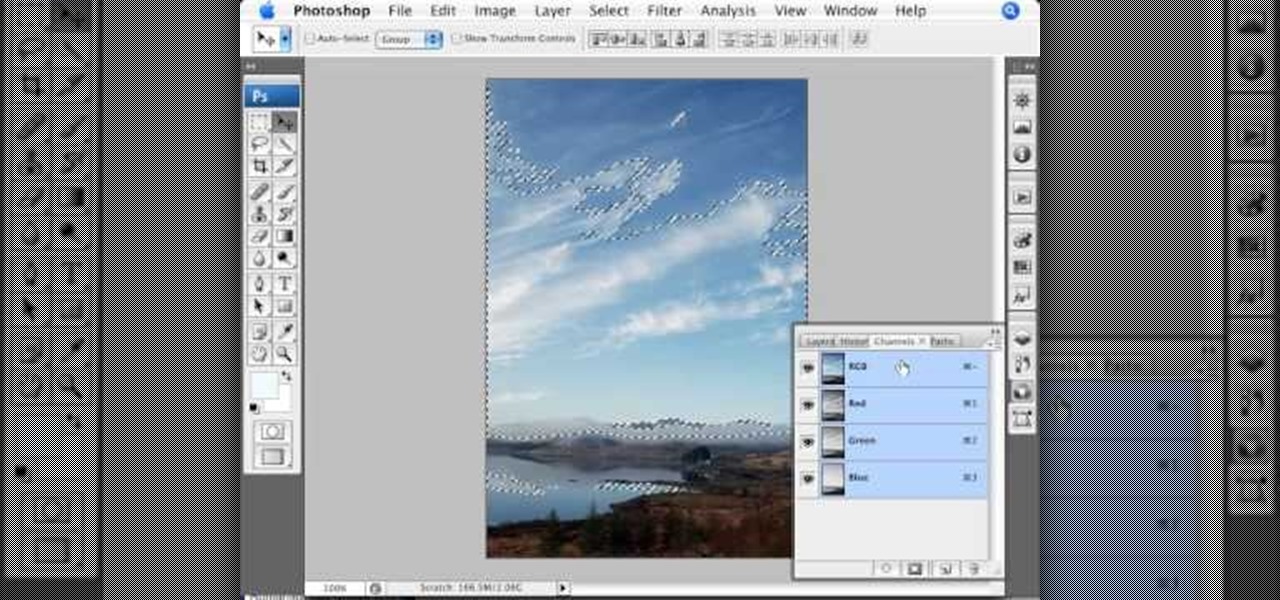
This video is about using a luminosity mask in Photoshop. The luminosity mask is used to enhance the color and contrast in photos that lack each of these. The color is enhanced or punched up. Choose the manipulation tool: channel and RGB. To choose RGB, touch control and then select RGB. Select the 100 % white or light parts of the photo, it will not select the darker or black images. Copy the light parts of the image by using control J. Choose to copy the lightest parts by selecting overlay ...

Tutorial on how to create realistic reflections on Photoshop with the objects. Take a base ball image then open layer pallet and duplicate the base ball layer its shortcut is Ctrl j. Go to image menu adjust the canvas size change height to 200 and anchor to the top then click OK then go to edit select transform change to flip vertical, select move tool then move the base ball vertically down change opacity to four percent. Finally go to filter select blur then motion blur with an angle 90 deg...

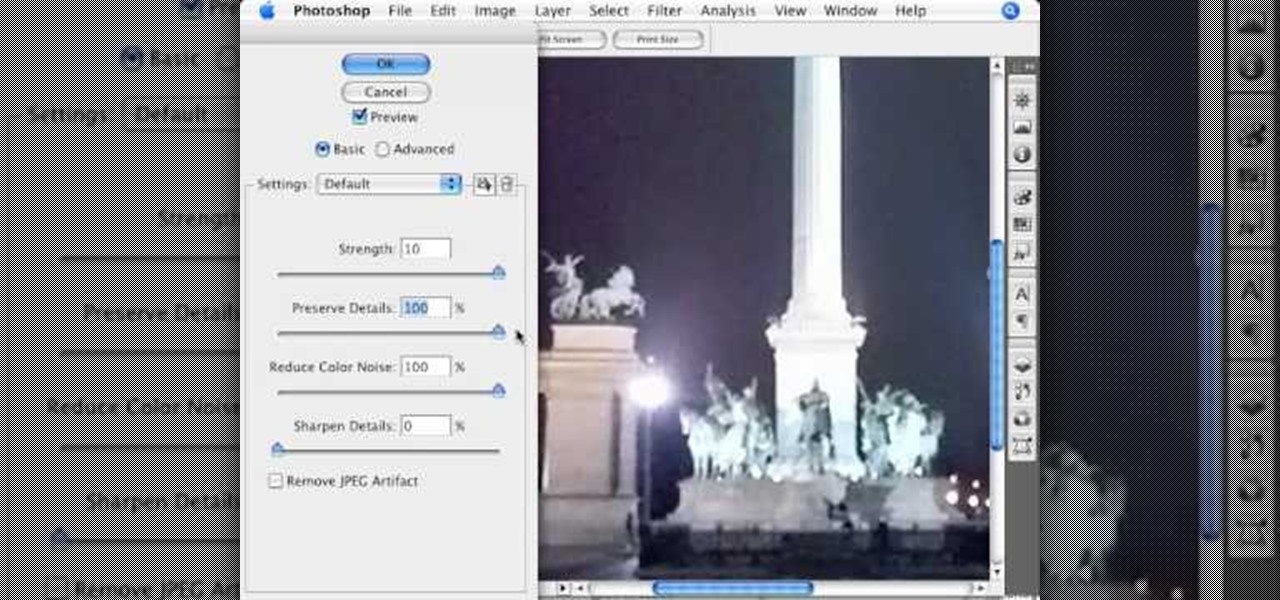
In this video by Photoshop Universe we learn how to reduce noise in a photo in Adobe Photoshop. First we learn that there are two types of noise in a photo, luminance and color noise. Next we learn that reducing noise is balancing act, as we take away noise we also lose some detail of the image. Finally the author goes over the 3 steps it takes to reduce the color noise that can be present in photos. Using these methods we learn that we can quickly clean up images that have noise in them in P...

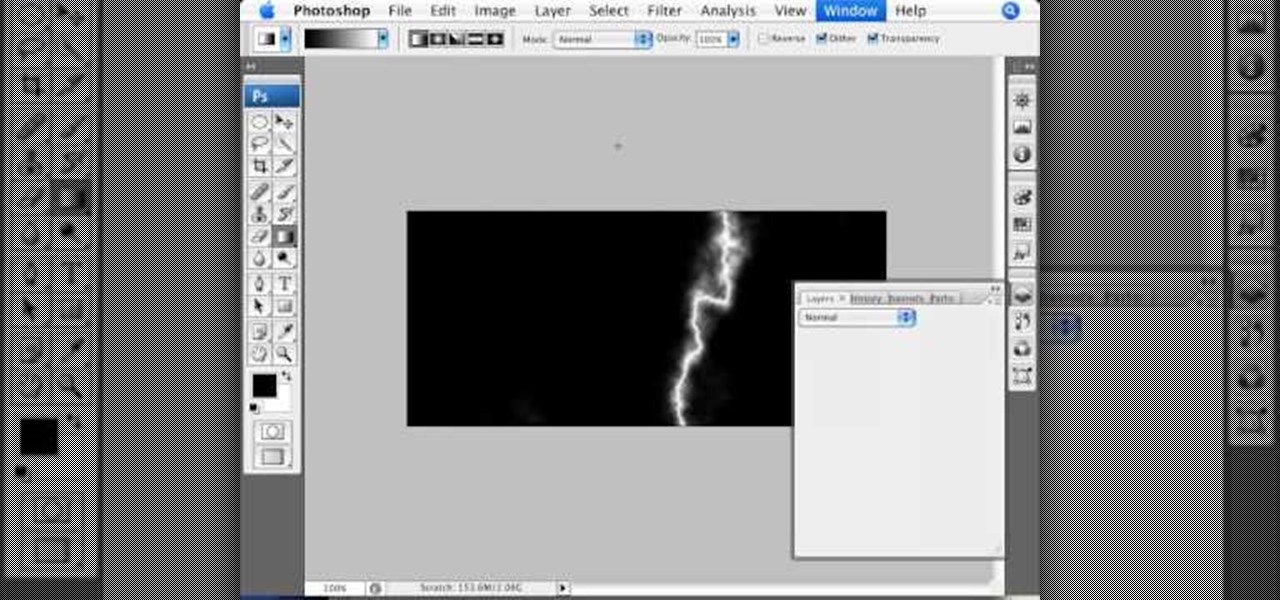
This video by photoshopuniverse shows you how to simulate lightning in a night time scenic photo. For this a night time scene is required. Open the image in Photoshop and create a new layer and with the gradient tool create a gradient as shown from the top left to the bottom right. Apply the filter, difference clouds on the layer and inverse the layer as shown. Exaggerate the lightening by using the adjust levels command. Change the layer mode to stream and tweak the hue and saturation so tha...

Change the Snow Leopard login screen with this video tutorial. Download and install the application Ravissant, an app that lets you customize the login screen in every aspect. Have a background image ready and an Apple logo image, if you want. Modified Apple logos can be found here , created by Evil-Slayer]. Open Ravissant, and you should see your login screen, but don't try to log-in! IMPORTANT! If you want to keep your original login screen, go to the top...

The Wedge ROP is a render output driver, which can be used to change variables on the fly while rendering. This can be very useful when simulating, in that you can test out different parameters to see the different results. It's a relatively new feature in Houdini 9.5.

An instructional video by tradigital artist Merrill Kazanjian. Step 1- Scan the image

Instead of using Photoshop, why not give Apple's Aperture a try? Aperture is designed more for post-production work for professional photographers, letting you cull through shoots, enhance images, manage massive libraries, and deliver stunning photos.

Instead of using Photoshop, why not give Apple's Aperture a try? Aperture is designed more for post-production work for professional photographers, letting you cull through shoots, enhance images, manage massive libraries, and deliver stunning photos.

One of the best extensions for Apple's Final Cut Studio is the visual effects and digital compositing application Shake. Shake is an image compositing package used for post-production, and it enables complex image processing sequences to be designed through the connection of effects "nodes" in a graphical workflow interface.

This tutorial shows you a few ways to use images to make custom face me components in Google SketchUp 6. Mike demonstrates how to make your own custom Face Me components in SketchUp, using some pretty funny pictures. You will need Photoshop or some soft or image editing software as well as SketchUp to follow this Face Me tutorial.

This beginners Photoshop CS3 tool will introduce you to the clone stamp tool. The clone stamp tool is most often used to eliminate parts of an image by cloning a part you DO want and "stamping" it over the parts you DON'T want. If you are new to editing images in Photoshop, you should definitely watch and learn how to use the clone stamp tool. This tutorial is best viewed at full screen.

Create a card with an embossing machine and chalk. Any embossed image can be colored in easily with a little big of chalk for a soft effect. Watch this video card-making tutorial and learn how to use embossed paper and chalk to make a card.

This tutorial explains how to create transparent images in Adobe Photoshop and how to turn them into smart objects.

In this GIMP tutorial you will learn how to overlay textures onto images to create cool effects. GIMP is a free image editing program available for Linux operating systems.

This video demonstrates how to make a greeting card using card stock, scrapbook paper, a stamped image and a stamped sentiment. Ribbon and a floral embellishment add the finishing touches to any greeting card. Learn how to make this beautiful card by watching this crafting how-to video today!

Watch this software tutorial video to learn how to use Google SketchUp to add your own 3D models to Google Earth. Remaking Google Earth in your image will be easy once you've watched this helpful how-to video.

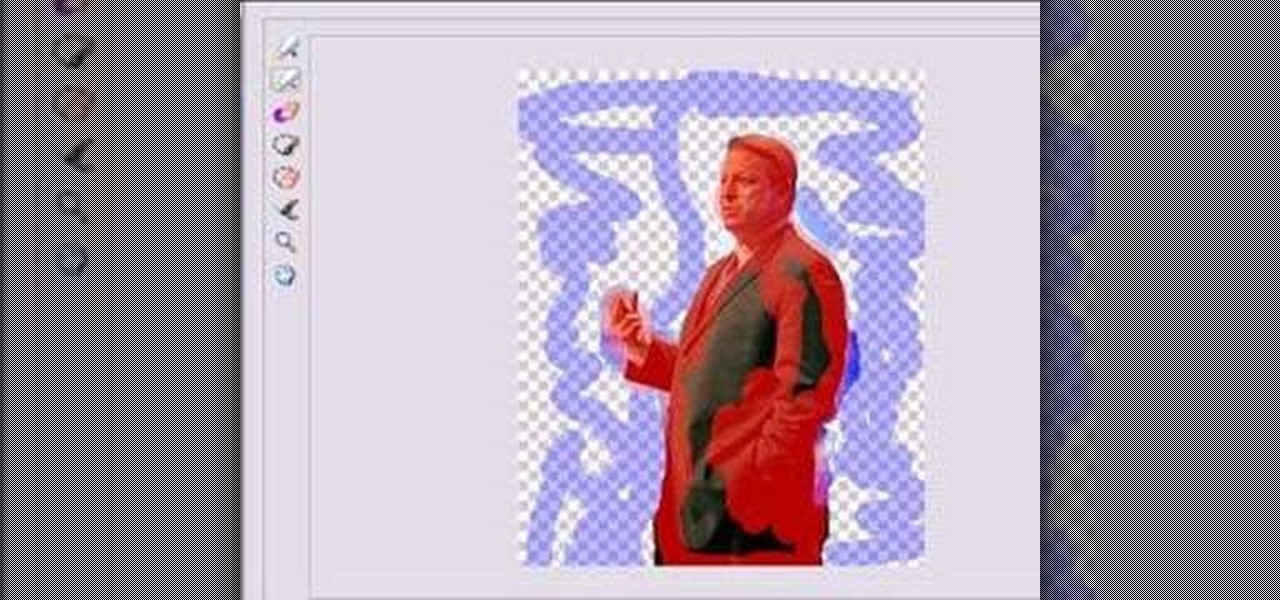
In this short tutorial Bill Myers shows how to extract any element from any image in Adobe Photoshop elements.

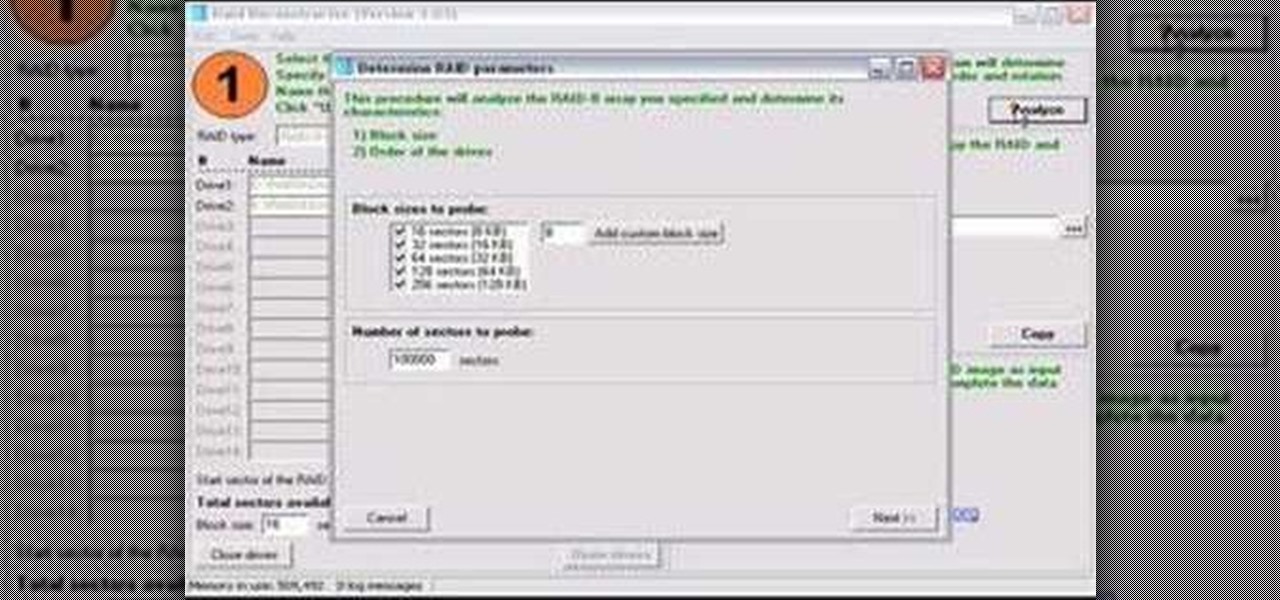
Check out this video tutorial on how to use the Runtime RAID Reconstructor software to create a destriped image with a two drive RAID 0. So, get your data back with this copy of your RAID to have recovery options for your computer. This program will collect, sector by sector.

This friendly tutorial guides us through the process of creating a simple animation from a still image, using Adobe Photoshop and Adobe After Effects. Although the narration is at times difficult to understand, the tutorial provides a good way to learn one common technique of integrating Photoshop and After Effects.

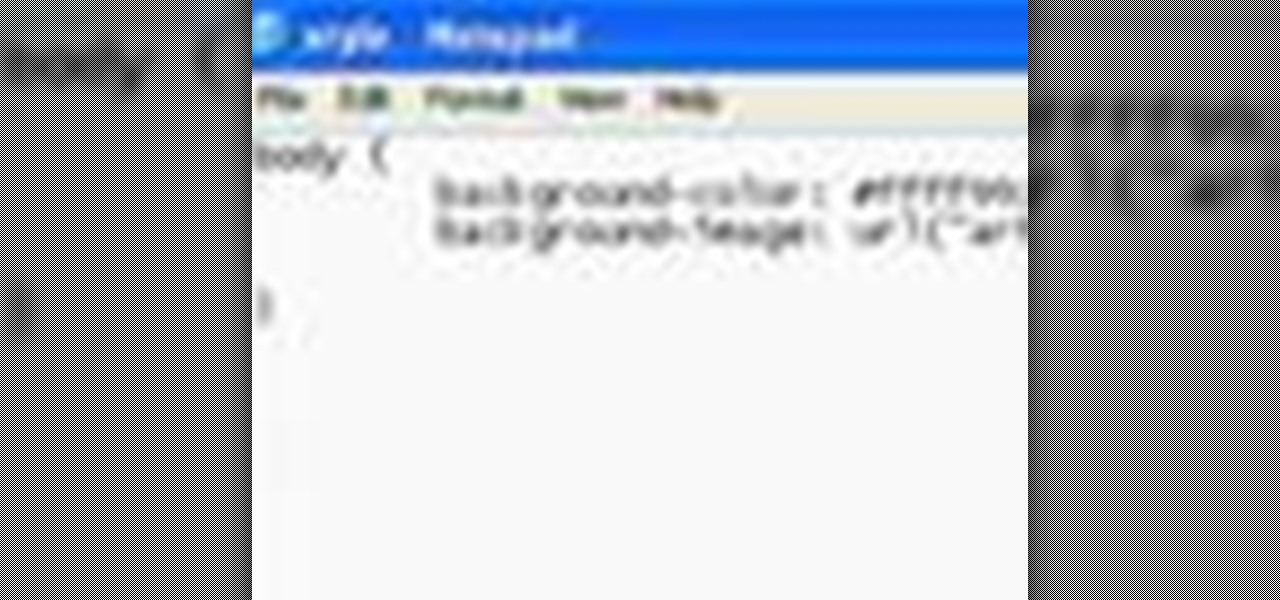
This video hows you how to upload a previously saved photo onto your webpage as the background image.

Need to capture an image from your desktop? Learn how to use the snipping tool in Windows Vista, and you can grab an image from anywhere on your computer screen.

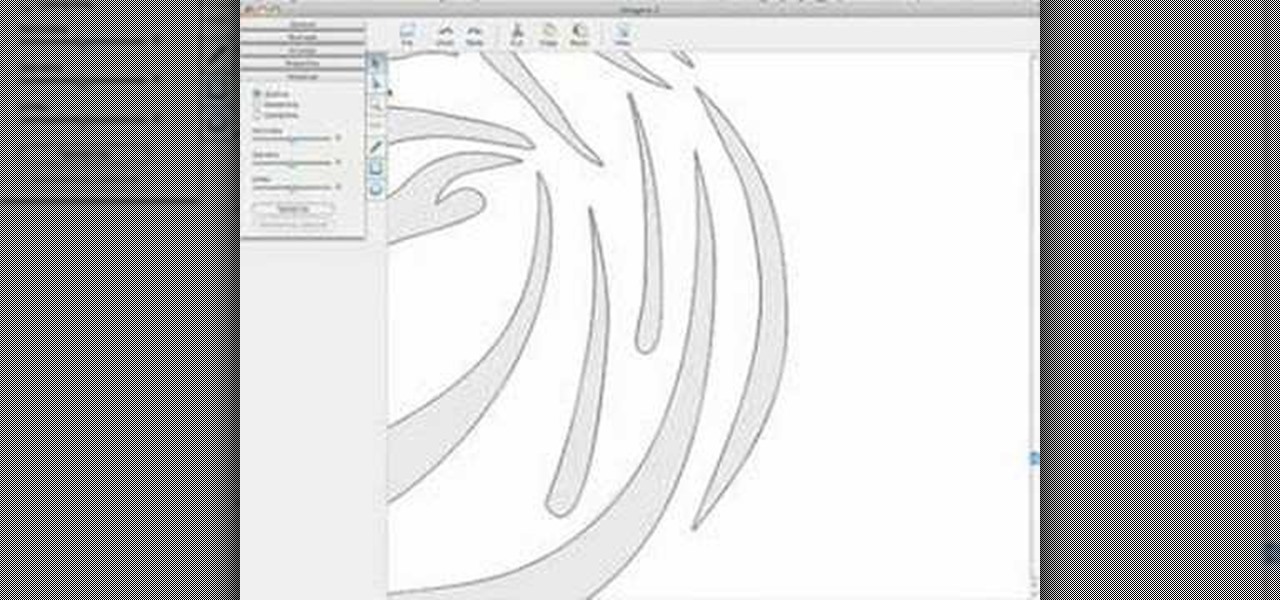
This video shows how simple converting an image to vector graphics can be using Imagaro Z.

This walks you through how to create an animated GIF image file that can be used in websites, as avatar's, as icons, etc. You'll be using Microsoft Paint to create each frame of the animation, and an application called Unfreez (found here) to animate them together.

Andy Coon made this tutorial so users of Final Cut Pro can learn how to blur out images so they won't get sued.
