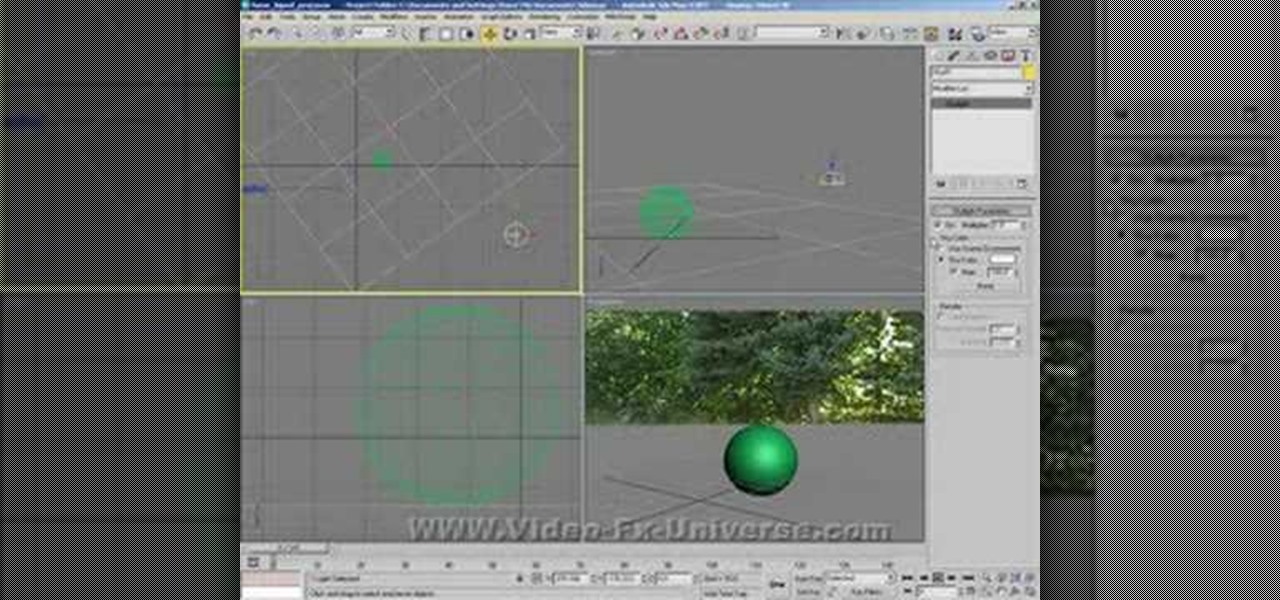
In this tutorial, we learn how to create a 3D shadow matte in 3ds Max. If you have a scene where you need a realistic looking background, you can trick doing this by using 3ds Max. First, go up to the rendering and go to environment. Add an environment map and then click on bitmap and find the image that you want to use. From here, make sure your map is highlighted, then right click and show the background. If you render this out, you will have a picture of the background you want. After this...
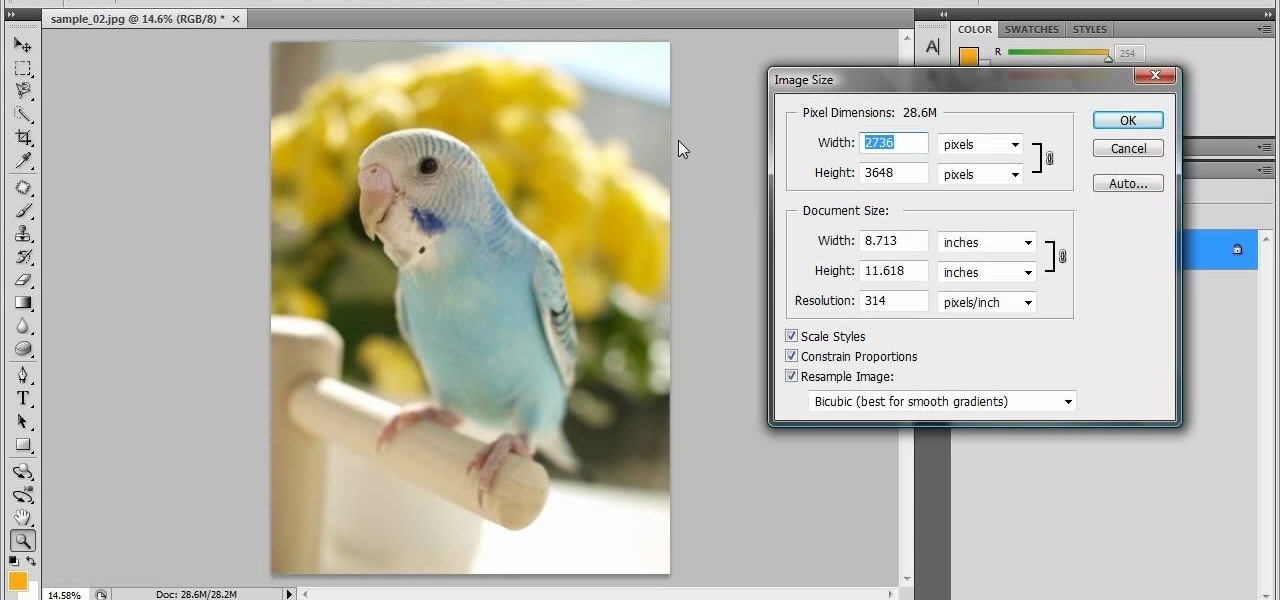
In this tutorial, we learn how to resize photos in Photoshop CS4. First, open up Photoshop and then open up your picture. The quality of your picture will effect the outcome of what it looks like when you resize, so use a high resolution picture for the best outcome. Now, go to image and then image size. From here you will change the width and height to what you need it to be. Then, you will need to click on the boxes at the bottom, click on all of them. When finished, you will save this and ...
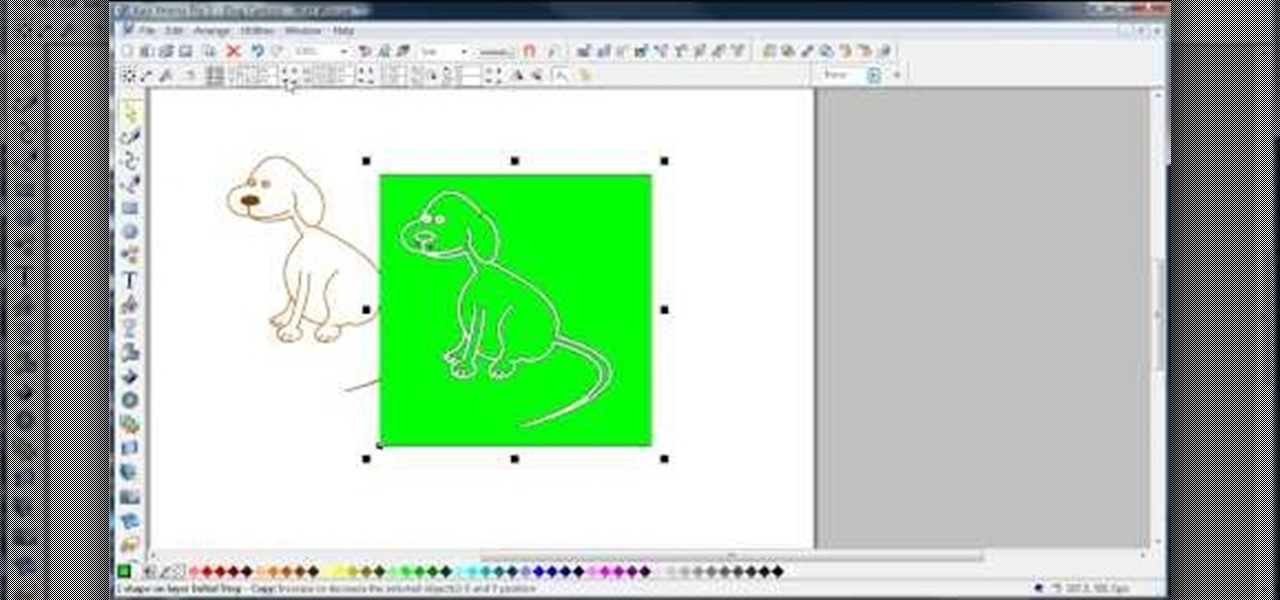
In this video, we learn how to join lines in Xara Xtreme. All the lines in this are independent, but they can be joined together to make an object. First, open up the object gallery and then duplicate the layer. After this, copy the image and increase the line size by four pixels. Then, go to "arrange" and "combine shapes". From here, the shapes will all combine together to make one total image. Make a rectangle around this and then select "subtract shapes". Combine the layers to finish, then...

In this tutorial, we learn how to make stencils in GIMP. Start with heads or faces if you are new to this. Then, use the rectangle tool to select the head. Then, go to image and fir canvas to selection. Now, remove the background by using the background tool. Once finished, go to colors, then threshold. The image should turn black and white. Turn the dial to the right, then turn it to the left to make it lighter and darker. Find the spot to where it shows detail but it's not distorted, then h...
In this video we learn how to create advanced shadows in GIMP. First, create a new image that's 500x400. After this, create different layers on the page and use the shadow and gradient to create different colors. As you do this, you can you can add in a layer mask to create a deeper shadow inside the image. Use a larger brush to make the shadowing fuzzy and then use the shape tool to drag it out and make it larger. Practice playing with the different brushes and gradients and have fun creatin...
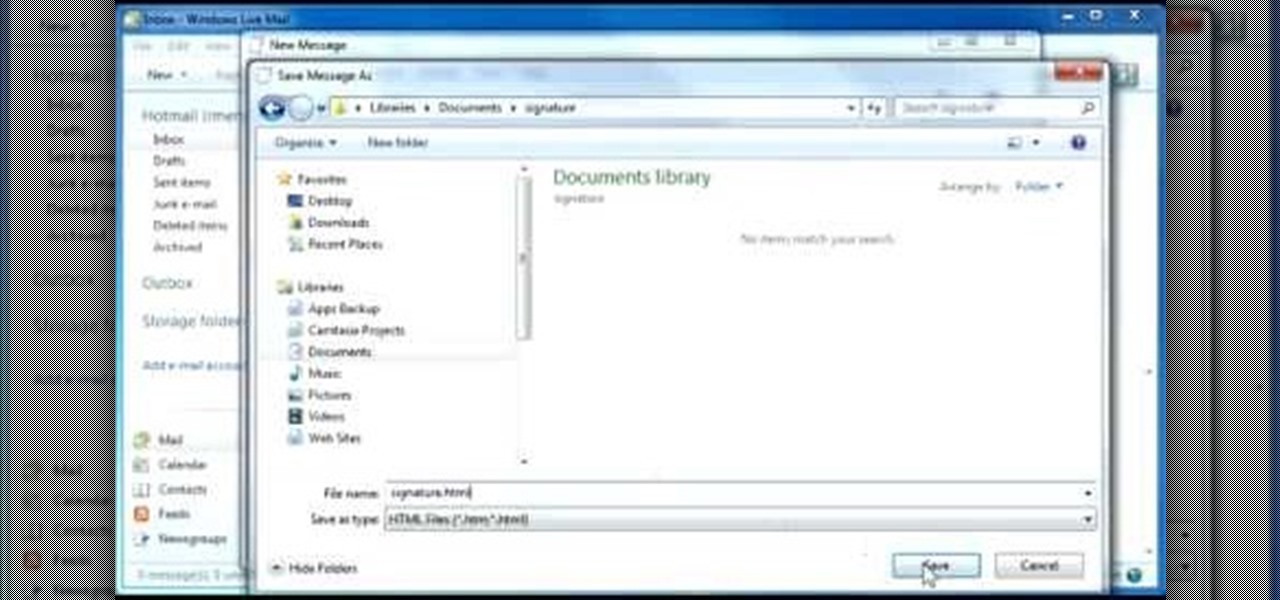
Whether you own a business or work for a company, you probably send out millions of emails every day corresponding with clients, PR, and whoever else you have to deal with. It's hard enough making sure you get around to all of them, but what's more is that even after you've finished composing the message you have to add your name, company name, phone, etc.

In this tutorial, we learn how to clone yourself in GIMP. First, open up GIMP on your computer and then open the picture where you want to clone yourself. After this, open the other picture where you want to copy yourself and right click to copy it. Now, create a new background layer for your main picture. Use the lasso tool to cut out one of yourself inside of a picture, then transition it into the main picture. Exit out of the other image, then start to edit the colors and opacity in the fr...

In this great two-part video you'll learn how to change the basic color scheme of the Arjuna X theme on WordPress. The video uses the program GIMP, a free image editing program as an alternative to Photoshop, to help create new images for your header and page.

In this video, we learn how to use your Cricut to save money on scrapbook paper. First, place the mini monogram cartridge into your Cricut machine. Then, place your paper onto the 12x12 cutting mat. Now, load your paper into the machine, then press the scalloped circle and the fit to page buttons. Then, press cut and let the machine do all the work. Once it's finished, unload your paper from the machine and remove the outside portion of the image. Now, adhere it to the white piece of scrapboo...

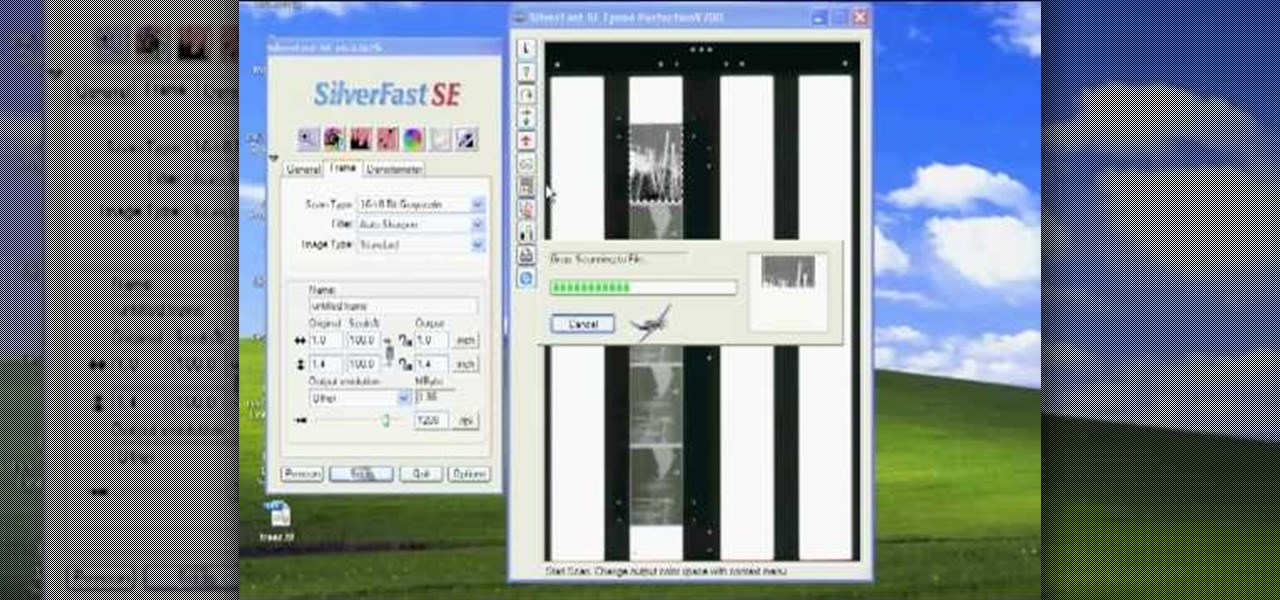
In this tutorial, we learn how to scan and edit negatives with SilverFast and Photoshop. First, open up the software and lay your negative in the scanner. Make sure you have selected the correct settings when you go to scan it, and click that it's transparent. Also, you will need to increase the size of it and make sure the lighting is correct. Now, scan the image and load it onto the software. Once it's loaded, you will be able edit it by zooming in and then rotating the image so it's the co...

In this video, we learn how to use the web application, Sumo Paint. First, go to the website Sumo Paint and the website will start to load in a new window a Flash application. Once it's fully loaded, you will be able to add an image and then start to edit it. There are several different tools available on the side, whether you need to resize, crop, erase, or anything else to your picture! This is a great website for editing and makes everything simple. There is also a toolbar on the top where...

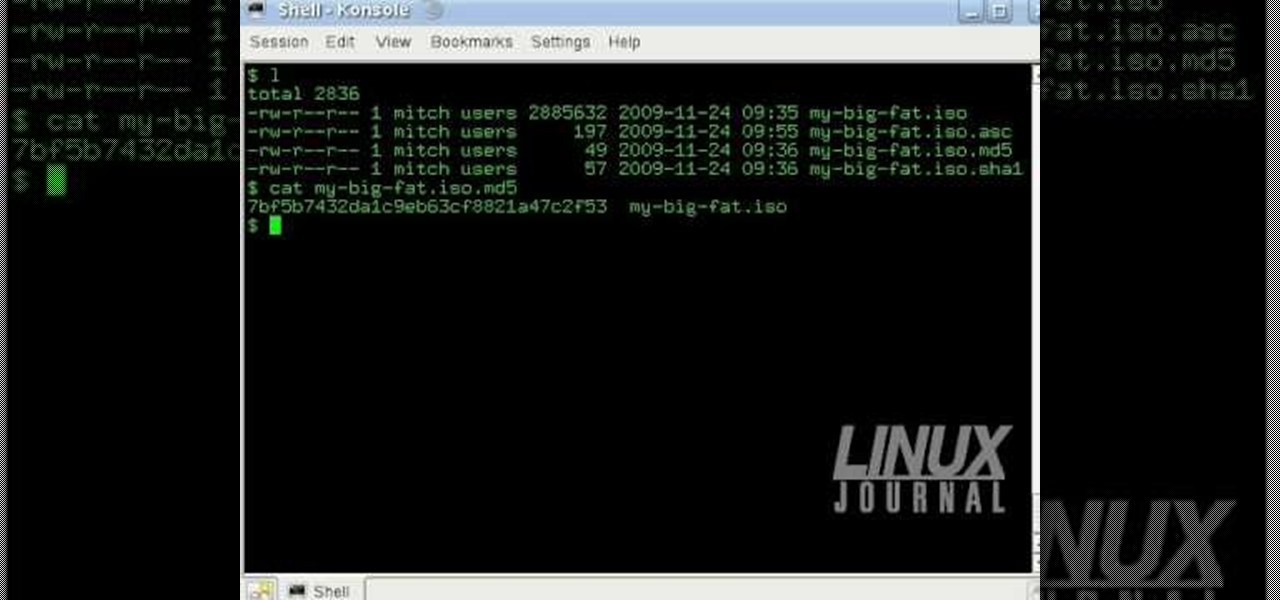
In this tutorial, we learn how to verify your ISO images before burning them. First, download the MD5 or SHA1 sum files. These will be able to verify your files are successful before you burn them to a CD or DVD. You can look at the different files to see what is inside them by typing in the name of the file and wait to see if it says it's okay. If it has something wrong with it, it will tell you something is wrong, then you can avoid downloading this and burning it for a CD or DVD. This is a...

In this video tutorial, viewers learn how to draw the black Spider-man in Adobe Photo-shop. Begin by drawing the shape of Spider-man and then scan it. Now extract the ink from the white page. Then change the ink from black to white. Make the background black. Then fill the entire figure of the character in black color, using the pencil tool. Now create a blue layer over the entire image. Add white to the eyes and center spider symbol. Finish by adding details and a spider web in the backgroun...

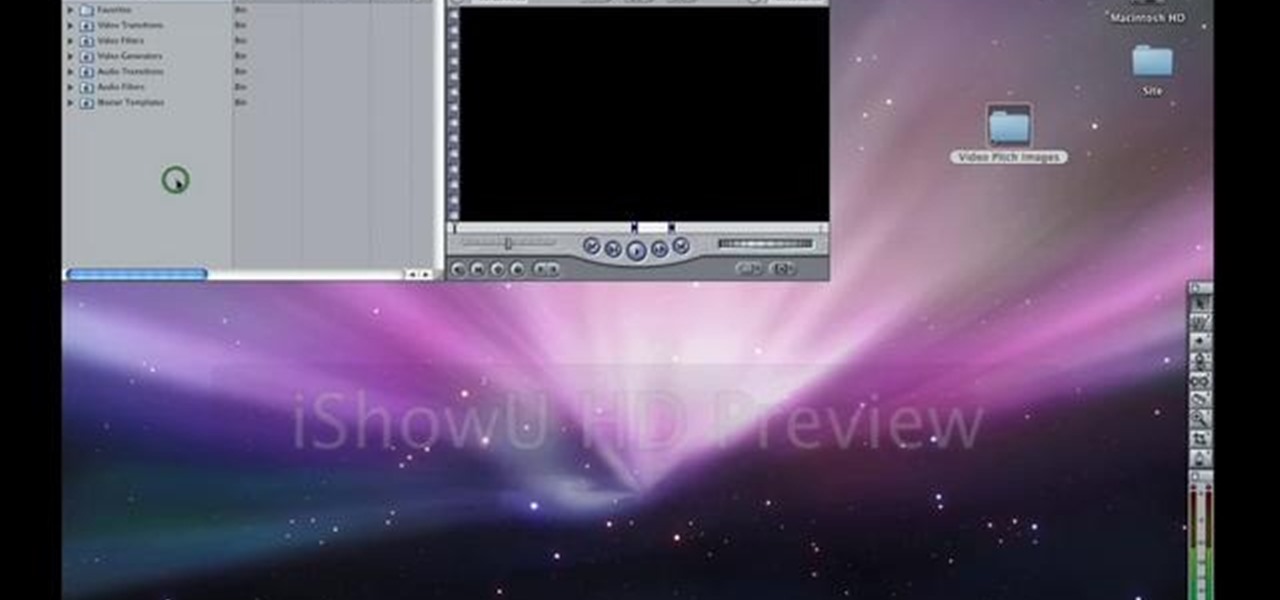
This clip runs through how to edit a sequence of images in Final Cut Pro and then how to incorporate an audio track using the voiceover tool in Final Cut. In this video software tutorial, you'll learn how to navigate and use the graphical user interface or GUI in Apple Soundtrack Pro 3. Whether you're new to Apple's Final Cut Pro video editing suite or just want to better acquaint yourself with the Final Cut Studio workflow, you're sure to benefit from this free video tutorial. For specifics,...

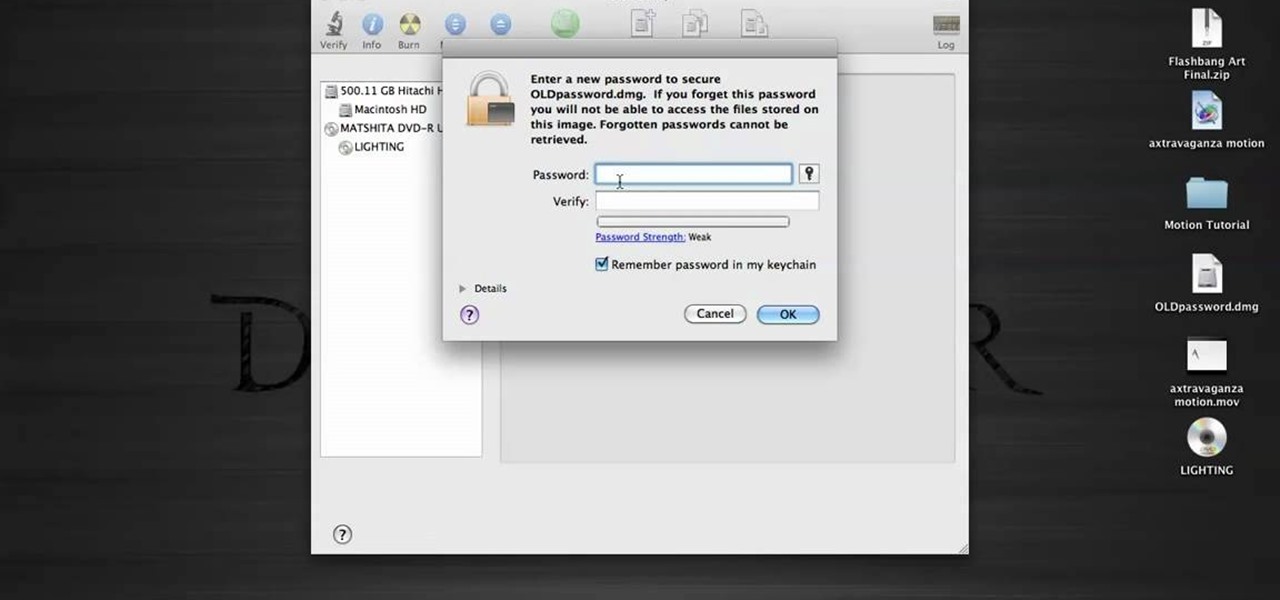
In this tutorial, we learn how to password protect a folder in Snow Leopard on your Mac. First, go to the finder and click on "utilities". Now go to "file, new, disk image from folder". Now, you can select the folder you want and then click "image". Make it a read/write folder so you still can edit the files and enable the encryption. Save this, then it will ask you for a password. Create a password and then verify it. When finished, uncheck the "remember my password", then click on "ok". Now...

In this video tutorial, viewers learn how to light-scribe with a Nimbie BB11 disc burner. This device is an auto disc loading system that allows the user to light-scribe multiple disc without manually inserting them one-by-one. Simply load the disc into the machine with the labels faced down. On your desktop, double-click on the Q-Q-Box icon to start the program. Start up the labeling function, select a desires image and quantity up to 100. Then click on Print. The machine will then product l...

See how to spin images using Blender. First, you'll see how to use the UV-Textured plane rig and physically rotate the mesh. Next, you'll see how to use Nodes, and then the Sequencer. This clip discusses Orthographic camera scaling, animation, and considerations about clipping. Whether you're new to the Blender Foundation's popular 3D modeling program or a seasoned graphic artist just interested in better acquainting yourself with the application, you're sure to be well served by this free vi...

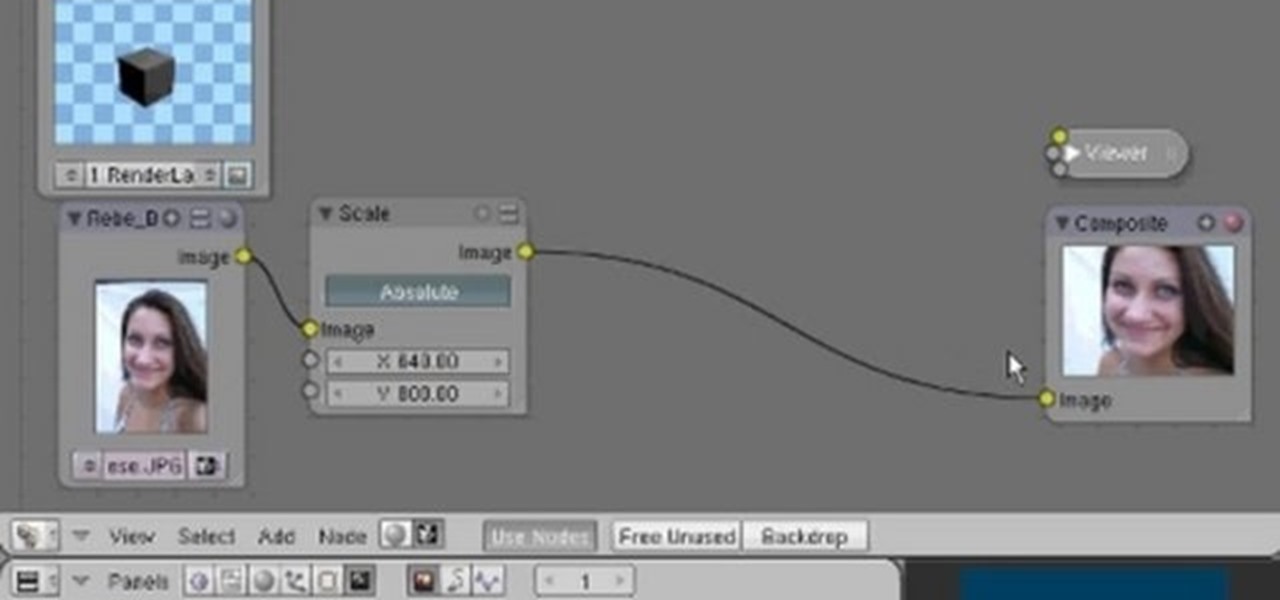
In this tutorial, you'll see how to use the Scale Node in the Blender Compositor to manipulate an image. You'll see how to stretch it, spin/rotate, and have all sorts of fun with uniform linear distortion. The clip discusses the difference between resolution handling between the renderer and the node system. Hence we have the scale node to scale an input image at one resolution to match the render resolution. I discuss using Absolute scaling, and relative/percentage scaling, relative aspect r...

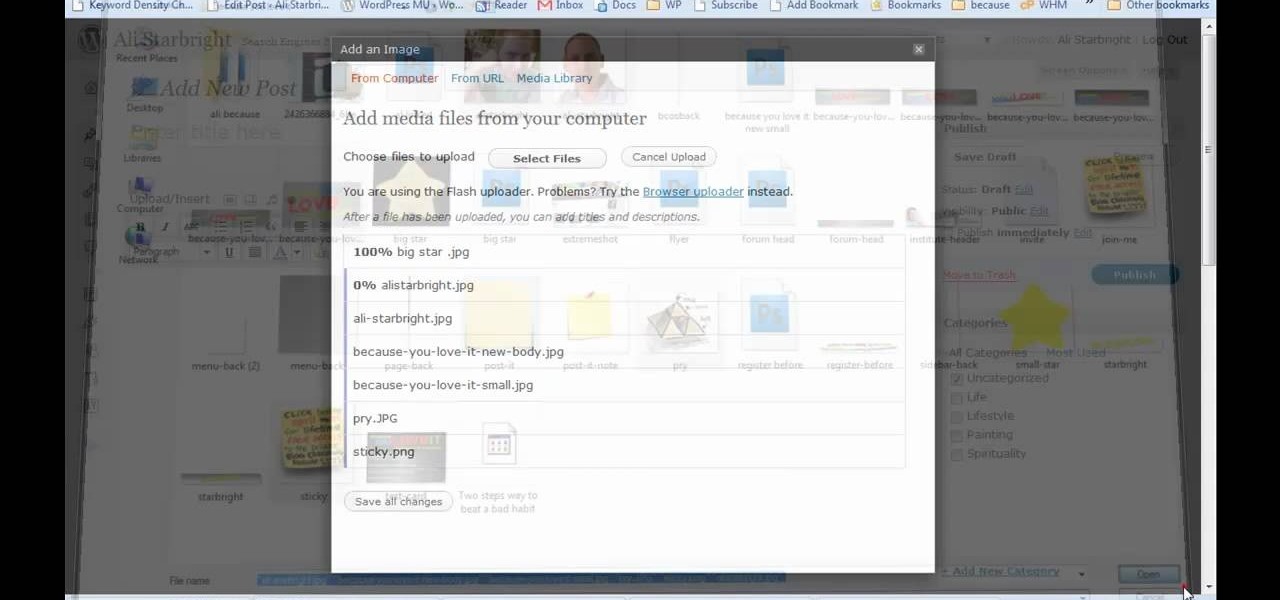
Here is a step by step tutorial on inserting media (images, audio, video etc), from your computer, into your blog posts and pages. Every version of WordPress brings with it new features, new functions and new ways of doing things. Fortunately, the very same technology that allows an open-source blog publishing application like WordPress to exist in the first place also makes it easy for its users to share information about the abovesaid things through videos like this one. Take a look.

If you need to display thumbnails on a WordPress page and link the smaller thumbs to the original larger pictures, this post shows the process involved, using the Lightbox plugi,n which creates a special overlay effect when an image link is clicked on. Every version of WordPress brings with it new features, new functions and new ways of doing things. Fortunately, the very same technology that allows an open-source blog publishing application like WordPress to exist in the first place also mak...

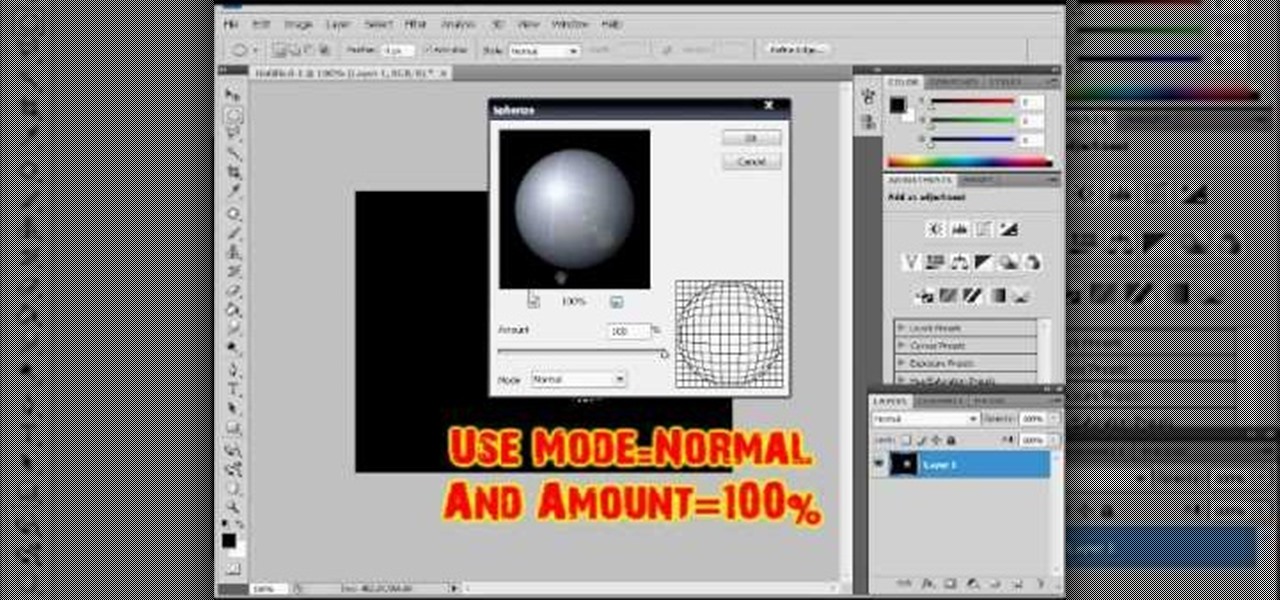
In this video tutorial, viewers learn how to make a shiny glass ball in Adobe Photo-shop. Begin by creating a new document with the default size and a transparent background. Then paint the entire background in black. Now select the marquee tool and create a circle anywhere in the background. Now go to filter, click on Render and select Len Flare. Make the lens flare 105 mm prime with 141% brightness. Then go to Filter, click on Distort and select Spherize. Use normal mode and set the amount ...

Check out this tutorial and make Windows 7 you're own by customizing the log in screen. This is fun to do and will, no doubt, make you feel more connected to your PC.

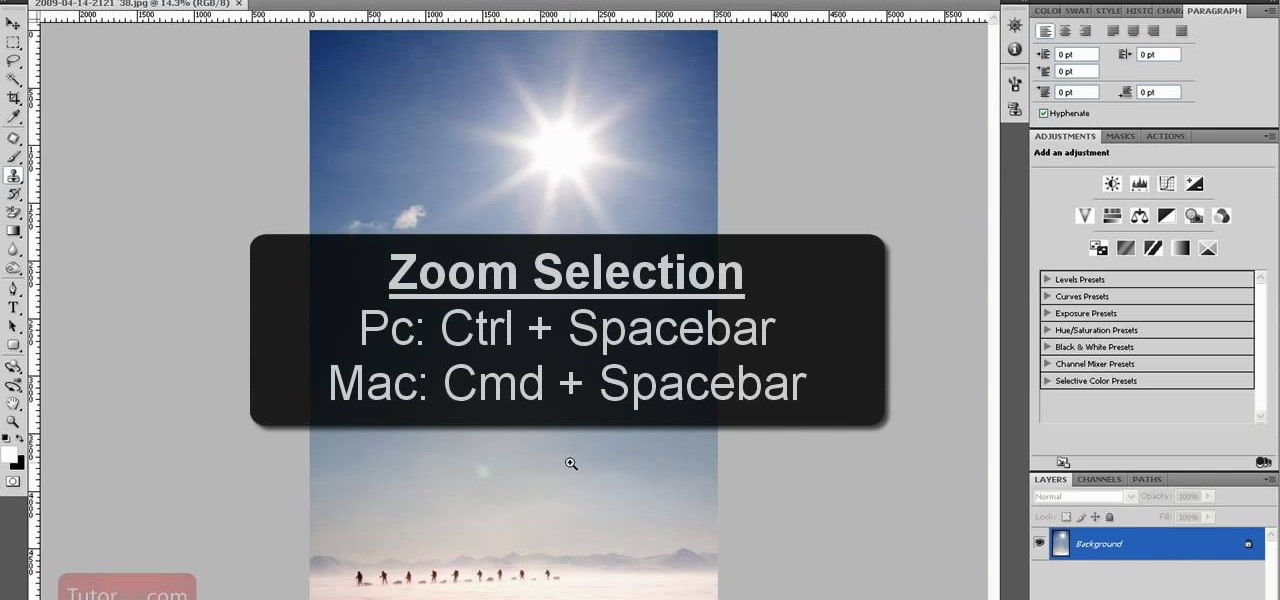
Being able to zoom in and out of an image in Photoshop can save you precious time and can be more effective. If you don't know how to do so, it can be challenging. There are various ways to do so and this video tutorial is going to show you them. So find out how to zoom in and out and move your image in the workspace in Photoshop CS4. Sit back, take notes, and enjoy!

The only thing that can get in the way of your creativity being used in Photoshop is yourself. The software has so many different tools that can be used to add color to a lifeless photograph or remove unwanted imperfections such as moles and body fat. Another thing it can do is blend images together. And that's exactly what this tutorial is about. Find out how to blend and merge faces together using Photoshop. Enjoy!

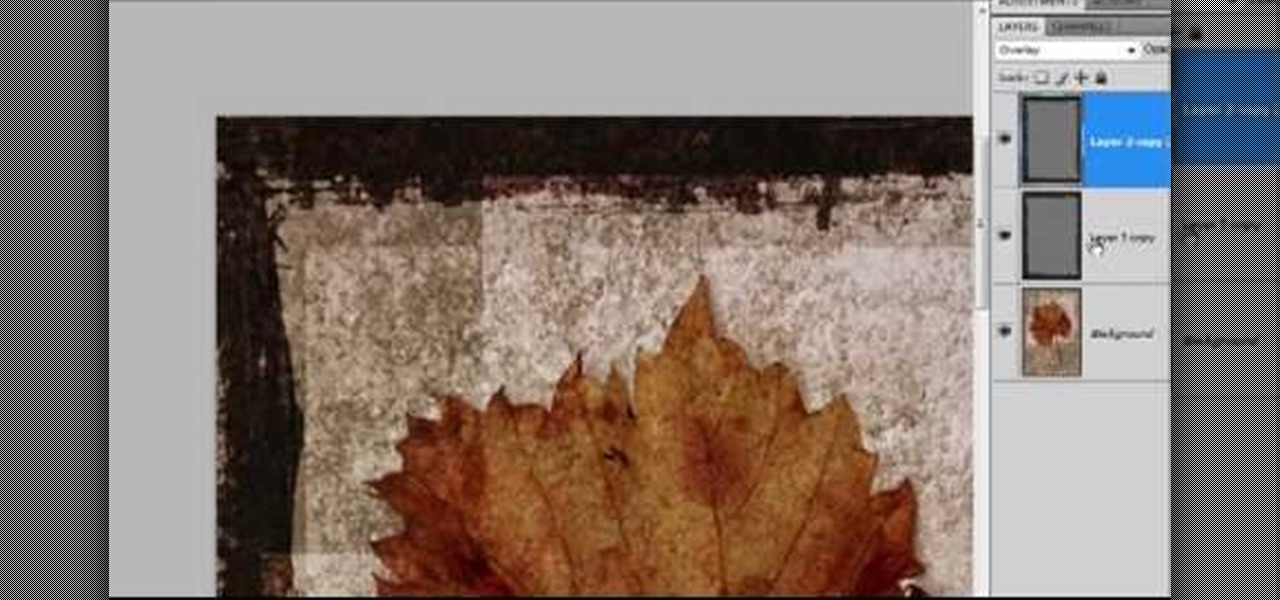
Photoshop is filled with all sorts of fun little tricks it can take hours just to use some of them. From the folded paper look, to a create an awesome stencil image, Photoshop can do so much! So in this tutorial, find out how to make a cool painted grunge border with the infamous software. Enjoy!

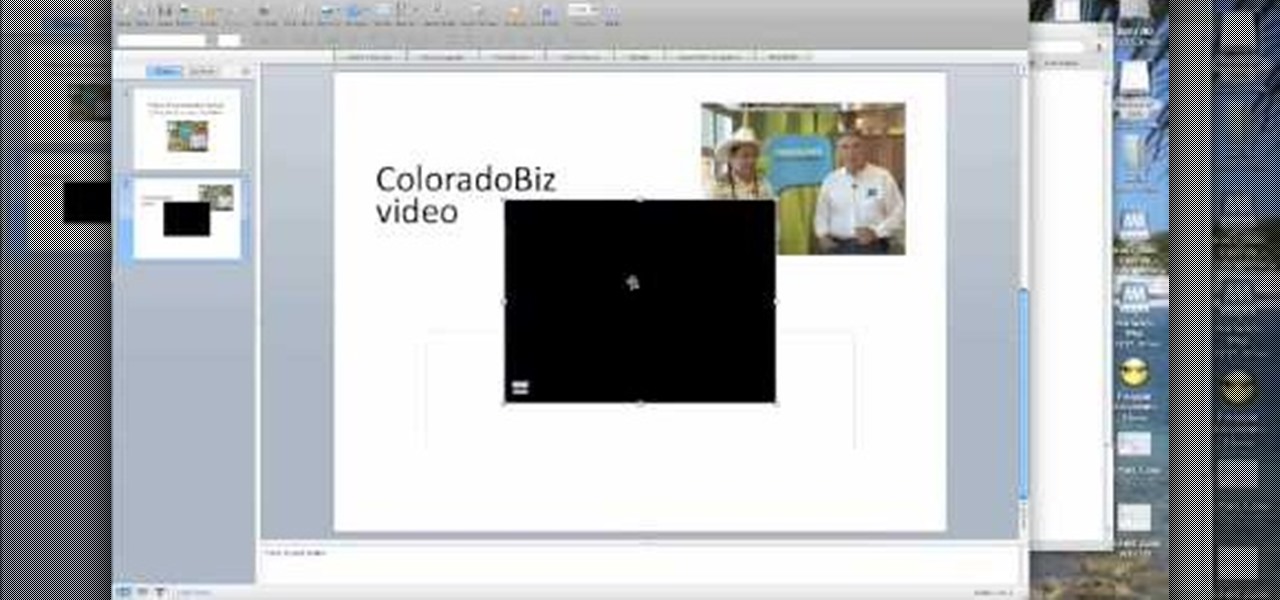
One of the best ways to get your point across during a PowerPoint presentation is to use video. This way, you can not only tell your classmates, students or coworkers about your subject with words and images, but you can actually show them with real footage.

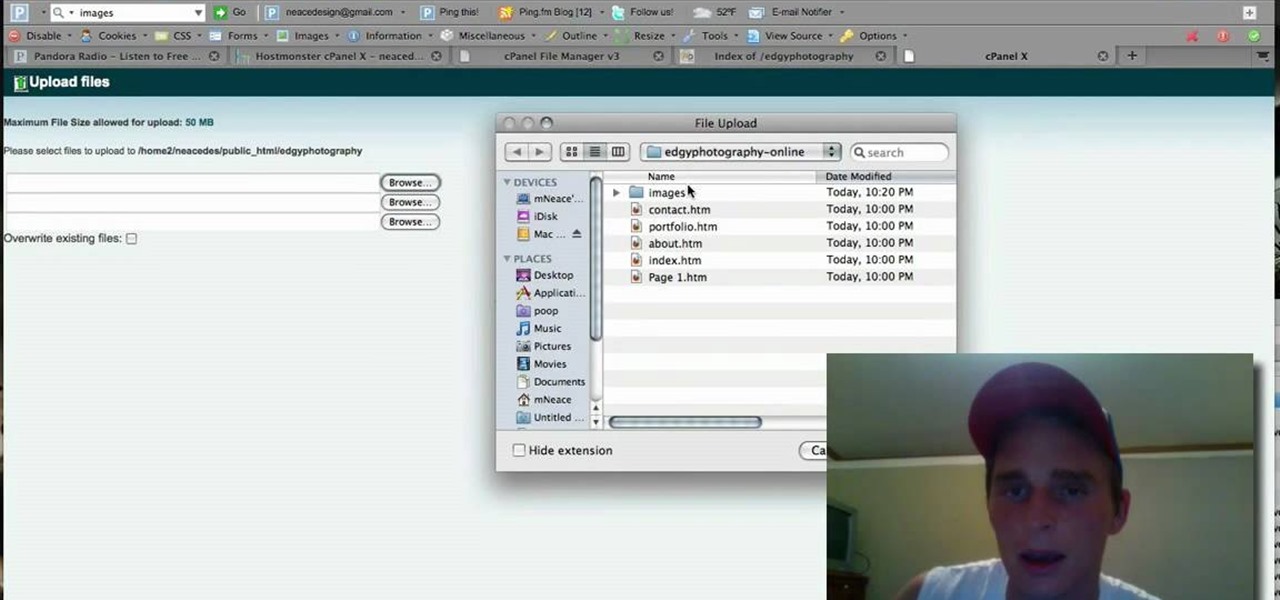
NeaceDesign explains an easy method of setting up a website online without having to use FTP programs. He begins with correcting an error made previously in which the main web page was name 'Home'. This should be renamed to 'Index' and the file re-exported. NeaceDesign suggests going with well-known web-page hosting services such as 'hostmonster'. The first step is to go to File Manager and upload the image files to a new folder. This is done by sending all the files to a zip folder and then ...

The first step is to select a photo of a black, glossy car. Using the Lasso- polygonal tool, select the outline of the car. Once the image outline is complete, the dots animate around the image. The next step is to deselect the areas on the car where the chrome paint is not required. To do this, follow the same procedure as above holding the ‘Alt’ key (a minus sign appears next to the cursor). Once the selections are done, go to ‘Image’ menu, select ‘Adjustments’ and click on ‘B...

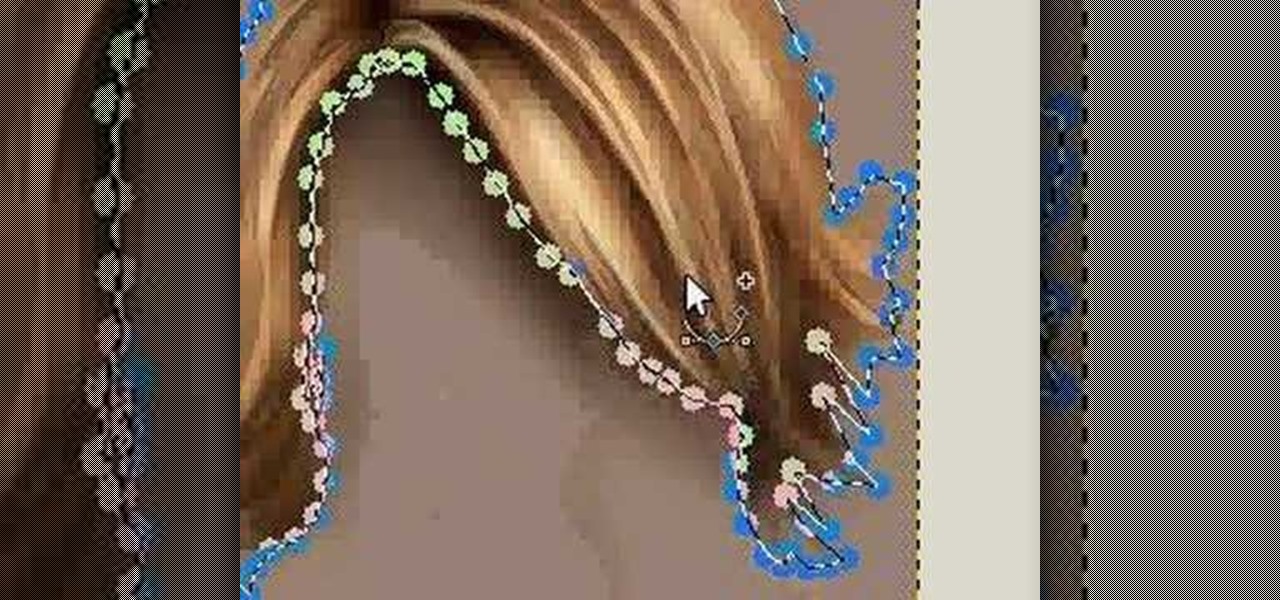
In this how to video, you will learn how to change hair color in a photo using GIMP. First, download and install the program. Open it and find the image you want to change. Next, zoom in to get a full view of the hair. Now you should go to the paths tool. Highlight all around the hair to select it. Once this is done, go to select and select From Path. Marching ants should go around the selection. Now, go to colors and select Color Balance. Adjust the color sliders to change the hair color. On...

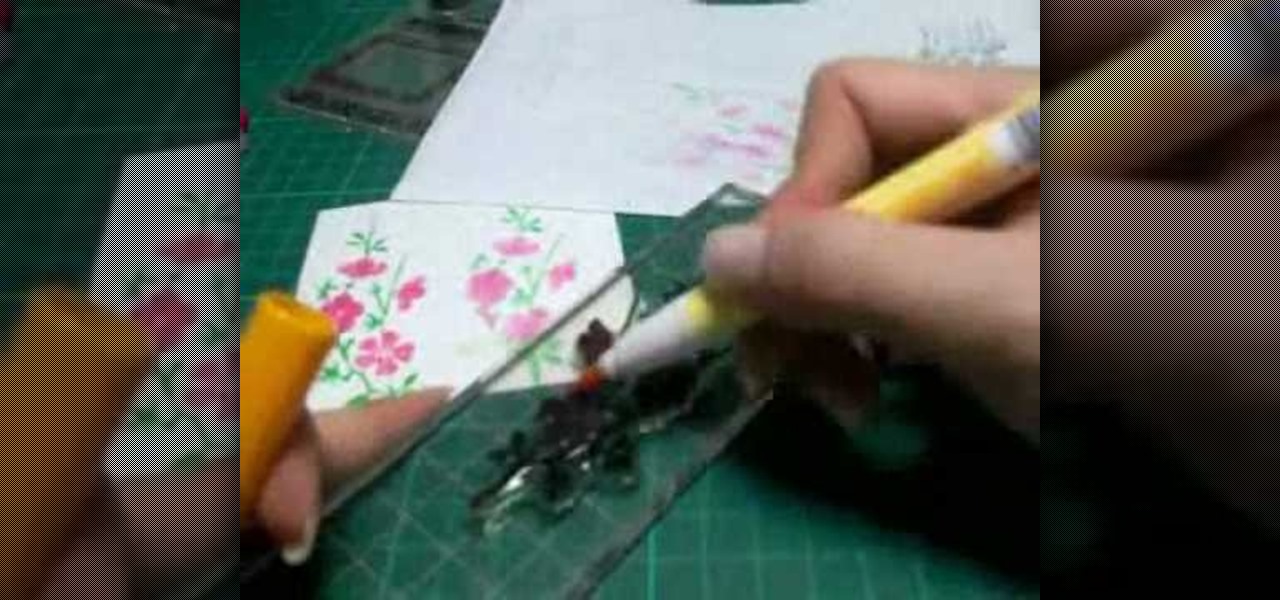
In this Arts & Crafts video tutorial you will learn how to use markers & water to create a watercolor stamp look. You can use rubber and acrylic stamp for this. You will need water based markers, minimister and card stock. Select you stamp and color it with markers as you would do in a painting. For example, you can color the leaves green and flowers red. You can also apply different shades. Then spray water with the minimister and stamp the image. Just stamp and lift, don't keep it too long ...

In this how-to video, you will learn how to see high quality pictures of your own house. First, go to your web browser and click on Maps and Directions in the directory on the MSN website. Next, click on locations and type the address of your house or whatever place you want to see. Once this is done, click on bird's eye to get a closer photo of the area. Next, click zoom in until you get an even larger image. You can also click on the picture and drag to move around the image. This video sho...

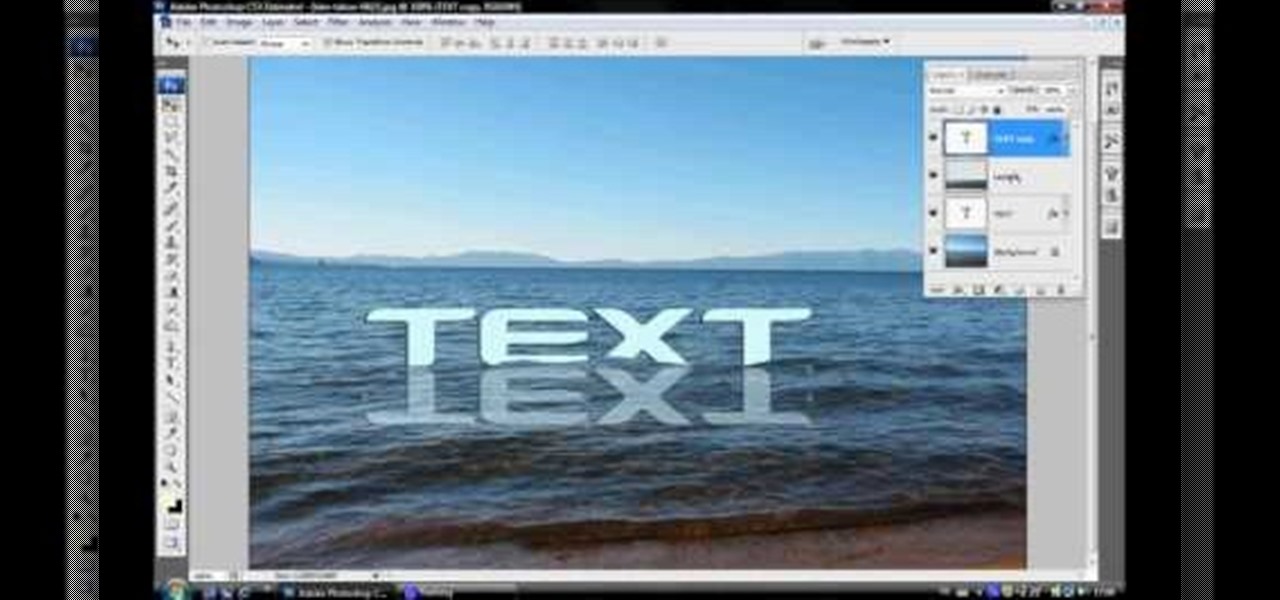
In this video tutorial, viewers learn how to make floating text on water. Begin by importing the water image into the program. Begin by selecting the polygonal lasso tool in the toolbox and select the top of the water. Once you have made the selection, right-click on it and select Layer via Copy. Then select the text tool and type in your text. Create a contour to make the 3D and give the text a light color. Then place Layer 1 over the ext layer and use the selection tool to place it behind t...

This video demonstrates how one might be able to successfully create an Ubuntu Bootable CD-ROM. The procedure described involves downloading the Ubuntu Desktop Edition Operating System image off the Ubuntu web site. In order to successfully create a usable disc, one needs to burn the image file onto a blank CD-ROM, using the Disc Utility application. Once the disc is burnt, one needs to insert the disc into one's computer, and then boot from it using the menu that pops up. If you are new to U...

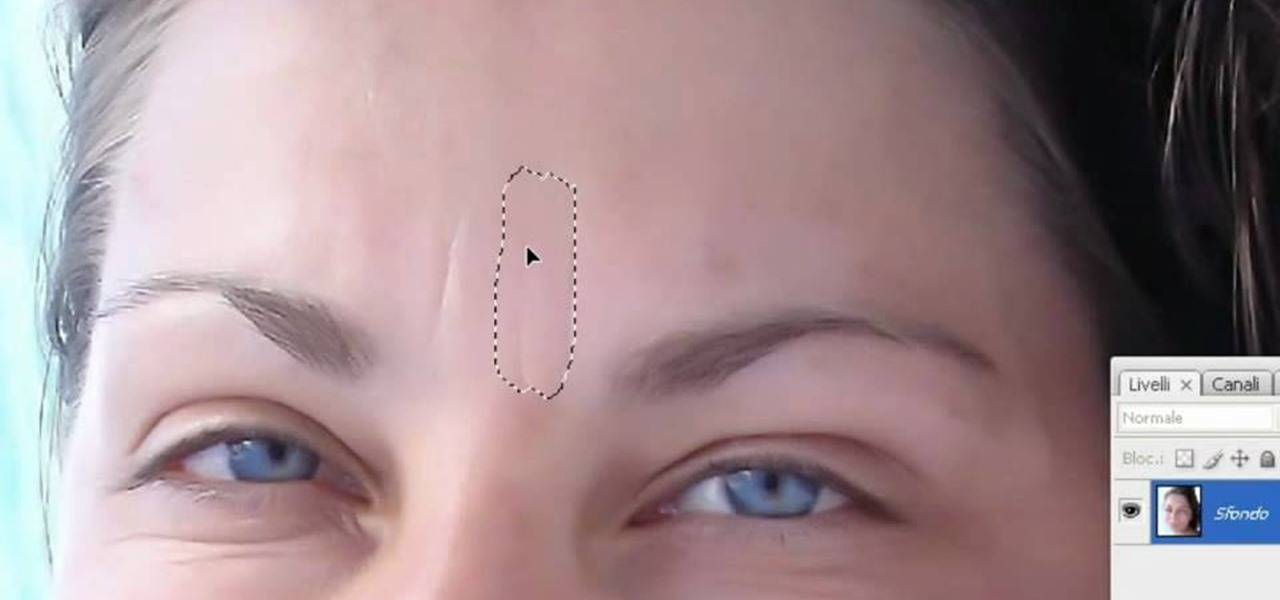
In this video tutorial, viewers learn how to smooth skin with noise-ware plug-in using Adobe Photoshop. Users will need to first download the plug-in to be able to use it from the menu of the filters. Now modify the values of Noise Level Adjustment and Noise Suppression. Max the Luminance and set the other values to 50%. Click on the preview from above to see the difference. Then use the filter a second time to make a stronger effect. Any small wrinkles can be eliminated with the patch tool. ...

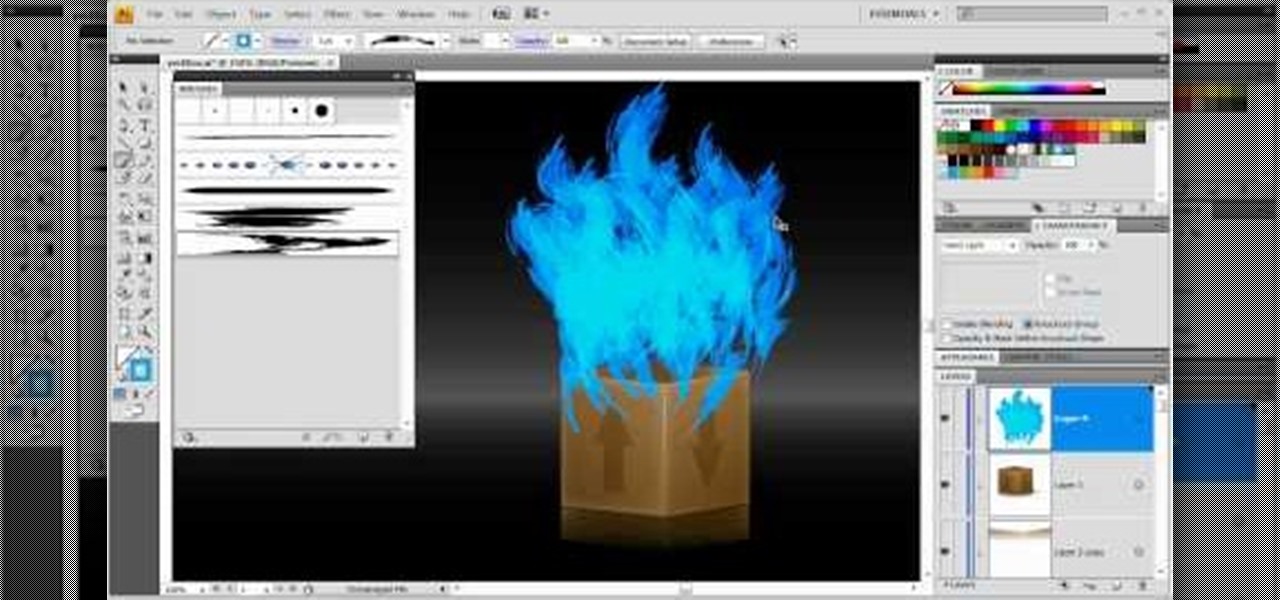
If your graphic requires a little fire, check out this tutorial and learn how to draw very cool looking flames in Illustrator.

In this video, we learn how to lose weight using the liquify filter on PhotoShop. Before beginning, open up PhotoShop and the image you want to adjust. First, click on "filter" then "liquify". Next, use the forward warp tool and adjust the size of the brush to the body part you want to change. click on the body parts to make them smaller. Push in the body parts you want to be smaller, pushing in small parts one at a time. If you do too much, the picture will become blurry and it will not look...

Ali440134 demonstrates how to make a bootable ISO image or a CD / DVD disk. Making a bootable ISO disk is easy and requires just a few simple steps to complete. First, use the Magic ISO program to make the disk. Open Magic ISO and click your desired file. Then, click the open button. Your Magic ISO panel should then say Bootable which means that you can make a bootable disk. Next click tools and under the tools drop down menu click the burn CD / DVD with ISO option. Then, select your file and...

Clicks are made on "Image",then "Adjustments", followed by "Brightness/Contrast" ; contrast is set to 30 and brightness is set to 60 to add more light to the picture. "Adjustment", "Variations" are clicked in that order and both yellow and red are increased. "Filter", "Render", "Lightening Effects" are chosen in that order and a new window appears; within which the style is set to "Soft Omni". The brightness is decreased ;similar to the way it was increased, and contrast is increased to 60. T...

In this video, Merill Kazanjian explains a new effective strategy for drawing cartoons for new artists who wish to draw what they see. For this, we need a highlighter, pencil and a paper. Use the highlighter to make a silhouette of the character. Now draw the outlines of the character correctly over the mass drawing.You will get a perfect cartoon image by doing so. If you are new to drawing, it is recommended that you draw the mass drawing somewhat the same size of the image. It takes about t...

In this video tutorial, viewers learn how to change the color of eyes using Adobe Photoshop. Begin by selecting the Magnetic Lasso tool and create a selection around the eye. To create a second selection without losing the first one, hold the Shift key. Now go to Image, click on Adjustments and select Hue/Saturation. Now adjust the hue and saturation of the eye to change the color. This video provides a visual demonstration for viewers to easily follow along. This video will benefit those vie...


