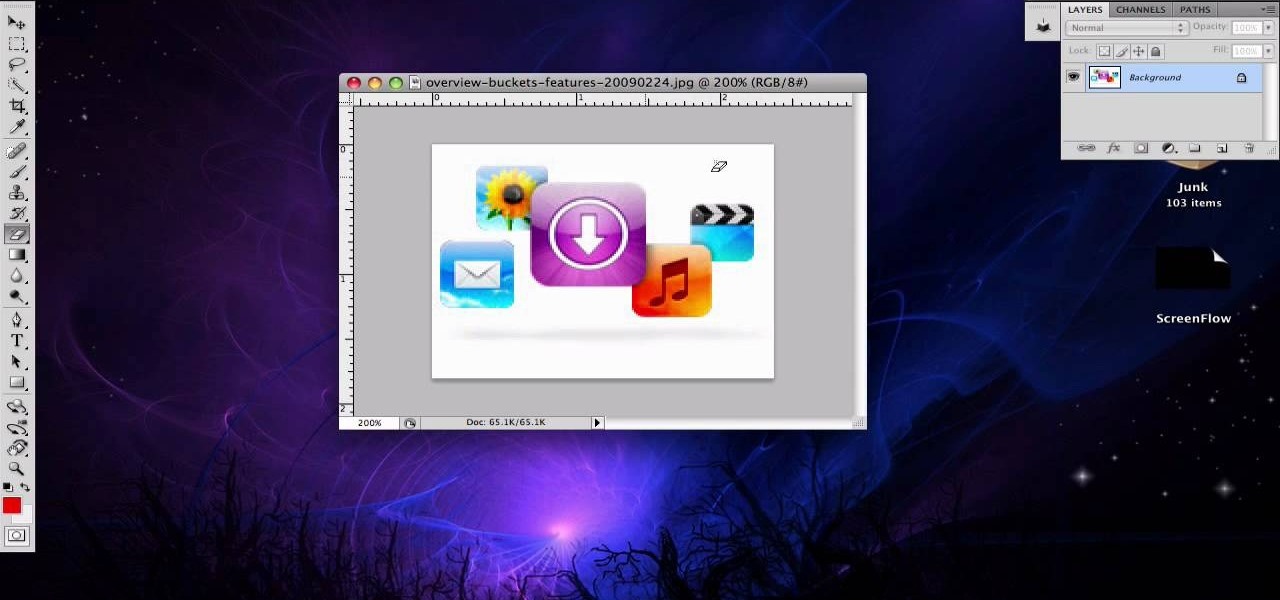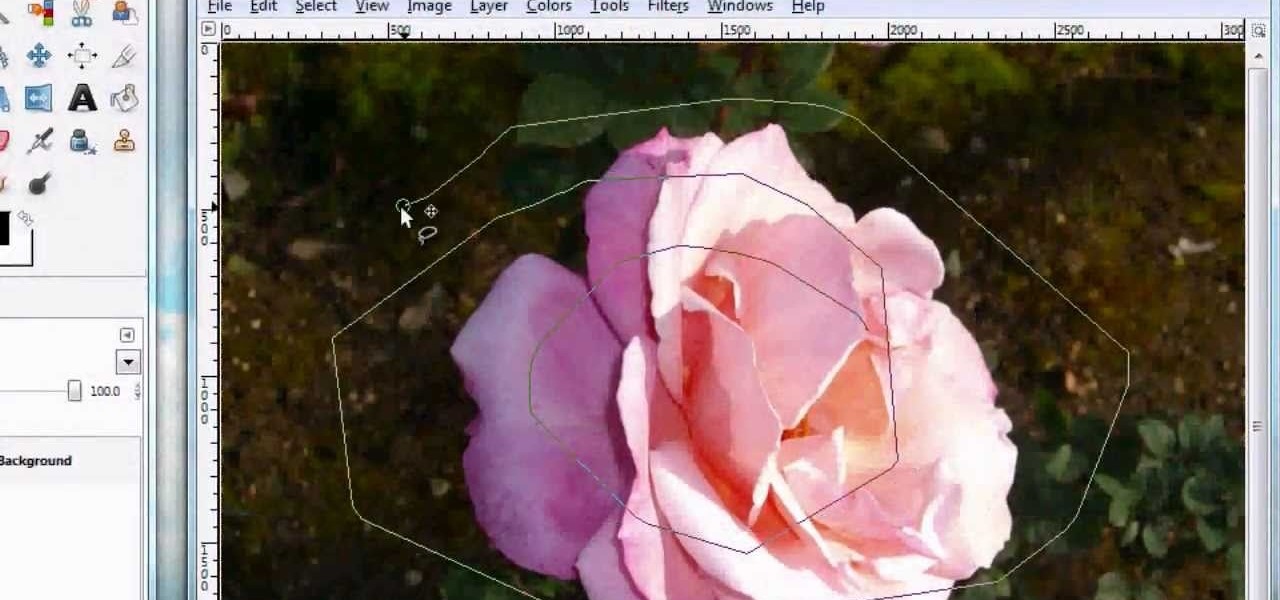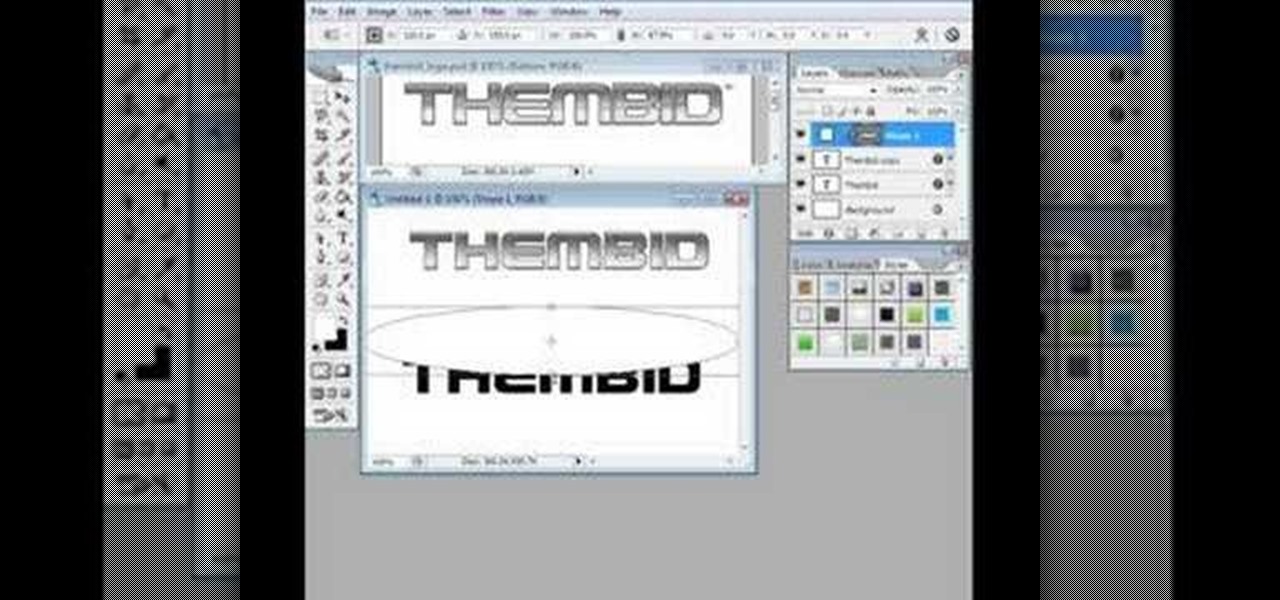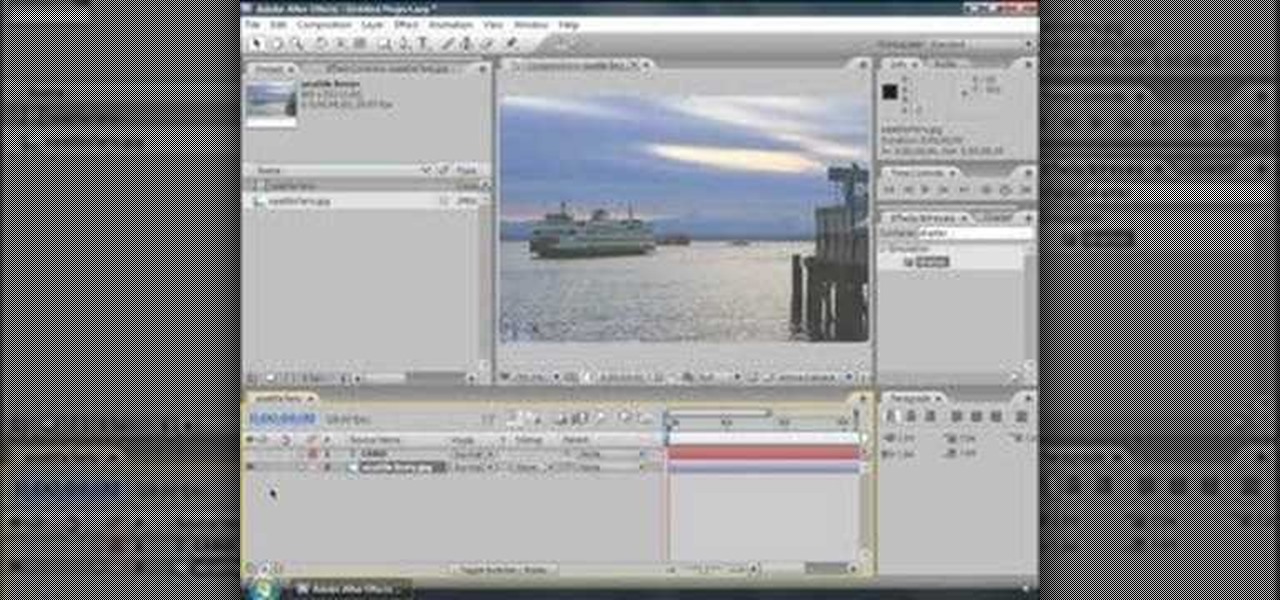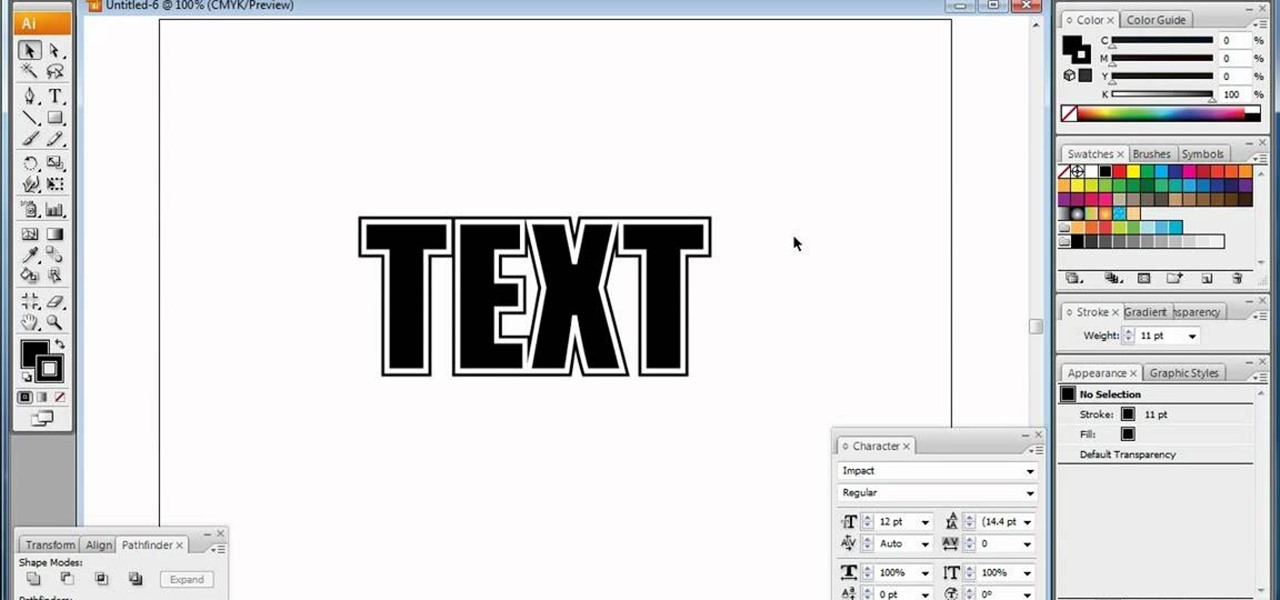
In this video, we learn how to do basic text effects in Adobe Illustrator. First, open up Adobe Illustrator and make a new document. Now, type in your desired text and change your font to one that you prefer. To make your text turn into a radiant, you will click "file" then "type" then "create outline". Now you will click on your text then click your radiant swatch. Then, go to "gradient" and adjust your colors to which you prefer. You can now put a stroke on it using the "stroke" tool and ch...

In this how to video, you will learn how to turn a photo into a line drawing in Photoshop. First, open your image in Photoshop. Create three layers of the same photo. The top two layers will be worked with. The bottom layer will remain the same. Take the top layer and change it to color dodge. Select control and I on the keyboard to invert it. Go to filter and blur to choose Gaussian blur. If you have dark lines, use a small amount of blur. You can use a lot of blur to get a unique look. Clic...

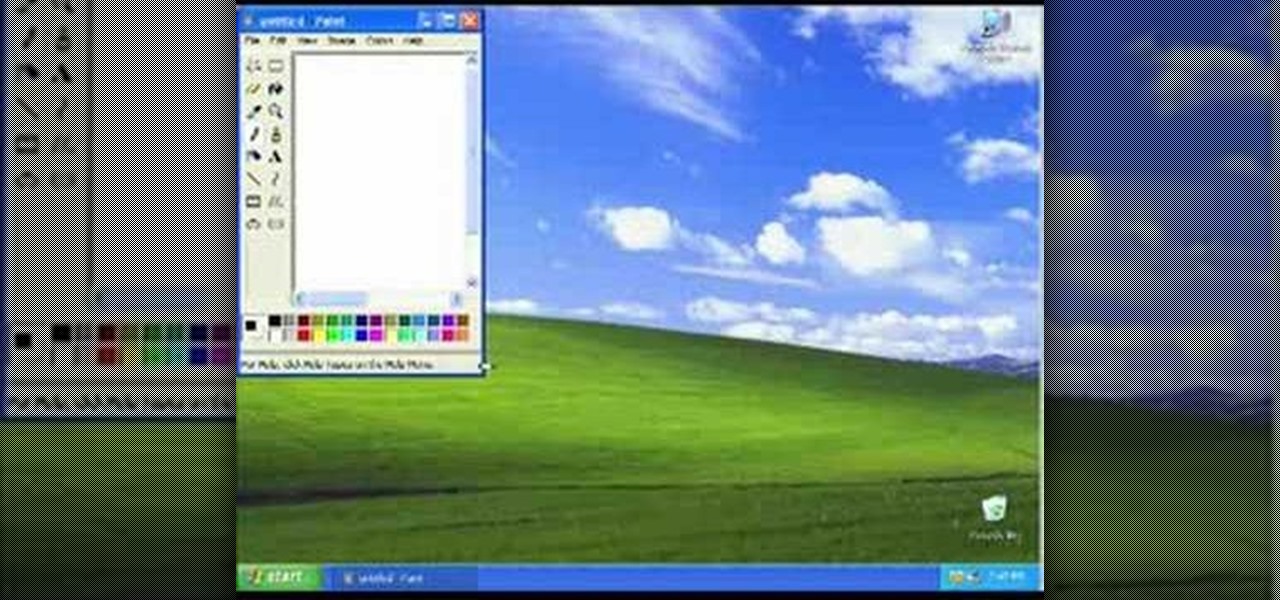
This is a video about how to use the printscreen button. You can take screenshots with the printscreen button on the keyboard. First you have to a pick an image whatever you want to save in your PC. In this video he is explaining about how to save the a picture about the animal description. Next press the printscreen button when you get the image. Next go to start button and next Accessories and next paint and open the new page on paint. Then go for paste in the edit. Then you will see the pi...

To do fading in flash, first drag an image onto your main window. Shrink it down so it fits on the window, then right click your image and hit copy frames, then come out to frame 15 and hit paste frames. Right click in the middle of the set of frames and hit "Create motion Tween" Go to the first frame and click on what you want to fade. Go to the color tab and then select alpha. If its not on 0, drag it down to 0. Now go to frame 15 and make sure its on 100. Now if you drag from left to right...

In this video tutorial, viewers learn how to change an icon in My Computer. Users will need to already have a picture of the icon that they want to change to. Begin by opening the drive. Right-click anywhere, select New and click on Text Document. Name the document "autorun.inf". Right-click the text document and open it with Notepad. In the document, type in:

Tut Teacher shows that if you're going to edit alot of pictures, learning to change your eye color in Photoshop is helpful.Go to Photoshop and open "human eye", zoom in and it gives more room to work with. First, go to your lasso tool, hold down and click. You can click and drag or click along the outside edge. Set to 6 pixels, more or less depending on the image. Make sure you don't click on scanner..it'll make the image go crazy. Keep clicking along the edge there'll be a symbol on the circ...

In this video, the instructor shows us how to take a screen shot off of Windows XP. First, you will want to pull up the screen that you want to take a screen shot of. After you have this up, you will hit the "Alt" and "Prnt Scrn" button at the same time. Nothing will show up on your computer, but it will have saved the image. Next, open up the program "Paint" and click "edit" on the top toolbar, then click "paste". The image will then show up on your screen. To save, click "File -> Save As", ...

This video is about how to crop a photograph in Adobe Photoshop CS4. So the first step that you will have to do is just simply open the Adobe Photoshop CS4. Once it has loaded, just open a picture that you want to crop out. After the picture have been loaded. If the picture is too small, you can simply click on the zoom icon to make the image clearer. After wards, you need to use the marquee tool which is found on the left side of the screen. Just simply right click the icon and choose which ...

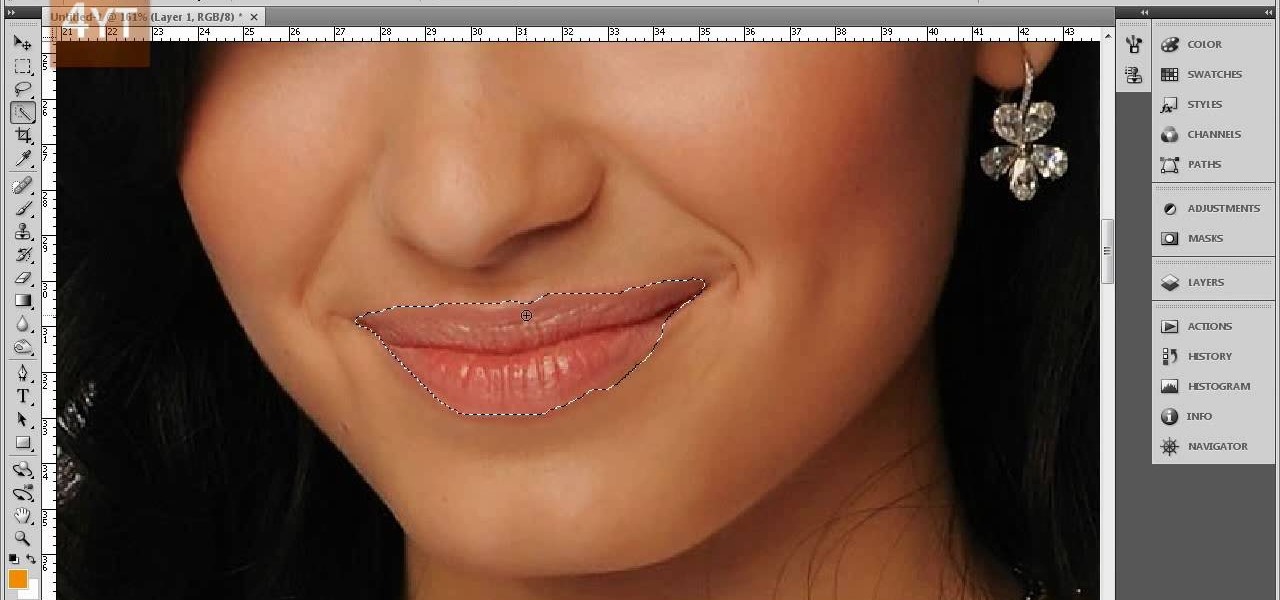
Forget to put on lipstick before a photo? Or perhaps you want to spice up an old photo of someone you love. Well their is a way, as 4YouTutorial demonstrates step by step using Photoshop CS4. First upload a photo or image into Photoshop. Next access your Photoshop layers and delete the default locked layer. After, activate the zoom tool and zoom in on the photo where the lips are located. Next choose the quick selection tool (make sure it's on plus) and drag it over her lips. This process can...

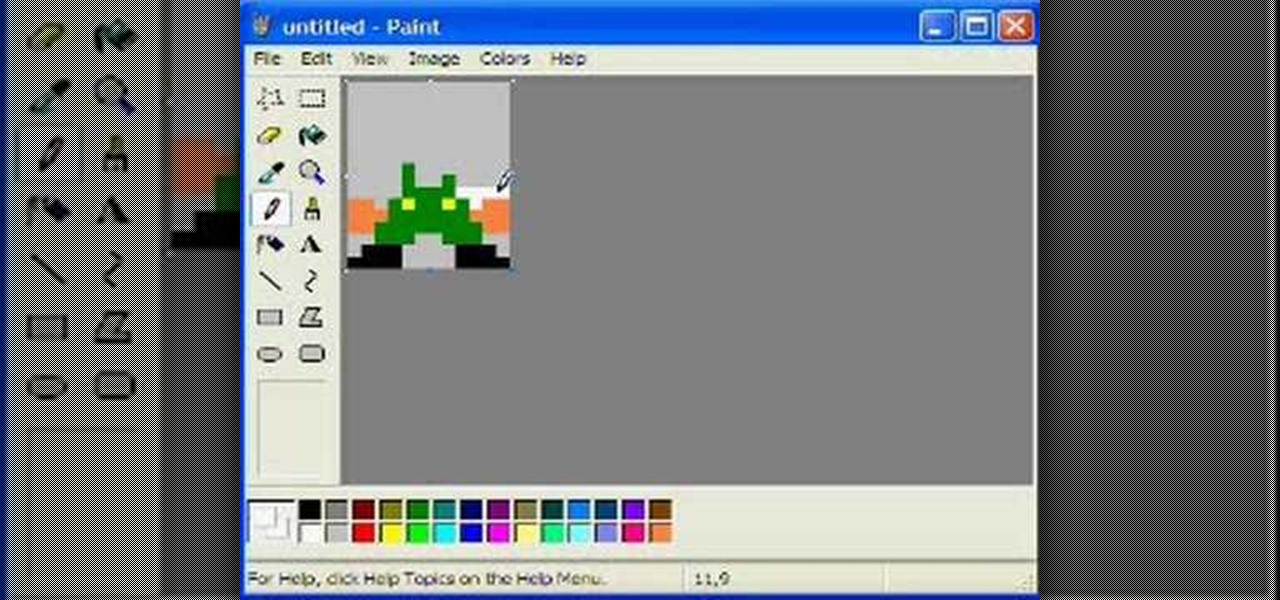
This simple tutorial teaches you how to create a classic 8-bit Luigi from the Nintendo franchise Super Mario Brothers in the Microsoft paint program. To start, open Paint. Select Image-> Attributes and change the image width to 12 pixels and the height to 16 pixels. Use the zoom tool to zoom in 8x and select the paint bucket tool to make the background gray, because a large portion of Luigi is white. Then use the pencil tool (set to 1 pixel) to begin drawing Luigi starting with his black shoe...

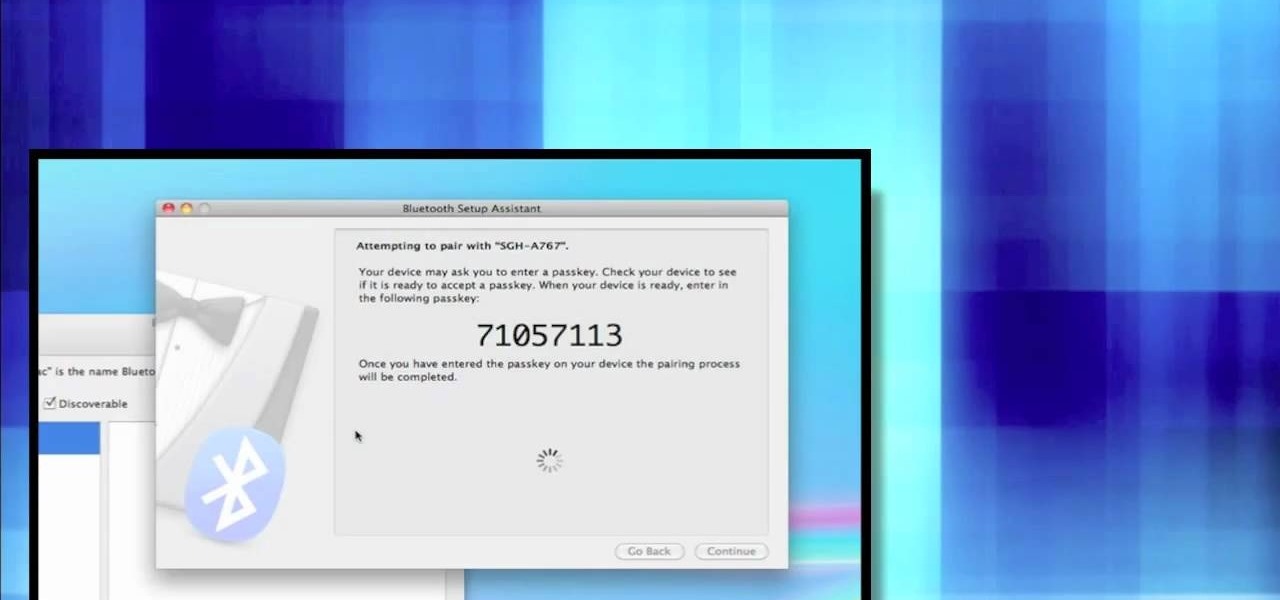
First open up system preferences, select Blue Tooth and click the plus at the bottom. Make sure that your phone has Blue Tooth on and wait for your phone to pop up. Click continue and enter the number 71057113 onto your phone in the space provided. Once your phone is connect to Blue Tooth, this space should be there. After clicking pair on your phone a Bluetooth set up assistant window should pop up. Click on the x, then click on the settings after selecting your phone. Even though it says no...

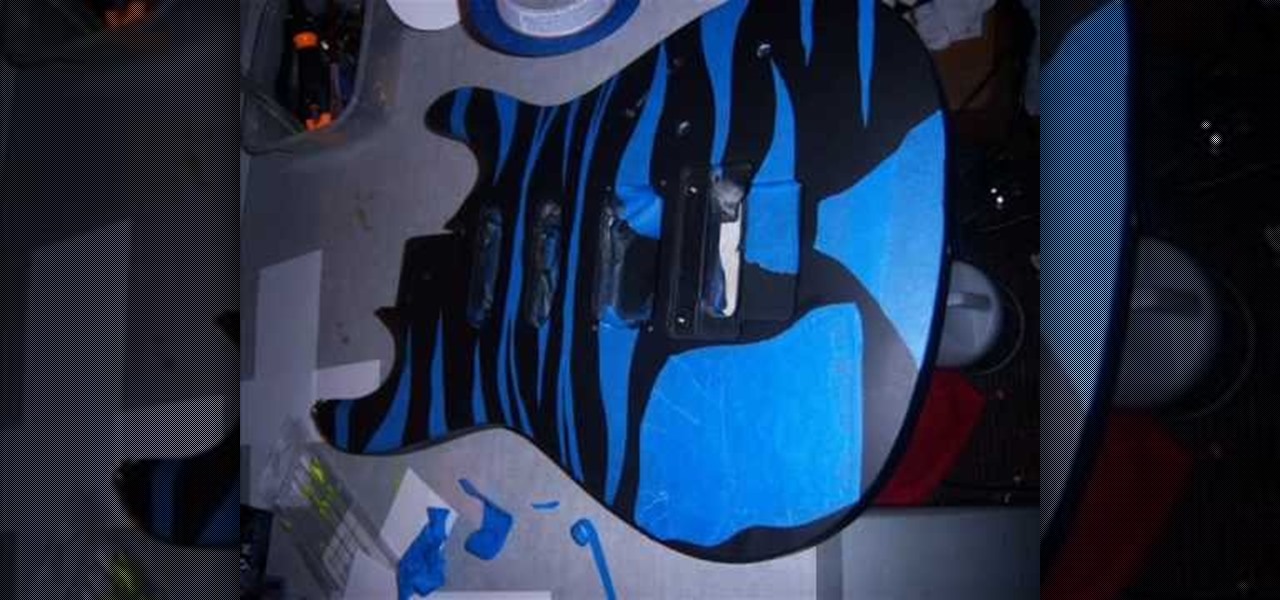
In this video Teddy Zane shows you how to paint a guitar with spray paint. It begins by painting the whole guitar with one color of flat paint, and then creating a panel where you want the picture, out of tape. Next lay your picture on top of the tape and use a scalpel or razor to cut out the design as a template carefully ensuring you do not cut the guitar, only the image and the tape. Once the entire image is cut, pull off the tape to expose the guitar beneath. Cover the rest of the guitar ...

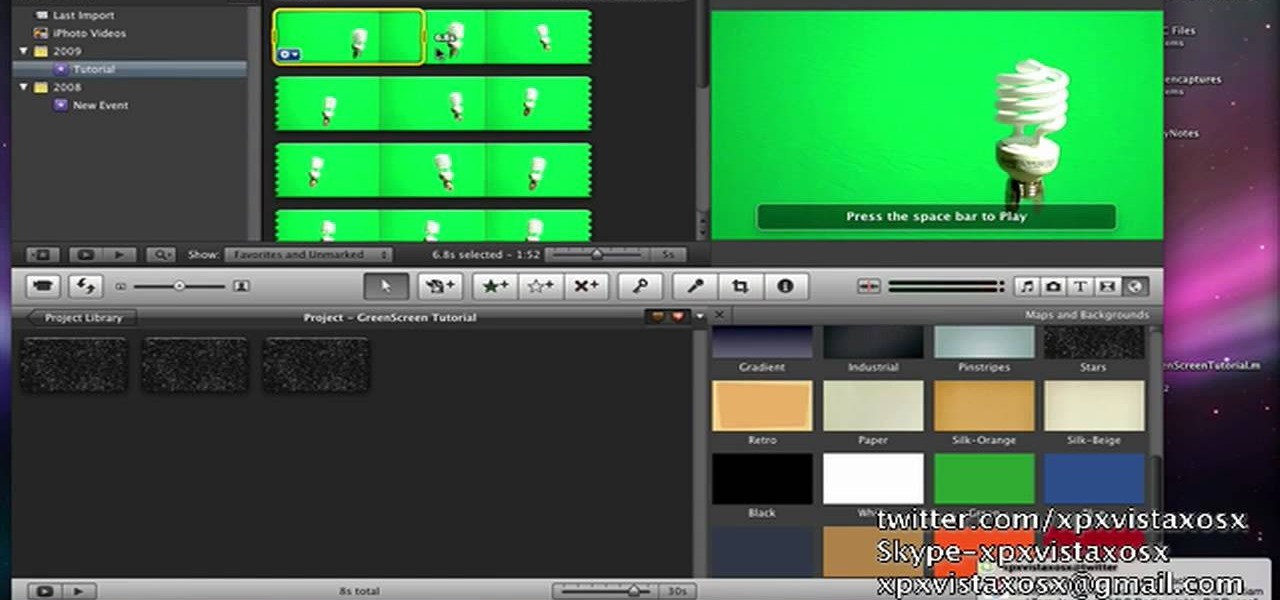
In this video tutorial, viewers learn how to use chroma key in iMovie '09. This video teaches users how to use chroma key to replace the background of videos. Begin by opening the program. Now drag or image or video background into the time line. Now click on iMovie and select Preferences. In the General tab, check the Show Advanced Tools option. Then simply drag the video that you want over the background image/video in the time line. This video will benefit those viewers who enjoy creating ...

In this how-to video, you will learn how to make a .gif animation from video footage. First, open Photoshop, click file and select import video frames to layers. Next, select the video you want to use and open it. Once this is done, you will see the amount of frames in the videos as layers in the video. Go to window and animation to open a new display for the animation. If you want to shrink the .gif image size, go to edit and image. Change the size to your liking. Now, just go to file and se...

Graham Potter shows how to stylize cork bark oak. The main way to stylize is to avoid the carving of the bark, but to carving the branches. Its recommended to start carving when the branches are young. First you will start removing all the branches you have no use for (e.g.. shortening branches to about 4 to 5 leaves). Graham says while trimming the branches, do not worry about the immediate image of the branches, but of the image of what it will look like in the future when it fully grows. G...

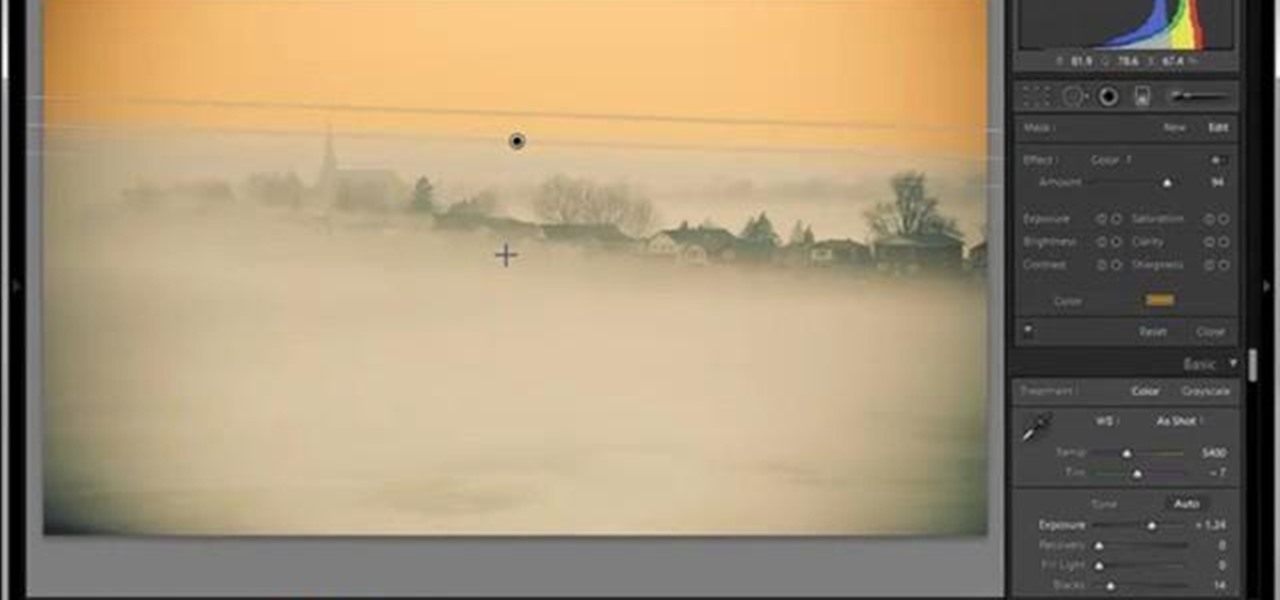
In this tutorial, Yanik Chauvin teaches us how to create an old-style looking photo starting from a grayish, underexposed one, using the software "Lightroom". He starts by creating a virtual copy of it, and then he adds a Camera Calibration preset named Camera Landscape and increases the exposure. After that, he crops the image removing the blank parts of the photo, and adjusts Contrast, Blacks and Clarity to strength the image borders.

This is a video montage of Facebook emoticons while Metallica plays loudly. The website Facebokemoticons presents Facebook shapes, symbols, smileys, and emoticons that are available for download off their website for free. They demonstrate the various keystrokes for smile , wink, tongue, curly lips, kiss, grumpy, glasses, sunglasses, upset, confused, shark, gasp, Pac-man, squint, devil, unsure, frown, cry, Chris Putnam, robot, heart, angel, Kiki, and penguin. Then, they show a close-up of eve...

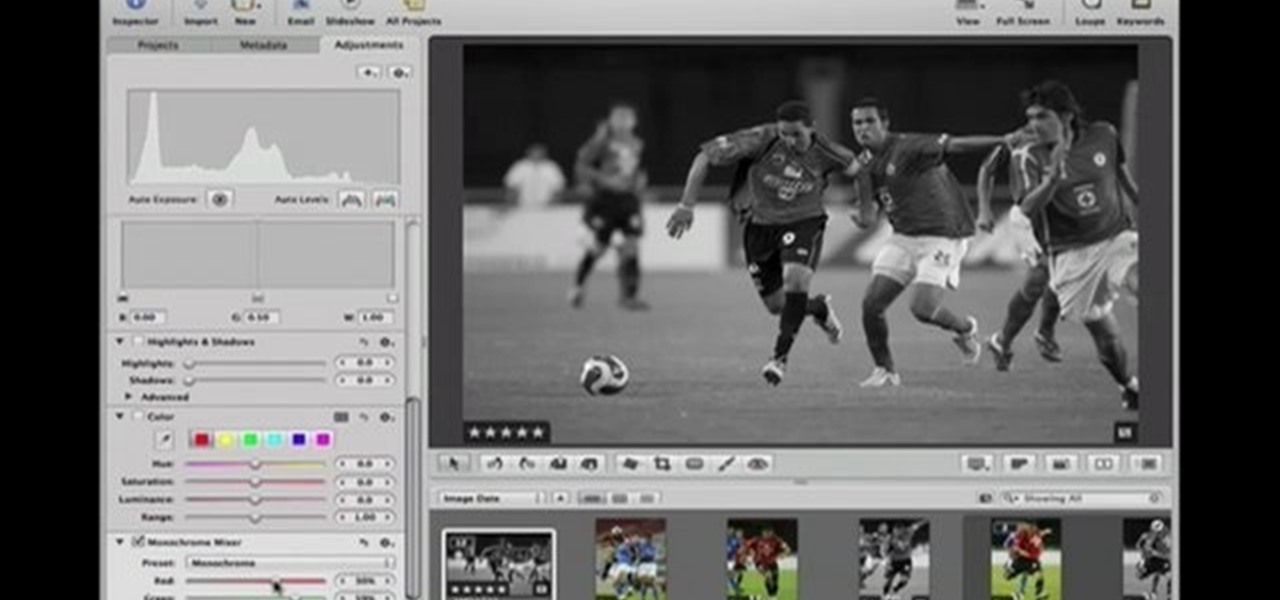
This Software video tutorial shows how to convert color images to black and white in Aperture. Scott Bourne presents this video. Open up ‘aperture’ program and select a color photo that you want to convert to black and white. Now move from the ‘projects’ page to the ‘adjustments’ page by clicking on it. Then click on the ‘+’ sign and select ‘Monochrome Mixer’. When you do this, the picture instantly turns to black and white. It’s as simple and easy as that. For editing the picture further, on...

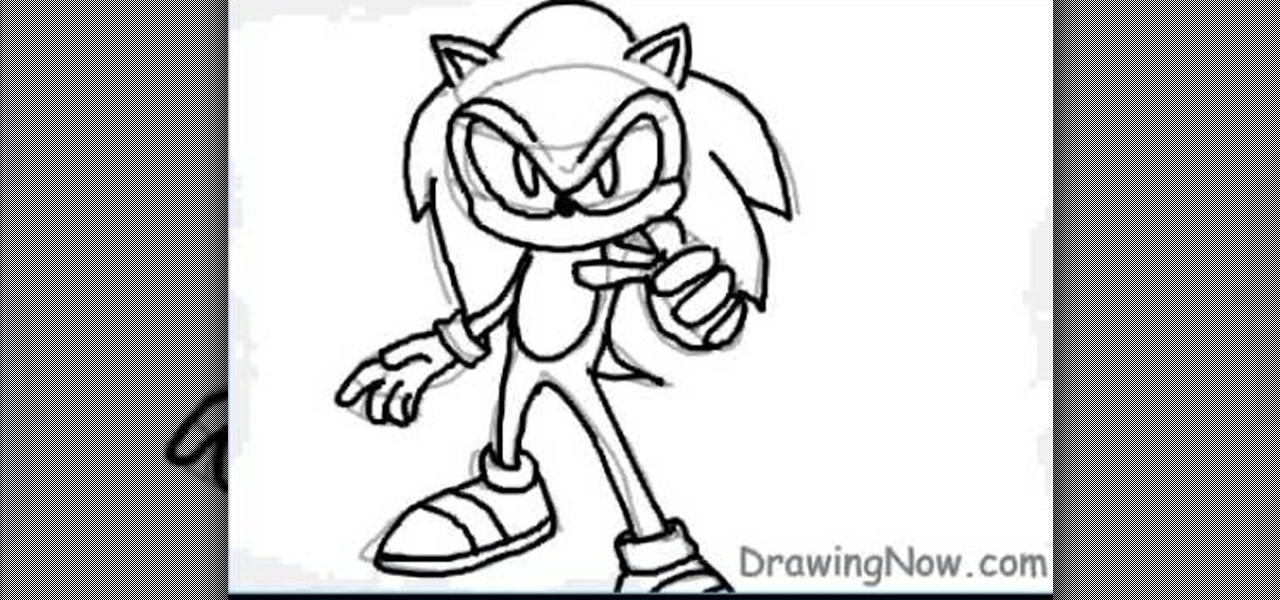
In this video tutorial, viewers learn how to draw Sonic from the Sonic the Hedgehog. Begin by drawing a circle for the head and 2 triangles for the ears. Then draw the lines for the spikes and a small oval for the stomach. Now draw the hands, legs and feet. Draw the eyes. Now draw the tail and outline the image. Add the details and delete the guidelines. Start adding color to the image. Add some darker colors around to create shading. This video will benefit those viewers who enjoy drawing on...

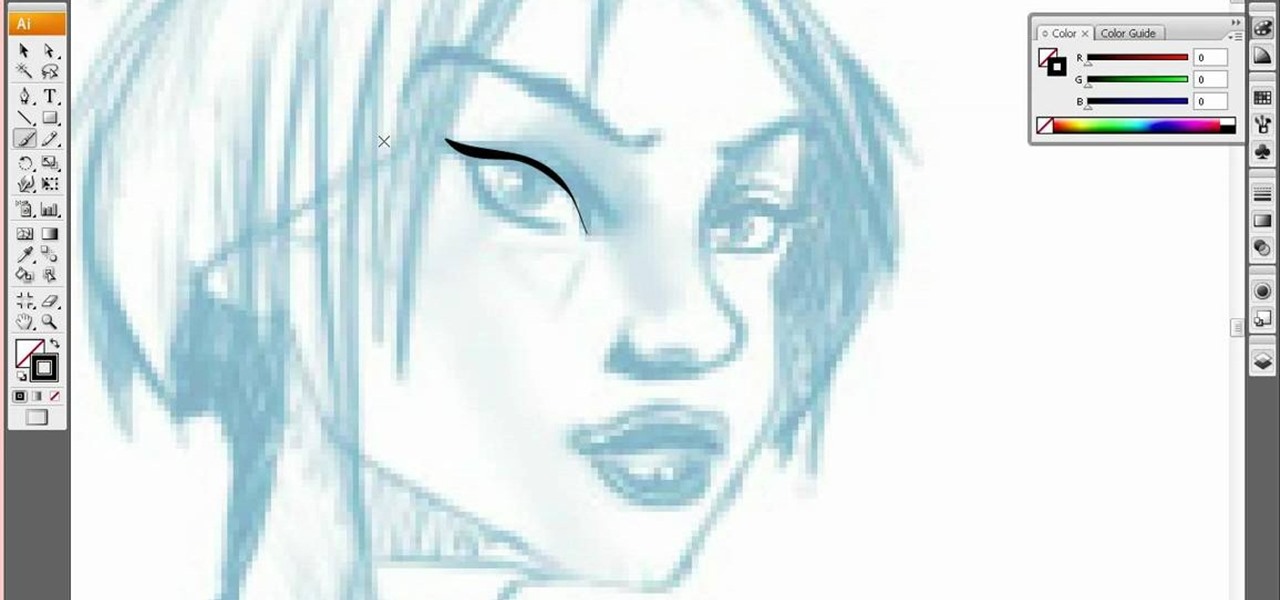
This video by Architectus777 teaches us how to ink comic book pages. Inking is simply another term for outlining or black lining. This first step is to find an image in black in white. Following this, you may edit the image to be as light or dark as you wish. Afterwards, the shading is left up to your discretion. Moving on, Architectus777 shows other methods of inking, including using various other programs outside of Adobe Photoshop. We are then actually shown the inking process, in which Ar...

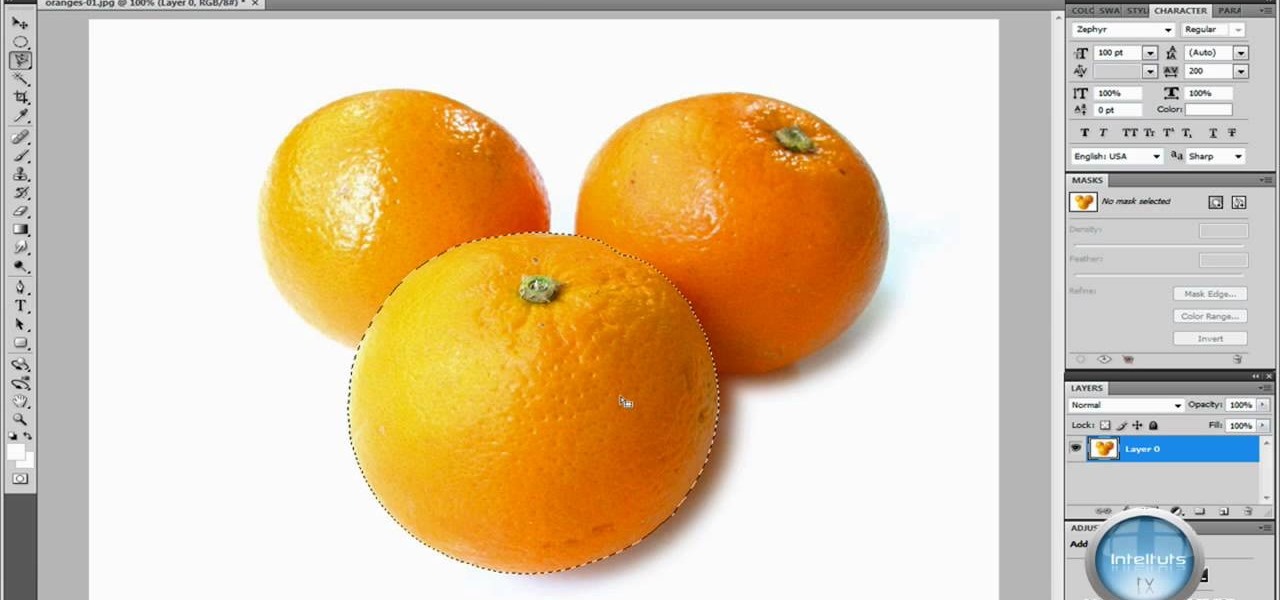
In this Software video you will see how to extract and apply color correction in Photoshop CS4. First select the object and extract it. The tool that you use to extract will depend on the type of image. For example, for oranges, select the Magnetic Lasso Tool from the left hand panel. Take the cursor, click on the outer line of an orange and drag the cursor along the outline of the orange. The tool automatically creates anchor points. You don’t have to click. But, if you want to create an anc...

The video is without voice. It describes abstract art. First a swirl of rings is formed which indicates potter's wheel. Four big pots of different styles are formed of which one has handles. Two earthen small shaped vessels with pointed tip is formed and also there is one very small pot. First the outline of all the images is done which is then continued by shading. However, the entire painting is blurred and is made using shades of orange. The background is in black color. The formation of t...

In this video tutorial, viewers will learn how to color with SU pastels and SU markers with Aquapainter and water. With a cotton swab, rub the pastel directly on the image. In this video, it is demonstrated on a glossy cardstock. Continue to add different pastel colors with your cotton swab. The colors will be subtle. Blow off excess chalk as needed while coloring. With an Aquapainter filled with water, pick up color from the markers and shade your image. This video will benefit those viewers...

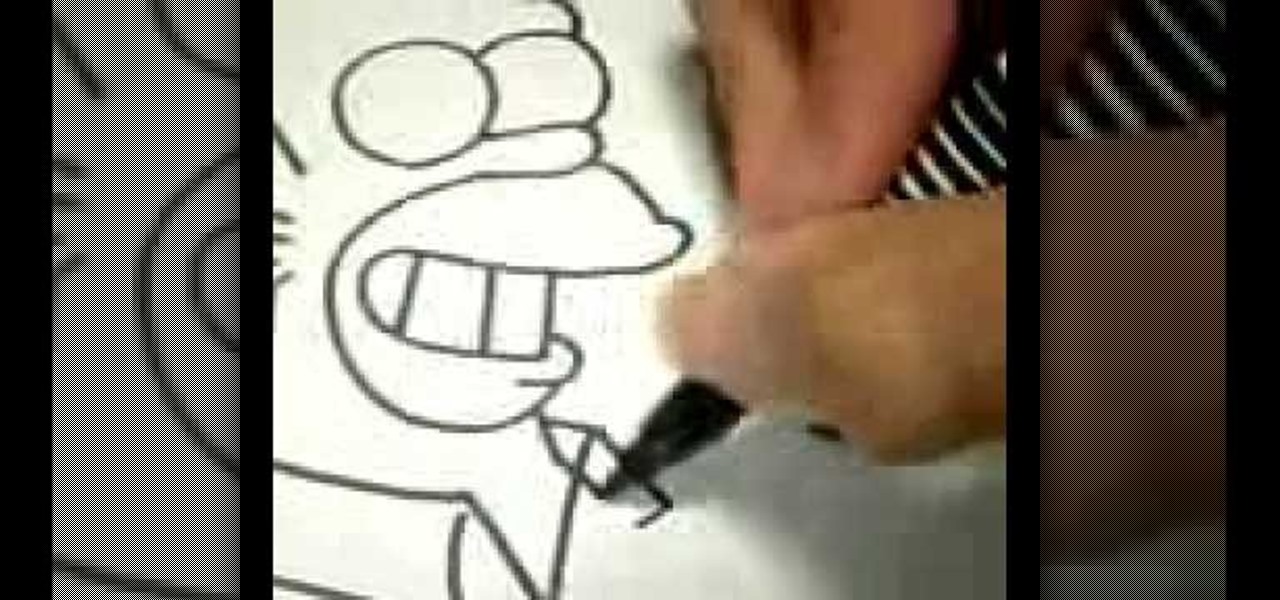
This silent video demonstrates visually how to draw a Homer Simpson character beginning with a series of simplistic shapes and lines. The artist begins by drawing two very basic circles for the eyes, then adds a curving line beneath to create the nose. The artist continues building on the image using the basic line and shape technique to create the full face image of the infamous cartoon character, and then, as a finishing touch, adds the collar of Homer Simpson's work shirt. This video provi...

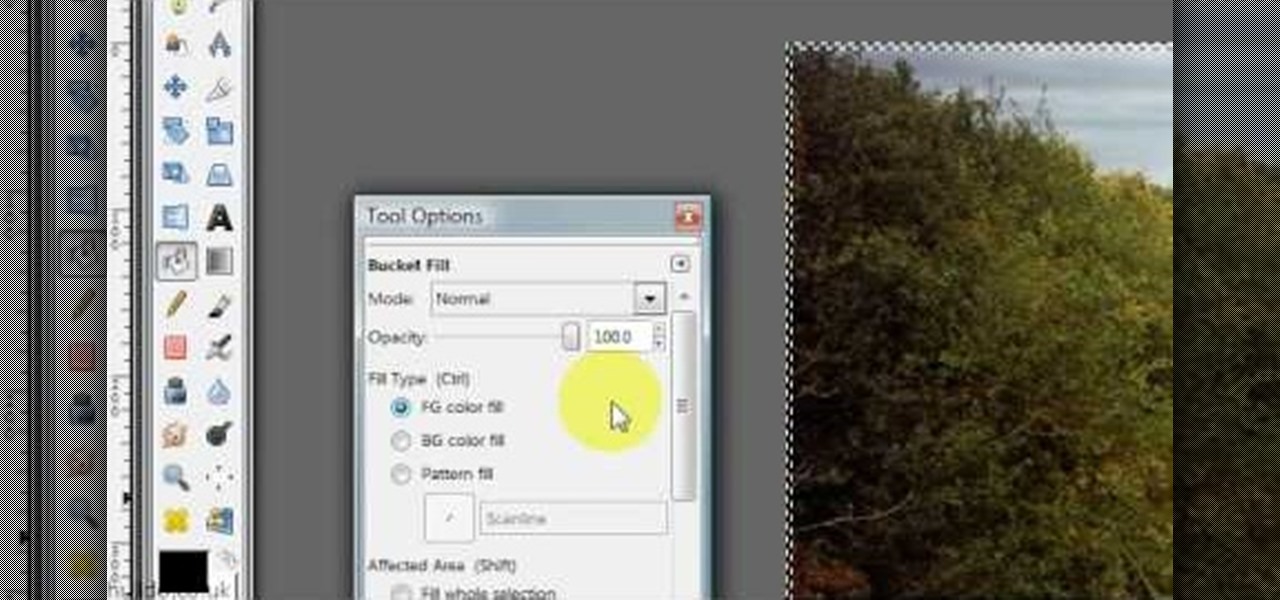
Hulldo teaches you how to give your images a widescreen border using GIMP. Open up a picture and the click new layer. Next go to select - border and make it 3 pixels. Go to tool options and use black for foreground fill. Select none and create a new layer. Go to view and make sure snap to canvas edges is ticked. Go to rectangle select tool and go to its menu. Then select 640x30 pixels. Fill that layer with black and select none. Duplicate this layer. You place this one on the bottom and you a...

mybigleftnut90 teaches you how to burn Wii backup games for Mac. After you get a backup game for the Wii, you need to make sure the DVD you'll be burning it too is DVD-R as these work best. Also make sure that the size of the backup game is not larger than the blank DVD you have. Right click on the image and click on "Open with-Disk utility." In the new program window, you click your image file name and click the button "Burn" at the top. Your speed should be 2x or 4x. Unclick verify burned d...

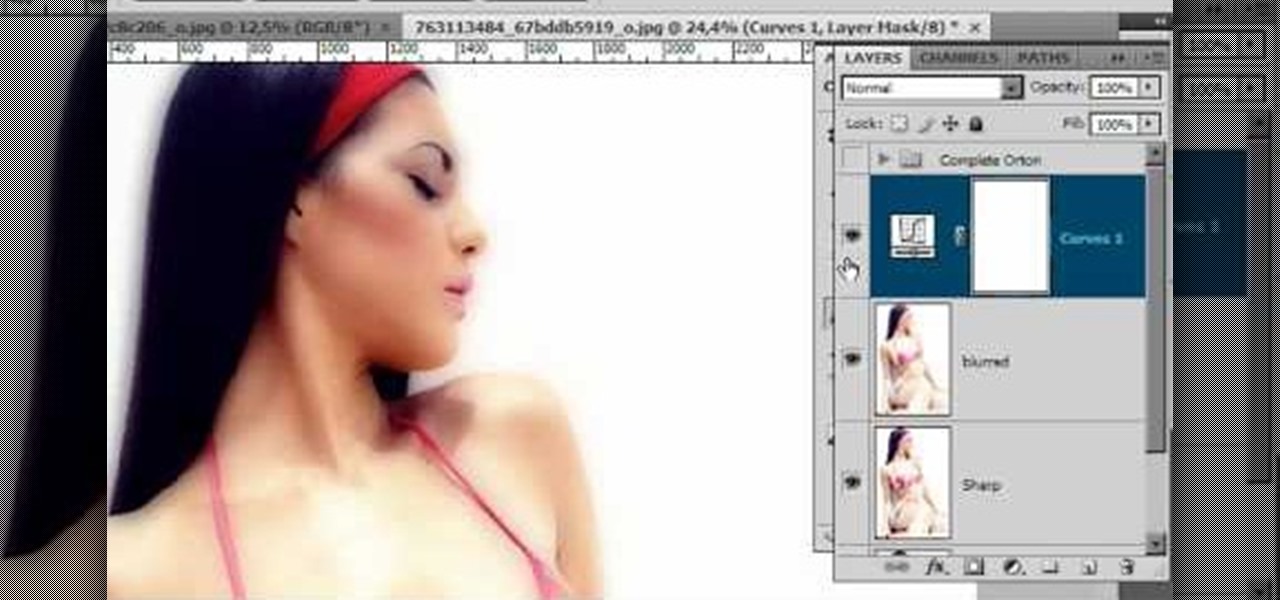
In this video tutorial, viewers learn how to create the Orton glow effect using Adobe Photoshop. The Orton glow effect is achieved by combining a sharp image with a duplicate that is deliberately blurred or softened. The overall result is often characterized as a dreamscape, diffusion, or softening glow. It is an effect used for landscapes and portraits. This video provides voice narration and step-by-step instructions for viewers to easily understand and follow along. This video will benefit...

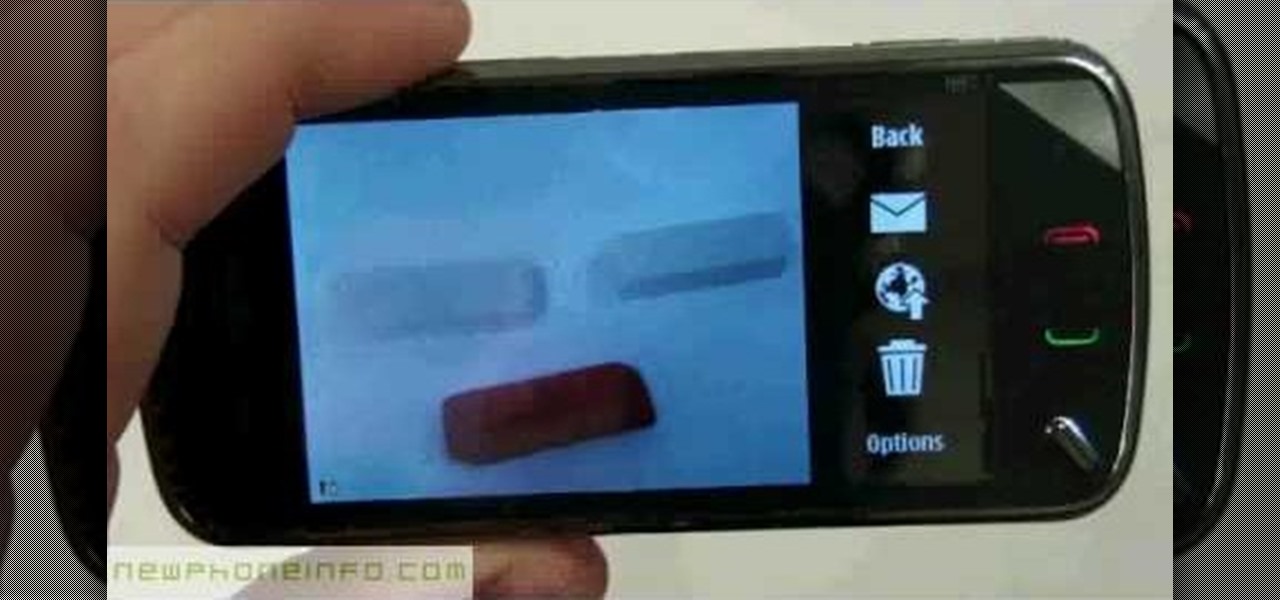
This video will show you how to use the camera of Nokia N97. To use the camera of Nokia N97: Turn on the camera and open the lens cover or press the Capture key. In your view finder, you can see: Exit icon, Camera icon, Flash icon ,Expand Toolbar and Options icon. Tap the screen to use the Zoom Slider. You can zoom in or out by scrolling the Zoom Slider. To take a photo, tap the Camera icon. Once a photo is taken, another icons appear: Back icon, Message icon, Email icon, Trash Can icon, and ...

For anyone looking to edit a picture with one or more persons down to just a single person in the picture, you can use GIMP. This video tutorial goes over how to utilize the paths (or pen) tool and foreground select tool. The paths tool allows a person to select a part of an image to create a series of lines, or paths, that allow you to create a path around whatever you want to select in a picture. This item can then be moved and copied to a completely different photo. The foreground select t...

Thinkingserious teaches us how to use Adobe Photoshop to transform a normal bmp or jpeg logo into a vector logo that can be MADE as small or large as desired without losing quality. He creates the text, leaves it white and then adds a stroke. He picks the exact color from the original image. The stroke should be 1. Then the gradient is done using the colors from the bmp image. This is a two-step process. First he creates the top gradient. He also adds a soft inner bevel. The end result is sav...

CreativeIceDesigns shows all the steps it takes to give any photograph a nice, vintage look using Adobe Photoshop. The image must first be unlocked. You then select the grunge paper brush. Normally you should keep the aspect ratio of your image the same, but in this case, you should resize it to the same height as your paper surface. After changing the blend mode to multiply and adjusting the brightness, you then change the opacity and you'll have the "wrinkled paper" effect you're looking fo...

ChadandToddPodcast shows how to create 3D text in after-effects without plug-ins. This can be accomplished by an effect called shatter. First turn off the text layer, then apply shadow to your text image. Change your pattern to custom; it will go blank. Take the custom to text layer then increase extrusion depth. If you take up extrusion you can play with the style of the text. If you play around with fronts your whole image can also be 3-D.

In this video tutorial, viewers learn how to retouch images to have a glamour skin glow, using Adobe Photoshop. The video covers all the effects and techniques needed to achieve the glamour skin glow look. Viewers learn how to retouch skin tones and hair for a glamour portrait, including airbrush techniques. Viewers will learn how to create that super color saturated, soft, diffuse skin glow. This video will benefit those viewers who use photoshop and like to enhance images to the best of the...

In the dead of winter, here are some tips to change your image to something more stylish and sexy in a few minutes. Using the proper accessories such as a scarf, hat, and the proper coat, you can completely change your look. Combinations of different accessories are just what you need to transform your look without having to change your clothes or your hairstyle. This video is a very interesting way for the average person to switch up their looks and look fashionable in the winter.

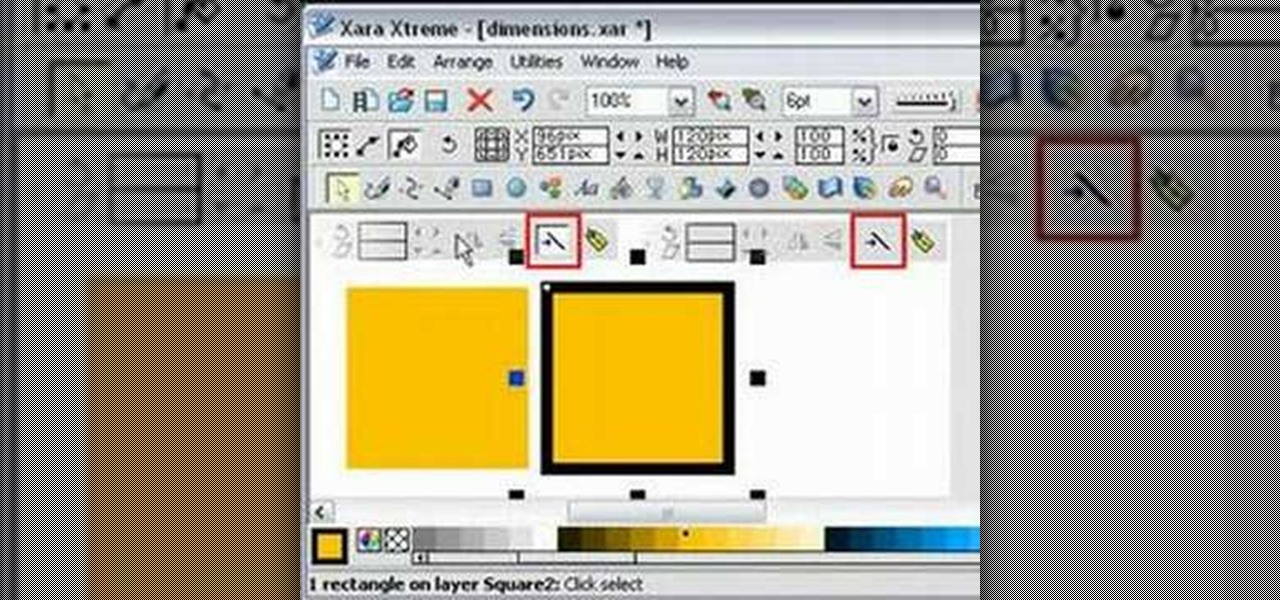
In this tutorial the author shows how to work with dimensions in the Xara Xtreme tool. This is basically a complex concept. Now open the tool, go to window and open dimensions. Make a square. You can see the details of the square on the tool bar which shows the width height and X,Y dimensions of the image. Here the image is straight forward. Now you can add the borders to the square and see the changes in the dimensions of it. This video shows the different changes that are taken place and al...

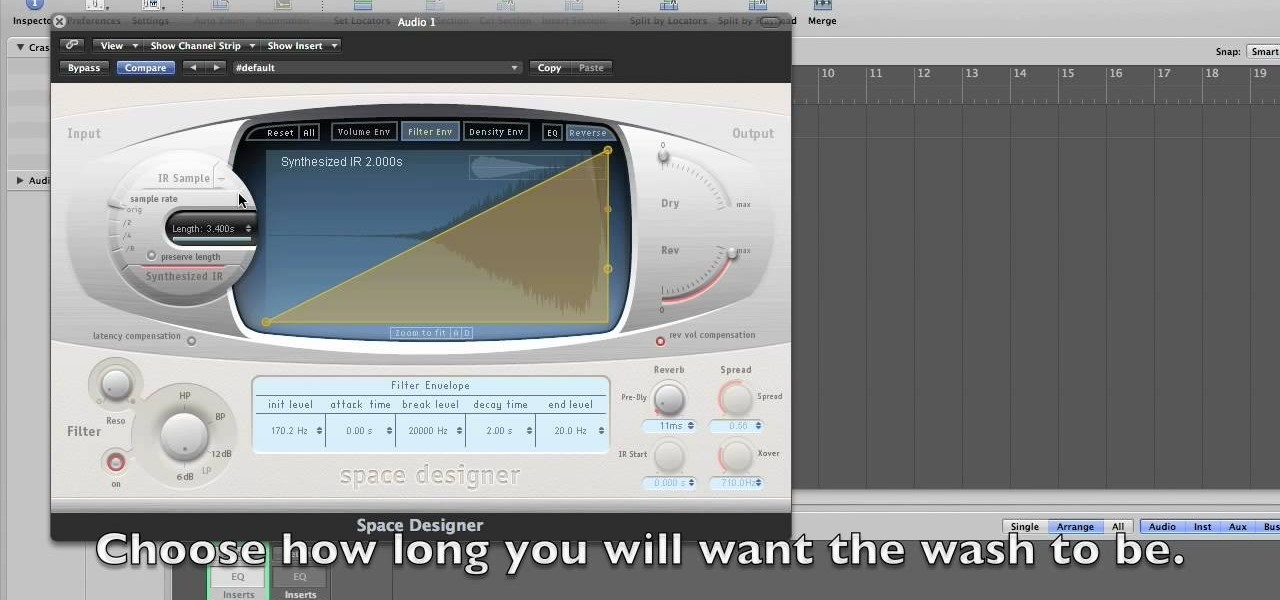
How to make cymbal washes is a tutorial on how to use Logic Studio to make the sound of a cymbal wash. The tutorial does not include any speaking. It is only a shot of the computer monitor of the instructor. The image from the instructor's monitor is very blurry, and the images on the monitor are very small. You'll have to watch this video closely to learn all about making cymbal wash sounds.

Need to learn how to make a screen shot? This instructional video takes you step by step through three different methods of taking the image on your screen and into a program so you can print it. This will take you through three different ways to get a screen shot, how to use the on screen keyboard and use the program MW snap. All three methods are free to any Microsoft user and paste the image into another free program MS Paint.

This clip was filmed as part of a One to One training day with Mike Browne. Focus the camera on a bunch of window panes. There is a row of window panes which cuts across the bottom left hand side corner. There's actually nothing right or wrong with it, only thing that matters is whether or not it works for you. Mike Browne believes that because it is strong and dominant you should crop the image so that it will no longer be visible. You can always remove that in a computer later, thanks to di...

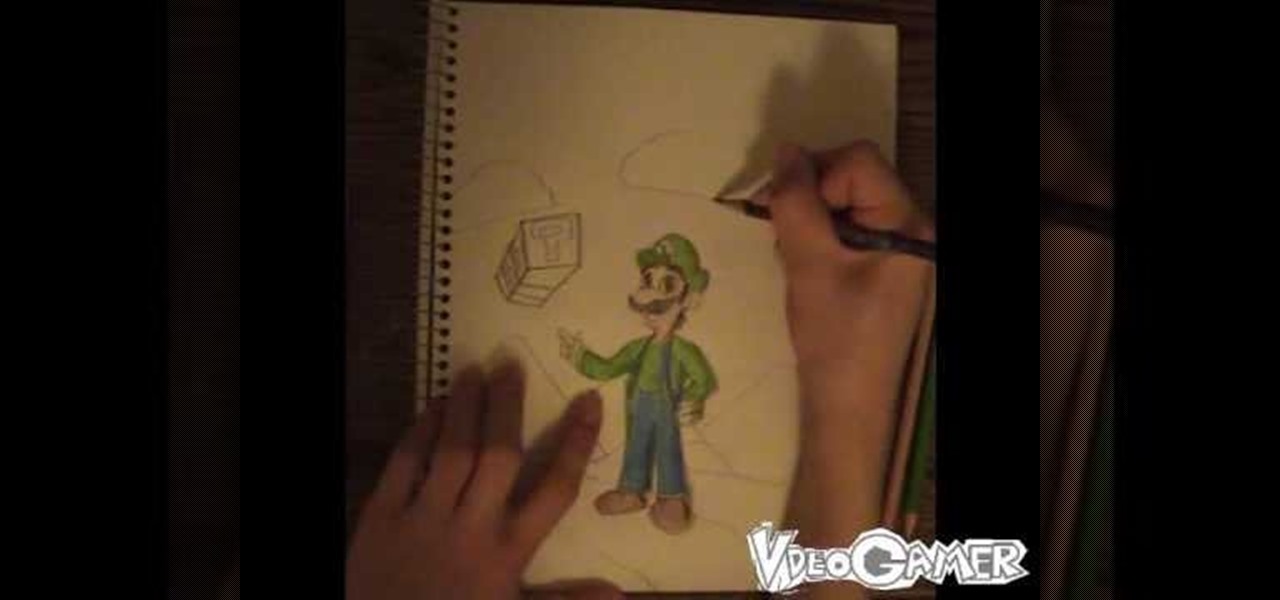
Wondering how to draw Luigi? Materials needed:

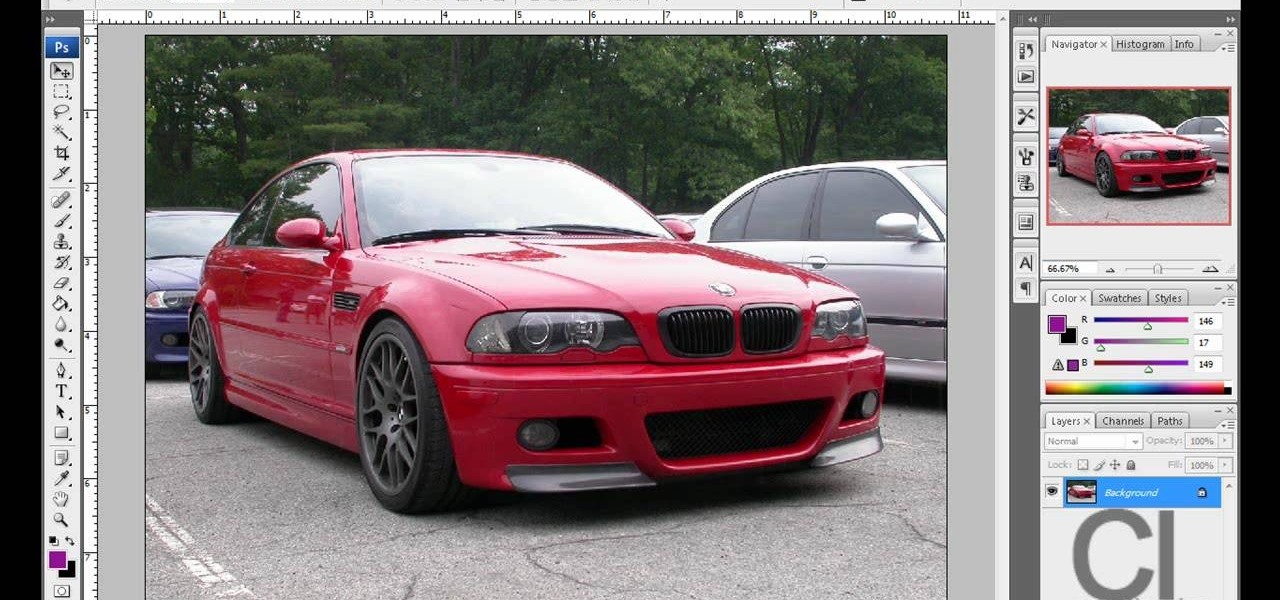
Creative Ice Design describes how to change the color of a car in photoshop. The tutorial shows an easy and quick method to change the color.


