Yanik Chauvin demonstrates how to create a batch using Photoshop and them Lightroom so you can decide which is faster and more convenient for you. In Photoshop, he first changes the color in the image, which he explains step by step the process, then saves the image as an action. He then shows you the process to batch the images so they will appear on your desktop. He also does the same thing with the image in Lightroom and shows you the process in which you would change the color and sync th...
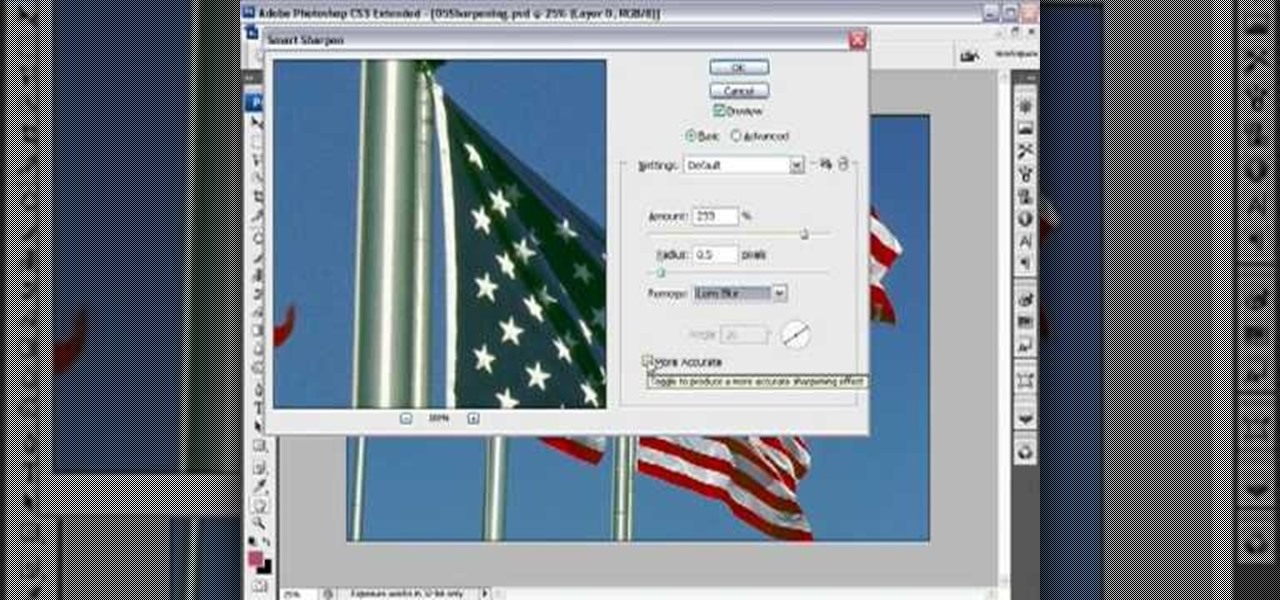
There are many different approaches to sharpening images in Photoshop. This tutorial demonstrates multiple options in order to optimize the final presentation of your photographs.
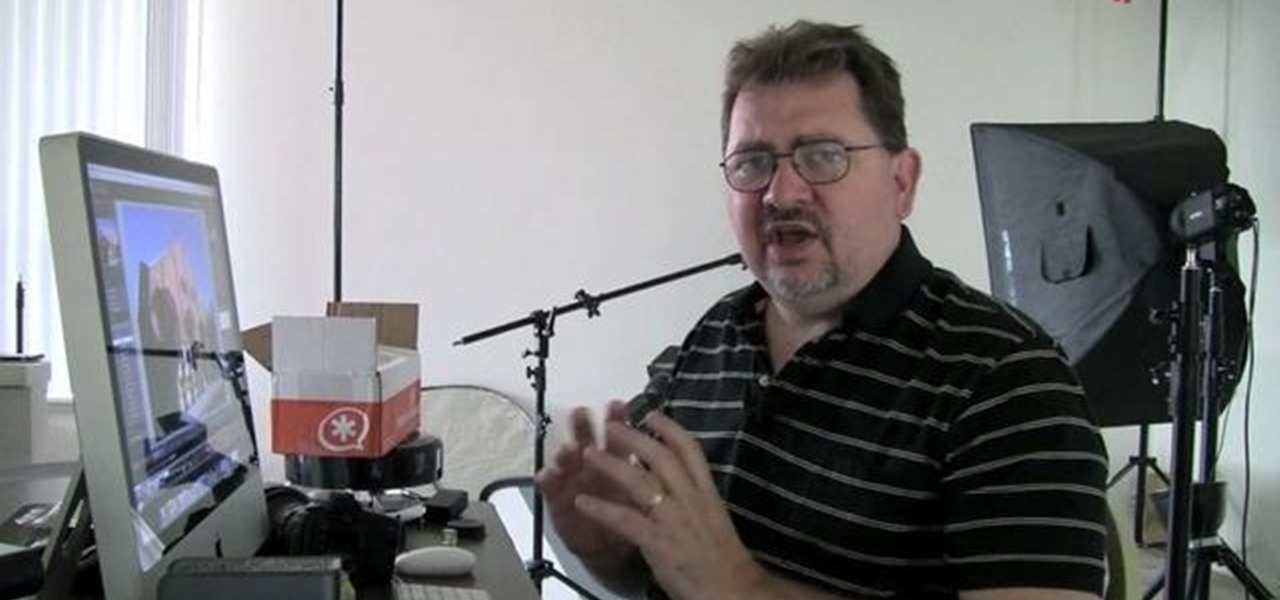
This Software video tutorial shows how to organize images in Lightroom with multiple cameras. Kerry Garrison will explain how to do this by adjusting the time offset of all of the images from one camera. You can take a shot in the beginning and synchronize the rest of the images. There is a tool in Lightroom to accomplish this. Select the live drawing mode, then go to the grid mode and the meta data bar should be displayed on top. The different cameras used in the shoot are listed there. If y...

First of all go to Google and then type in 'candy bar wrapper image' and then enter and go to image results. Select the 'crunch' image and right click and then 'copy' and then go to word document and paste it there. But if the image is big then right click and select 'hyperlink' and select 'remove hyperlink' to remove it. Now select the image again by clicking on to it and you can change the size of the image. Pick out the corner of the box that appears on the image and drag it inside to make...
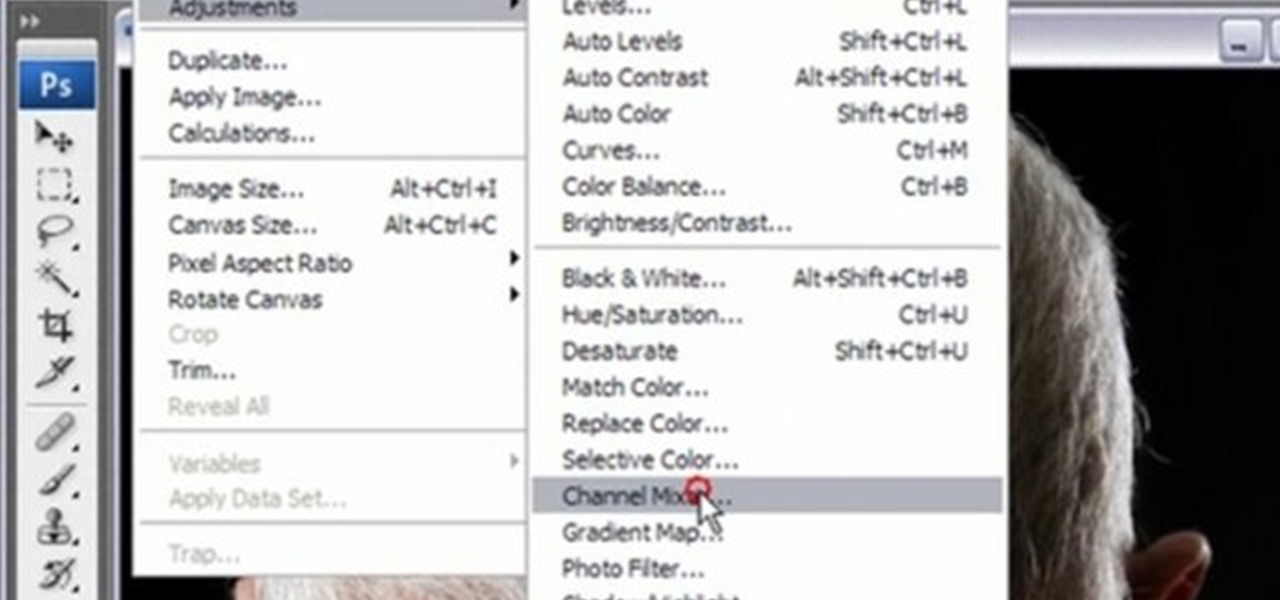
You can convert any color photo to black and white photo. In Photoshop CS3, There are 4 ways to do it.
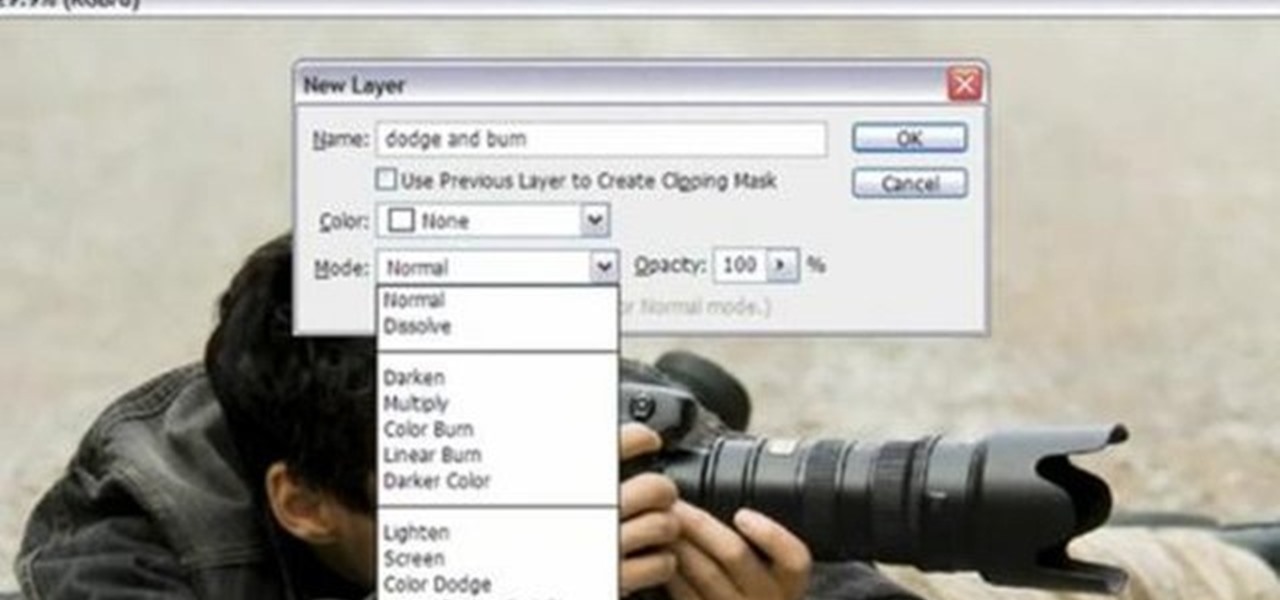
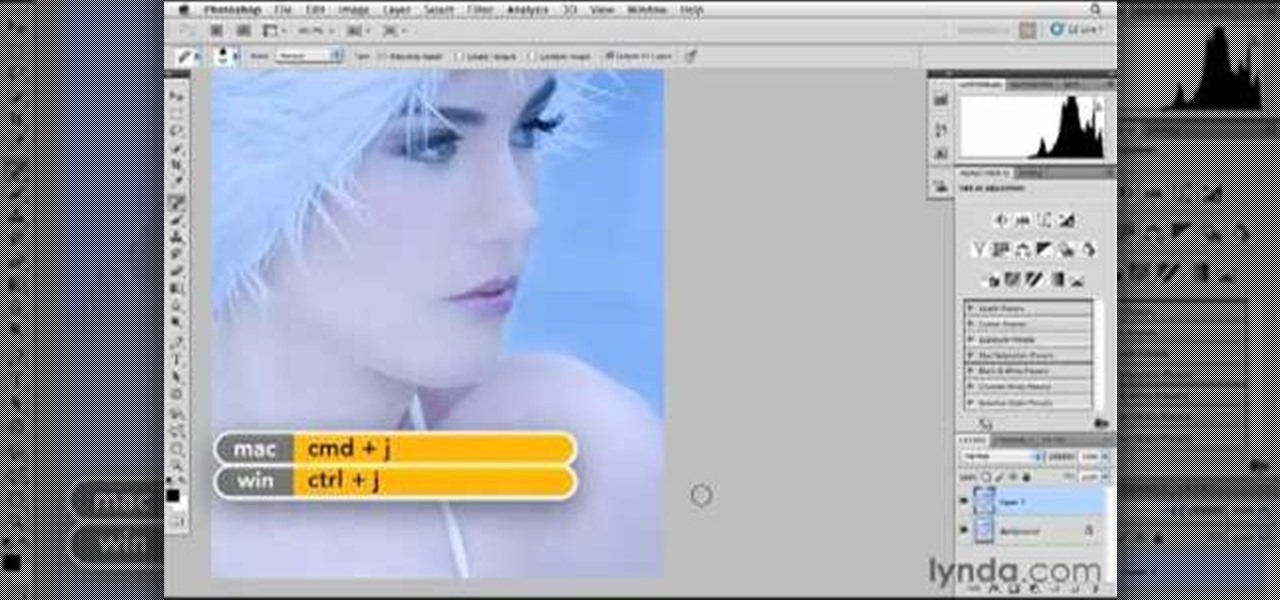
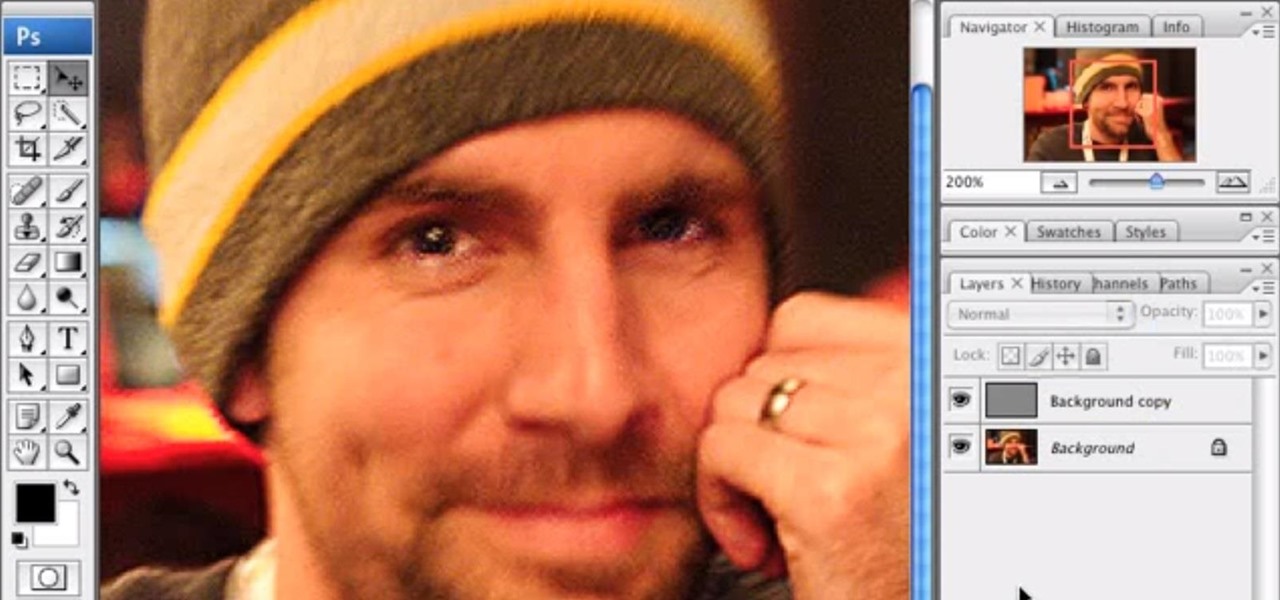
Yanik Chauvin demonstrates how to do Non Destructive Dodging (lighten) and burning (darken) of images using the tools in Photoshop. He shows the image of a man lying on earth with his camera. To start the work he wants to make a new layer which can be done in two ways either by clicking on the ‘layer’ button on top of menu or by pressing down the alt key and clicking on the new layer at button of the layer palette. It will bring up the dialogue box. He named it “dodge and burn” and from the l...

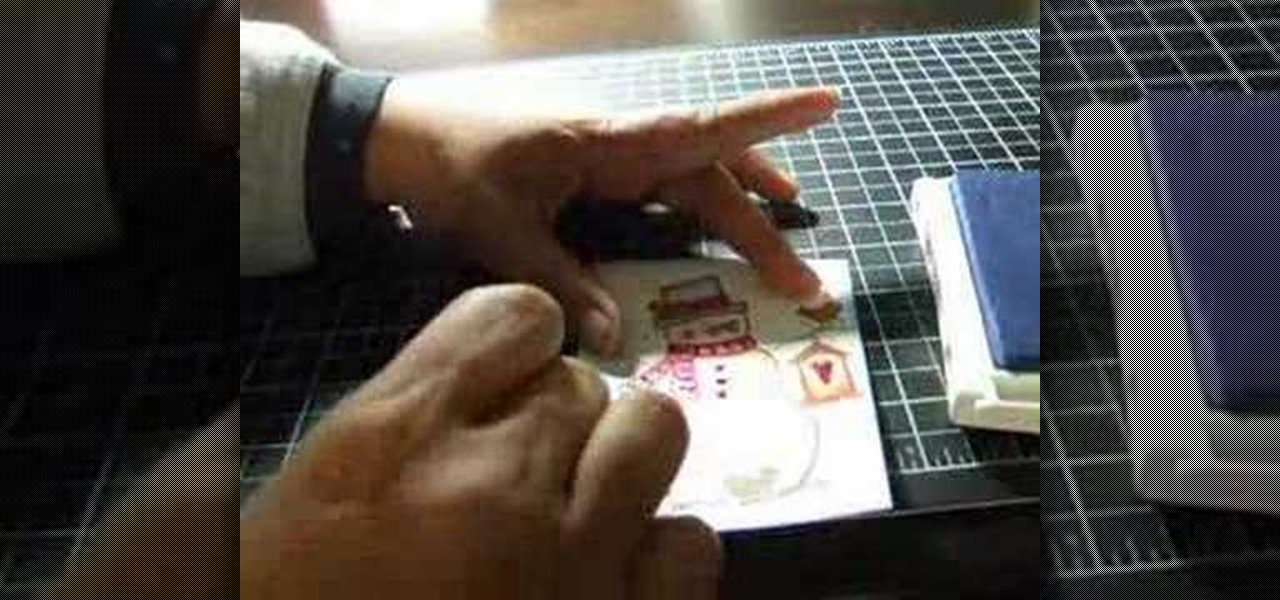
In this video tutorial, viewers learn how to shade and color the background of an image. This video explains all the materials required to shade and color the background of an image. The materials required are: a stamped image, a spoon dauber and an ink pad. Start by inking the sponge dauber and rub the edge of the cardstock. Continue to color the edge. Add more ink if you want the color to be darker. Color the background with the sponge dauber. Add link to the sponge dauber. Dab and rub the ...
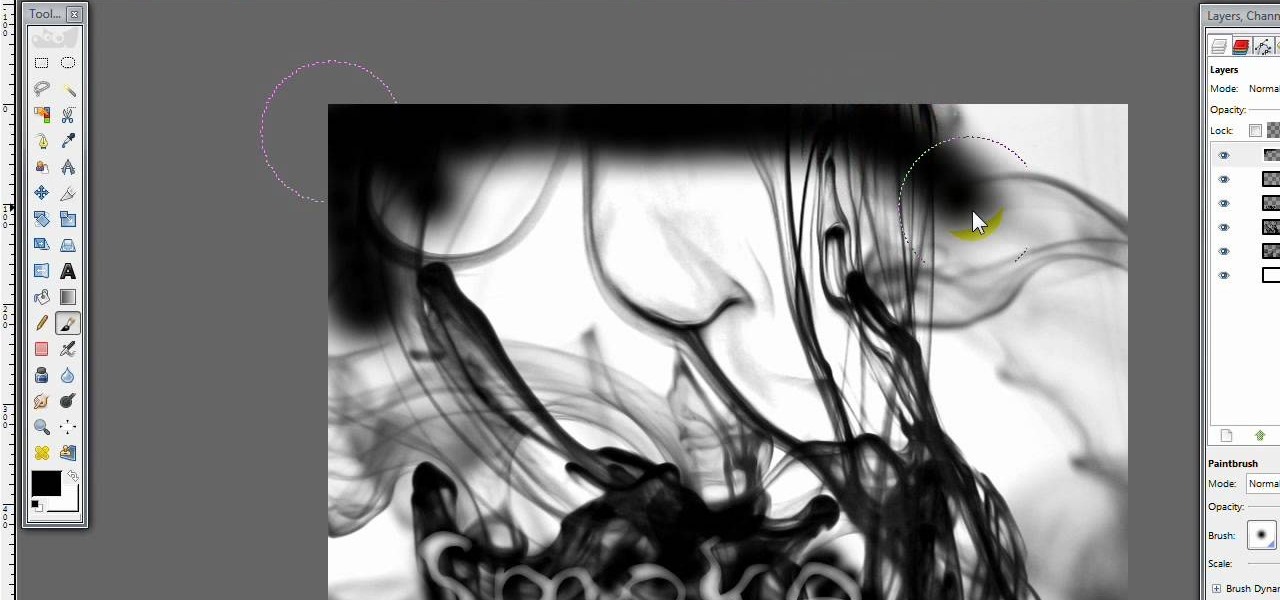
This video opens up with a computer screen displaying the finished product of a smoke design as a wallpaper. Next the video switches to the program used to create the smoke design, using a plain white image. Next the screen is switched to another program with the text smoke displayed. Then he switches back to the program and pastes an image into the window containing smoke. He then pastes the text smoke into the image and distorts it a little, followed by changing the color darker. After that...
Watch this video to learn how to download images from Yahoo using Firefox. 1. Click to open Firefox. 2. Surf or open the Yahoo main website by typing www.yahoo.com. 3. Click the Images tab. 4. Click the Search Box and type the word of the image that you are searching for. 5. Click Image Search tab. 6. Thumbnails of images will appear. 7. Note the name of the file, dimensions, file size and URL. 8. Choose a picture that you like and click on it. 9. The picture will become a bit bigger and will...
If you're designing a website but are uncomfortable slicing your interface up and reassembling it with CSS, or if you'd like to add easter-egg content to your site, then an image map might be a good option. And with Dreamweaver, the process is simple.
In this Adobe Photoshop tutorial the instructor shows how to make a torn image effect. He shows you a sample image of what it is going to look like after producing that effect. It basically looks like as if the photograph was torn to pieces and then put back together with the cracks visible. To do this first open the image in Photoshop. Now make a rough outline of the tear with the polygonal lasso. After generating the tear go to filter and in the distort sub menu choose the ripple. Now it ap...
This software tutorial takes a look at some of the editing capabilities inside of the freeware image viewing application IrfanView. Learn how to use IrfanView to crop, resize and retouch images. If you can't get your hands on Photoshop or a professional image editing software, download and try IrfanView for your basic editing needs.
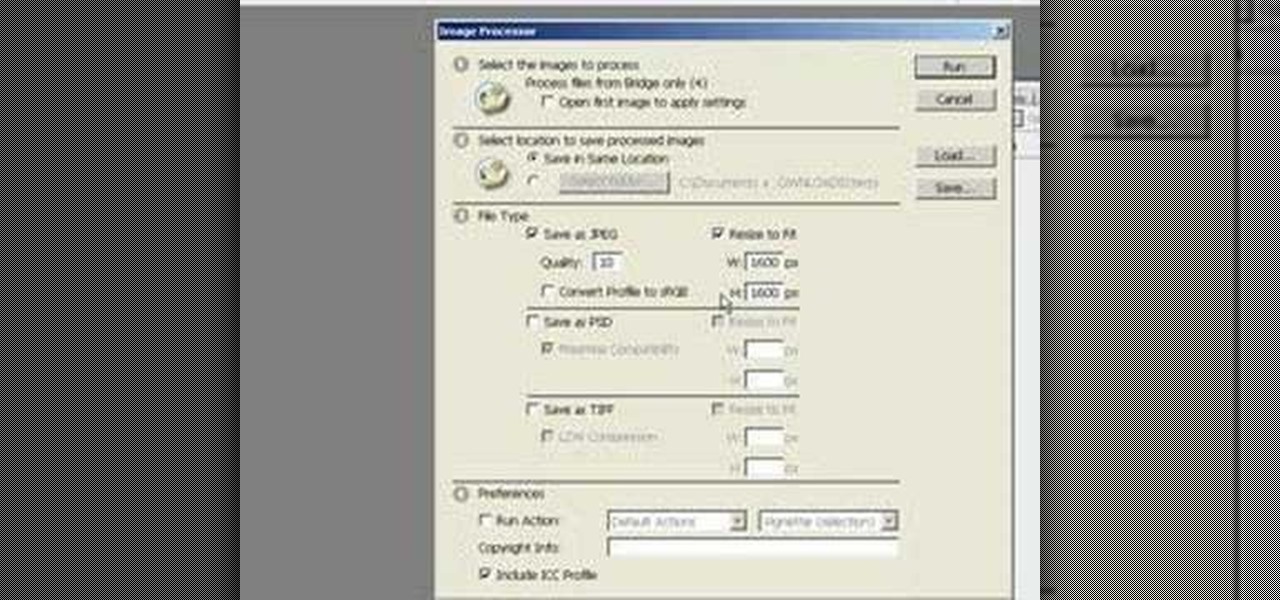
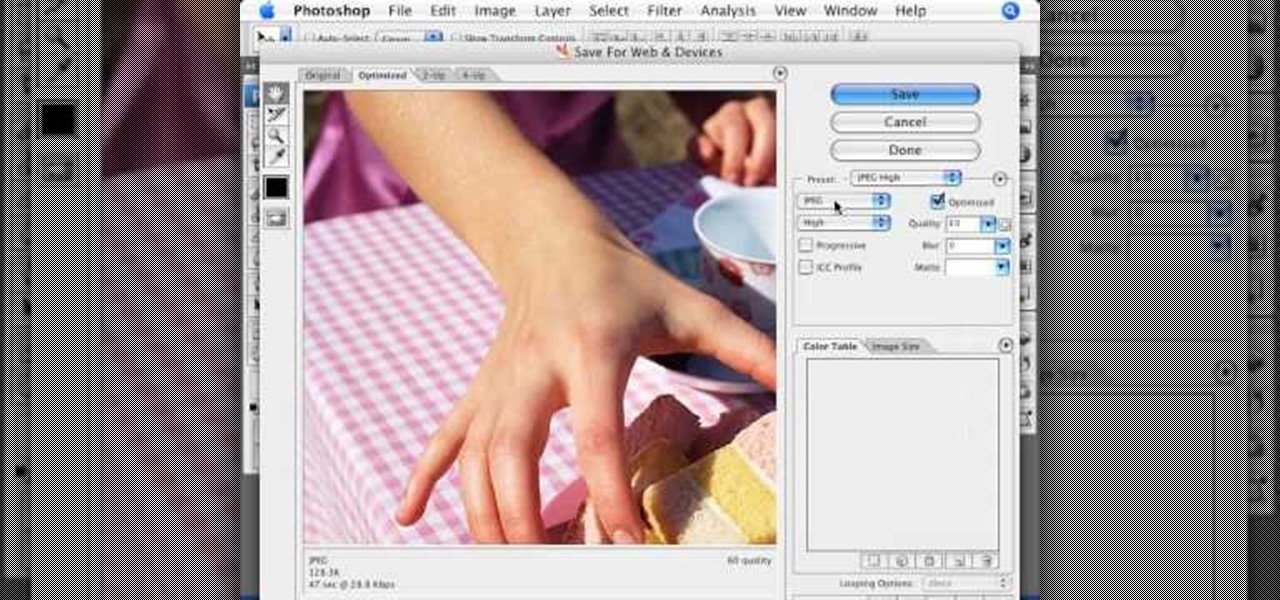
This image editing software tutorial shows you how to use the image processor tool in Photoshop CS3 to convert your corrected RAW files to a format more suited for printing or retouching; jpeg and Tiff. The image processor is can be used in the Bridge as well as in Photoshop and allows you to convert multiple files at once. See how in this Photoshop CS3 tutorial.
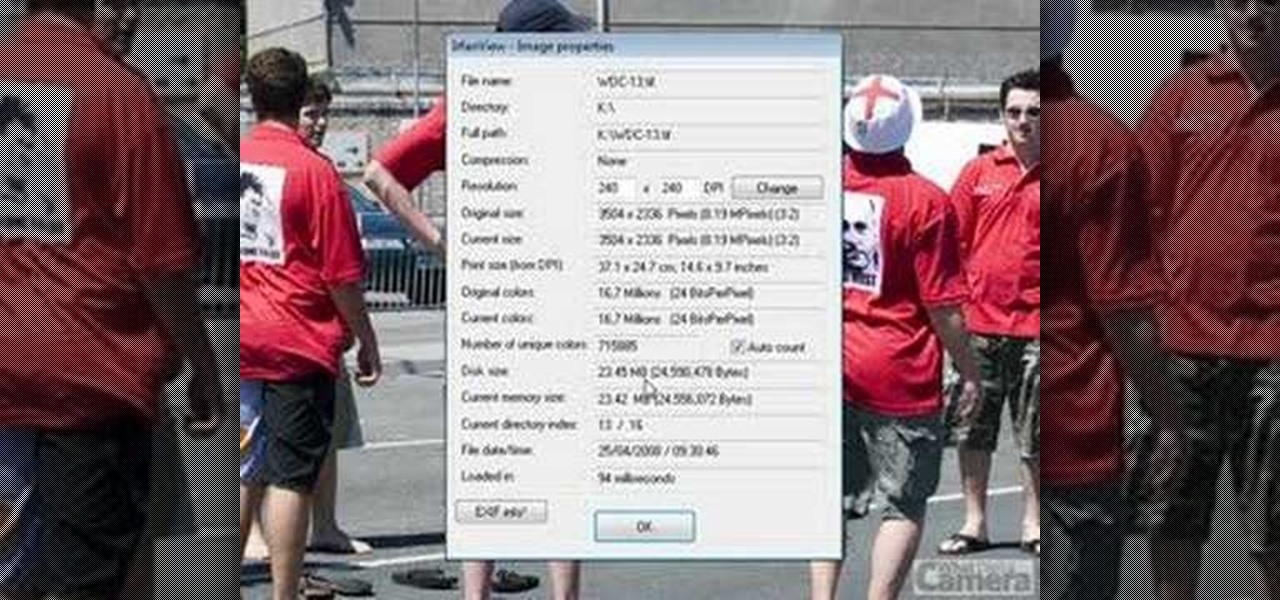
Looking for a free way to convert images you took with your digital camera? This tutorial shows you how to use IrfanView 4.10 for Windows to view, optimize and convert images. Learn the very basics of IrfanView 4.10 with this video and get ready to start editing your photos and images.
Do you need more space for your image? Do you want to put a border or text or additional information around your original image? You can do it all within Photoshop Elements with the help of this tutorial. Add your image to a larger canvas in Photoshop Elements and you can easily make a border.
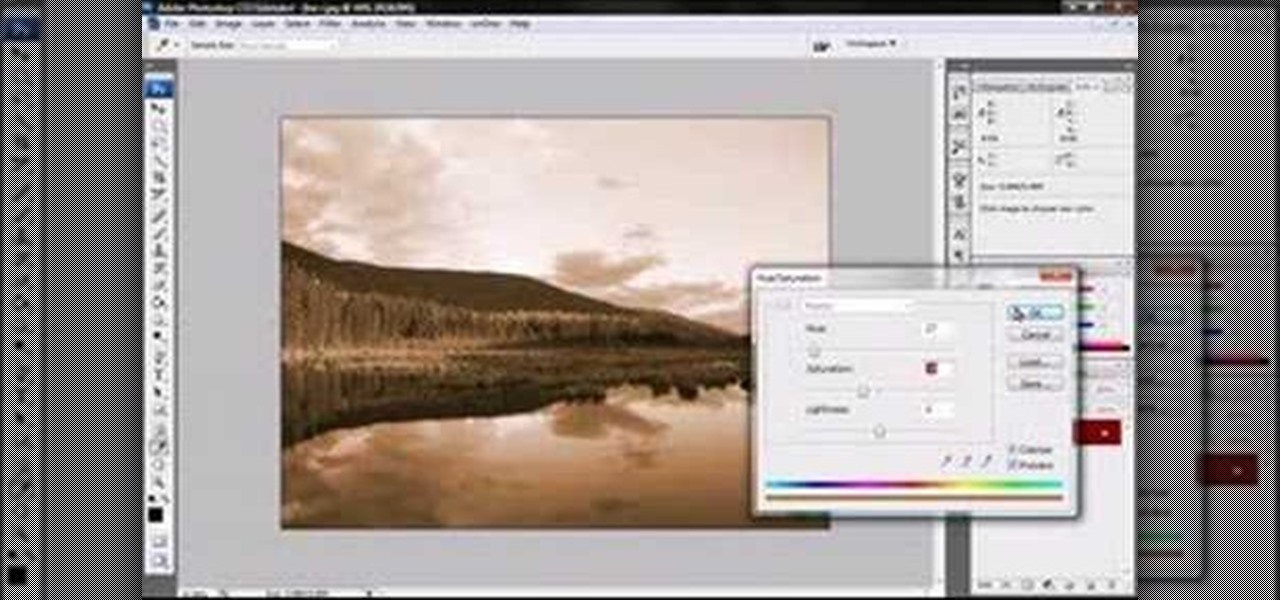
Jordan explains how to turn a photo to sepia toned colors using Photoshop. Sepia toned images are great for creating an old photo or monochromatic artistic look. Learn how to convert your images to sepia images in this Photoshop tutorial.
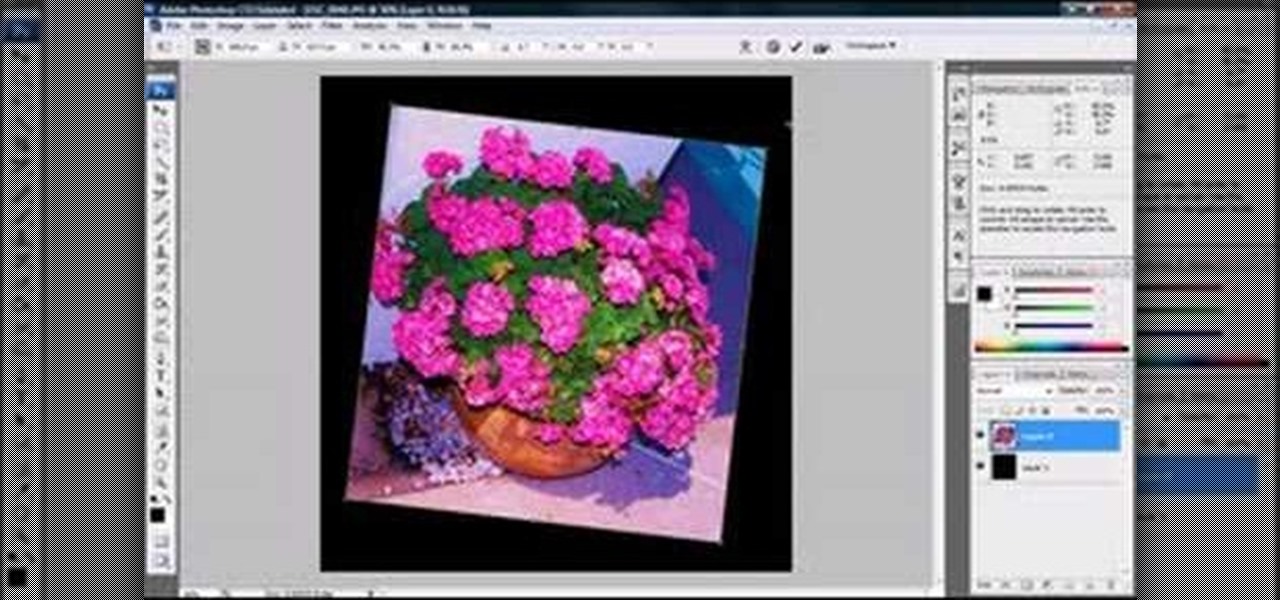
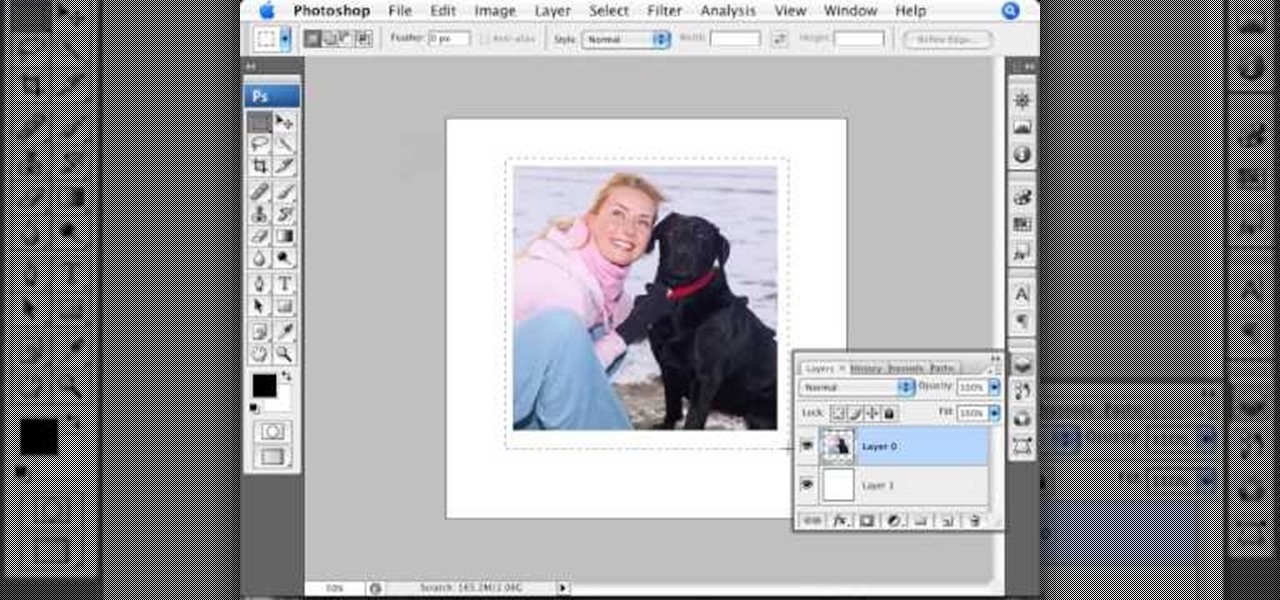
Jordan Explains how to rotate an image and even add a simple frame around the rotated image in Photoshop. This beginners Photoshop tutorial is cool for creating a photo scrapbook or anything creative where you need to move an image and give it a frame or border.
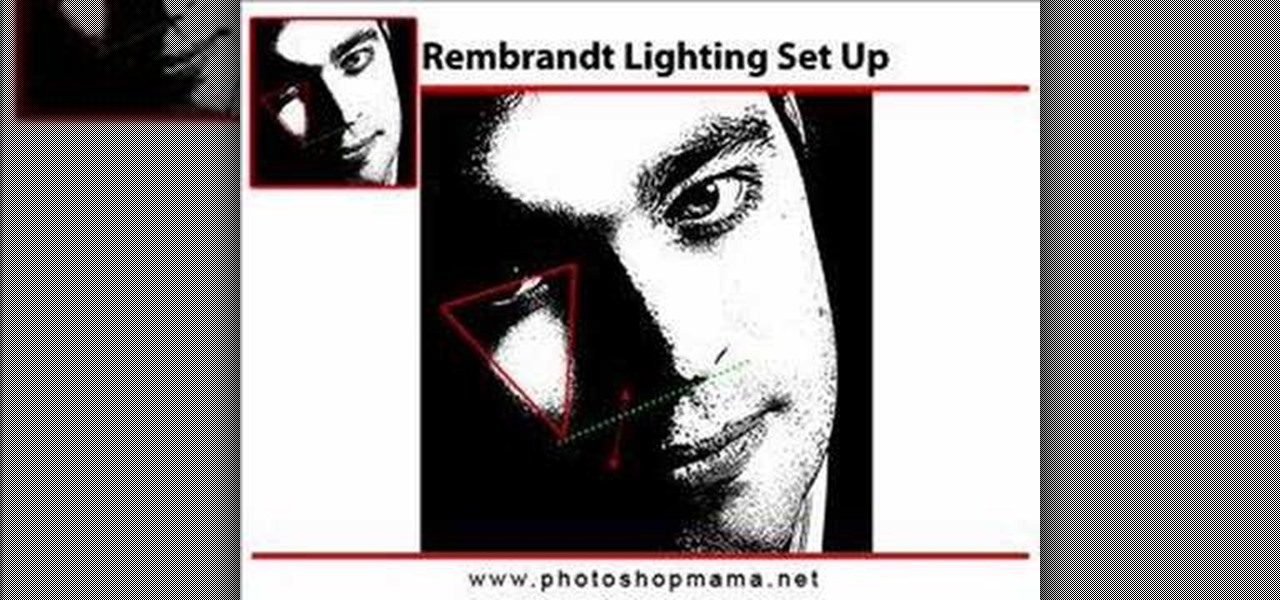
This Photoshop video series is going to explain how to create a chiaroscuro lighting effect on an image. This art form was made famous by the Italian artist Rembrandt. Part one covers the origin of terms and how to create chiaroscuro dramatic lighting. Part two has instructions for downloading the image, and some very basic workspace and preferences instructions for beginners. Part three covers Duplicate Image, File Info, File Size, Eyedropper Sample, Doc Status Bar, Panels/Palettes. Part fou...
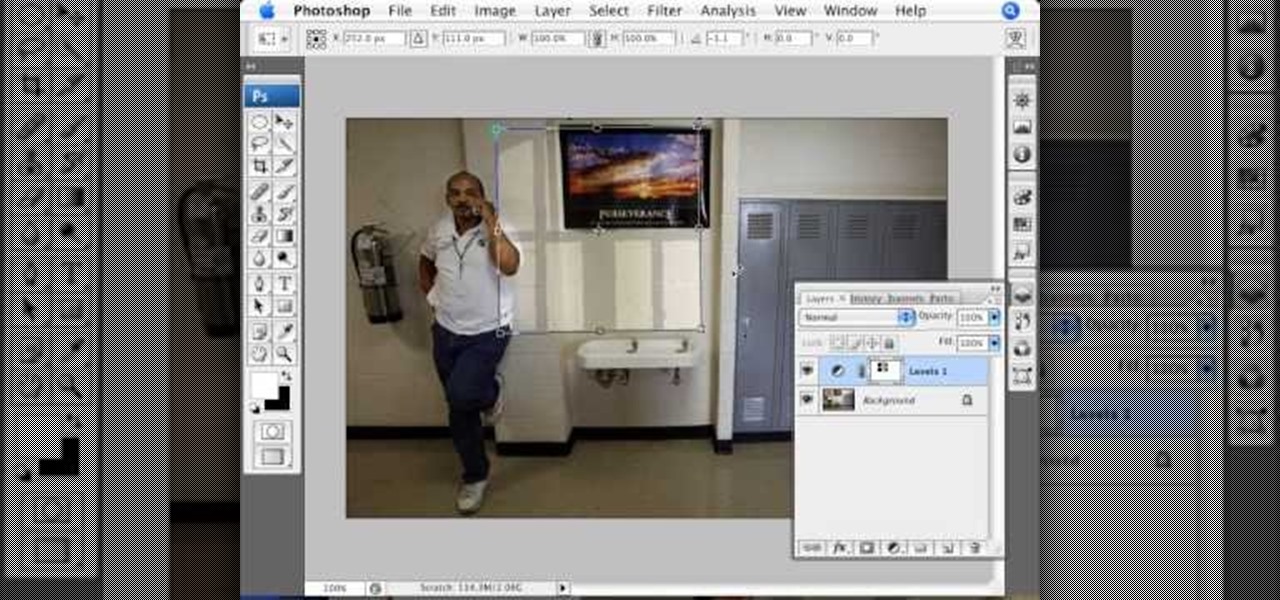
Using a series of submitted images as guides, this video tutorial looks at creating high contrast black & white images as a vehicle of communicating subject relationships. Technically, you will learn to create adjustment layers. Learn also how to use levels to adjust the tones of the image.
In this video tutorial you will learn to perform some basic image corrections on your photographic images. Learn how to improve the color and sharpness of your images. The video has some great tips on using Curves.
When you place an image in the same box as text, chances are you're going to want the text to wrap around the image just as you would in page layout. In this tutorial, Terry White will show you just how easy it is to not only wrap the text around, but to also give your image some extra white space around it. Watch this amazing video now!
Edit images directly from Google Chrome and see how they look directly on the page itself. GooEdit, a plugin for the Google Chrome browser, lets you rotate, flip, tweak the brightness, sepia, and more. You can then save the modified image to your local harddrive or upload to Twitter. Patrick from Tekzilla Daily explains the cool features.
Spot healing is a new feature of Adobe CS5 which can remove embedded features (like a misplaced clothing strap or a power cable). The content-aware feature will take contextual clues and help you retouch your images more effectively and spot-heal large areas of your image.
A 'rollover' is a little Java animation when one text or image replaces another one of similar size. This can call attention to a featured product or allow you to have a scrolling news or update feature. This tutorial shows you how to add a rollver to your website using Dreamweaver.
You want the best quality photos you can get, and the Canon EOS 7D digital SLR camera makes perfecting your pictures easy. There is a range of technologies to enhance image quality. This video shows you the many options you can use.
RayFire is a really powerful (and expensive) plugin for 3DS MAX that is designed to facilitate destroying, shooting, and otherwise causing harm to your 3D models. No, it won't destroy the files, just the images, which is very important for video games or film work. This two-part procedural video follow one artist as he creates a demolition video using Rayfire inside 3DS MAX.
This quick Blender 2.5 video tip tutorial demonstrates how to use multiple background images. This feature is very useful and allows for layering images in the viewport and assigning separate images to specific viewing angles. Without the need for multiple viewports. Whether you're new to the Blender Foundation's popular open-source 3D computer graphics application or are a seasoned digital artist merely on the lookout for new tips and tricks, you're sure to be well served by this free video ...
Have you ever wanted to modify the 3D images from your favorite video games yourself? This video is here to help! It will teach you how to import and rig a 3D character (in this case a Bloodelf from World of Warcraft) in 3D Studio MAX. Now you can edit the character however you want and then stick them back in the game, playing with a custom-looking character! Don't look the same as everyone else on WOW anymore after watching this video.
Want to burn an ISO disc image from within Microsoft Windows 7? It's easy! So easy, in fact, that this free home computing how-to can present a complete (and somewhat talky) overview of the process in just over a minute's time. For specifics, and to start burning CDs from ISO image files yourself, watch this PC user's guide.
This video demonstrates how to do image transfers. For this project, you will need the following: acid free card stock, stencils, transparency film, a gel medium, and a PC.
A lot of photos look fantastic when you first take them, but you start to notice some issues with the image when you get a good look at them on your monitor. The color will be nice, but there is noticeable room for improvement in the raw image. You can enhance the color in your image by using automation in Photoshop. This video will take you through the necessary steps to make your final image livelier and more vibrant in Photoshop.
This video tutorial by photoshopuniverse, is to tele-transport people in photos using Photoshop. For this you will need two photos, one with a person and another of a suitable scene. Select the image with the person and extract the person using the extract tool by marking the edges. Make sure to change the brush size so that you can mark the edges with a bit of the border to be included and a bit of the outside to be excluded. Fill in the retaining area and extract the image. Using the move t...
It's very easy to get a slightly blurry photograph due to a moving subject, camera shake, or just an incorrect auto-focus, but you don’t have to let that ruin an otherwise terrific picture. All it takes is a little finesse in Photoshop or another photo editing software. This guide covers sharpening a blurry image using Photoshop specifically.
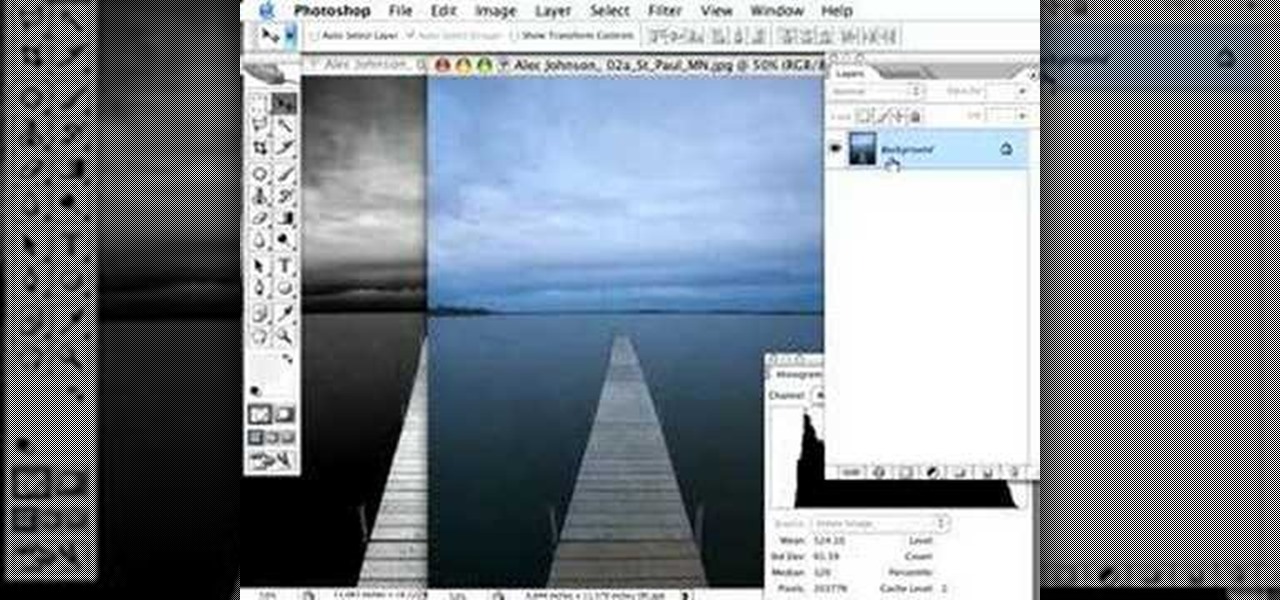
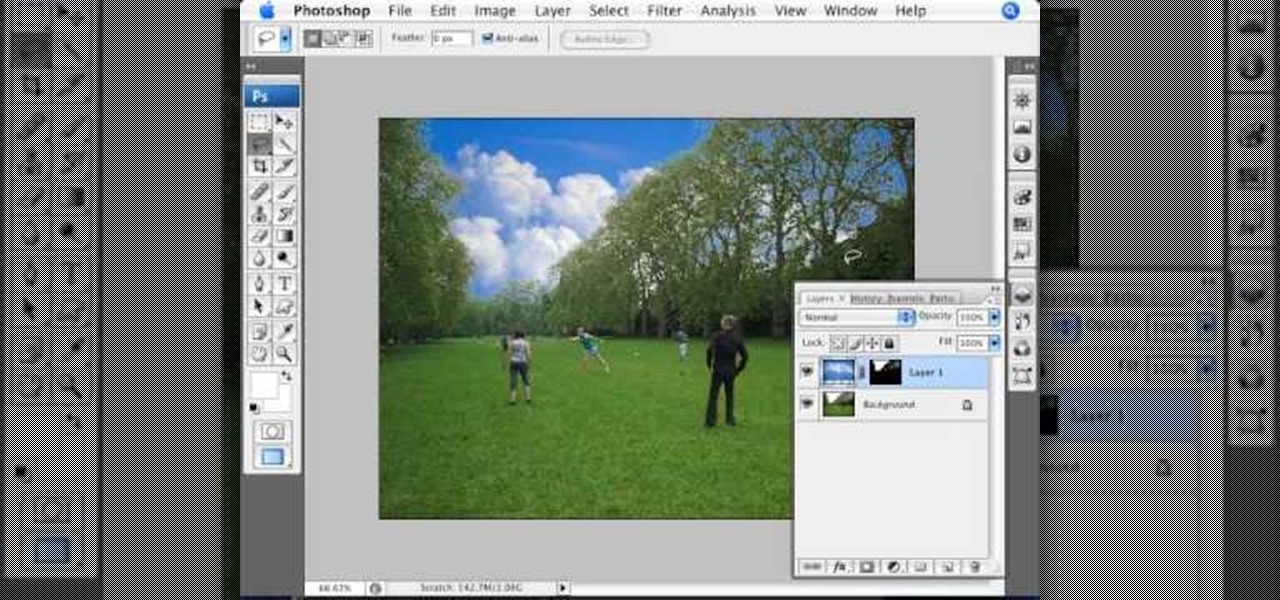
In this Photoshop tutorial the instructor teaches you to replace the sky in a photograph. If you have a photograph which has a very dull and blown out sky you can change it to make it look better as shown in this video tutorial. Some times when the sky is cloudy or due to improper white balance you end up with photos having a over bright or dull sky. Now you can find another image where the sky looks bright and attractive and replace the sky in this image with that one. Open the photo that yo...
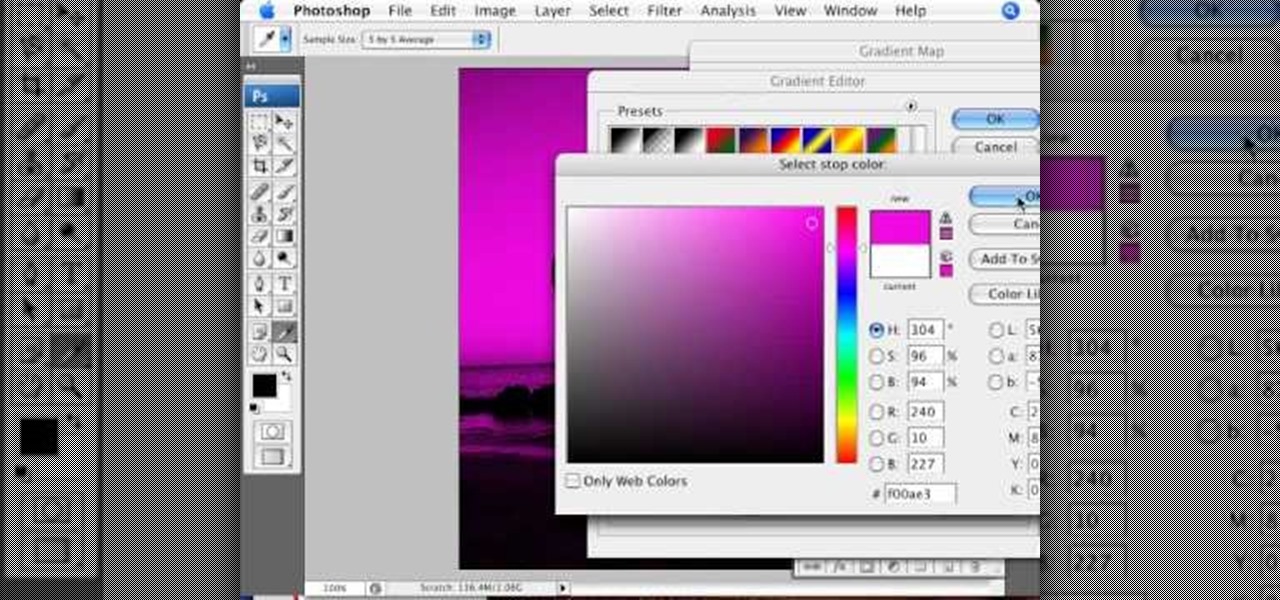
In this video tutorial brought to you by photoshopuniverse, you will learn how to apply mood lighting to images in Photoshop. This is achieved by applying an adjustment layer, called a gradient map, which allows you to adjust the color of the light in an image. You will learn how to access the gradient map from the adjustment layers menu, how to apply the gradient map, then overlay the new layer and fine tune the gradient to create more dramatic looking images.
In this video tutorial by photoshopuniverse, from Free Photoshop Video Tutorials, shows you how to automate the process of resizing images using Photoshop, primarily for sending over the internet. The guide takes you through the step by step process of creating a new action to record the process of resizing an image. Using this recorded action, you will learn how to go about applying that action to an entire folder, which will resize all the images contained in that folder.
In this Photoshop tutorial the instructor shows how to create a Polaroid photo. First open the regular photo and make it into square shape as Polaroid images are in square shape. So use the selection tool and crop it into square shape. Now unlock the layer from background mode. Now go to the image canvas size and increase the size of canvas like up to 800 X 800 pixels. Now the layer can be moved around in the canvas. Now add another layer and fill it with white. Now select the image leaving a...
In this video we are going to light cast a window so we can add more focus to the photos. First take unremarkable photo, then find a window image to transfer and select all Ctrl+a. After that copy it to the previous image. Click layer 1, then select the white space in the window that allows the sun light to pass by using magic tool quick select the part of the window. Delete the layer, after that go to adjustment layer, select levels. Adjust the level so that the color of the window is darker...
Creating a motion tween in Flash CS4, which is moving one image from one position to another position.
Creating text that catches the eye can be difficult. One great trick is to have your text actually composed from an image. Using Photoshop CS4, you can quickly create professional-looking text from a single or multiple images. Watch this video tutorial to find out how.